Skills Dev 2 - wting
Made by Wei-Ni Ting
Made by Wei-Ni Ting
Created: November 19th, 2020
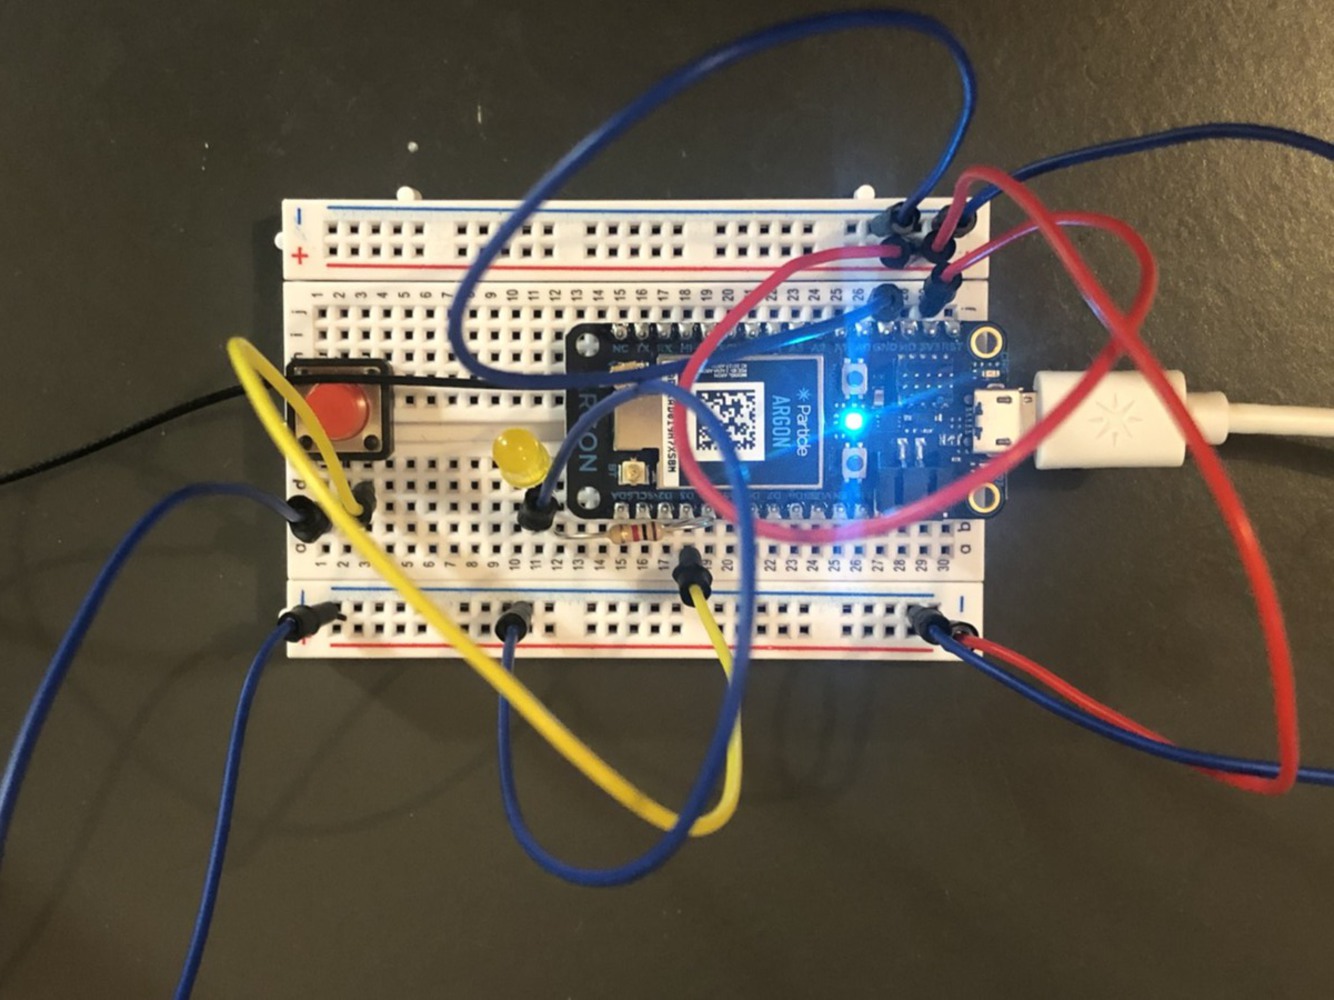
Turn a light on and off using a pushbutton.
//Practice exercise: Using a pushbotton

int ledPin = D2;

int buttonPin = D3;


void setup() {

    pinMode(ledPin,OUTPUT); //set pin as output

    pinMode(buttonPin, INPUT_PULLUP); //set pin as imput

}

void loop() {

    int buttonState = digitalRead(buttonPin);

    if(buttonState == LOW)
    {
        digitalWrite(ledPin,HIGH); //turn the led on

    }else{
        digitalWrite(ledPin,LOW); //otherwise turn the led off
    }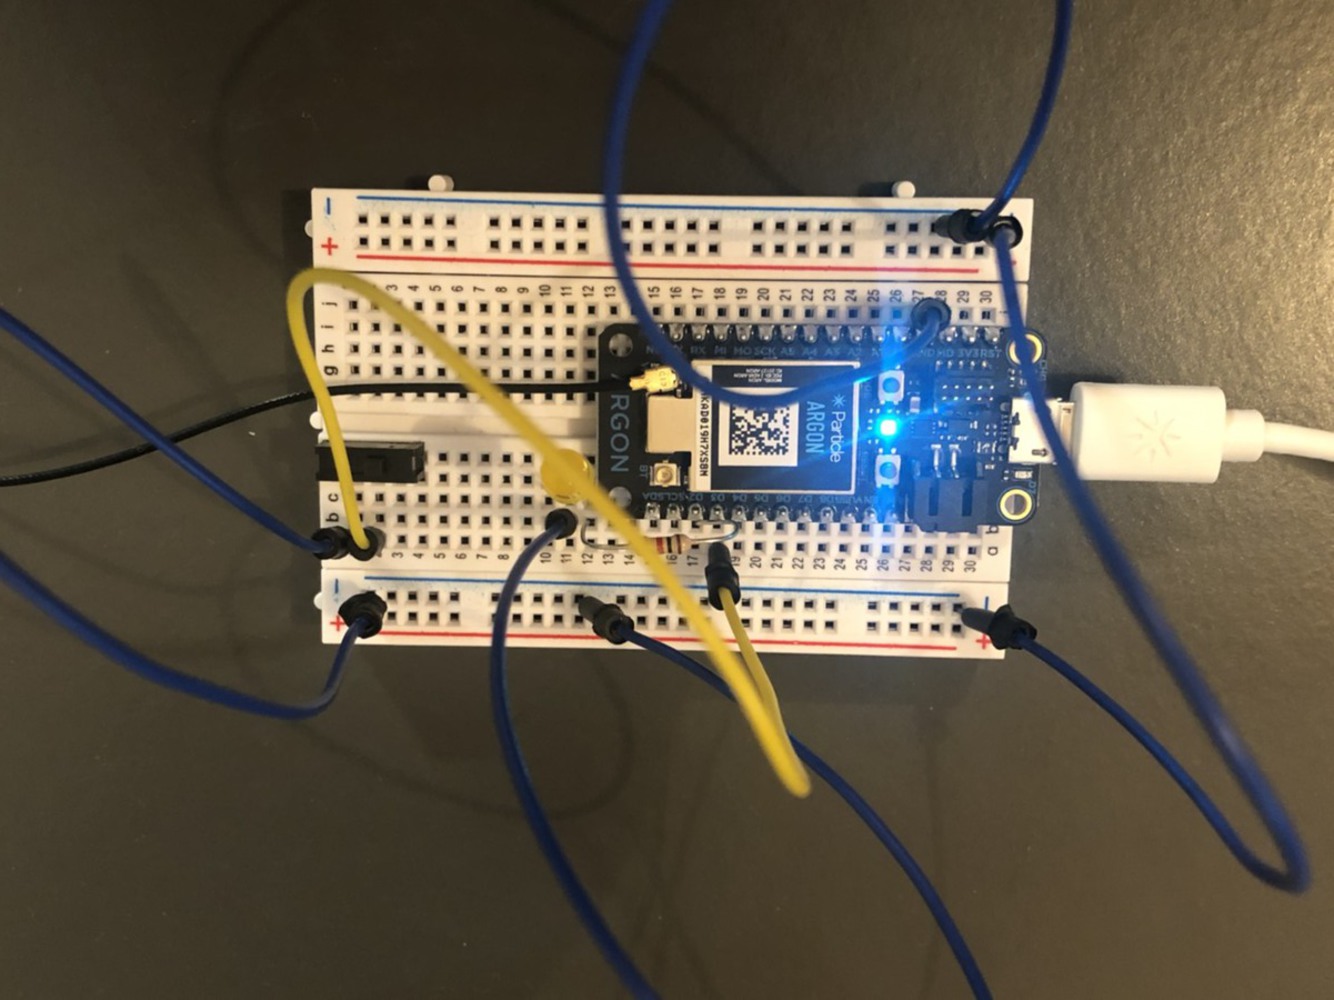
}//Practice exercise: Using a switch
int ledPin = D2;
int switchPin = D3;
void setup() {
pinMode(ledPin,OUTPUT); //set pin as output
pinMode(switchPin, INPUT_PULLUP); //set pin as imput
}
void loop() {
int switchState = digitalRead(switchPin);
if(switchState == LOW)
{
digitalWrite(ledPin,HIGH); //turn the led on
}else{
digitalWrite(ledPin,LOW); //otherwise turn the led off
}
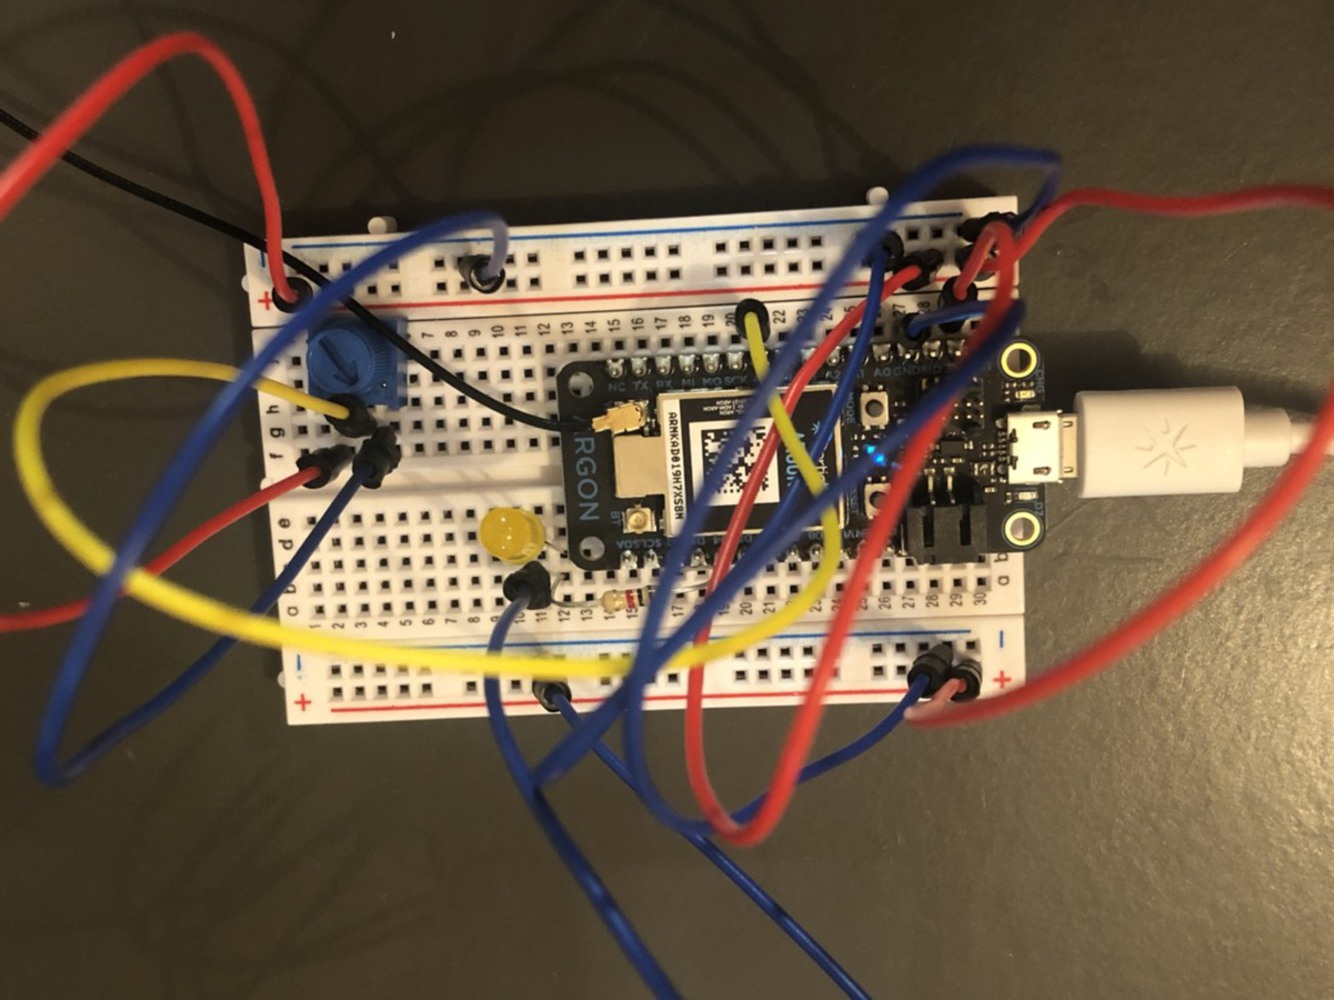
}//Practice exercise: Using a potentiometer
int potPin = A5;
int potReading = 0; //create a variable to hold the pot reading
int ledPin = D2;
int ledBrightness = 0; //create a variable to store the LED brightness
void setup() {
pinMode(ledPin,OUTPUT); //set pin as output
Spark.variable("pot", potReading ); //create a cloud variable of type integer
}
void loop() {
//use analogRead to read the potentiometer reading
//This gives us a value rom 0 to 4095
potReading = analogRead(potPin); //0-4095
//Map this value into the PWM range (0-255)
//And store as the led brightness
int ledBrightness = map(potReading,0,4095,0,255);
//fade the LED to the desired brightness
analogWrite(ledPin, ledBrightness ); //0-255
//wait 1/10th of a second and then loop
delay(100);
}//Exercise 1: Combine a switch and potentiometer.
//The switch should turn on and off the light while the potentiometer will fade up and down the light (but only when its on).
int potPin = A5;
int potReading = 0; //create a variable to hold the pot reading
int ledPin = D2;
int ledBrightness = 0; //create a variable to store the LED brightness
int switchPin = D3;
void setup() {
pinMode(ledPin,OUTPUT); //set pin as output
pinMode(switchPin,INPUT_PULLUP); //set pin as input
Spark.variable("pot", potReading ); //create a cloud variable of type integer
}
void loop() {
int switchState = digitalRead(switchPin);
//use analogRead to read the potentiometer reading
//This gives us a value rom 0 to 4095
if (switchState == LOW)
{
digitalWrite(ledPin, HIGH);
potReading = analogRead(potPin); //0-4095
//Map this value into the PWM range (0-255)
//And store as the led brightness
int ledBrightness = map(potReading,0,4095,0,255);
//fade the LED to the desired brightness
analogWrite(ledPin, ledBrightness ); //0-255
//wait 1/10th of a second and then loop
delay(100);
}else{
digitalWrite(ledPin, LOW);
}
}//Practice exercise: Using a photoresistor
int photoCellPin = A0;
int photoCellReading = 0; //create a variable to hold the light reading
int ledPin = D2;
int ledBrightness = 0; //create a variable to store the LED brightness
void setup() {
//setup the LED for output
pinMode(ledPin, OUTPUT);
Particle.variable("light", &photoCellReading, INT); //create a cloud variable of type integer
}
void loop() {
photoCellReading = analogRead(photoCellPin); //read the photo cell reading, 0-4095
ledBrightness = map(photoCellReading, 0, 4095, 0, 255); //map this value into the PWM range (0-255) and store as led brightness
analogWrite(ledPin, ledBrightness); //fade the led to the desired brightness
delay(100); //wait 1/10th of a second and then loop
}//Photoresistor exercise 1:
//Modify the program so that the LED shows the opposite. When there is little light, it will be bright and when there’s lots of light, it will be off.
int photoCellPin = A0;
int photoCellReading = 0; //create a variable to hold the light reading
int ledPin = D2;
int ledBrightness = 0; //create a variable to store the LED brightness
void setup() {
//setup the LED for output
pinMode(ledPin, OUTPUT);
Particle.variable("light", &photoCellReading, INT); //create a cloud variable of type integer
}
void loop() {
digitalWrite(ledPin, HIGH);
photoCellReading = analogRead(photoCellPin); //read the photo cell reading, 0-4095
int ledBrightness = map(photoCellReading, 0, 4095, 255, 0); //map this value into the PWM range (0-255) and store as led brightness
int lightreading = map (1500,0,4095,0,255);
if(ledBrightness >= lightreading){
analogWrite(ledPin, ledBrightness); //fade the led to the desired brightness
}else{
digitalWrite (ledPin, LOW);
}
delay(100); //wait 1/10th of a second and then loop
}//Photoresistor exercise 2:
//Turn the light on and off when reaches certain levels.
int photoCellPin = A0;
int photoCellReading = 0; //create a variable to hold the light reading
int ledPin = D2;
int ledBrightness = 0; //create a variable to store the LED brightness
void setup() {
//setup the LED for output
pinMode(ledPin, OUTPUT);
Particle.variable("light", &photoCellReading, INT); //create a cloud variable of type integer
}
void loop() {
digitalWrite(ledPin, HIGH);
photoCellReading = analogRead(photoCellPin); //read the photo cell reading, 0-4095
int ledBrightness = map(photoCellReading, 0, 4095, 0, 255); //map this value into the PWM range (0-255) and store as led brightness
int lightreading = map (600,0,4095,0,255);
if(ledBrightness >= lightreading){
analogWrite(ledPin, ledBrightness); //fade the led to the desired brightness
}else{
digitalWrite (ledPin, LOW);
}
delay(100); //wait 1/10th of a second and then loop
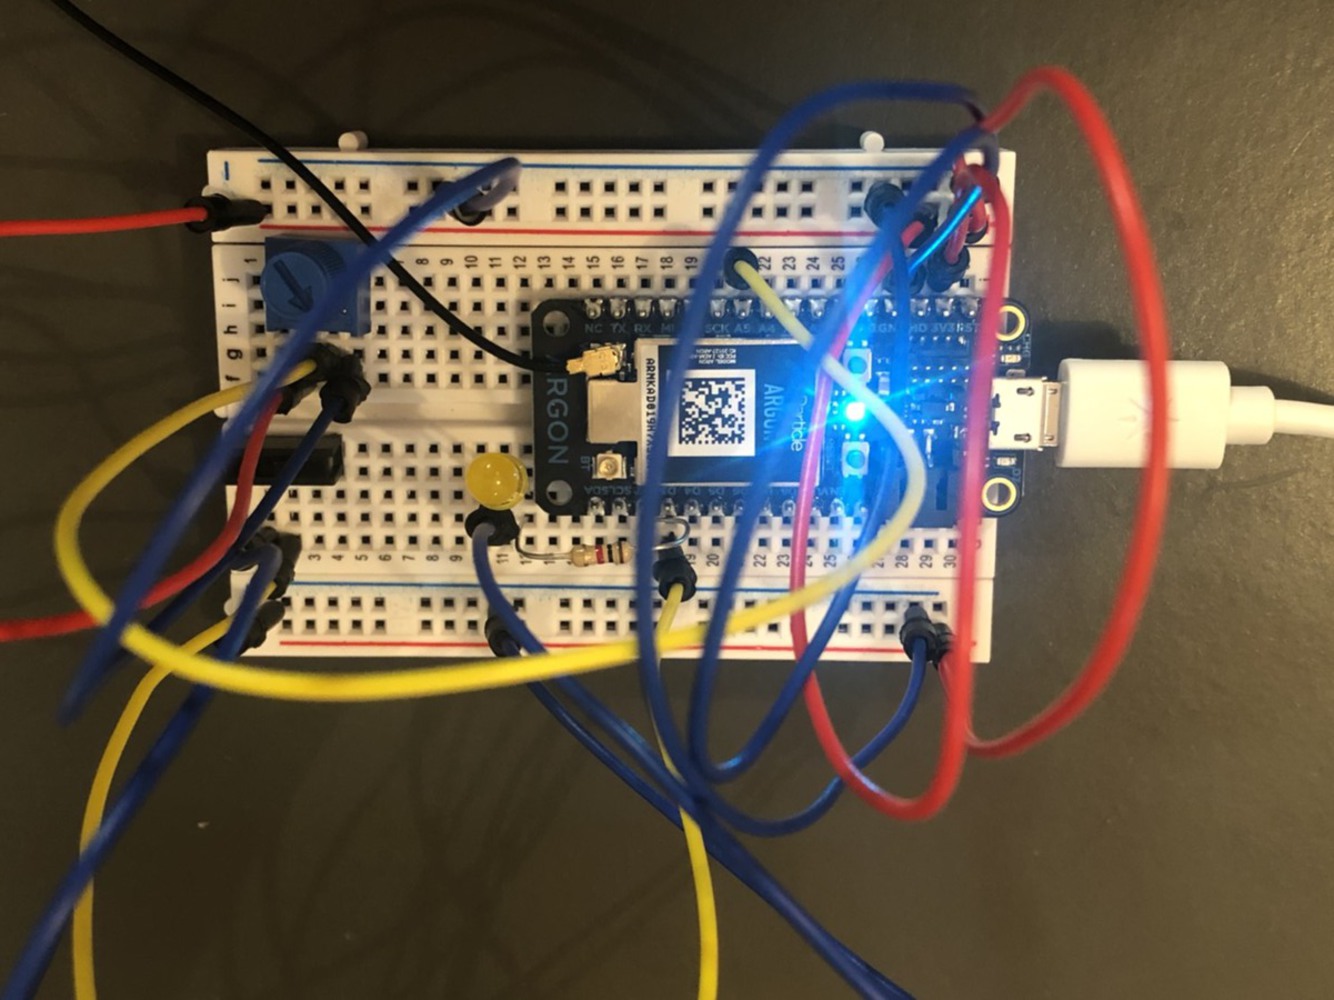
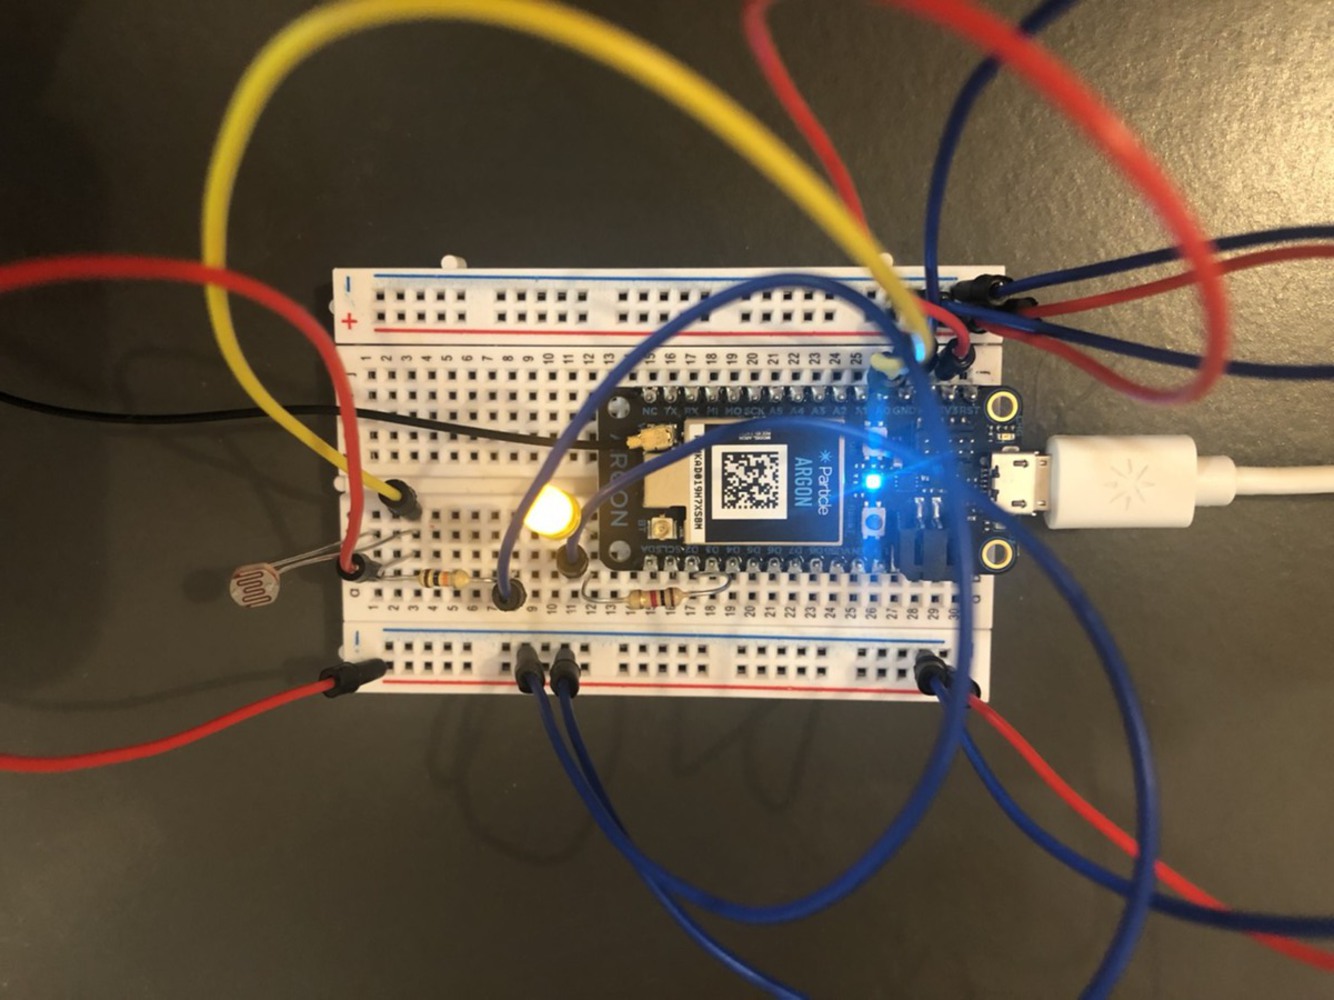
}In this exercise, I used a switch, photoresistor, and LED. The switch is controls the overall action of the LED light. LED and phtoresistor will only respond if the switch is switched on.
The scenario is for work lamp, which brightens up and dims down according to the existing light level in the room or daylight. But it will only work when the switch is on.
//Practice Exercise:
//Combining Sensors and Inputs

int photoCellPin = A0;
int photoCellReading = 0; //create a variable to hold the light reading


int switchPin = D3;
int switchState;


int ledPin = D2;
int ledBrightness = 0; //create a variable to store the LED brightness

void setup() {

    //setup the LED for output
    pinMode(ledPin, OUTPUT);
    pinMode(switchPin,INPUT_PULLUP);

    Particle.variable("light", &photoCellReading, INT); //create a cloud variable of type integer

}

void loop() {

        switchState = digitalRead(switchPin);
        photoCellReading = analogRead(photoCellPin); //read the photo cell reading, 0-4095

        ledBrightness = map(photoCellReading, 0, 2500, 255, 0); //map this value into the PWM range (0-255) and store as led brightness
        //int lightreading = map (500,0,4095,255,0);

    if(switchState == LOW)
    {
        //digitalWrite (ledPin, HIGH);

        analogWrite(ledPin, ledBrightness); //fade the led to the desired brightness

        }else if(switchState == HIGH){
            digitalWrite (ledPin, LOW);
        }else {digitalWrite (ledPin, LOW);
        }
        delay(100);
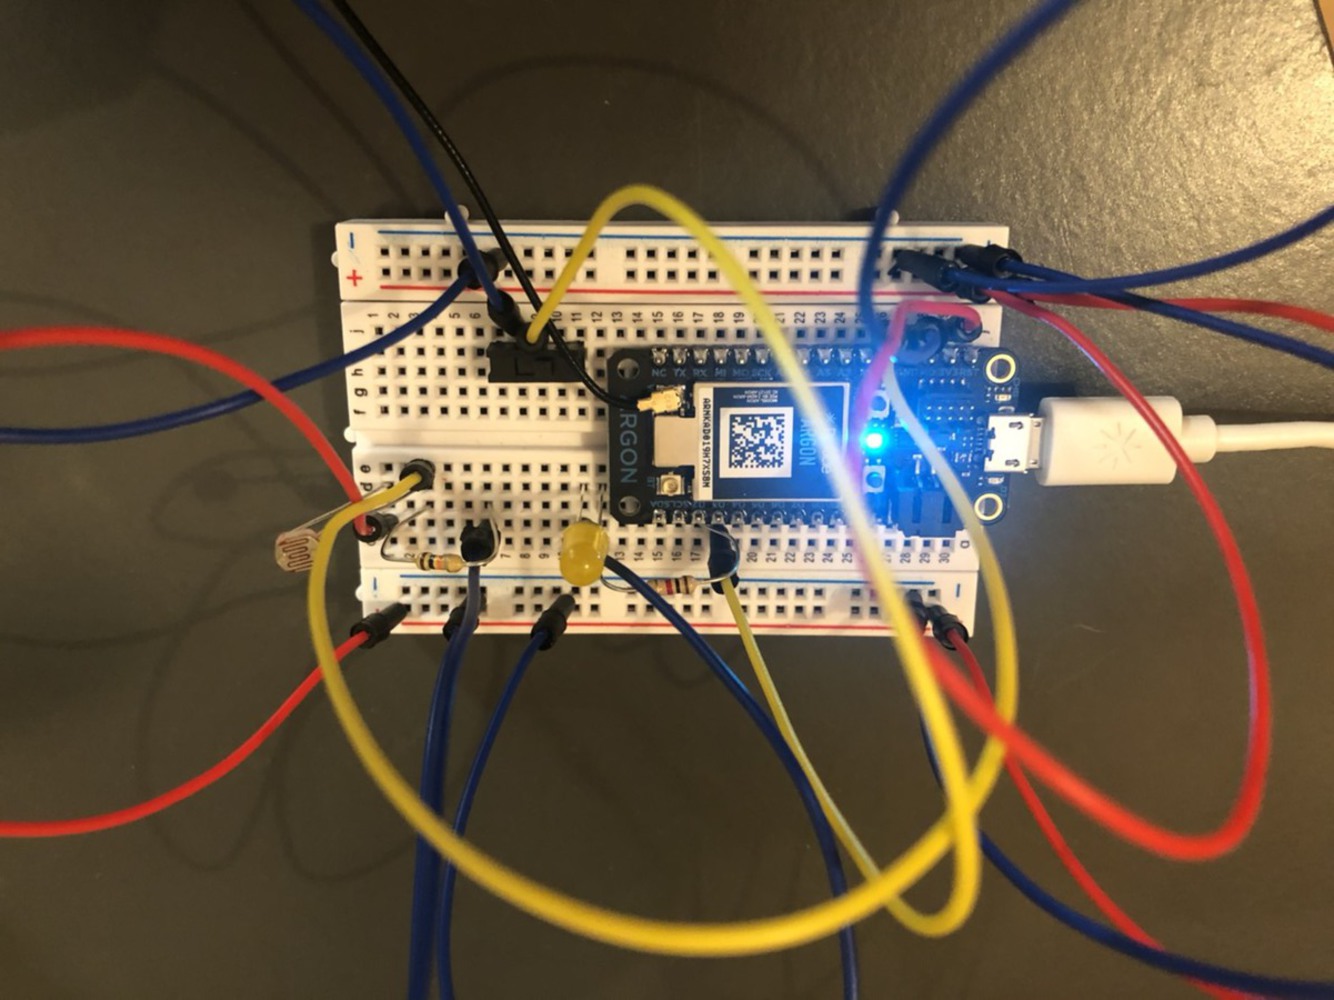
}I started out with one input or sensor one a time, and then add on to it another input. This helped me to understand how the circuit works on the breadboard.
Relating the photoresistor reading value (0-4095) and the PWM range (0-255) to the actual brightness seen through human eyes, was an odd process for me. It took a few try outs to see what it actually looks like by trying out different values and checking the reading from Particle Console. The photoresistor sensor also seems a bit unstable with instances where LED brightness not reacting or reacting slowly.
Overall, I think I gained better understanding in how the circuit works on the breadboard. And it was nice to imagine how the prototype relates to the real world.