Skills Dev I
Made by Gabriela Suazo
Made by Gabriela Suazo
The goal of this project is to use the particle platform to manipulate LEDs.
Created: November 6th, 2020
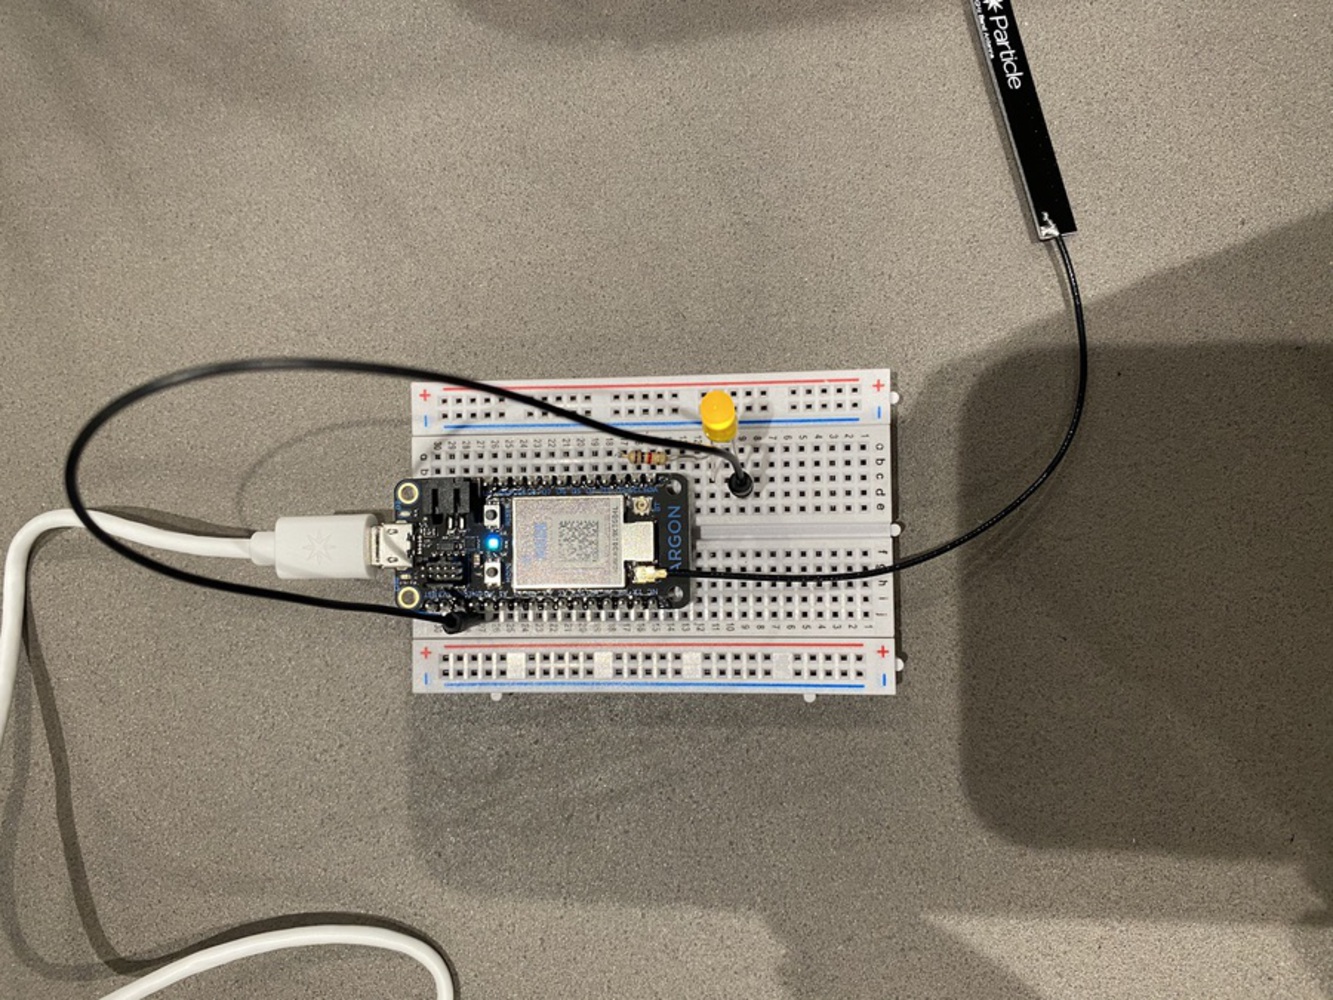
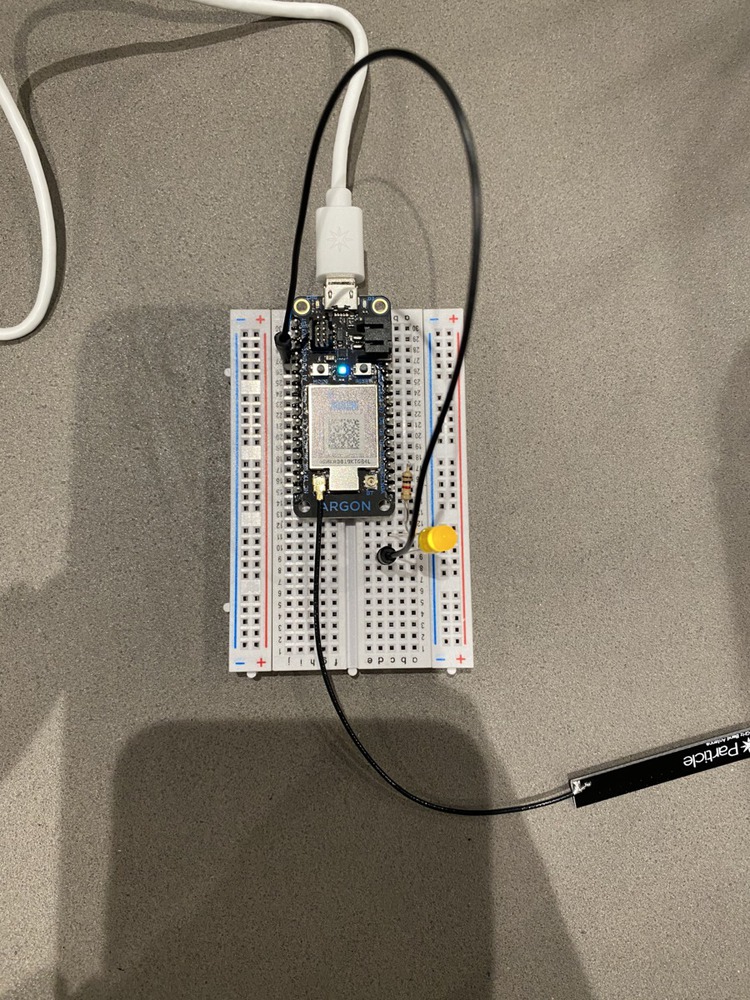
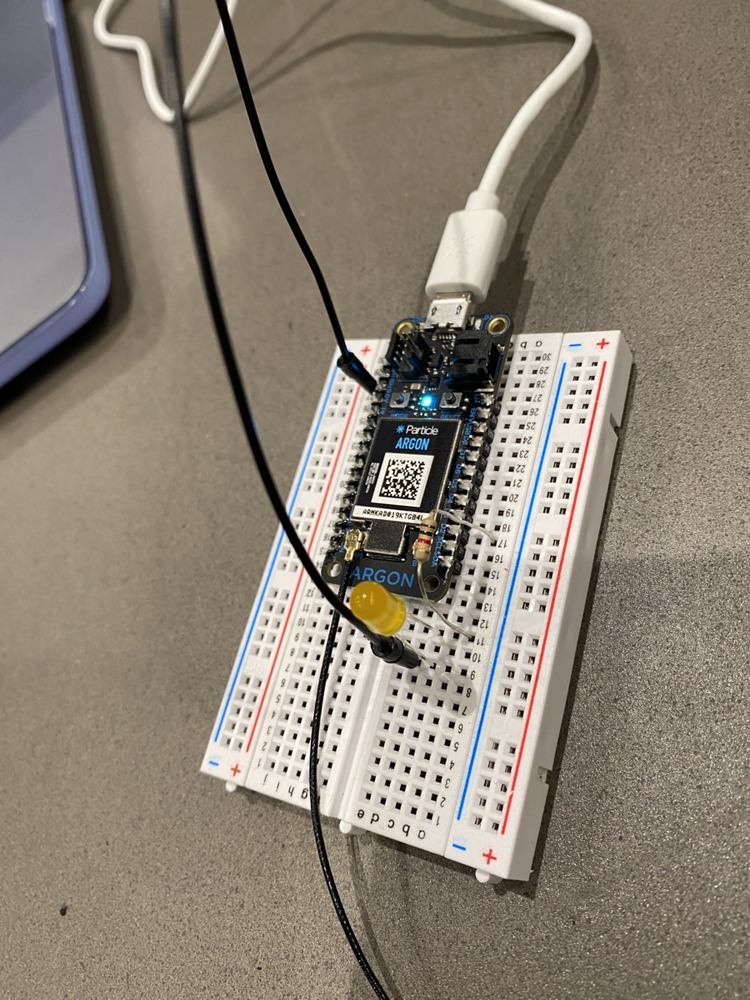
I used LEDs, resistors, and jumper wires to form connections on the breadboard and wrote code that made the LED blink. First, I made only one LED blink but later I added a second LED and made them alternate.
int ledPin = D2;


void setup() {
    // Tell the Argon that we'll use D2 as an output pin.
    pinMode(ledPin, OUTPUT);
}


void loop() {
    // Turn on
    digitalWrite(ledPin, HIGH);   // Turn ON the LED pins
    delay(1000);               // Wait for 1000mS = 1 second

    // Turn off
    digitalWrite(ledPin, LOW);   // Turn OFF the LED pins
    delay(1000);               // Wait for 1000mS = 1 second
    // Repeat
}It took me a bit of experimenting with the board to understand where and how connections were made. Once I had it working, I changed the placement of the connections to see what would work and what wouldn't and I think this helped me understand the circuits better as I continued through the exercises.
int ledPin = D2;


void setup() {
    // Tell the Argon that we'll use D2 as an output pin.
    pinMode(ledPin, OUTPUT);
}


void loop() {
    // Turn on
    digitalWrite(ledPin, HIGH);   // Turn ON the LED pins
    delay(3000);               // Wait for 3 seconds

    // Turn off
    digitalWrite(ledPin, LOW);   // Turn OFF the LED pins
    delay(3000);               // Wait for 3 seconds
    // Repeat
}int ledPin = D2;
void setup() {
// Tell the Argon that we'll use D2 as an output pin.
pinMode(ledPin, OUTPUT);
}
void loop() {
for (int i = 0 ; i < 5 ; i++) {
// Turn on
digitalWrite(ledPin, HIGH); // Turn ON the LED pins
delay(500); // Wait for 0.5 second
// Turn off
digitalWrite(ledPin, LOW); // Turn OFF the LED pins
delay(500); // Wait for 0.5 second
}
// Turn off
digitalWrite(ledPin, LOW); // Turn OFF the LED pins
delay(3000); // Wait for 3 seconds
}int ledPinYellow = D2;
int ledPinGreen = D3;
void setup() {
// Tell the Argon that we'll use D2 as an output pin.
pinMode(ledPinYellow, OUTPUT);
pinMode(ledPinGreen, OUTPUT);
}
void loop() {
// Turn on Yellow
digitalWrite(ledPinYellow, HIGH); // Turn ON the Yellow LED pin
// Turn off Green
digitalWrite(ledPinGreen, LOW); // Turn OFF the Green LED pin
delay(1000); // Wait for 1000mS = 1 second
// Turn on Green
digitalWrite(ledPinGreen, HIGH); // Turn ON the Green LED pin
// Turn off Yellow
digitalWrite(ledPinYellow, LOW); // Turn OFF the Yellow LED pin
delay(1000); // Wait for 1000mS = 1 second
// Repeat
}I now have a much better understanding of the breadboard and the potential connections that can be made. I think I have more difficulty with that than I do with the code because although I had never used the Particle build platform previously, for the most part, the code makes sense to me so I feel like I am able to build off of the example code that is provided. My next steps are to continue getting more familiar and comfortable with the breadboard.