Skills Dev I _xuyangj
Made by Xuyang Jin · UNLISTED (SHOWN IN POOLS)
Made by Xuyang Jin · UNLISTED (SHOWN IN POOLS)
Get oriented with the Particle platform, build the first circuit and code.
Created: November 3rd, 2020
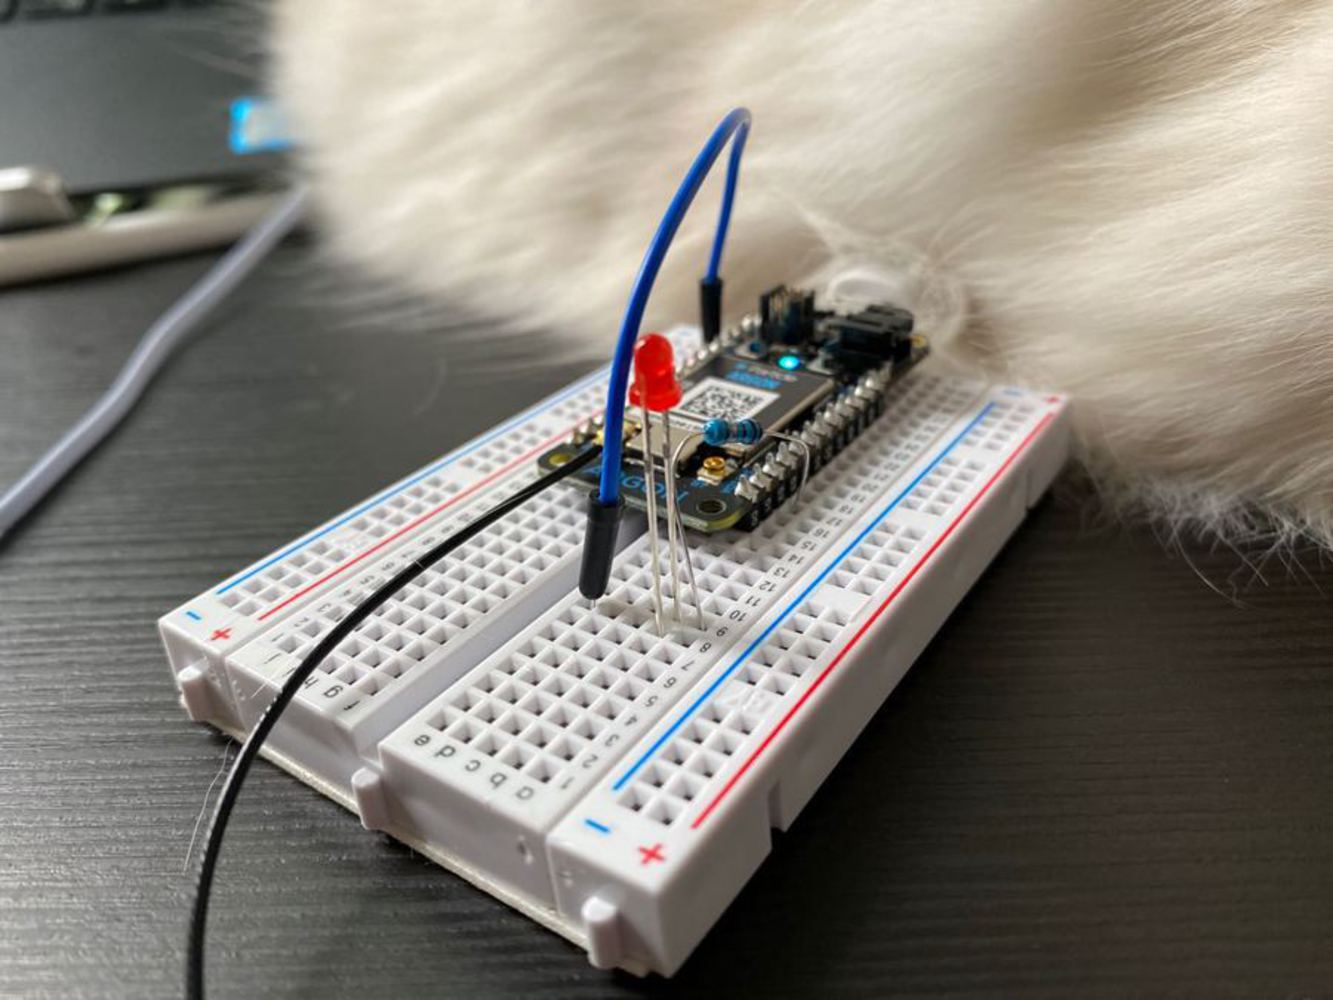
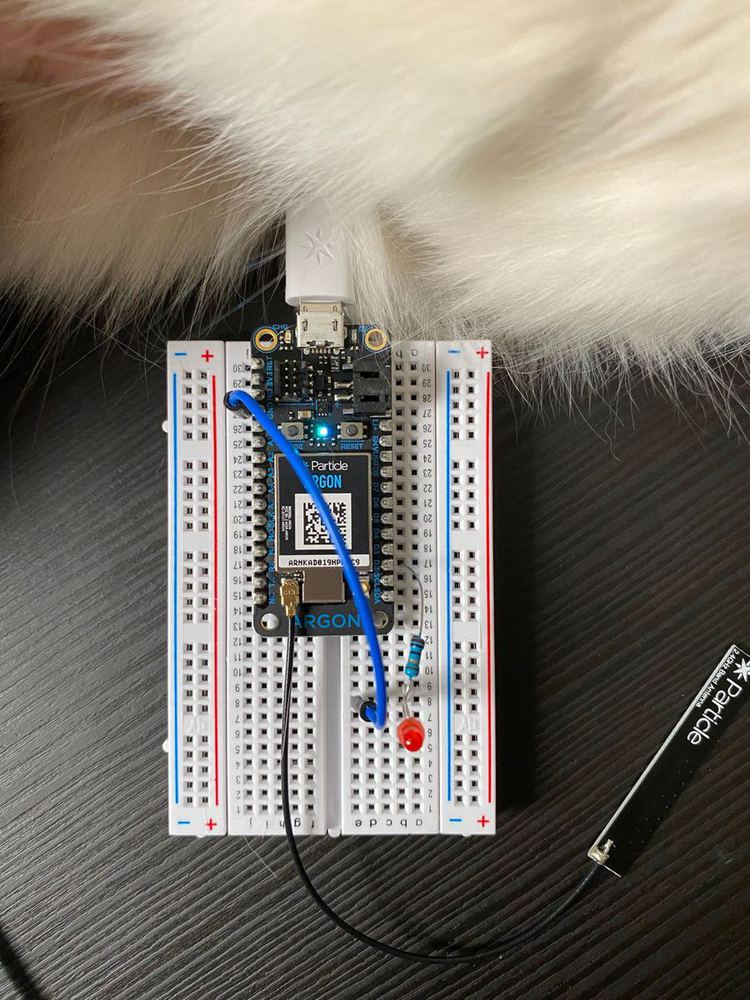
I followed the Particle set up and made a simple circuit to create a blinking LED. At the same time, I finished the exercises in Making your LED blink and Making a connected LED:(https://diotlabs.daraghbyrne.me/docs/a-simple-internet-appliance/first-sketch/). All these tests went all as required. Please make it full screen to watch the video for each exercise.
//exercise 2:Change the program to blink on and off 5 times then stop for 3 seconds. Each blink should be 0.5s
int led1 = D2;

void setup() {

    pinMode( led1, OUTPUT);
}

void loop() {
    for (int i = 0; i < 5; i++){
        digitalWrite( led1, HIGH );
        delay( 500 );
        digitalWrite( led1, LOW );
        delay( 500 );
       }
    digitalWrite( led1, LOW );
    delay( 3000 );
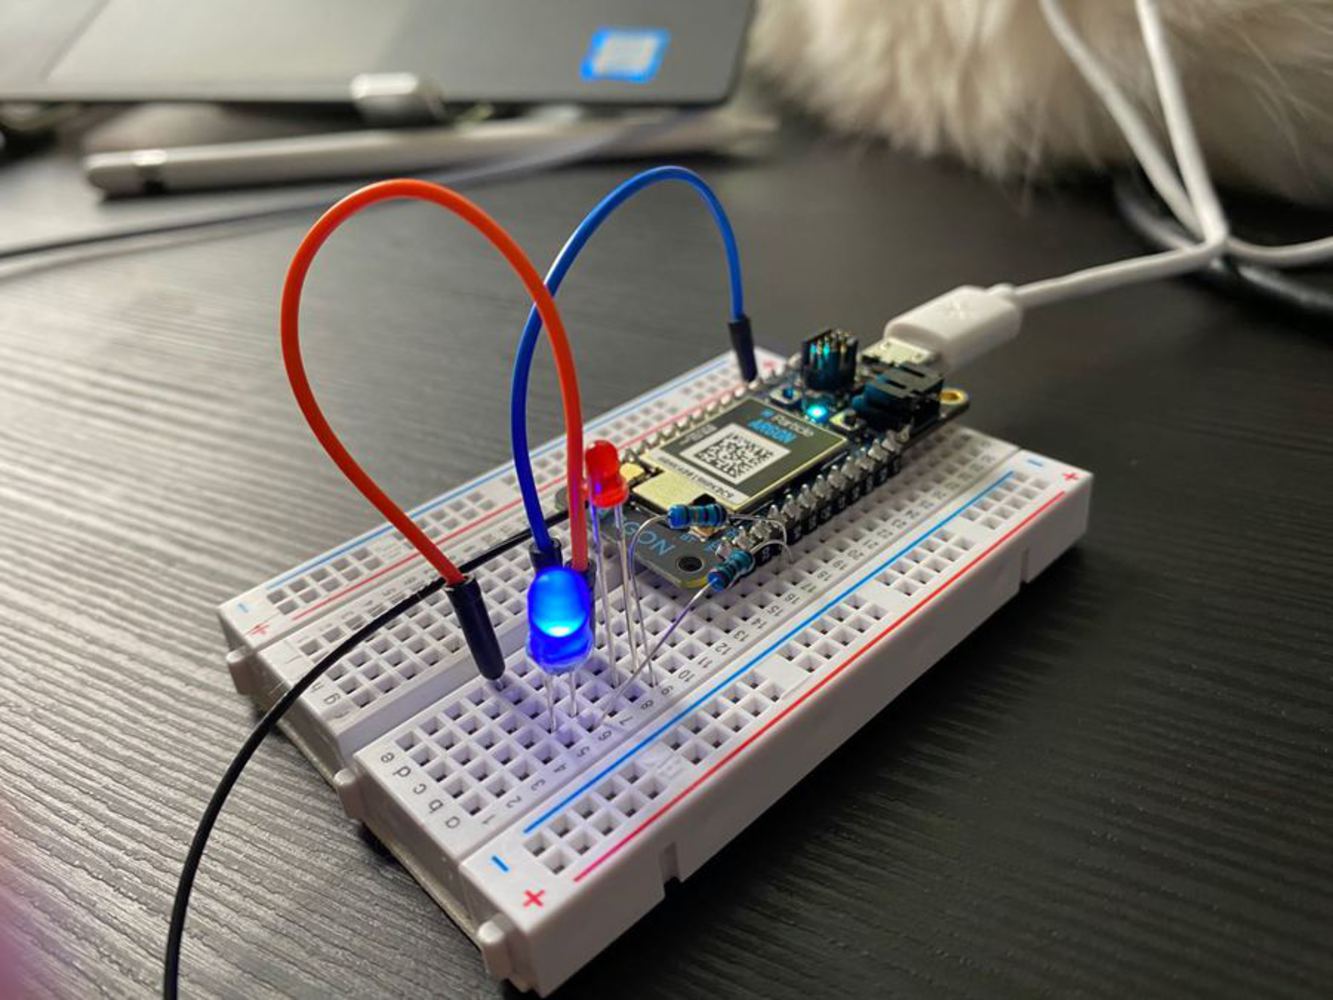
}//exercise 3:Program the LED’s to alternate blinks i.e. when LED 1 turns on, LED 2 turns off, then when LED 2 turns on, LED 1 turns off.
int led1 = D2;
int led2 = D3;
void setup() {
pinMode( led1, OUTPUT);
pinMode( led2, OUTPUT);
}
void loop() {
digitalWrite( led1, HIGH );
digitalWrite( led2, LOW );
delay( 1000 );
digitalWrite( led1, LOW );
digitalWrite( led2, HIGH );
delay( 1000 );
}//setup Use On and OFF to control the LED
int led1 = D2;
void setup() {
pinMode( led1, OUTPUT);
digitalWrite(led1, LOW);
Particle.function("led", ledControl);
}
void loop() {
}
int ledControl(String command)
{
int state = LOW;
if(command == "ON"){
state = HIGH;
}else if(command == "OFF"){
state = LOW;
}else{
return -1;
}
// write to the appropriate pin
digitalWrite(led1, state);
return 1;
}//exercise1 Modify the cloud function to blink the LED 3 times after it is called
int led1 = D2;
void setup() {
pinMode( led1, OUTPUT);
digitalWrite(led1, LOW);
Particle.function("led", ledControl);
}
void loop() {
}
int ledControl(String command)
{
int state = LOW;
if(command == "ON"){
for (int i = 0; i < 3; i++){
digitalWrite(led1,HIGH);
delay(500);
digitalWrite(led1,LOW);
delay(500);}
}else if(command == "OFF"){
state = LOW;
}else{
return -1;
}
// write to the appropriate pin
digitalWrite(led1, state);
return 1;
}//exercise2 string pass the number of times you would like it to blink
//Set the function to blink that number of times
int led1 = D2;
int value = 0;
void setup() {
pinMode( led1, OUTPUT);
digitalWrite(led1, LOW);
Particle.function("ledn", ledControl);
}
void loop() {
}
int ledControl(String command)
{
int state = LOW;
value = command.toInt();
if(value > 255)return -1;
if(value < 0)return -1;
else{
for (int i = 0; i < value; i++){
digitalWrite(led1,HIGH);
delay(500);
digitalWrite(led1,LOW);
delay(500);}
}
state = LOW;
// write to the appropriate pin
digitalWrite(led1, state);
return 1;
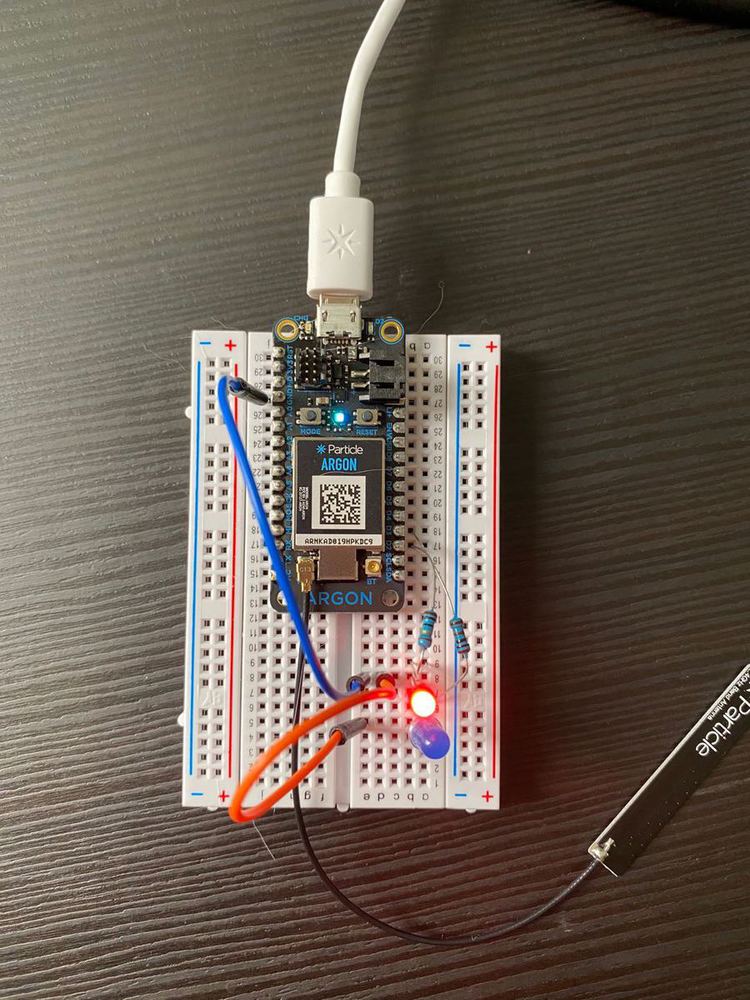
}//exercise3 Now add a second LED to the circuit.
int led1 = D2;
int led2 = D3;
void setup() {
pinMode( led1, OUTPUT);
pinMode( led2, OUTPUT);
digitalWrite(led1, LOW);
digitalWrite(led2, LOW);
Particle.function("led", ledControl);
}
void loop() {
}
int ledControl(String command)
{
int state = LOW;
if(command == "ON"){
state = HIGH;
}else if(command == "OFF"){
state = LOW;
}else{
return -1;
}
// write to the appropriate pin
digitalWrite(led1, state);
digitalWrite(led2, state);
return 1;
}//Bonus: dimming control
int ledPin = D2;
// create a variable to store the
// current brightness of the LED
int ledValue = 0;
void setup()
{
//Register our Particle function to allow
// Control of the LED
Particle.function("led", ledControl);
// Make the variable 'ledValue' available through
// the Particle cloud as 'brightness'
Particle.variable("brightness", ledValue);
// Set up pin for output
pinMode(ledPin, OUTPUT);
}
void loop()
{
}
int ledControl(String command)
{
// Convert the passed variable to an integer
ledValue = command.toInt();
// Check it is a valid number
if( ledValue > 255 ) return -1;
if( ledValue < 0 ) return -1;
// Use PWM to set the brightness
// of the LED
analogWrite(ledPin, ledValue);
// Return 1 to say completed successfully
return 1;
}//bonus built-in RGB
int redValue = 255;
int greenValue = 255;
int blueValue = 255;
void setup()
{
//Register our Particle function to allow
// Make the variable 'ledValue' available through
// the Particle cloud as 'brightness'
Particle.function("led", ledControl);
// Set up pin for output
Particle.variable("Red", redValue);
Particle.variable("Green", greenValue);
Particle.variable("Blue", blueValue);
}
void loop()
{
}
int ledControl(String command)
{
String colors[3];
int firstCommaIndex = command.indexOf(',');
int secondCommaIndex = command.indexOf(',', firstCommaIndex+1);
colors[0] = command.substring(0, firstCommaIndex);
colors[1] = command.substring(firstCommaIndex+1, secondCommaIndex);
colors[2] = command.substring(secondCommaIndex+1);
redValue = colors[0].toInt();
greenValue = colors[1].toInt();
blueValue = colors[2].toInt();
// We need to say we'll be controlling the RGB led
RGB.control(true);
// set it to white
RGB.color( redValue,greenValue,blueValue);
// wait 3 seconds
delay( 3000 );
// return control of the RGB led to Particle
RGB.control(false);
return 1;
}When I get started, everything went on smoothly and there is enough guidance for me to do the exercise. However, when I did the coding for inputting the number of LED blinks, I felt like I am not quite familiar with the programming language here. So even if I had the logic in my mind, I didn't make it. But finally I figured it out by reading further examples on DioT Labs and searching for information on this coding language. Overall, it is a good start!
This is a very interesting process to get started. I have downloaded the app on my phone which is easy to connect with ARGON to build the circuit. I have learnt the basic knowledge of the IoT kit and get to know the internet appliance and how to build a simple circuit. It is fun to write the code and build a circuit and test on it. Also, I am getting familiar with the programming language(Arduino C) in Particle Web IDE which may be a benefit for the future project.