Skills Dev I: A Simple Internet Appliance by Everett
Made by Everett Jiaxi Gu
Made by Everett Jiaxi Gu
Learn to make LEDs blink and simple connected internet appliance.
Created: November 3rd, 2022
Modify the program to Blink on and off every 3 seconds.
// Exercise 1_3

int led1 = D2;
int led2 = D3;

void setup() {
    pinMode( led1, OUTPUT );
    pinMode( led2, OUTPUT );
}

void loop() {

    digitalWrite(led2, HIGH);

    for(int i = 0; i< 5; i++){
        digitalWrite(led1, HIGH);
        digitalWrite(led2, LOW);
        delay(500);

        digitalWrite(led1, LOW);
        digitalWrite(led2, HIGH);
        delay(500);
    }

    delay(3000);
}//Exercise 2_1
int ledPin = D2;
void setup() {
pinMode(ledPin, OUTPUT);
digitalWrite(ledPin, LOW);
Particle.function("ledControl", myLedControl);
}
void loop() {
}
int myLedControl(String command) {
int state = LOW;
if (command == "ON") {
for(int i = 0; i <= 3; i++) {
if(i % 2 == 0) {
state = HIGH;
digitalWrite(ledPin, state);
delay(500);
} else {
state = LOW;
digitalWrite(ledPin, state);
delay(500);
}
}
return 1;
} else if(command == "OFF") {
state = LOW;
digitalWrite(ledPin, state);
return -1;
}
return 0;
}//Exercise 2_2
int ledPin = D2;
void setup() {
pinMode(ledPin, OUTPUT);
digitalWrite(ledPin, LOW);
Particle.function("ledControlByTimes", myLedControl);
}
void loop() {
}
int myLedControl(String command) {
int times = command.toInt();
int state = LOW;
for(int i = 1; i <= times * 2; i++) {
if(i % 2 == 0) {
state = HIGH;
digitalWrite(ledPin, state);
delay(500);
} else {
state = LOW;
digitalWrite(ledPin, state);
delay(500);
}
}
digitalWrite(ledPin, LOW);
return 1;
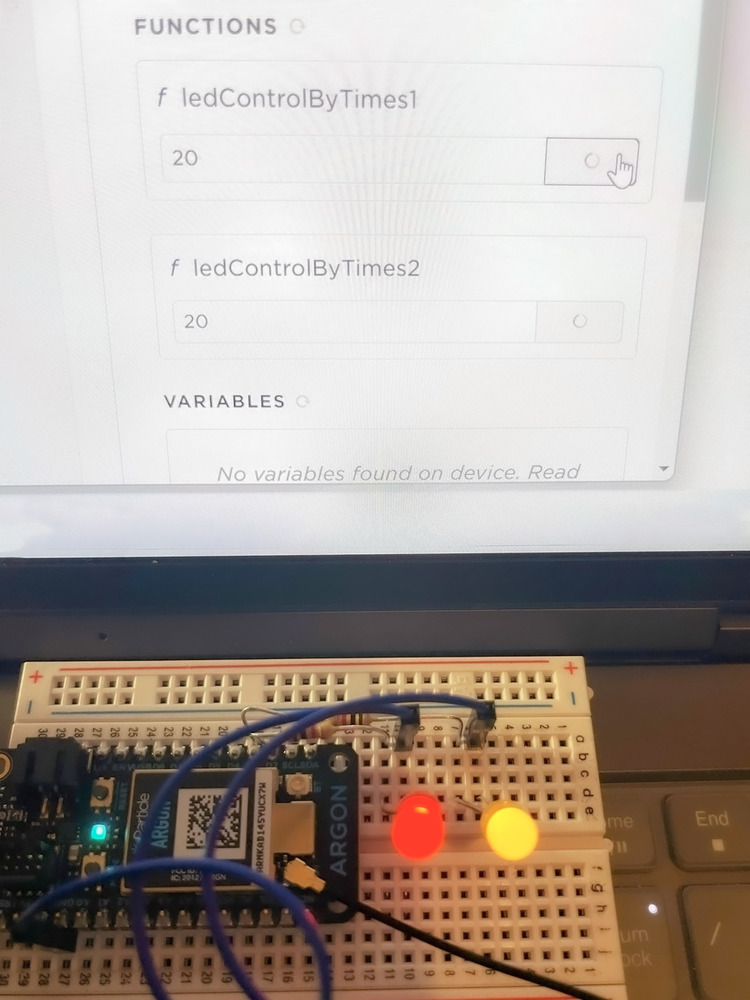
}//Exercise 2_3
int led1 = D2;
int led2 = D3;
void setup() {
pinMode(led1, OUTPUT);
pinMode(led2, OUTPUT);
digitalWrite(led1, LOW);
digitalWrite(led2, LOW);
Particle.function("ledControlByTimes1", myLedControl1);
Particle.function("ledControlByTimes2", myLedControl2);
}
void loop() {
}
int myLedControl1(String command) {
int times = command.toInt();
int state = LOW;
for(int i = 1; i <= times * 2; i++) {
if(i % 2 == 0) {
state = HIGH;
digitalWrite(led1, state);
delay(500);
} else {
state = LOW;
digitalWrite(led1, state);
delay(500);
}
}
digitalWrite(led1, LOW);
return 1;
}
int myLedControl2(String command) {
int times = command.toInt();
int state = LOW;
for(int i = 1; i <= times * 2; i++) {
if(i % 2 == 0) {
state = HIGH;
digitalWrite(led2, state);
delay(500);
} else {
state = LOW;
digitalWrite(led2, state);
delay(500);
}
}
digitalWrite(led2, LOW);
return 1;
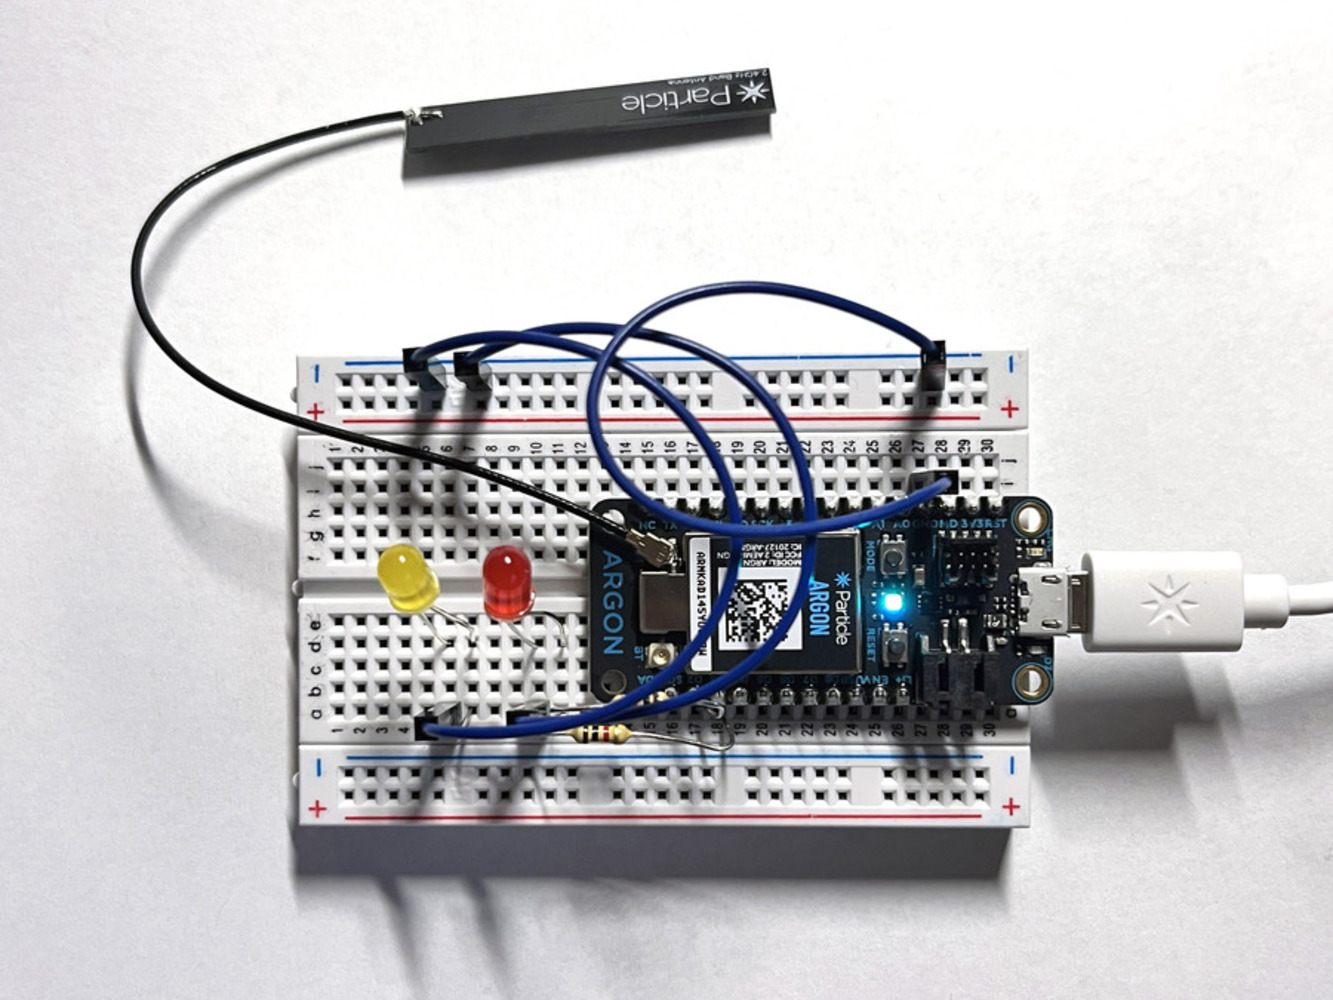
}I completed several parts of the exercise by referring to the instructions listed on the DIoT website, trying to adjust the details and order of parts of the sample code along the way to see if there were different results. In addition to the parts described in the guide, I spent more time practicing connecting and organizing the circuit, checking the code for syntax errors such as the placement of parentheses and spaces, and reading the programming syntax files.
1. I have questions about controlling two LEDs separately in Exercises 2-3. The LED blinks as expected when the two functions are executed separately. If I enter the number of times and execute both functions at the same time, there will be an error message, I think there may still be problems with some operations.
2. Need to spend time to read the programming guide document.
3. Some hardware still need to be familiar with, such as switching network, dealing with network and synchronization latency issues.