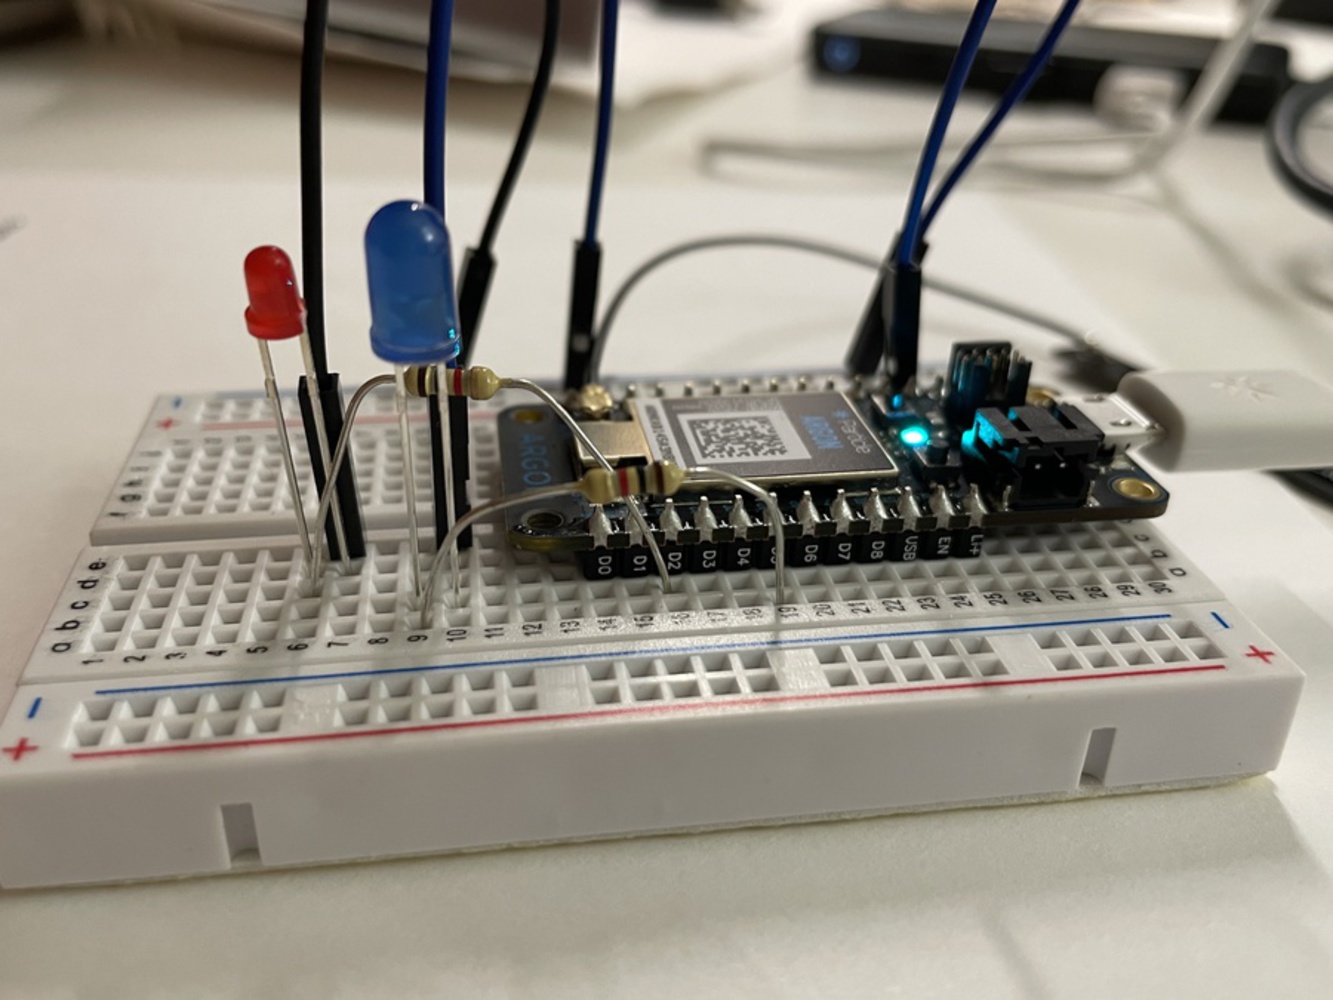
Skills Dev I: Making a Connected LED

Made by Weiqing Wang

This project can: 1. Change the LED strength as wish 2. Blink the LED 3 times after it is called 3. Blink the LED for the number of times you would like it 4. Choose which LED you want to do the above tasks

Created: November 2nd, 2022

0
  • Outcome: 
The demo of all functions is shown here: 

https://www.youtube.com/watch?v=E6DVSmeX8k8.

  • Process:
I followed the instructions on the course website: Build the circuit and then code correspondingly. The first challenge is to figure out how to "blink". This function is realized by adding delay between two calls of "high" and "low". The second thing that I spent much time on is learning Particle's syntax. After knowing how to create a for loop in Particle, the problem of  "blink as many times as you wish" is solved. Lastly, it took me much time to adapt codes that I wrote for a single LED to multiple ones. By adding a second LEDpin and creating a function to alter the value of LEDpin, I can switch smoothly between the two LEDs. 


  • Next Steps
I think there should be a simple configuration of my current circuit but don’t know how to do. I also need to get more familiar with uasges of Particle IDE since I haven’t learned this kind of coding language before.


  • Reflection: 
Adding a component to the original circuit is not hard for me. But when the situation is that the LED can't blink when you call, you have to debug both code and circuit and this is so troublesome and frustrating. The confidence you have for your circuit is ruined and you have to test back and forth. Also, since I am not familiar with this coding environment, I stuck by initializing a global variable. This wastes so much of my time.  
0
int ledPinBl = D5;
int ledPinRe = D2;
int ledPin;

void setup() {
    
    // Configure the pins to be outputs
    pinMode(ledPinBl, OUTPUT);
    pinMode(ledPinRe, OUTPUT);
    // Initialize both the LEDs to be OFF
    digitalWrite(ledPinBl, LOW);
    digitalWrite(ledPinRe, LOW);
    //Register our Particle function here
    Particle.function("strength", strengthControl);
    Particle.function("blink 3 times", blinkControl1);
    Particle.function("blink n times", blinkControl2);
    Particle.function("which LED you want to control", ledControl);

}

void loop() {

}

// 1 means the command works while -1 means fails
int ledControl(String command)
{
  // get which led the user want to control
  if(command == "RED"){
	   ledPin = ledPinRe;
  }else if(command == "BLUE"){ 
	   ledPin = ledPinBl;
  }else{
	   return -1;
  }
  // write to the appropriate pin and signal the user his/her choice
  digitalWrite(ledPin, HIGH);
  delay(500);
  digitalWrite(ledPin, LOW);
  return ledPin;
}

int strengthControl(String command)
{
   int state = LOW;
   // find out the state of the led
   if(command == "HIGH"){
	   state = HIGH;
   }else if(command == "LOW"){ 
	   state = LOW;
   }else{
	   return -1;
   }
   // write to the appropriate pin
   digitalWrite(ledPin, state);
   return 1;
}

int blinkControl1(String command)
{
   delay(500);
   digitalWrite(ledPin, HIGH);
   delay(500);
   digitalWrite(ledPin, LOW);
   delay(500);
   digitalWrite(ledPin, HIGH);
   delay(500);
   digitalWrite(ledPin, LOW);
   delay(500);
   digitalWrite(ledPin, HIGH);
   delay(500);
   digitalWrite(ledPin, LOW);
   return 1;
}

int blinkControl2(String command)
{
  // get the number of blinks wanted
  int value = command.toInt();
  // blink loop
    if(value > 0){
        for (int i = 1; i <= value; i++){
            digitalWrite(ledPin, HIGH);
            delay(500);
            digitalWrite(ledPin, LOW);
            delay(500);
        }
    }
    else{
        return -1;
    }
    return 1;
}
Click to Expand
x
Share this Project

Courses

About

This project can:
1. Change the LED strength as wish
2. Blink the LED 3 times after it is called
3. Blink the LED for the number of times you would like it
4. Choose which LED you want to do the above tasks