Skills Dev II _xuyangj
Made by Xuyang Jin · UNLISTED (SHOWN IN POOLS)
Made by Xuyang Jin · UNLISTED (SHOWN IN POOLS)
Working with Inputs and Sensors.
Created: November 10th, 2020
I followed the Particle set up and made a simple circuit to add inputs and sensors. All these tests went all as required. Please make it a full screen to watch the video for each exercise.
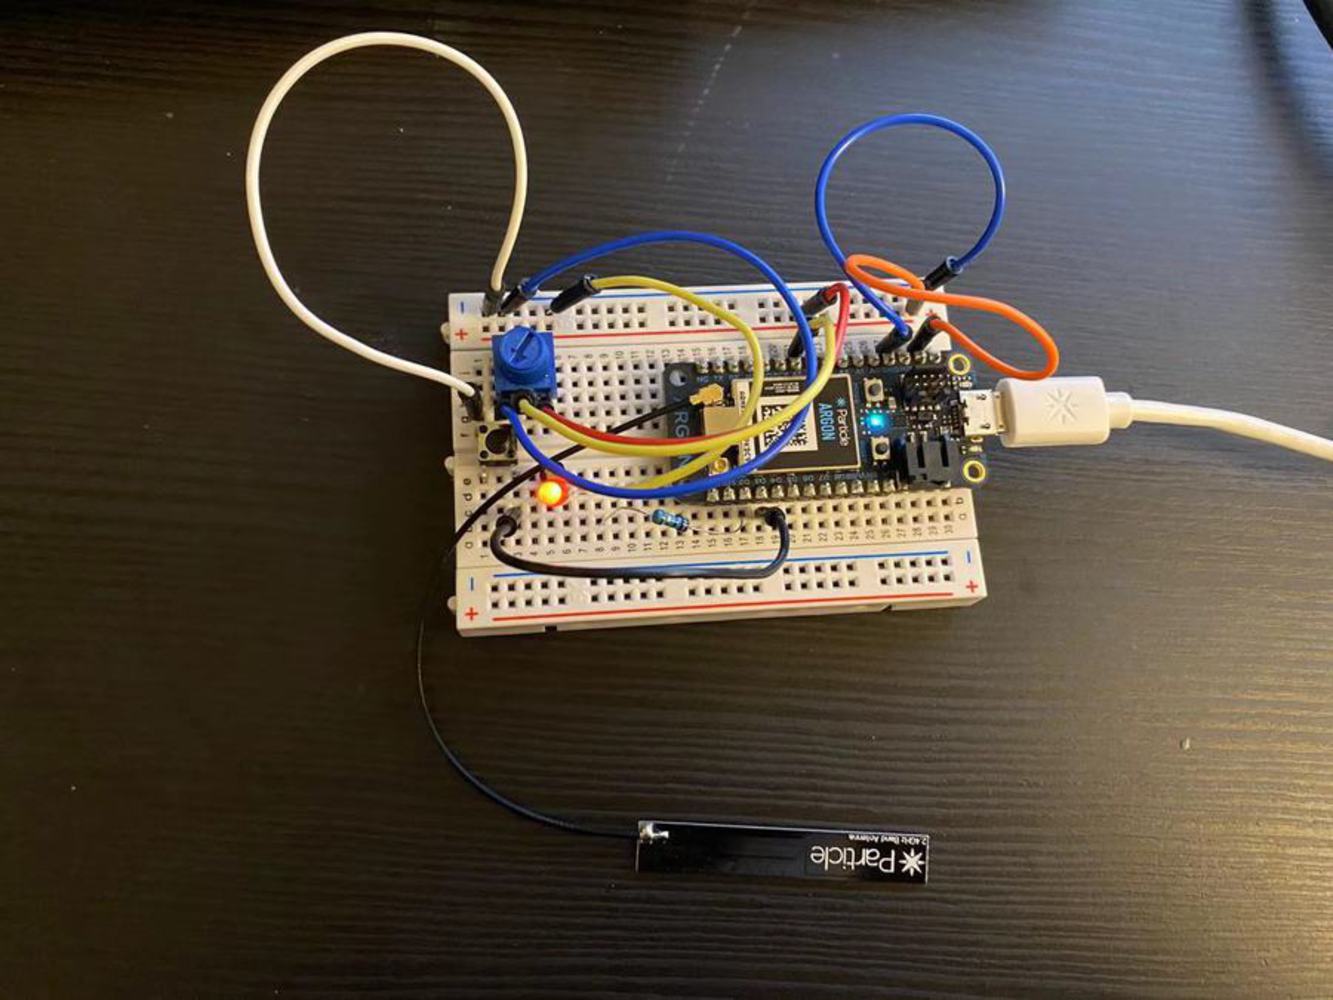
The first exercise is to combine a switch and potentiometer. The switch should turn on and off the light while the potentiometer will fade up and down the light (but only when it's on). However, it is hard to take a picture/video to show me pressing the pushbutton and adjust the potentiometer at the same time. So here I only show the picture of adjusting the potentiometer to dim the light while the code combined the two together.
//exercise :combined a switch and potentiometer
int led1 = D2;
int buttonPin = D3;
int buttonState;

int potPin = A5;
int potRead = 0;

void setup() {

    pinMode( led1, OUTPUT);
    pinMode( buttonPin, INPUT_PULLUP);
}

void loop() {

    buttonState = digitalRead(buttonPin);

    potRead = analogRead(potPin); //0-4095

    if(buttonState == LOW){
        //digitalWrite( led1, HIGH );
        int ledBrighteness = map( potRead, 0, 4095, 0, 255);
        analogWrite(led1, ledBrighteness); //0-255
    }else{
        digitalWrite( led1, LOW );
    }
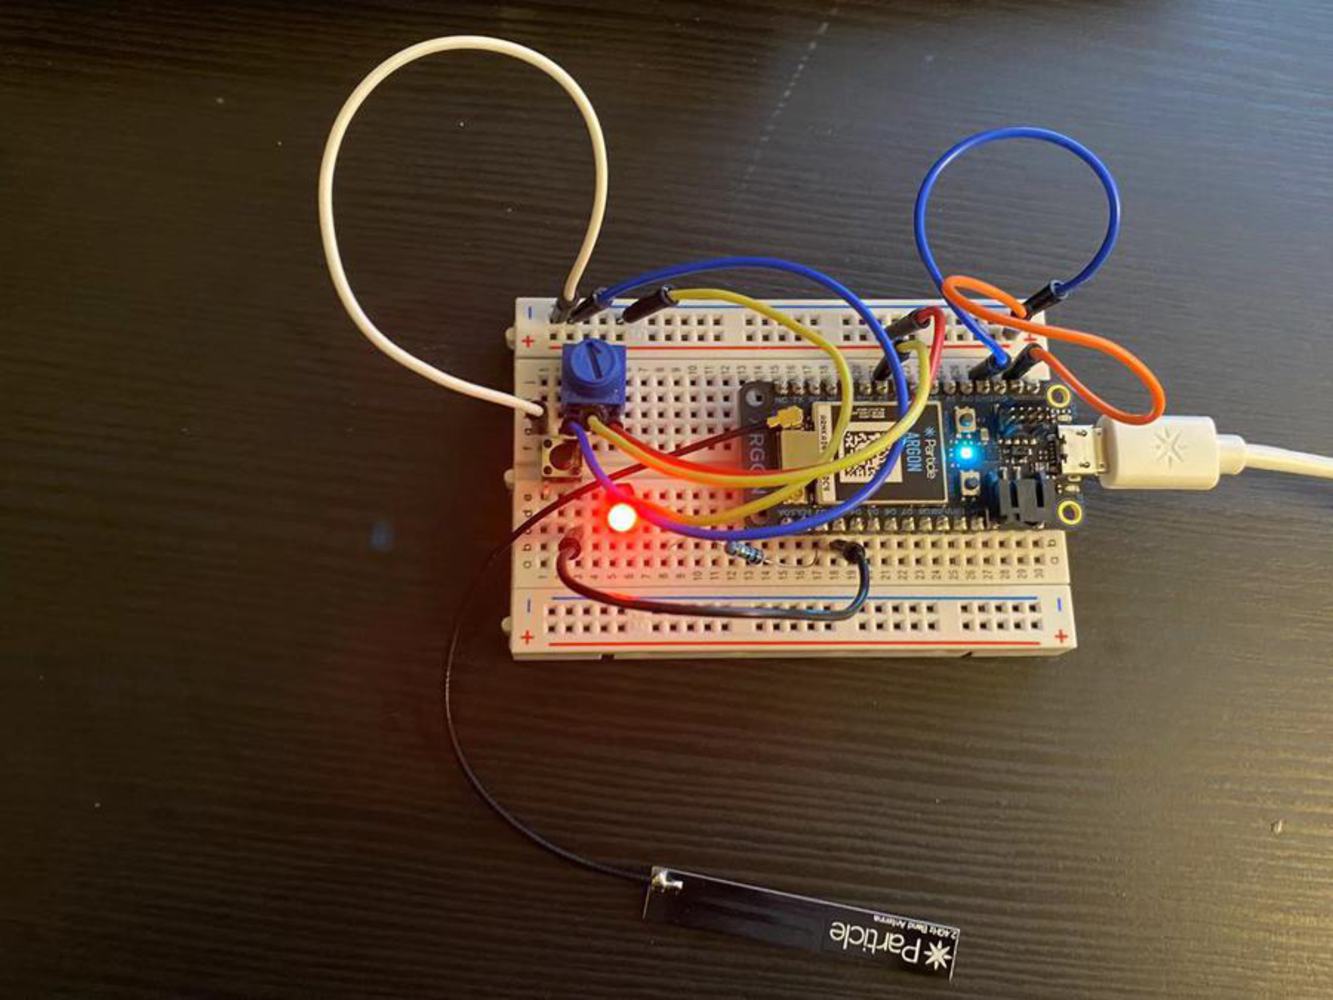
}Then comes the sensor section. The circuit is shown below and all following exercises are based on this circuit.
First I tested the set up. When there is lots of light the LED is bright. When there is little light it’s dim. In the video, I change the ambient lighting level by covering the sensor using my finger.
// Define a pin that we'll place the photo cell on
// Remember to add a 10K Ohm pull-down resistor too.
int photoCellPin = A0;
// Create a variable to hold the light reading
int photoCellReading = 0;
// Define a pin we'll place an LED on
int ledPin = D2;
// Create a variable to store the LED brightness.
int ledBrightness = 0;

void setup()
{
  // Set up the LED for output
  pinMode(ledPin, OUTPUT);
    // Create a cloud variable of type integer
  // called 'light' mapped to photoCellReading
  Particle.variable("light", &photoCellReading, INT);
}

void loop()
{
  // Use analogRead to read the photo cell reading
  // This gives us a value from 0 to 4095
  photoCellReading = analogRead(photoCellPin);

  // Map this value into the PWM range (0-255)
  // and store as the led brightness
  ledBrightness = map(photoCellReading, 0, 4095, 0, 255);

  // fade the LED to the desired brightness
  analogWrite(ledPin, ledBrightness);

  // wait 1/10th of a second and then loop
  delay(100);
}Exercise1: Modify the program so that the LED shows the opposite. When there is little light, it will be bright and when there’s lots of light, it will be off.
I added another variable to distinct the photoCell reading and the LED dimming level(actual LED lighting level). In this exercise, LED shows the opposite which means that the higher ambient lighting('light') leads to a smaller LED lighting level('dim').
// Define a pin that we'll place the photo cell on
// Remember to add a 10K Ohm pull-down resistor too.
int photoCellPin = A0;
// Create a variable to hold the light reading
int photoCellReading = 0;
// Define a pin we'll place an LED on
int ledPin = D2;
// Create a variable to store the LED brightness.
int ledBrightness = 0;

void setup()
{
  // Set up the LED for output
  pinMode(ledPin, OUTPUT);
    // Create a cloud variable of type integer
  // called 'light' mapped to photoCellReading
  Particle.variable("light", &photoCellReading, INT);
  Particle.variable("dim", &ledBrightness, INT);
}

void loop()
{
  // Use analogRead to read the photo cell reading
  // This gives us a value from 0 to 4095
  photoCellReading = analogRead(photoCellPin);

  // Map this value into the PWM range (0-255)
  // and store as the led brightness
  ledBrightness = 255 - map(photoCellReading, 0, 4095, 0, 255);

  // fade the LED to the desired brightness
  analogWrite(ledPin, ledBrightness);

  // wait 1/10th of a second and then loop
  delay(100);
}// Define a pin that we'll place the photo cell on
// Remember to add a 10K Ohm pull-down resistor too.
int photoCellPin = A0;
// Create a variable to hold the light reading
int photoCellReading = 0;
// Define a pin we'll place an LED on
int ledPin = D2;
// Create a variable to store the LED brightness.
int ledBrightness = 0;
void setup()
{
// Set up the LED for output
pinMode(ledPin, OUTPUT);
// Create a cloud variable of type integer
// called 'light' mapped to photoCellReading
Particle.variable("light", &photoCellReading, INT);
Particle.variable("dim", &ledBrightness, INT);
}
void loop()
{
// Use analogRead to read the photo cell reading
// This gives us a value from 0 to 4095
photoCellReading = analogRead(photoCellPin);
// Map this value into the PWM range (0-255)
// and store as the led brightness
ledBrightness = 255 - map(photoCellReading, 0, 4095, 0, 255);
int thredhold = map(600, 0, 4095, 0, 255);
if(ledBrightness >= thredhold){
// fade the LED to the desired brightness
analogWrite(ledPin, ledBrightness);
}else{
digitalWrite( ledPin, LOW );
}
// wait 1/10th of a second and then loop
delay(100);
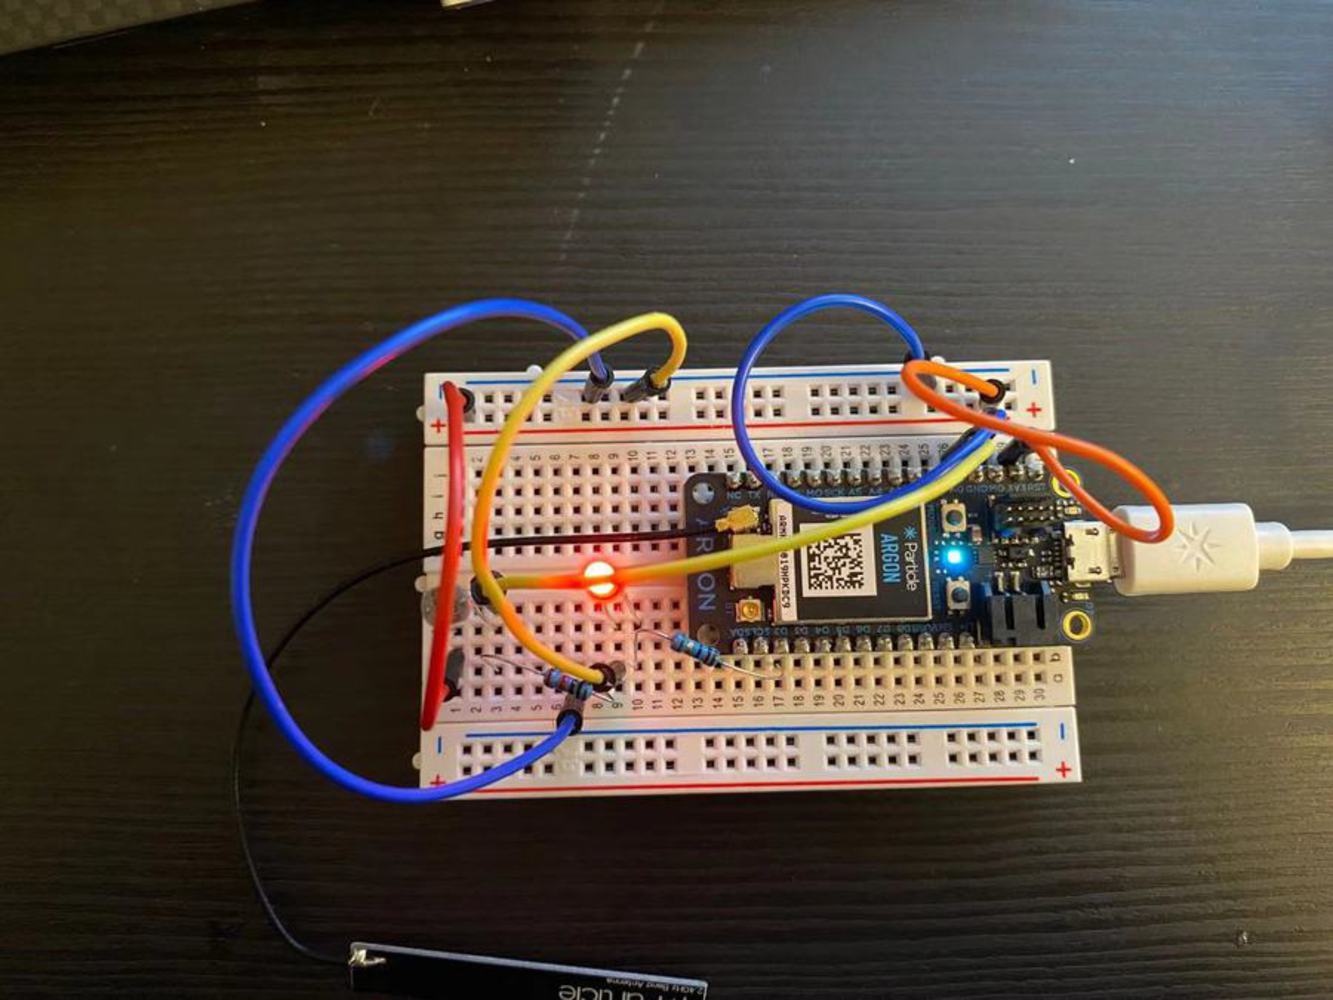
}In this section, I used push-button, photo resistance, and LED. The push-button is an overall switch and all the actions will happen only when the button is pushed. When the button state is low, the LED will dim according to photocell readings. But if the light levels are below 600, the LED turns off.
This is design for the following scenario: You want to read but you don't want to read with the lighting which is too strong and bad for your eye. The dimming is like the screen lighting level. The LED will adjust the dimming and when the ambient lighting is no longer suitable for reading, the LED will turn off. And there is an overall switch to control the dimming system.
// Define a pin that we'll place the photo cell on
// Remember to add a 10K Ohm pull-down resistor too.
int photoCellPin = A0;
// Create a variable to hold the light reading
int photoCellReading = 0;
// Define a pin we'll place an LED on
int led1 = D2;
int buttonPin = D3;
int buttonState;
// Create a variable to store the LED brightness.
int ledBrightness = 0;

void setup()
{
  // Set up the LED for output
  pinMode(led1, OUTPUT);
  pinMode( buttonPin, INPUT_PULLUP);
    // Create a cloud variable of type integer
  // called 'light' mapped to photoCellReading
  Particle.variable("light", &photoCellReading, INT);
  Particle.variable("dim", &ledBrightness, INT);
}

void loop()
{
  // Use analogRead to read the photo cell reading
  // This gives us a value from 0 to 4095
  buttonState = digitalRead(buttonPin);
  photoCellReading = analogRead(photoCellPin);

  // Map this value into the PWM range (0-255)
  // and store as the led brightness
  ledBrightness = map(photoCellReading, 0, 4095, 0, 255);

  int thredhold = map(600, 0, 4095, 0, 255);
  if(buttonState == LOW){
        if(ledBrightness >= thredhold){
  // fade the LED to the desired brightness
        analogWrite(led1, ledBrightness);
         }else{
            digitalWrite( led1, LOW );
                }
        delay(100);
    }else{
      digitalWrite( led1, LOW );
    }

}This is a very interesting process. I have learned the knowledge of different inputs and sensors and how to combine them with LEDs. Also, I think it is interesting to design a circuit logistic based on a scenario. I feel like I am trying to solve a real-world problem myself.