Skills Dev II: Working with Inputs and Sensors
Made by Yi Sun
Made by Yi Sun
Integrate sensing into circuits and build familiarity with conditional logic and if statements
Created: November 17th, 2022
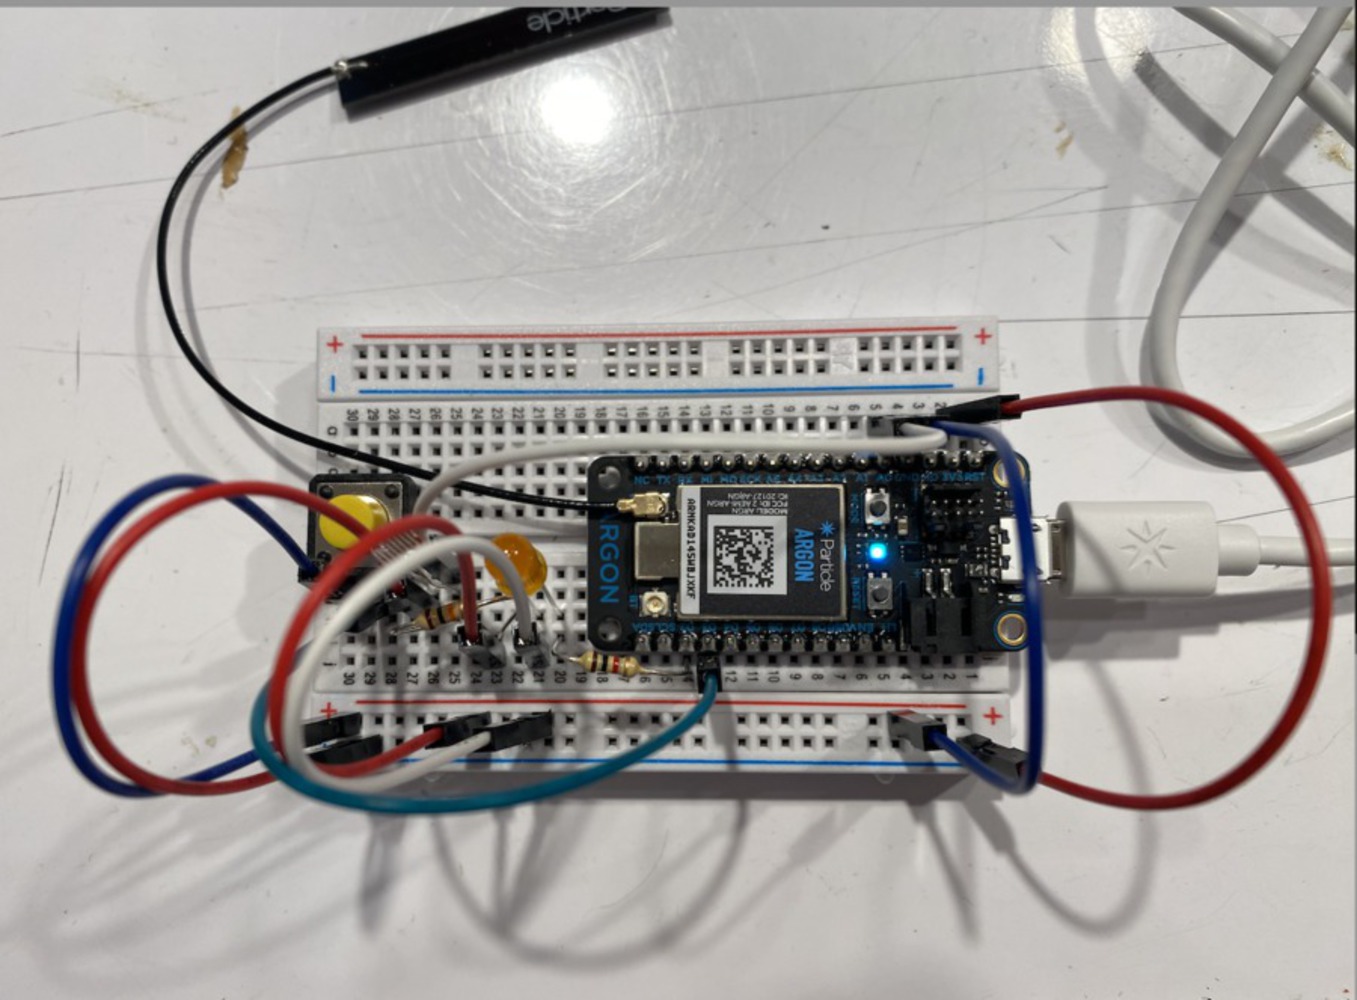
int photoCellPin = A0;

int photoCellReading = 0;

// Define a pin we'll place an LED on
int ledPin = D2;

// Create a variable to store the LED brightness.
int ledBrightness = 0;

// Our button wired to D0
int buttonPin = D3;

void setup() {

    pinMode( buttonPin , INPUT_PULLUP); // sets pin as input

    // Set up the LED for output
    pinMode(ledPin, OUTPUT);

    // Create a cloud variable of type integer
  // called 'light' mapped to photoCellReading
  Particle.variable("light", &photoCellReading, INT);

}

void loop() {
    // find out if the button is pushed
   // or not by reading from it.
   int buttonState = digitalRead( buttonPin );

    // Use analogRead to read the photo cell reading
  // This gives us a value from 0 to 4095
  photoCellReading = analogRead(photoCellPin);

  // Map this value into the PWM range (0-255)
  // and store as the led brightness
  ledBrightness = map(photoCellReading, 2500, 4095, 0, 255);

  if( buttonState == LOW and photoCellReading>3000)
  {
    // fade the LED to the desired brightness
    analogWrite(ledPin, ledBrightness);
  }
  else if(buttonState == LOW and photoCellReading<=3000)
    {
        digitalWrite( ledPin, HIGH);
        delay(1000);
        digitalWrite( ledPin, LOW);
        delay(1000);
    }
  else if (buttonState == HIGH){
    // otherwise
    // turn the LED Off
    digitalWrite( ledPin, LOW);

  }


  // wait 1/10th of a second and then loop
  delay(100);

}I first mapped 0-4095 to 0-255, but failed to feel the LED changing its brightness according to the surrounding light. Then I used cloud variable and output the reading of photoresistor, found that when I covered the sensor, the reading is around 2500, and when I didn't cover it, the reading is around 3700. Then I realized that the brightness of LED didn't fade was because the range 0-4095 is too large, no matter how the surrounding light changed, there was only a little difference after they are mapped to 0-255. Thus, I adjusted the range to 2500-4095. I also set the threshold to 3000 to indicate whether the sensor is covered or not.
From this project, I learned that we can connect sensors with outputs to more vividly present the state of surrounding environment. We can also use other kind of input to control the output from a second dimension. When setting thresholds, we need to first carry out experiments and collect data to find a suitable value in specific surrounding.
Next step: I will make the brightness of light in verse proportion to the intensity of ambient light. Because in this way, it will be more reasonable and practical because we need brighter light under a dimmer environment.