Tool Case

Made by Alexander Levine

How can I conveniently store and transport my power tools in a manner that has good form and function?

Created: December 2nd, 2018

0

Intention

0

As an avid fabricator, I often find myself carrying my own tools to and from Purnell each day for use in the scene shop. Given my practical nature, that often results in my carrying a milk crate with power and hand tools with me throughout the day. However, power tools are heavy and expensive, so I'd rather not carry them in a milk crate if a more elegant solution presents itself.

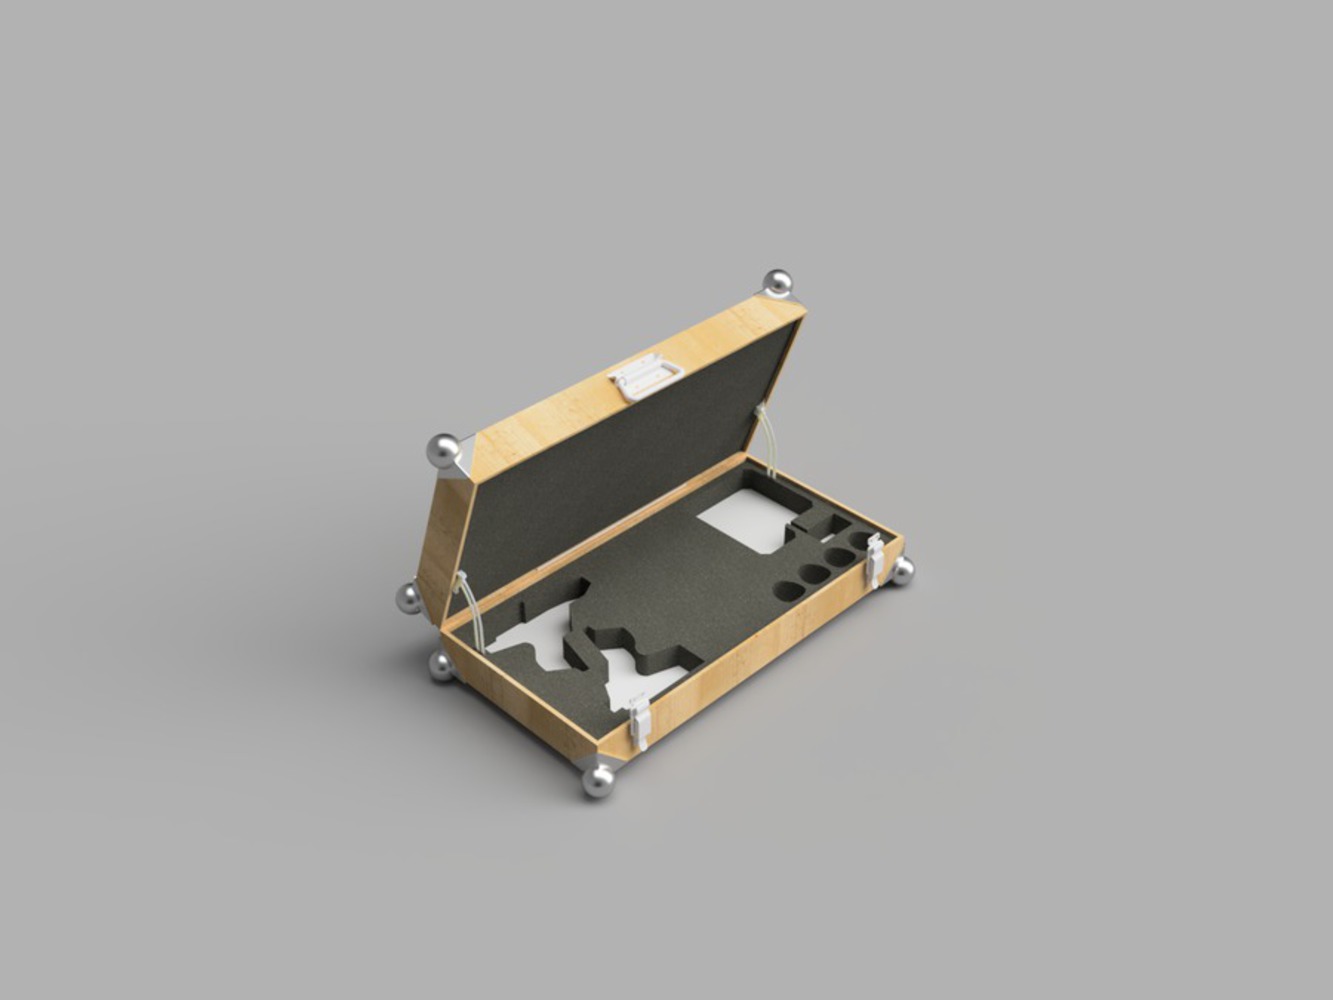
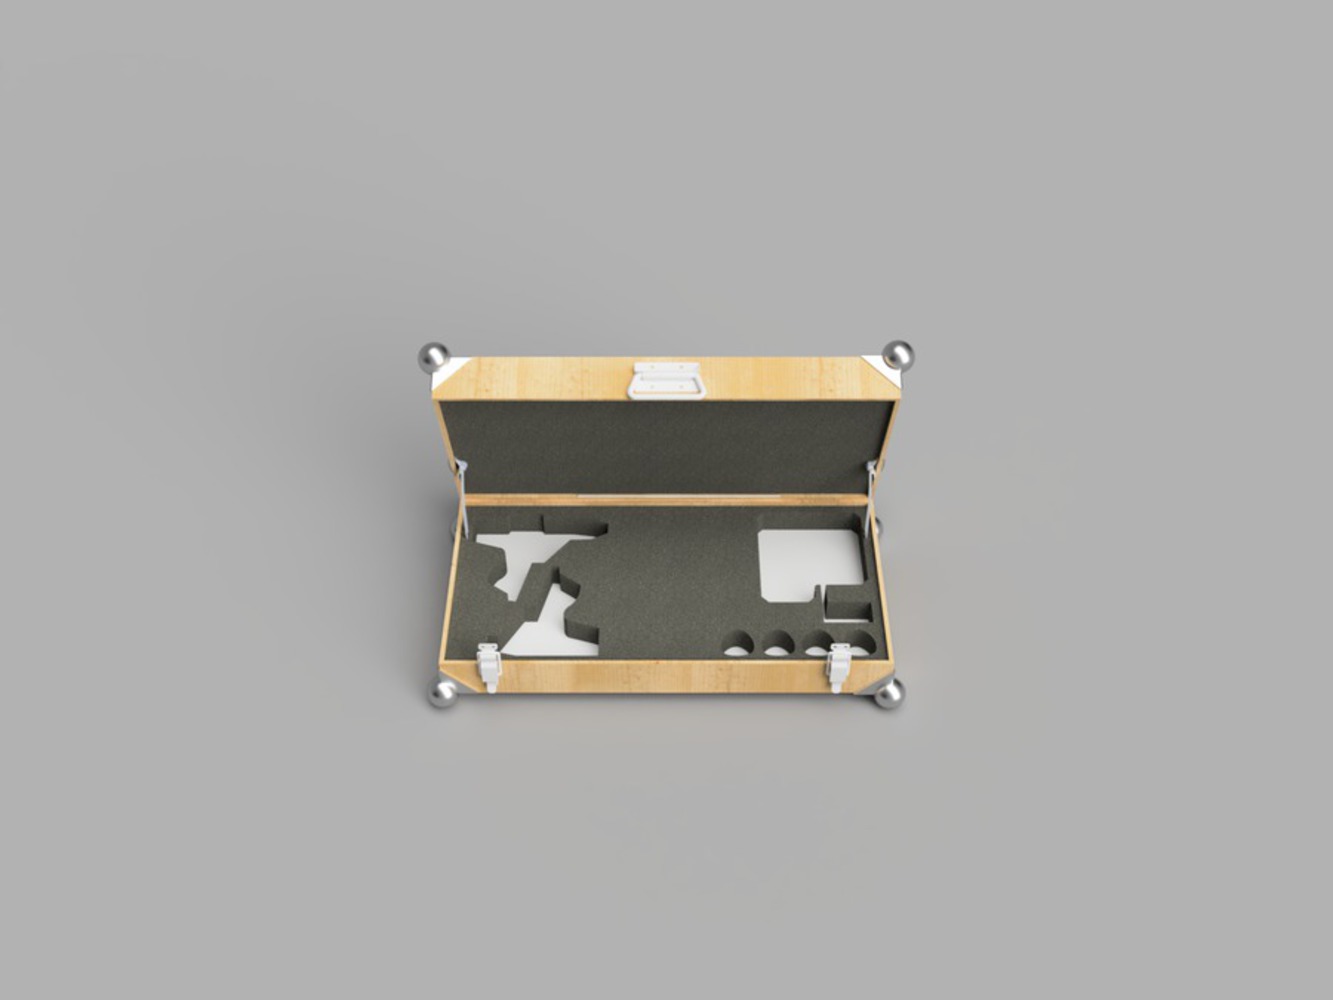
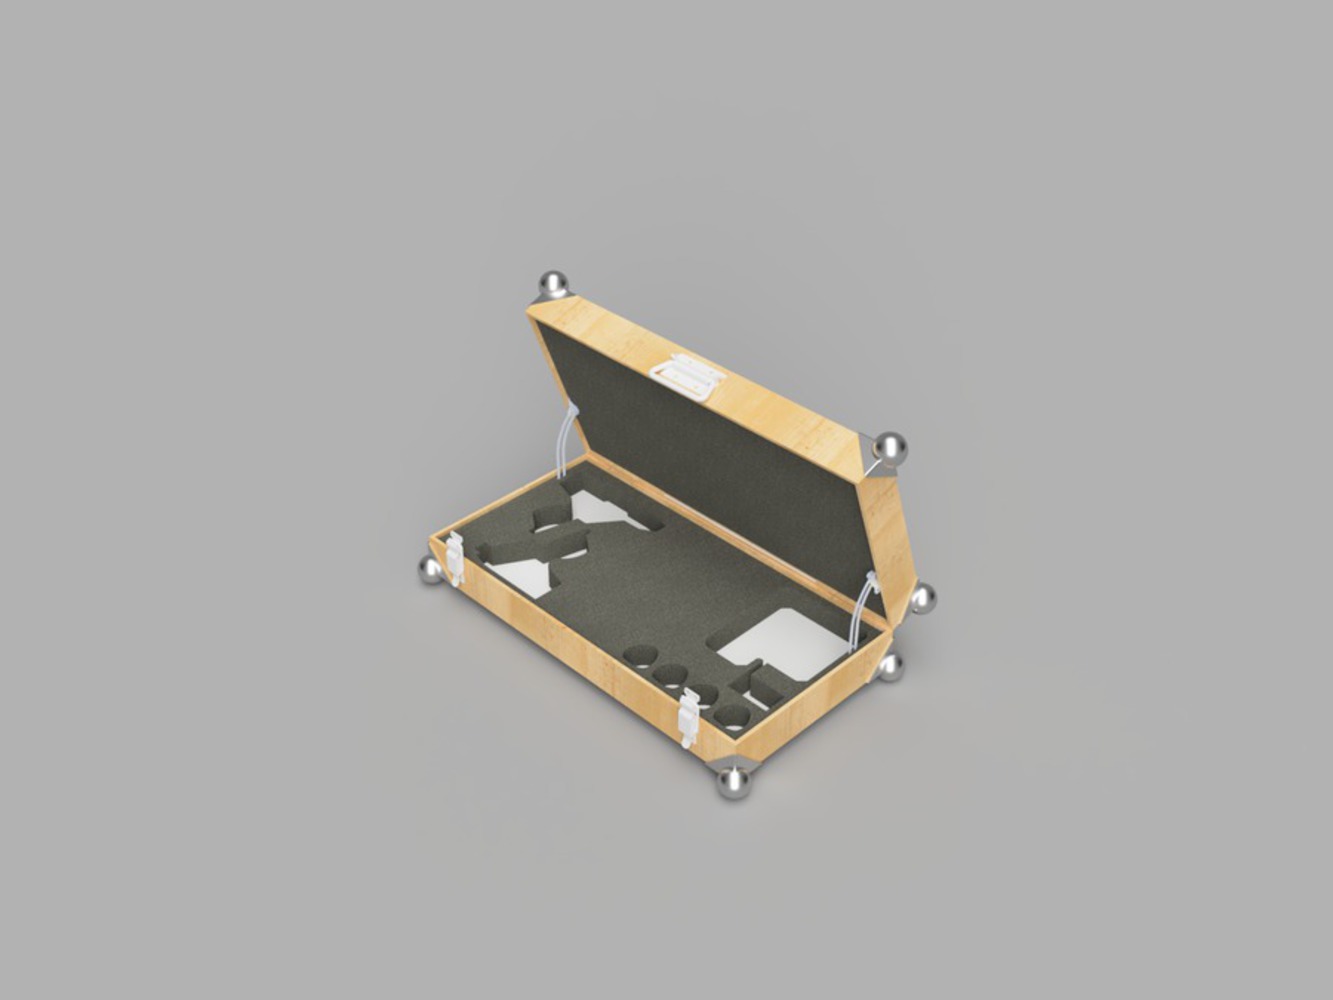
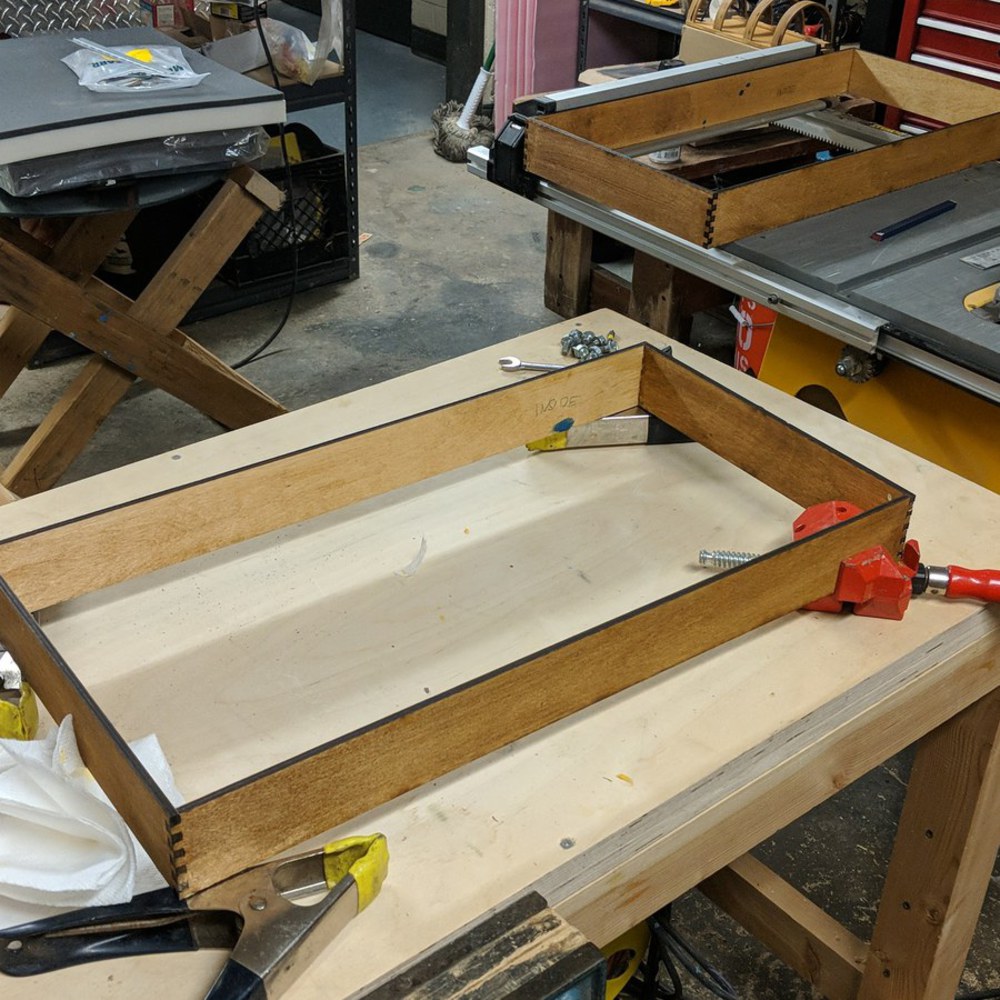
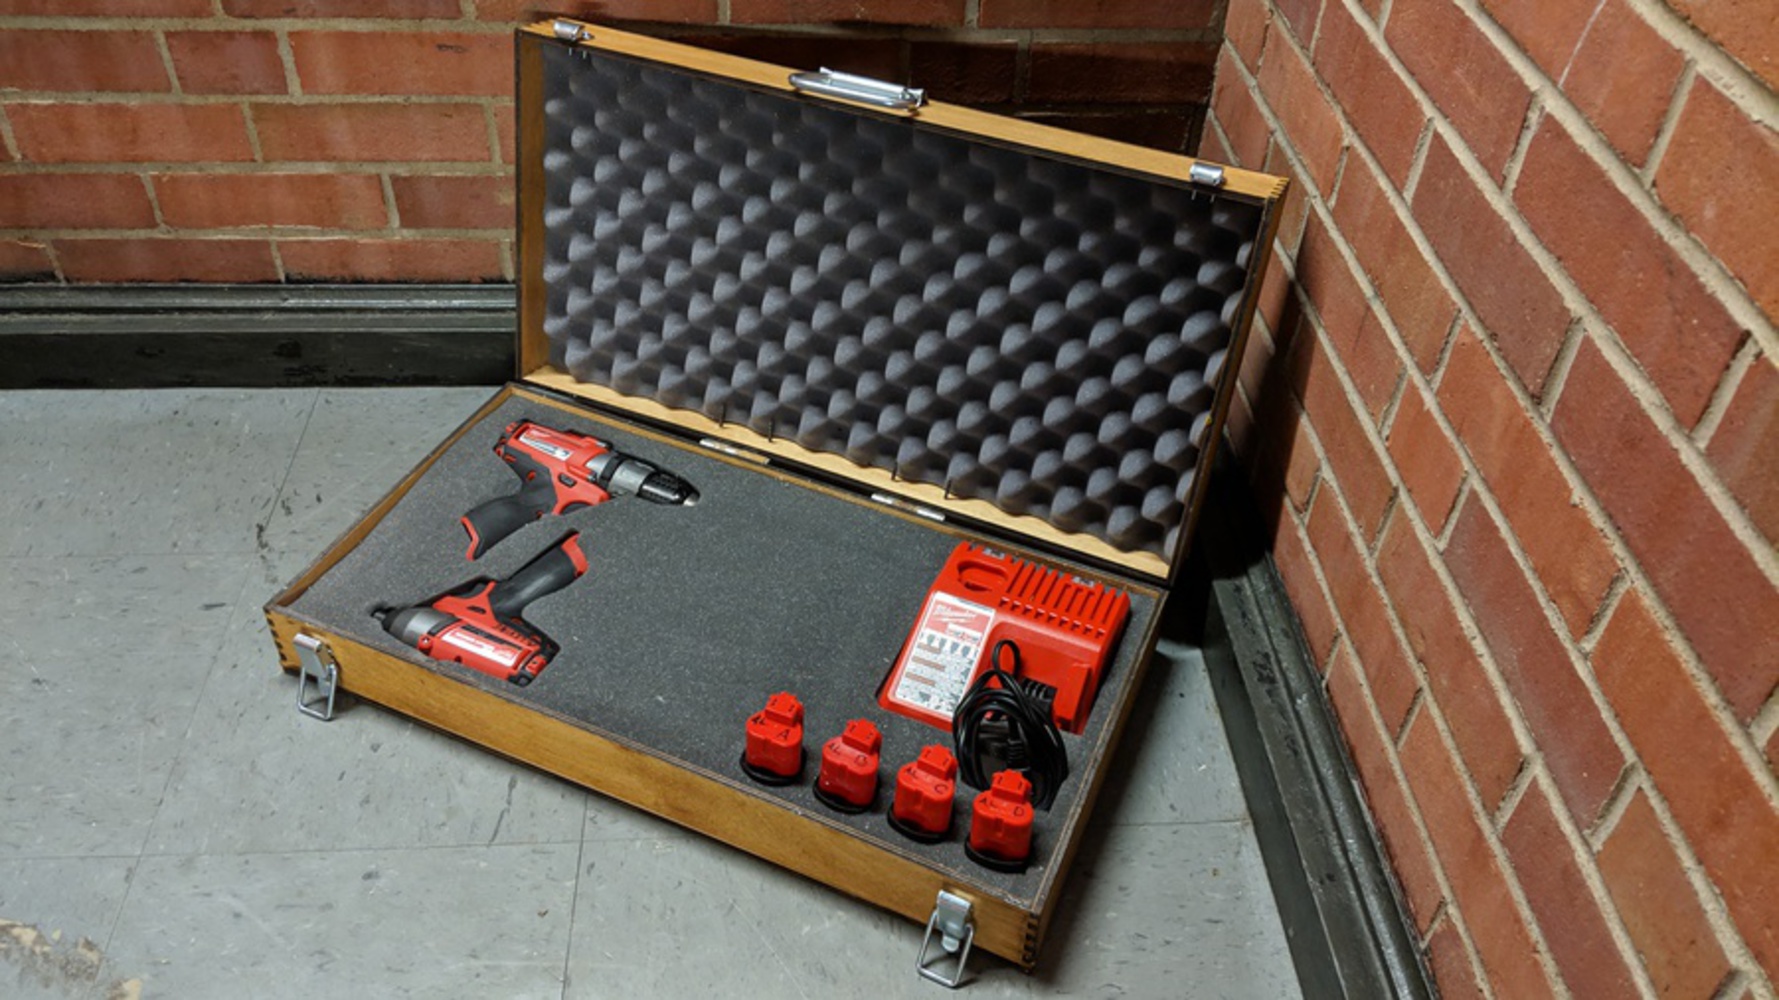
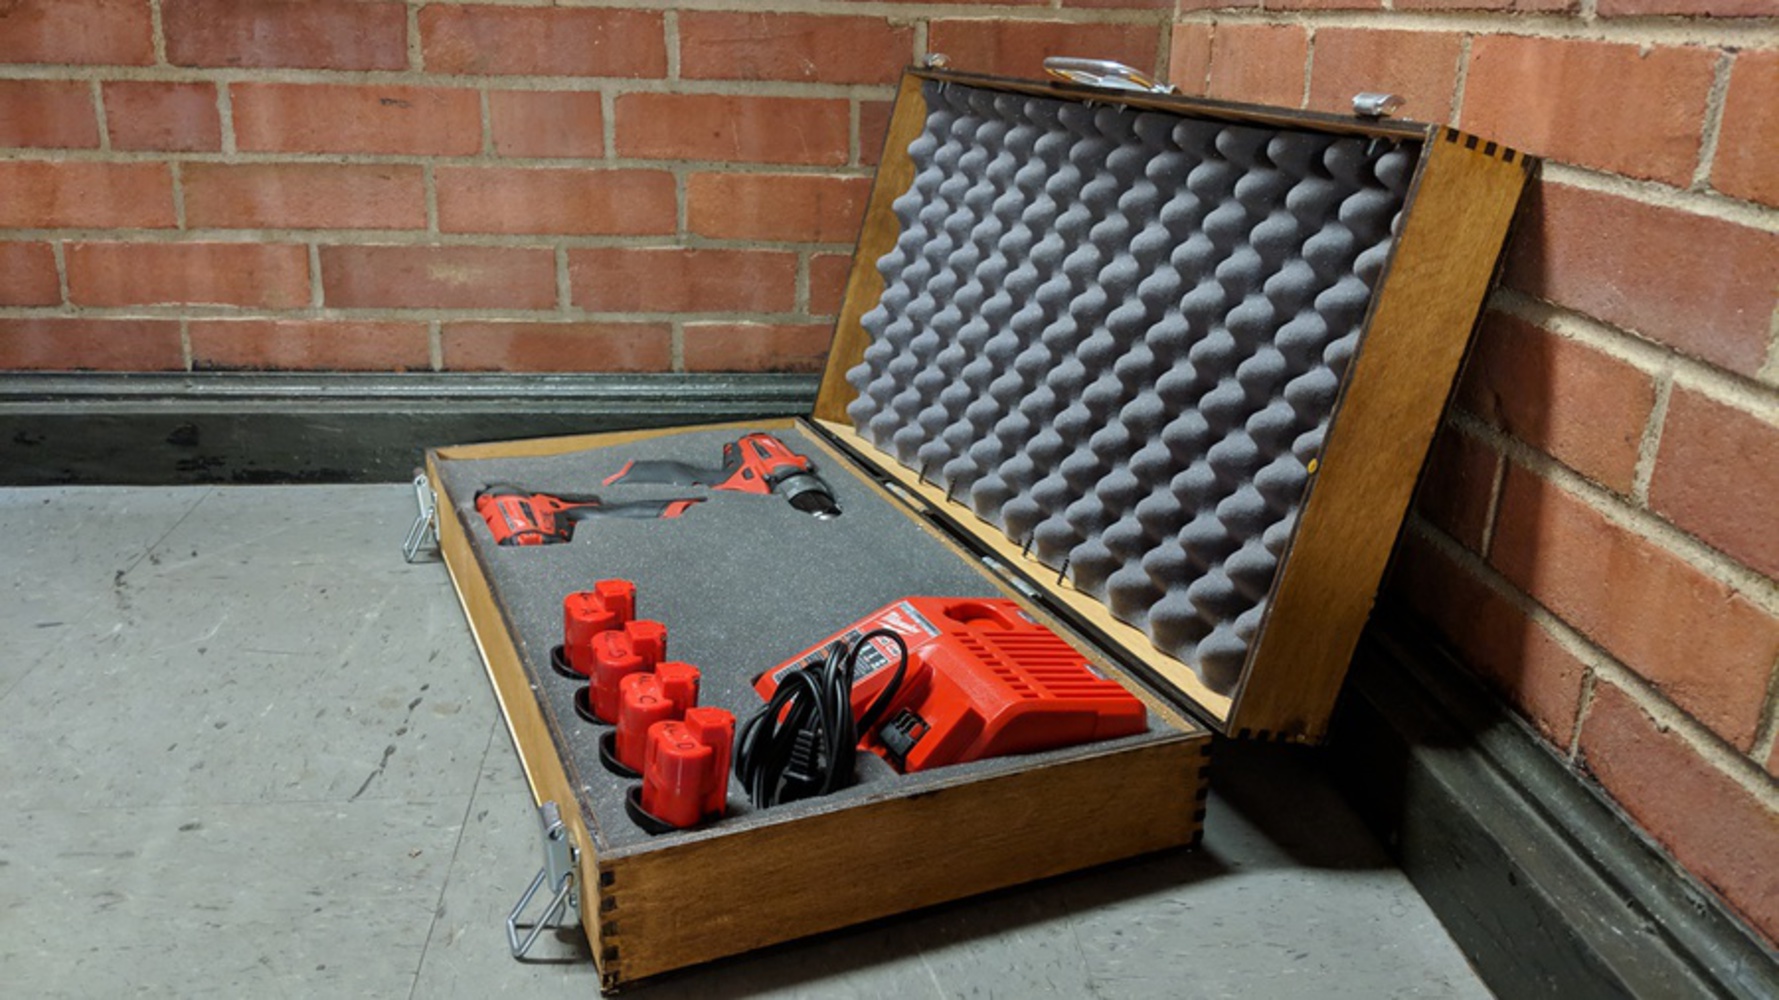
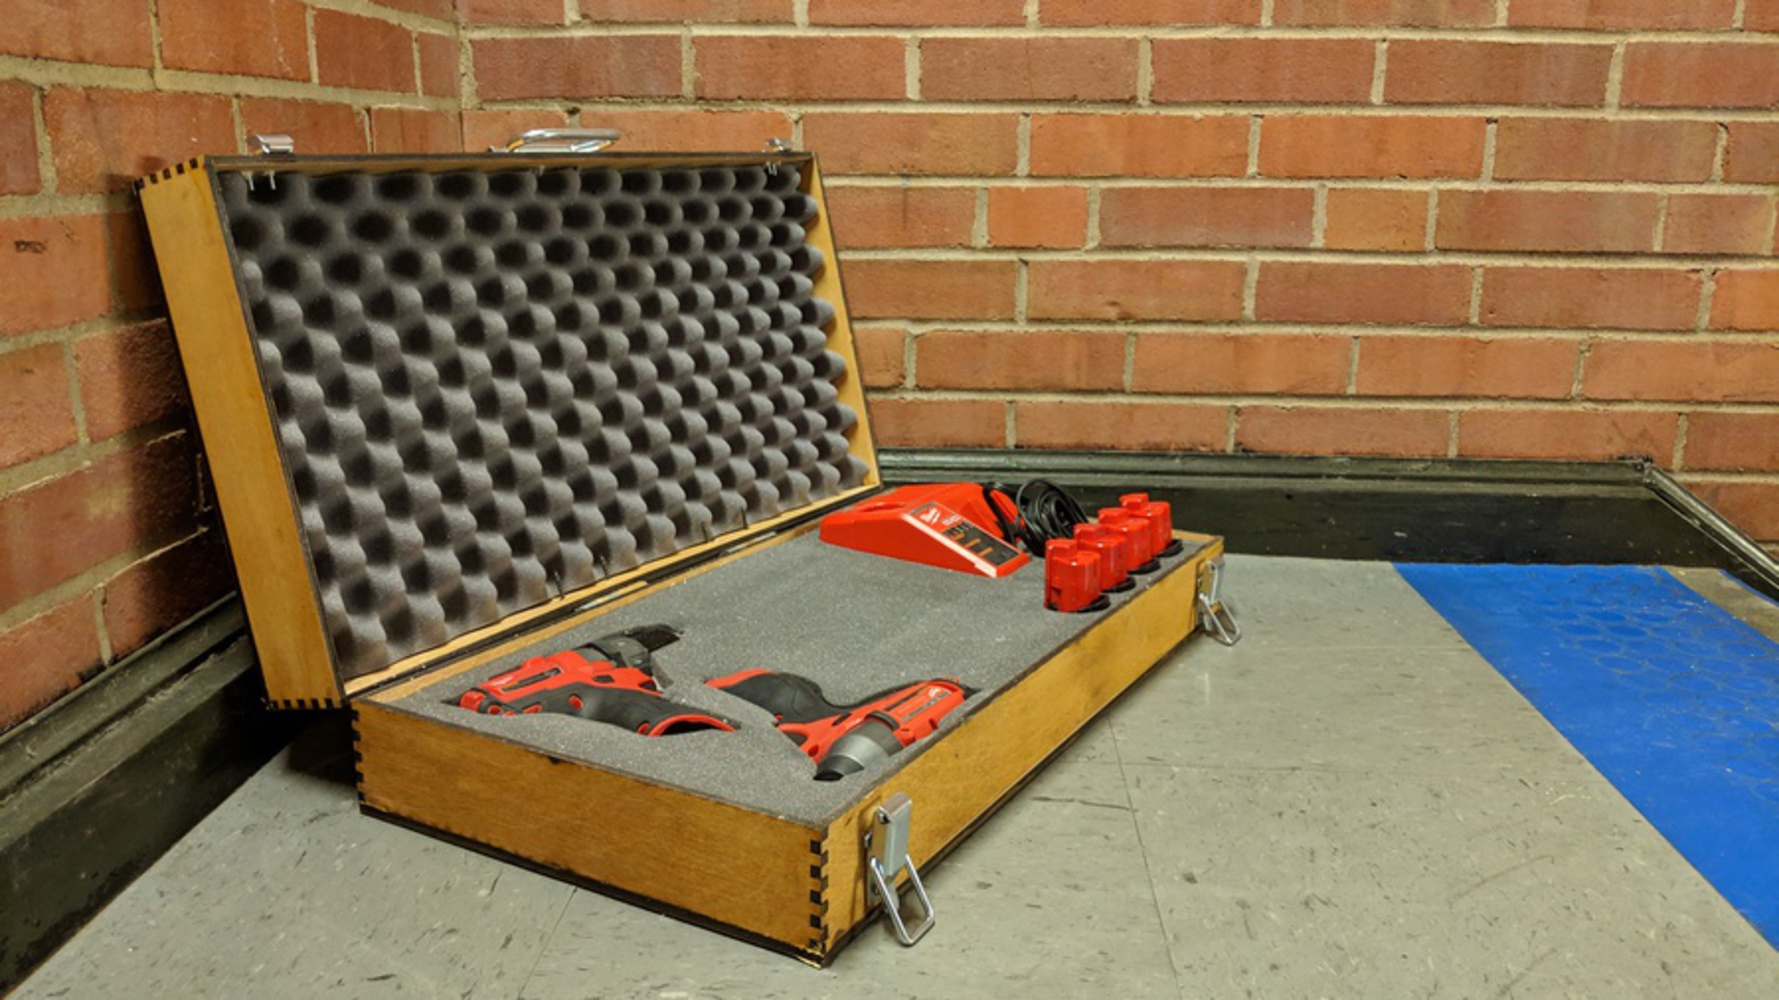
The intent of this project is to provide a storage solution for my current selection of power tools and accessories. The container must be durable and easy to move around. In sum total, it needs to carry a regular driver, impact driver, 4 batteries, and a charging station - all Milwaukee brand.

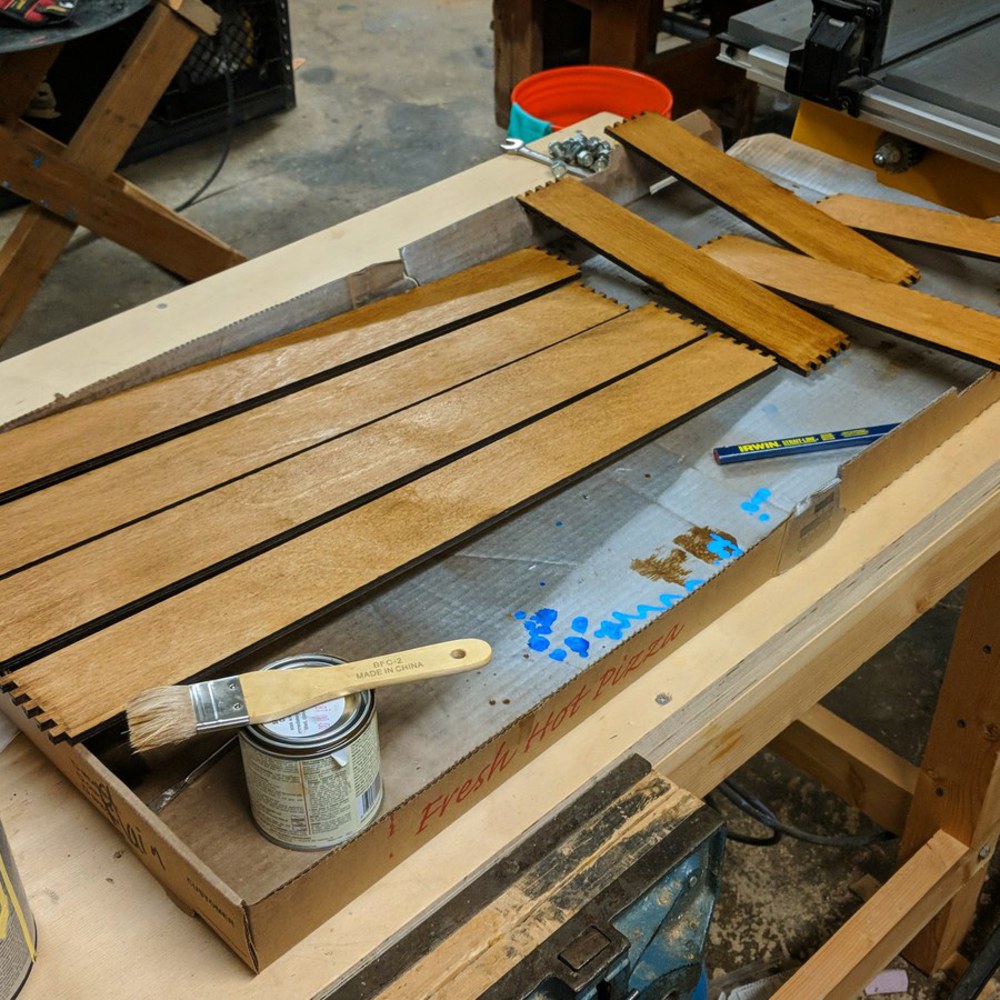
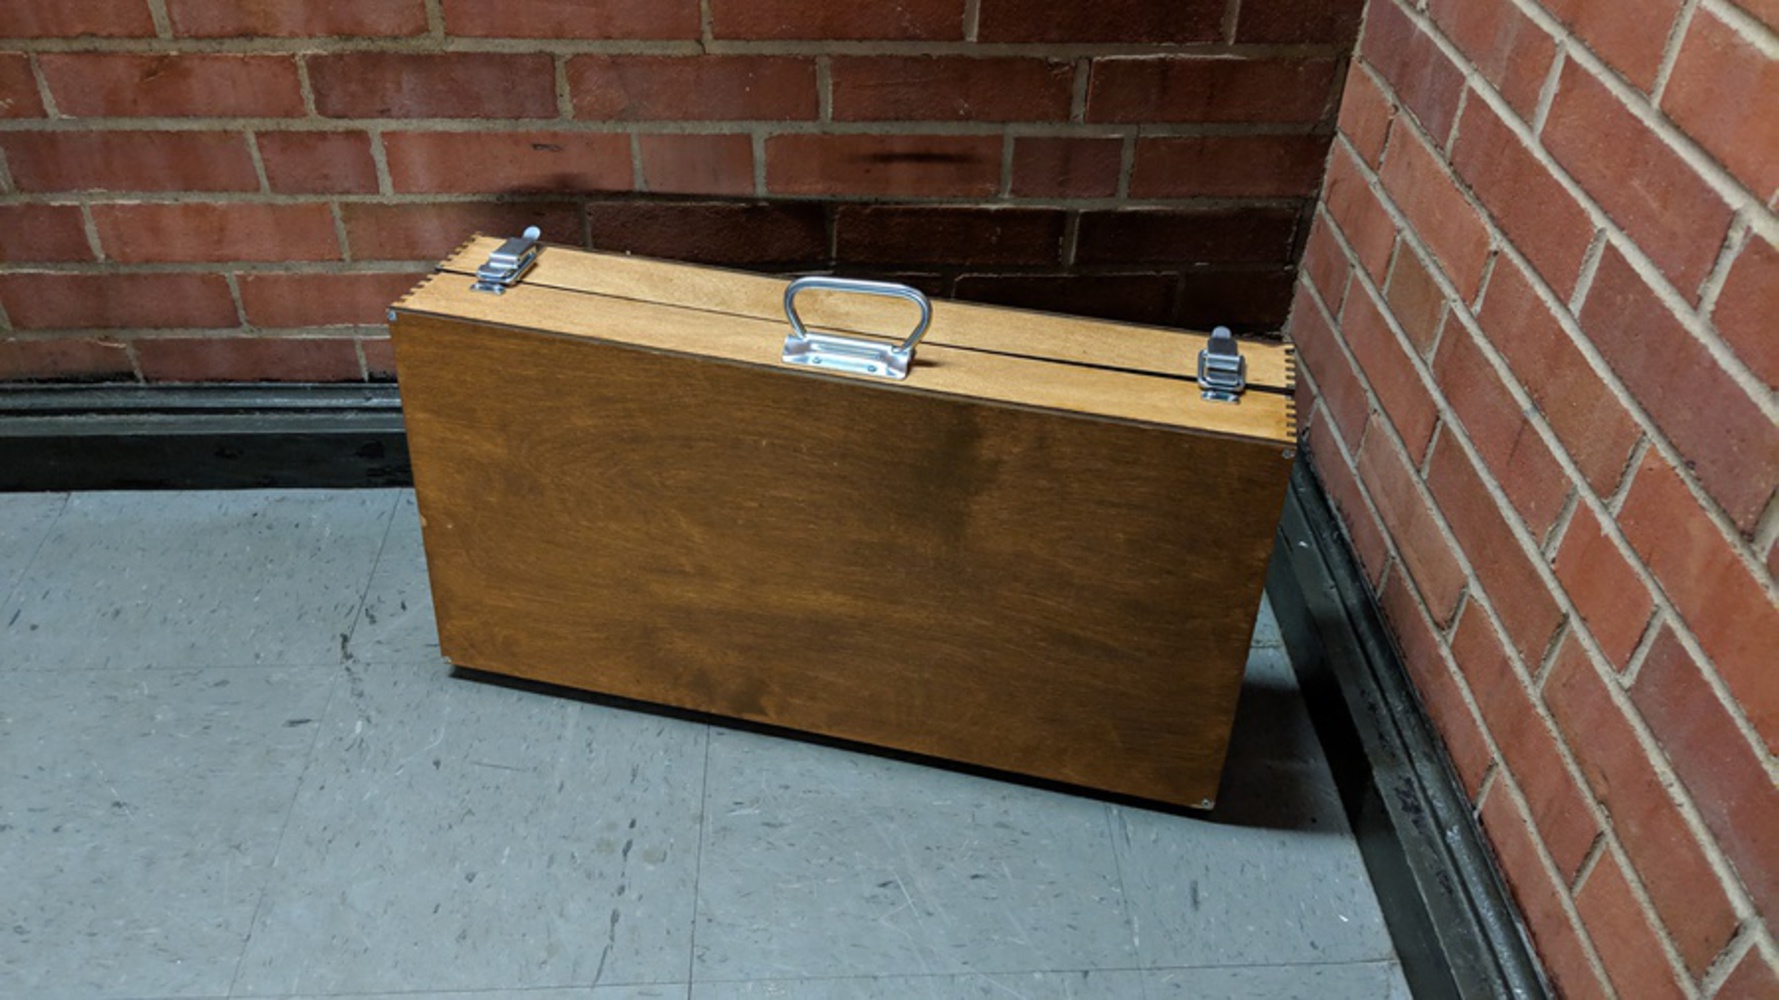
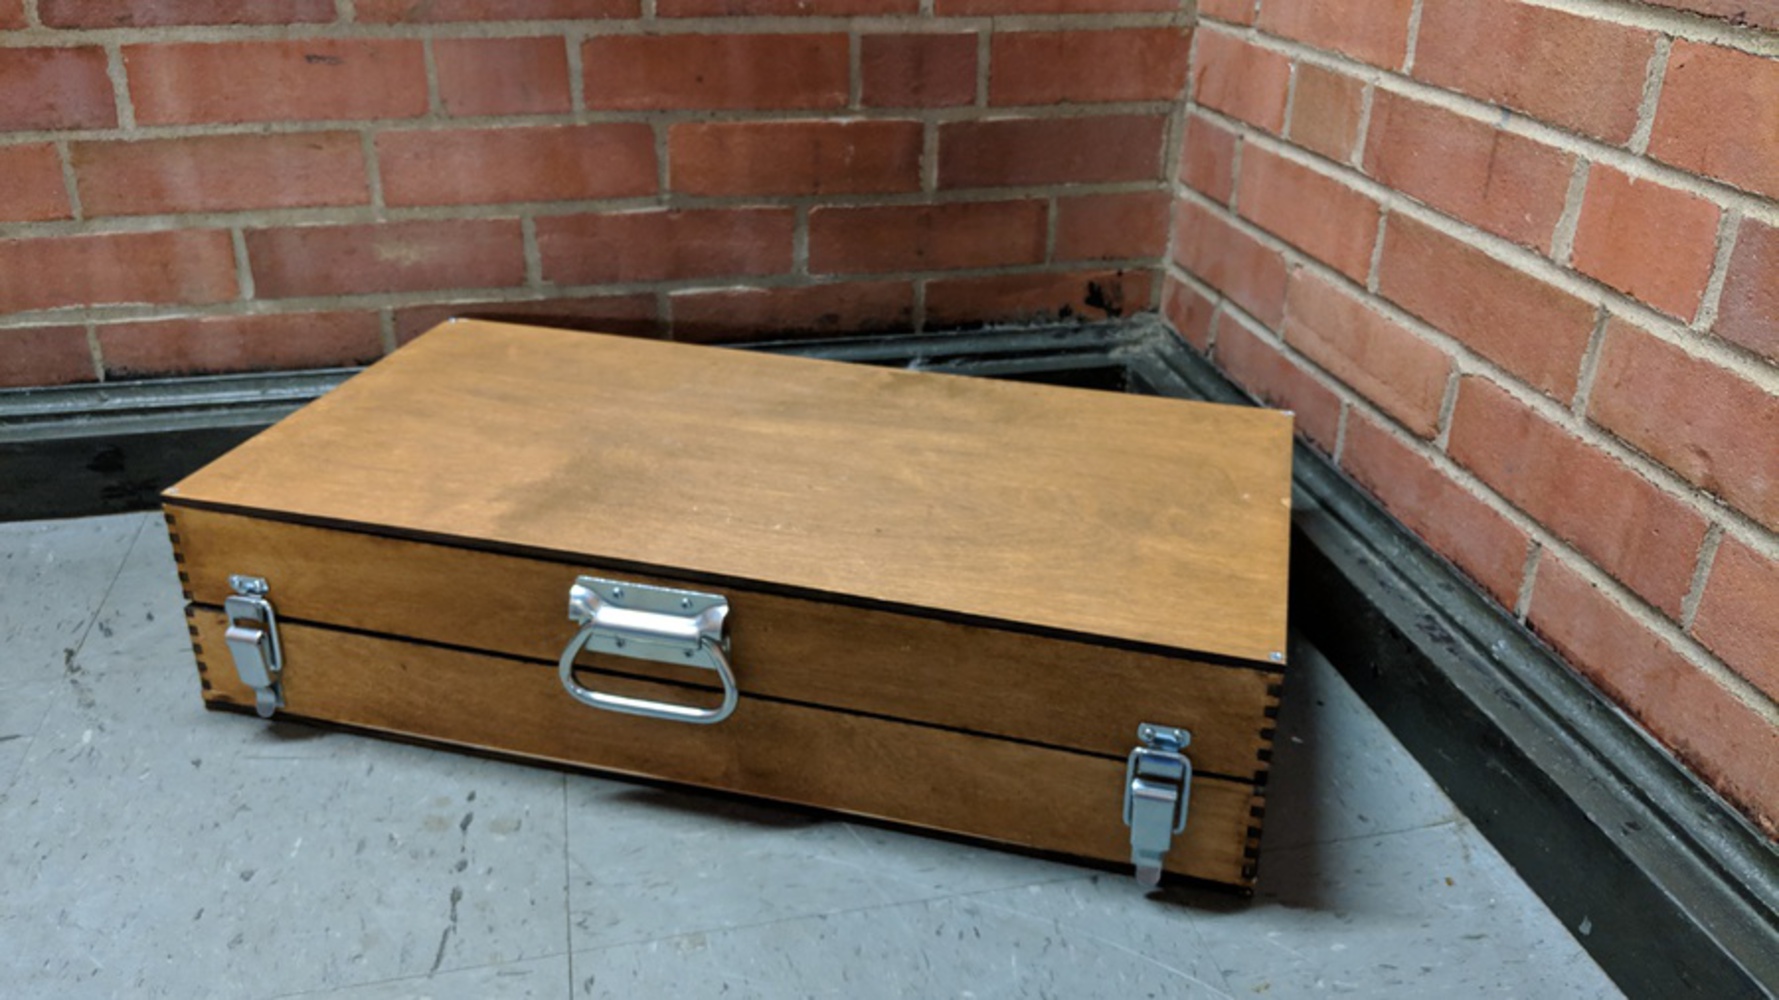
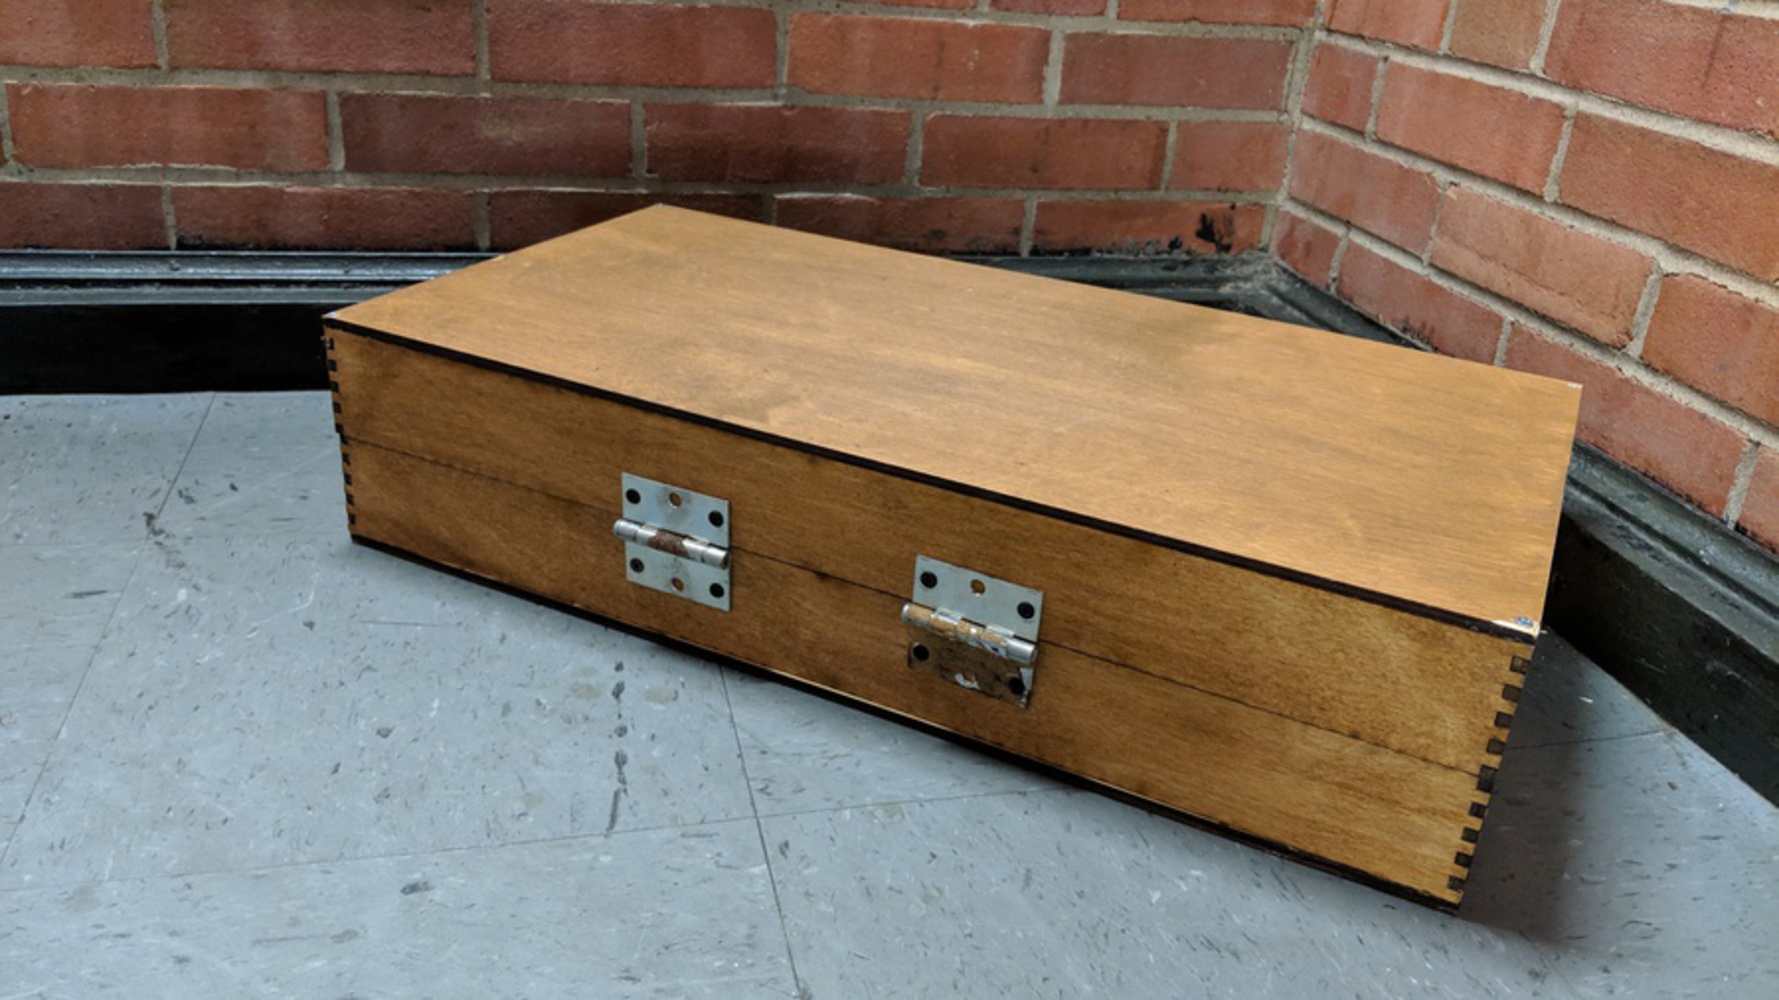
This work is something that must be mechanically reproducible as needed. That is to say, that this object can be almost recreated using appropriate machinery. The intent here is to create an object that can easily evolve with my growing toolkit. The aura of the object derives from its simultaneous similarity and difference from other toolboxes. As Walter Benjamin states, “We define the aura of the latter as the unique phenomenon of a distance, however close it may be. If, while resting on a summer afternoon, you follow with your eyes a mountain range on the horizon or a branch which casts its shadow over you, you experience the aura of those mountains, of that branch.” While this tool case will have a similar appearance to other portable cases, there are none that are exactly like it.

Part of the development process for this design was the use of Liz Lerman’s Critical Response Method (CRM) to identify the strengths and shortcomings of the case in order to rapidly iterate and make improvements prior to any fabrication, such that initial prototypes would be much closer to the final project than they may otherwise have been. The CRM follows four basic steps: 1) Statement of meaning by the group, 2) Questions by the writer for the group, 3) Questions by the group for the writer, and 4) Opinions. This facilitates meaningful conversation and critique, thus allowing me to develop a better project.

0

Research & Context

0

In my research, I came across many solutions to the problem I sought to solve. However, they either required the sacrifice of my first-born child to afford, or could not adequately store everything I needed. As such, a custom solution was necessary.

0

Aesthetic Inspiration

0

My primary inspiration came from road cases used in the concert touring industry. They are rugged and able to protect just about anything you put inside. The innards are often customized to accommodate specific hardware setups.

0

Sketches

0
 blank
ortho.pdf

134.285 KB · Download / View

0

Process & Procedure

0

This project, like all projects in this class, began in Autodesk Fusion360. As one of my professors is often wont to say, "If you draw everything, it will work." This sentence sums up the core of my drafting/CAD philosophy. By modelling the entire case in Fusion360, even going so far as to import parts from McMaster Carr, I ensured that my piece could fit together.

After modelling the case, I projected each face out into vector drawings, which I sent to the laser cutter. After applying a stain to each face, I glued them together one corner at a time.

0

From there, I assembled the two halves together with a few hinges, with draw latches to keep it closed and a handle for carrying.

Next, I scanned each of the tools I planned to store in the case and traced them in Adobe Illustrator. I exported to a DXF and made a 3D model of the foam with cutouts for each tool. I brought this file and some foam to the CNC Lab, where the supervisor helped me CNC rout the foam. With that complete, all I had left was to adhere the foam into the case, pop my tools in, and take some photos.

Due to a misunderstanding, I was not able to obtain the ball corners I modeled in time. I intend to print these and attach them over winter break.

0

Photos

0

Reflection

0

This project was a really fascinating reminder of my own abilities. I often sit stewing in my frustration about existing solutions to a problem I have, never considering the fact that my major surrounds designing and building custom solutions to other people's problems.

I was also served a stark reminder about lead time and communication- Due to a misunderstanding, I was not able to obtain the ball corners I modeled in time. My intent was to 3D print each corner using the NVBOT 3D Printers in the Fabrication Lab, but I did not know that the printers were down until it was too late. I will be fabbing these on my own time, after the course has completed, and attach them to the case.

Additionally, I failed in my "draw everything" approach to design. I initially forgot to create joinery for the lids to attach to the walls of the case in a similar way as the walls are attached to each other. As such, I had to think on my feet and adapt the lids mid-cut to be able to securely attach them to the walls.

In my next iteration of this project, which I intend to complete over winter break, I intend to make the case more compact and of a better build quality. A number of chips and other aesthetic imperfections are visible on the original case as scars of my experimentation with its assembly, which I would like to hide in order to make the case look less crudely assembled.

x
Share this Project

Courses

62-478 digiTOOL

· 65 members

Digital Tooling (DigiTool) provides a platform for any CMU student to learn Digital Fabrication processes; all of which are very hands-on. Like these processes, this class is also very hands-on. I...more


Skills
About

How can I conveniently store and transport my power tools in a manner that has good form and function?