Back to Parent

Outcome


Holder 6.thumb
Show Advanced Options

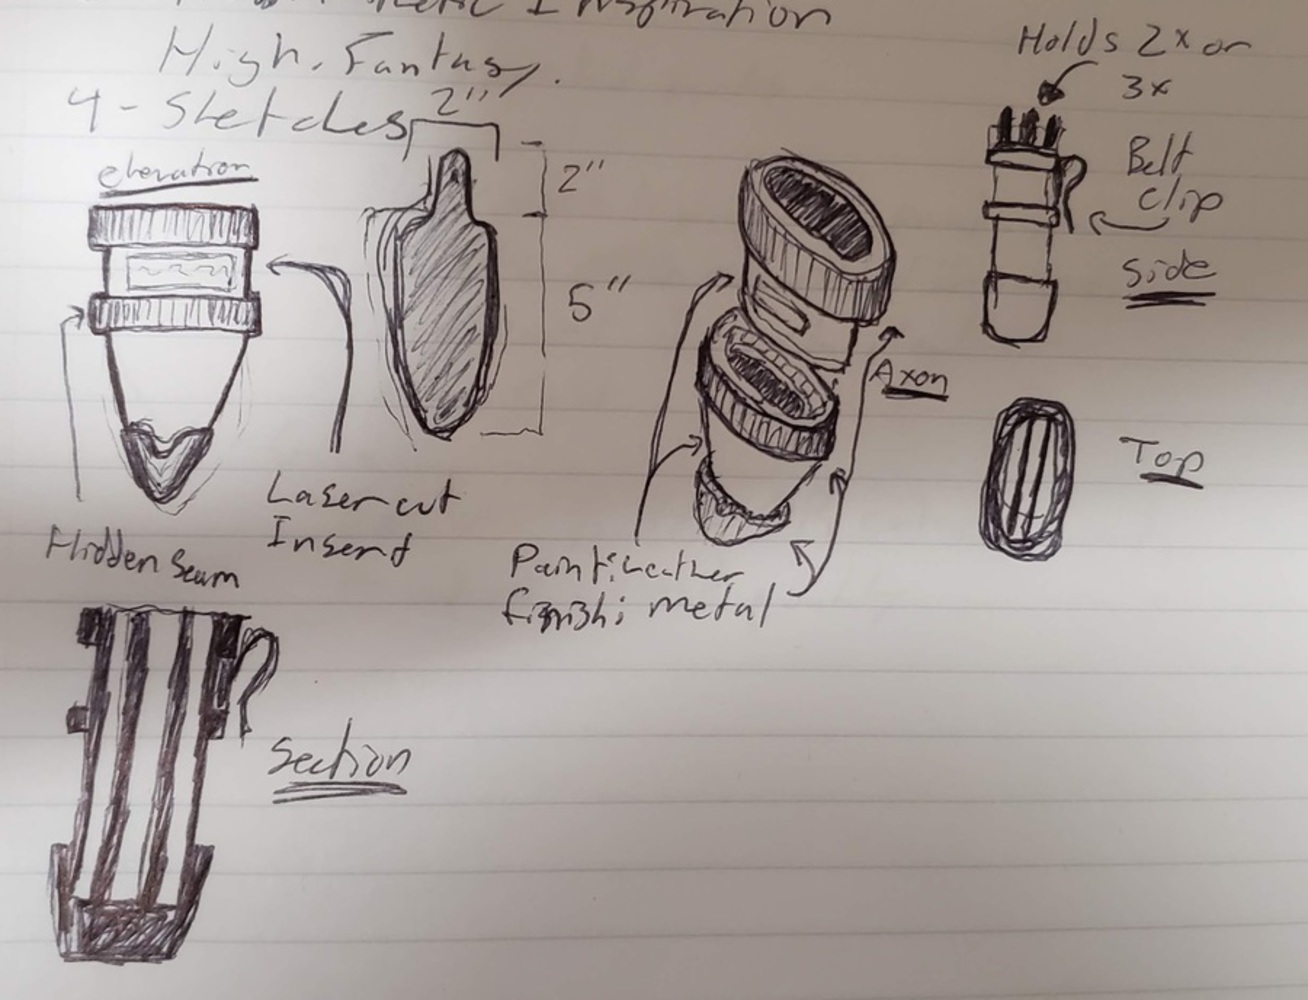
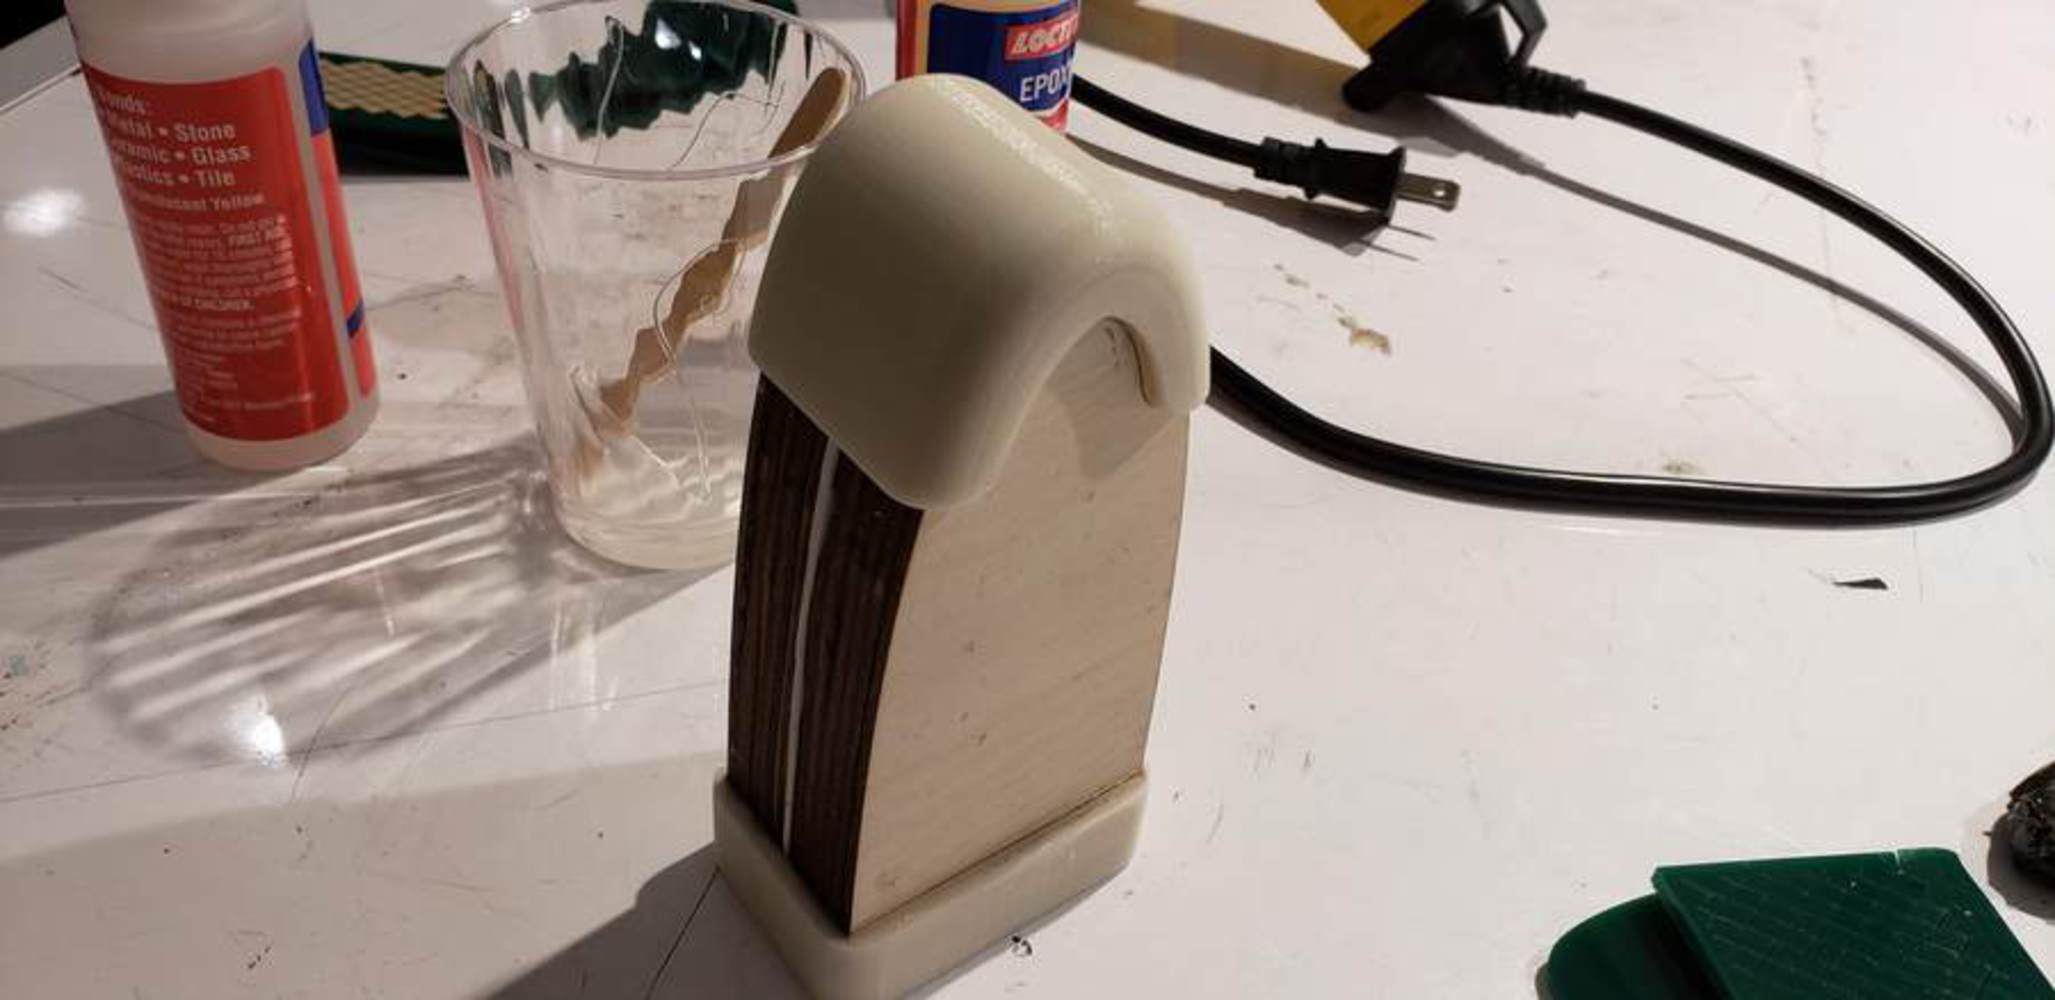
I LARP. It means I dress up as someone I'm not, in a place I'm not,  in a time I'm not in, and run around in the woods hitting other people doing the exact same things with a sword made out of some foam and a golf club. And I enjoy it a lot.

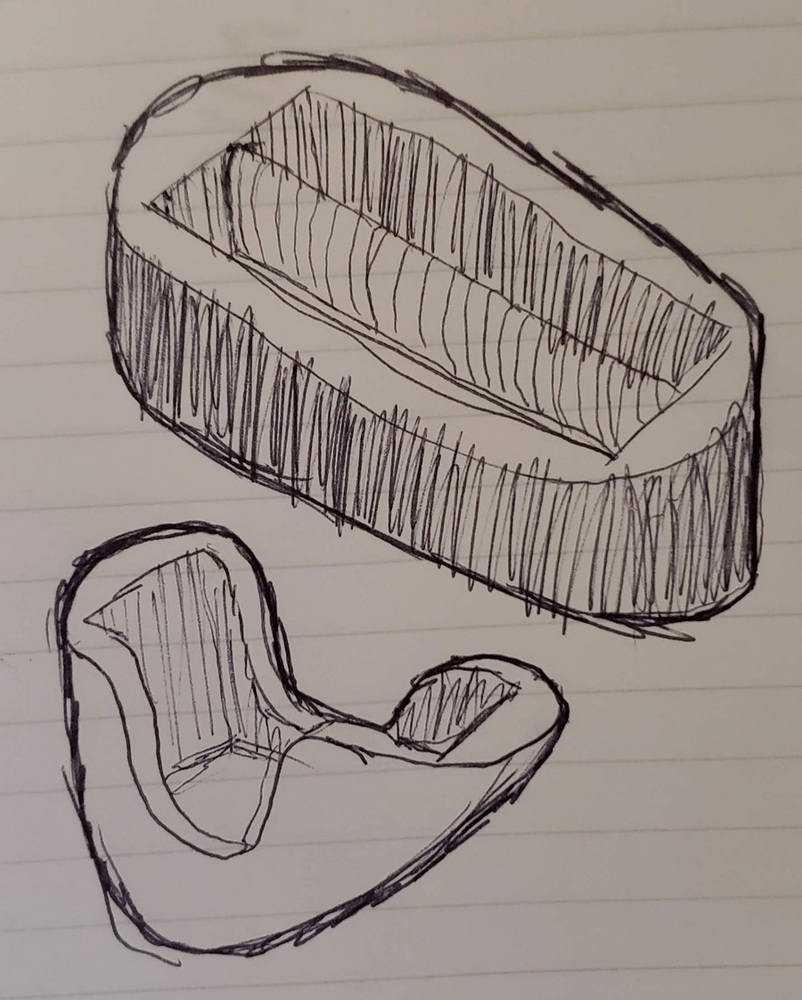
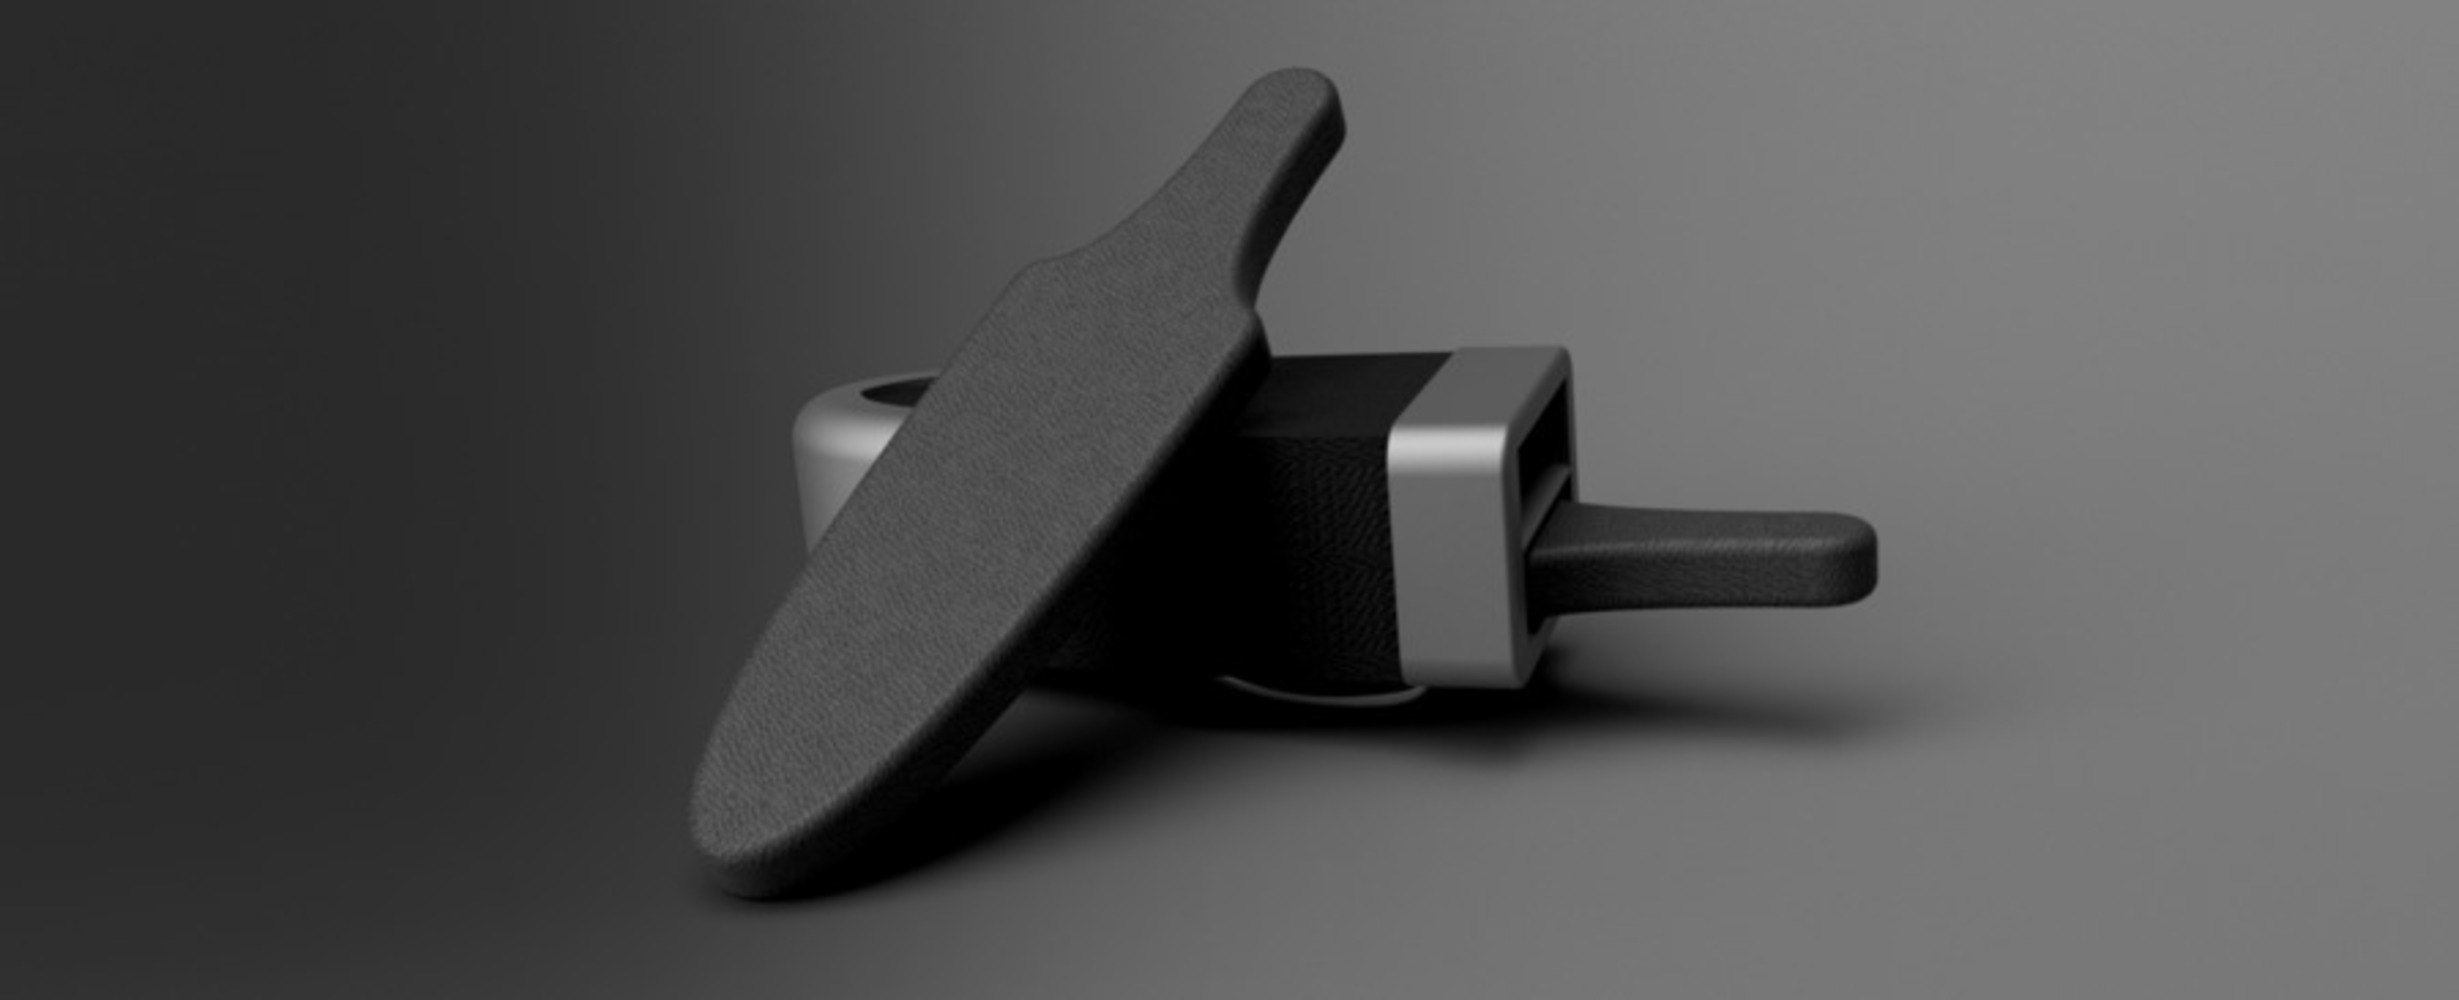
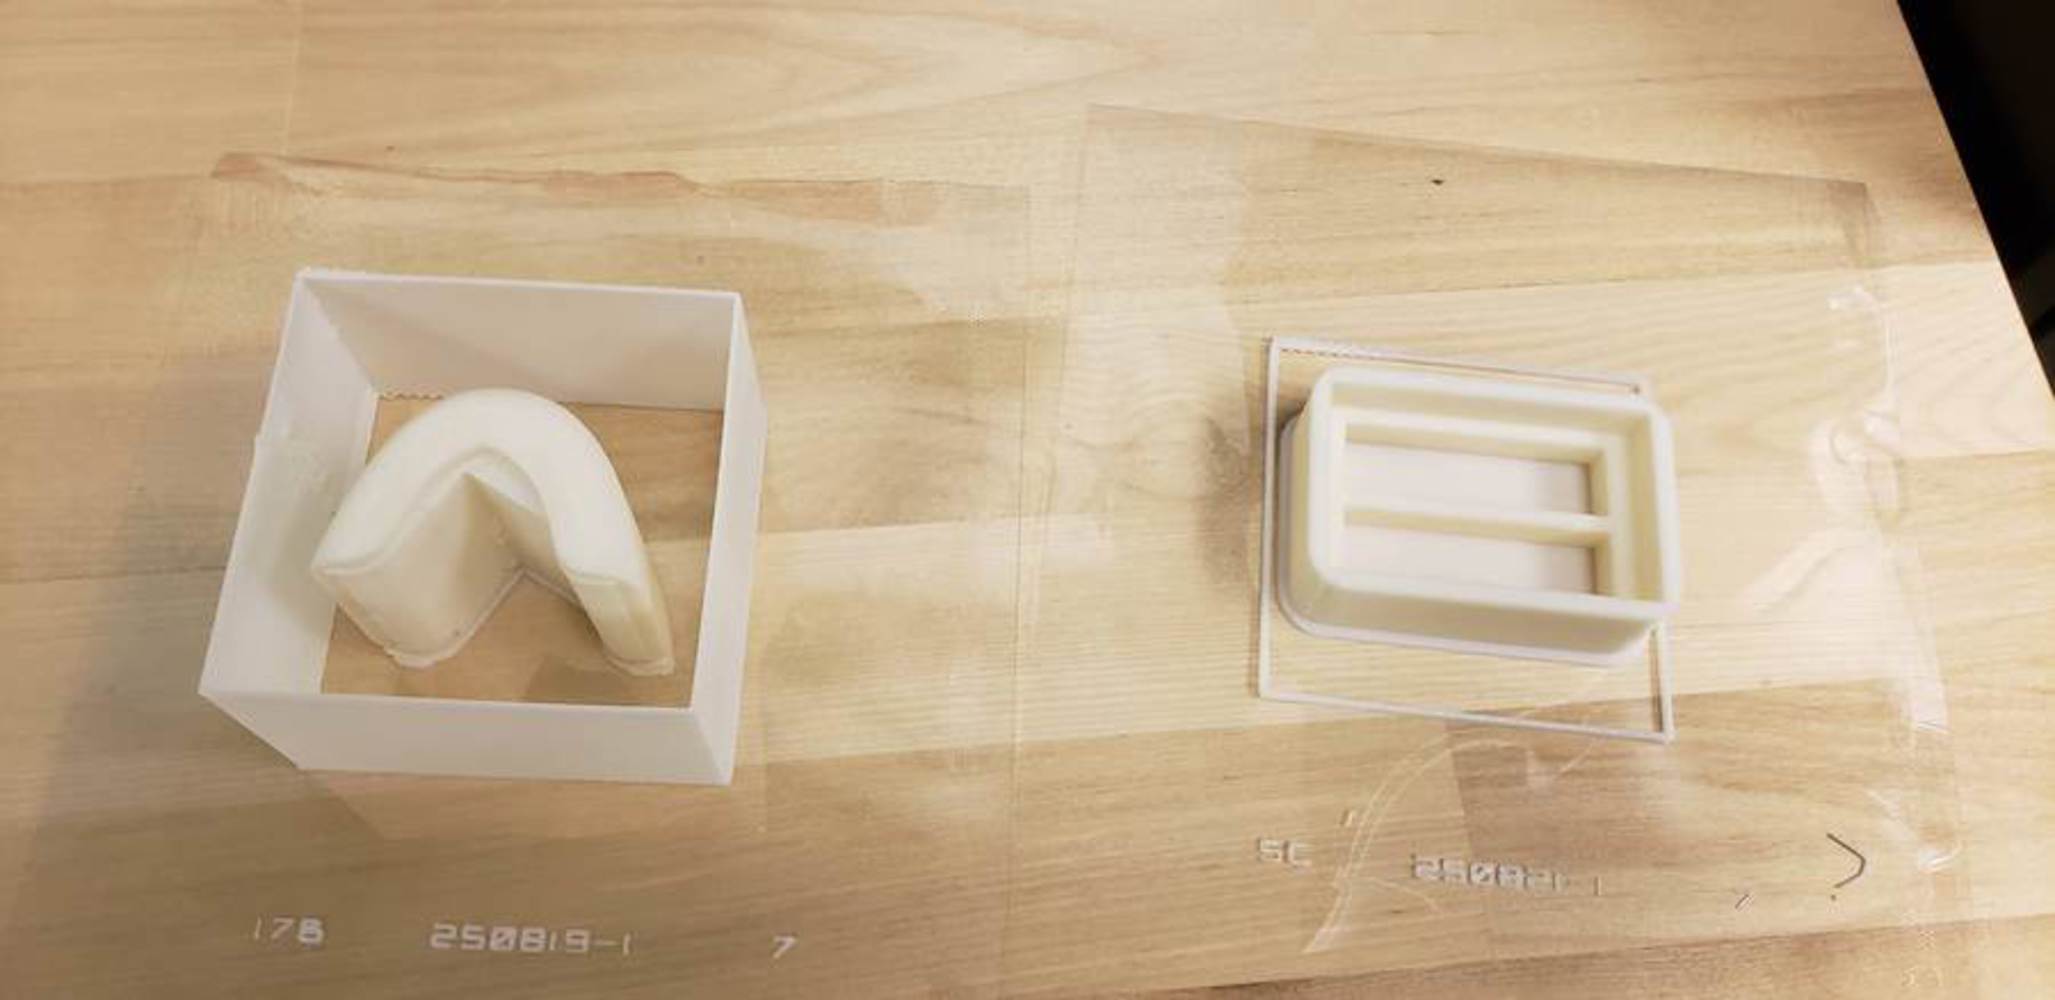
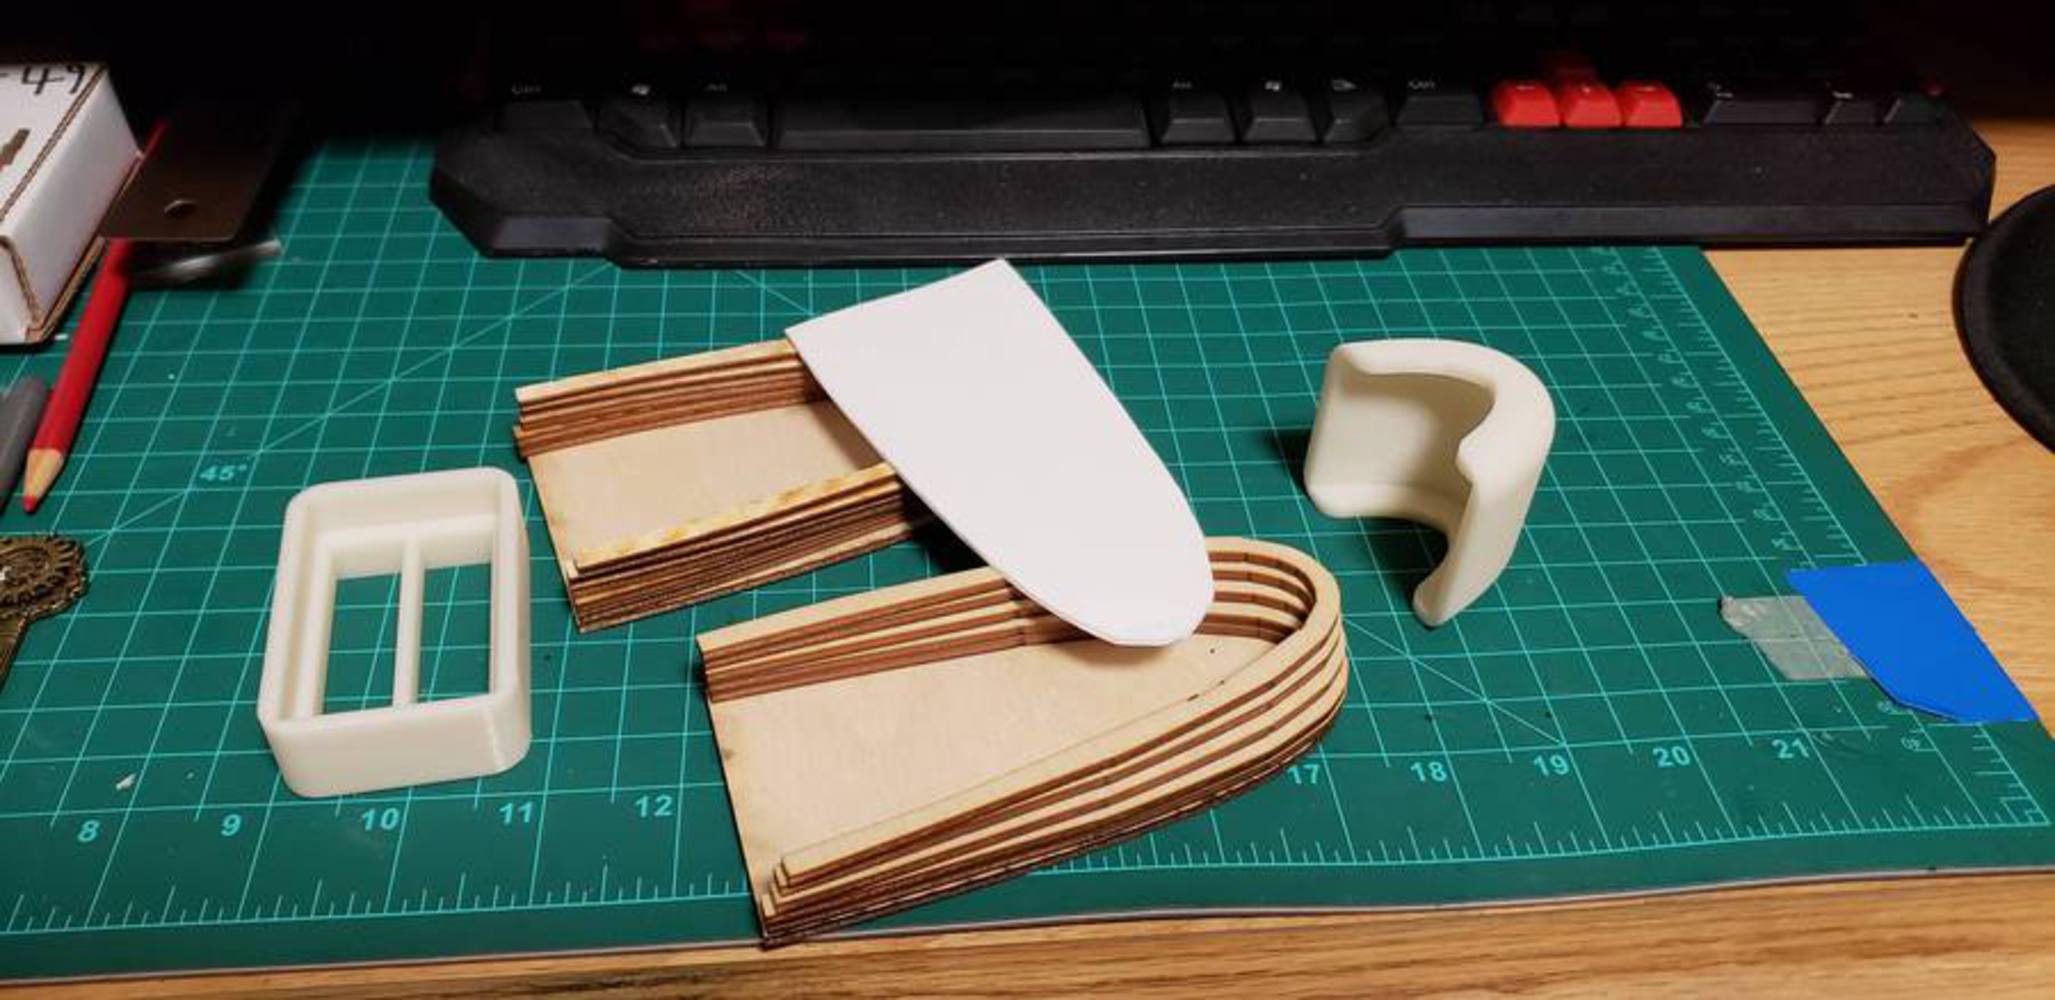
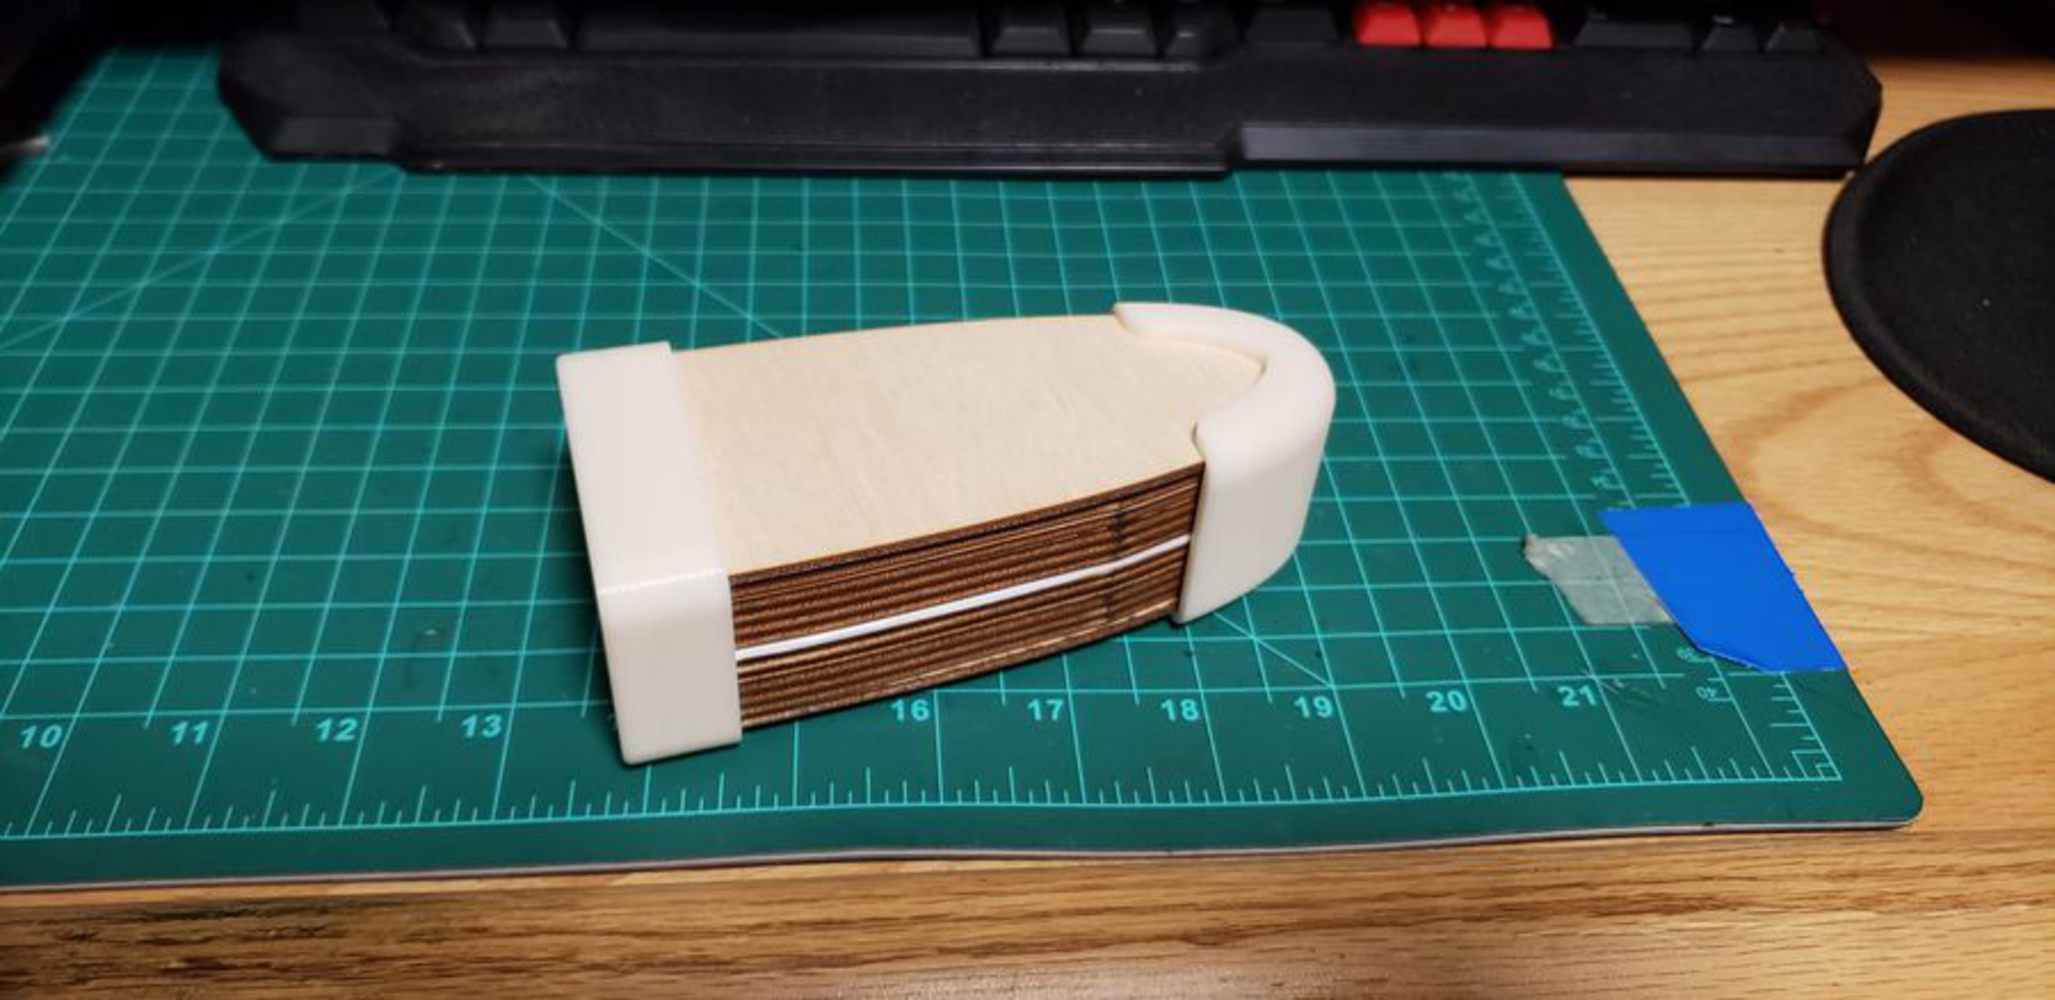
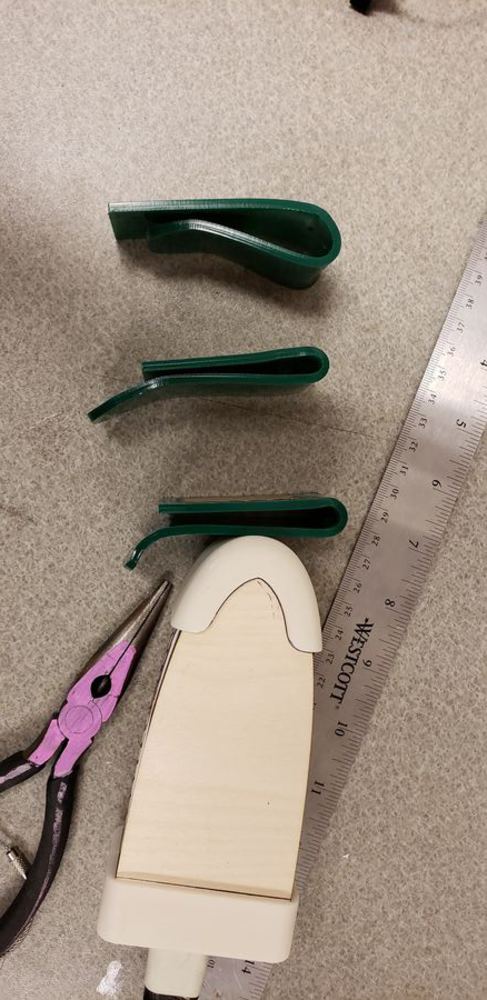
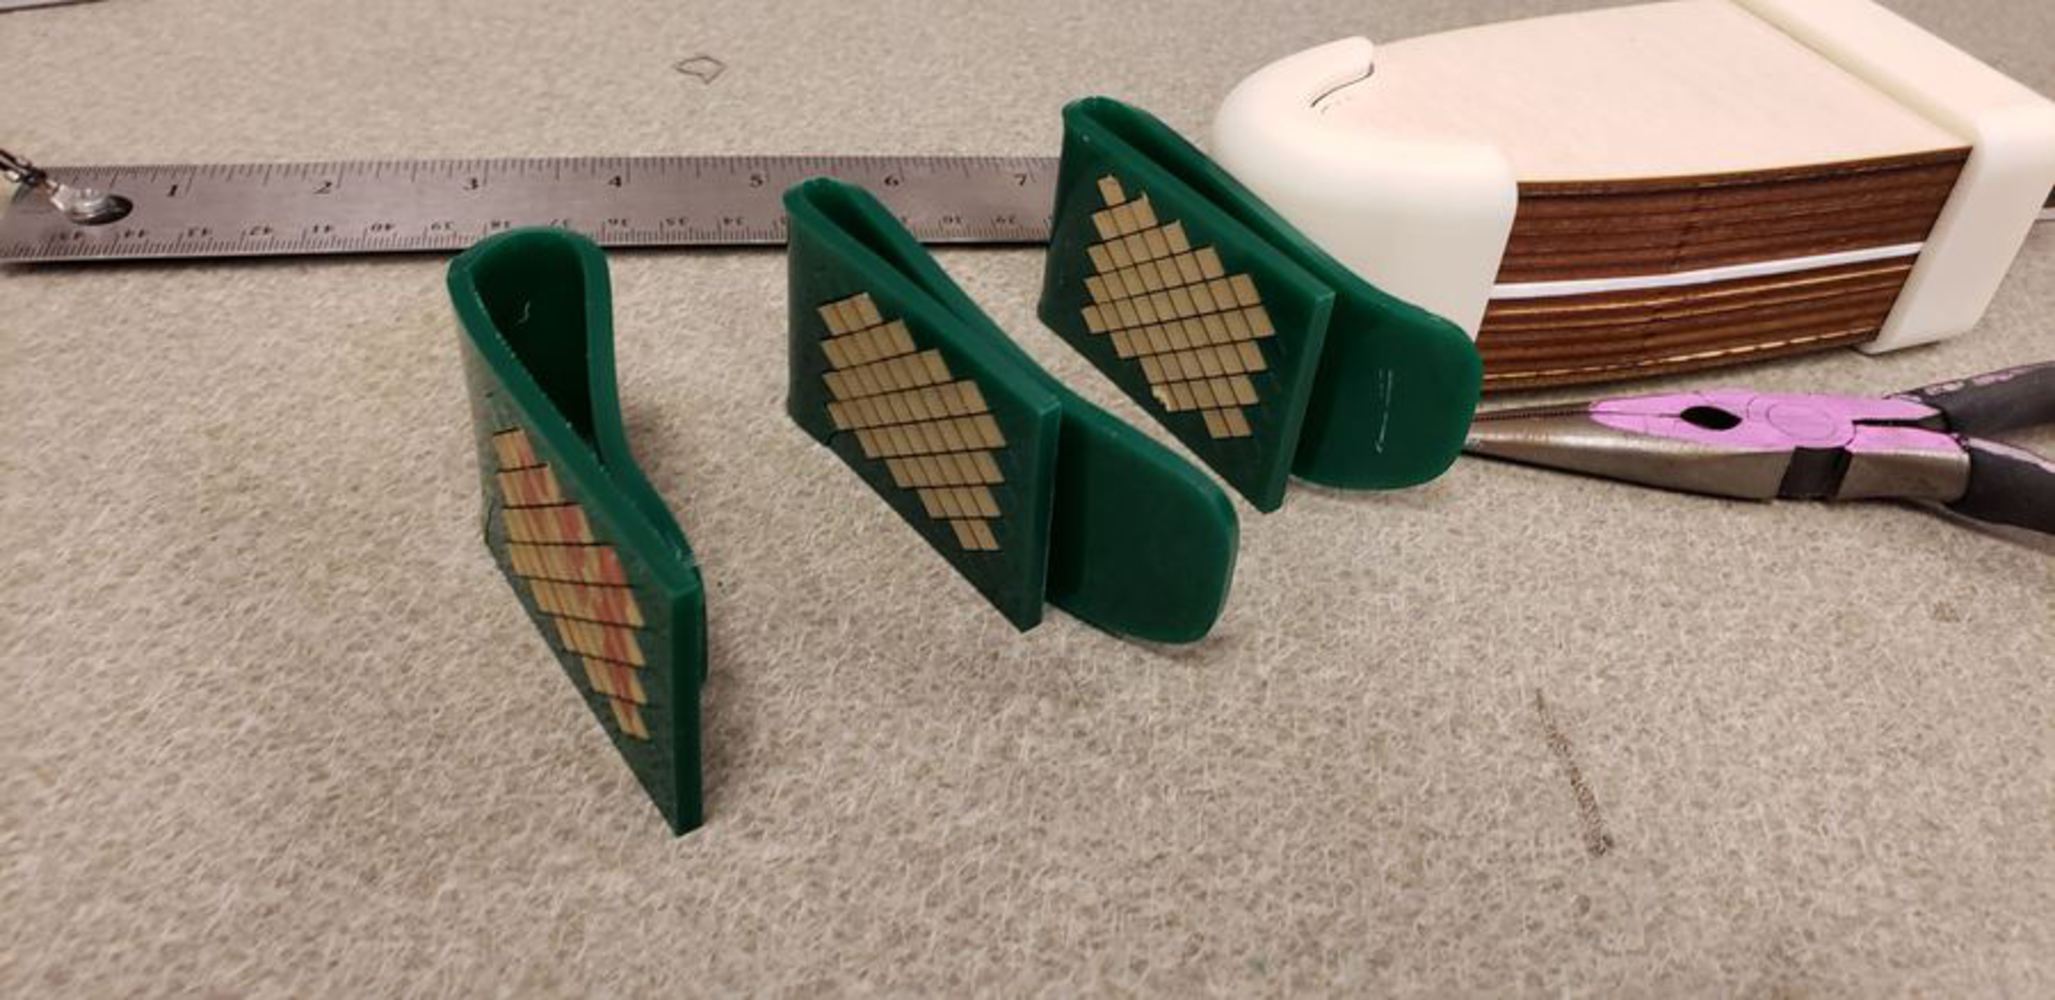
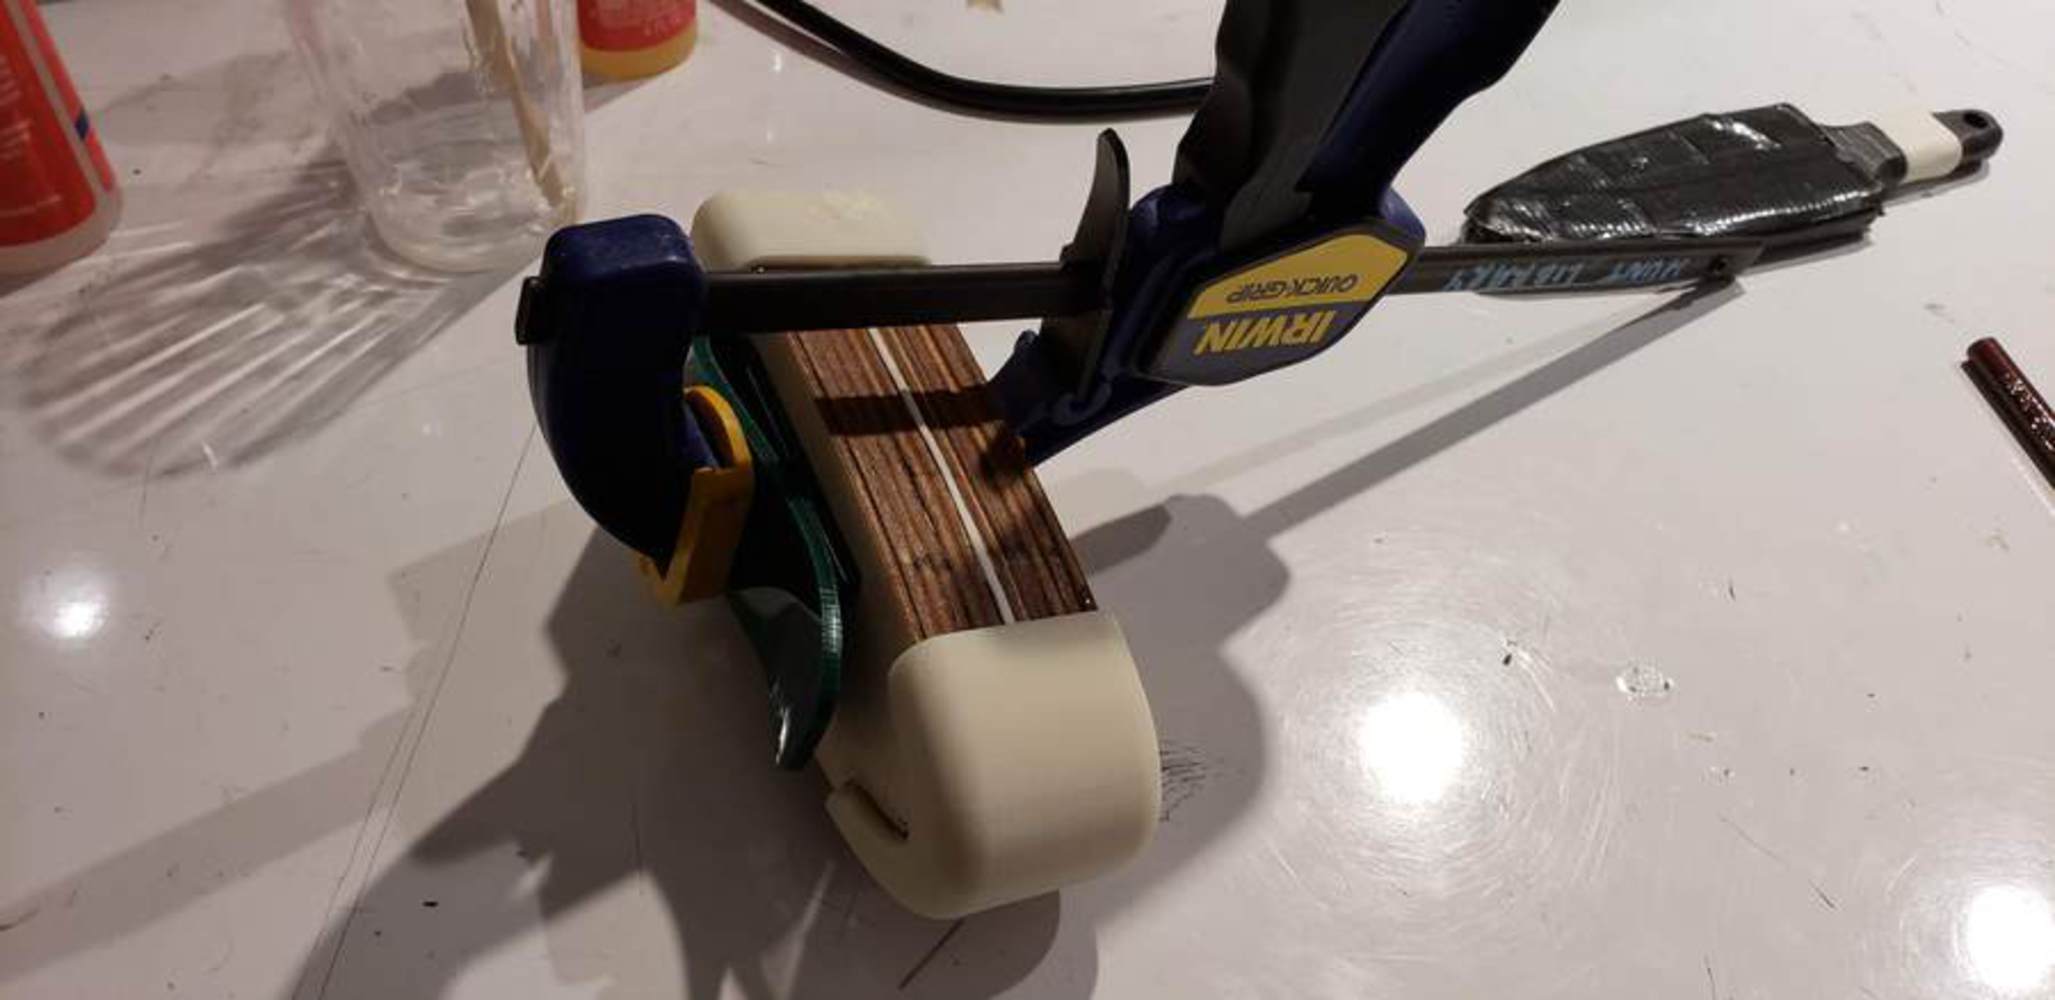
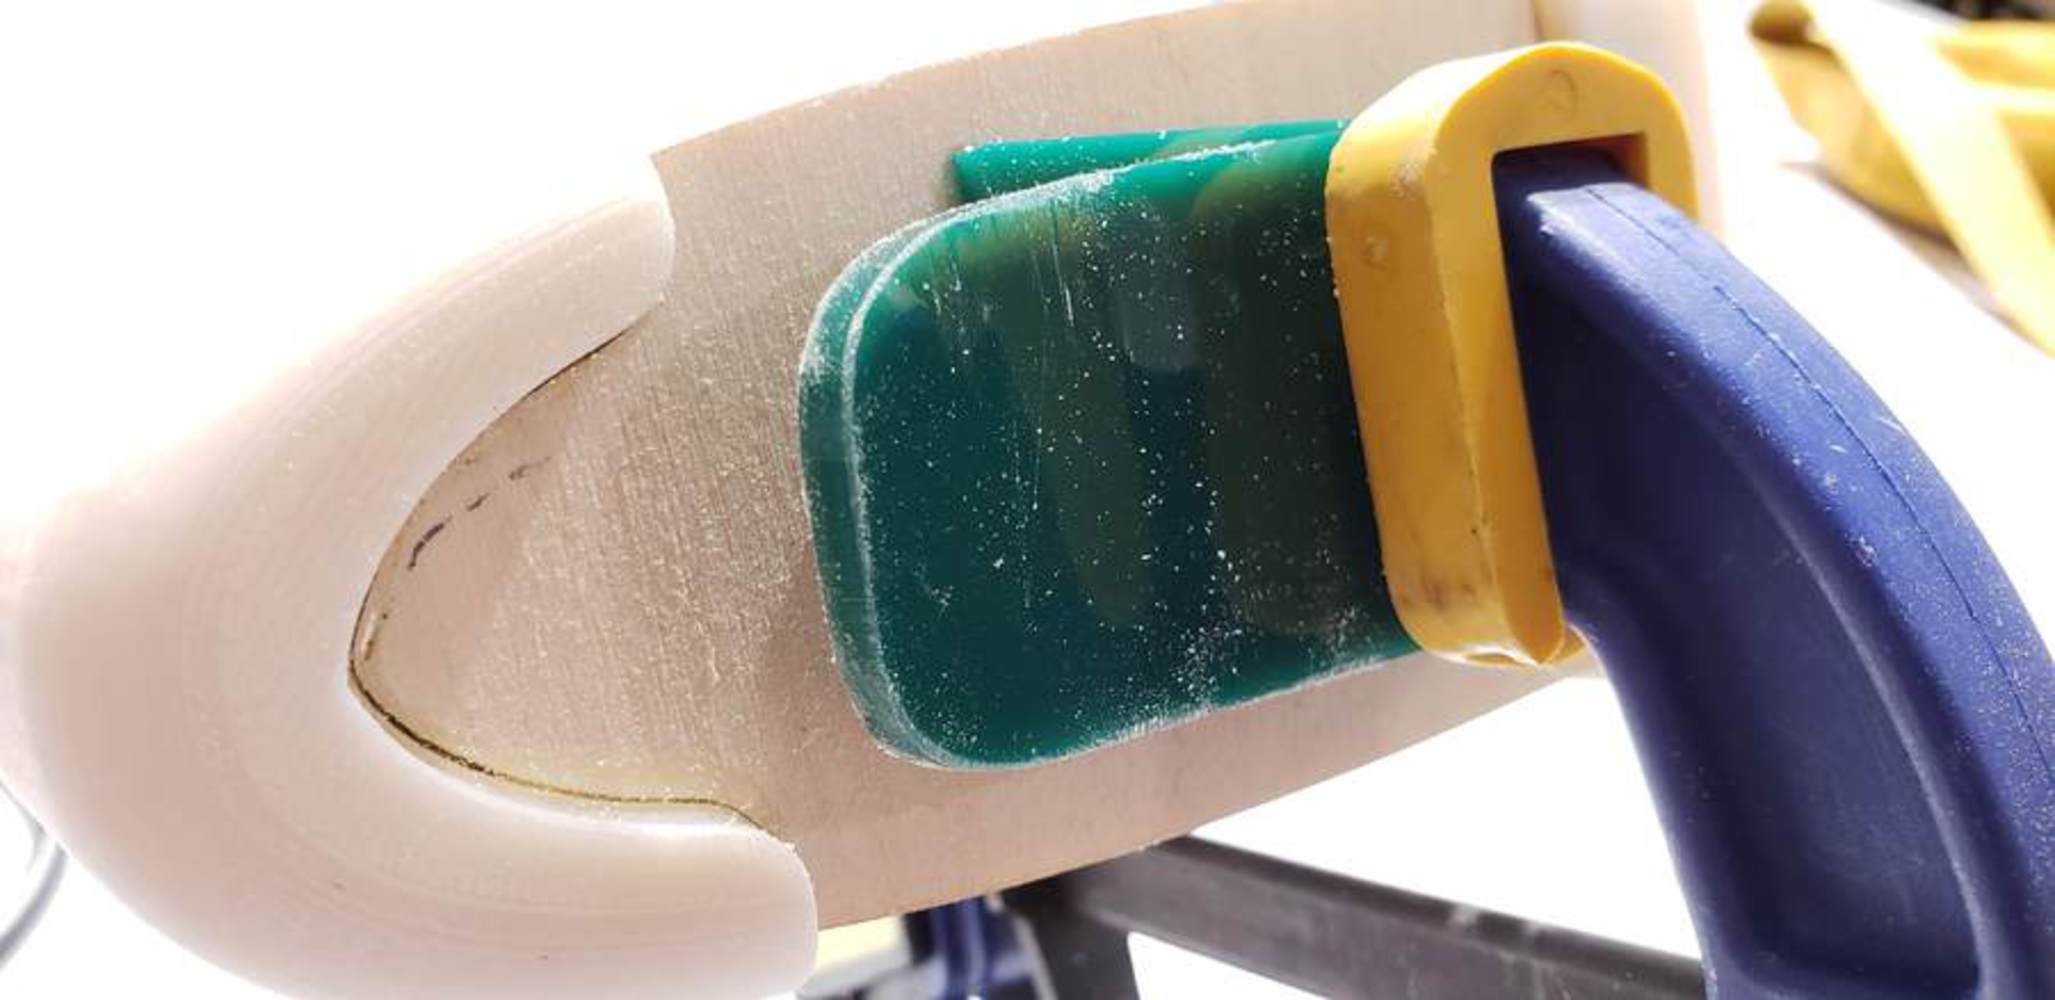
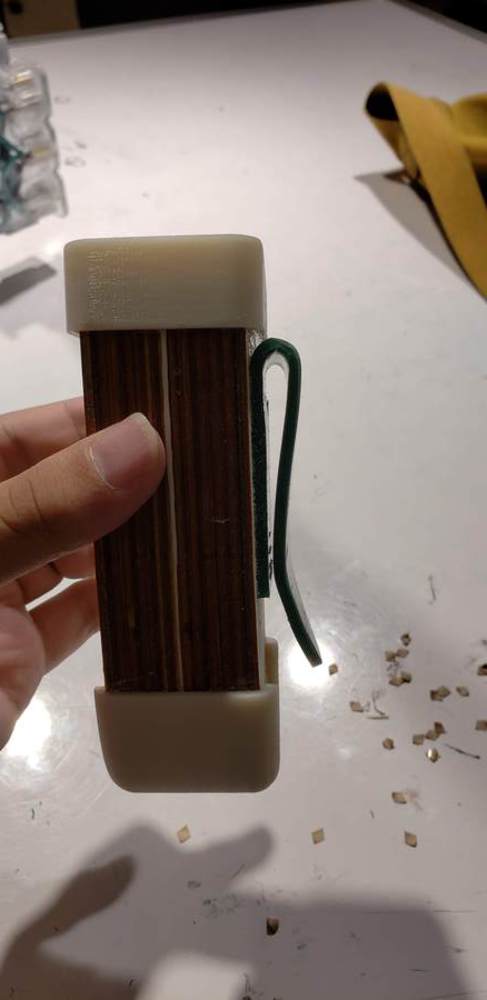
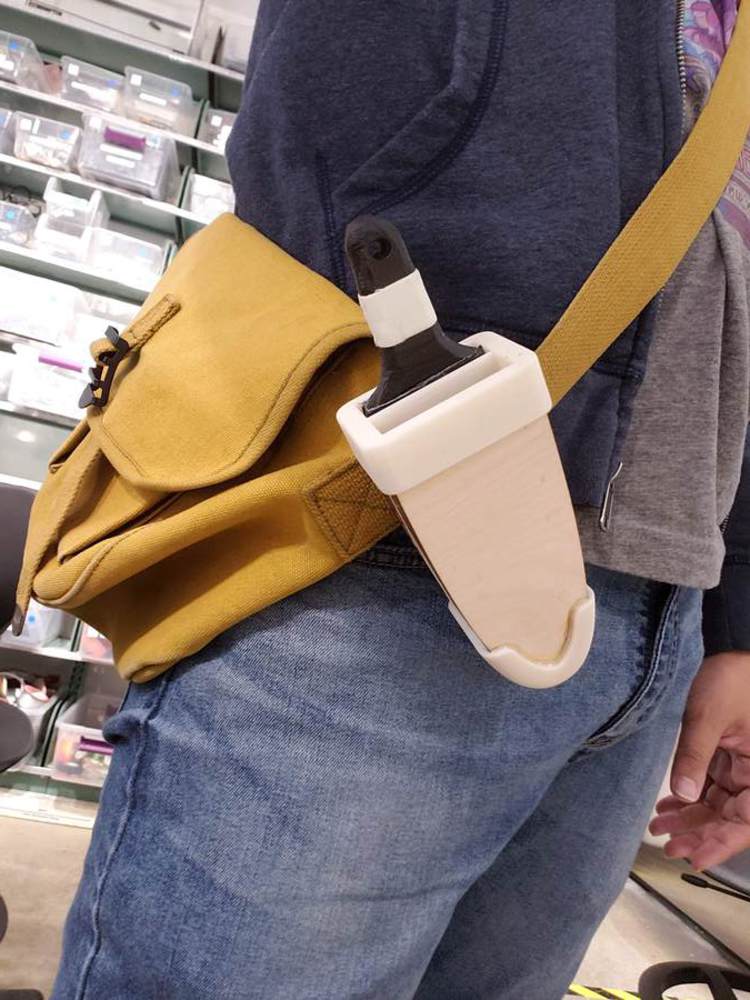
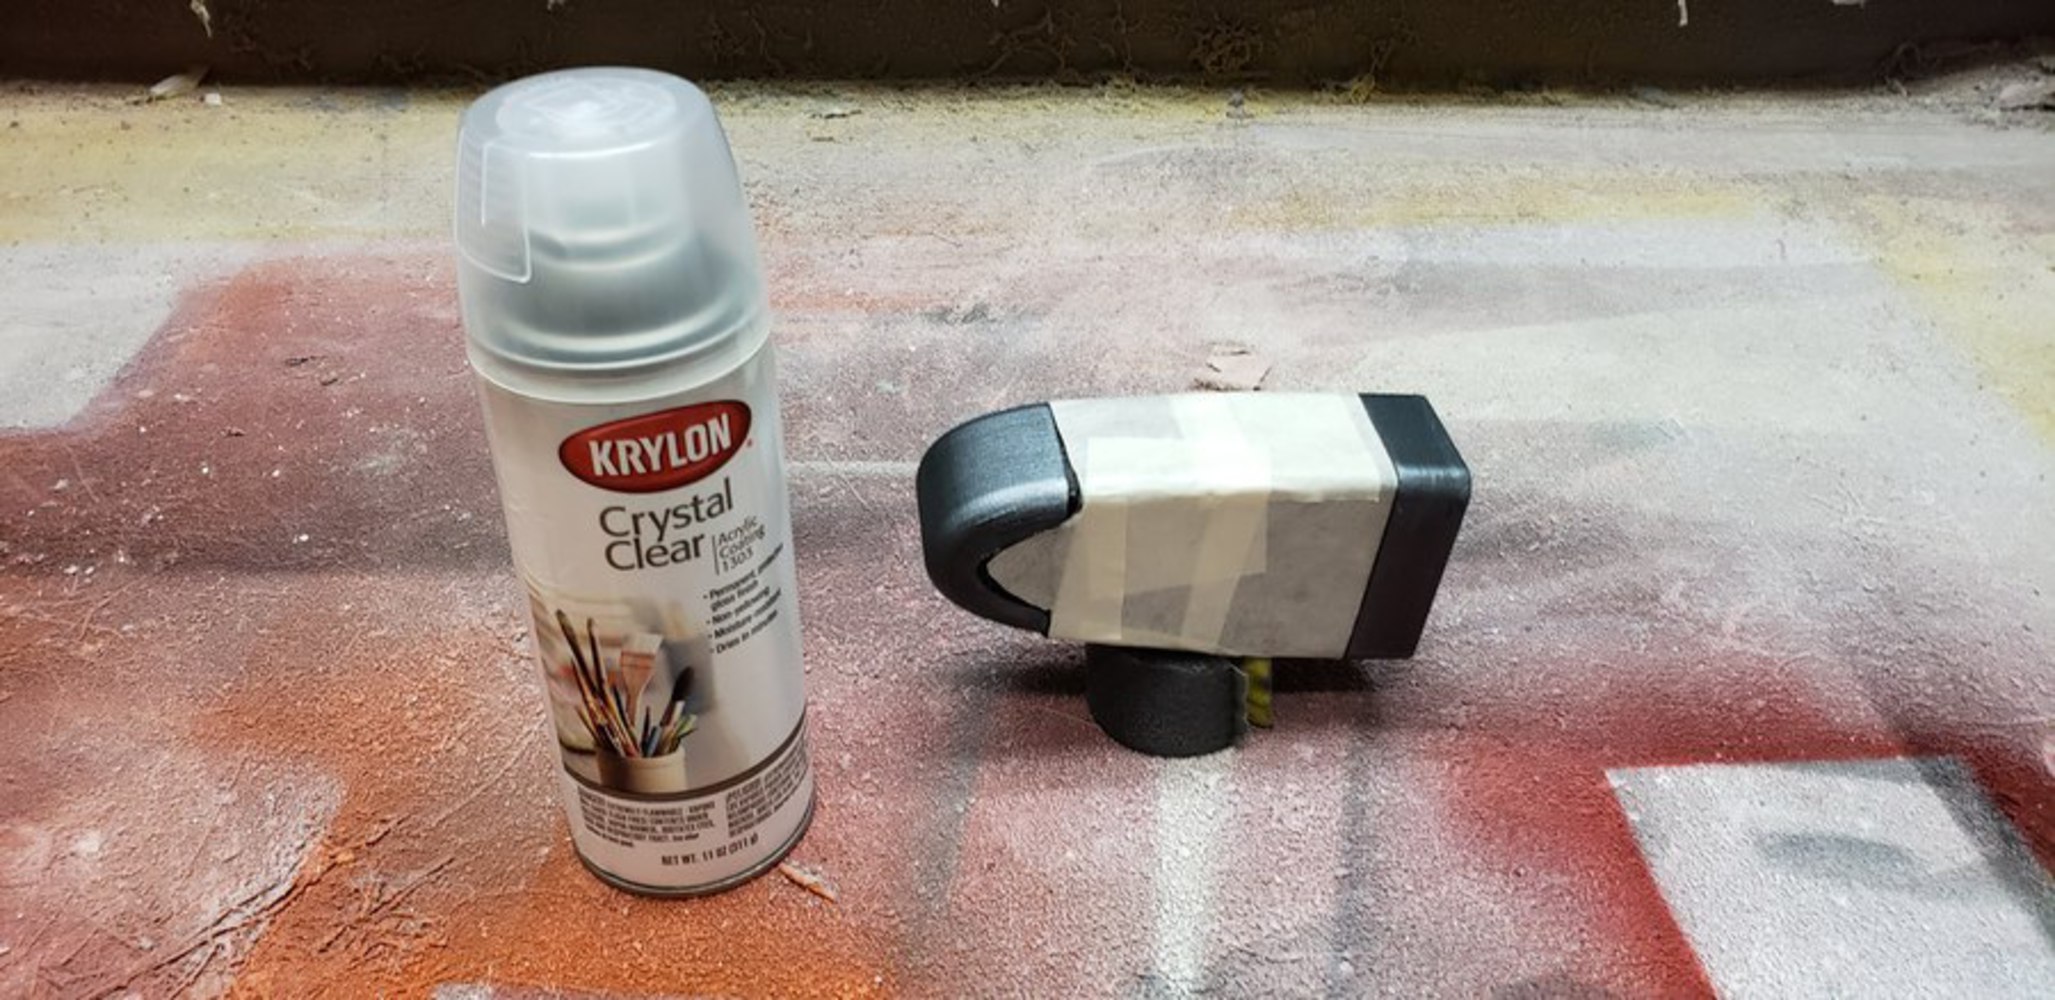
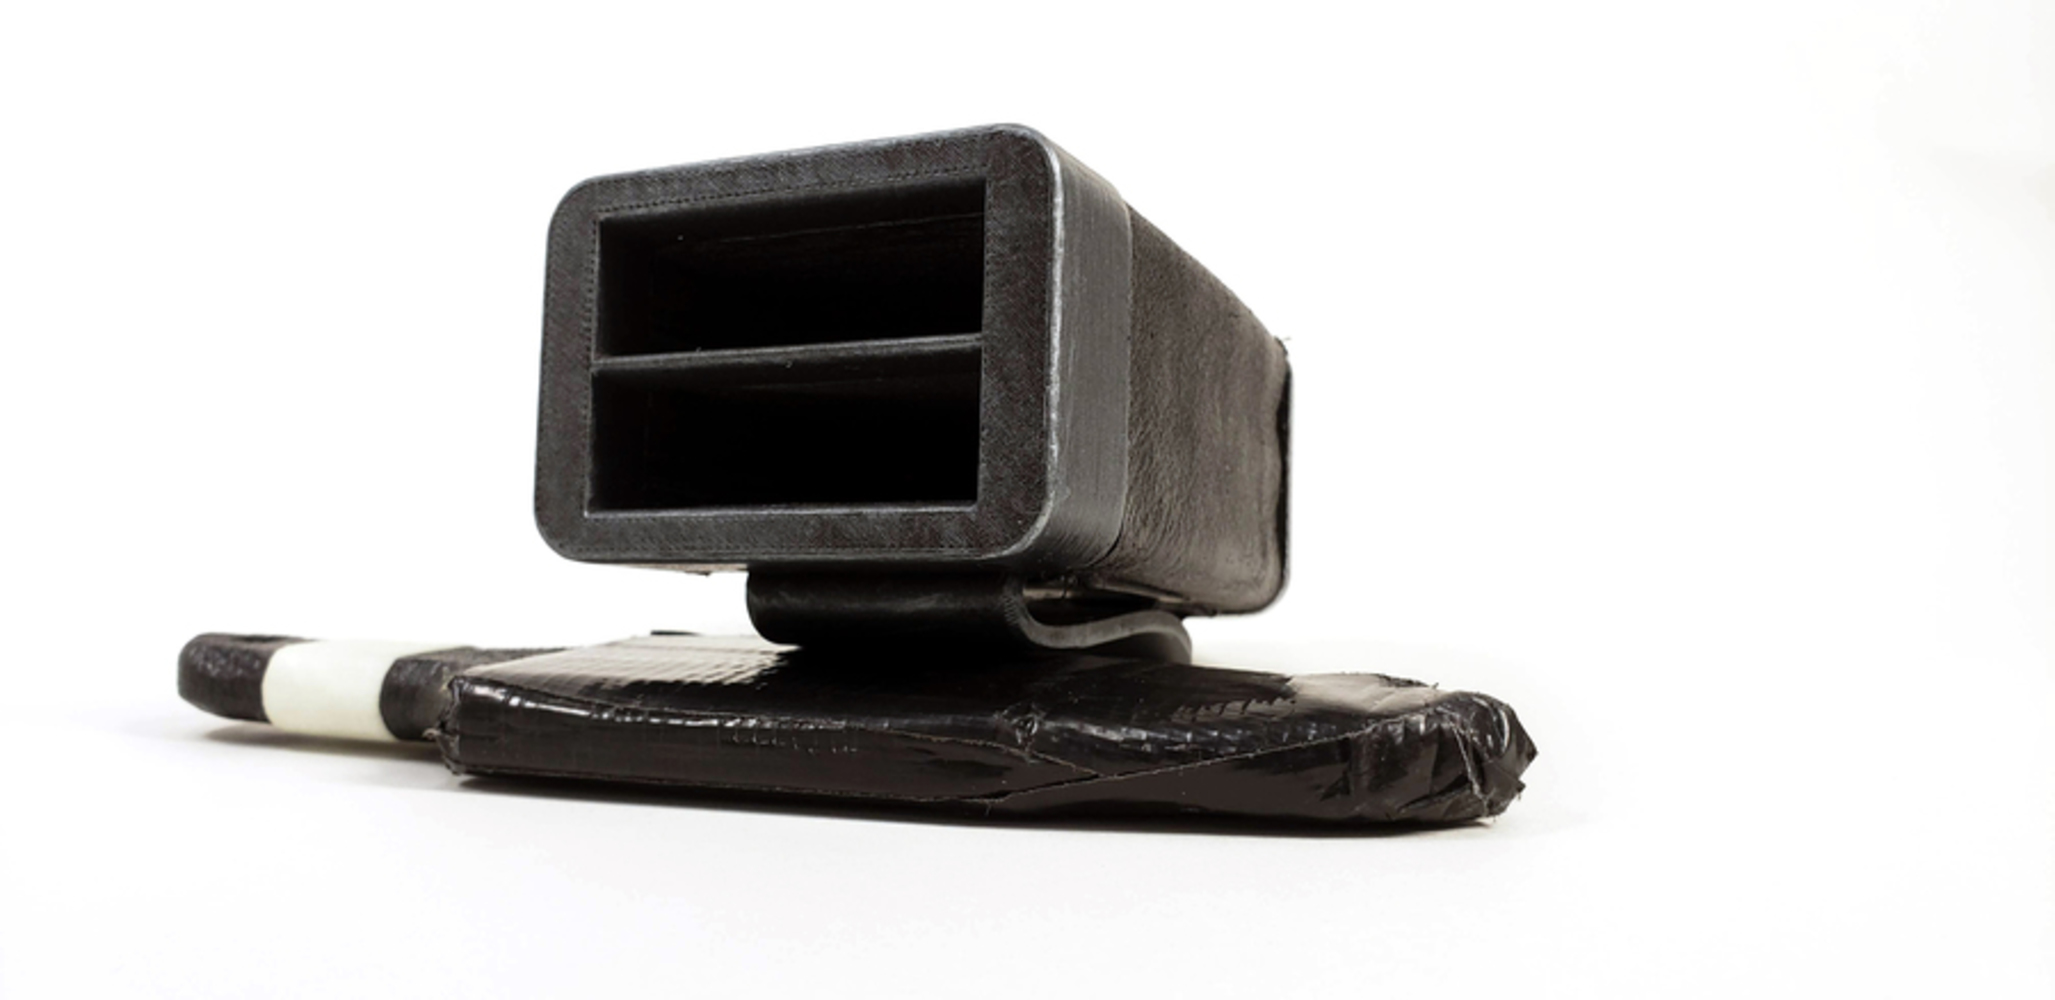
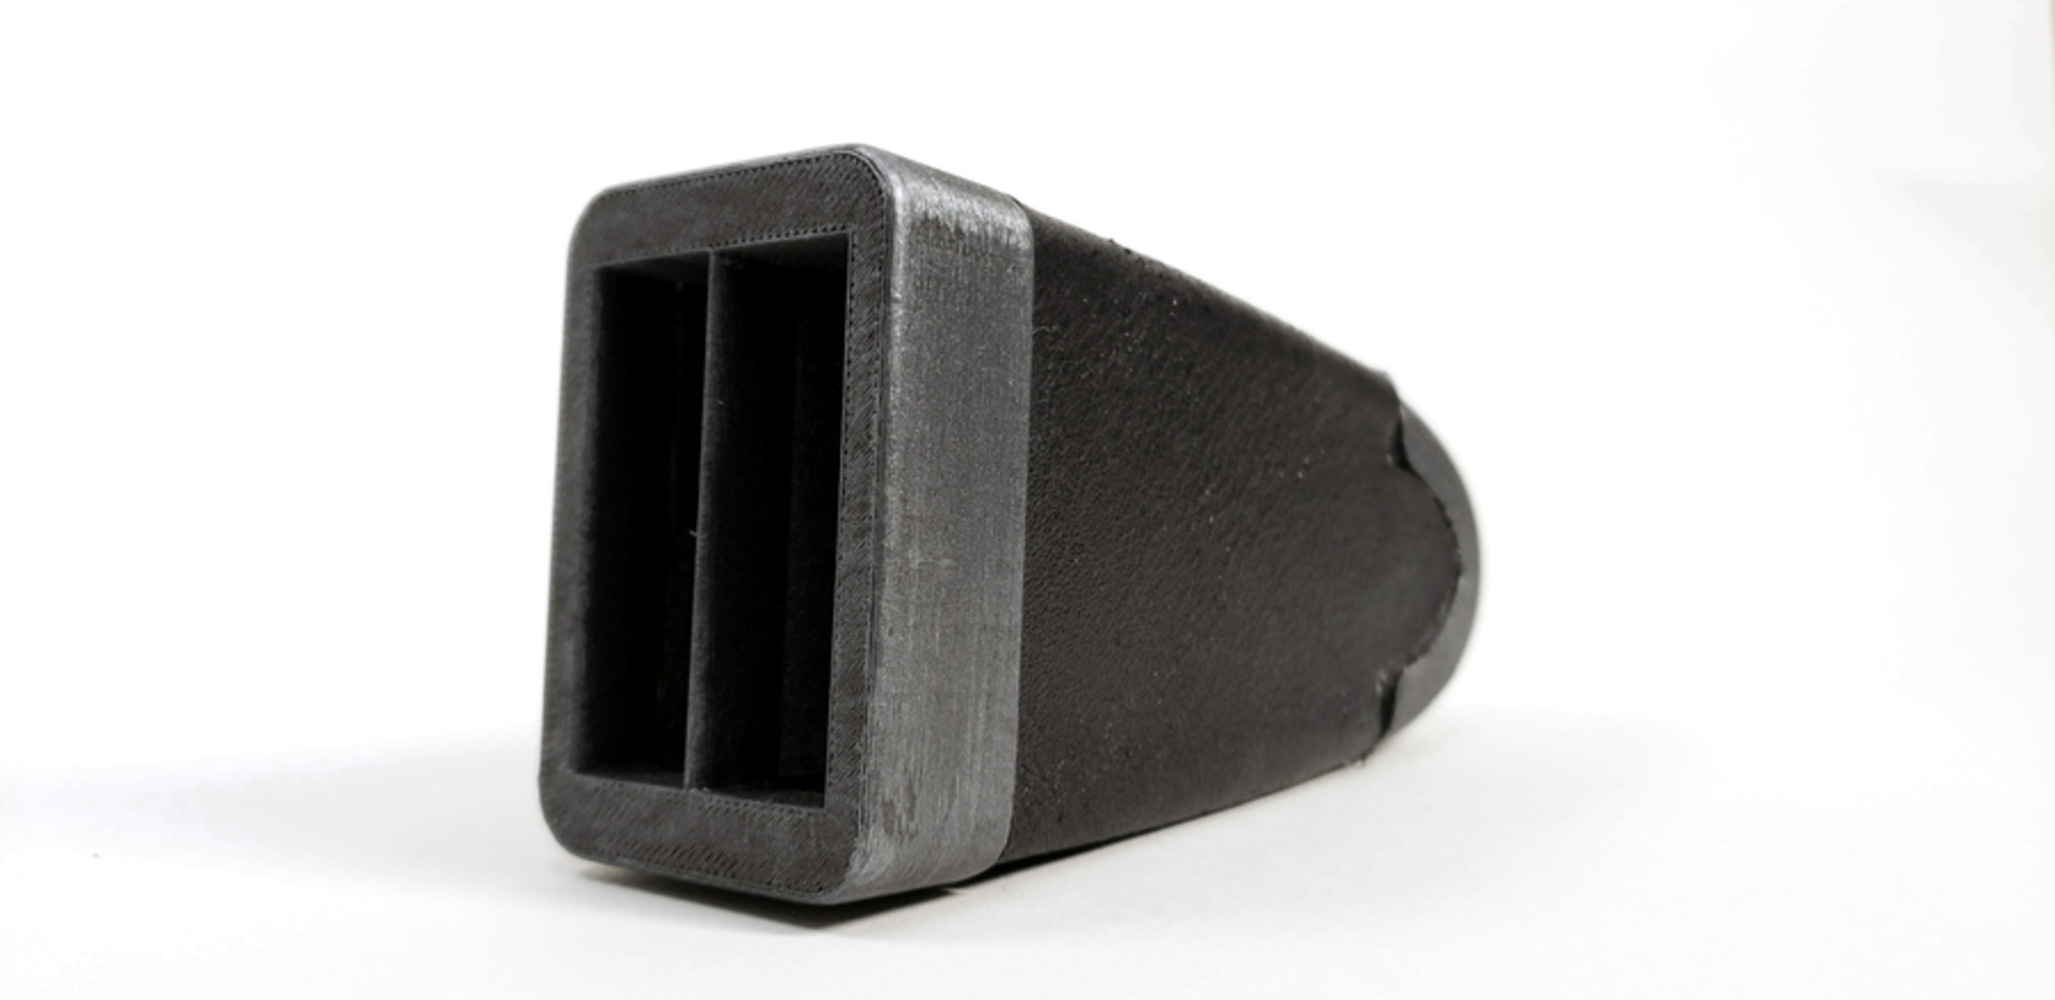
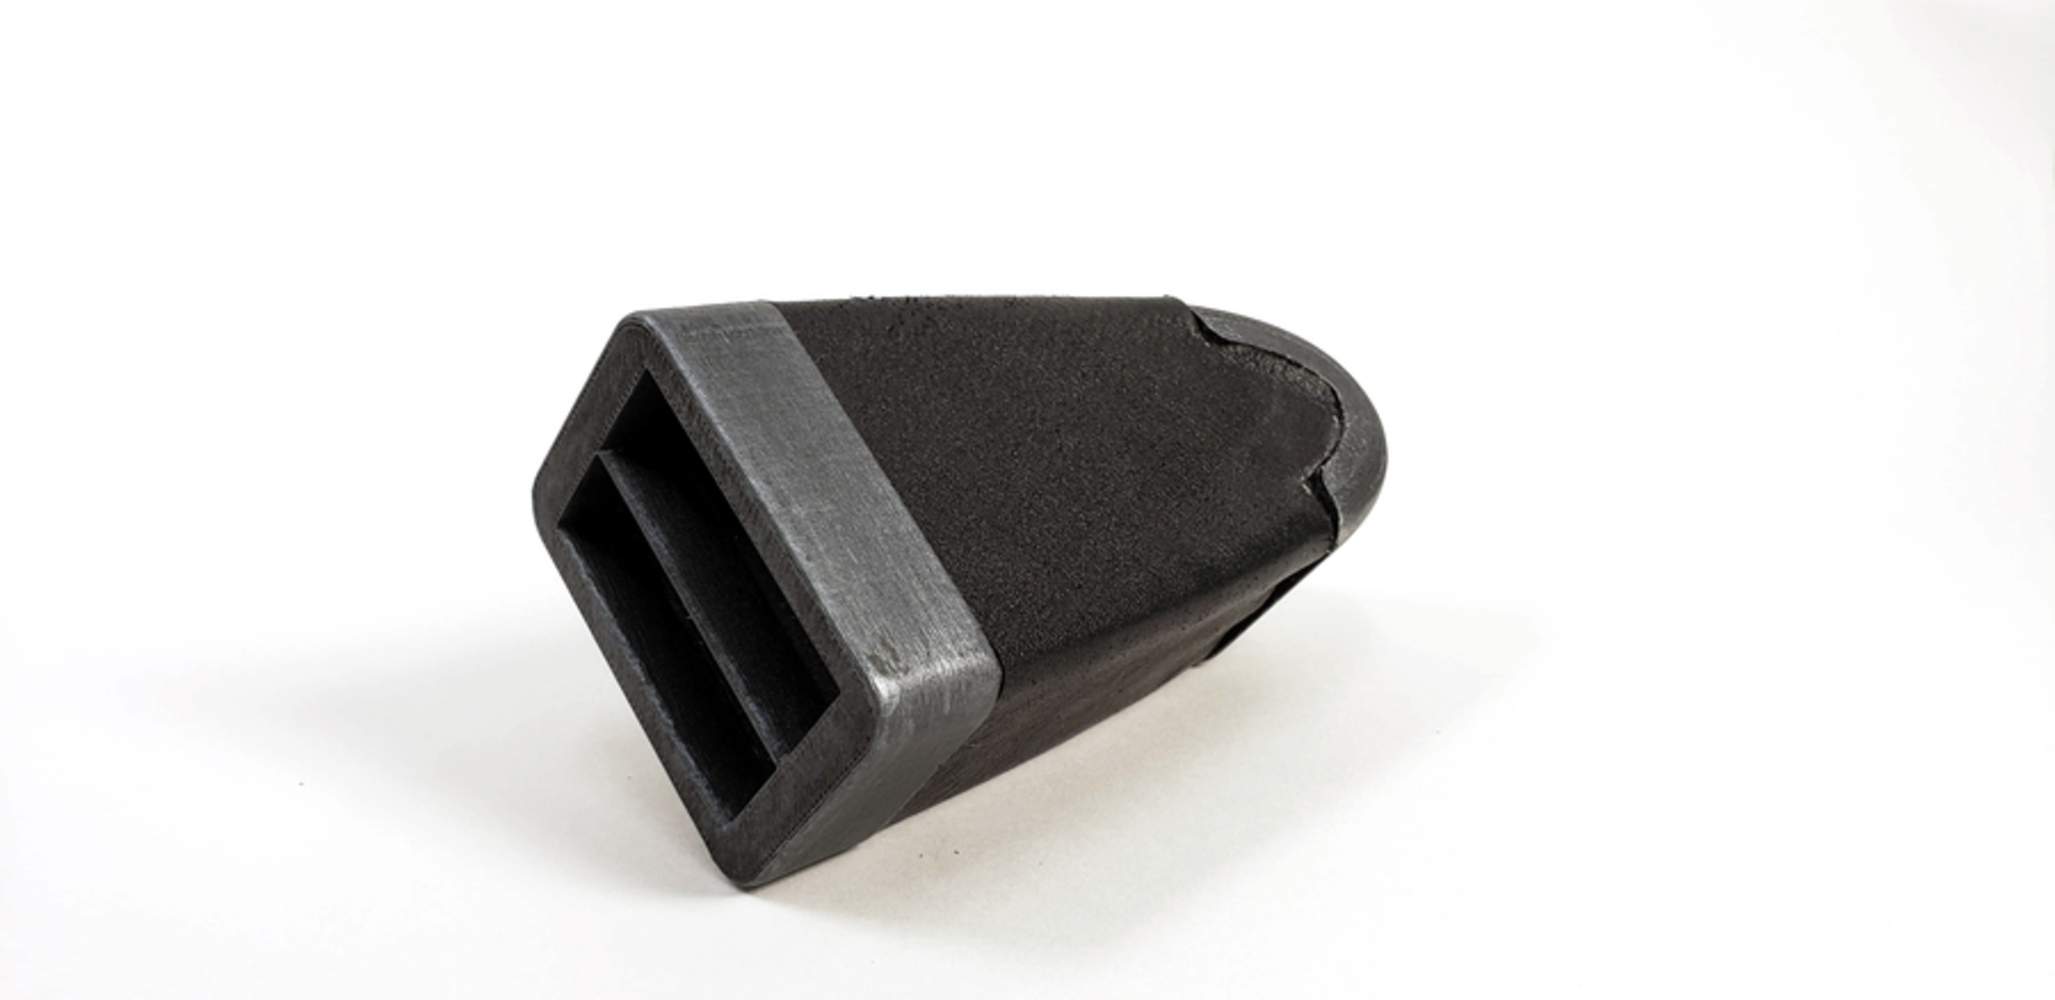
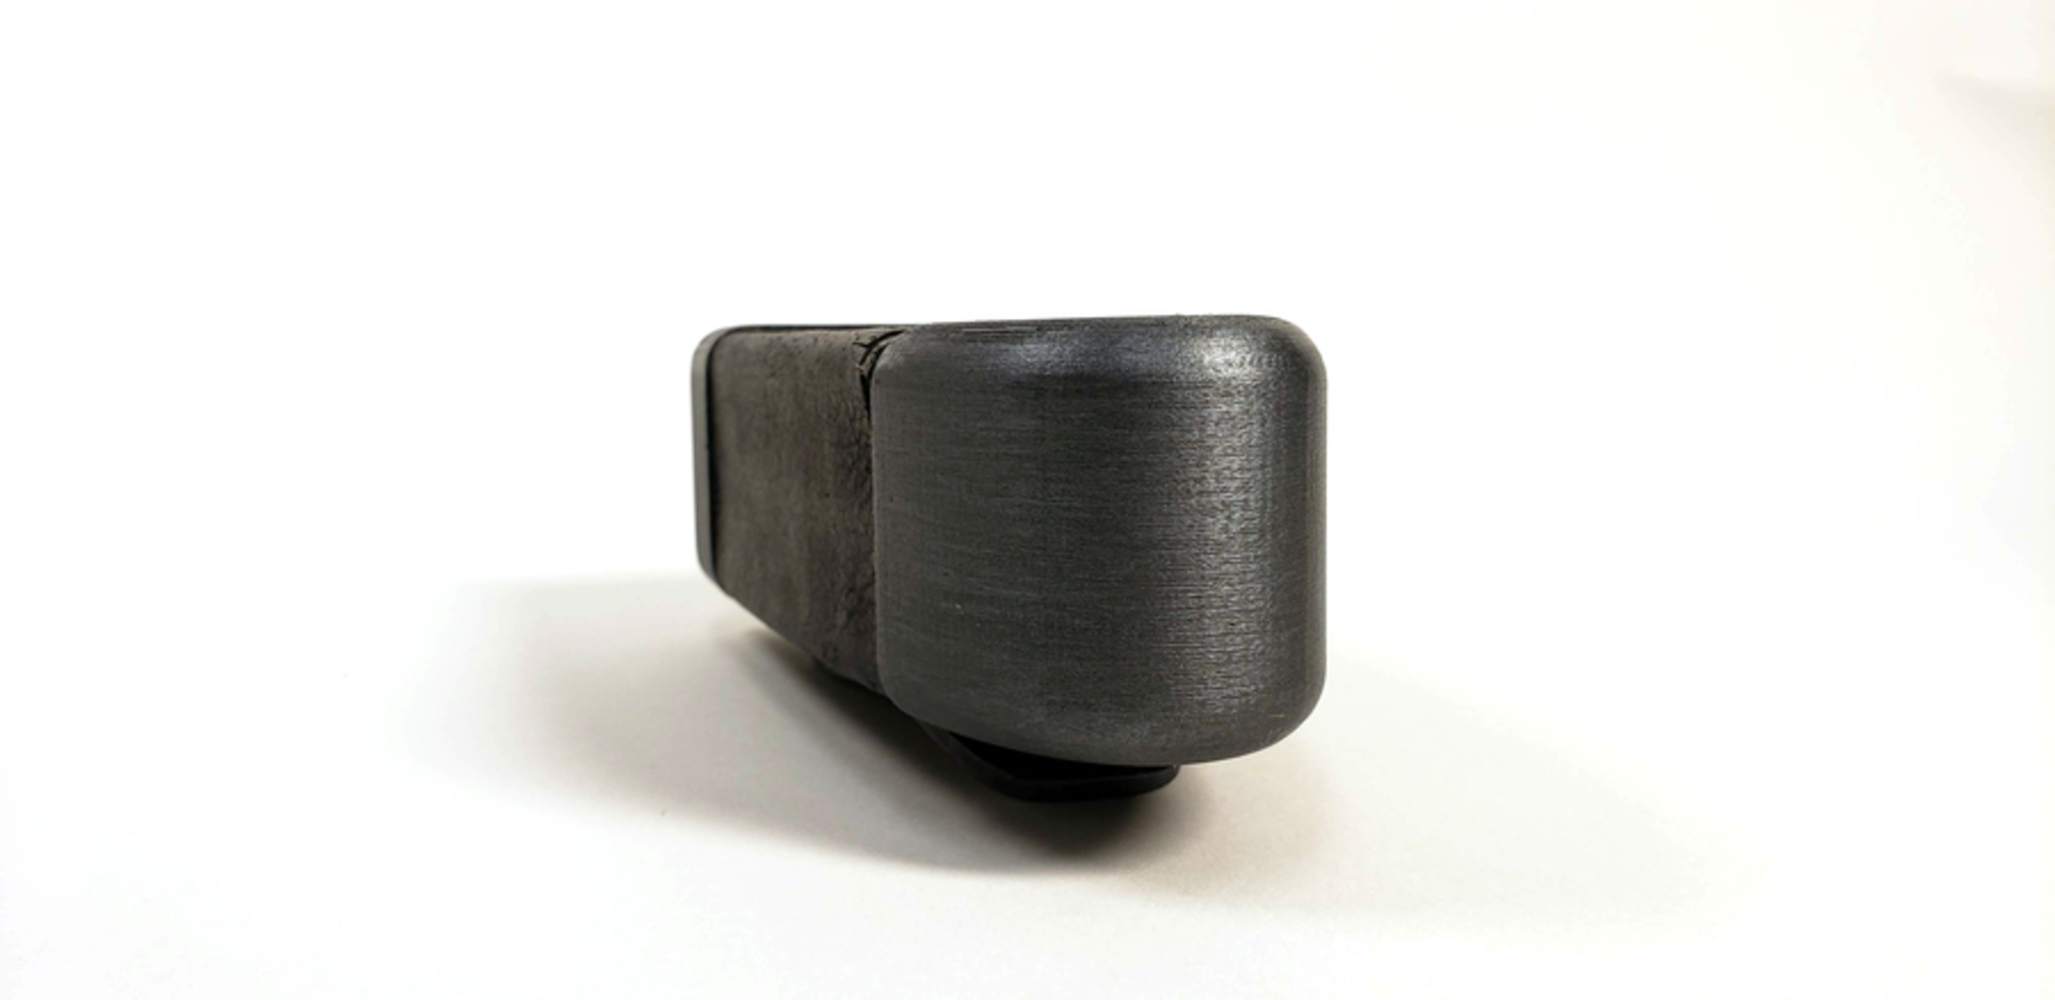
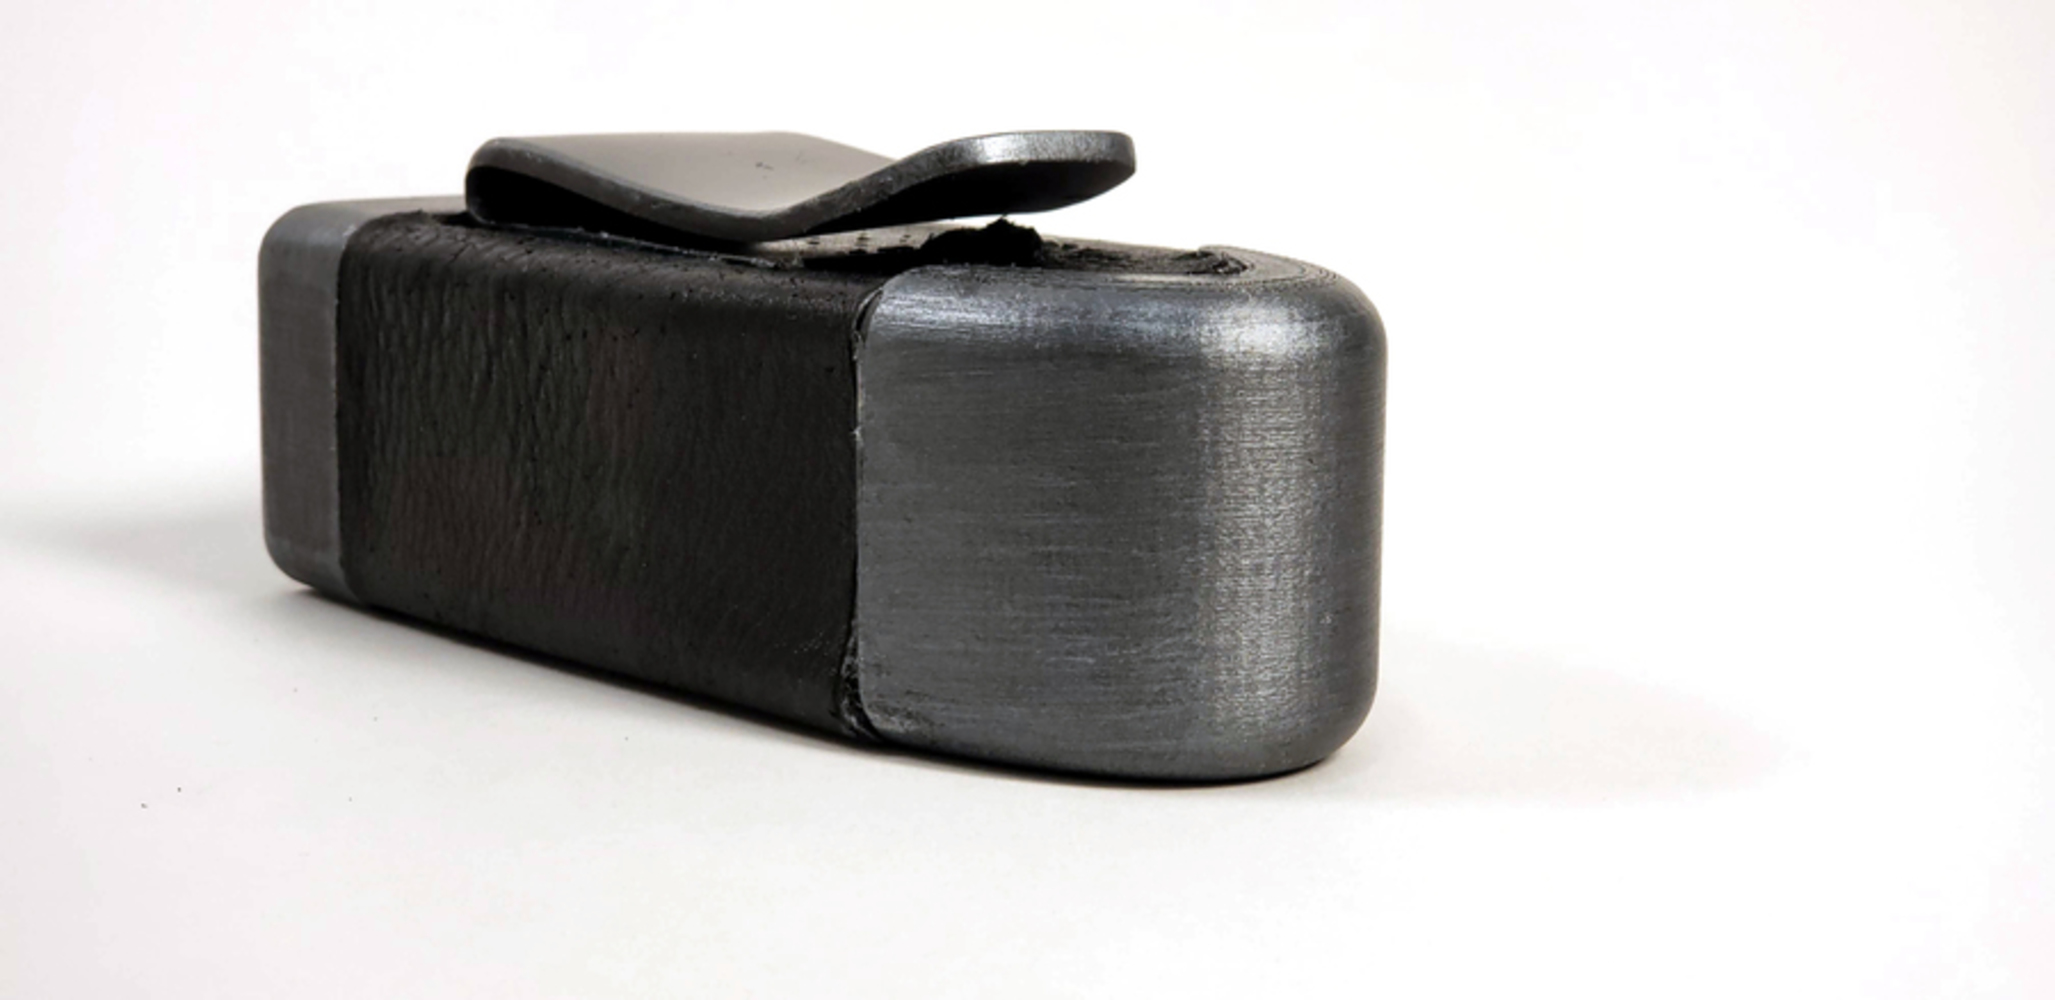
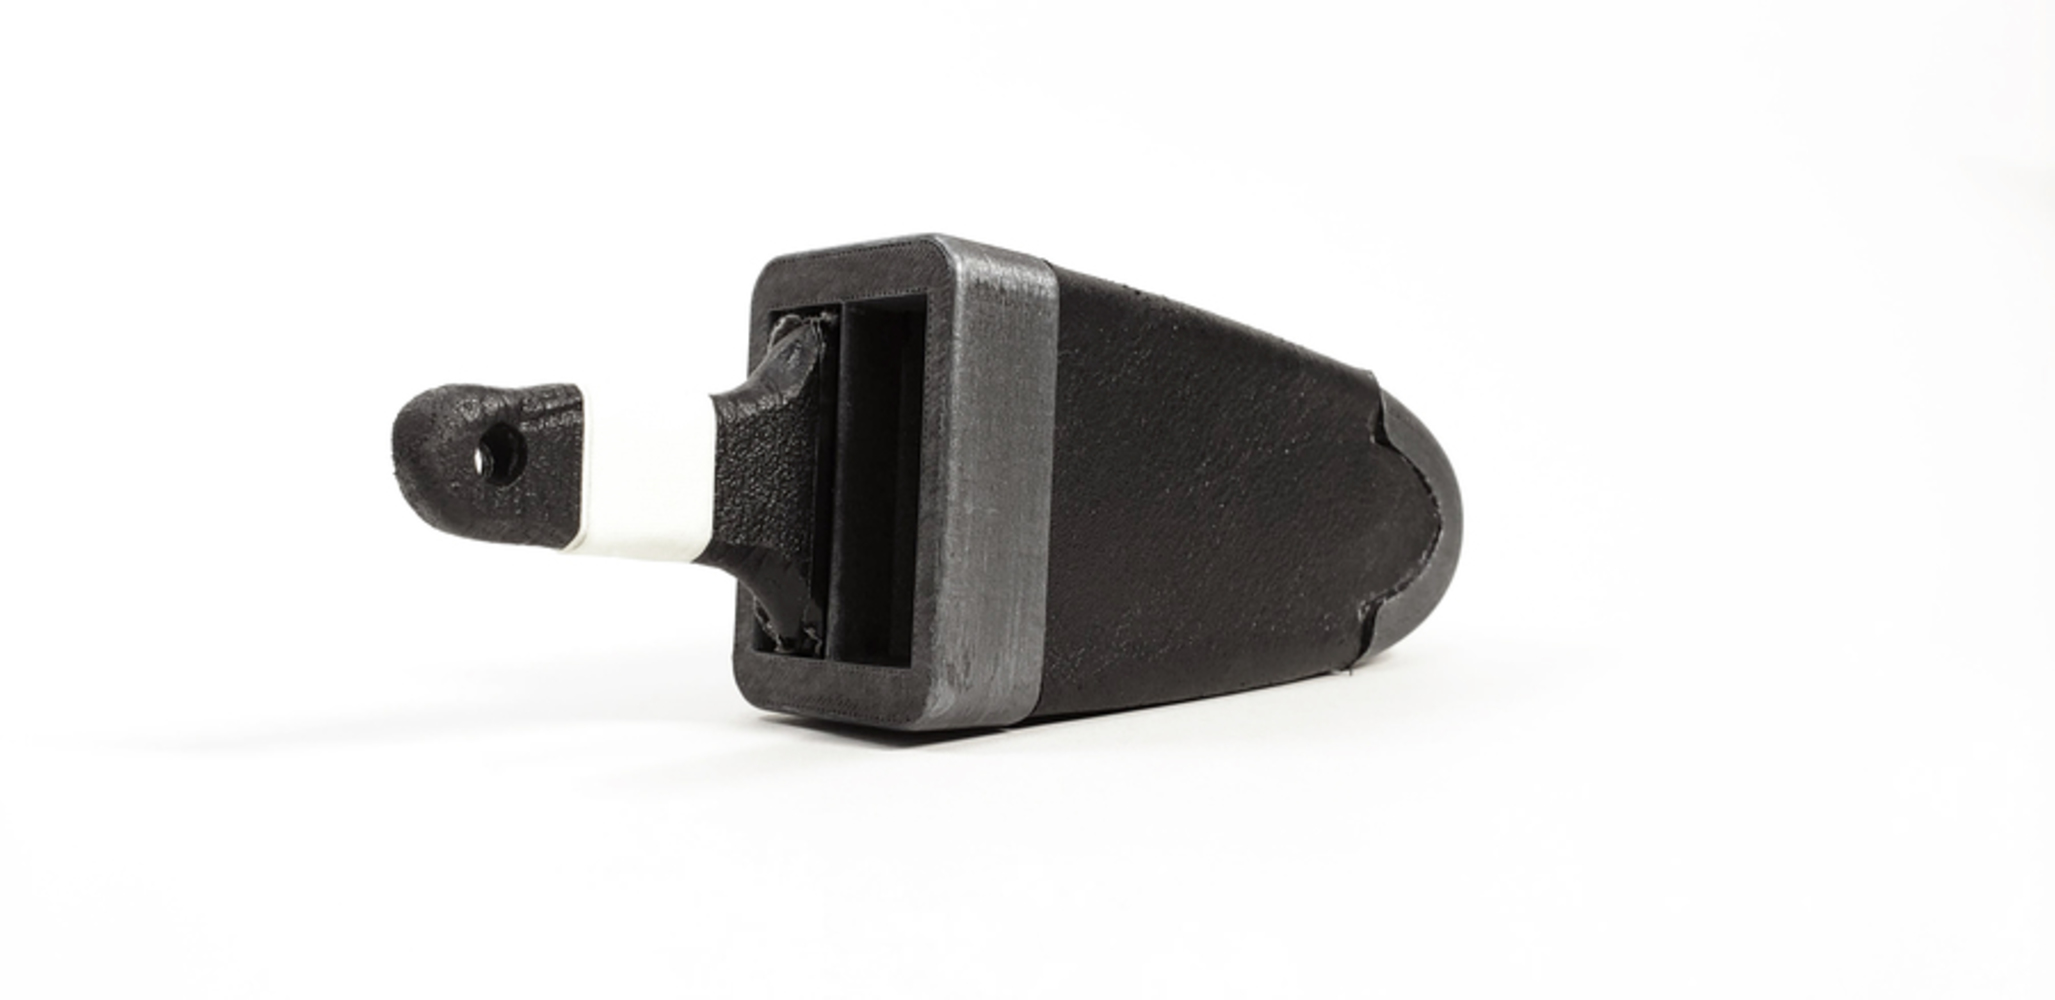
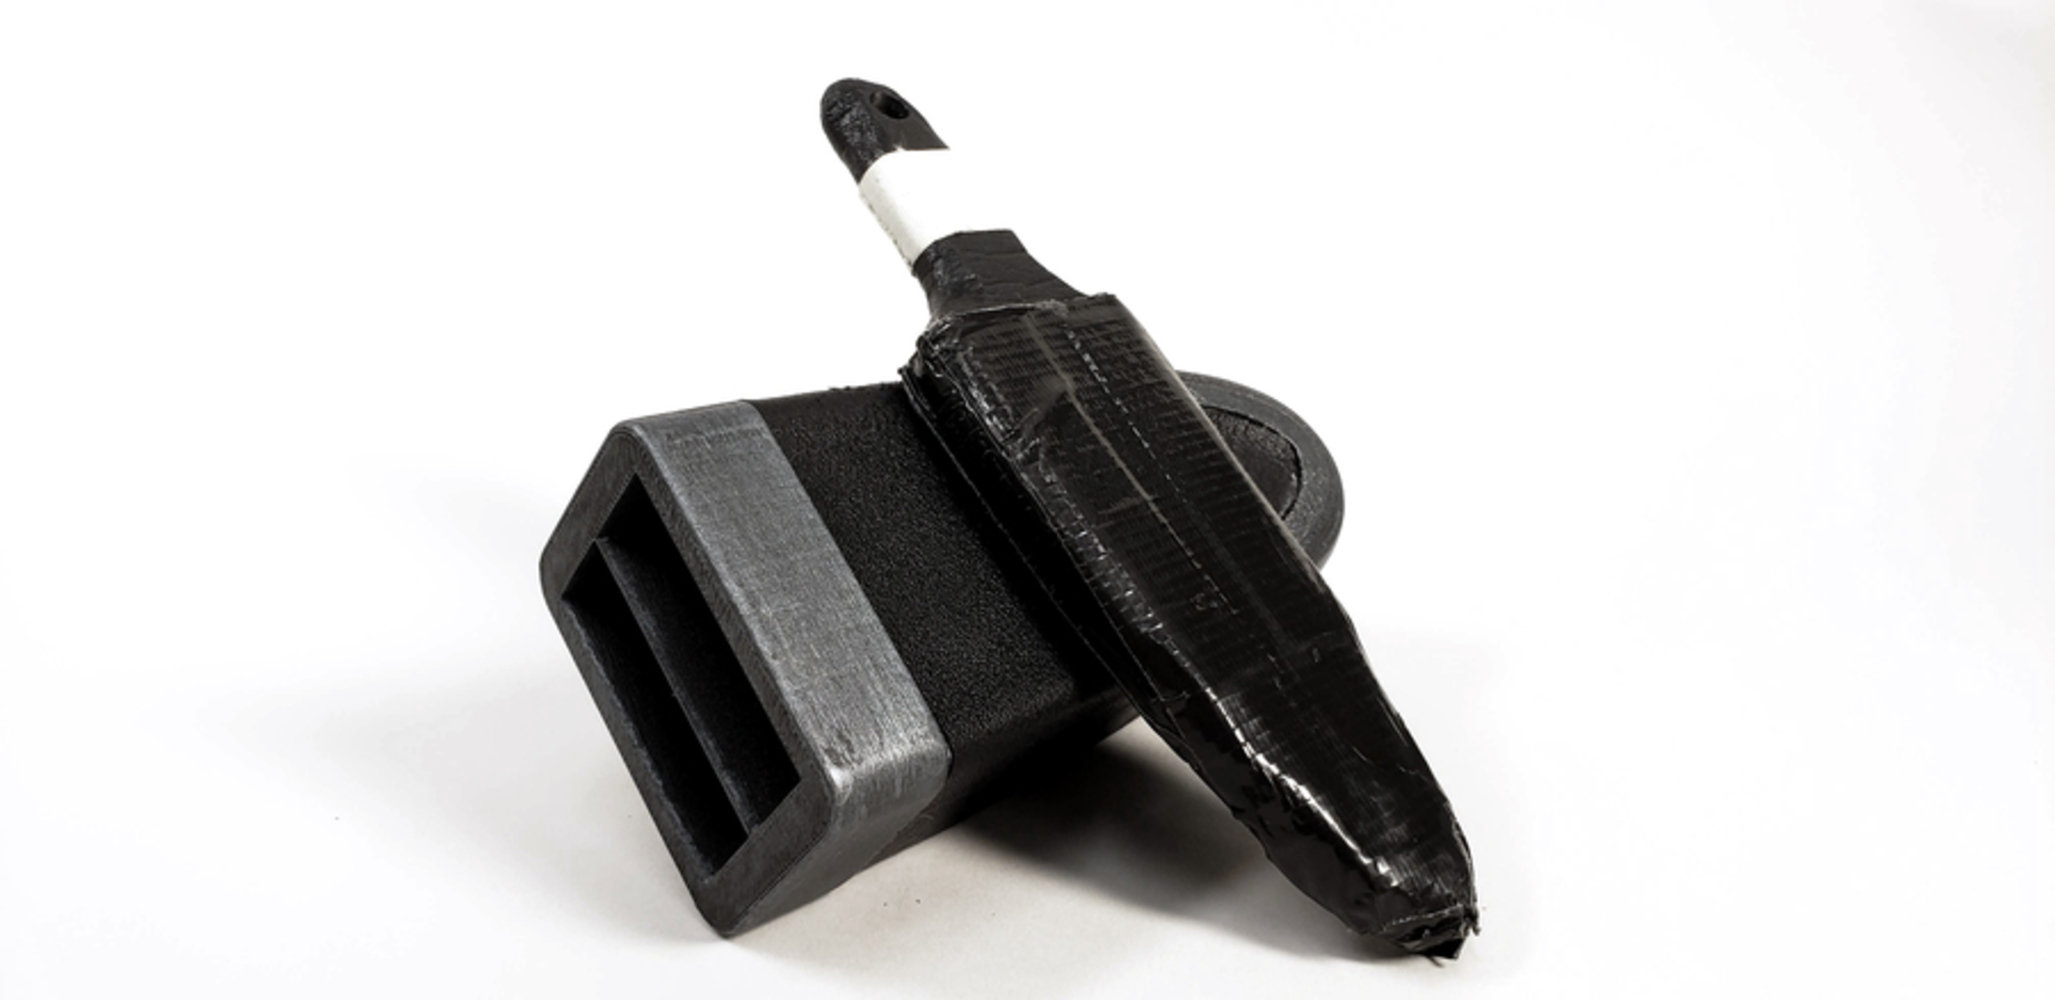
Part of the point of LARP is to have fun. So, I have fun when I can throw these foam throwing daggers, because nobody else does and it's satisfying getting those sneak attacks in. However, I only have built storage that's quick and easy to access, and this holds tow of these guys. It's not that fun when you have to think about picking them up right after you've thrown them. 

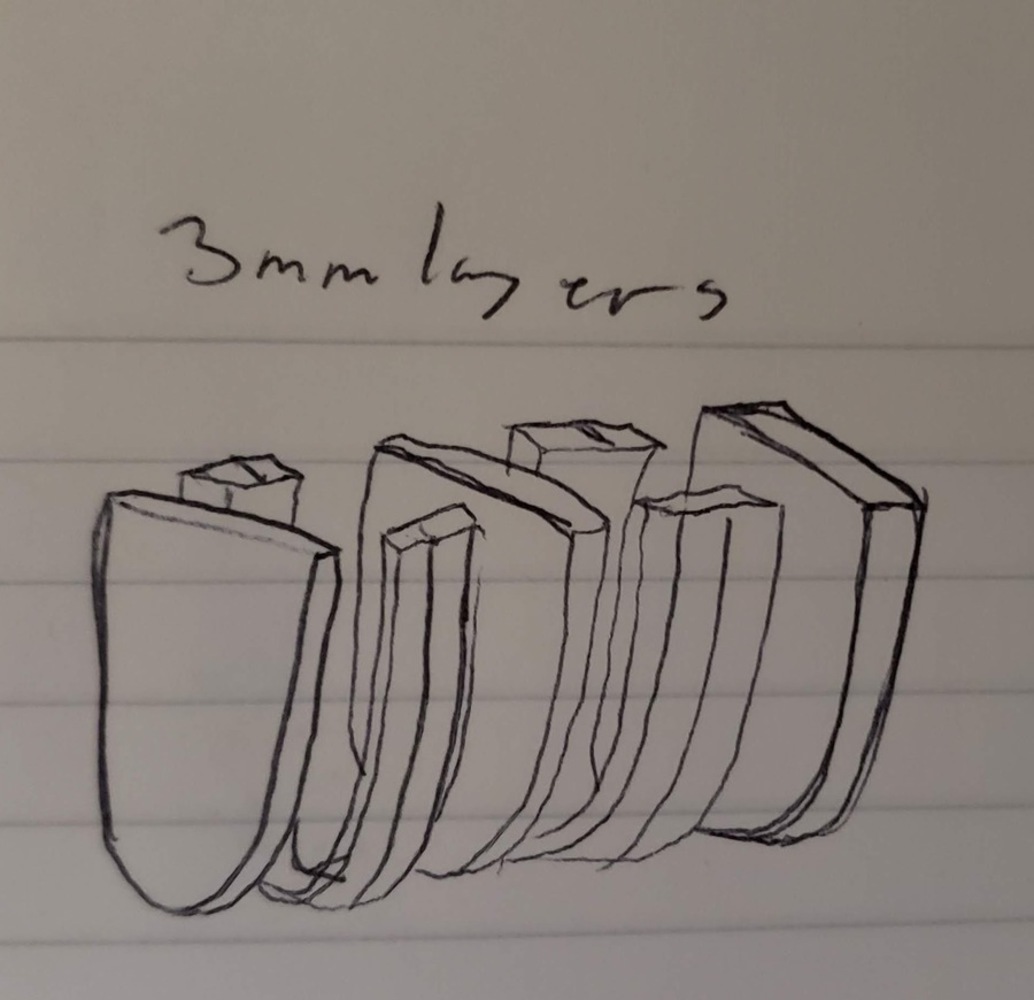
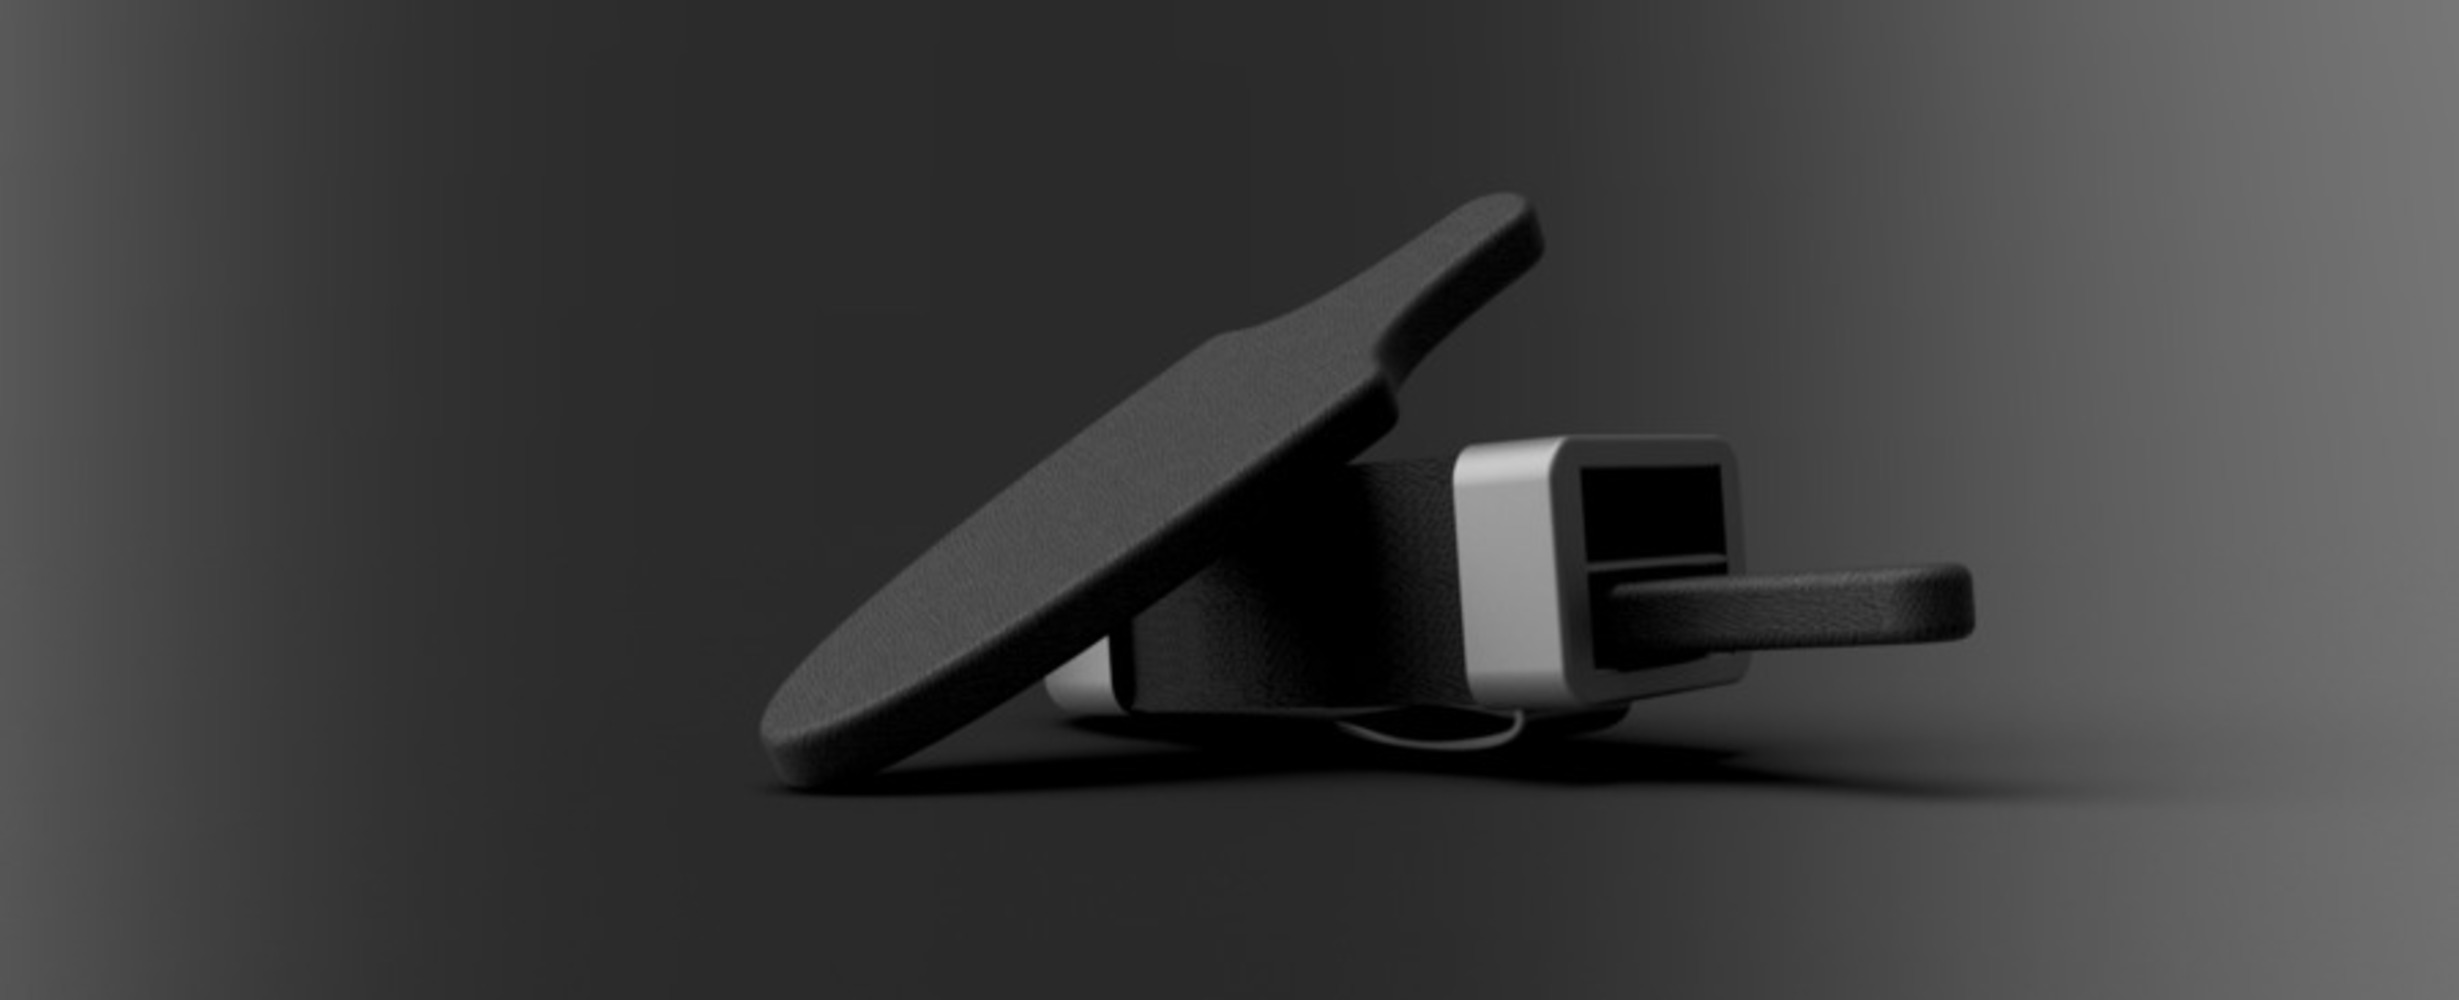
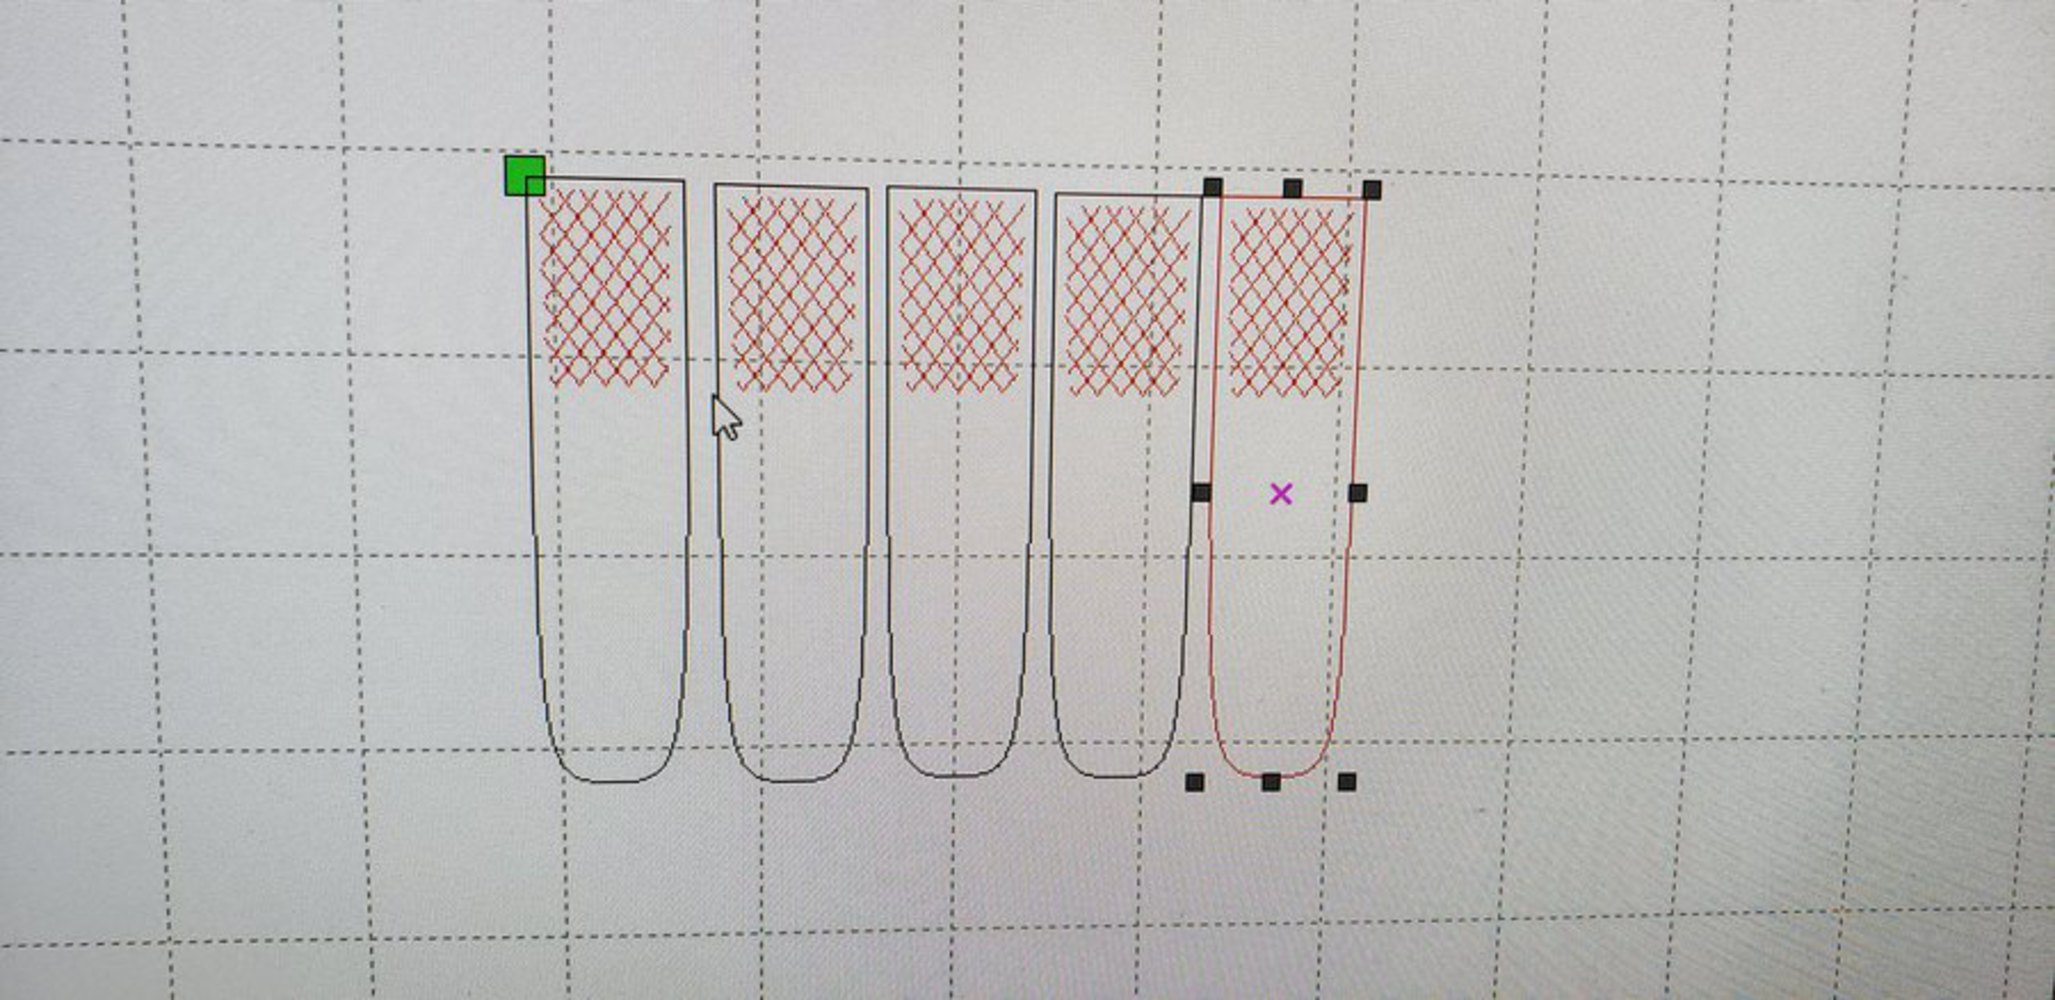
My goal, then , was to be able to hold as many as these guys on me as I possibly could, and I had a lot of empty belt room.

20181002 221600.thumb
Show Advanced Options
20181002 222223.thumb
Show Advanced Options
20181002 222228.thumb
Show Advanced Options

My solution started as two locking 3D printed parts, but I realized I could speed things up by having the main body be laser cut. Plus, the dimensions with the existing throwing dagger template worked out. The more digital fabrication I could access, the more of these I could crank out.

I was inspired by high fantasy, after all, that was the LARP setting. I also though it would be a more efficient use of space if I stacked multiple daggers on top of one another, and so it made more sense to design it like a scabbard, fit for one sword. 

Holder render 3.thumb
Show Advanced Options
Holder render 4.thumb
Show Advanced Options
Holder render 5.thumb
Show Advanced Options
Holder render 1.thumb
Show Advanced Options
Holder render 2.thumb
Show Advanced Options
20181004 115509.thumb
Show Advanced Options
20181004 115916.thumb
Show Advanced Options
20181004 132220.thumb
Show Advanced Options
20181005 163434.thumb
Show Advanced Options
20181005 204208.thumb
Show Advanced Options
20181005 204133.thumb
Show Advanced Options
20181005 232639.thumb
Show Advanced Options

I got a lot of my process from the Laptop Stand class assignment, since I used a lot of dimensioned sketches and joining extruded solids, and then filleting to clean up. It's pretty similar to the workflow I would have used with Rhino, honestly. I enjoy how easy  Fusion 360's render mode is, and it probably has a steep learning curve, but since I'm more familiar with Rhino and VRay rendering, I'll still use that since I know how to squeeze quality out of it.

20181005 233937.thumb
Show Advanced Options
20181005 234833.thumb
Show Advanced Options
20181005 234838.thumb
Show Advanced Options
20181006 001013.thumb
Show Advanced Options
20181006 001344.thumb
Show Advanced Options

I gave myself plenty of time to prototype. The NVBot prints fit snugly, and were sized just right. I wouldn't need any glue to hold it together since the print inconsistencies left little bumps to dig into the laser cut wood. However, the post-processing time and effort would have added 3-4 hours of work and wait. I reprinted on the Stratasys, and just like that I had the quality I wanted, just now it was a bit loose. I cut out a 2mm craft foam spacer and the problem was resolved.

20181005 235914.thumb
Show Advanced Options
20181006 001557.thumb
Show Advanced Options
20181006 001731.thumb
Show Advanced Options
20181006 002656.thumb
Show Advanced Options
20181006 003109.thumb
Show Advanced Options
20181006 003631.thumb
Show Advanced Options

Assembly went well, but I hit some challenges, expected and unexpected. I do so much by eye now that I didn't feel like making a jig for the acrylic tab, and I knew it'd take some practice, so I cut it out three times. The first one was bad, as expected. The second two were pretty good, although one developed a crack since I bent it a little too close to where it was scored, and the other didn't bend in enough to really grab a belt, so I ended up using the second one. When I looked for wood glue in Phys Comp, I couldn't find any, so I had to use normal white glue to hold the wood together. However, I learned that Phys Comp has a 2-part epoxy. Very nice. The bottles didn't have instructions, so I had to Google it, and that stuff was solid. The scores on the acrylic combined with the porosity of the wood created a monster of a bond. I also used it to glue the plastic parts to the wood.

20181006 164112.thumb
Show Advanced Options
20181007 205128.thumb
Show Advanced Options
20181007 195451.thumb
Show Advanced Options
20181007 205128.thumb
Show Advanced Options
20181008 005801.thumb
Show Advanced Options

Some strengths of the project were that for the most part, it is very quick to make the bodywork for. I could have the 3D printed parts making multiple sets overnight, and the laser cut pieces are even faster to make. However, contrary to my desires, the acrylic bending process requires some finesse, and painting just takes time to get the base coat/primer on, and then to hand-detail the rest. Most of all, the leather was a big pain, mostly because I did it by eye. Even taking my time, there are still some messy edges, and then I had to glue it down in steps since the leather can stretch, messing up alignments. 

Holder 2.thumb
Show Advanced Options
Holder 3.thumb
Show Advanced Options
Holder 5.thumb
Show Advanced Options
Holder 4.thumb
Show Advanced Options
Holder 7.thumb
Show Advanced Options
Holder 8.thumb
Show Advanced Options
Holder 1.thumb
Show Advanced Options
Holder 6.thumb
Show Advanced Options

I still really like the final product. It's clean, the materials are a good contrast with the leather and plastic. It stays on a belt well, and it holds the daggers just tightly enough that they won't fall out, but one doesn't need a lot of force to pull them out. It also matches with a lot of outfits, and really a good chunk of the fun of LARP is looking the part. I'll be making more of these, provided printing isn't expensive and I still have scrap leather, because I'm not looking forward to buying more. Ideally I'd have six more of these since I can in-game carry up to fourteen daggers at once.

Drop files here or click to select

You can upload files of up to 20MB using this form.