Back to Parent

Outcome


Intention

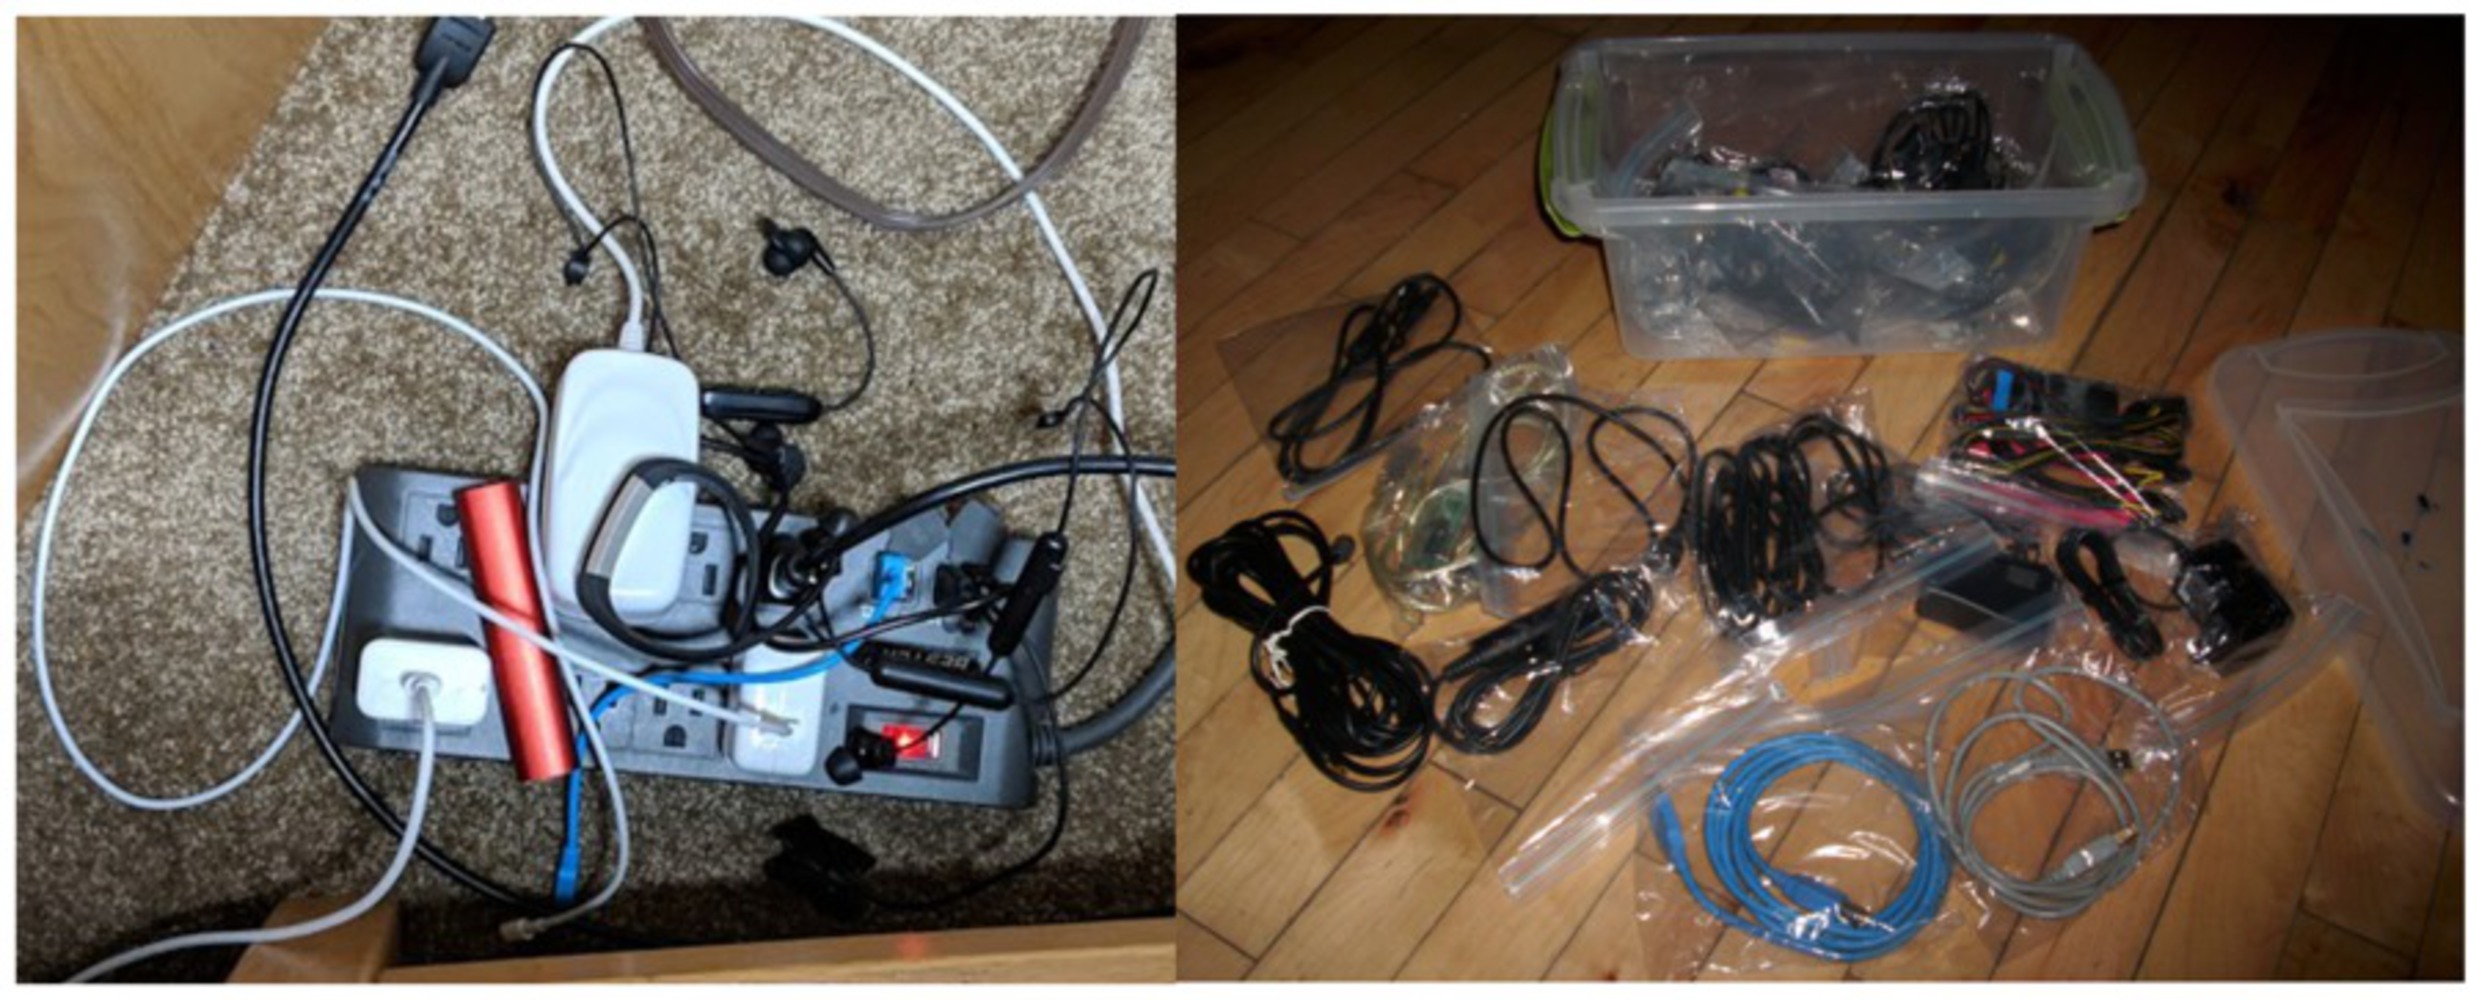
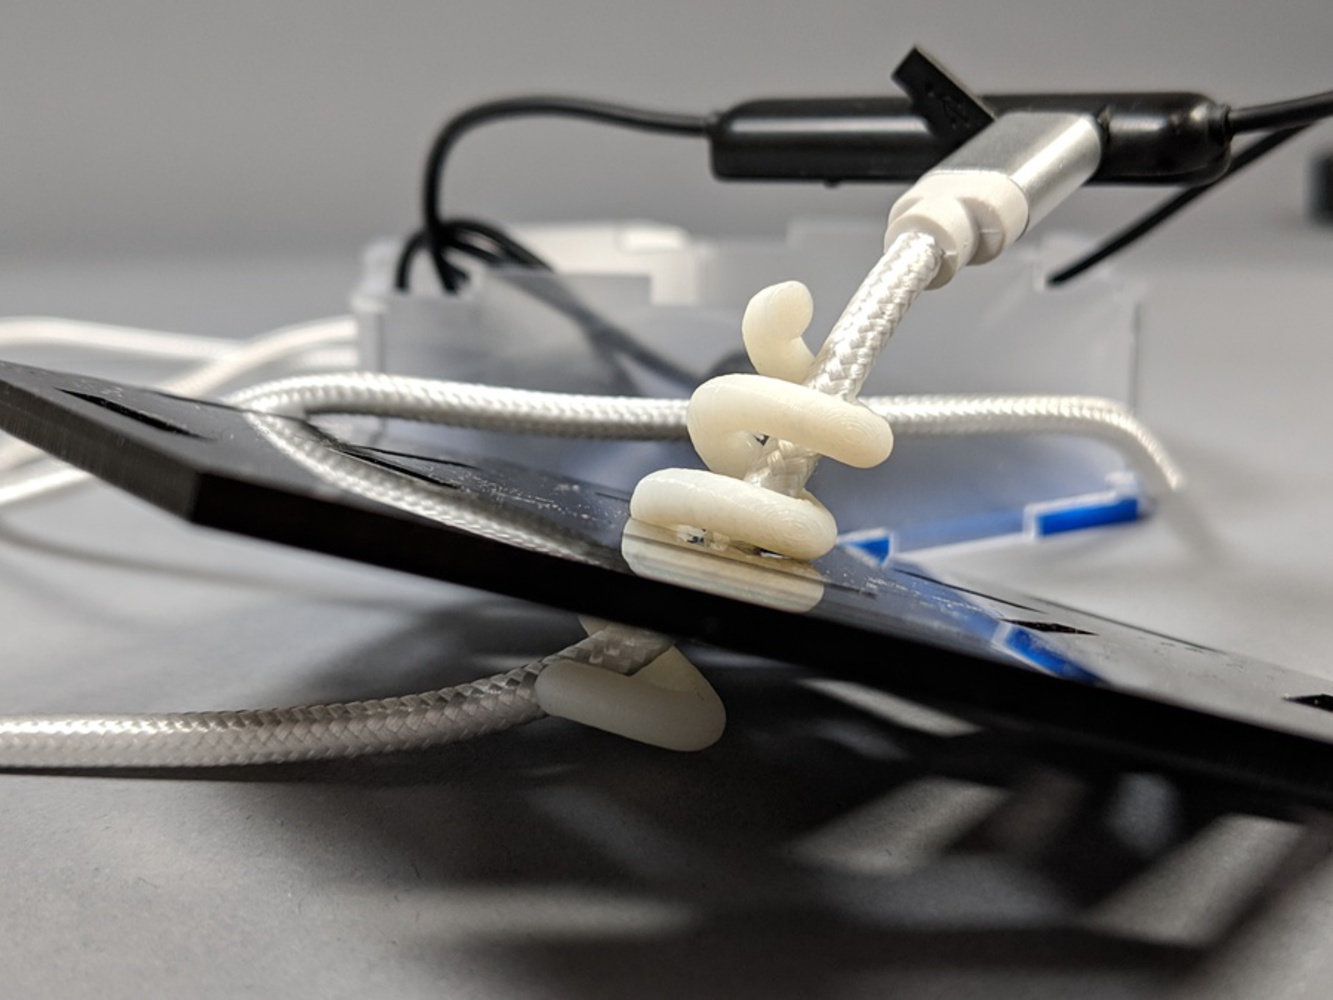
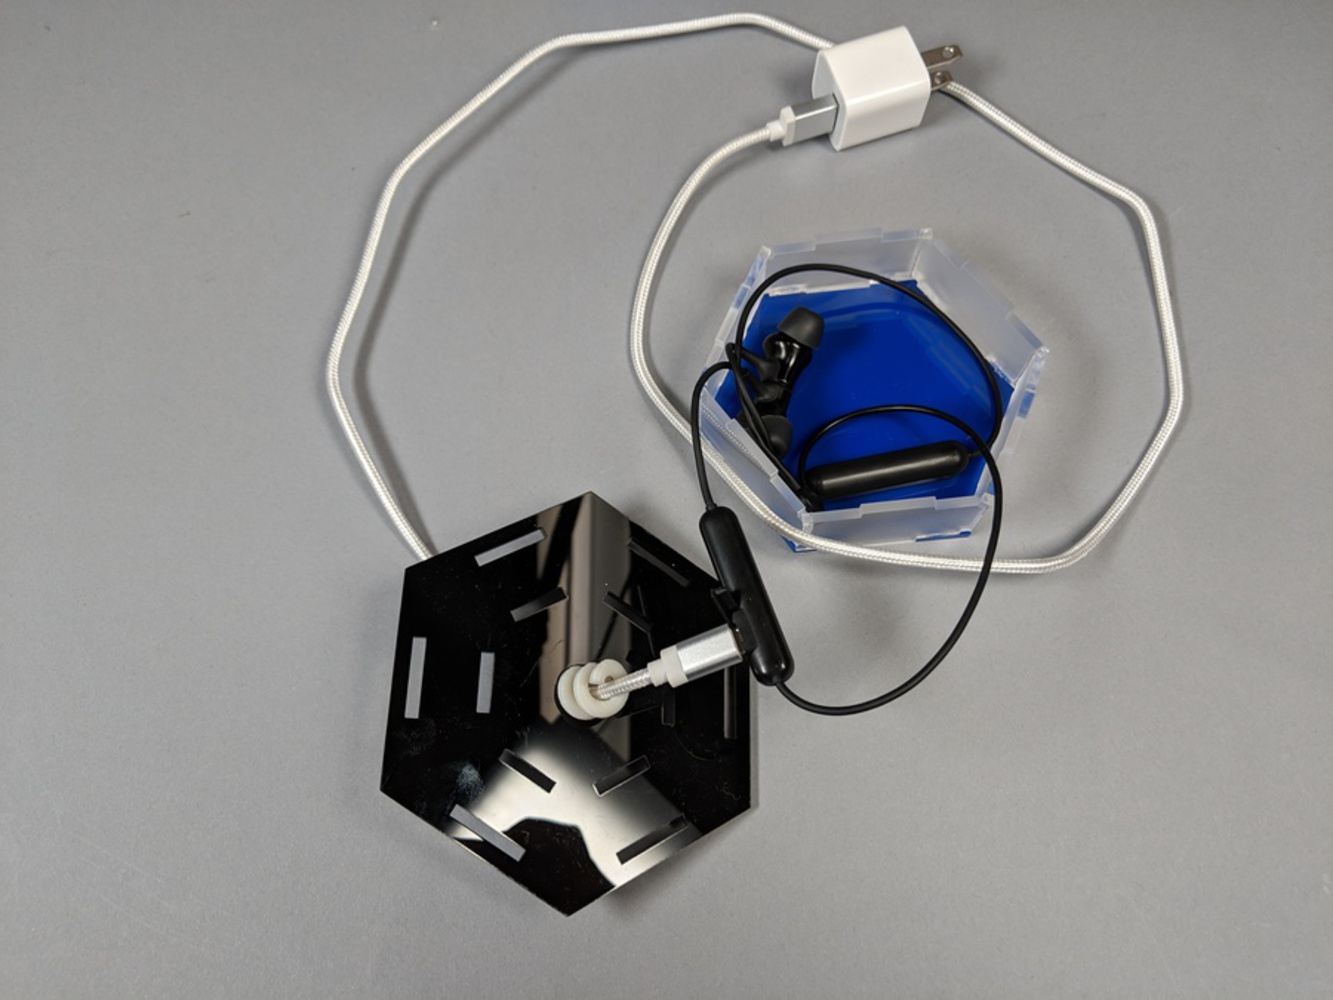
Next to my desk are a bunch of cords belonging to a variety of small devices like external chargers and earbuds of different kinds. It becomes tangled and trying to pull one set of earbuds without unplugging anything else is difficult. It is also hard to manage the cords when going on a trip and making sure to always bring the right one.

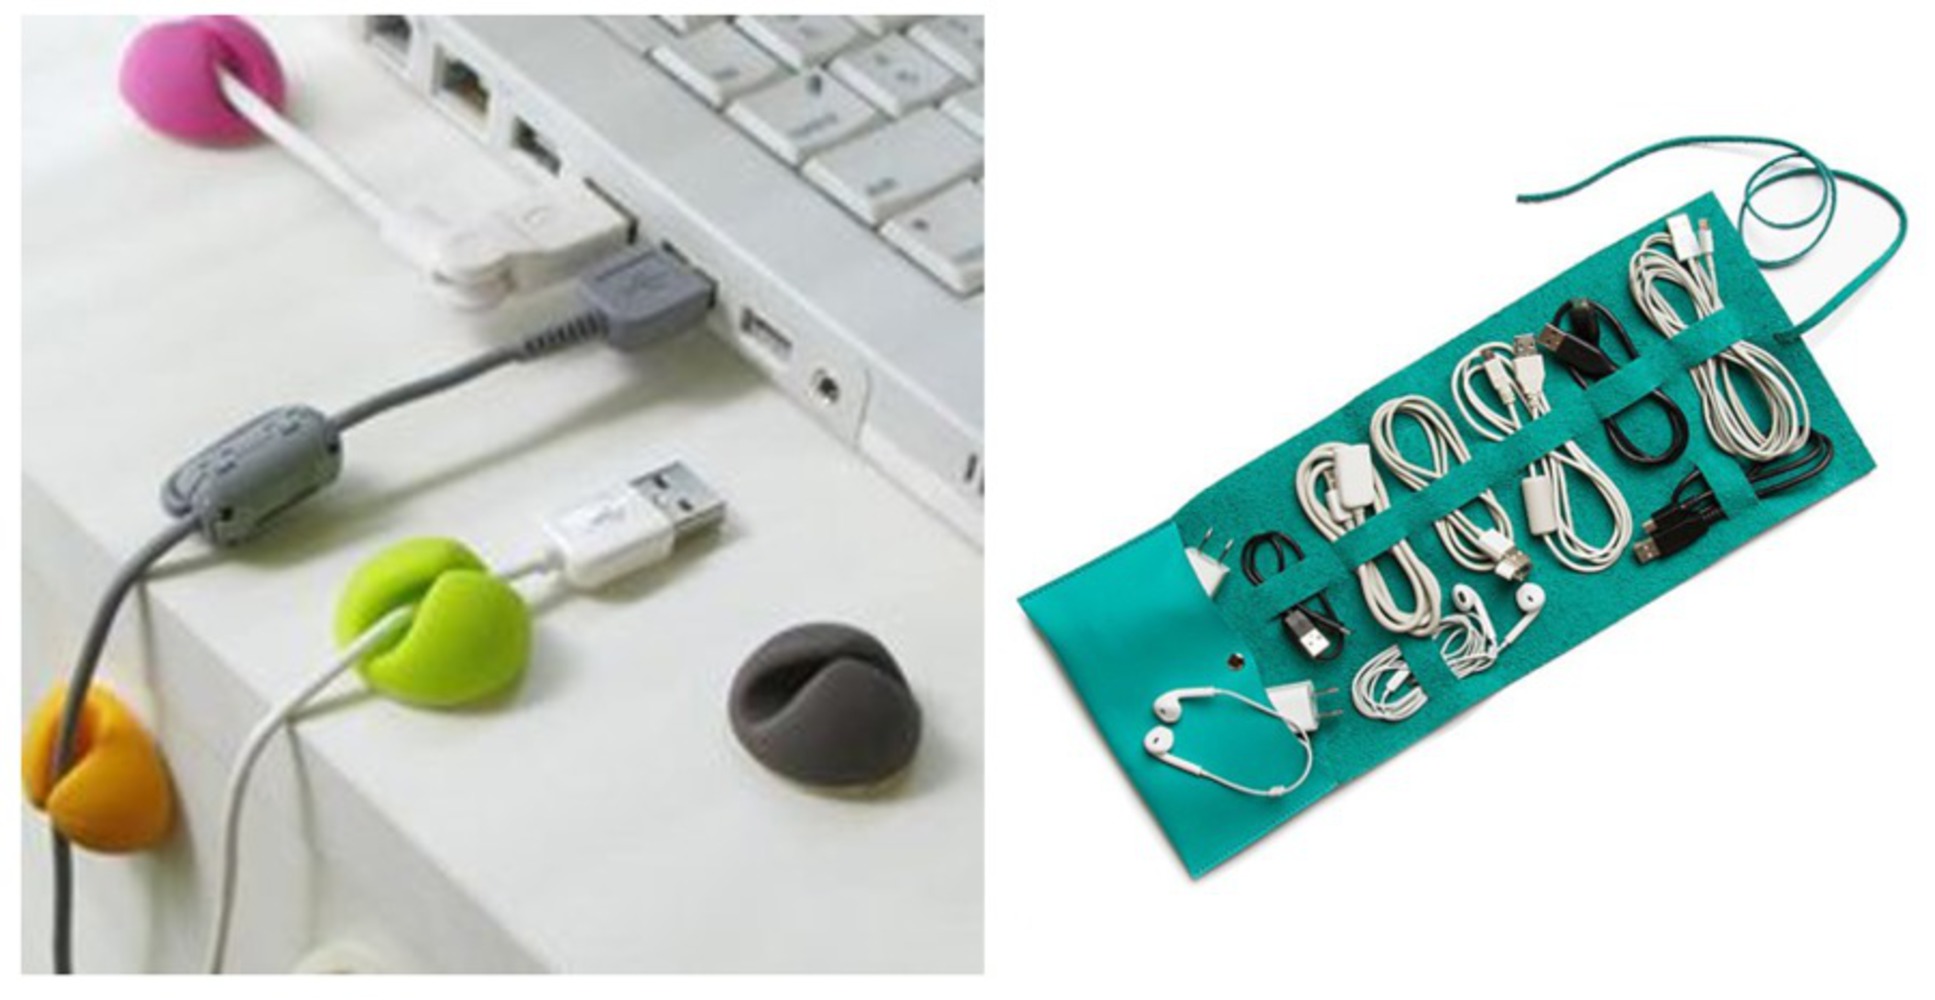
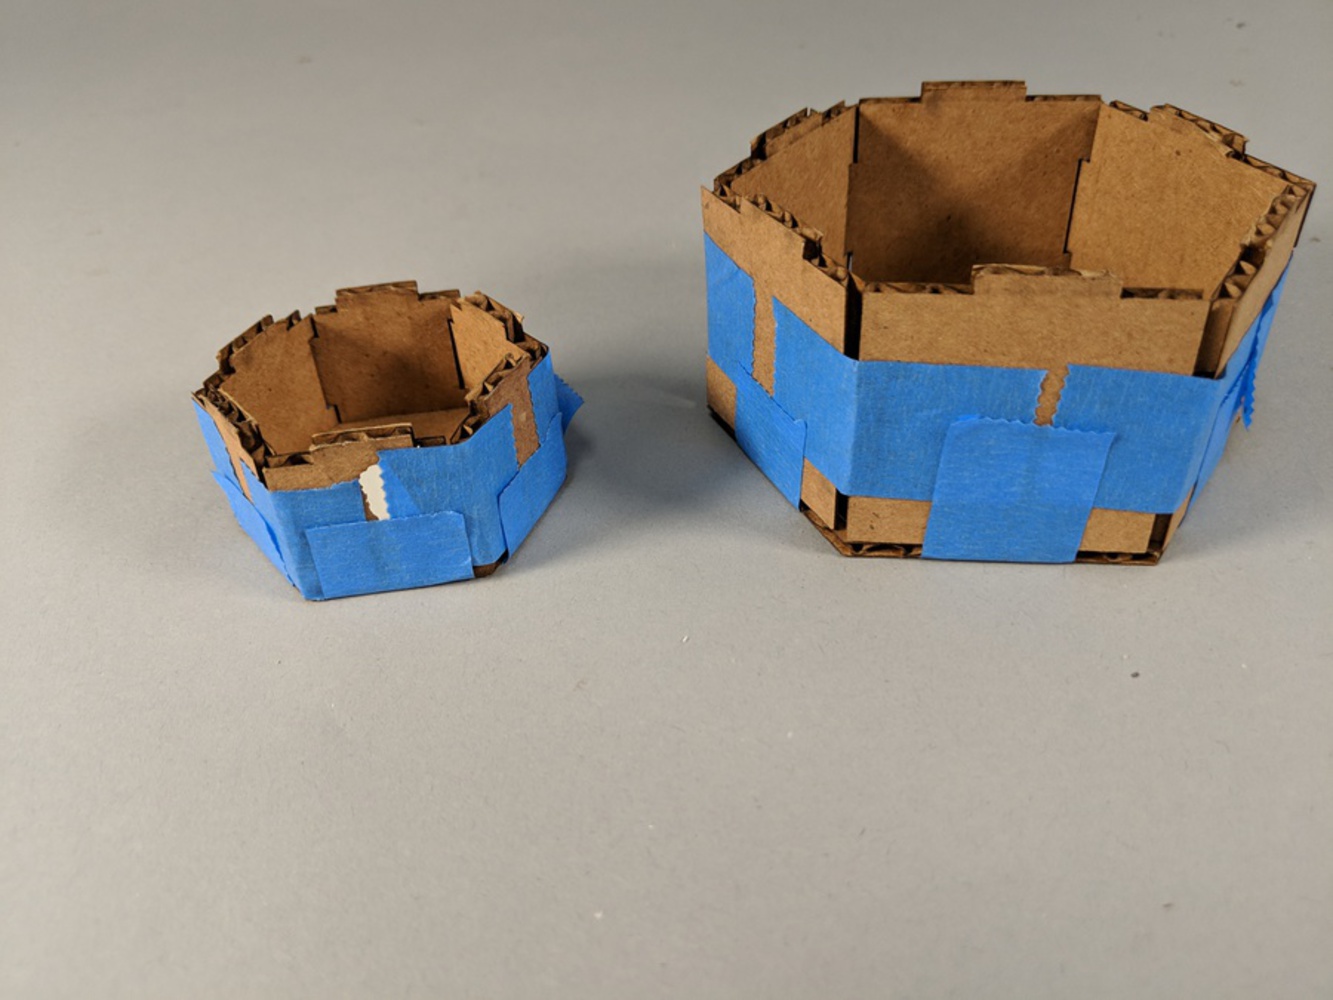
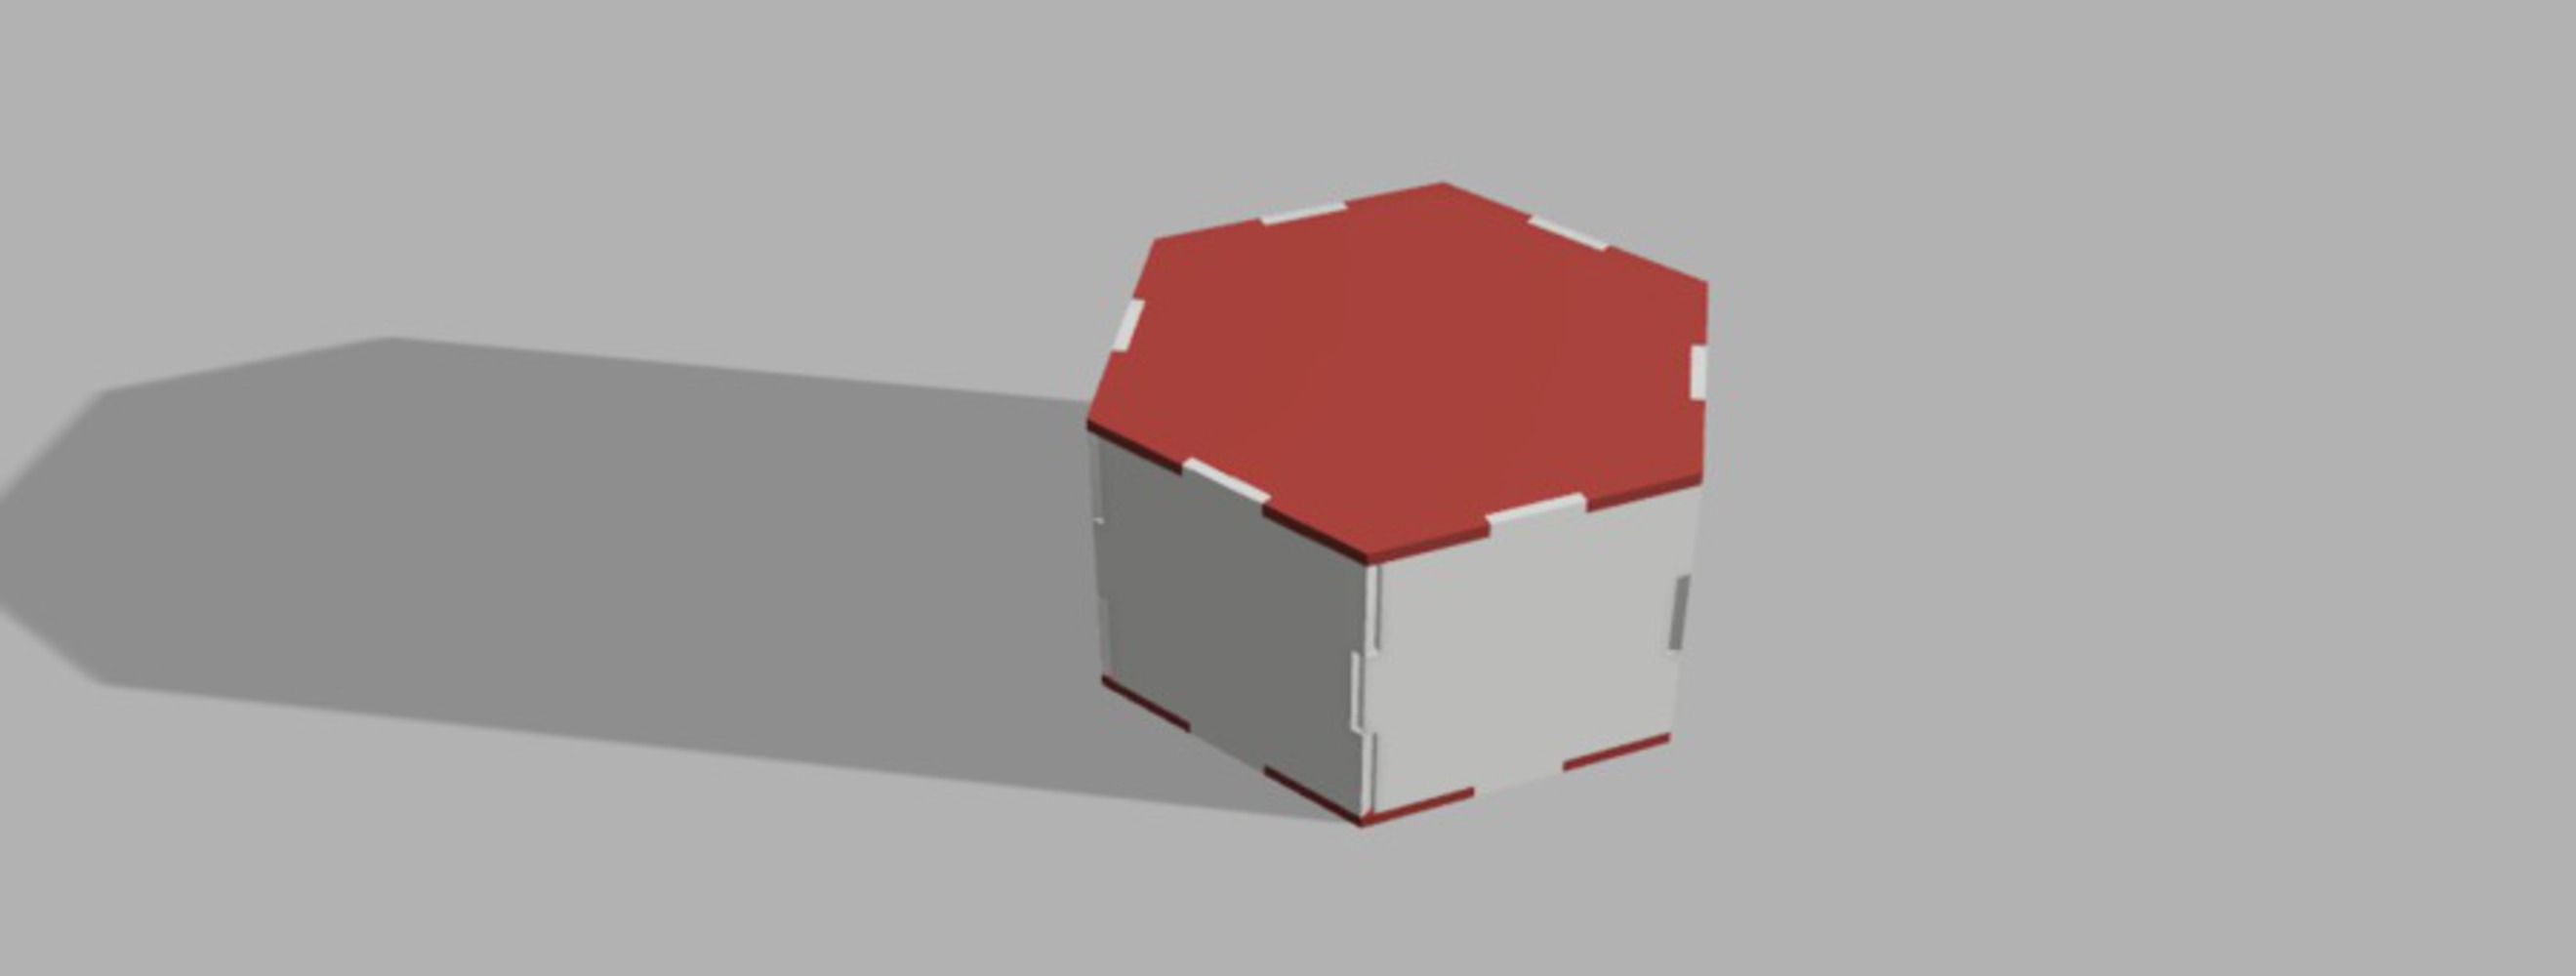
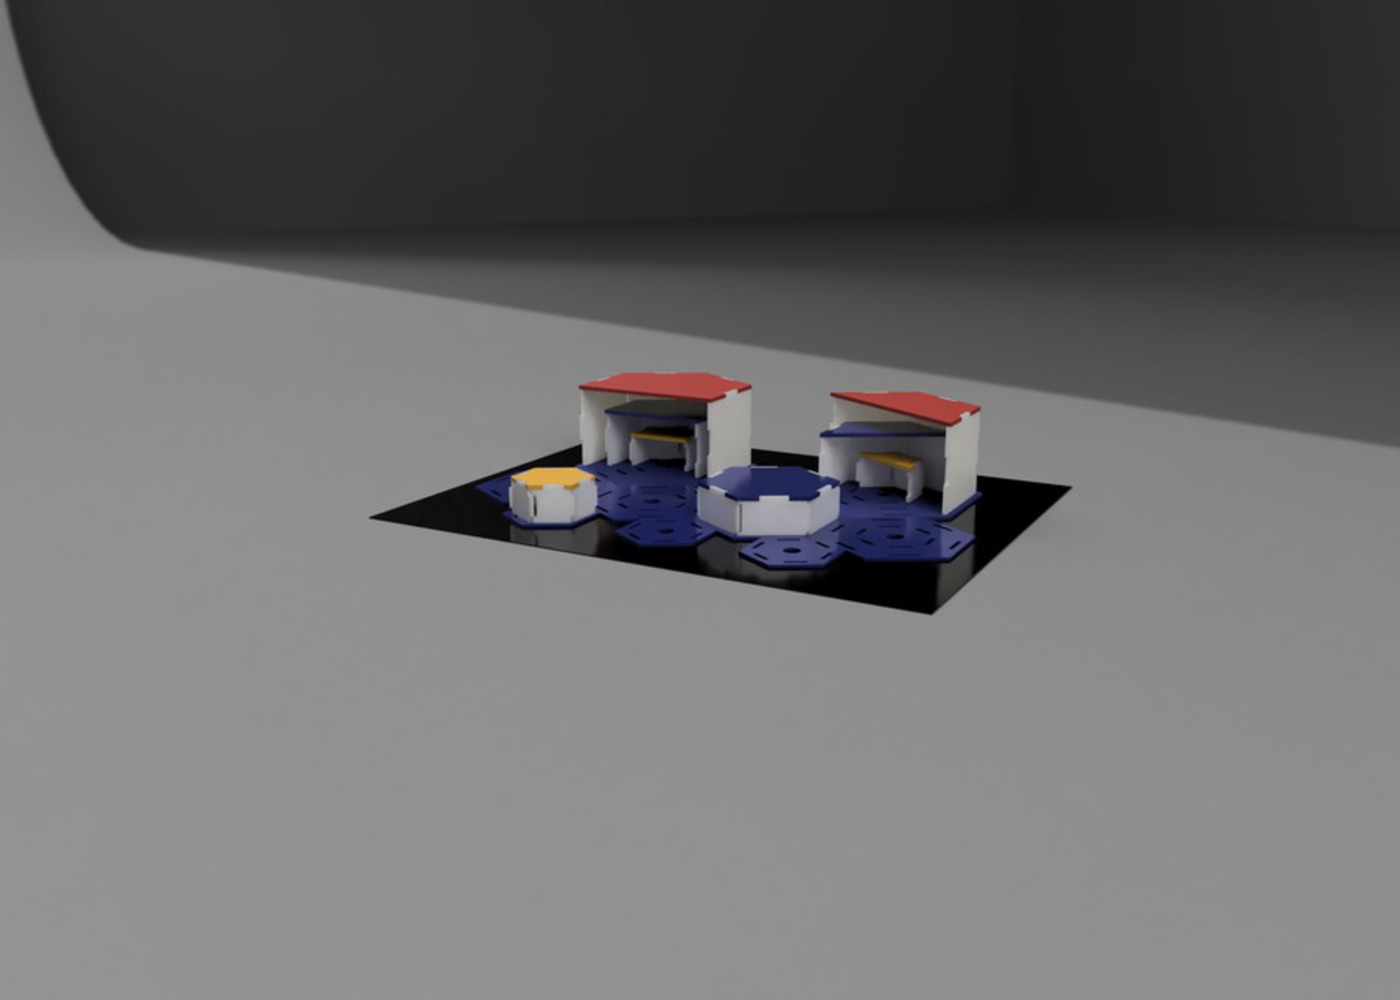
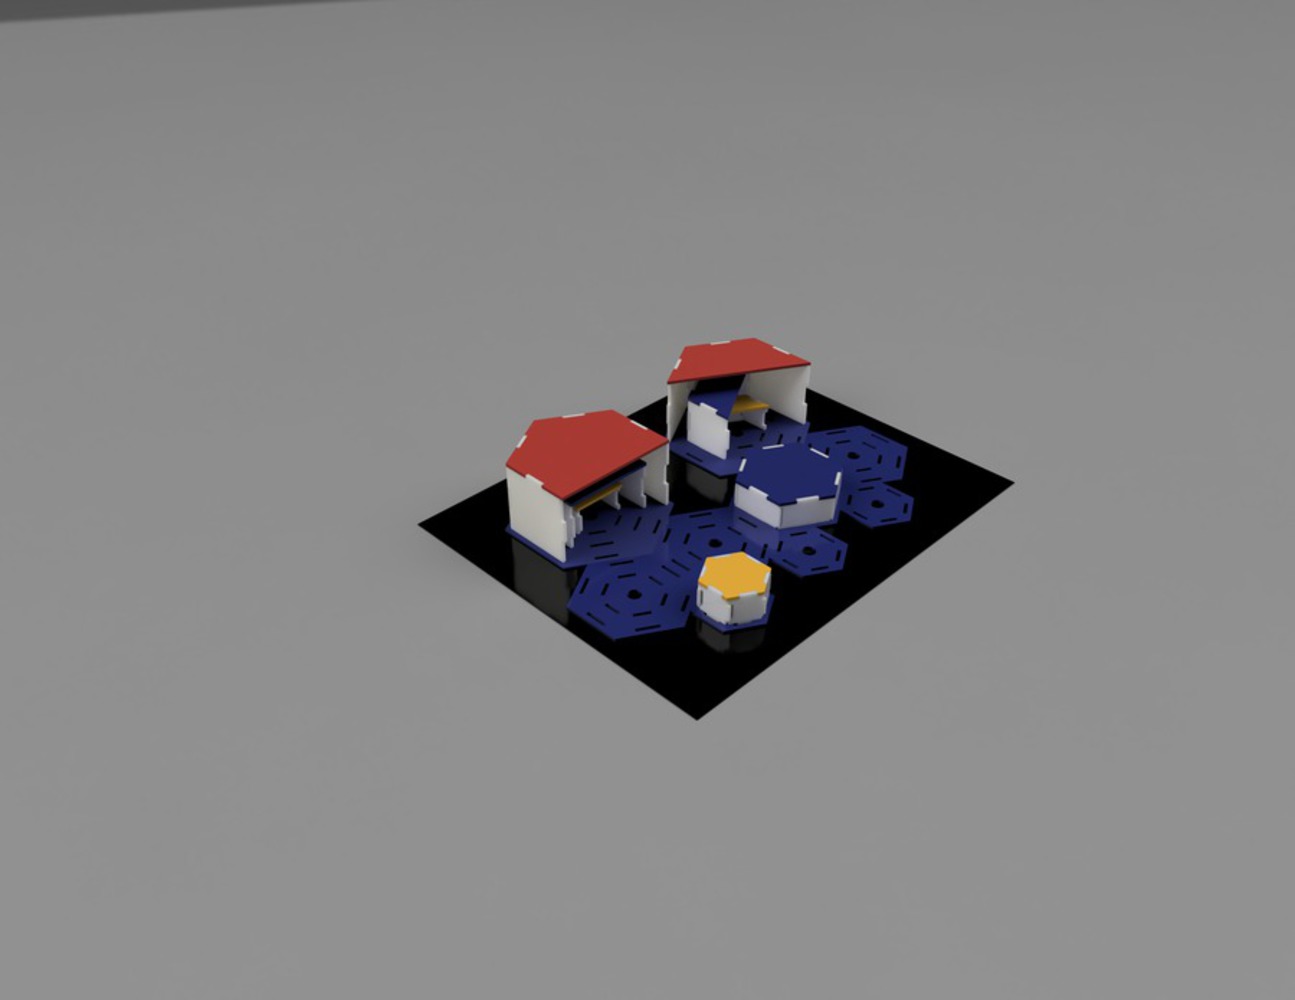
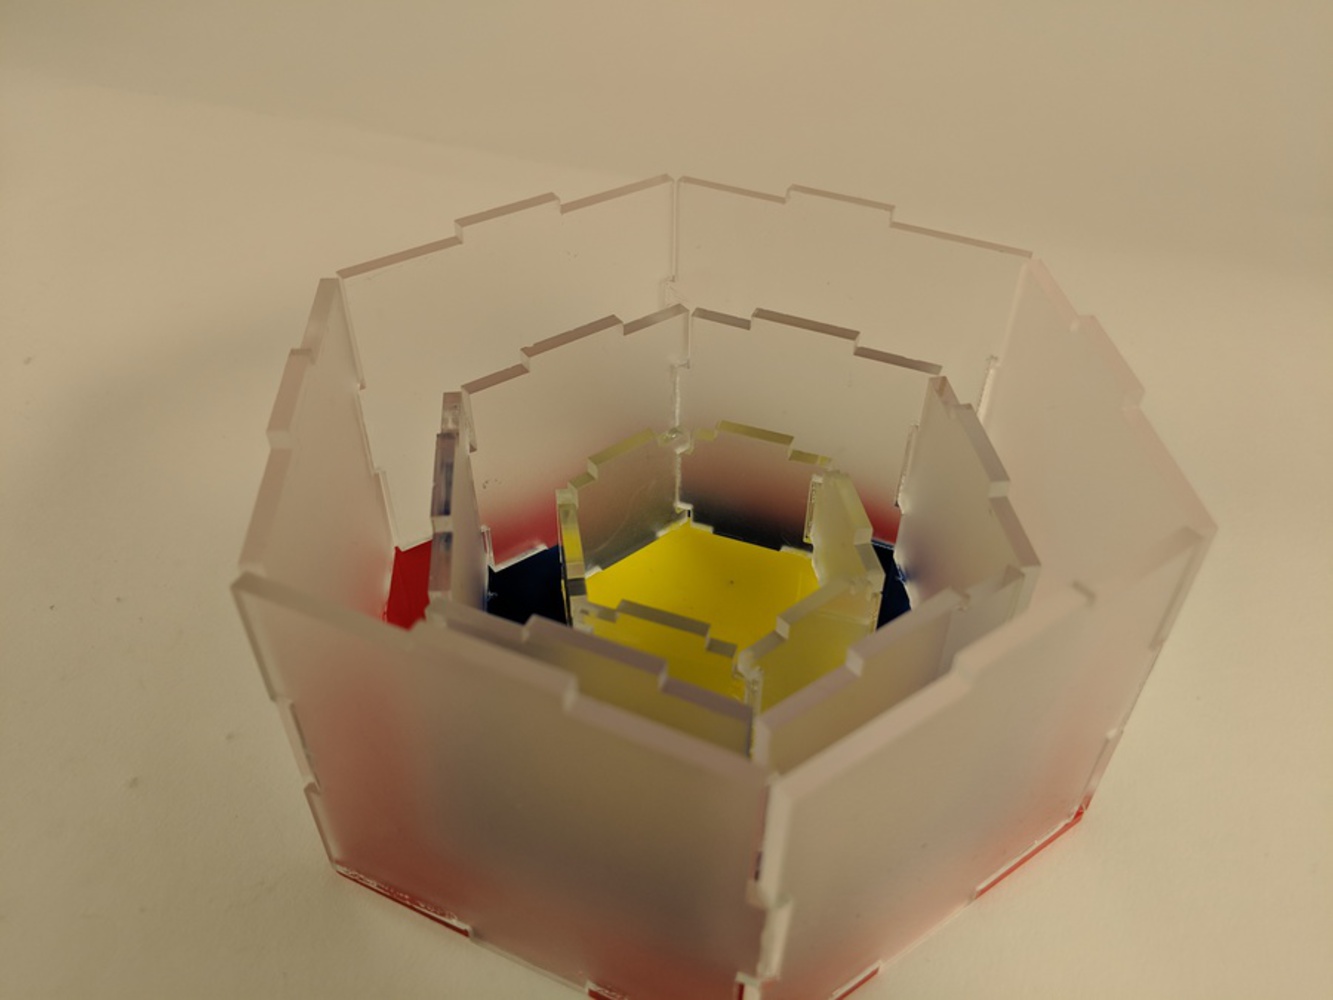
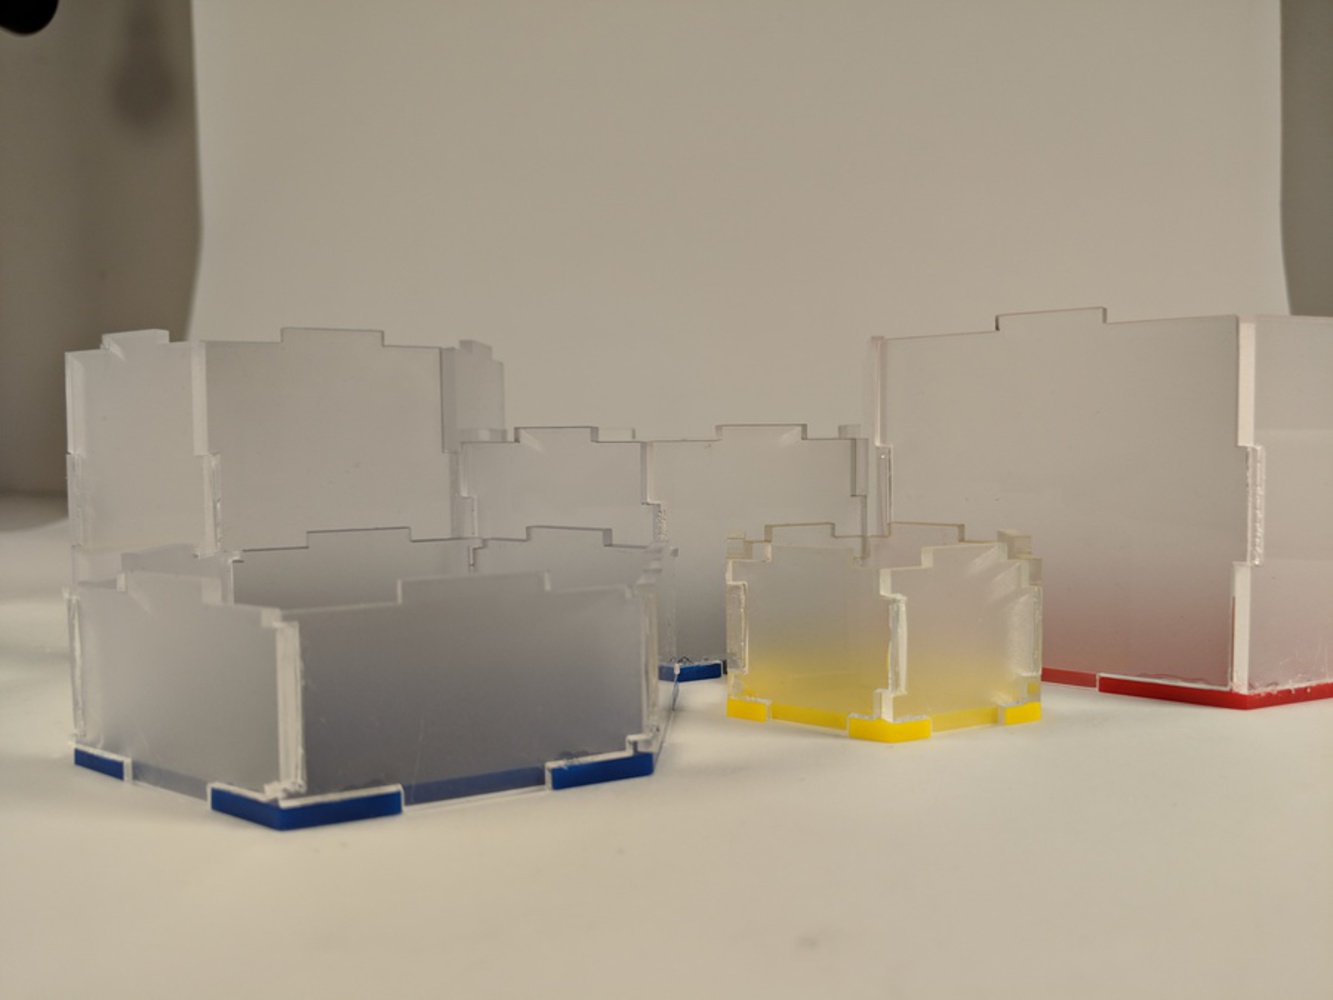
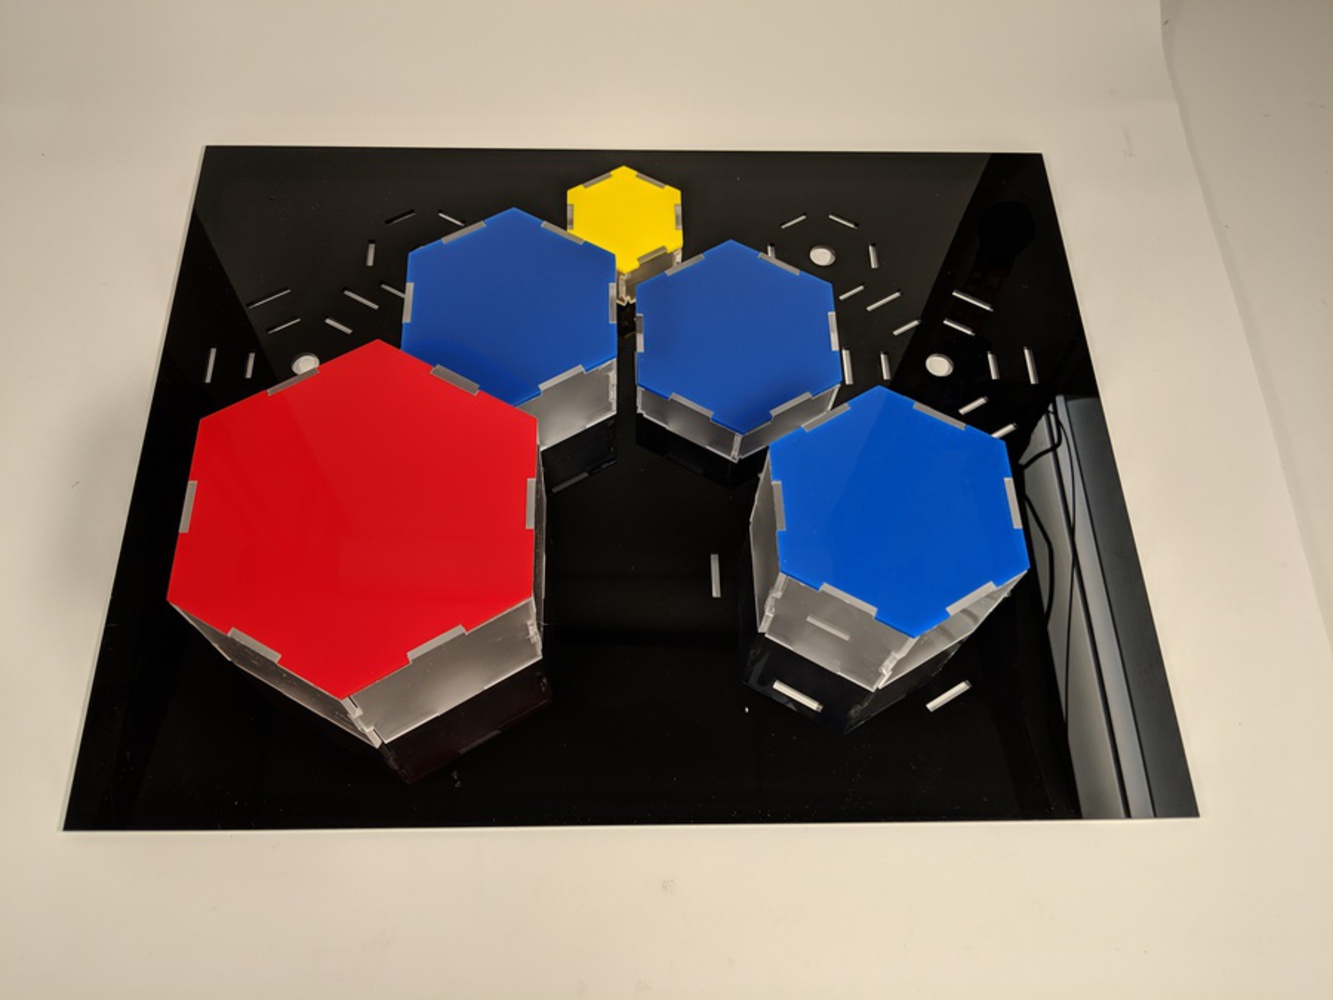
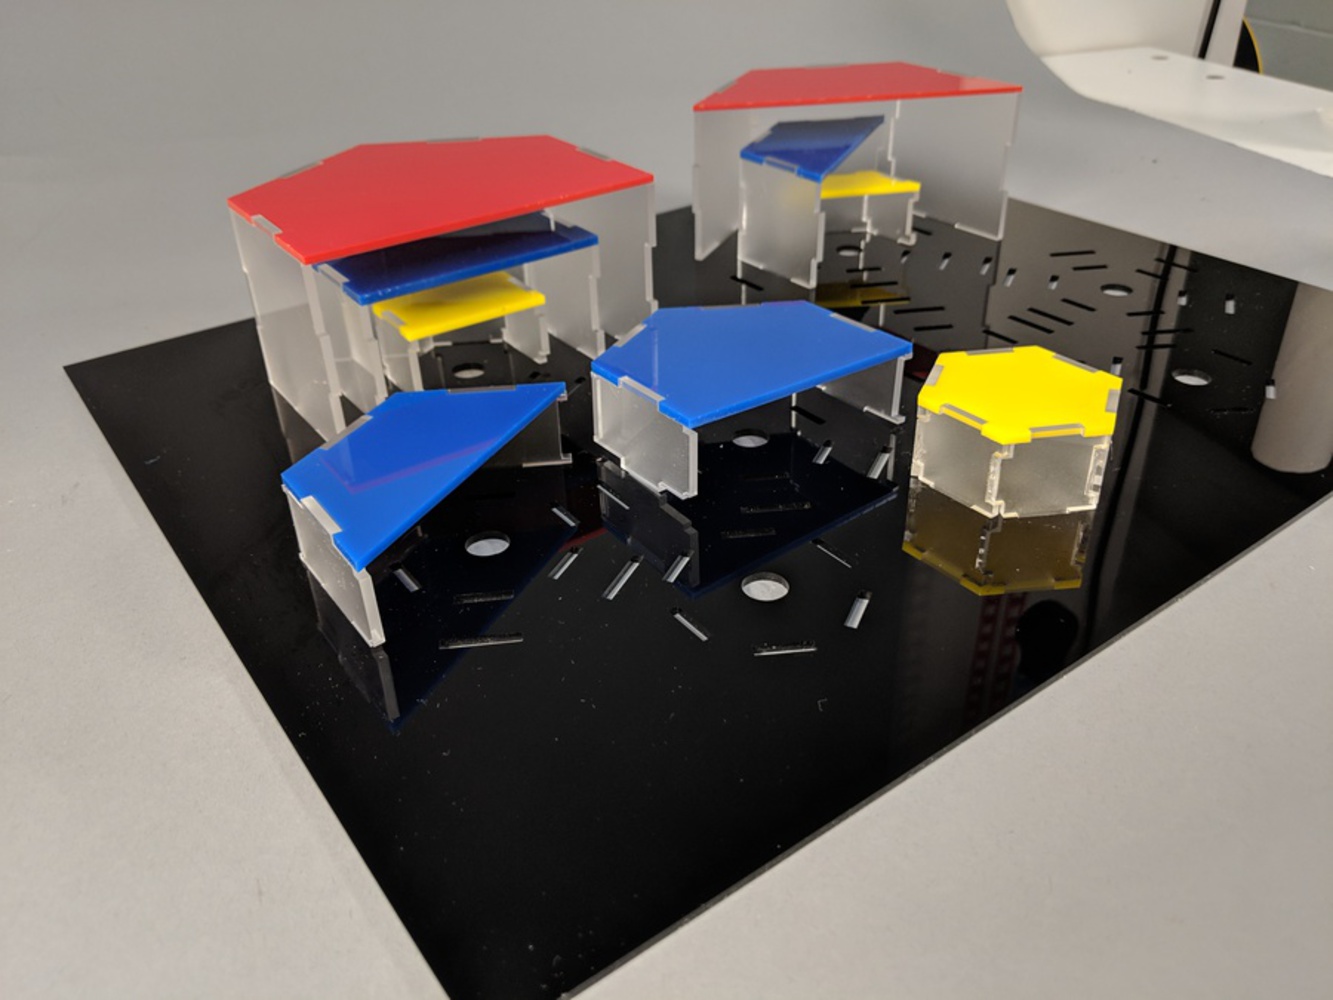
The purpose of the Small Charged Holder is to neatly organize each item into different compartments based on size but could adjust based on what kind of items that I currently own since I go through different earbuds every six months.

Intension.png.thumb
Show Advanced Options

Research + Context

Majority of cord holders are bought singularly and can only be arranged in one set of positions. This doesn’t have to hold cord- it holds the item itself. Even if the cord is being held, the earbuds can still get tangled with the items being used. The appeal of the project is that its malleable to the desires of the product user. There's no way to store the products when they are not in use or are finished charging. The current cord holders available are sold individually and stick to one surface using an adhesive backing. They cannot be easily removed or readjusted. 

Research.png.thumb
Show Advanced Options

Aesthetic Inspirations

The idea first came to me when I briefly saw carmeny’s Key Holder project from the F18 A1 digiTOOL ideate gallery, which was a key holder made in the shape of many hexagons. Hexagons joined together can make a variety of different shapes and fit together nicely. I own a honeycomb dresser organizer that has parts that attach in varying ways to properly fit inside. The use of hexagons and honeycombs to create different shapes was the initial inspiration for my project.

I also enjoy the idea of building my project and taking it down, reforming to adapt to the change in items that I use. Pegboards are commonly used to arrange items to fit the current situation. Taking the project to go is another aesthetic that I considered when designing the project. The pieces are removable from the board and can be brought to other locations. 

Snip snip.png.thumb
Show Advanced Options

Sketches

There wasn't much sketching involved, even when the design changed. Most of it changed on the spot. 

Pastedimage0.thumb
Show Advanced Options

Process and Procedures

The initial design was that each hexagon was it on sub-piece with a back, six sides and no front. However, it became difficult to connect each hexagon together snugly so utilizing the pegboard, the new sketches were used. After modeling the parts in Fusion 360, a cardboard prototype was created to ensure that each slot fit into each other. The prototype held up together against gravity. Then the board and pieces of the hexagon were laser cut out of acrylic and glued together using acrylic cement. There were concerns of wearing that would make the boxes weak to gravity and eventually fall out. Thus, the board was shifted to be right-side up and the boxes were half-open instead of fully closed.

The 3D printed piece was designed to protect the wire from wear and tear from the board and general use. It is in the shape of a coil as that will protect the cord from all sides. Like the laser cut pieces, it was also modeled in Fusion 360. It was printed using the Stratasys. The pieces twists into the circular slots of the board. 

Img 20181213 183614.thumb
Show Advanced Options
Img 20181213 183533.thumb
Show Advanced Options
Coil a.thumb
Show Advanced Options
Red full.thumb
Show Advanced Options
Attempt assem wq 2018 dec 15 10 48 10pm 000 customizedview15124965682.thumb
Show Advanced Options
Combined4.thumb
Show Advanced Options

Reflection

The project shifted a lot in the duration of time that I had. Many of the problems were natural causes like gravity, wear and tear that I had not considered in my initial sketches and design process. The laser printing was relatively easy to work through in Fusion 360. 3D printing however was more time consuming and I regret not spending as much time on those parts as I did the laser printed pieces. I also struggled to glue the acrylic pieces together using the cement. It solidified quickly and would eject quickly from the tip as well. 

To expand on the project, I would build a lid container for the full blocked pieces. I would also like to spend more time designing lids for the half pieces such that a top and back piece could easily be added together. The reproducibility of the holder it great. The board an be rearranged to suit the user and what they believe should fit their needs. The sides of the boxes can also be lengthened making the project more personal. This thing is a multipurpose structure that’s true purpose can only be defined by the person using it. I definitely used participatory culture to my advantage as my ideas were generated based on other honeycomb designs. I studied how other people built hexagonal boxes by either making each individual side or stacking the shape on top of each other. 

Img 20181213 182830.thumb
Show Advanced Options
Img 20181205 041911.thumb
Show Advanced Options
Img 20181205 041831.thumb
Show Advanced Options
Img 20181215 160852.thumb
Show Advanced Options
Img 20181205 042227.thumb
Show Advanced Options
Img 20181215 160833.thumb
Show Advanced Options
Img 20181213 183428.thumb
Show Advanced Options
Drop files here or click to select

You can upload files of up to 20MB using this form.