Small Charged Holder
Made by rnchowdh
Made by rnchowdh
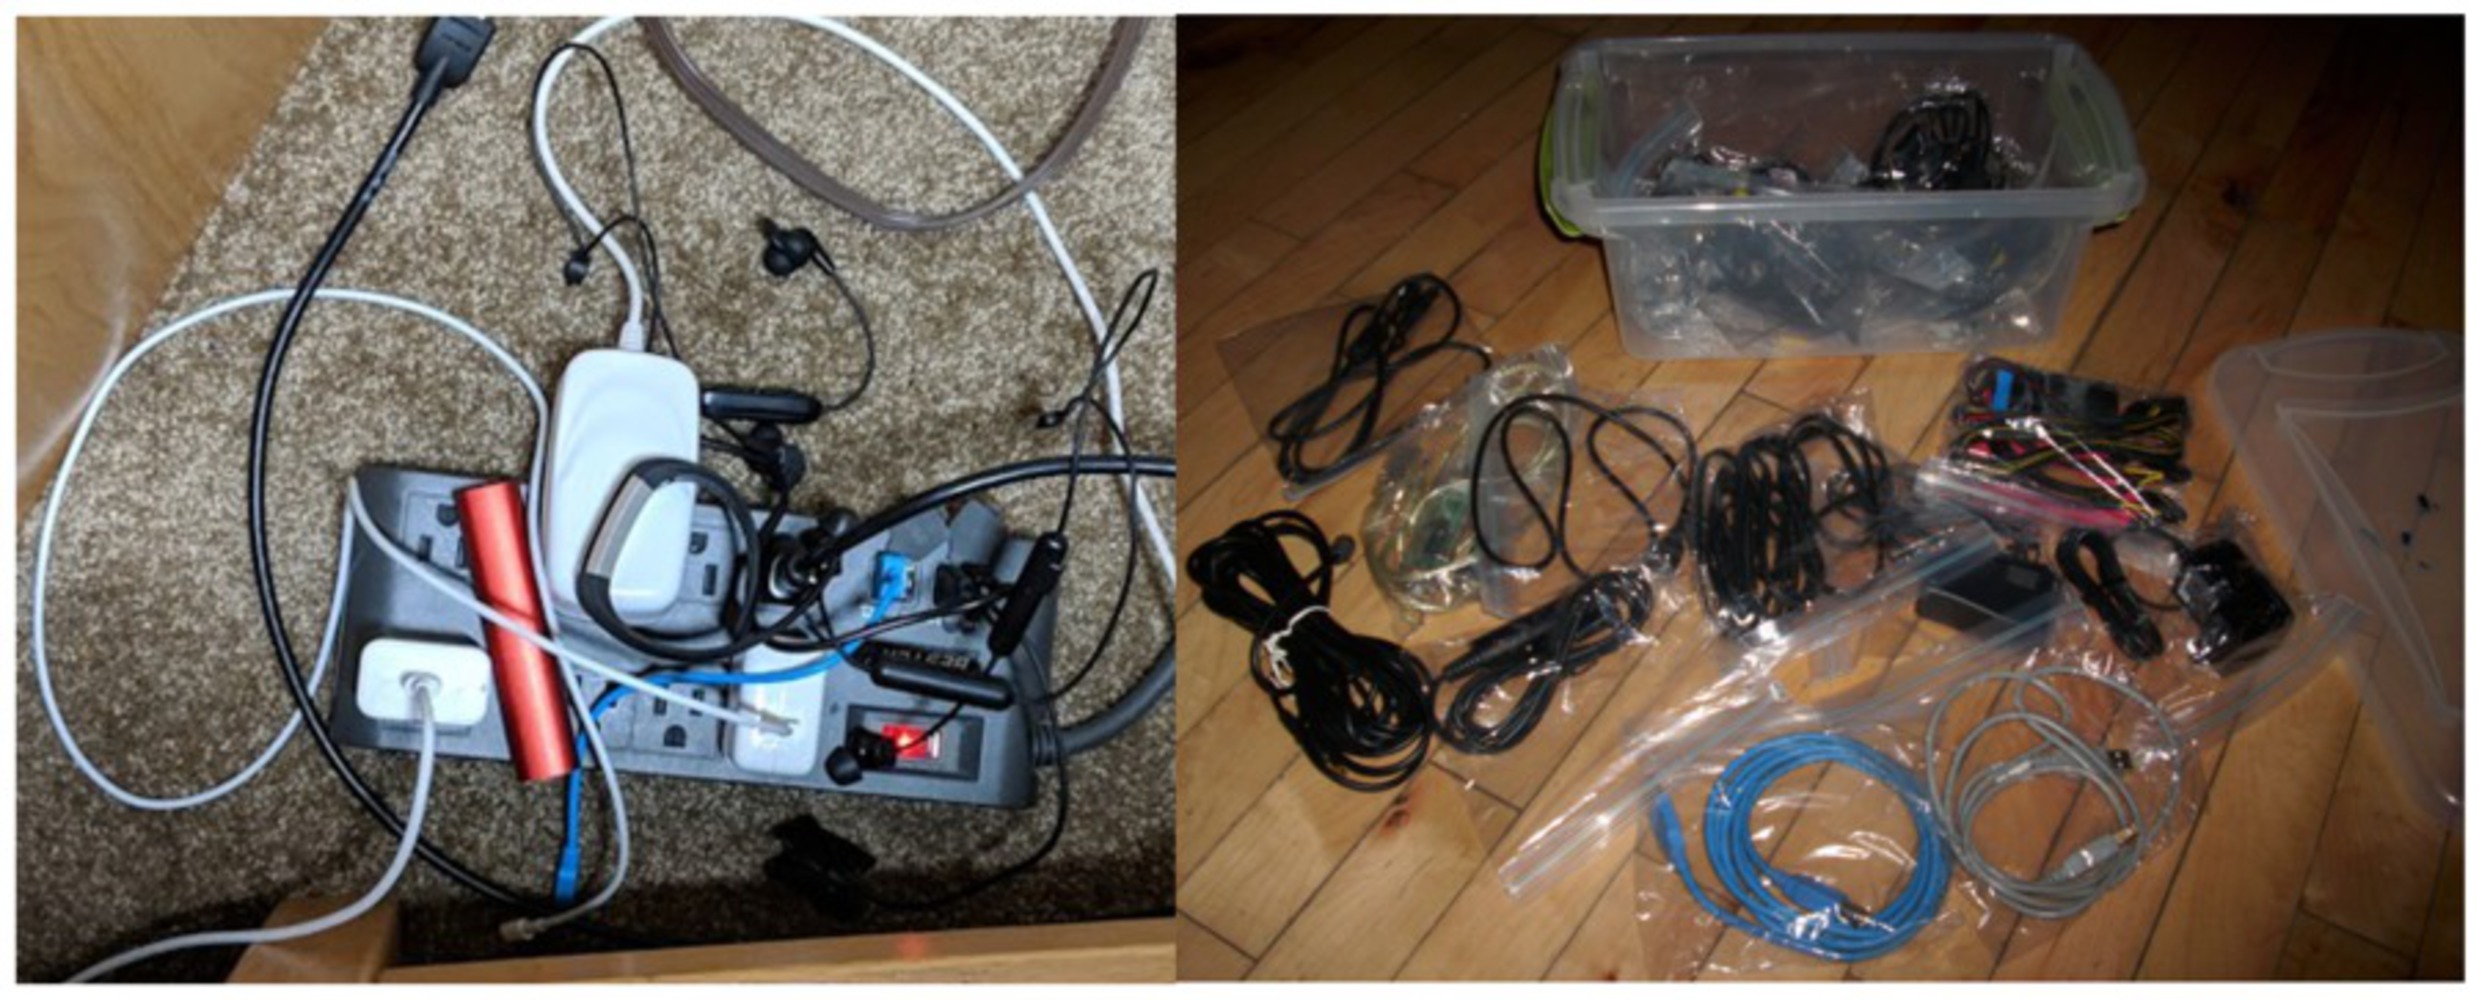
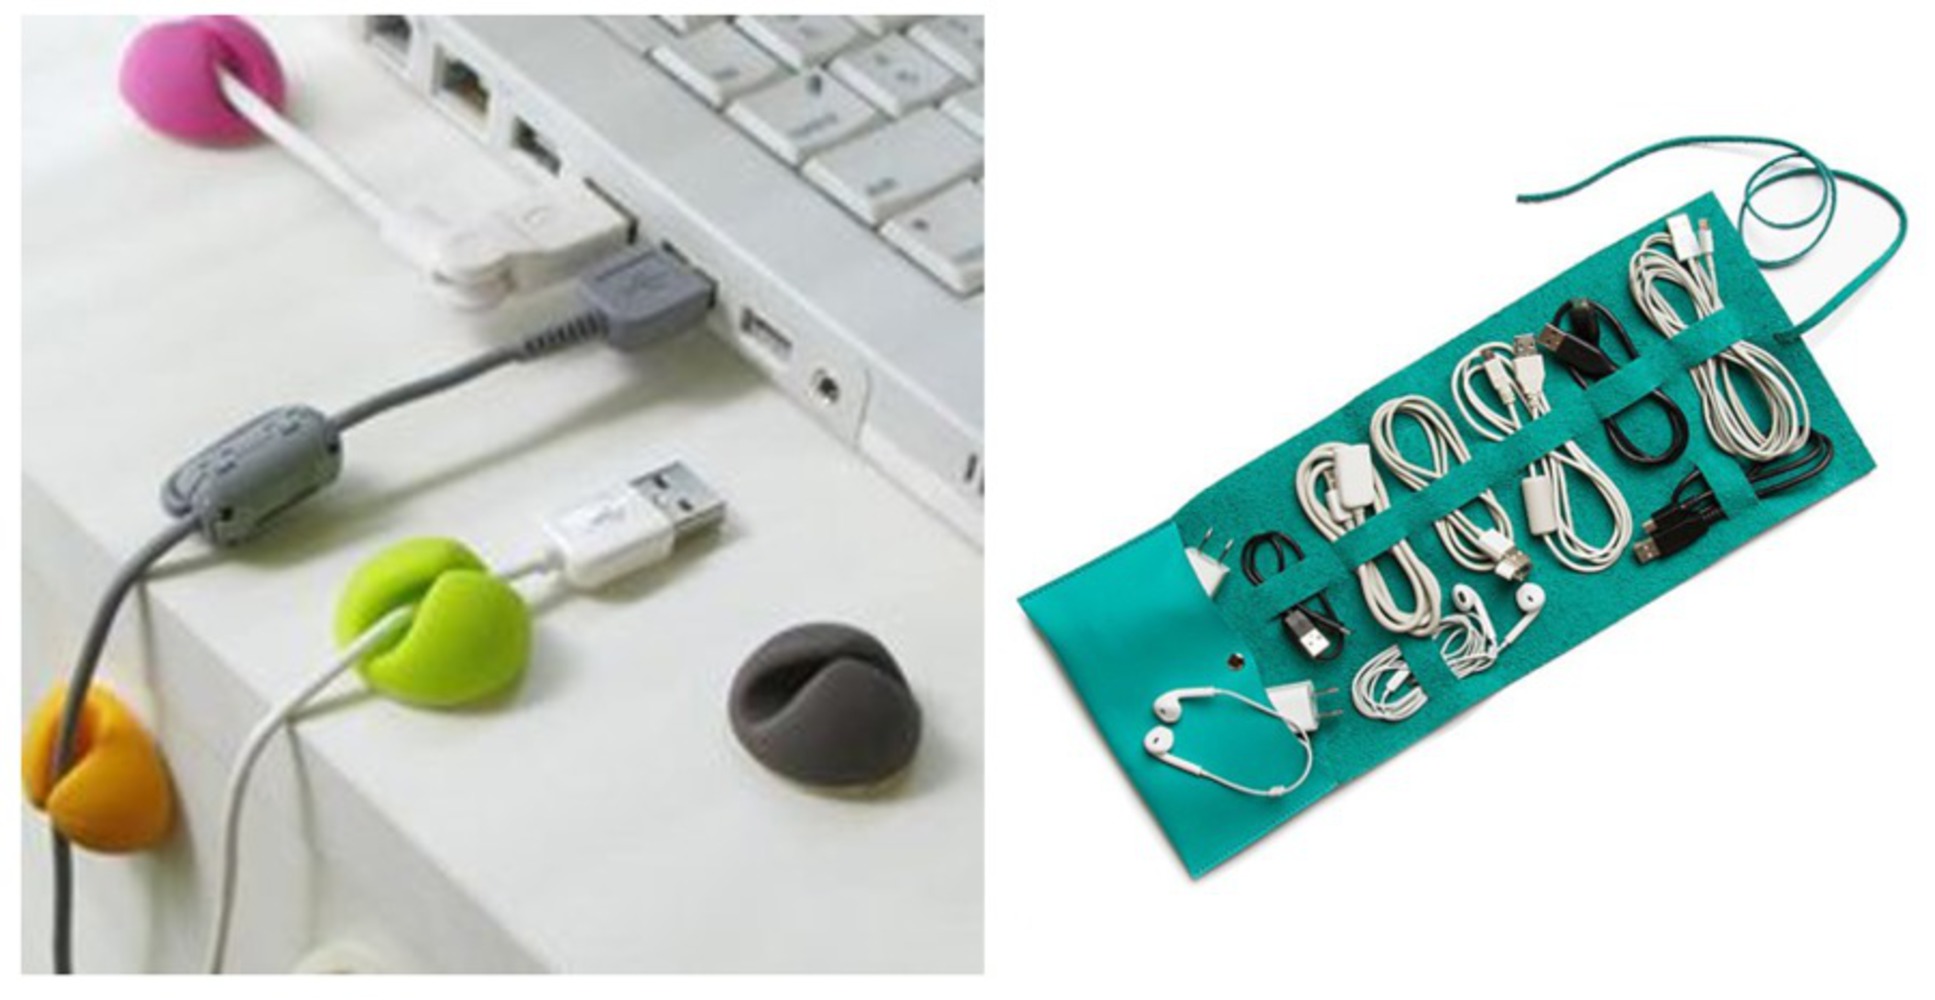
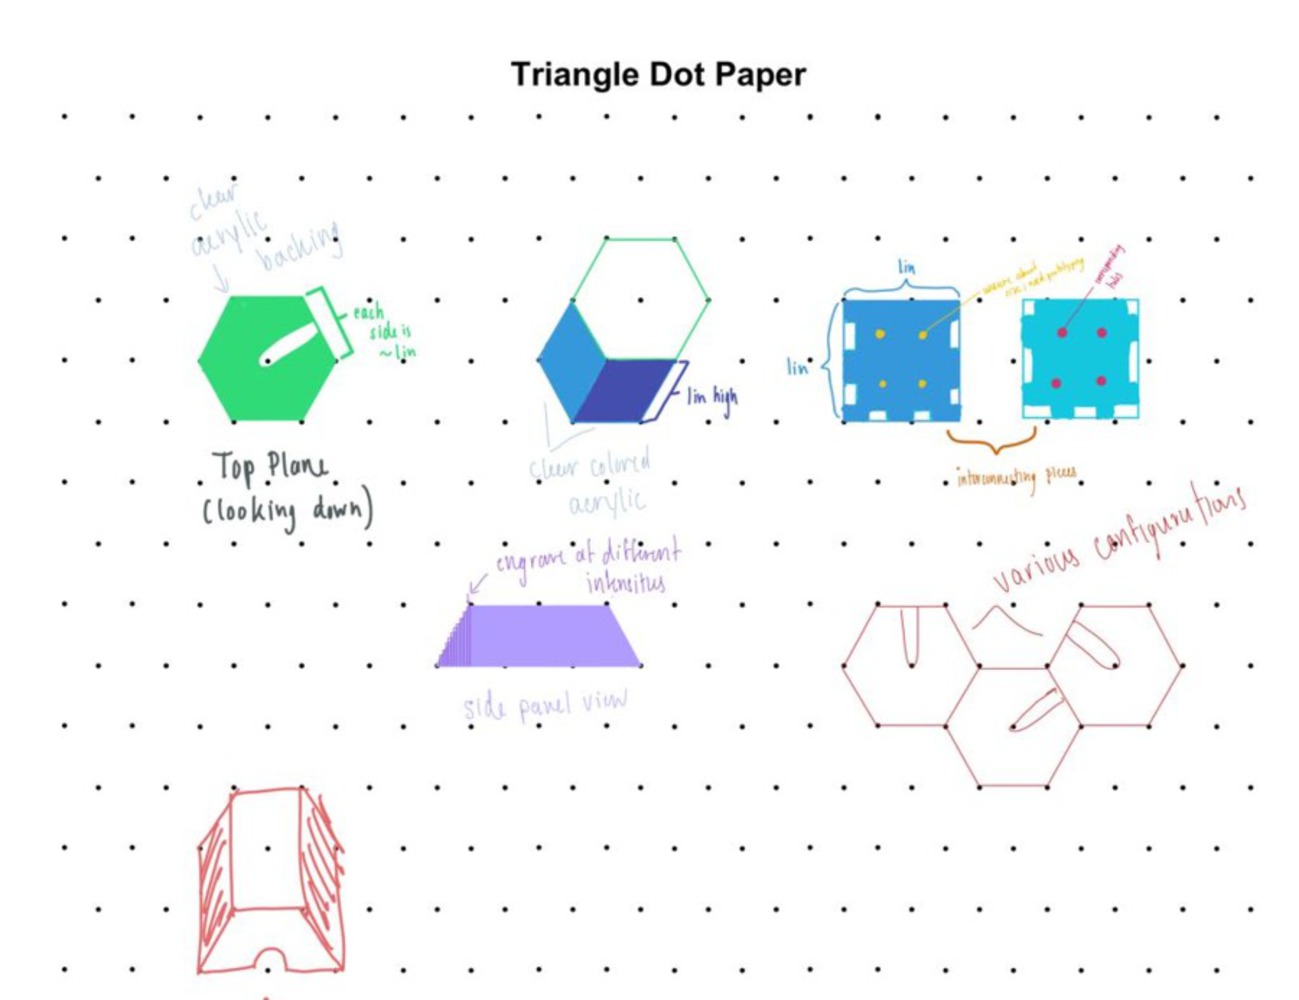
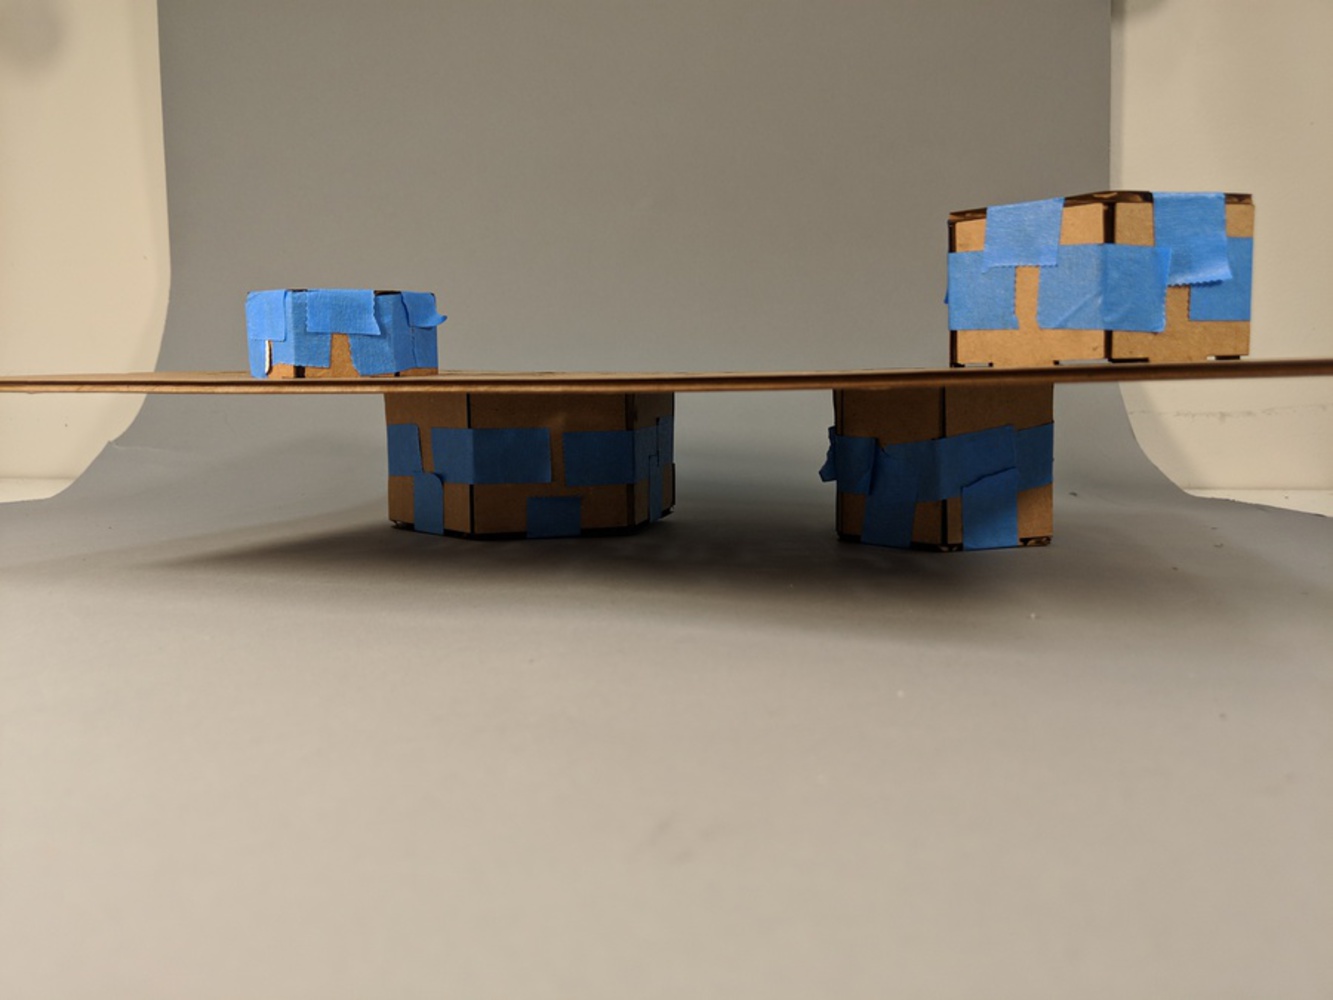
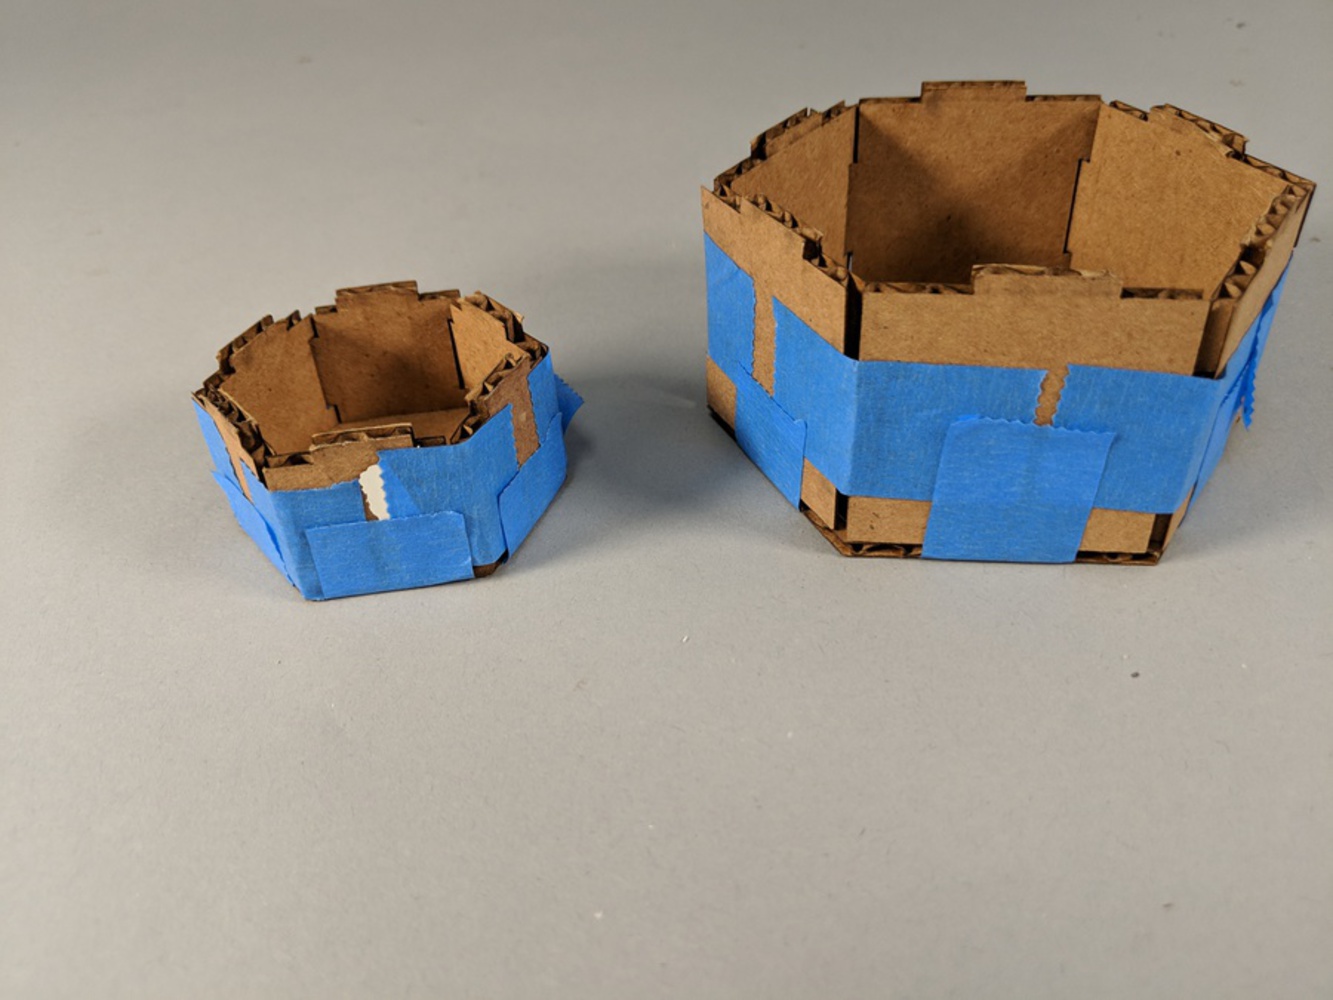
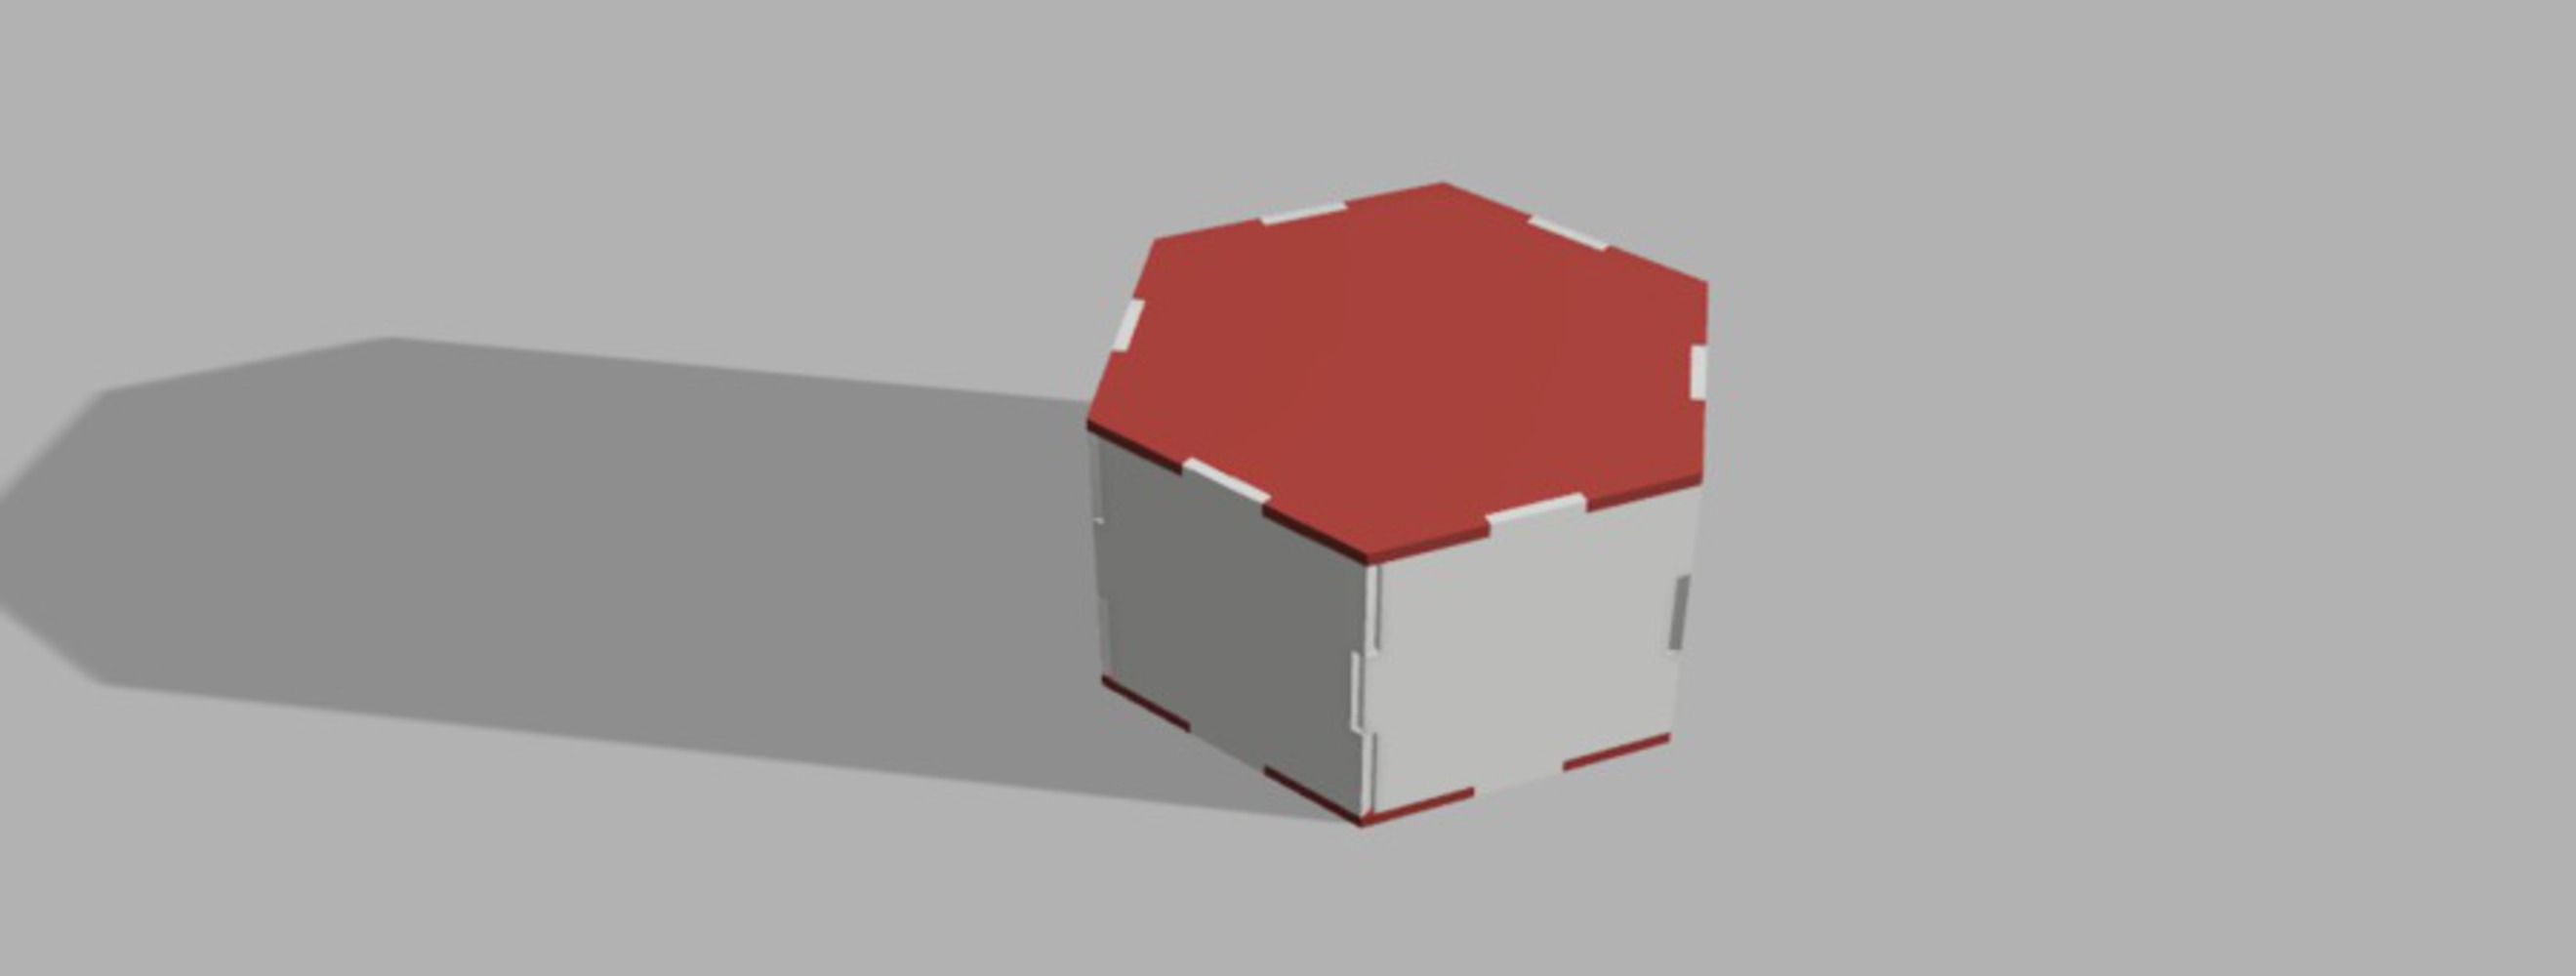
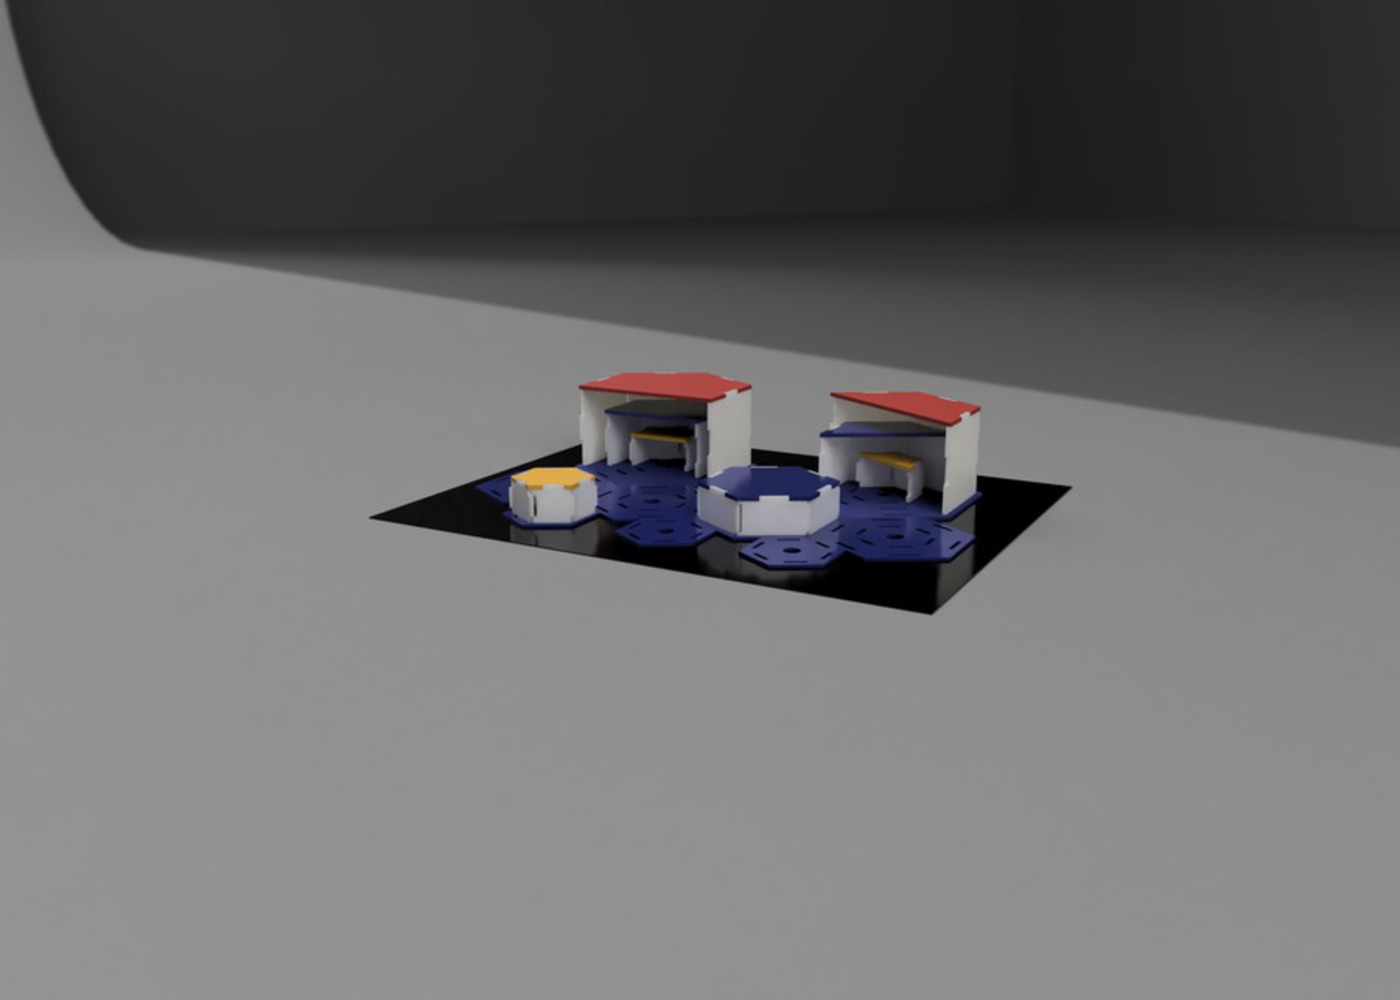
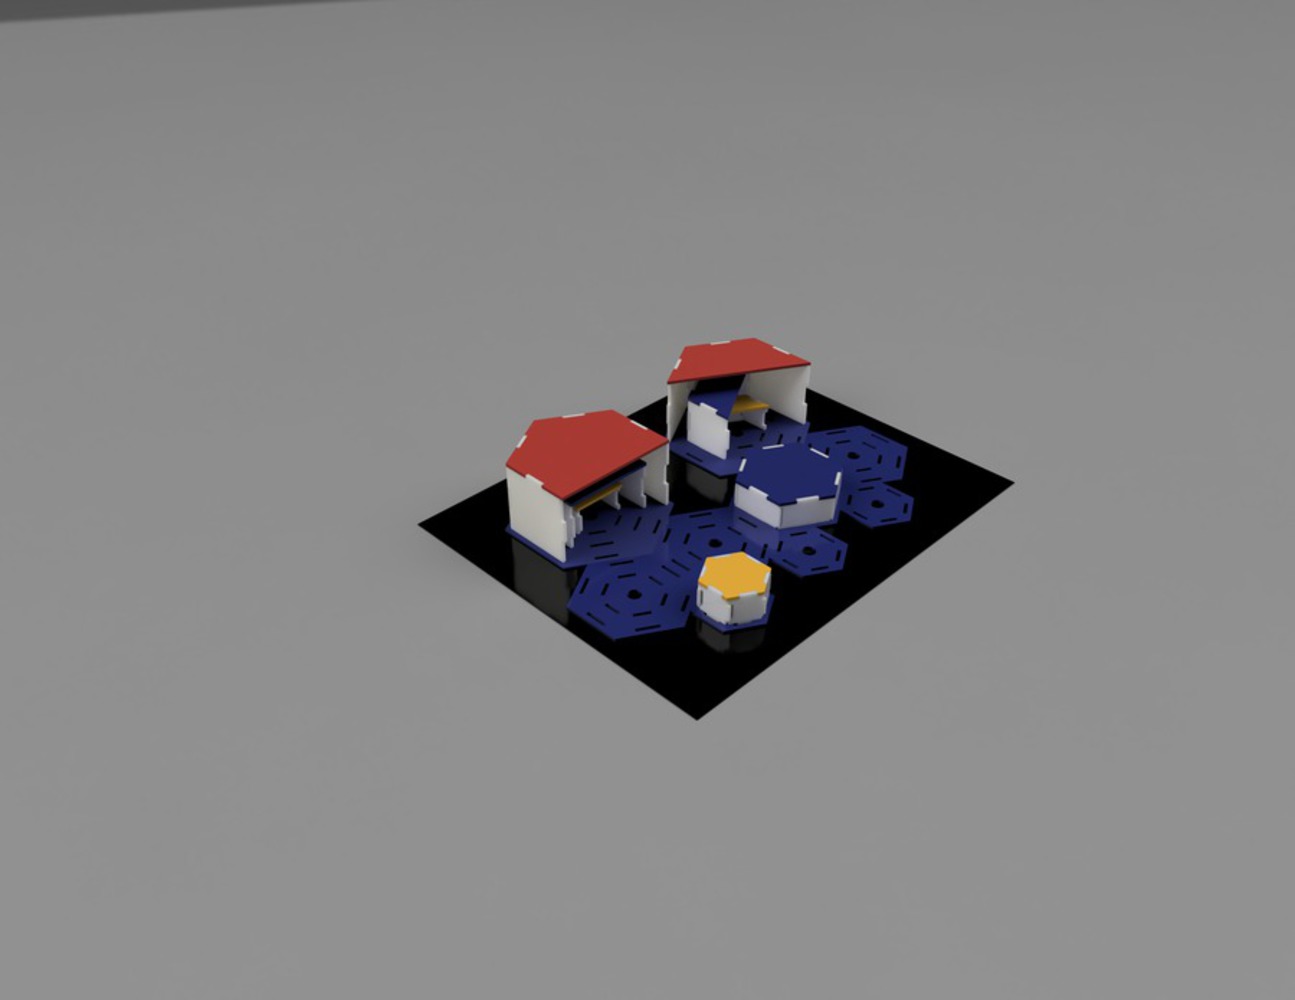
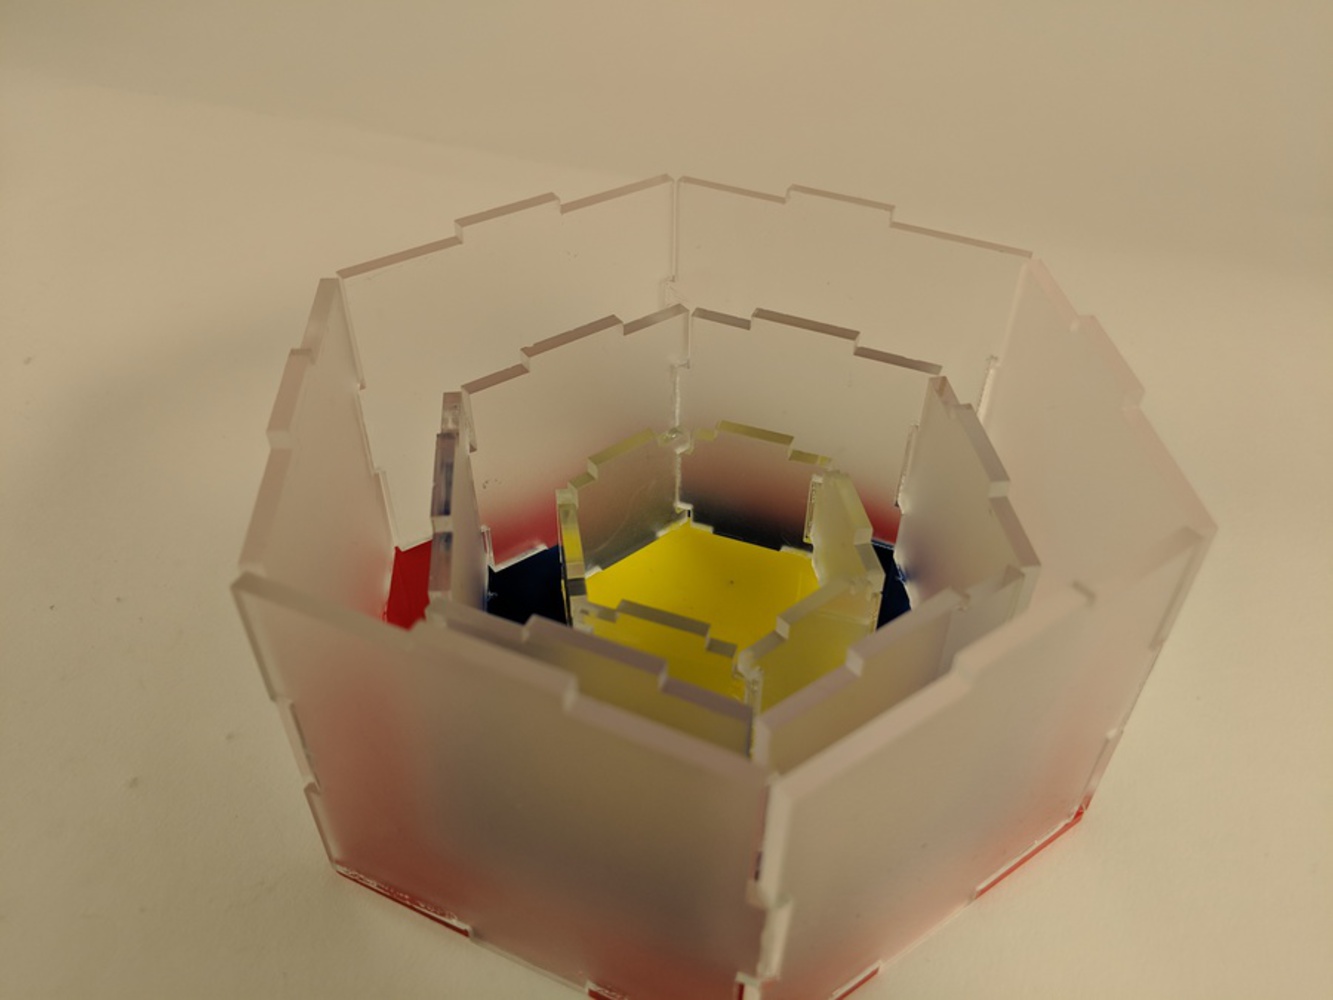
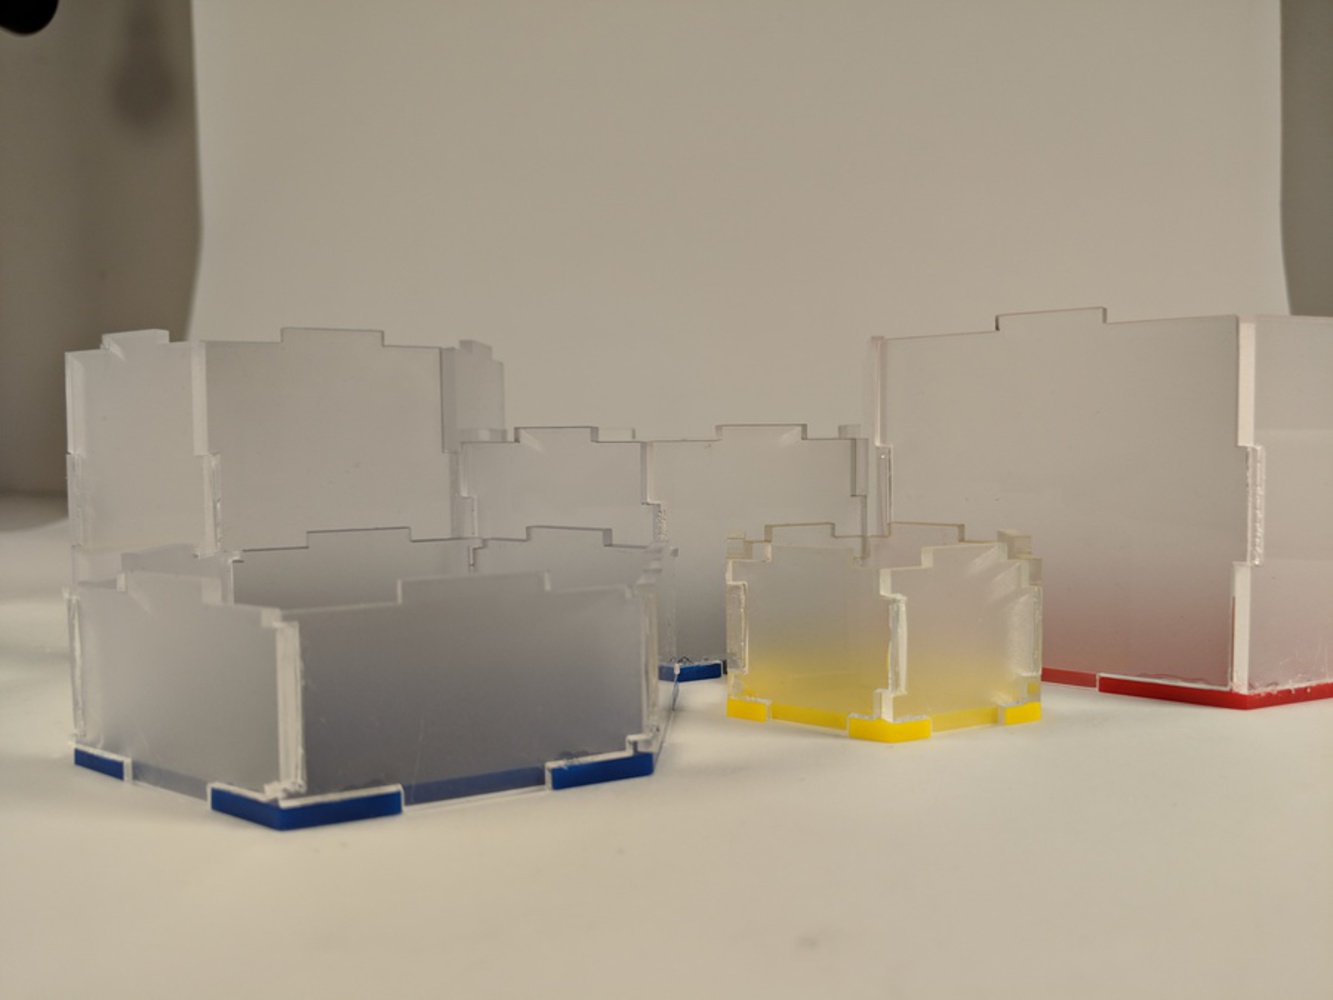
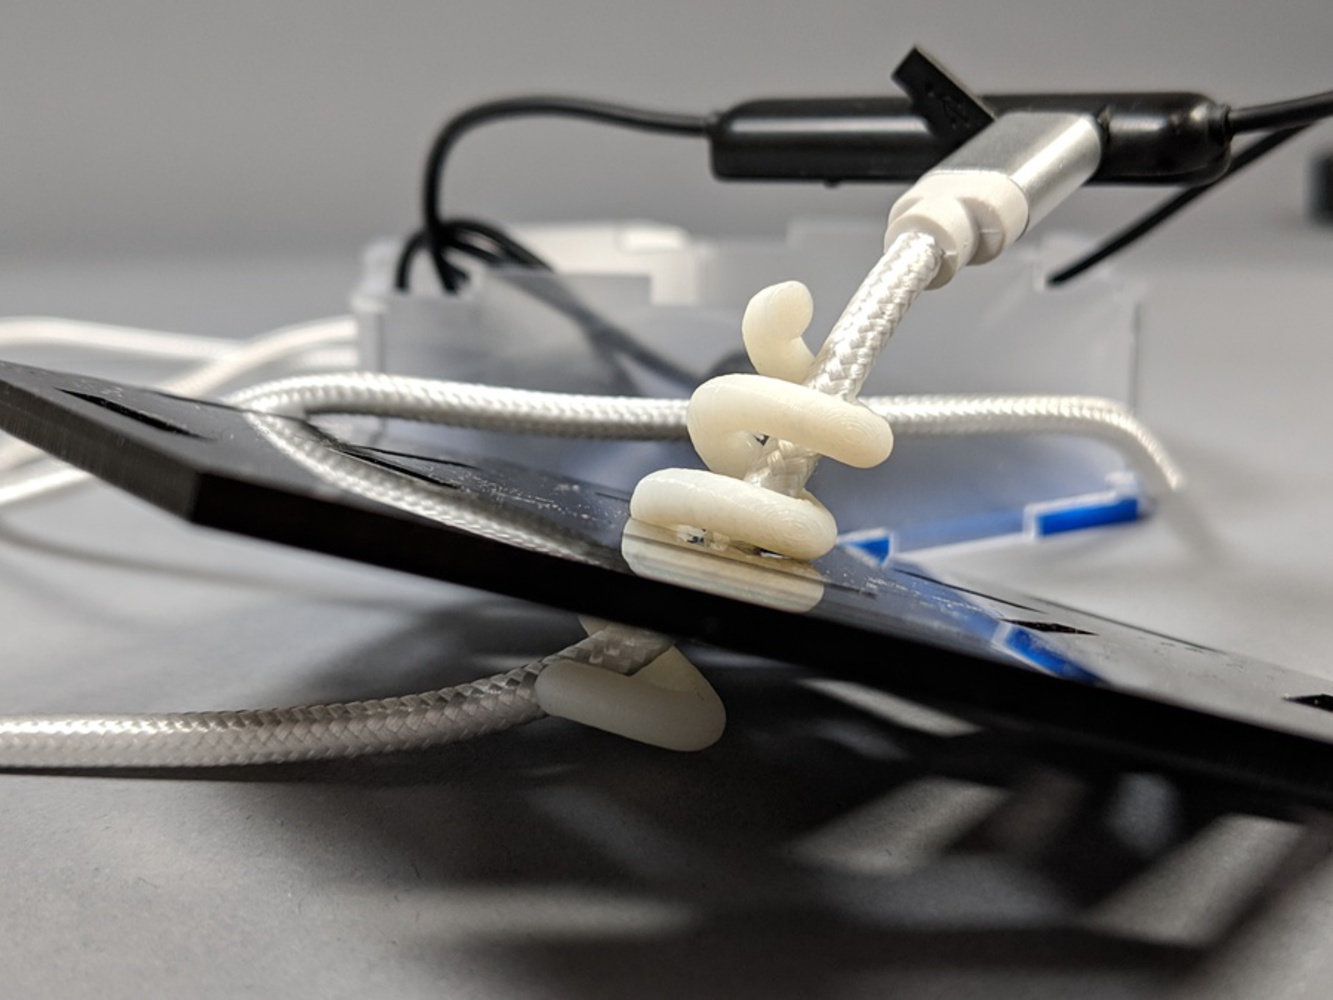
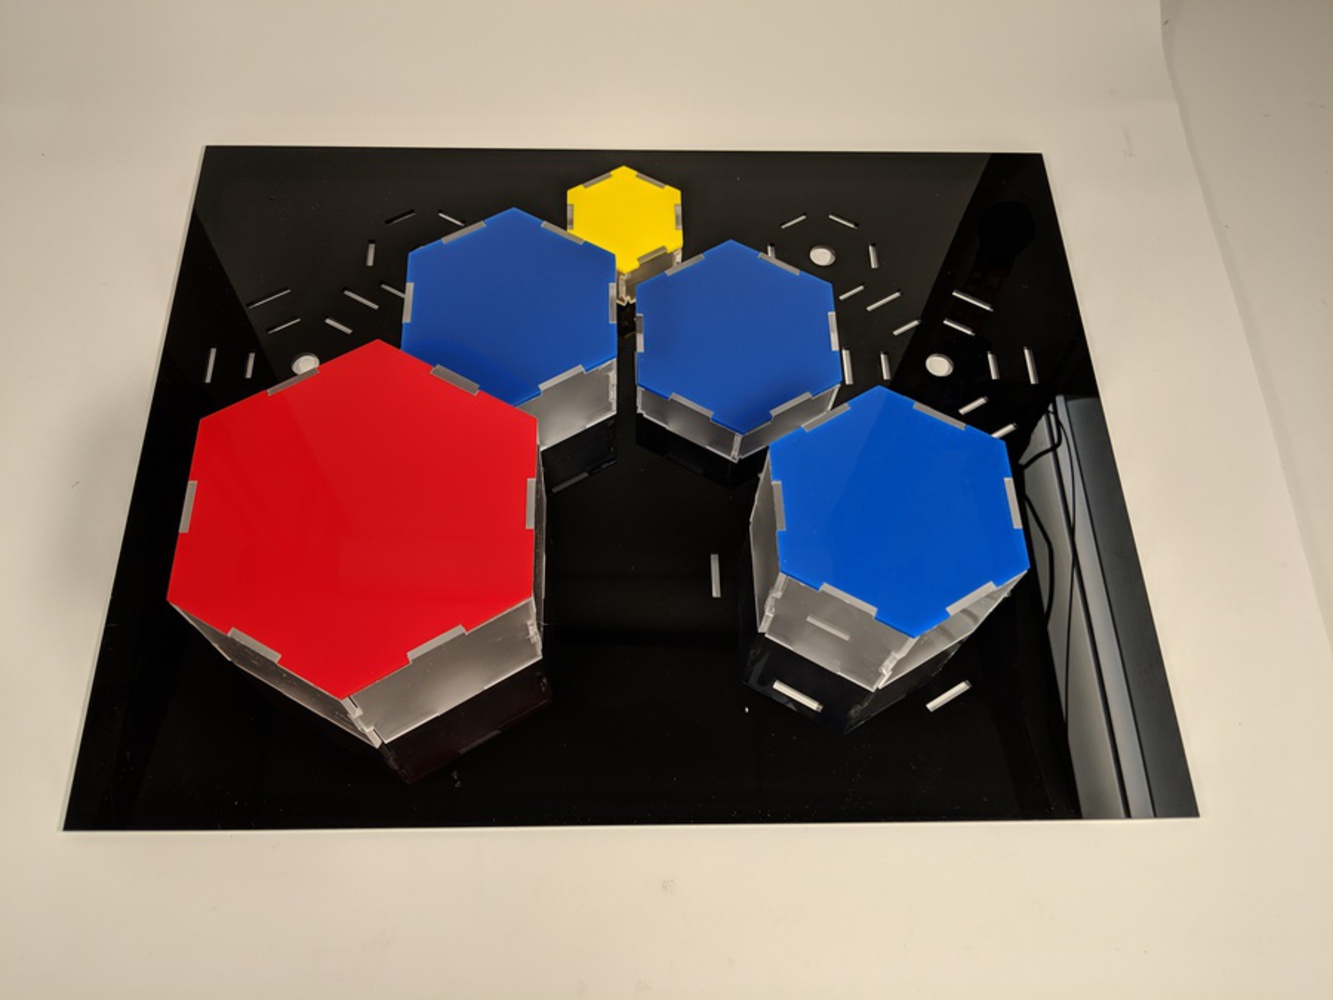
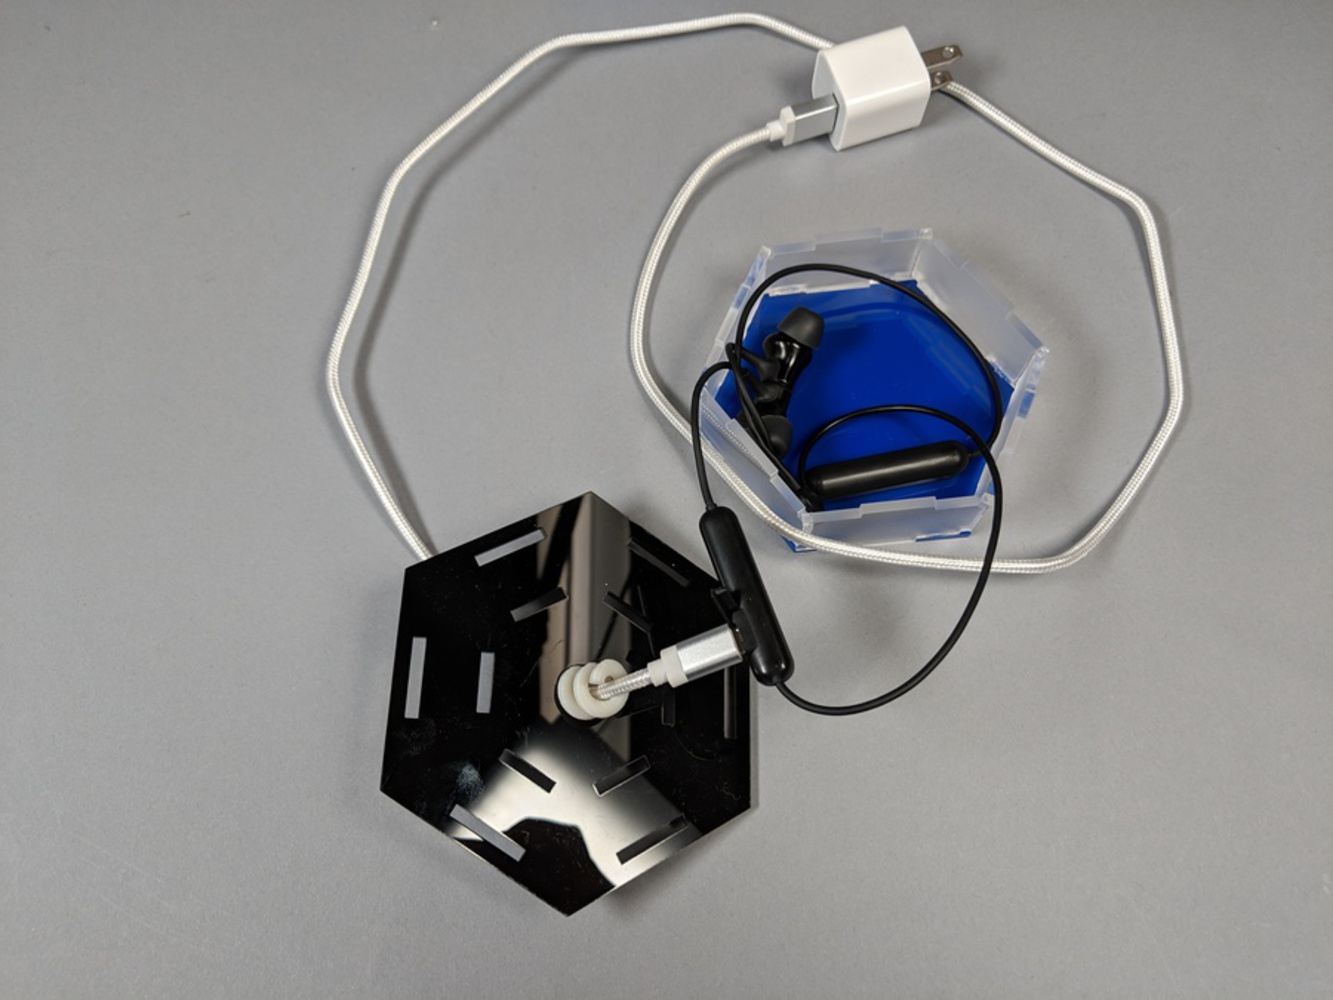
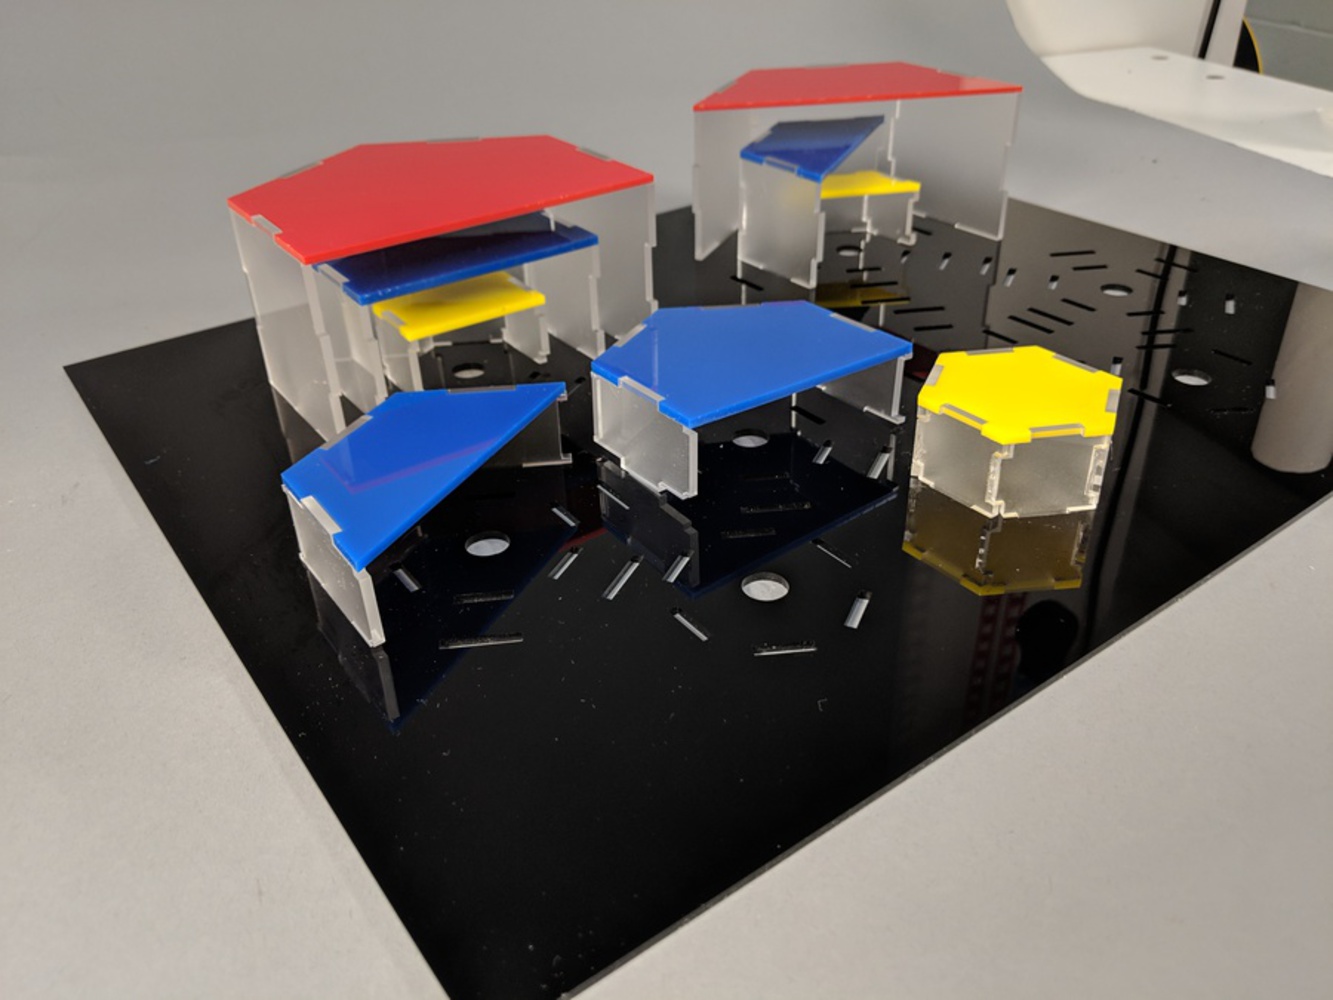
I needed a way to organize my cords without also tangling the earbuds that were attached to them. This holder separates objects by size and the boxes can be moved around on the board. The boxes also come with caps such that the earbuds and charger can come together in one go. There is also a coil that cords can be wrapped in that feeds into the circles in the board. This not only protects the cord, but keeps it in place.
Created: December 11th, 2018
Digital Tooling (DigiTool) provides a platform for any CMU student to learn Digital Fabrication processes; all of which are very hands-on. Like these processes, this class is also very hands-on. I...more
I needed a way to organize my cords without also tangling the earbuds that were attached to them. This holder separates objects by size and the boxes can be moved around on the board. The boxes also come with caps such that the earbuds and charger can come together in one go. There is also a coil that cords can be wrapped in that feeds into the circles in the board. This not only protects the cord, but keeps it in place.