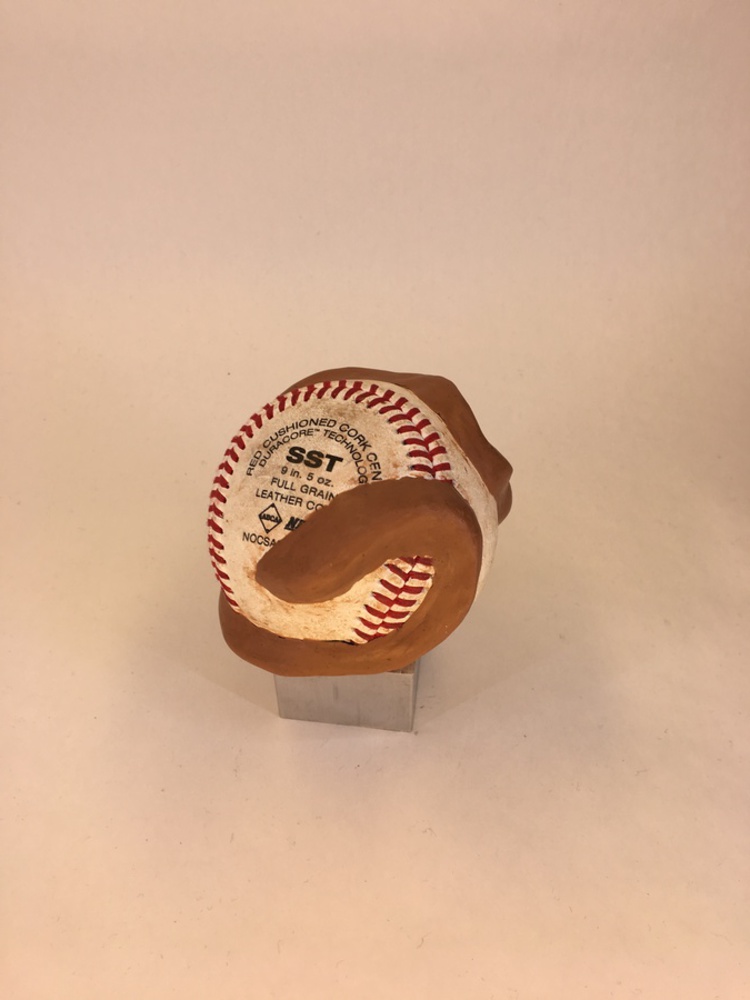
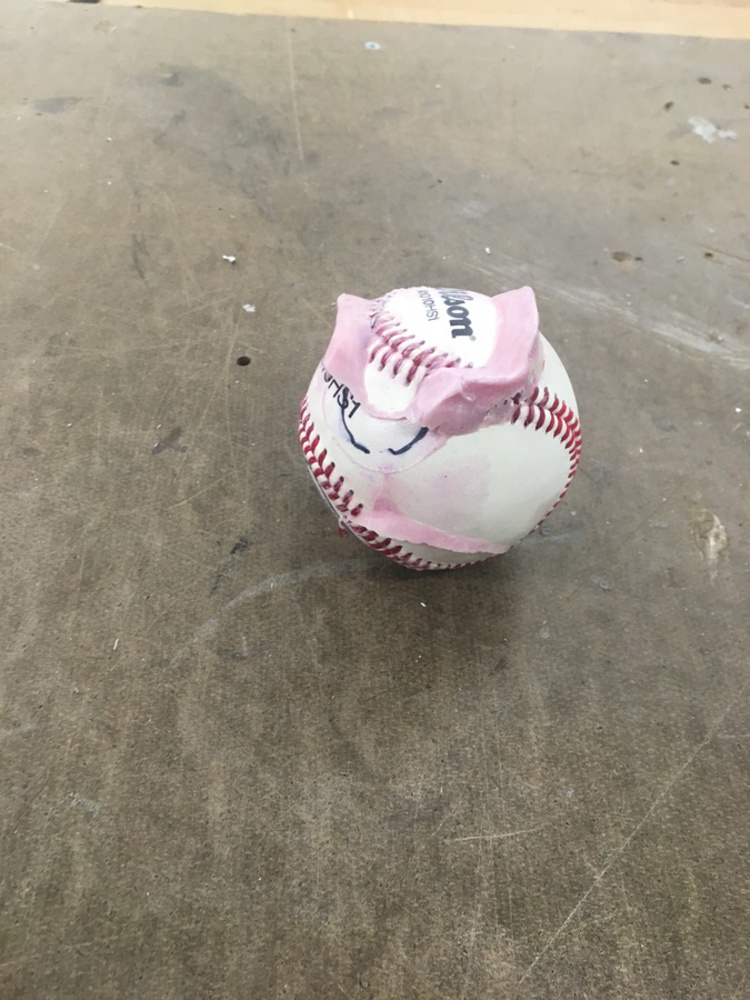
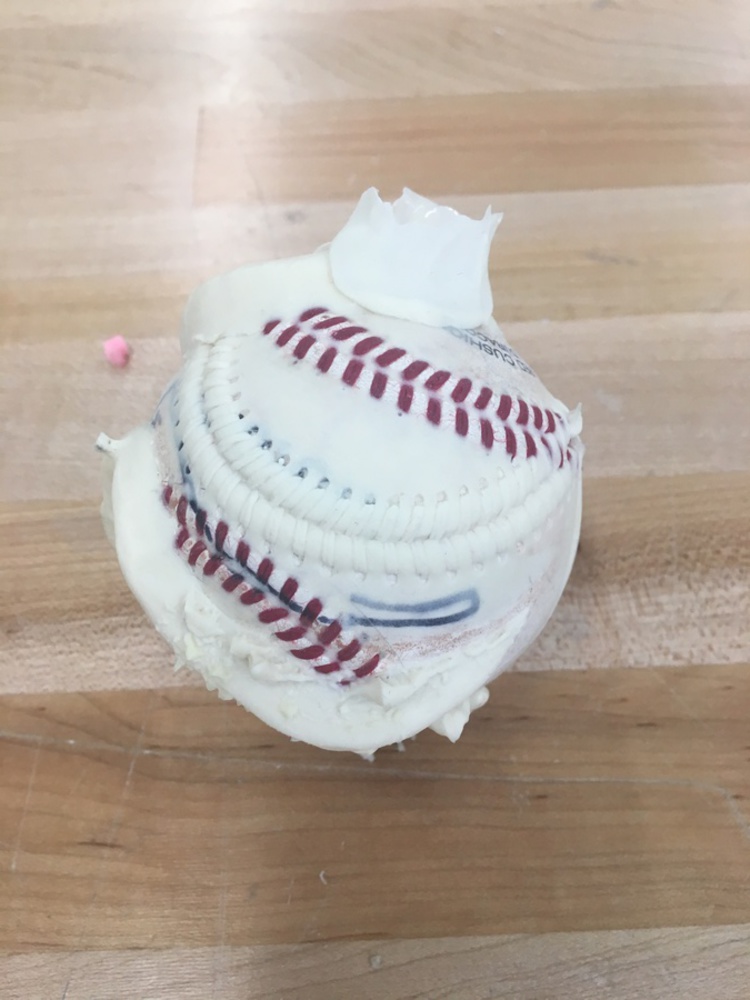
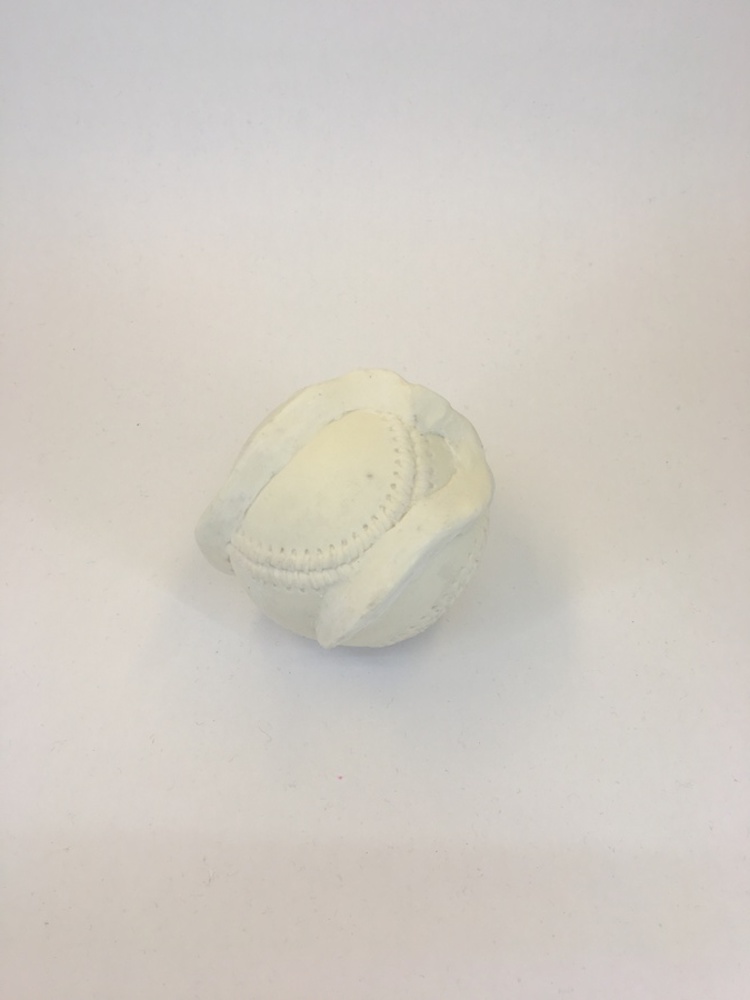
This project was a molding project where I created a mold of my previous project-the Curveball Grip (http://ideate.xsead.cmu.edu/gallery/projects/curveball-grip-trainer) and then cast it using liquid plastic. I started with my curveball grip-covered baseball, shown below.
Outcome
The first task was to create a silicone rubber mold to capture this design. This is done by mixing up a tow-part silicone mixture, pouring it around the model, and letting it dry. There are a couple methods of doing this, but I went with a one-part mold method. This caused some issues, but more on that later. To contain the resin, I made a box out of foam core that surrounded my ball completely.
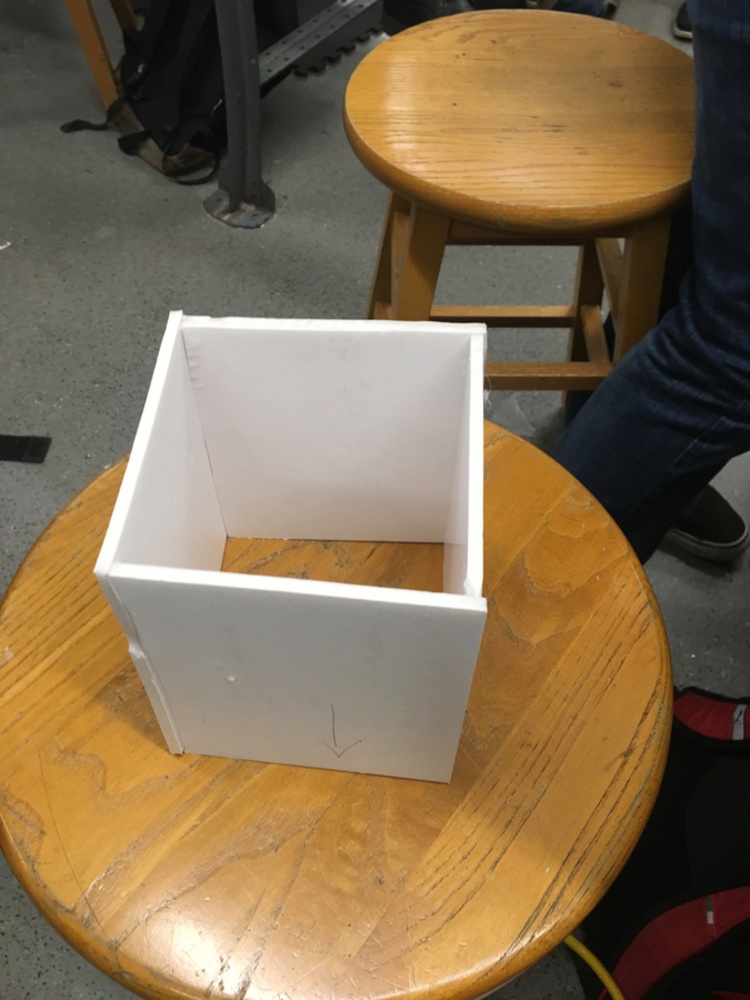
The box had to be big enough to leave about an inch of wall thickness around my whole part. This was to ensure that the mold held its shape throughout the process. However, I had some issues creating my silicone mold. I had to create some method of holding the ball up in the air, since I had features pretty much all around my part. I decided on making a riser out of clay and a funnel, which would also act as my pour spout. I also thought it might help with having extra resin to fill in any gaps as the plastic was poured.
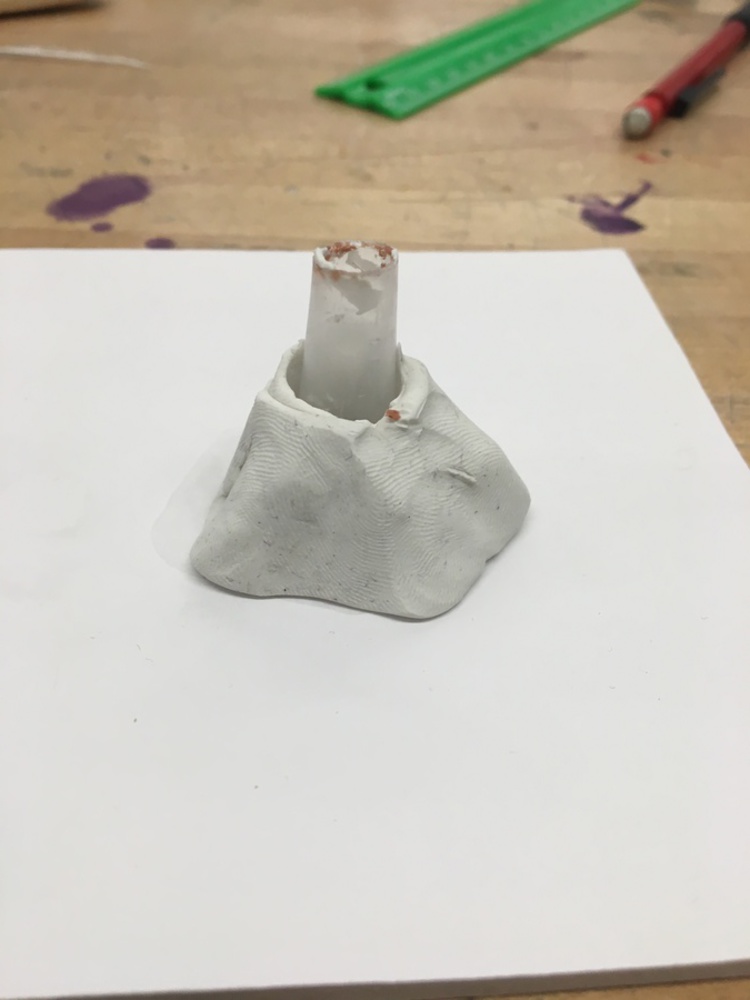
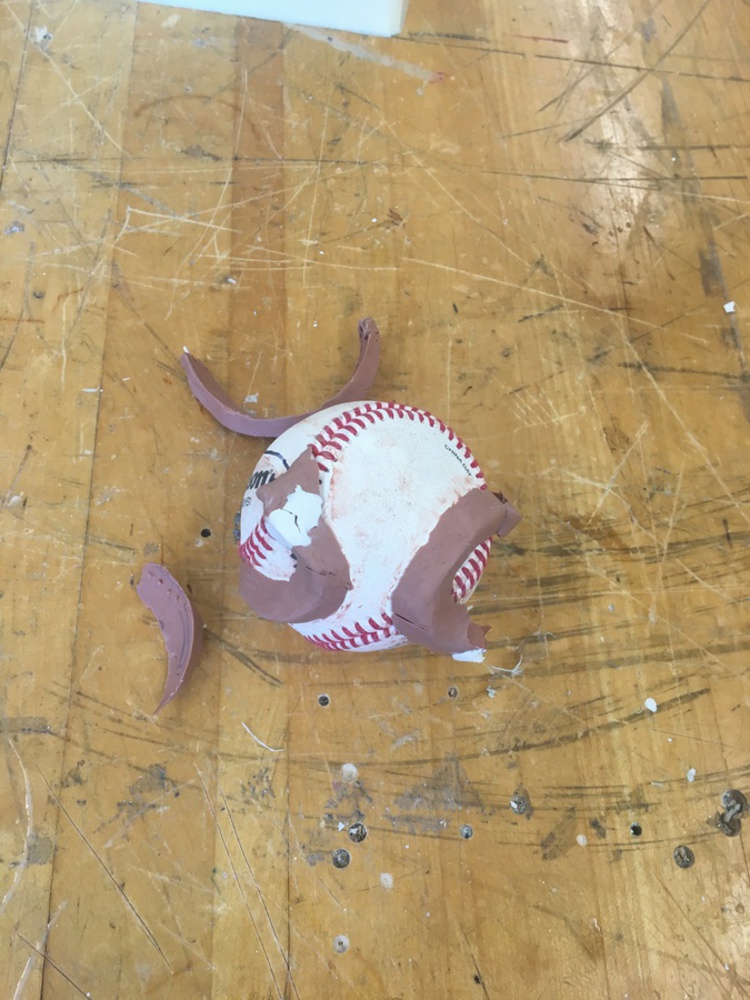
However, this had some issues. Namely, I had to attach it to the grip somehow, and there were no really good options. I decided to just try jamming it into a thick part of my grip and balancing the ball on it the end of the funnel while the resin was poured around it. However, disaster struck as the ball was knocked over, leaving a chunk of my original grip stuck inside the funnel and creating a nasty chasm in my beautiful clay grip.
I filled in that section with white clay and stuck the funnel in a thicker part of the grip. This time, I glued small straws going from the ball to the foam core walls to keep it stabilized. I knew these would show up in the final mold, but I didn't want to risk another catastrophe.
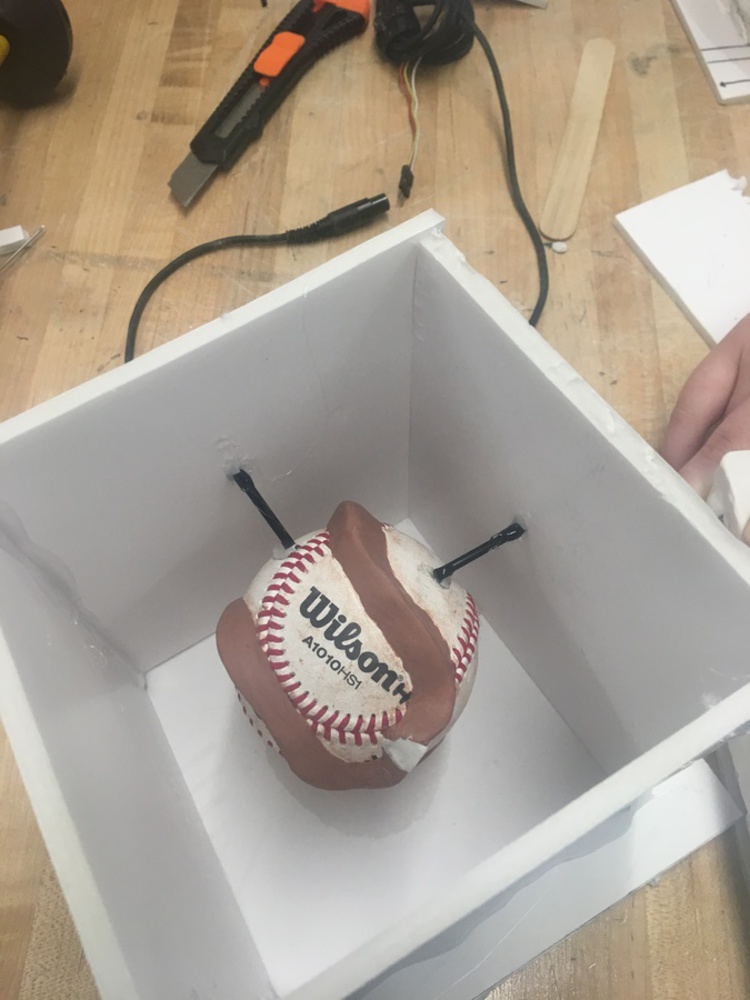
Unfortunately, I did not plan my parting line well, and so I had to just turn it into a two-part mold anyway, but one without any registration. This ended up making repeat castings more difficult than they needed to be. Anyway, I put a baseball into the mold, and poured the liquid plastic in. I placed the ball into the pressure chamber with other molds.
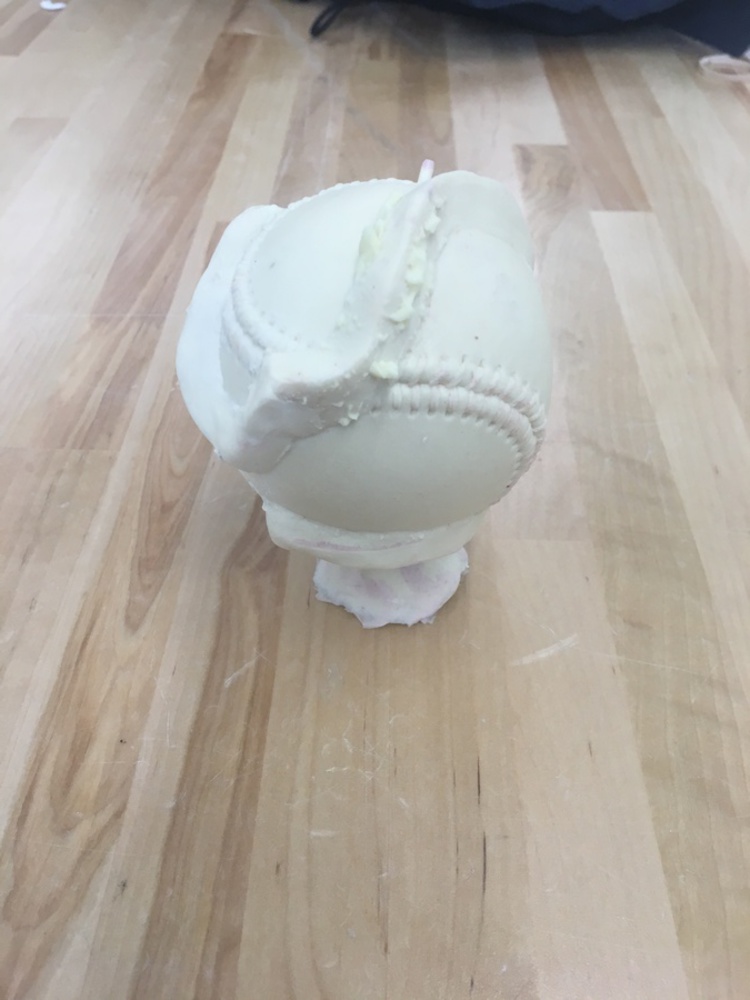
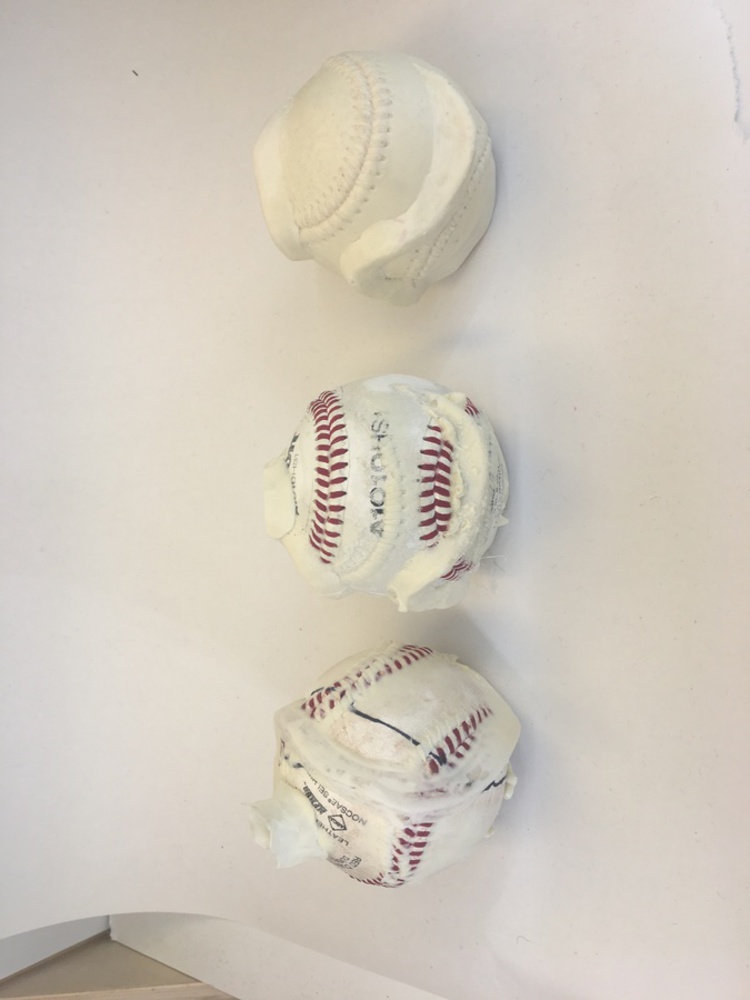
In short, it was bad. There was a huge air bubble, which made for a large gap visible in the middle of the grip. In addition, a lot of the plastic was absorbed into the ball. Weighing this ball and a fresh one revealed that 50 grams of plastic was absorbed (most likely through the seams and holes where the seams come in and out of). Finally, the plastic that did stay on the ball felt squishy and weird, probably indicating that my ratio of amounts was not quite correct. However, it was not a complete failure. The plastic stuck well to the leather of the ball, meaning that the overmolding concept had potential.
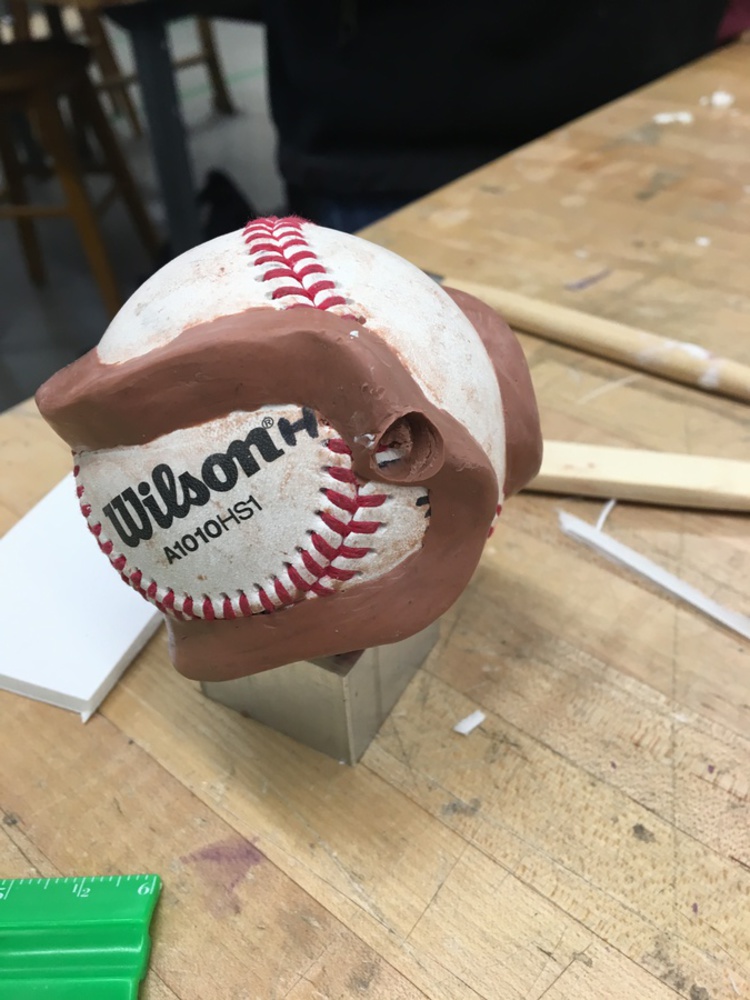
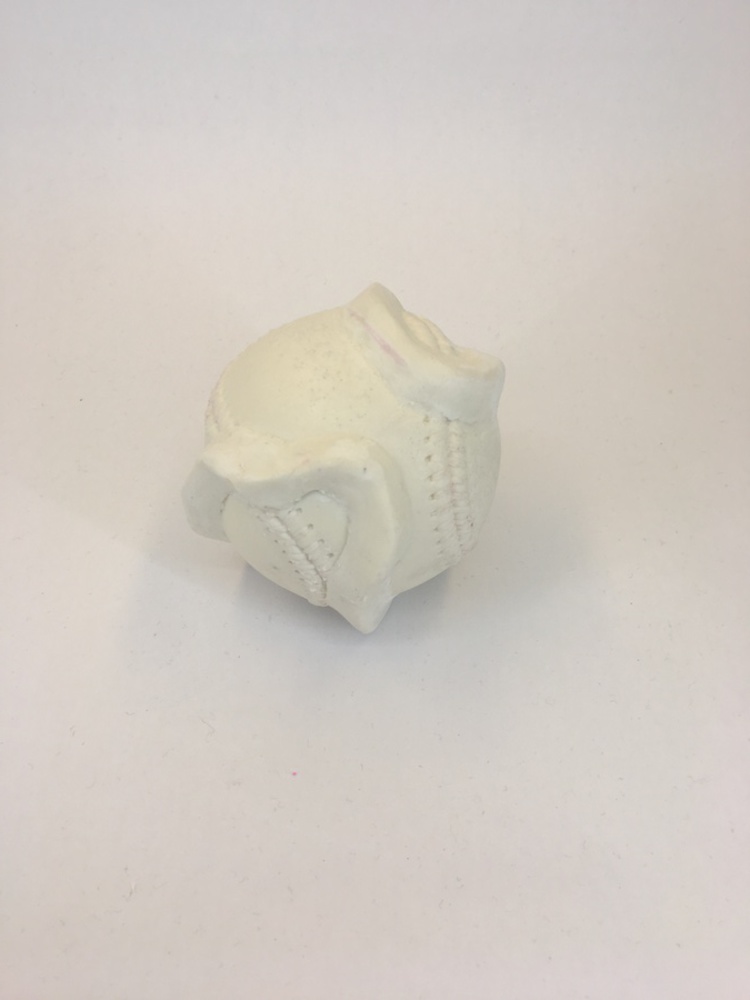
This attempt was pretty successful, with only a few issues that were not serious. As can be seen above, some of the silicone stuck to the plastic and ripped out of the mold. This would show up in future pours. In addition, since I didn't use the pressure chamber, air bubbles were present at the top of the ball.
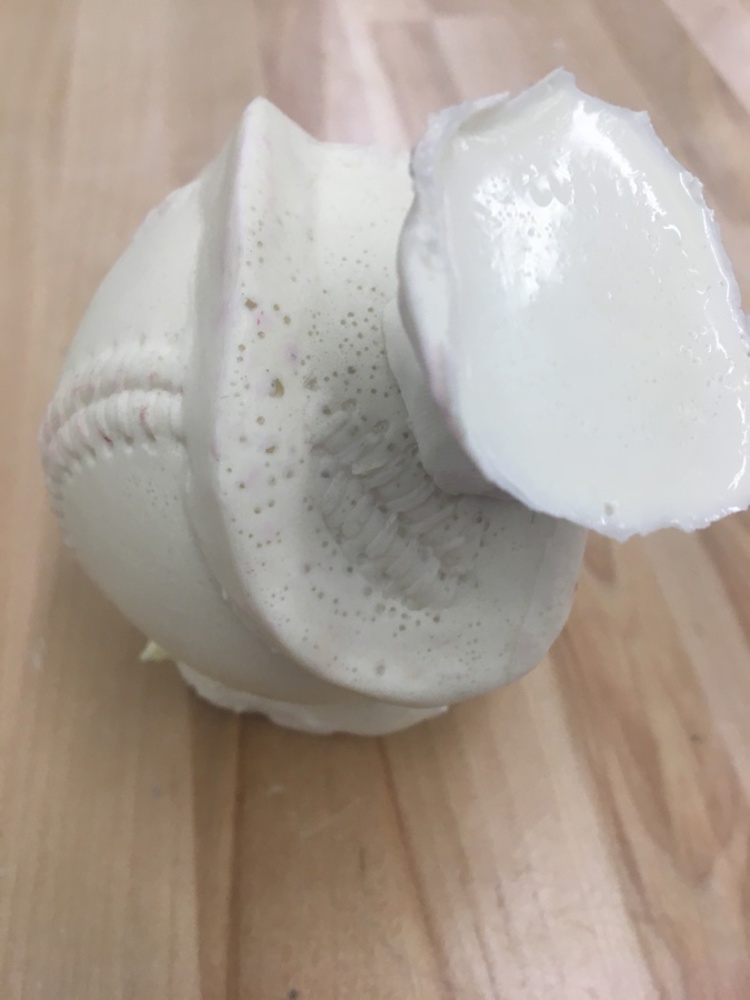
However, the rest of the pour went very well. The resolution was fantastic, with the seams looking incredibly good and the leather texture coming through well. The grip was correctly positioned, and was comfortable to hold. I cut off the mass at the top and sanded it down to blend into the grip. I also sanded down other small imperfections, like those that formed because of the supporting straws from before. This was a great result.
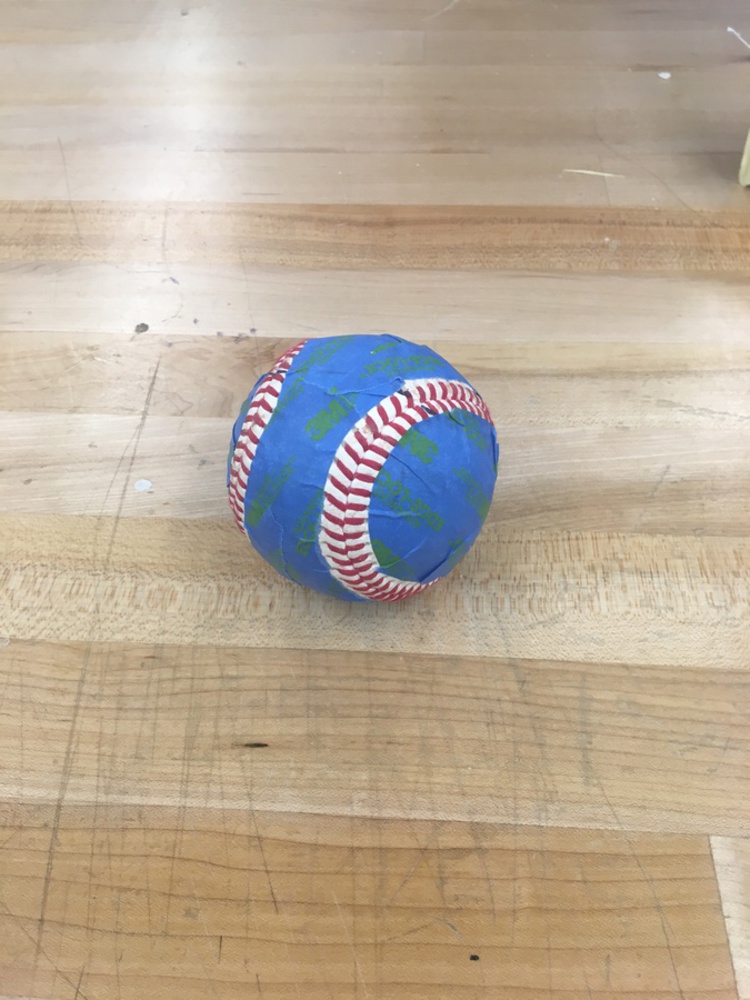
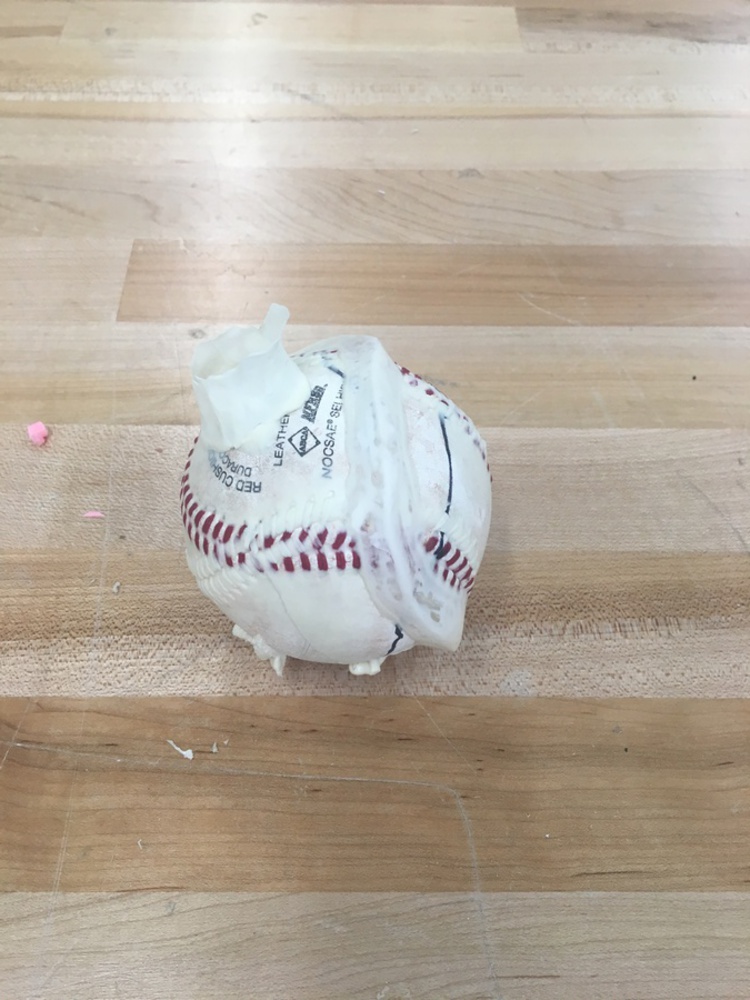
For my third pour, I decided to give overmolding another try. This time, I knew to watch out for the plastic absorbing through the seams. I got some acrylic sealer from my TA and planned to use that. However, I didn't want to risk the plastic not sticking to the ball at all, so I only wanted to spray the seams with the sealer. I covered the ball with painters tape, and cut away the parts covering the seams. This way, only the seams would be exposed to the spray.
For my last pour, I tried overmolding one more time, trying to fix all my issues for one last perfect attempt. I again could not use the pressure chamber, but created a large riser out of a larger funnel to create some pressure into the mold and provide extra plastic in case any was absorbed.
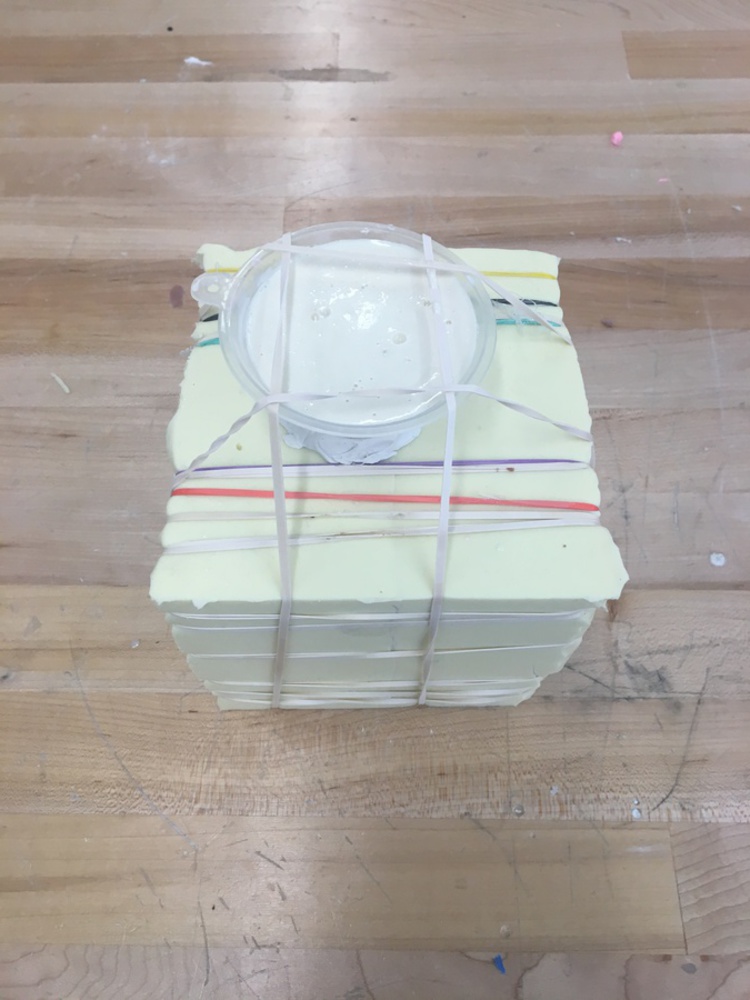
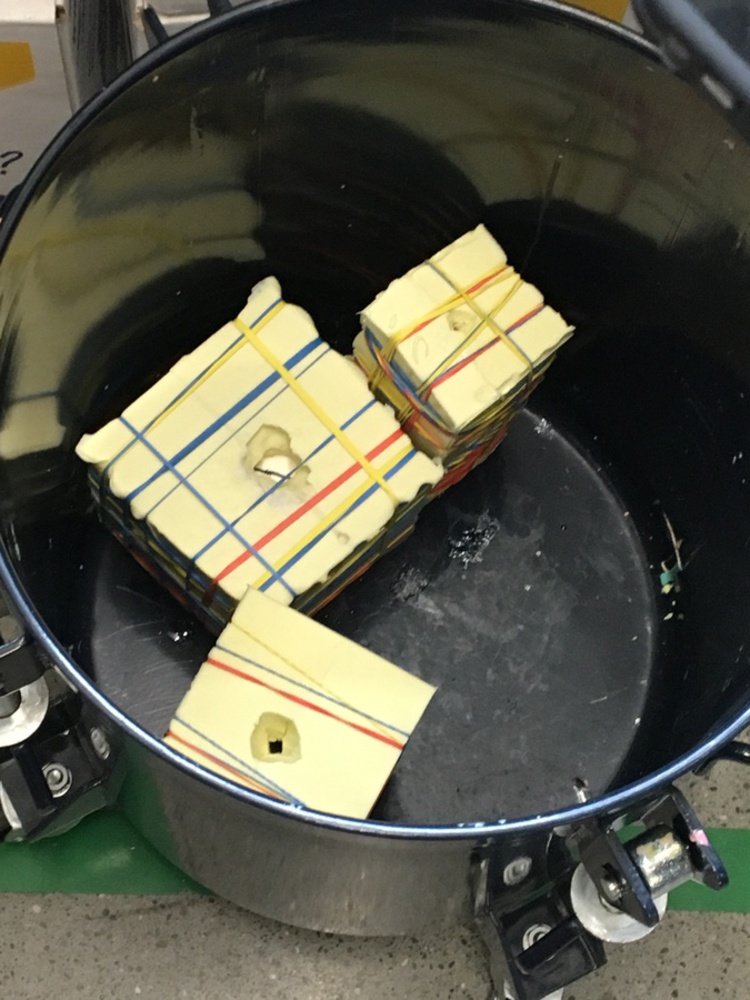
I was much more careful about lining up the seams, and again sprayed the seams with sealer before pouring. Unfortunately, my final pour was not a perfect pour, although it was much better. I had a similar 'double seam' effect, which makes me think the mold shifted around the ball or something as I put the rubber bands around or as the plastic solidified. There was also a similar case of a thin shell forming in the same place on the ball. Given more time, I would try the overmolding in the pressure chamber, which might help with forcing more plastic into the top of the mold. The pure plastic ball definitely turned out the best, so that is my "final" ball to submit. I sanded down the funnel, tried to eliminate what little flashing there was, and cleaned it off. The final result is below.
You can upload files of up to 20MB using this form.