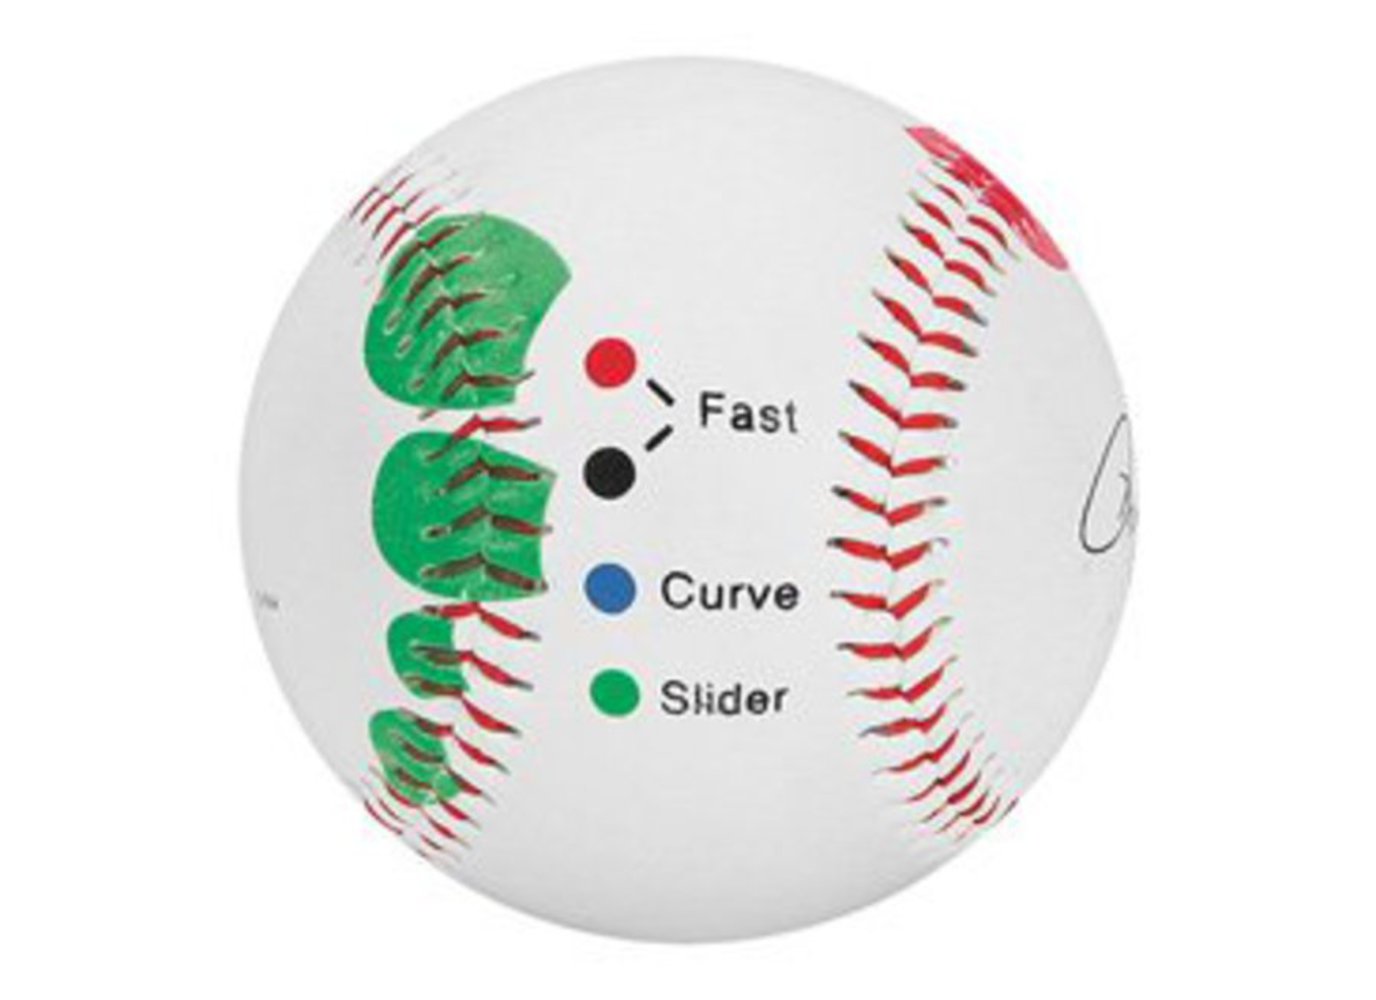
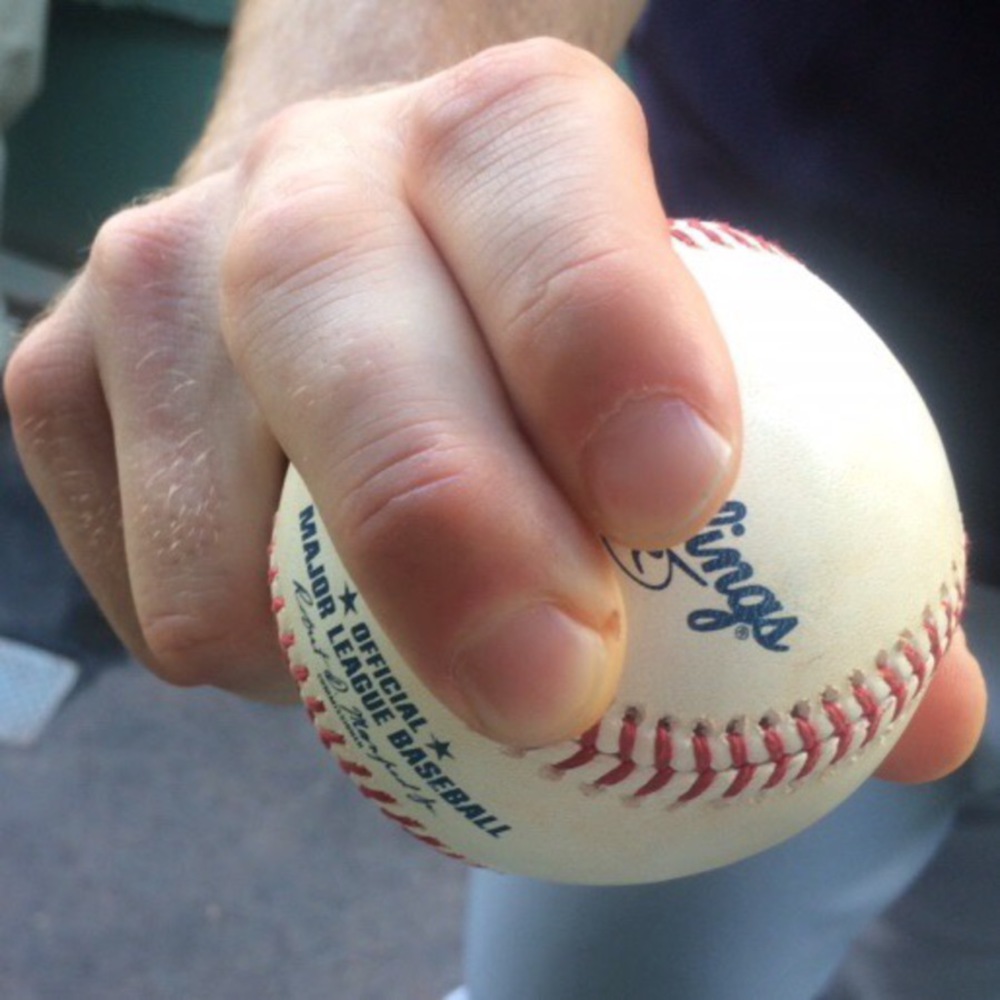
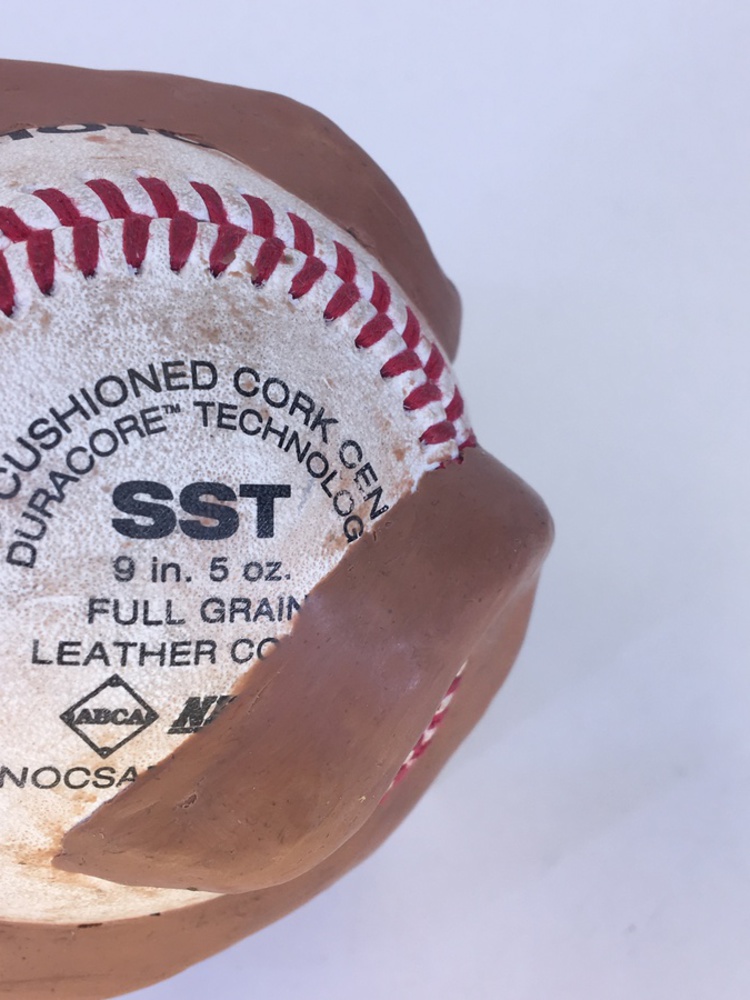
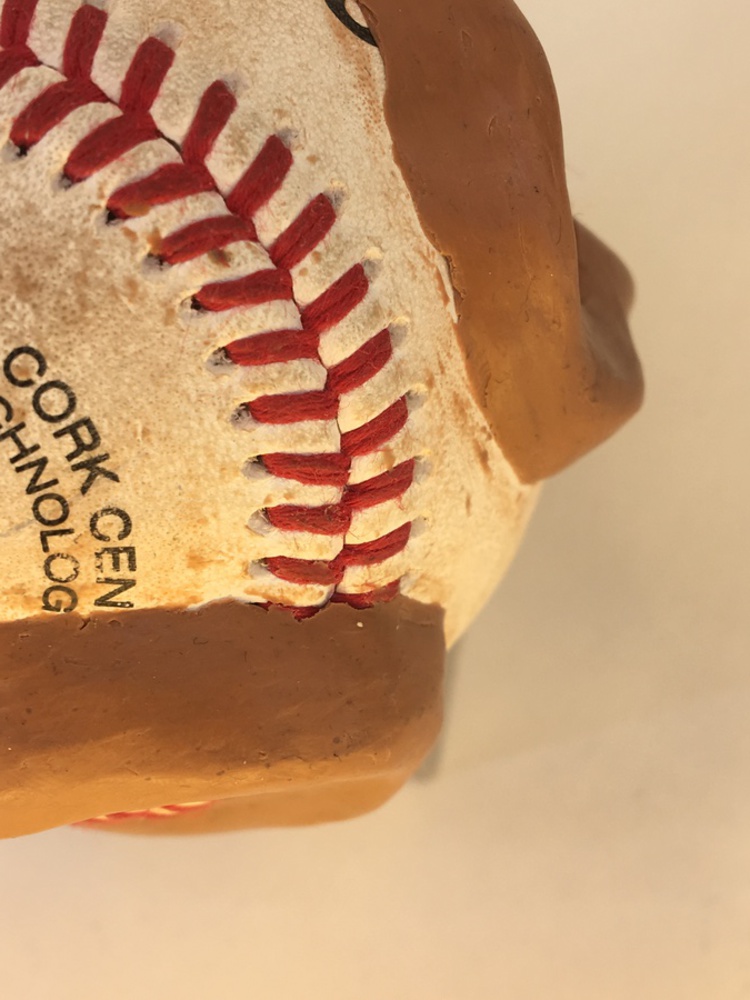
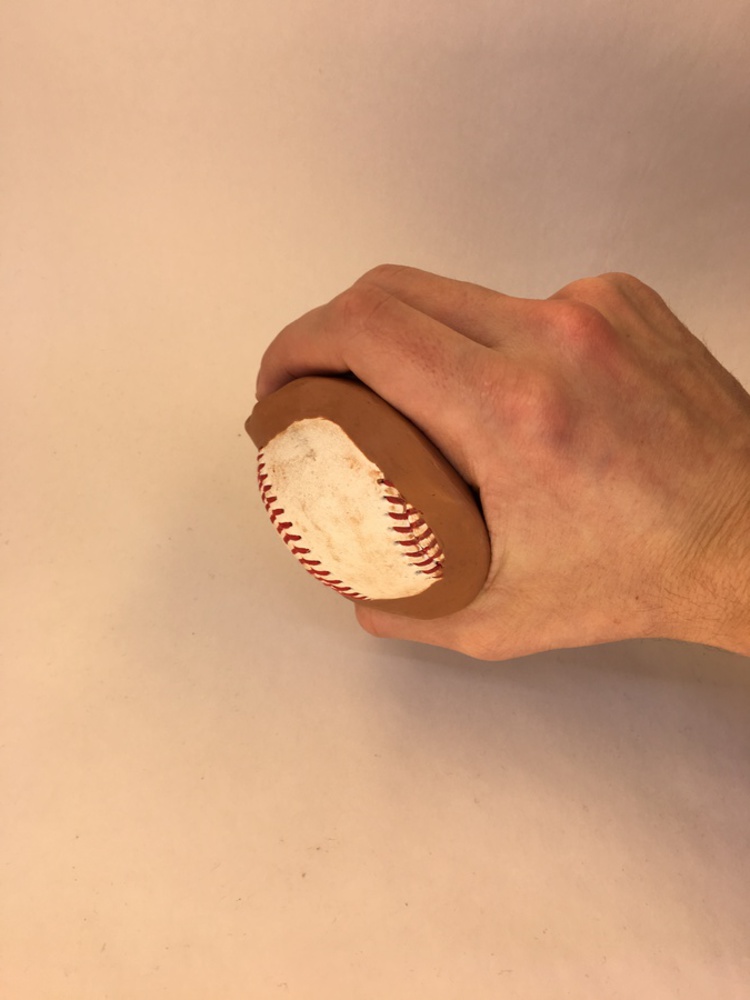
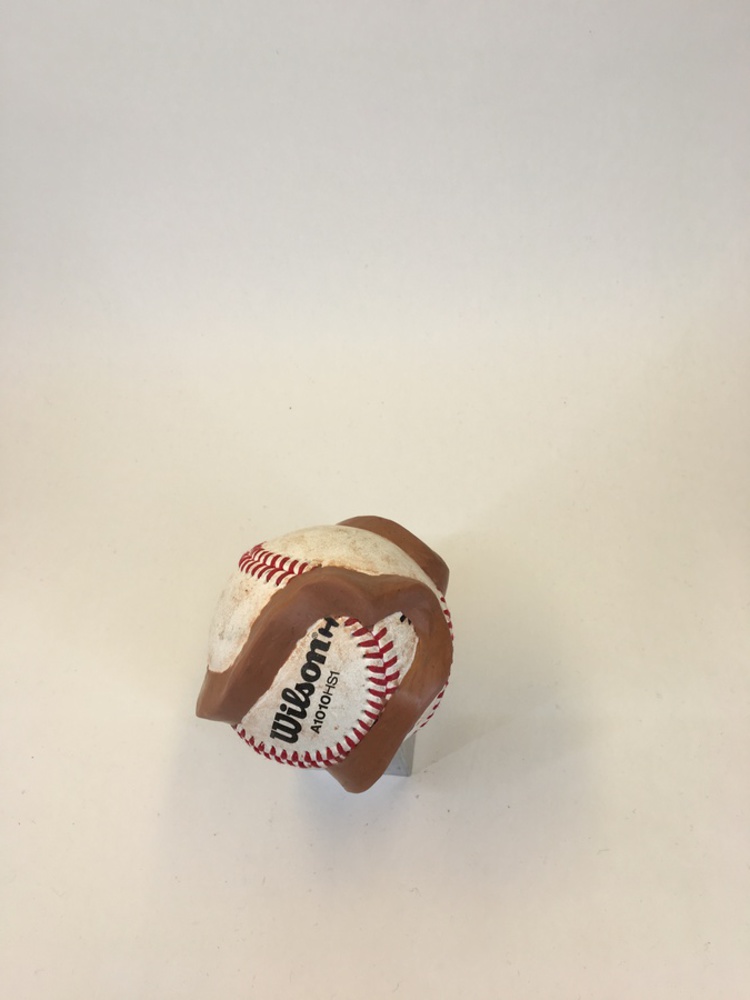
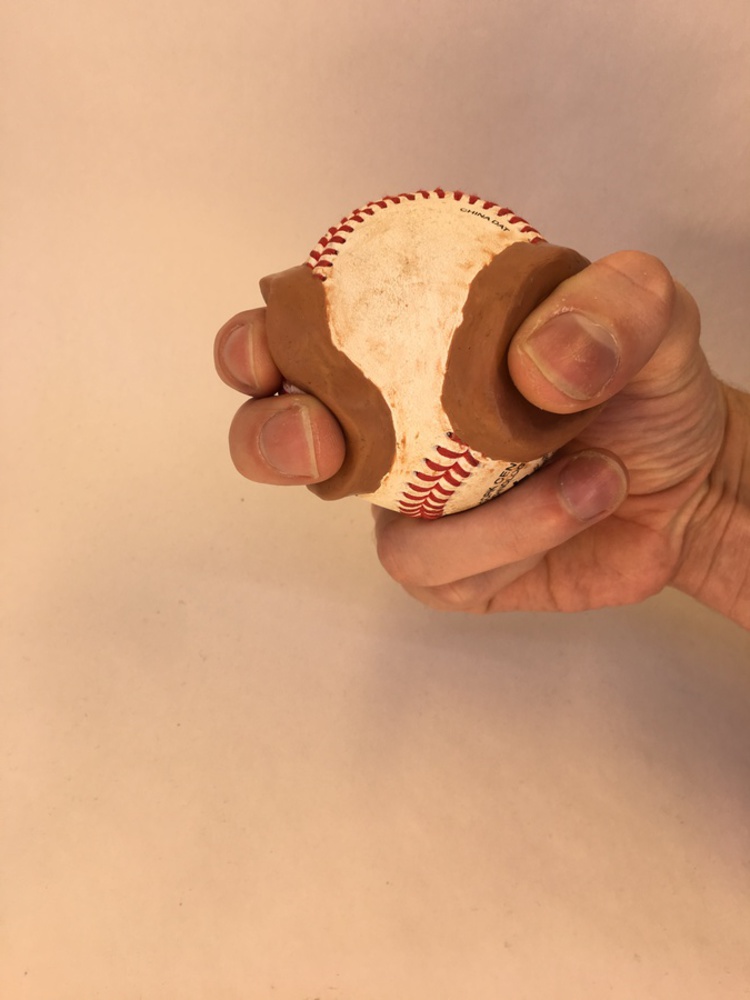
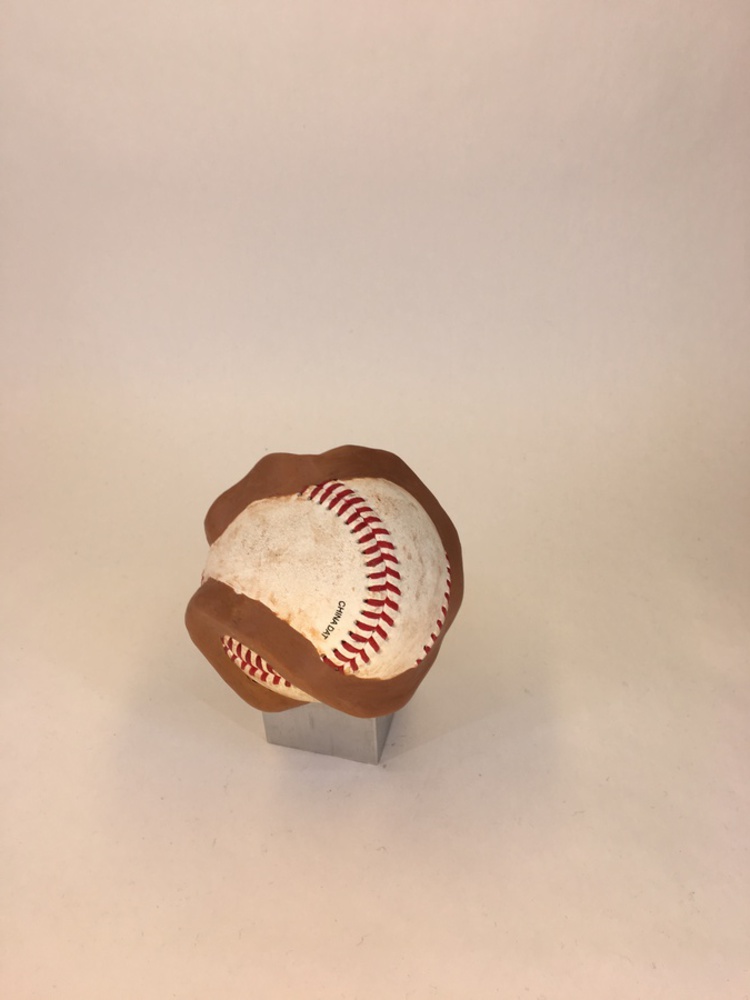
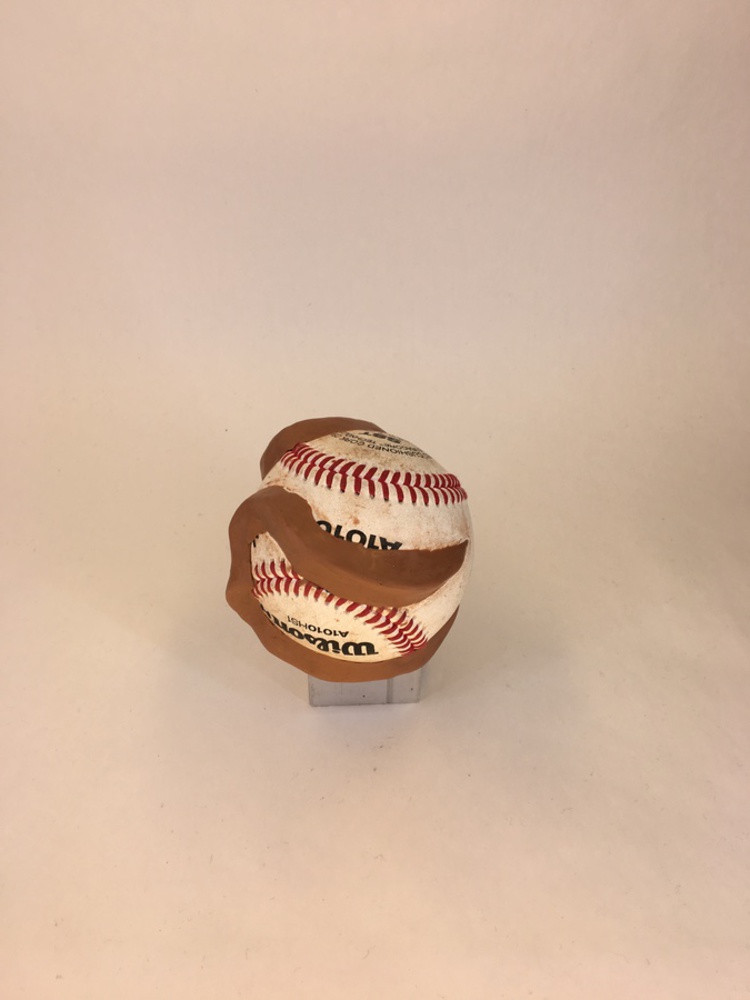
Curveball Grip Trainer

Made by droof · UNLISTED (SHOWN IN POOLS)

Create a training ball for young pitchers to learn the correct grip for throwing a curveball

Created: March 17th, 2019

0

I have always loved baseball, and played it competitively from age 6 to 16. However, I was always a catcher and infielder, never a pitcher. One reason was that I couldn't throw all that hard, but the other was that I could never throw a curveball. Throwing a curve requires a certain grip and throwing motion that I just never got the hang of. So, I decided to make a grip for a baseball that shows a player where on the baseball to grip to throw a curveball. I was inspired by training balls, like the one shown below.

0

However, my project would be slightly different. I wanted to make a more tactile grip, but making the full guide would mean that I could only make one pitch grip. I decided to choose a curveball since in my opinion, it is the best looking pitch. I chose the grip used by one of my favorite pitchers, Sonny Gray. His curveball is his "signature pitch", and is well known throughout baseball. 

0

His curveball is an excellent model to use for my training ball. I found images of how he grips his ball in this article, posted to Fangraphs.com: https://blogs.fangraphs.com/players-view-learning-and-developing-a-pitch-part-21/

0

To make the actual grip, I first placed my hand on the ball and traced out where my index and middle fingers and thumb were. The ball with sharpie marks are shown below. 

0

As can be seen, the grips cross the seams multiple times, and he sharpie marks were not quite perfectly continuous. This made making the guide a little more difficult. However, it was a fairly simple operation to push the clay onto the ball and then build up from that initial layer. The photo below shows how the clay adheres well to the leather of the ball, making a good base layer. 

0

Since the base was made of the clay and it adheres very well to itself, it was easy to build up to a sufficient height. After that, it was just a lot of smoothing with my fingers and using the tools to make the cross-sectional profile as consistent as possible. I had to use my fingers to do the smoothing since the path of the grip was too irregular to utilize them to the full extent. I did use the sponge to smooth out the surfaces, and ended up with a pretty nice finish overall. The smooth finish can be seen in the same picture above. However, it didn't turn out perfectly.

0

Around the seams, it was difficult to get a perfect interface. I tried to fix most of them by packing more clay into the empty spots, but it did not work for all of them. However, I am very happy with the final result. More pictures of the ball by itself and "in use" below. 

x
Share this Project

This project is only listed in this pool. Be considerate and think twice before sharing.


Found In
Courses

24-672 Special Topics in DIY Design and Fabrication

· 22 members

Offers students hands-on experience in DIY product design and fabrication processes. Students work individually or in small groups to design customized and personalized products of their own and bu...more


About

Create a training ball for young pitchers to learn the correct grip for throwing a curveball