In this project, I got to experience what it is like to create a silicon mold and create resin casts. This was super fun and I did get to learn a lot.
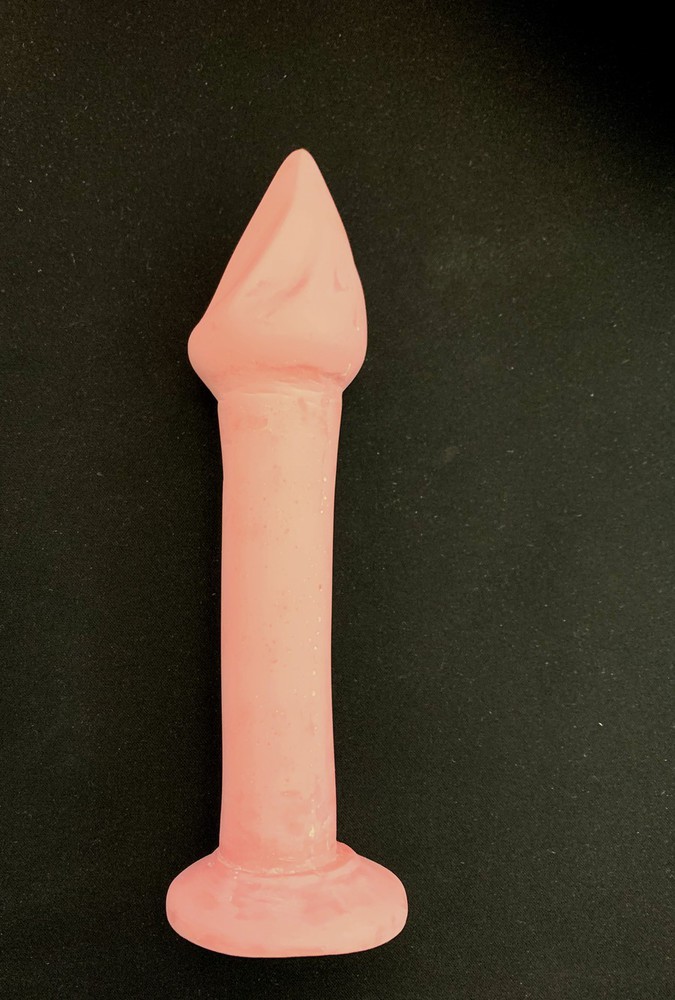
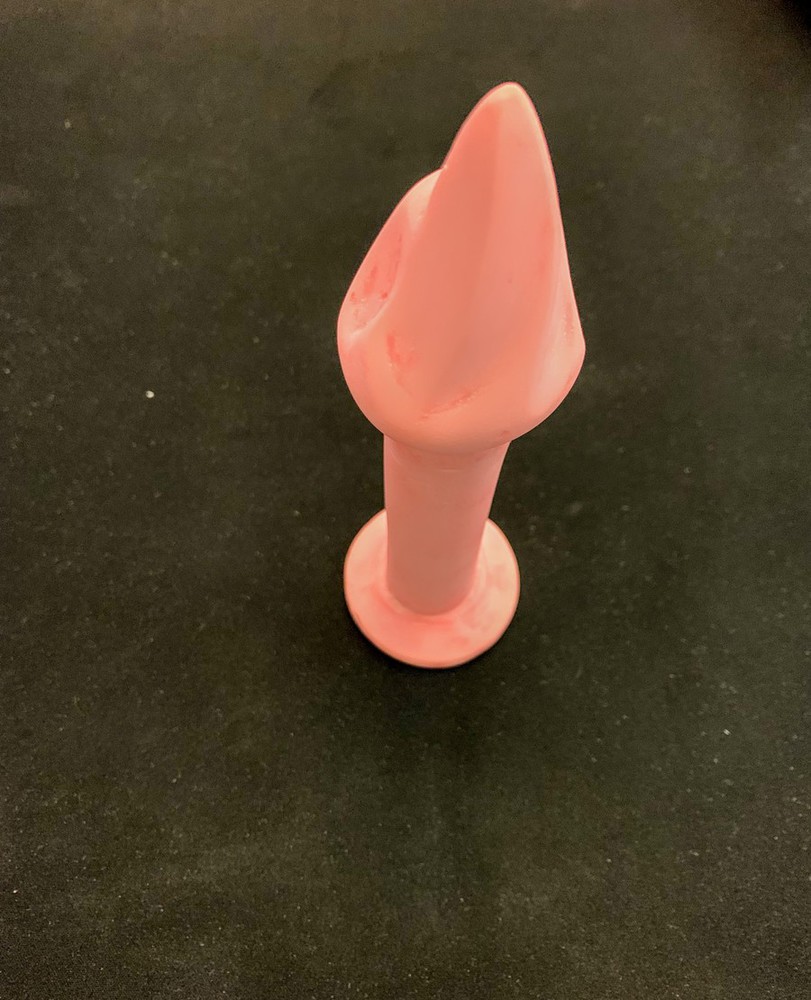
Outcome
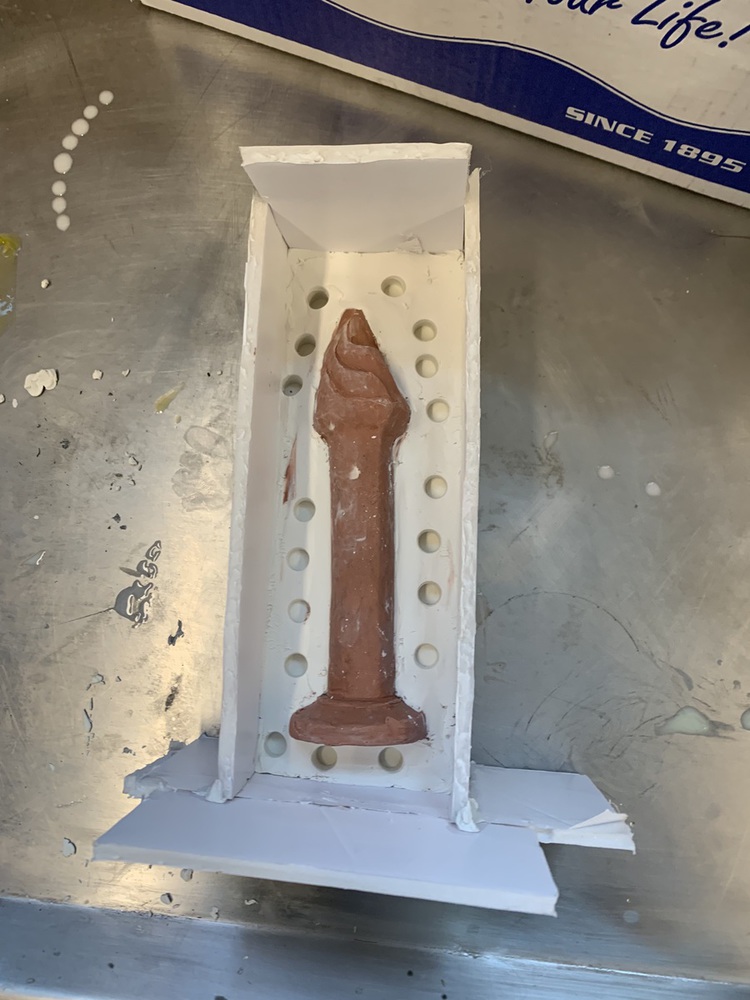
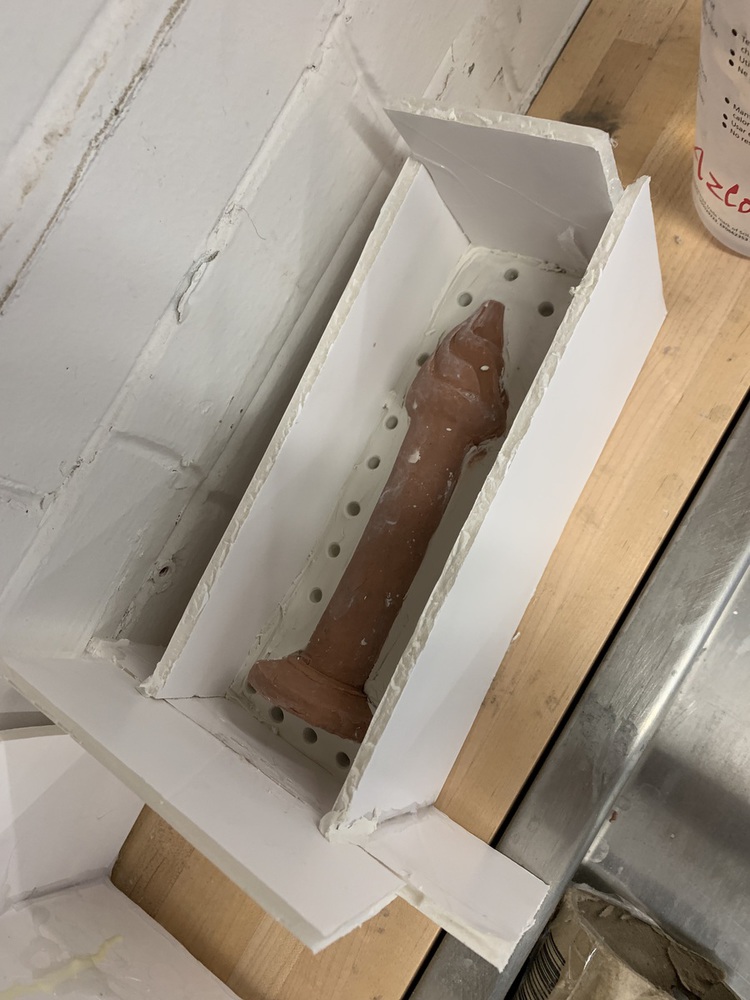
Step 2 - Using soft clay for creating a base
In this part, I used a soft clay that doesn't dry to create a base layer upon which I would pour the silicon. This step of the process definitely took some time as I did not know how much clay to use or what the proper way of using the clay way. My clay tools definitely came in handy during this stage when I had to smoothen the top surface.
I had to go back and add an extra layer of clay to my base and I had created an inclined surface and not a flat one. This would have caused a very flimsy mold to be created. Luckily based on Chris's feedback I was able to fix this issue. I also found it easier to just push clay in once the container box had been created.
If I could go back, I would have liked to work with an acrylic cut box, I have a feeling it might have made the process easier for me personally.
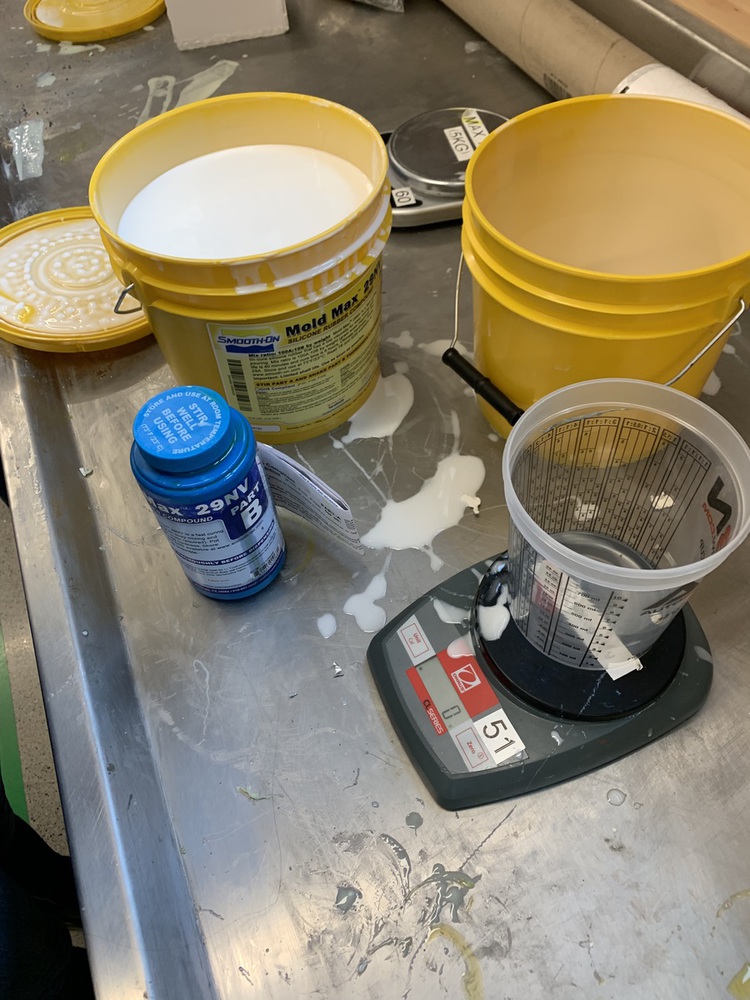
Step 3 - Pouring the Silicon (First Half)
his step was pretty easy, all I had to do was calculate a rough volume of material required and make sure that my container box was leak proof. Surprisingly, the flimsy box worked and the silicone didn't leak. It also reaffirmed my hate for working with foam core.
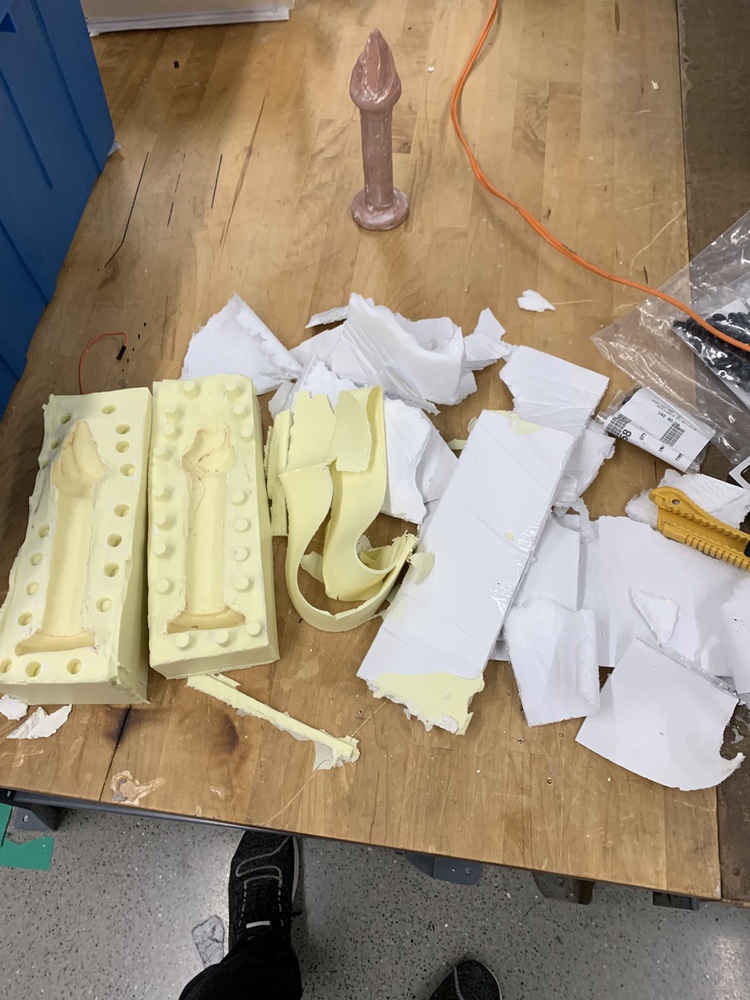
Step 4 - Creating a new container box
Ugh... I had to make yet another container box since I ripped through my old one to get the clay and the cured silicone mold out. This took me a while to make as I wasn't too great with the foam core. The whole thing was basically a ton of hot glue to make sure no additional silicone leaked.
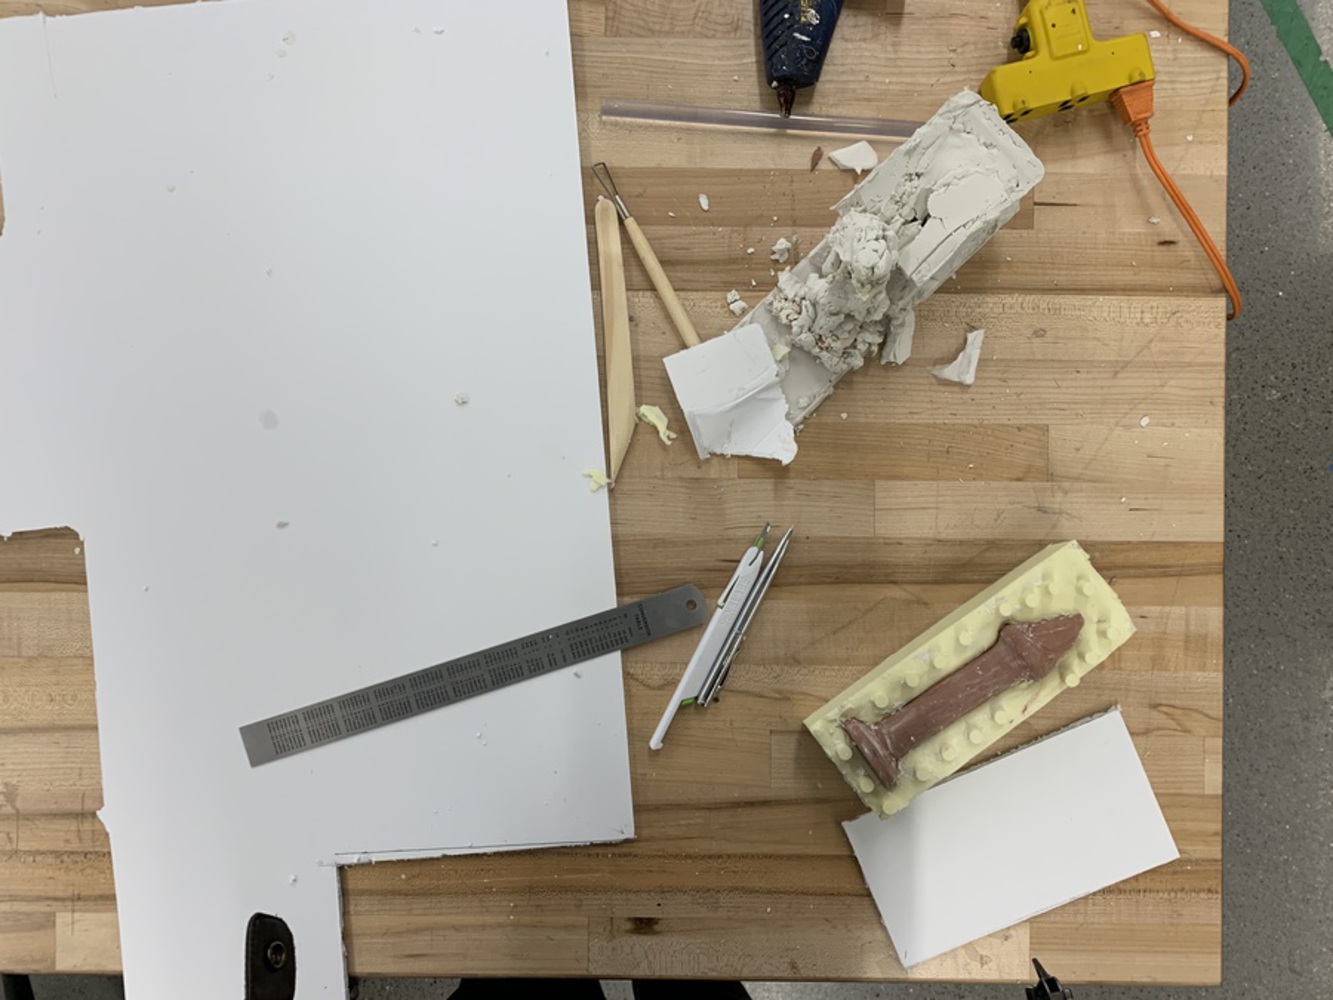
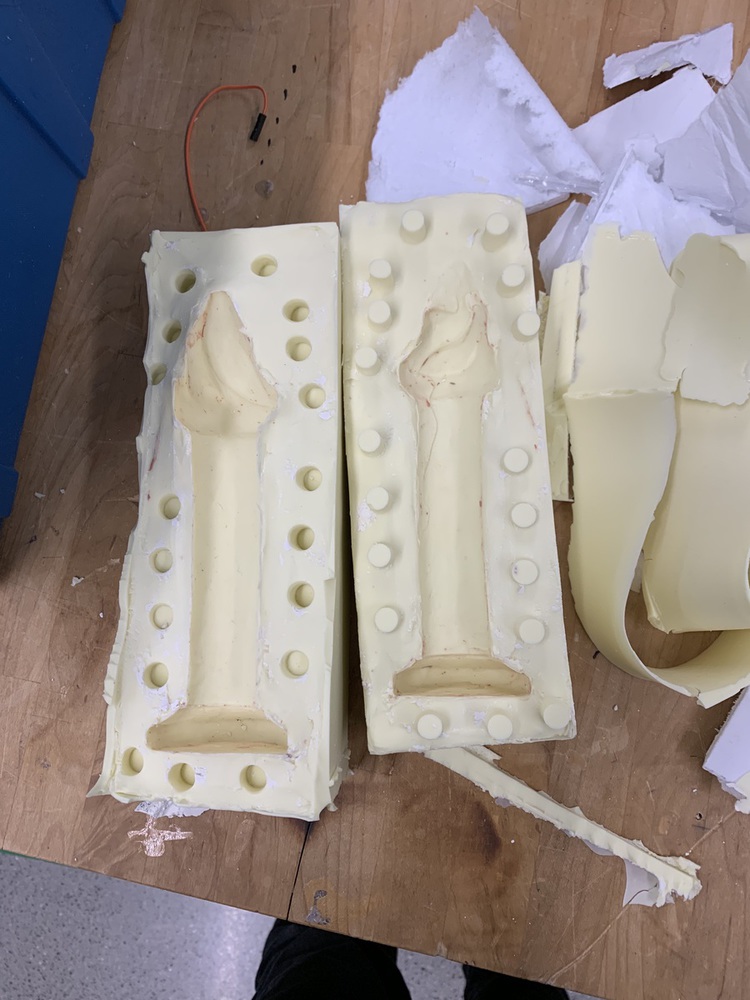
Step 5 - Putting the whole mold together
I sprayed the first half of the mold with a mold release spray and then poured in the second batch of silicone. Once cured, I had to cut into the top layer of the mold to separate the two parts. In hindsight, I could have planned this stage better. But no irreversible damage!
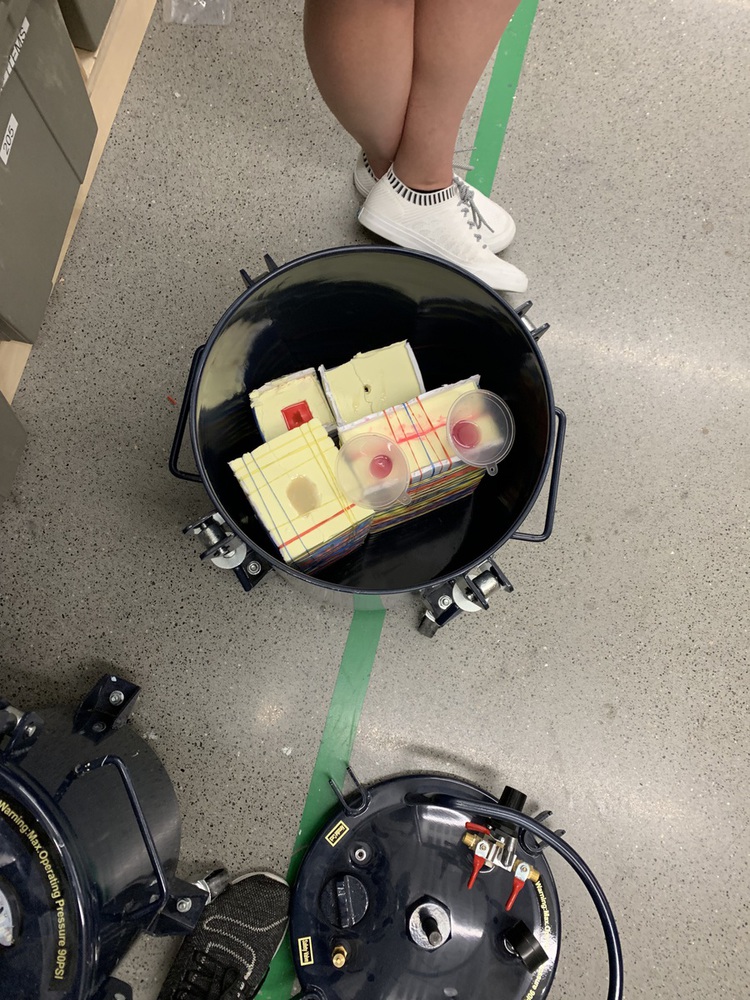
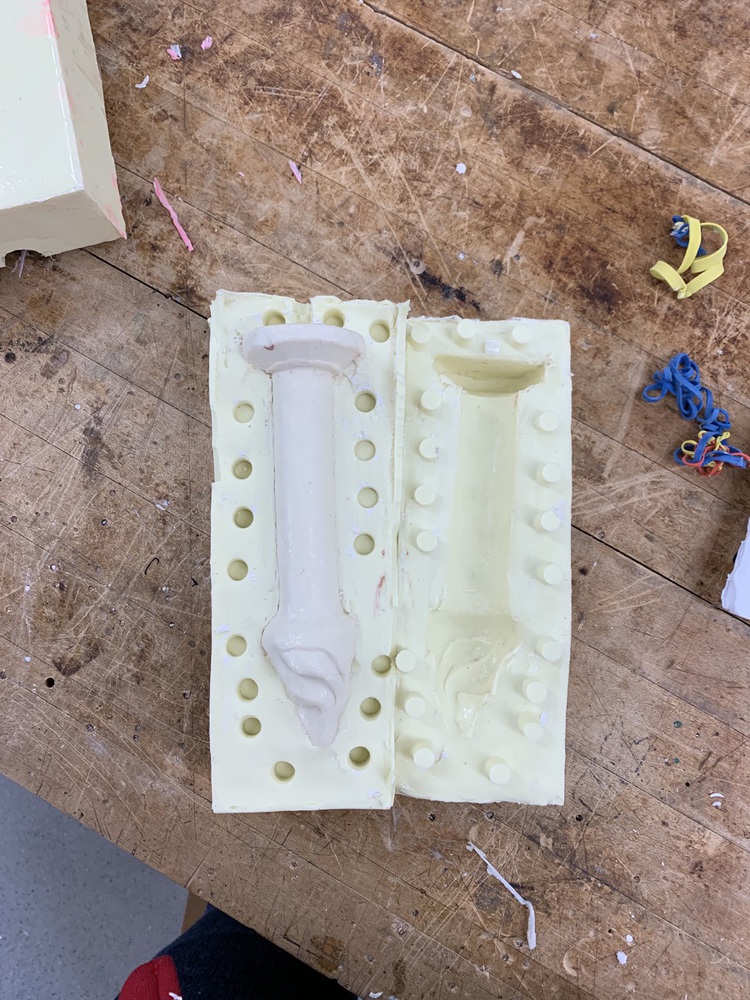
Step 6 - Casting resin copies
This part was the quickest and the least stressful part of the whole process. I just cut a pour hole in the top part of my mold and mixed the resin and poured it in. There were no leaks in my mold, yay!
The first copy I made had a bubble at the base of the handle even though it was pressure cast. The same was true for my second one. However, with the second cast, I just filed off the bubbles the best I could and went on to finish the cast while the third one cured.
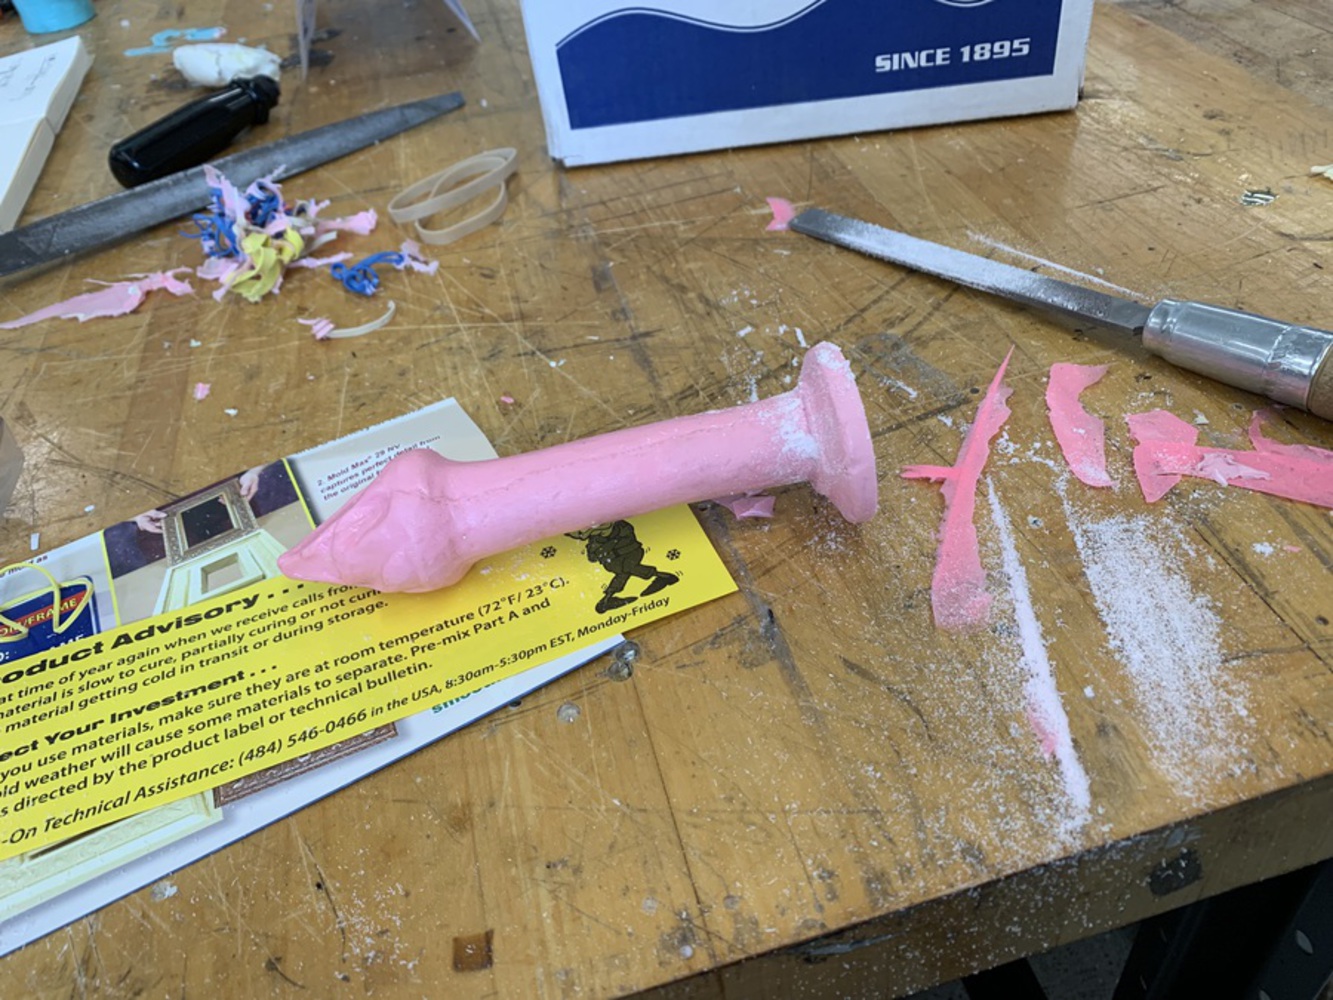
Step 7 - Putting finishing touches
I filed off the extra bit at the base of my second cast where I had put the funnel and removed almost three-quarters of the base to get rid of the pesky air bubble. Then I used 100 grit and 220 grit sandpaper to give the cast a smooth finish.
You can upload files of up to 20MB using this form.