Sword Handle
Made by kbhuwalk · HIDDEN
Made by kbhuwalk · HIDDEN
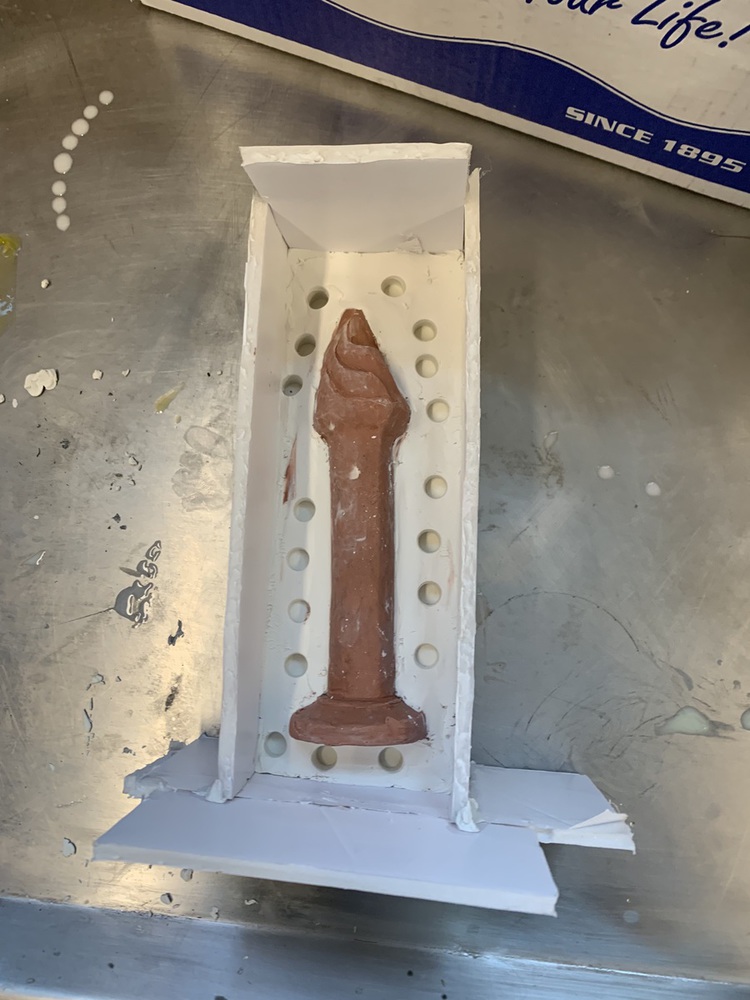
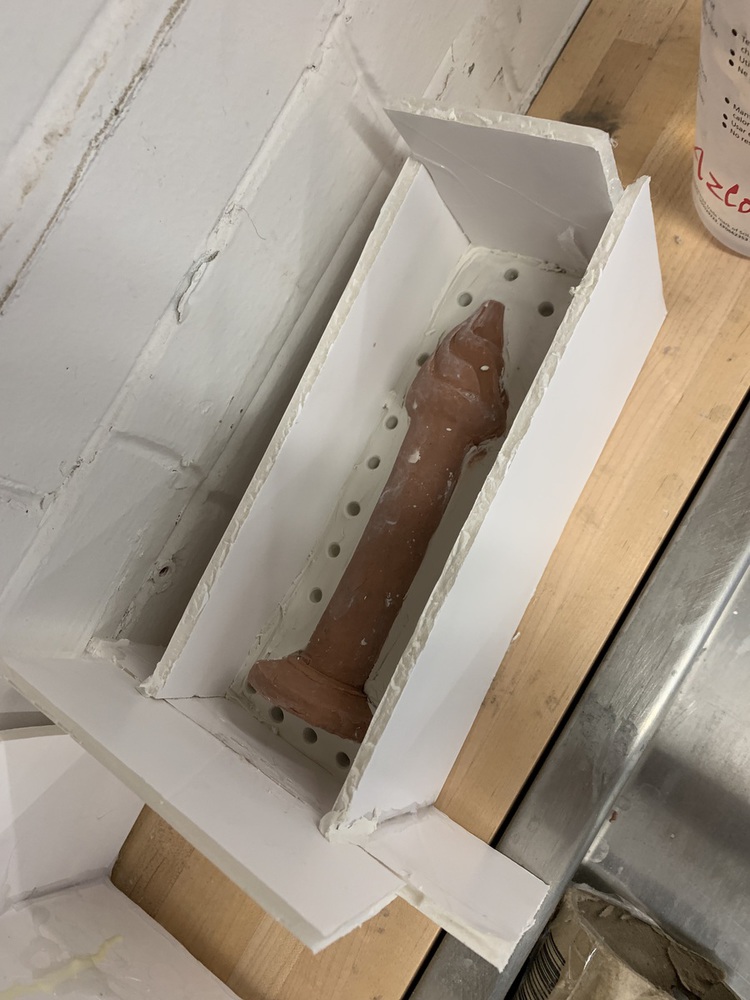
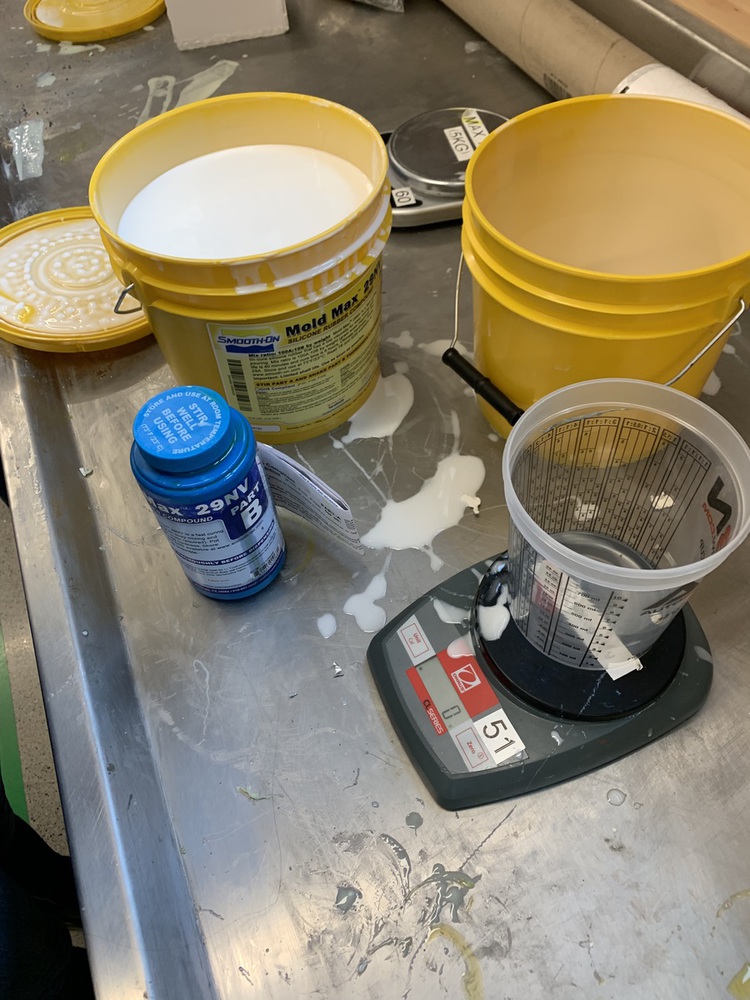
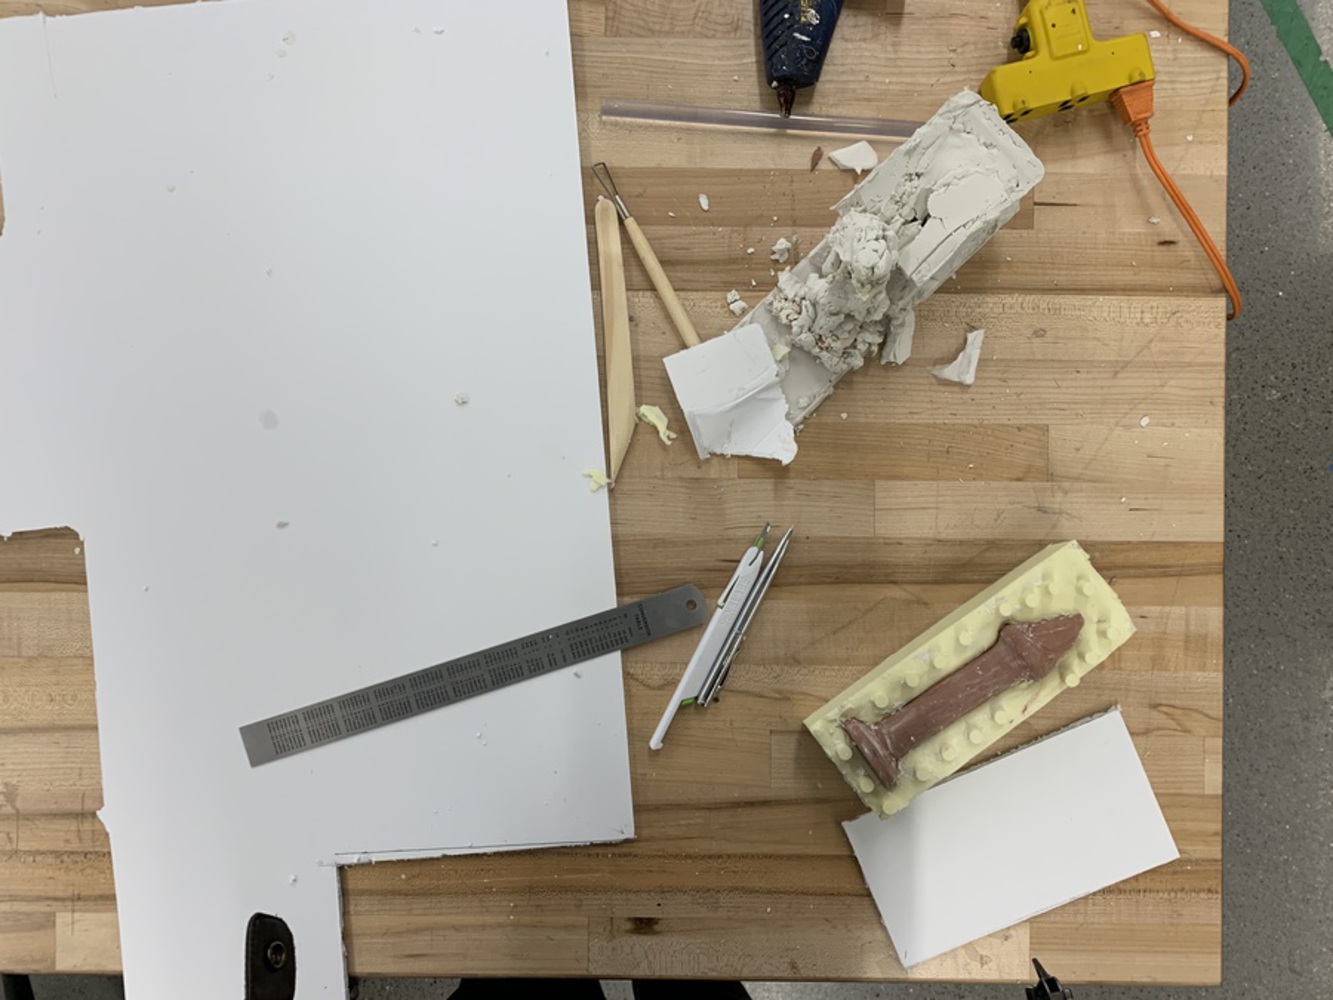
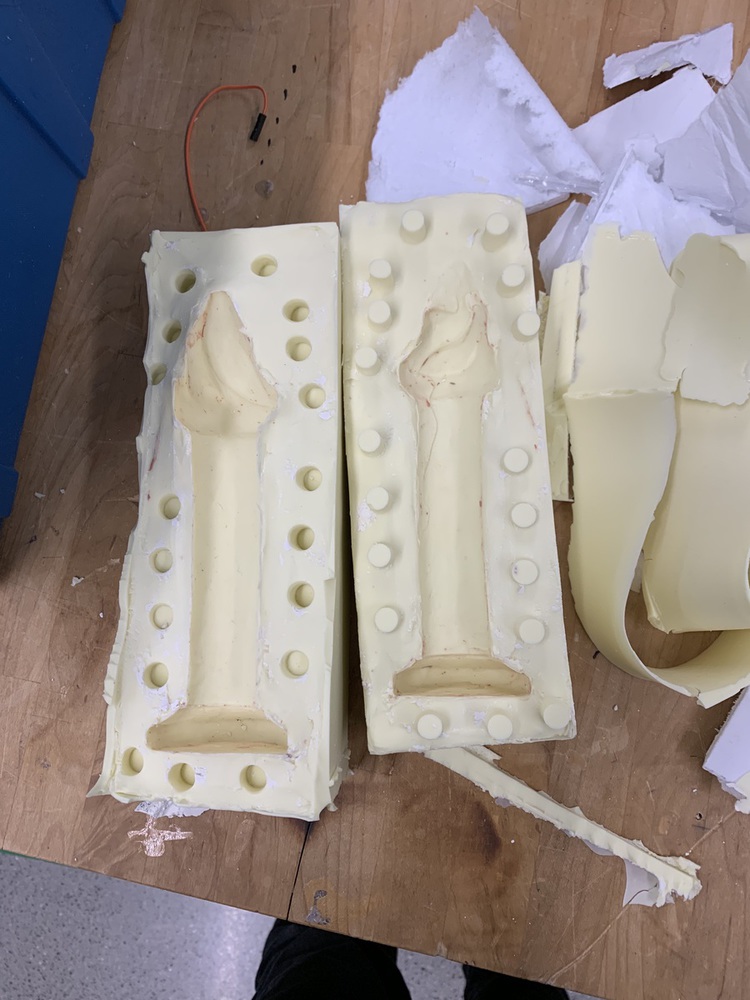
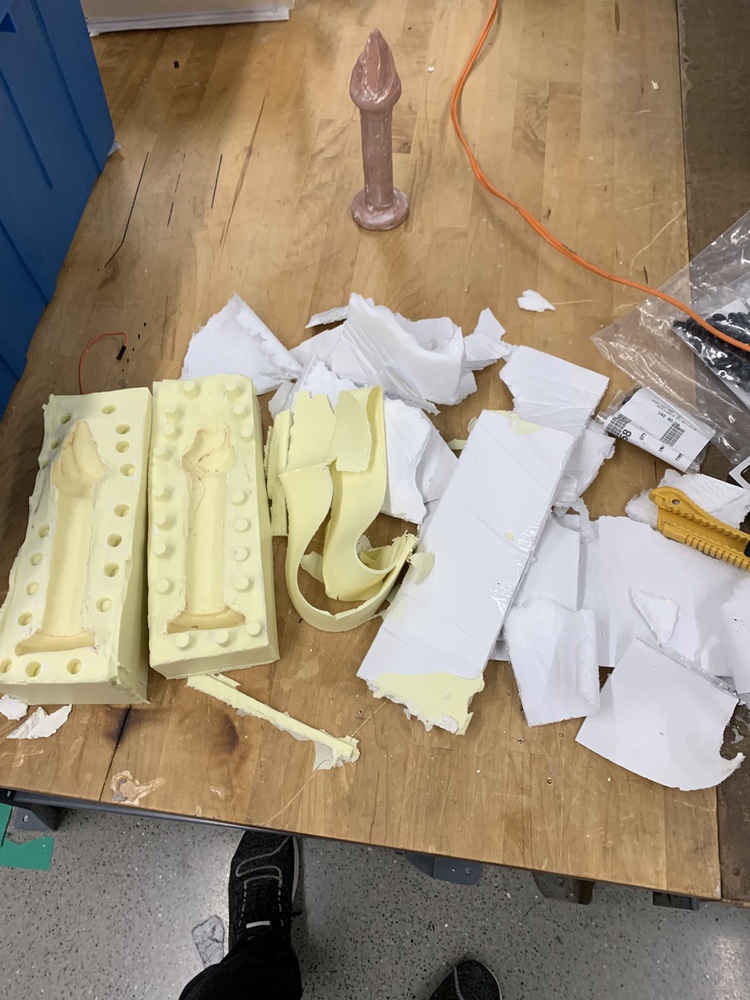
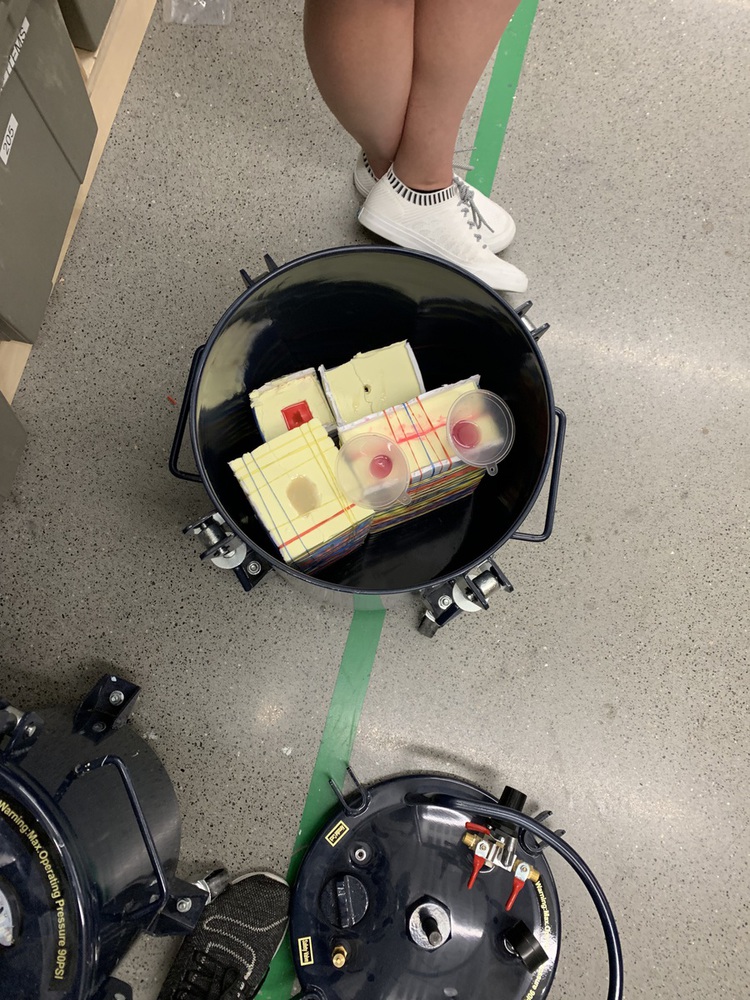
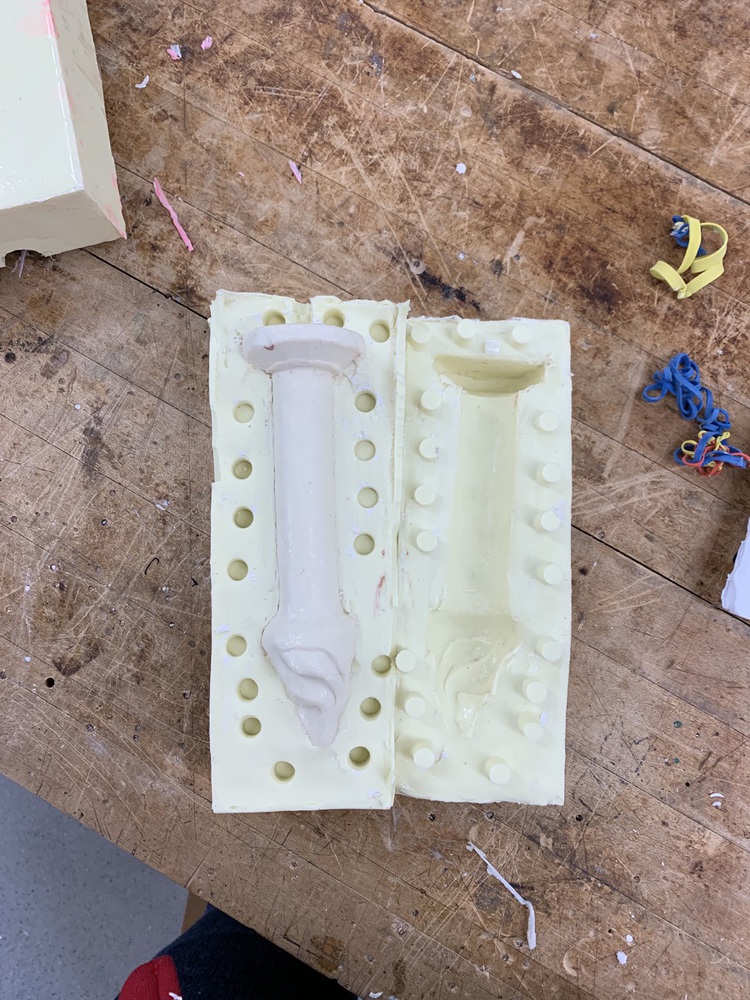
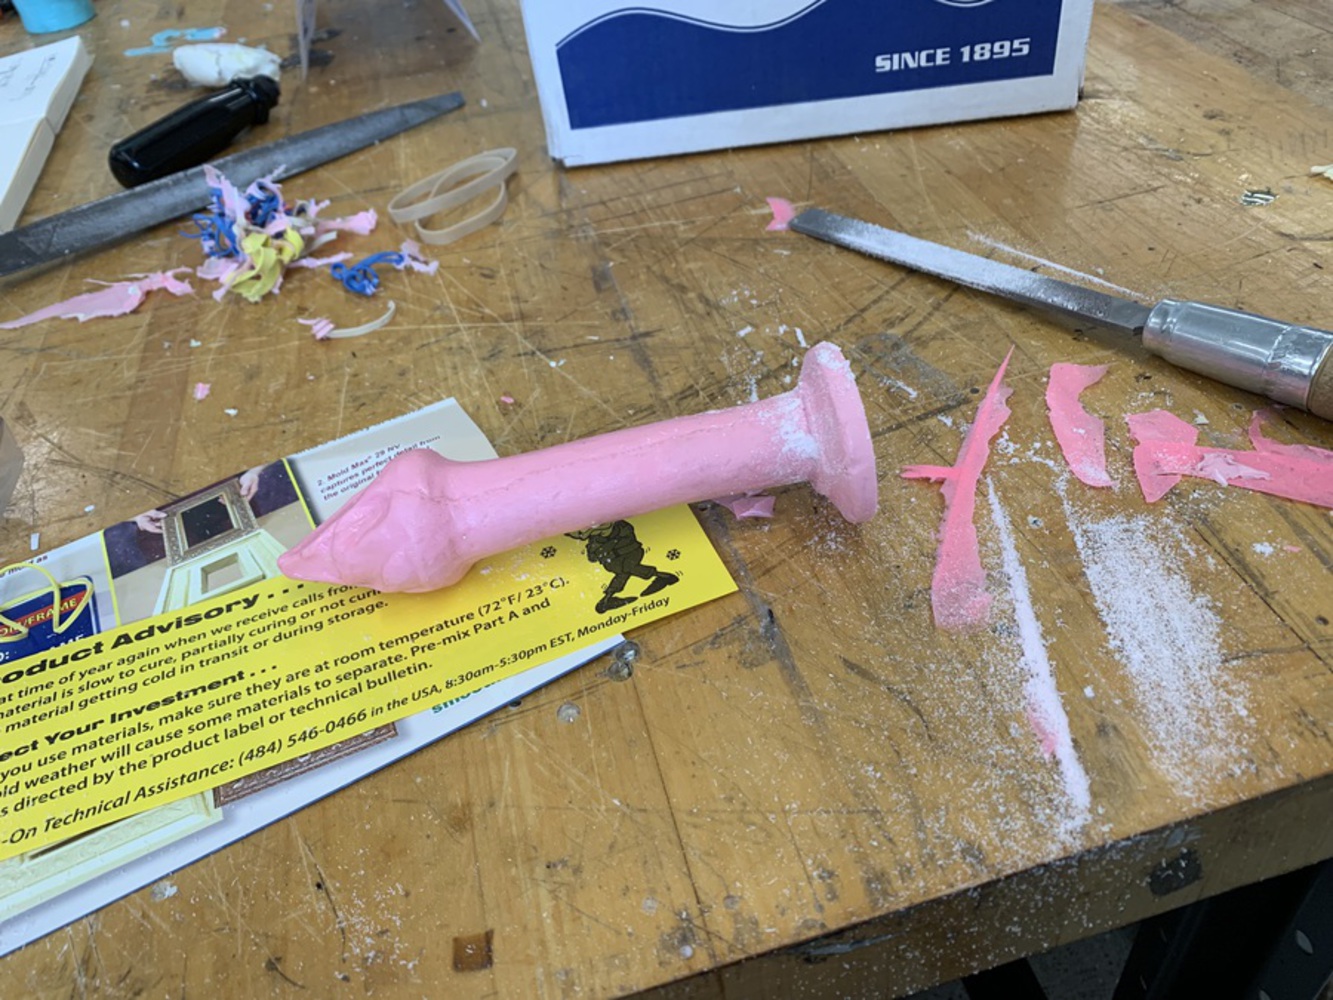
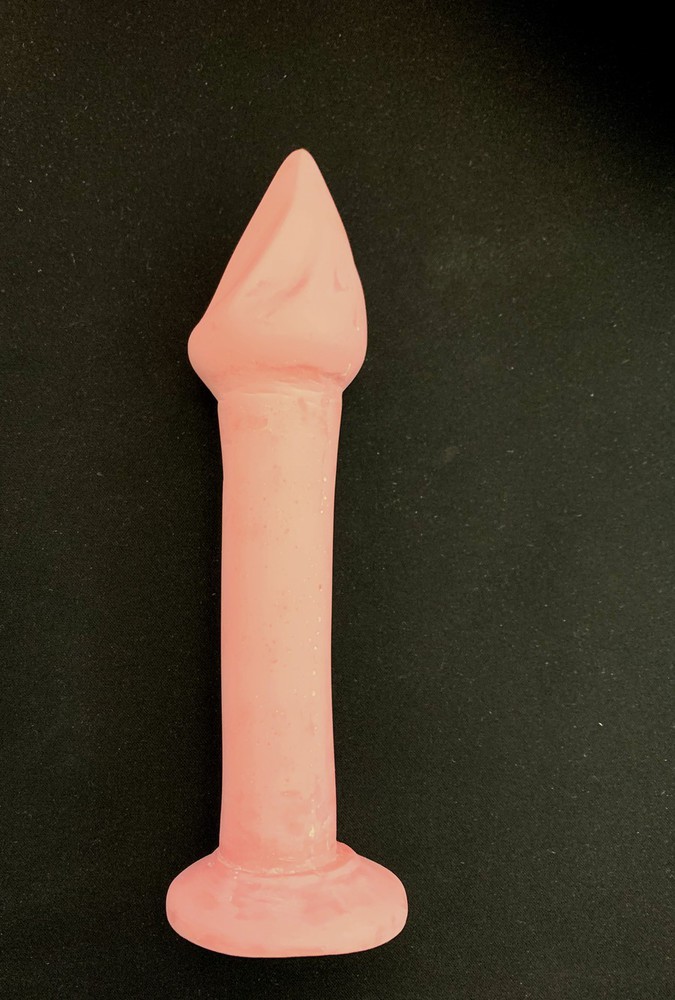
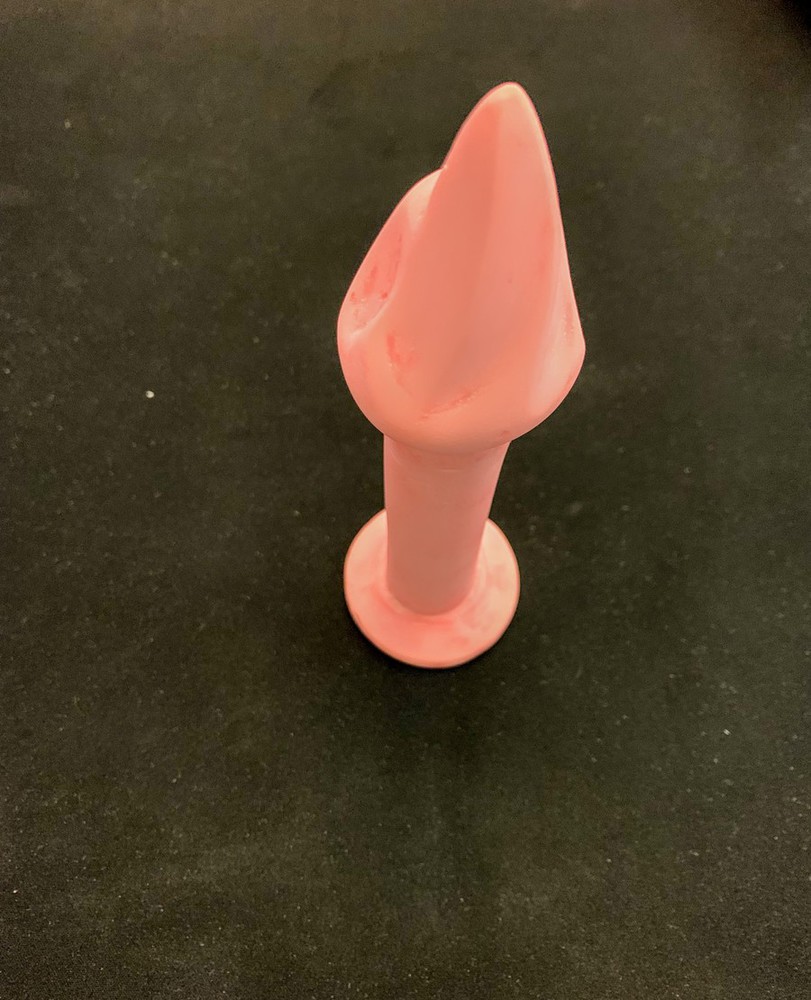
Exploration in the techniques of Silicone molding and resin casting
Created: April 16th, 2019
This project is unlisted and only folks with the link can see it. Be considerate and think twice before sharing.
This project is unlisted and only folks with the link can see it. Be considerate and think twice before sharing.
Offers students hands-on experience in DIY product design and fabrication processes. Students work individually or in small groups to design customized and personalized products of their own and bu...more
Exploration in the techniques of Silicone molding and resin casting