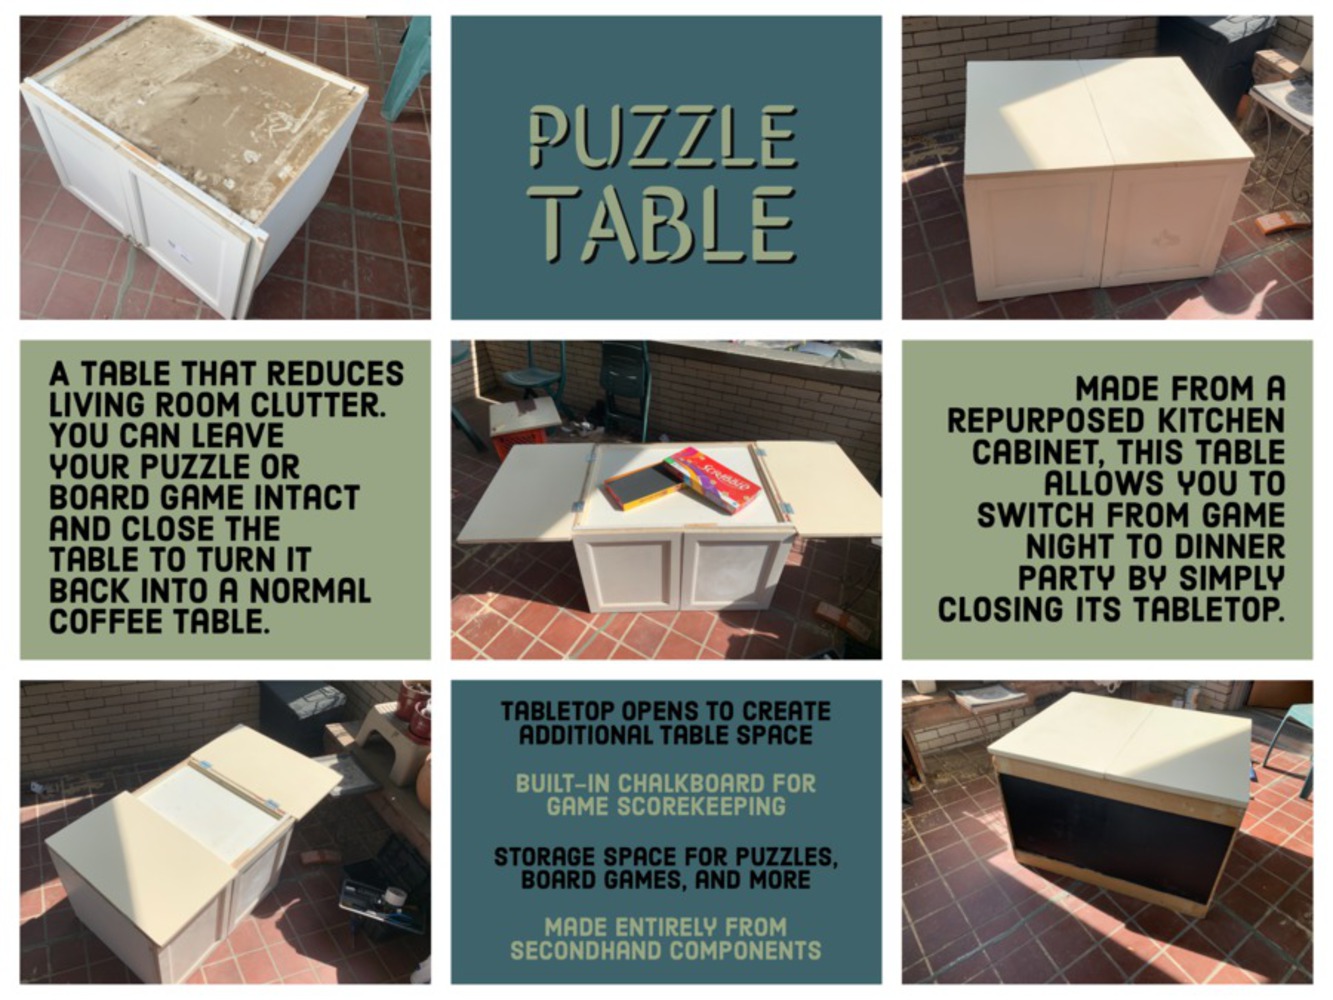
Outcome
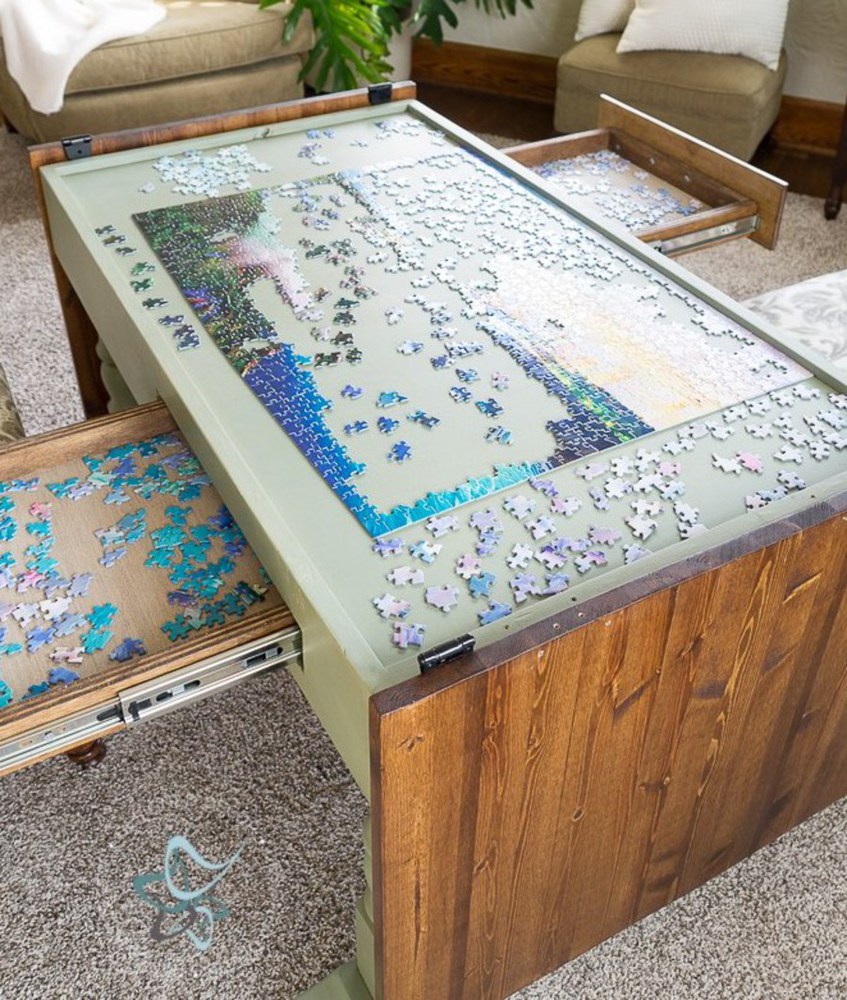
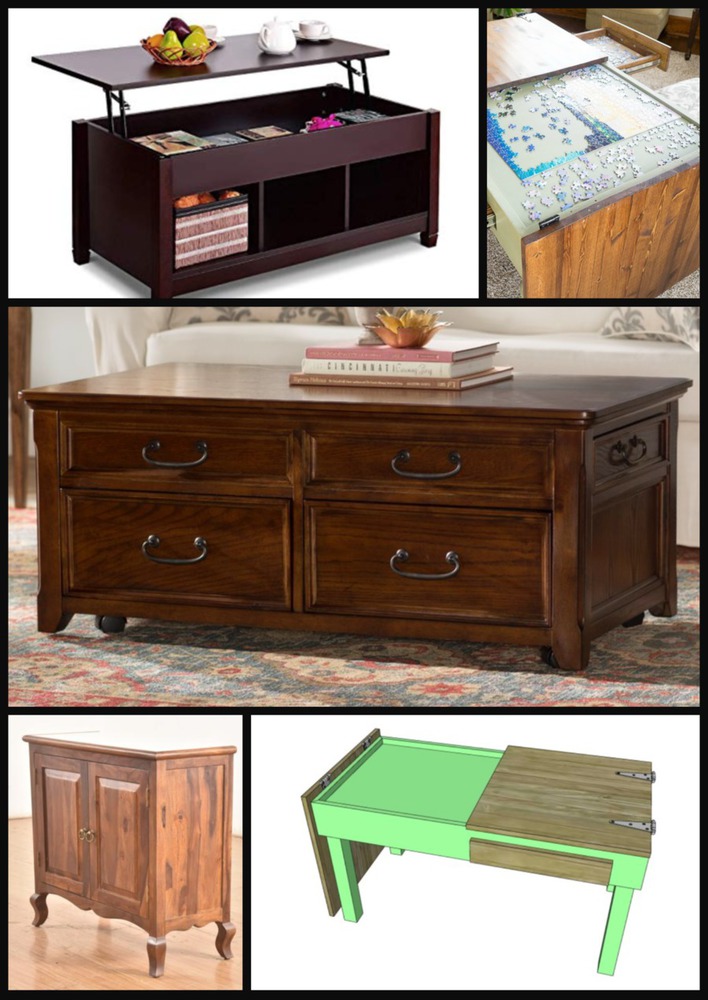
The basis of this table is the above puzzle table, sold for around $700 by Designed Decor (designeddecor.com). I wanted to create my own more affordable version of this table, more suited to me and my roommate's needs. Based on this design and the requirements of my apartment (size constraints, storage needs), I created the following mood boards.

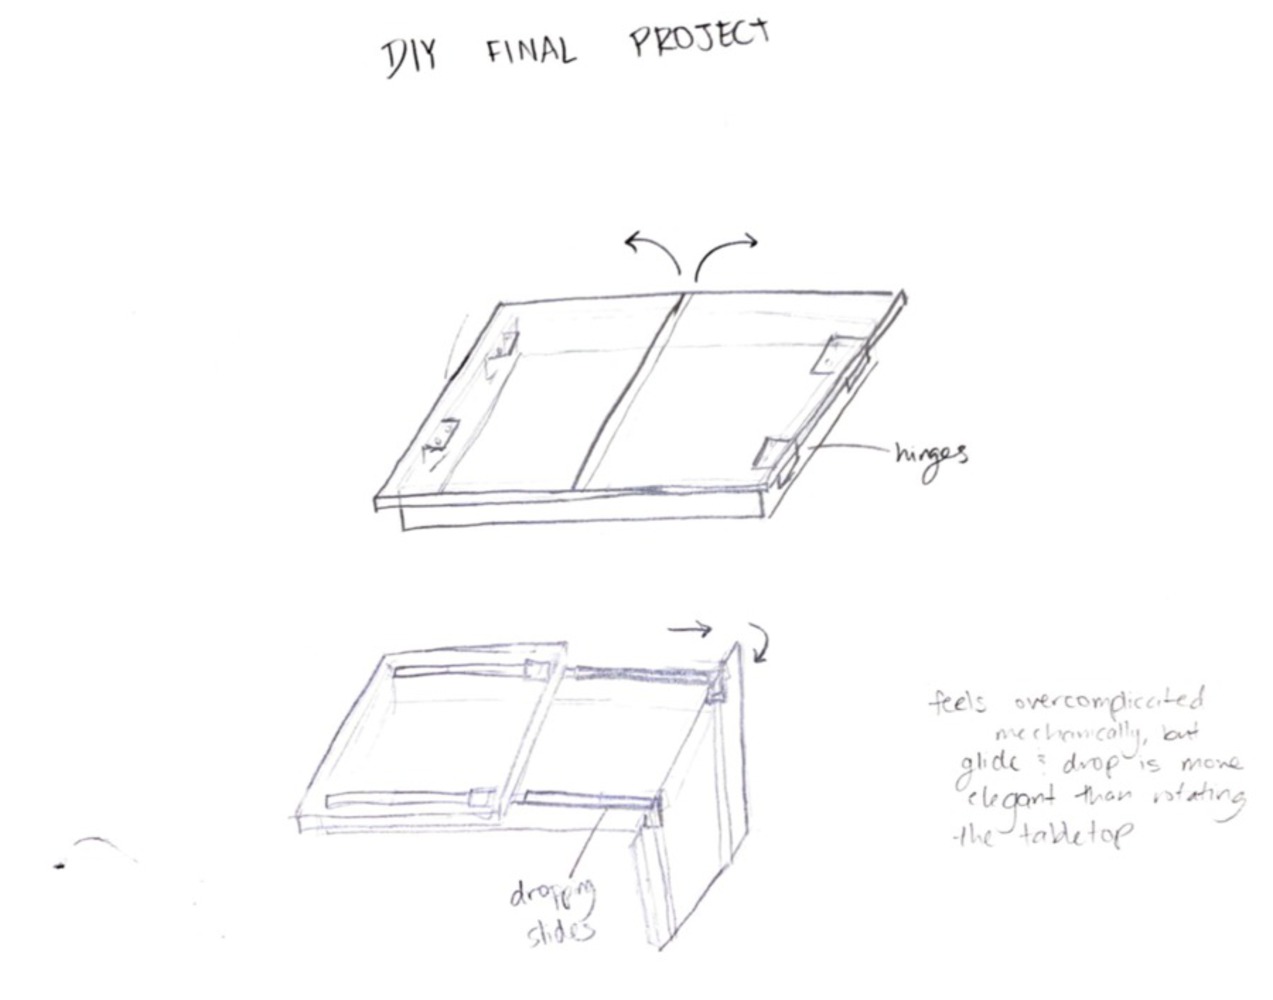
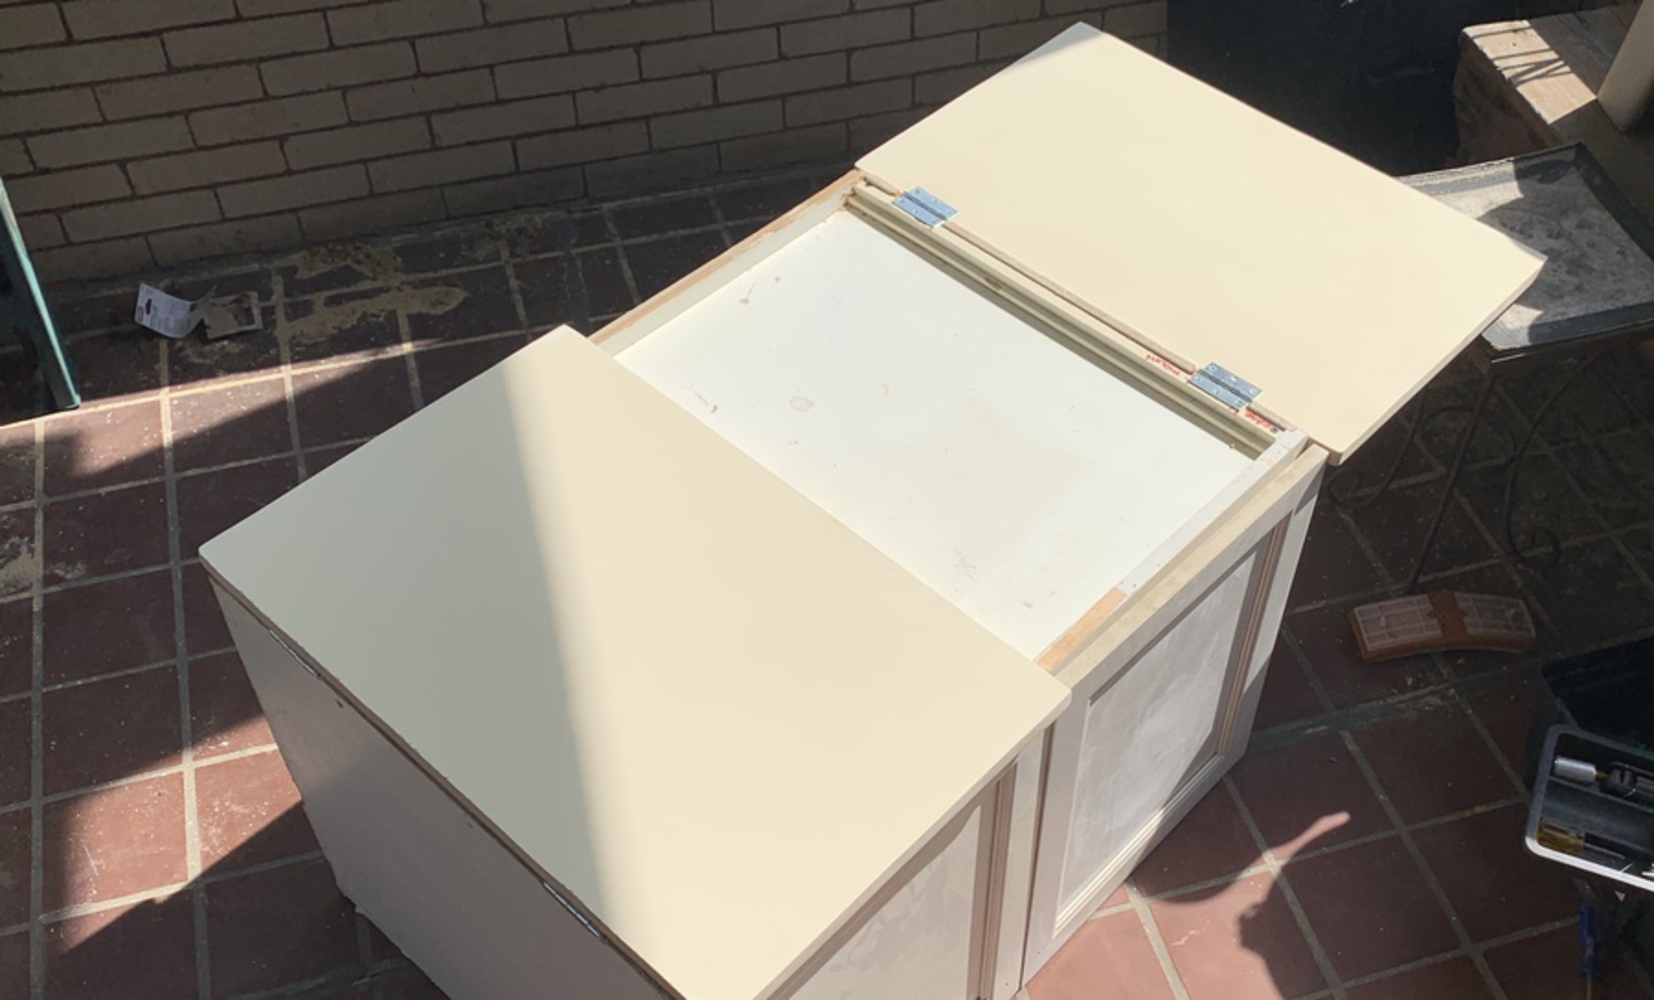
The first step of redesigning this table was to decide on a hinge mechanism. Initially, I looked into slides, which allow the flaps to drop to the sides of the table. However, this felt overcomplicated, and hinges gave me the option of the tabletop halves opening into more table space.
While these open flaps would not be load bearing, they would allow the user to spread out jigsaw puzzle pieces. This is beneficial because I wanted my table to be as small as possible to fit the limited space of my living room, so it is only slightly larger than an average 1000 piece puzzle.
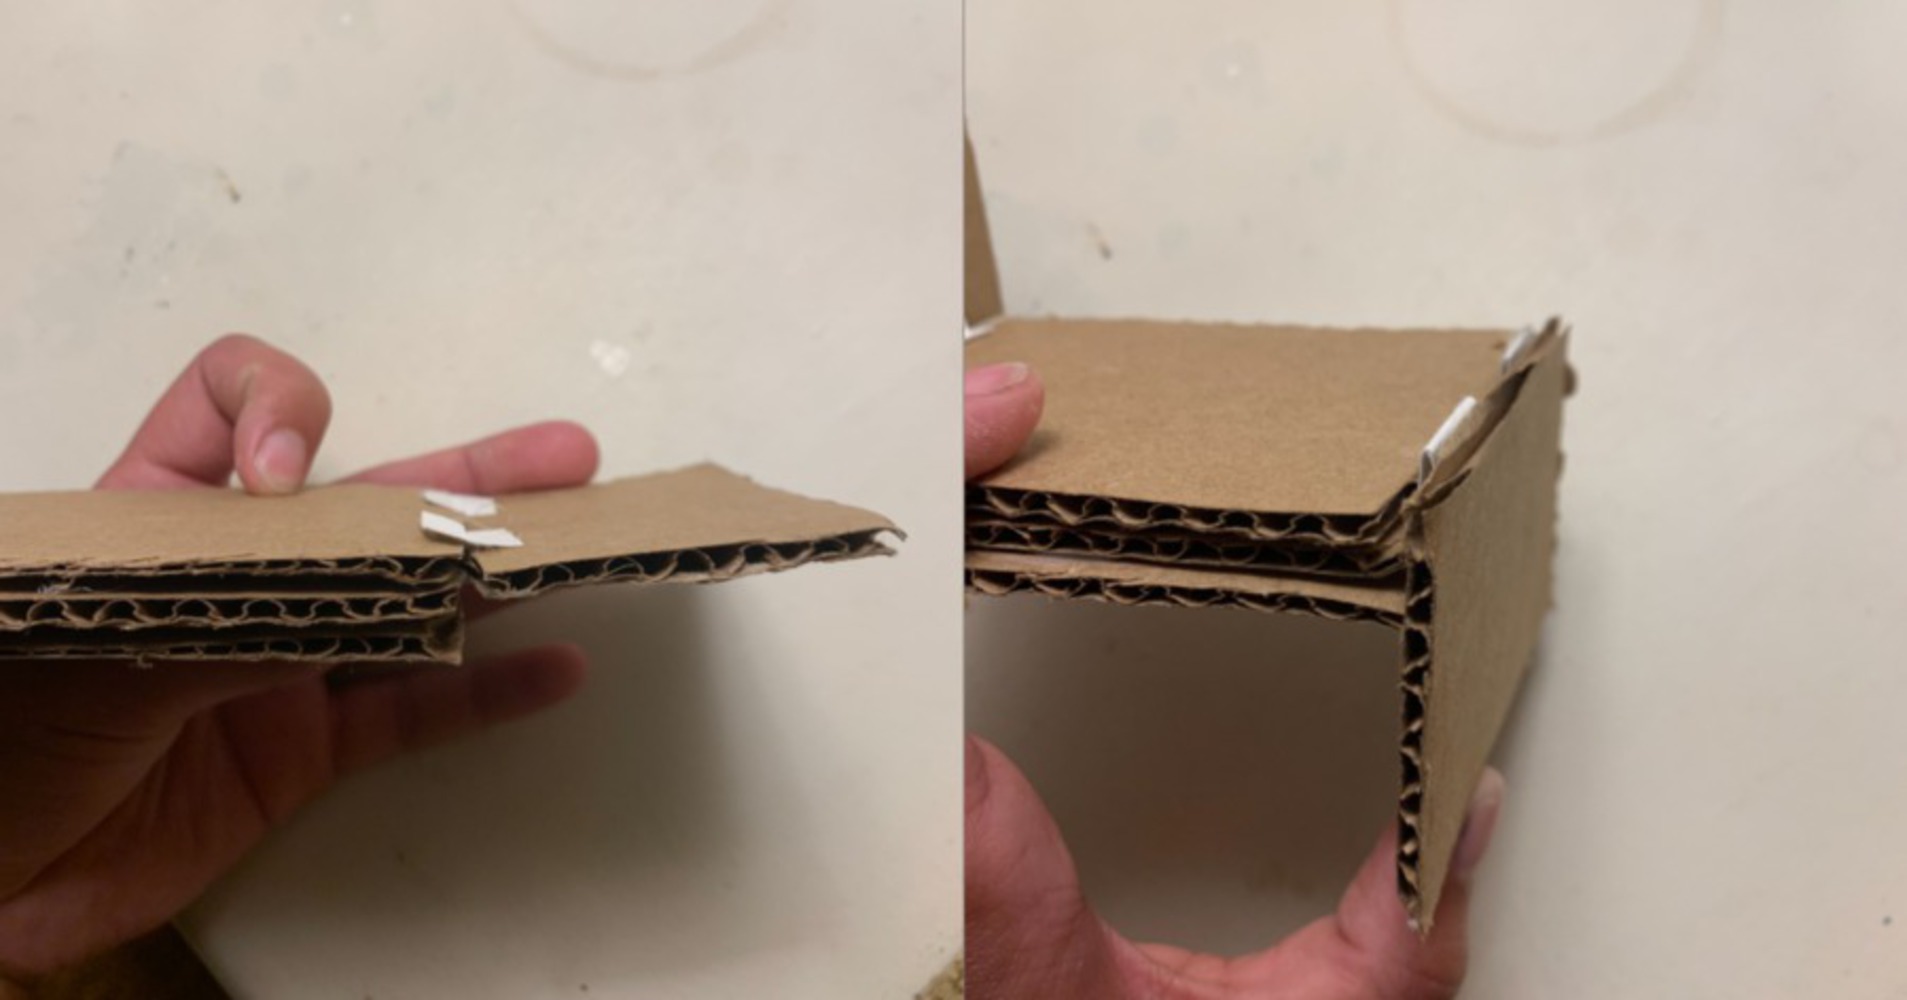
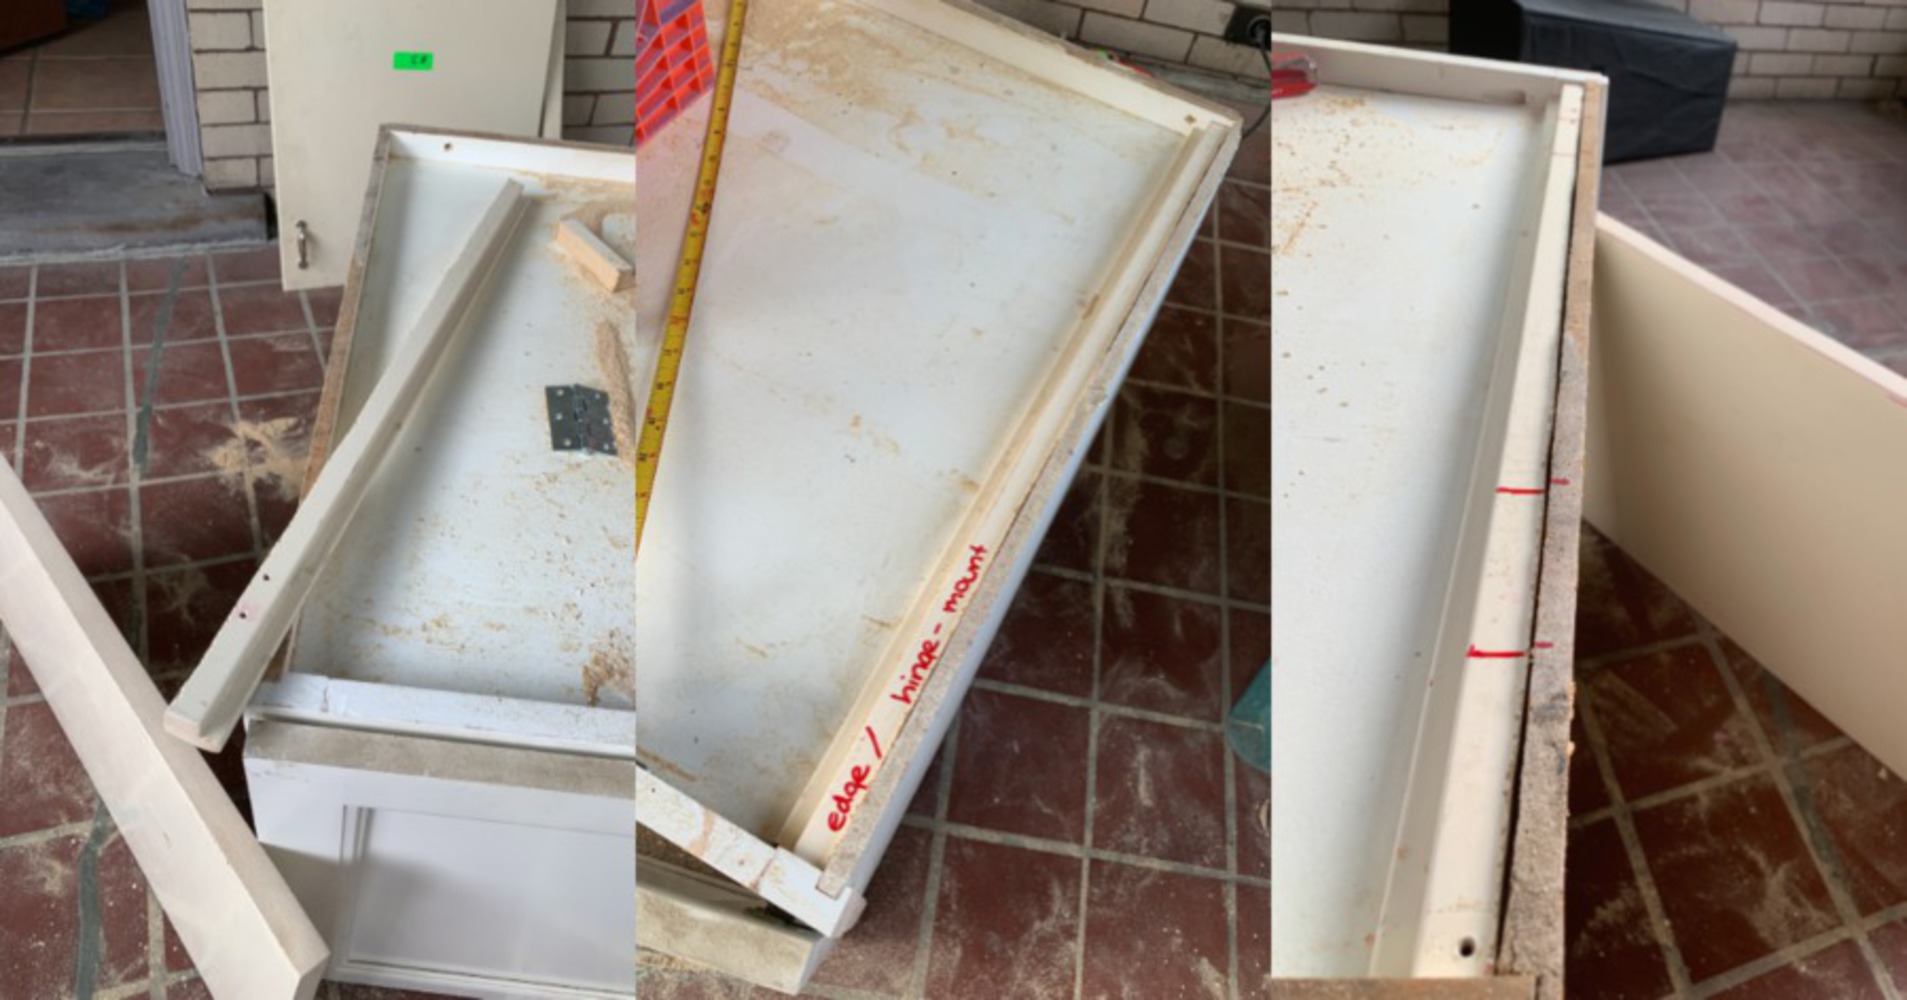
Two hinge mounting strategies, on a cardboard and cardstock prototype.
Left: Mounting the hinges under the tabletop. Less visible, and keeps the tabletop propped up. This takes up more space in the room, but also provides more space to spread out puzzle pieces. This could also ultimately be modified to be load-bearing.
Right: Mounting the hinges on the sides of the table, and above the tabletop. This is more visible, and allows the tabletop to fold fully closed. This leaves less table space, and a more compact table.
Ultimately, because the table is so small (smaller than the coffee table it will be replacing in my apartment), I decided to go with the configuration on the left.
Once I had decided on the hinge configuration, I knew that I could go for a smaller table. I decided to build the table off of a secondhand kitchen cabinet. I decided to go this route instead of having drawers (as the puzzle table that served as the inspiration for the project) because the coffee table it would be replacing in my house is essentially a chest. Thus, I wanted this table to also have a lot of storage space.
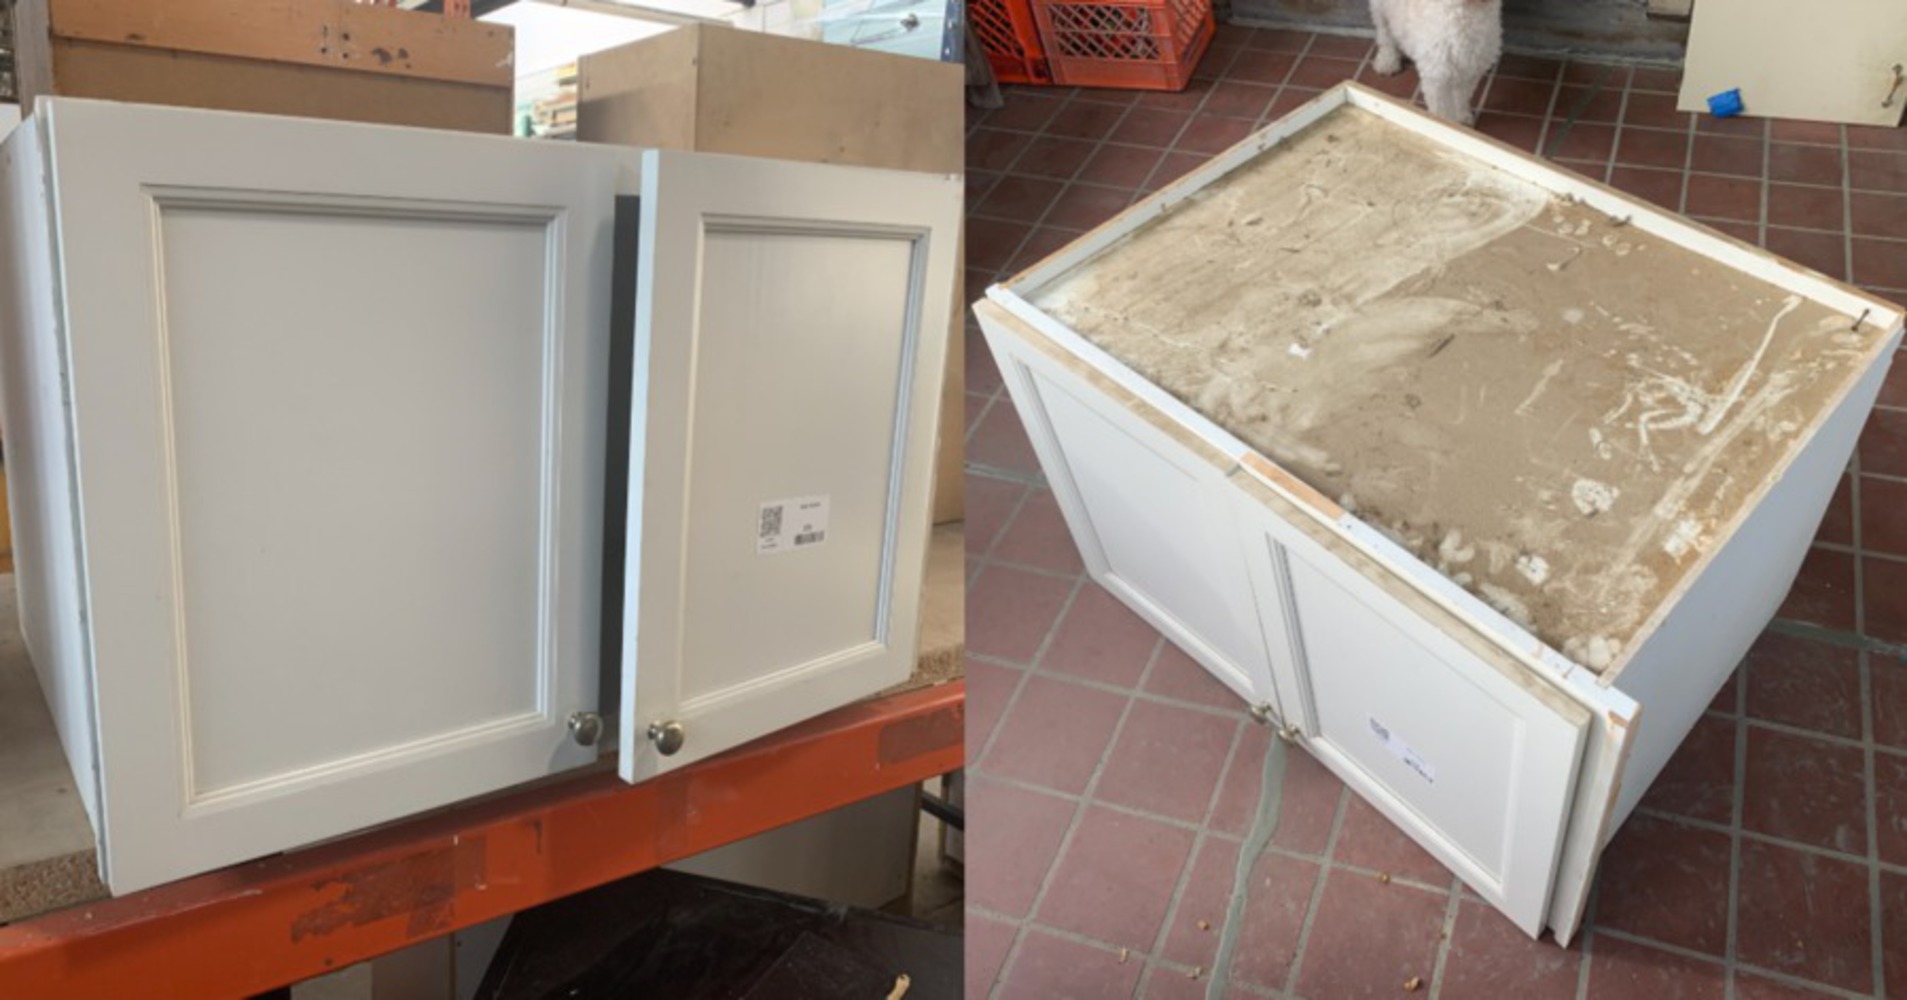
The base for my table I chose is a 2ft x 2ft x 3ft wall-mounted pine kitchen cabinet (although after buying the cabinet, I noticed that much of it is poor-quality particleboard.
MODIFYING THE CABINET:
The biggest issue I ran into in this project were fixing the original cabinet. Because it was designed to be mounted in the corner of a kitchen, the back of it was unfinished particleboard, and the sides were asymmetric. I started my work on the cabinet by cutting down the trim on the right side of the front of the cabinet to 0.25" to make it symmetric.
Additionally, as it was a secondhand cabinet, it wasn't in optimal condition. One of the hinges was loose, so the right door did not sit properly, and would periodically swing open. To remedy this, I installed a set of latch magnets to help keep the door closed, but was unable to find a new matching hinge to replace the existing one in time. However, at a certain point, I had to give up on repairing the existing cabinet to work on the tabletop.

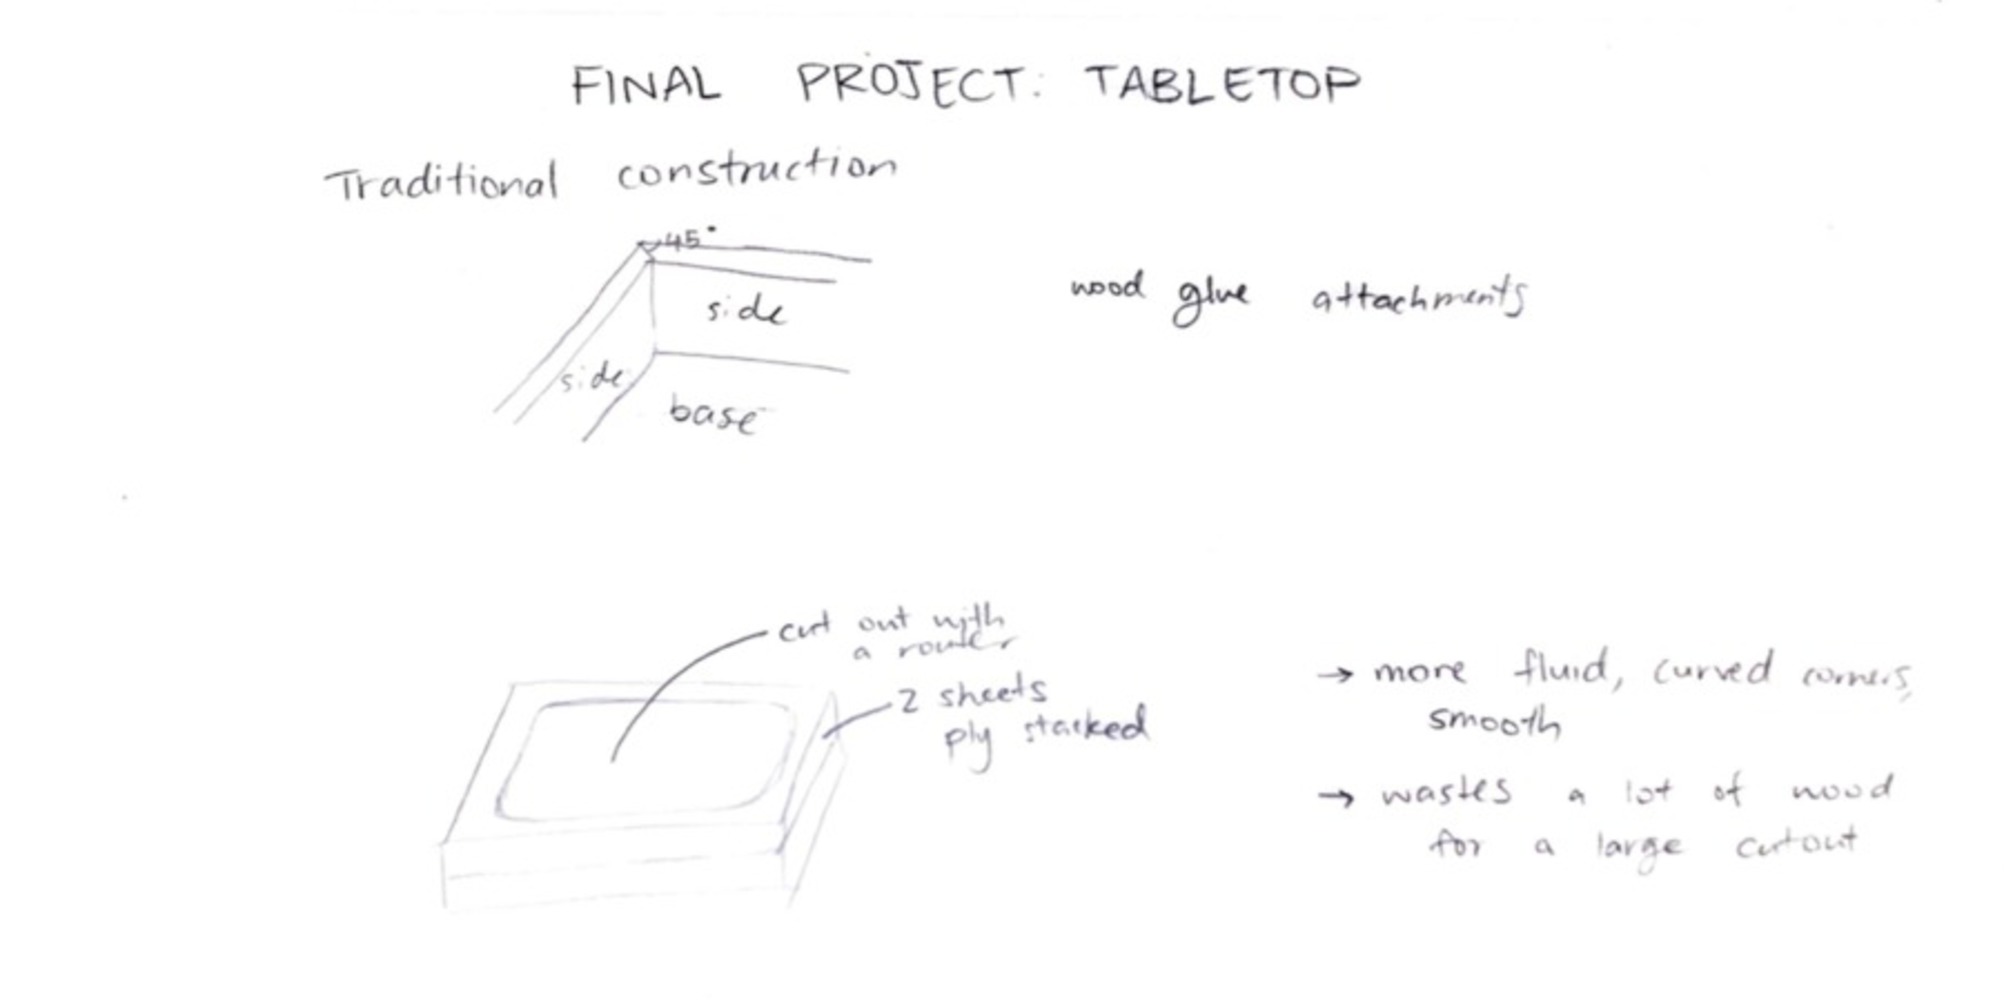
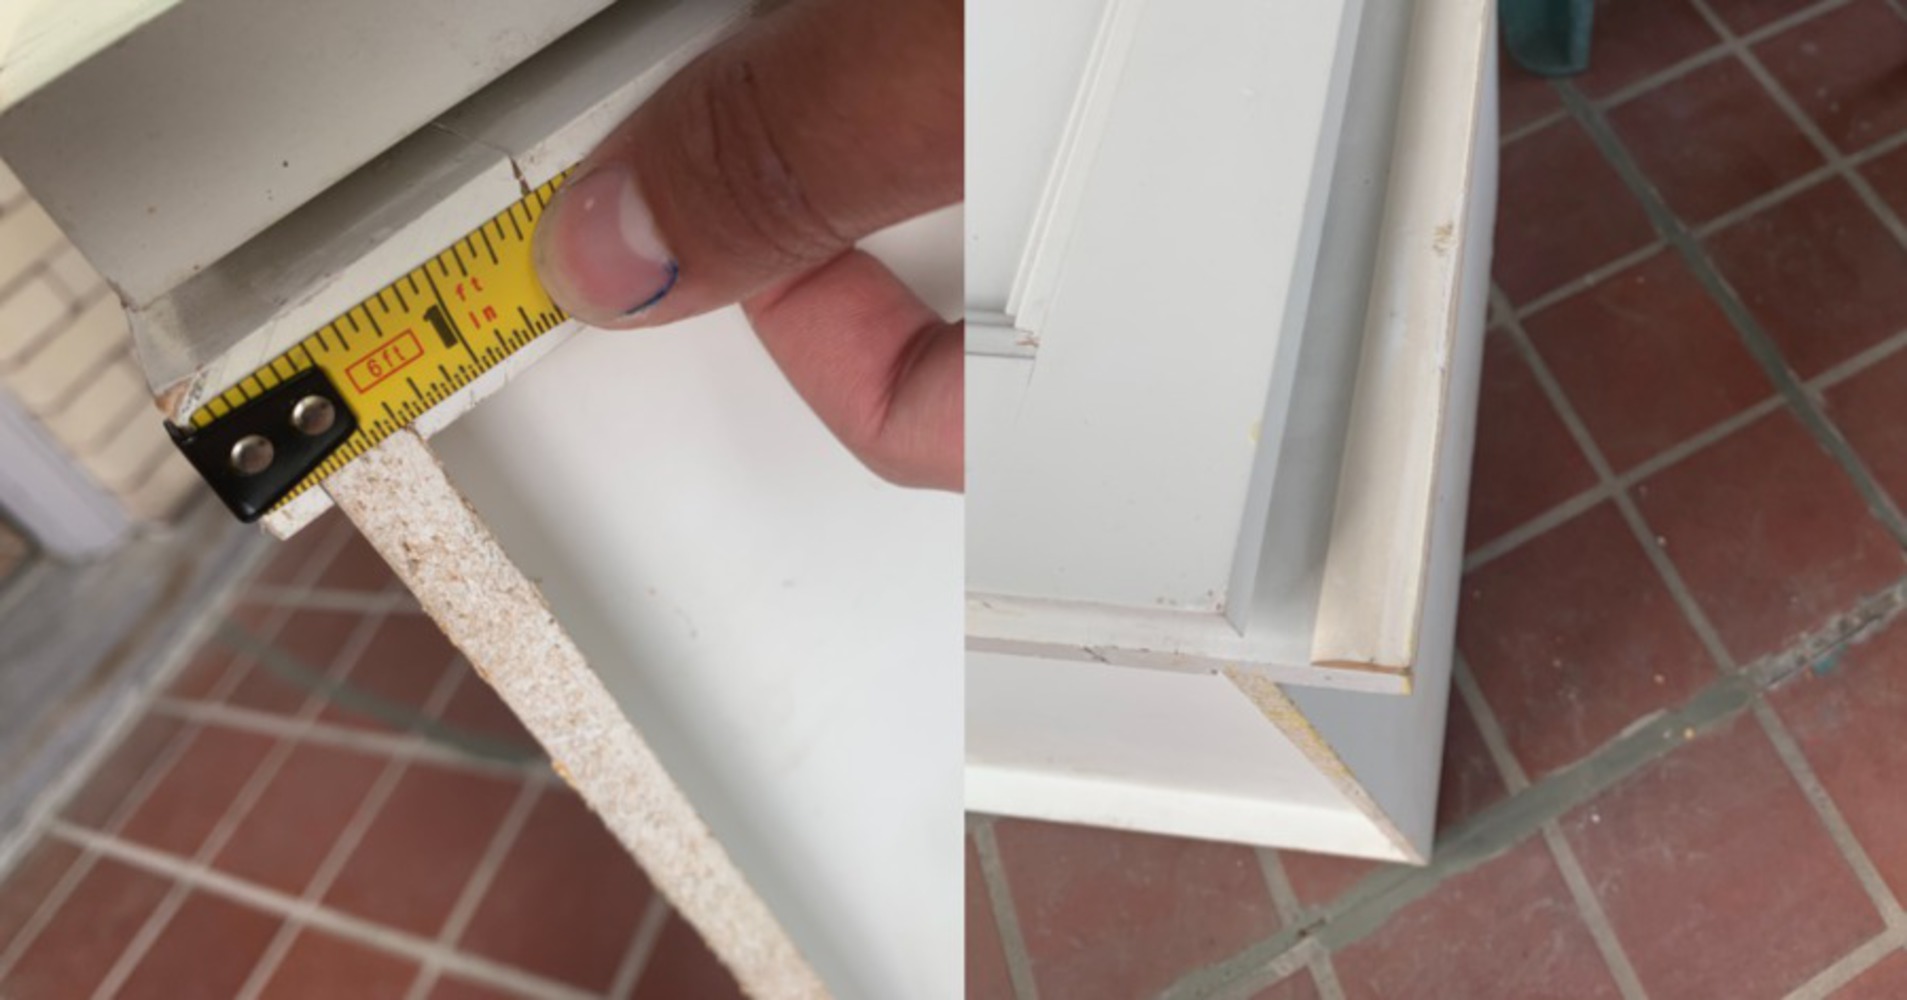
I measured and marked out the two half-tabletops out of the two spare cabinet doors. One edge of the trim from the doors was measured out and used to mount the hinges (as you can't effectively drill into the particleboard siding). Unfortunately, I didn't have a table saw available to me for this step, so I had to cautiously cut the tabletop out with a jig saw, and sand down the edges with an orbital sander.
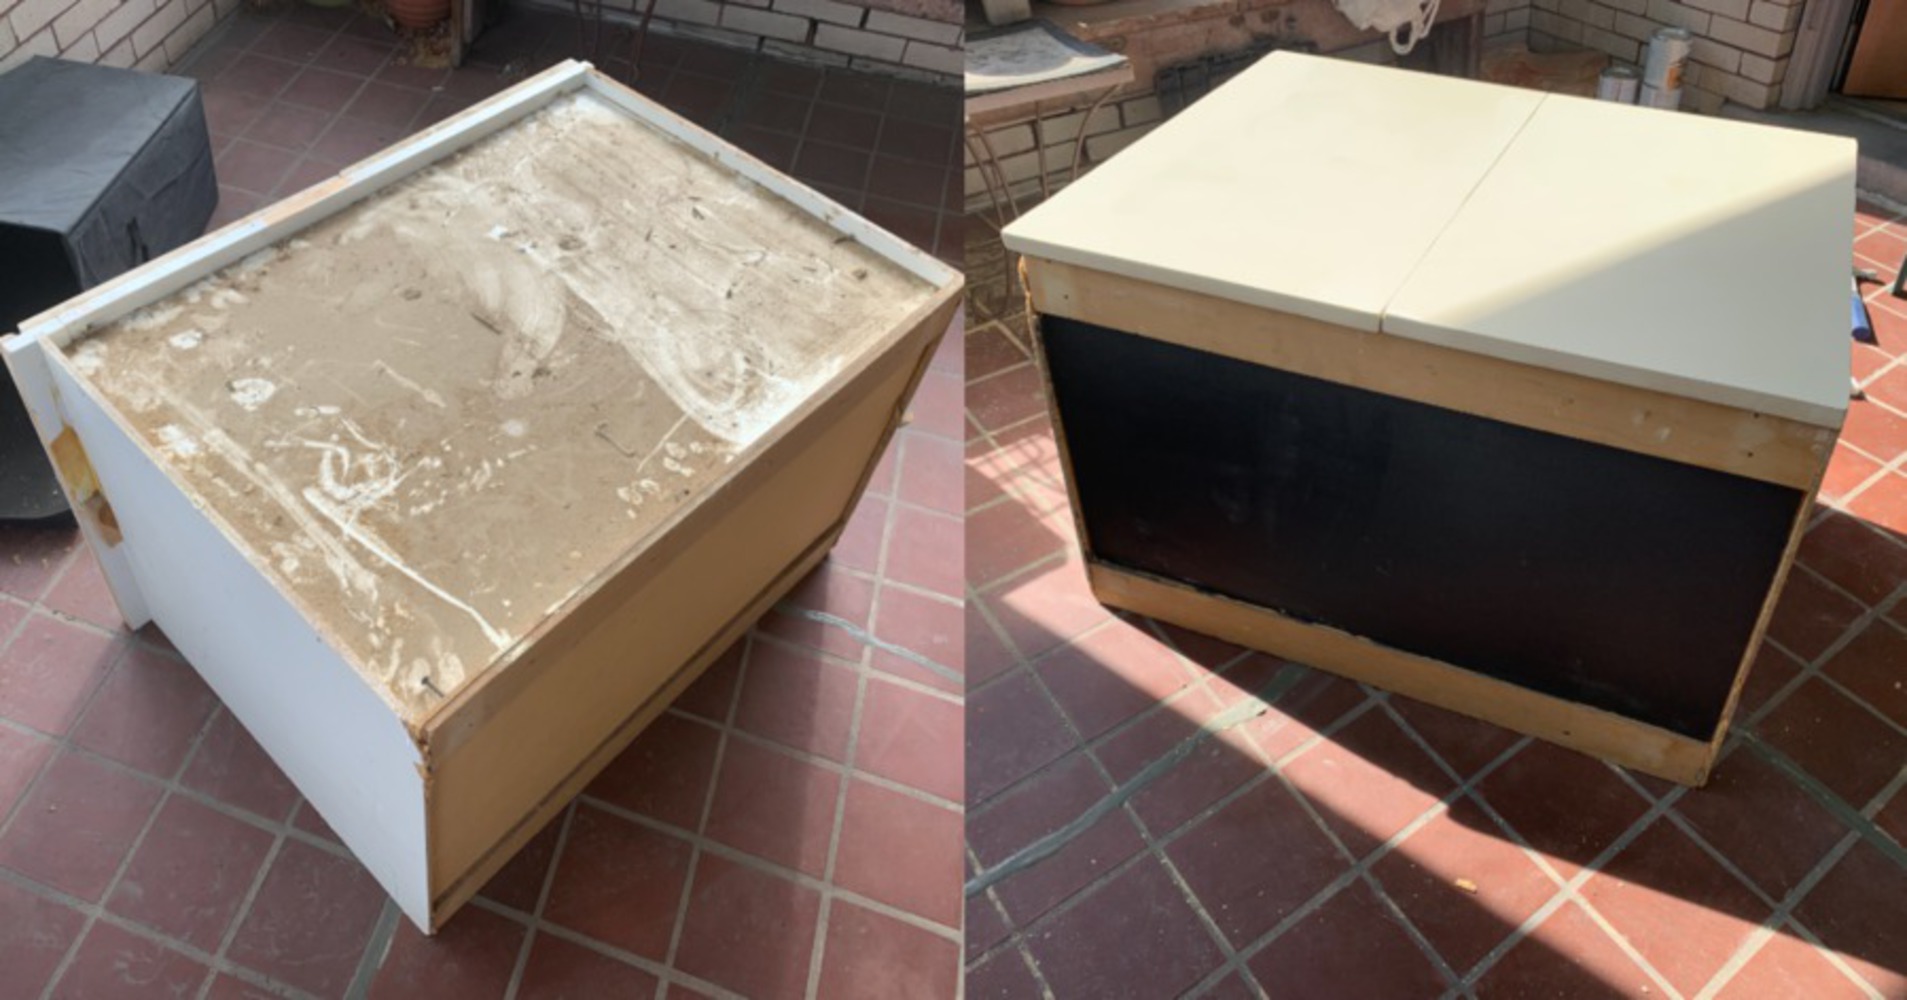
Finally, I looked at the unfinished back of the cabinet.
Initially, I was going to install another pine board on the back to cover the particleboard, but I saw it as a fun opportunity to make this table even more suited to playing board games. I painted the back of the cabinet with chalkboard paint, so that the chalkboard could be used for keeping score in games like Scrabble.
Pictured below is the back of the cabinet, before and after being painted.
The biggest flaw with the puzzle table right now is the finish quality; the paint from the original cabinet and doors is stained and scuffed, and the particleboard is falling apart.
The next steps to finish this table are sealing the edges of the damaged particleboard with resin, and repainting and refinishing the table. To do this, I first have to sand all of the polyurethane coating and finish off of all of the surfaces of the cabinet. Then, I need to re-stain the cabinet, and re-seal it with a polyurethane coating.
Unfortunately, I was unable to do this during the time we had for this project. I did test out my wood stain and polyurethane coating on a piece of scrap. I sanded off the polyurethane coating, but after 10 minutes of sanding a small patch was unable to get to the unpainted pine. The stain didn't come out terribly because I had sanded through the finish coat, but the stain didn't effectively seep into the pores of the wood, so it is unlikely to last. Thus, I would need to set aside a few days just to sand off all of the finish coat and paint before I even begin the wood staining process.

You can upload files of up to 20MB using this form.