Puzzle Coffee Table
Made by dnuxoll ·
Made by dnuxoll ·
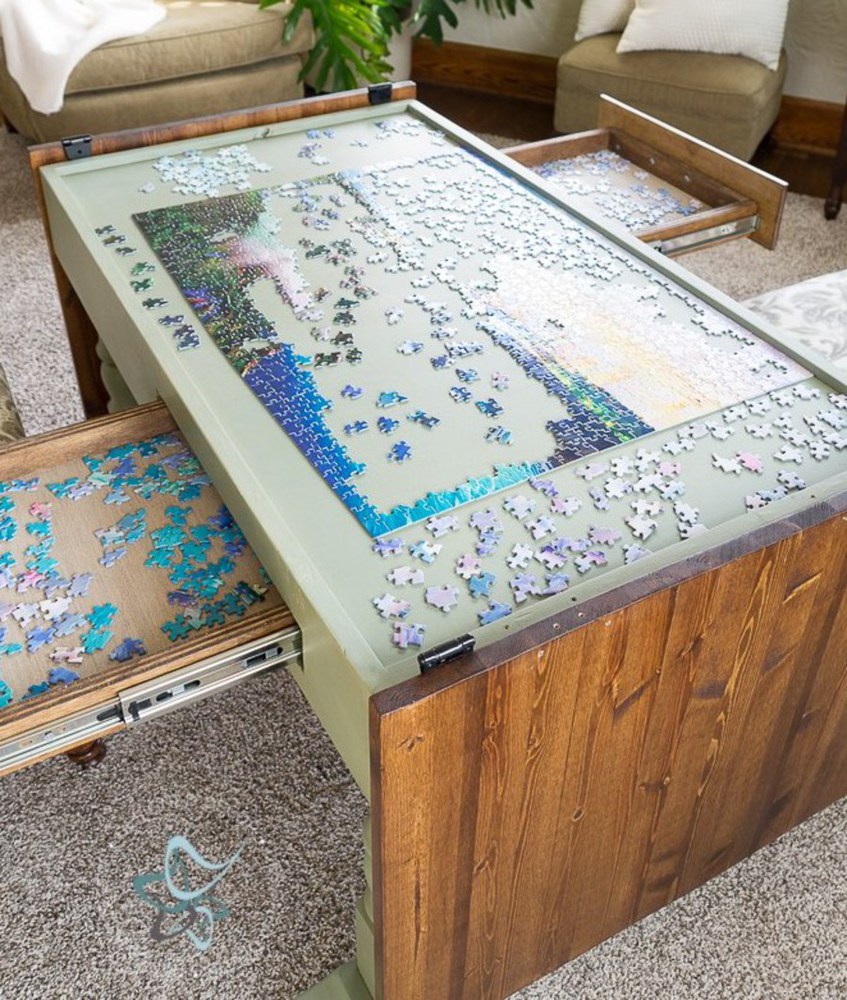
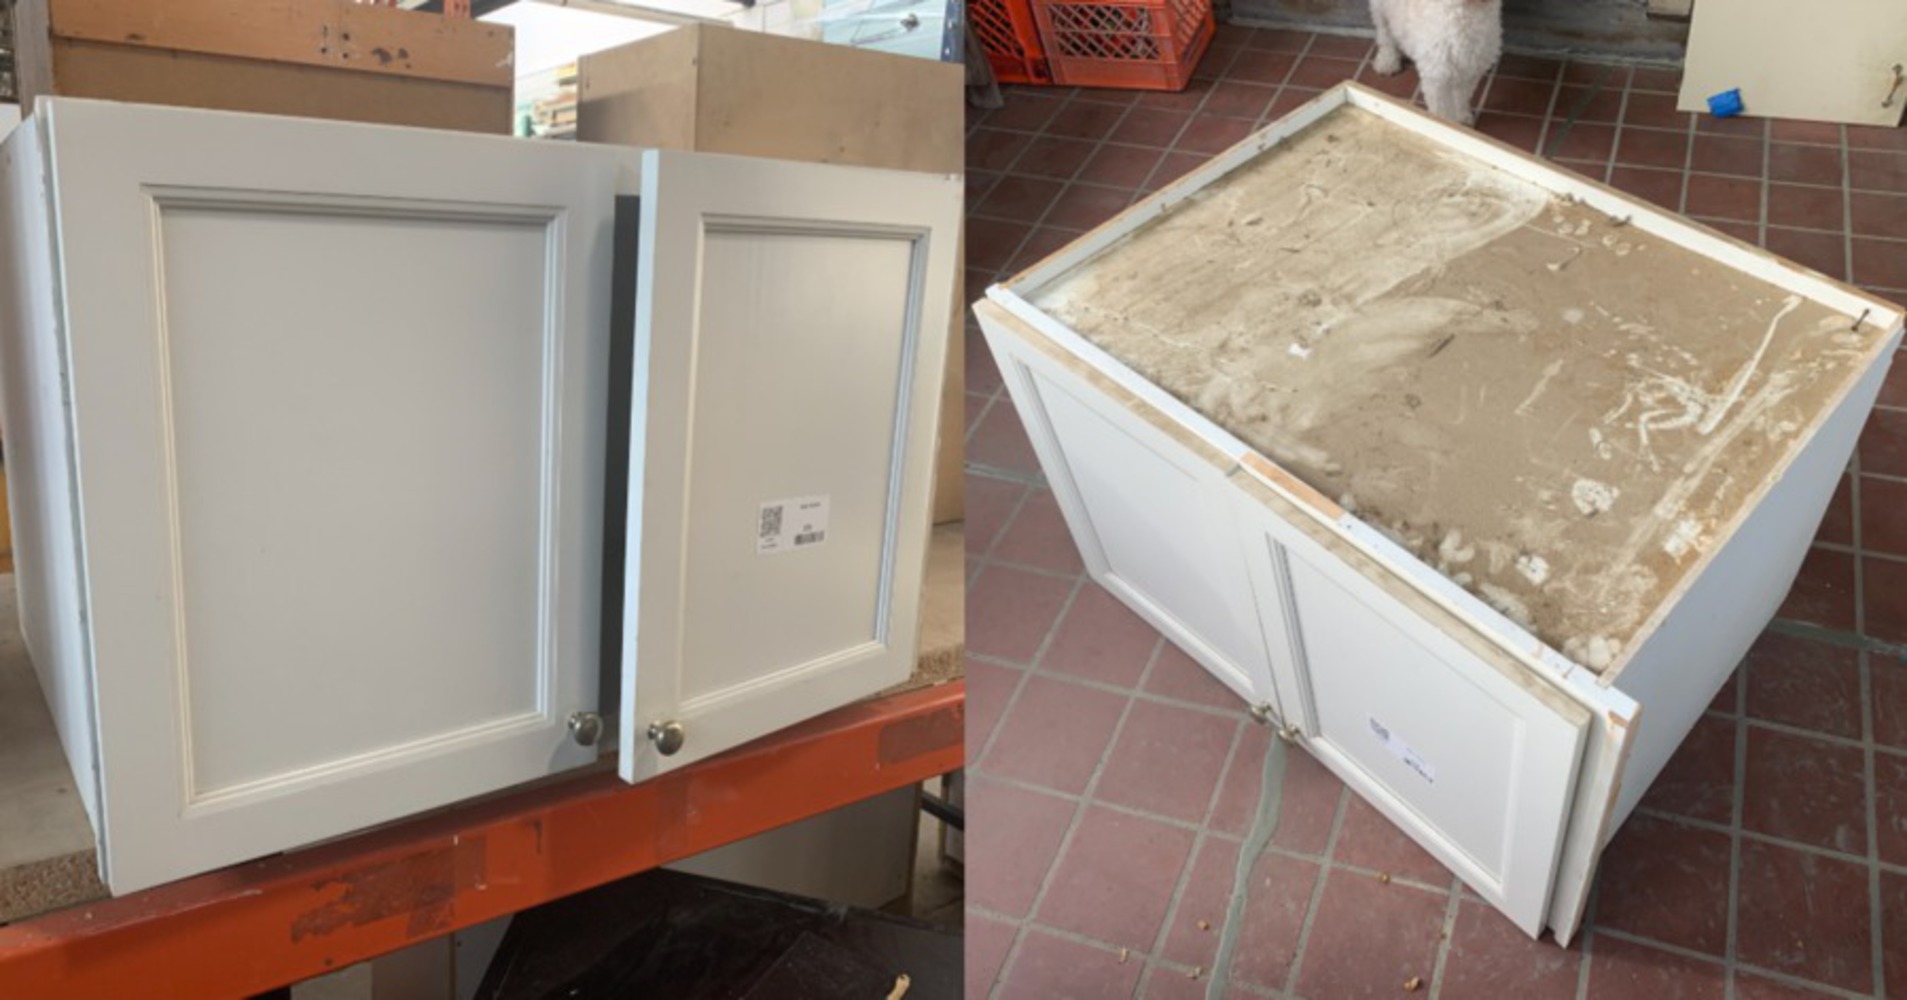
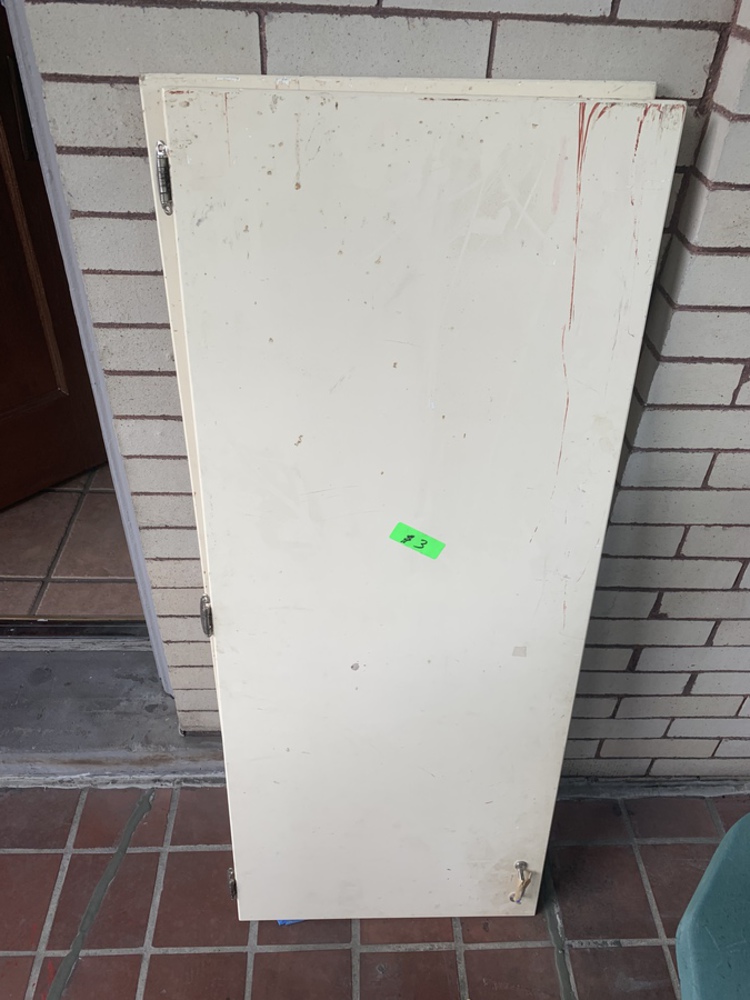
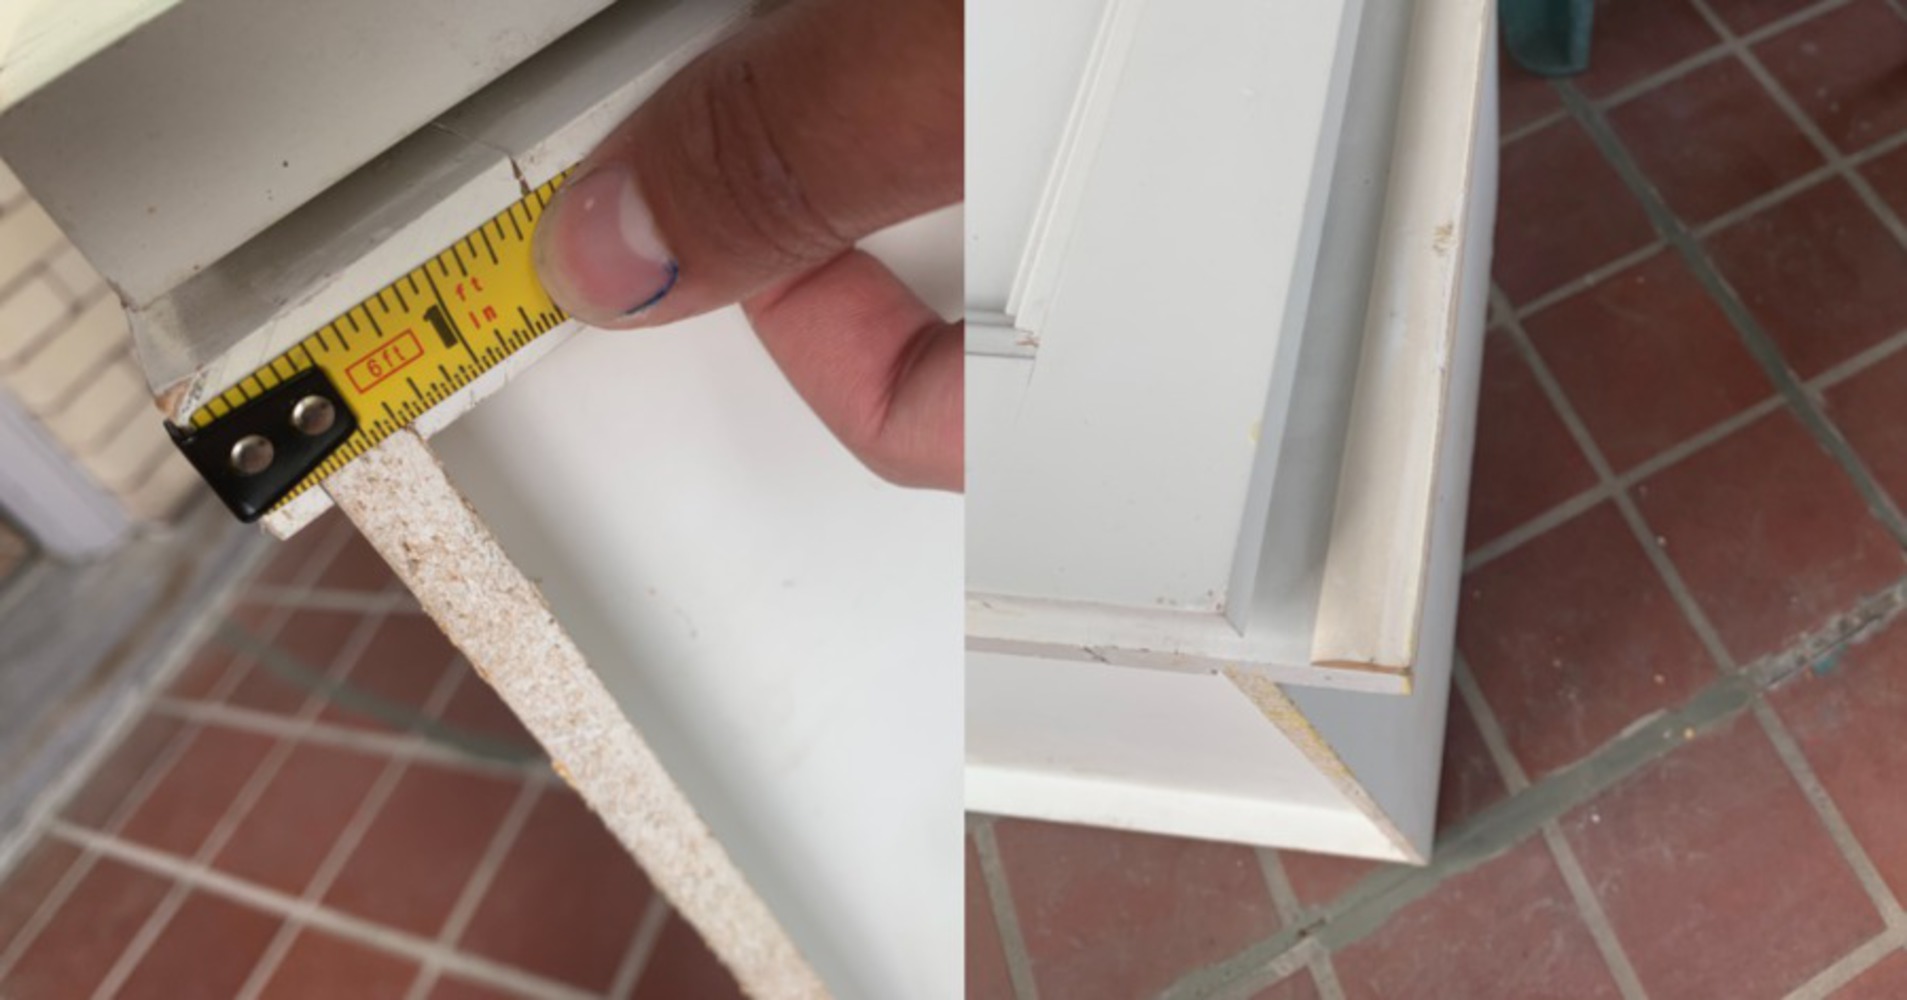
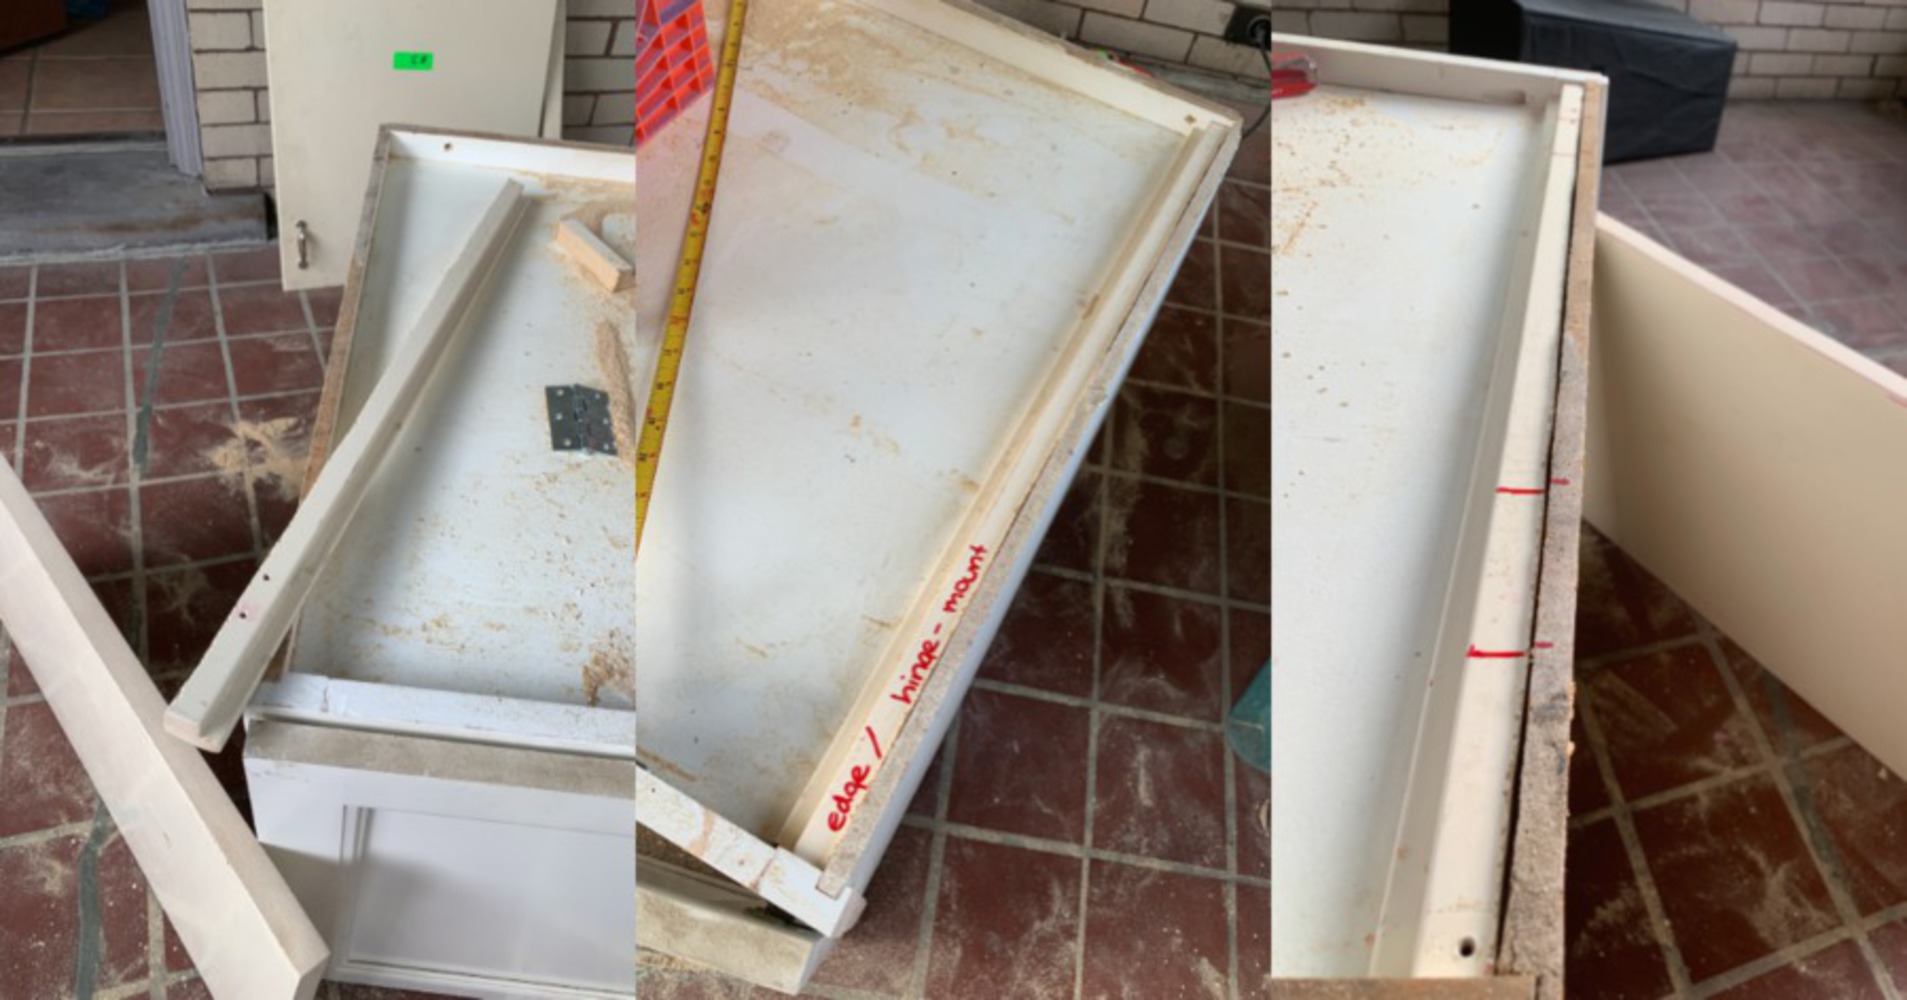
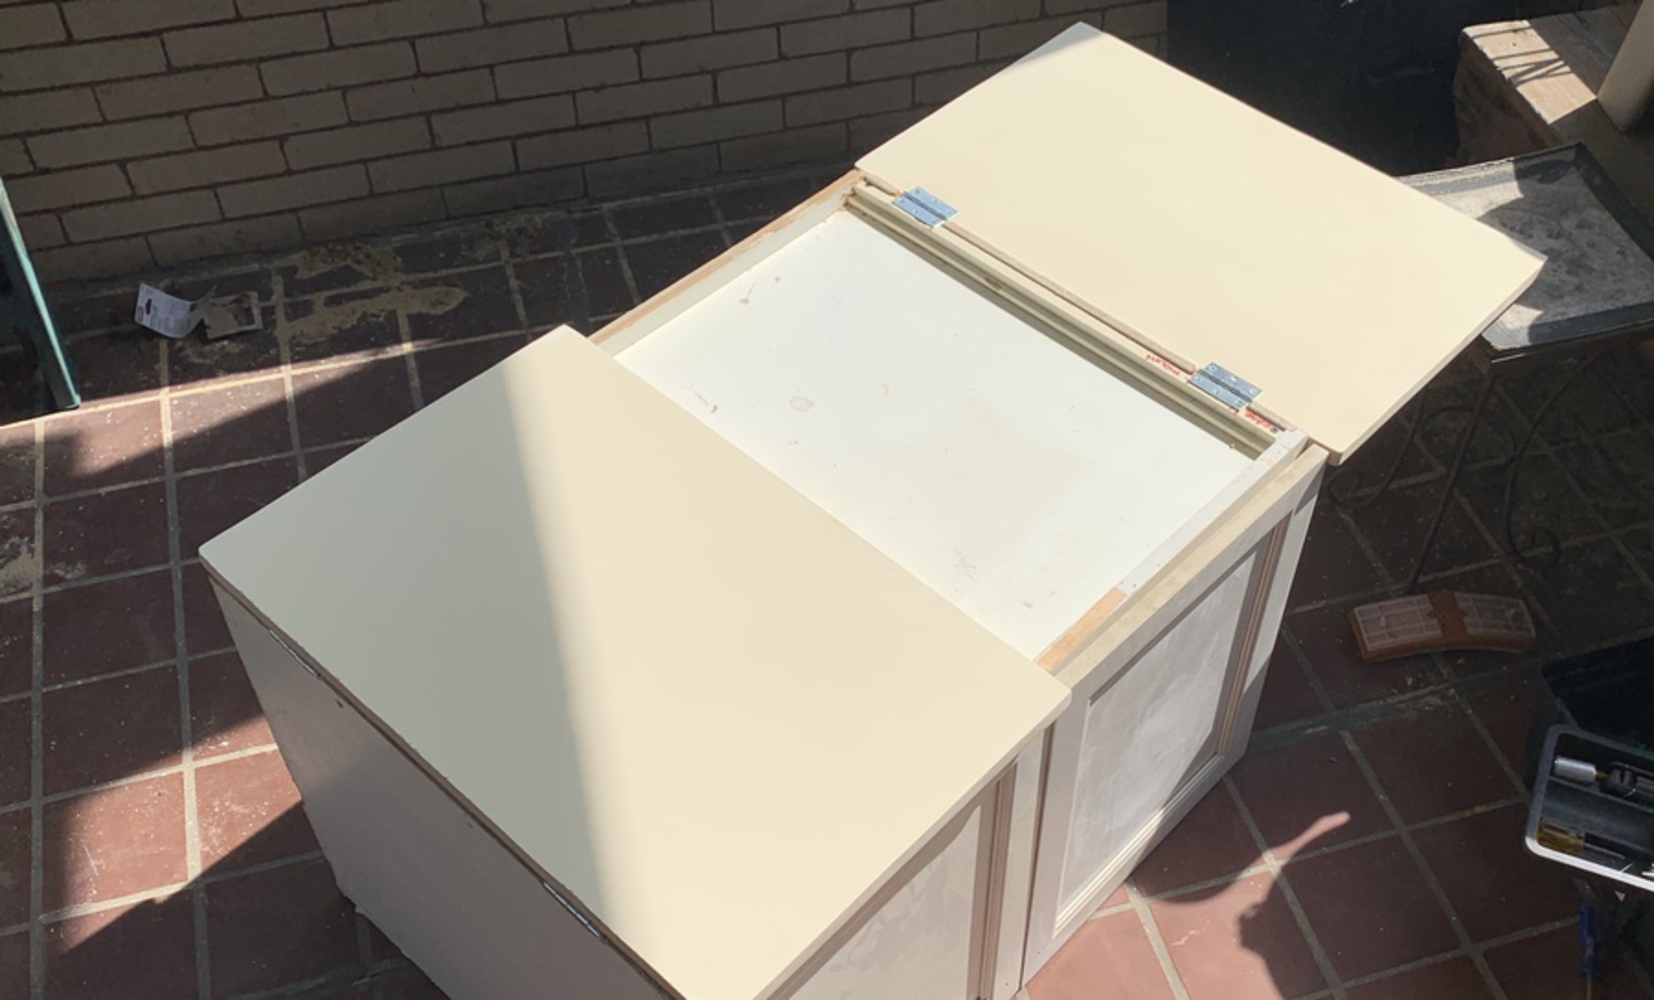
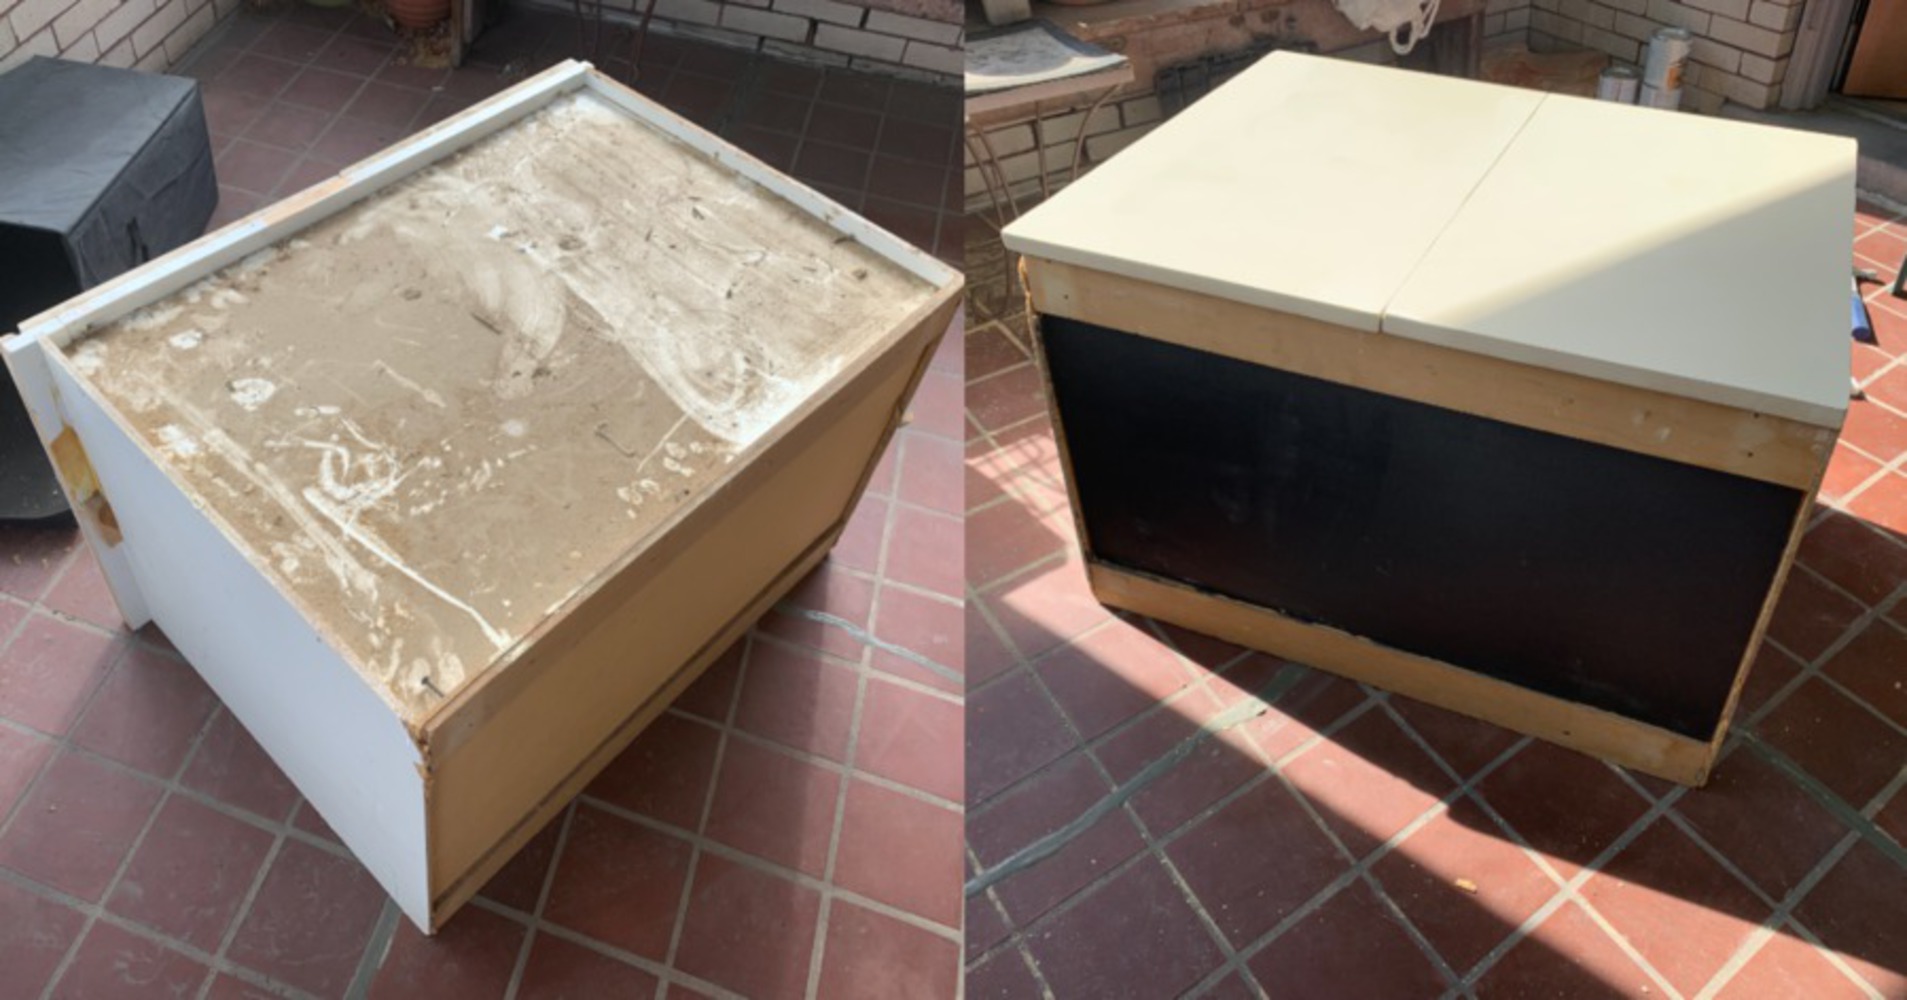
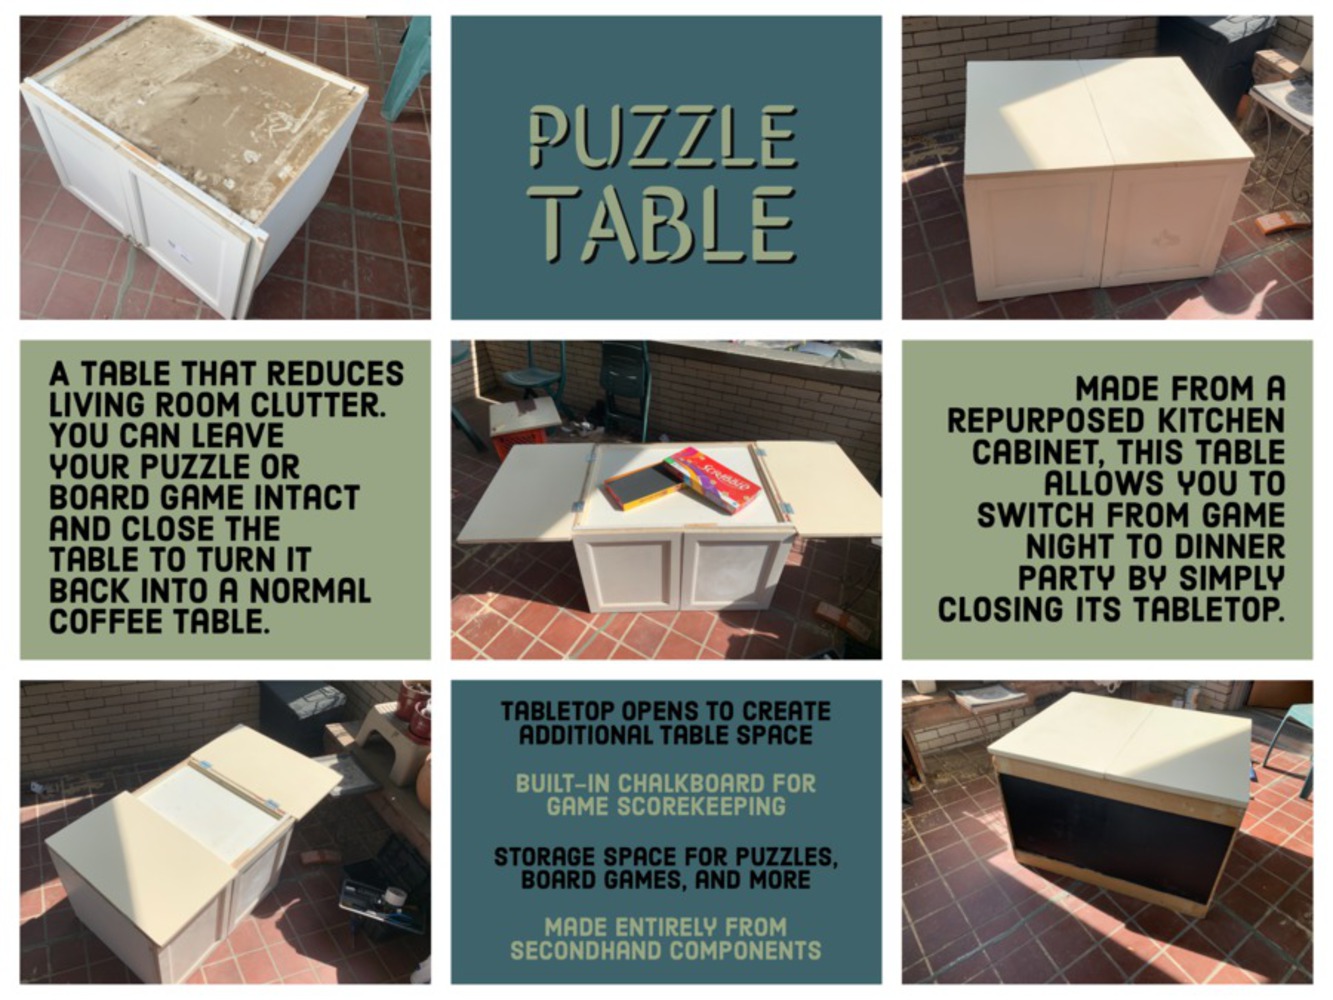
In this project, I built a coffee table that reduces living room clutter for fans of puzzles and board games. It is made from entirely secondhand wood, repurposed from an upper kitchen cabinet from Construction Junction. Its two-tiered tabletop allows the user to do a jigsaw puzzle on the bottom tier, then close it for use as a coffee table without requiring you to take apart the puzzle.
Created: May 5th, 2019
This project is only accessible by signed in users. Be considerate and think twice before sharing.
Offers students hands-on experience in DIY product design and fabrication processes. Students work individually or in small groups to design customized and personalized products of their own and bu...more
In this project, I built a coffee table that reduces living room clutter for fans of puzzles and board games. It is made from entirely secondhand wood, repurposed from an upper kitchen cabinet from Construction Junction. Its two-tiered tabletop allows the user to do a jigsaw puzzle on the bottom tier, then close it for use as a coffee table without requiring you to take apart the puzzle.