Design Decisions:
1) Audio Instructions
Audio was chosen as the primary mode to convey information due to not needing to force the players to stop their visual enjoyment of the bridge and focus on small text. Whether the text is delivered via a screen on the lock, which would have limited space, or to the players' smartphones via QR code, the experience of enjoying the bridge itself would be diminished.
2) Type of Clues
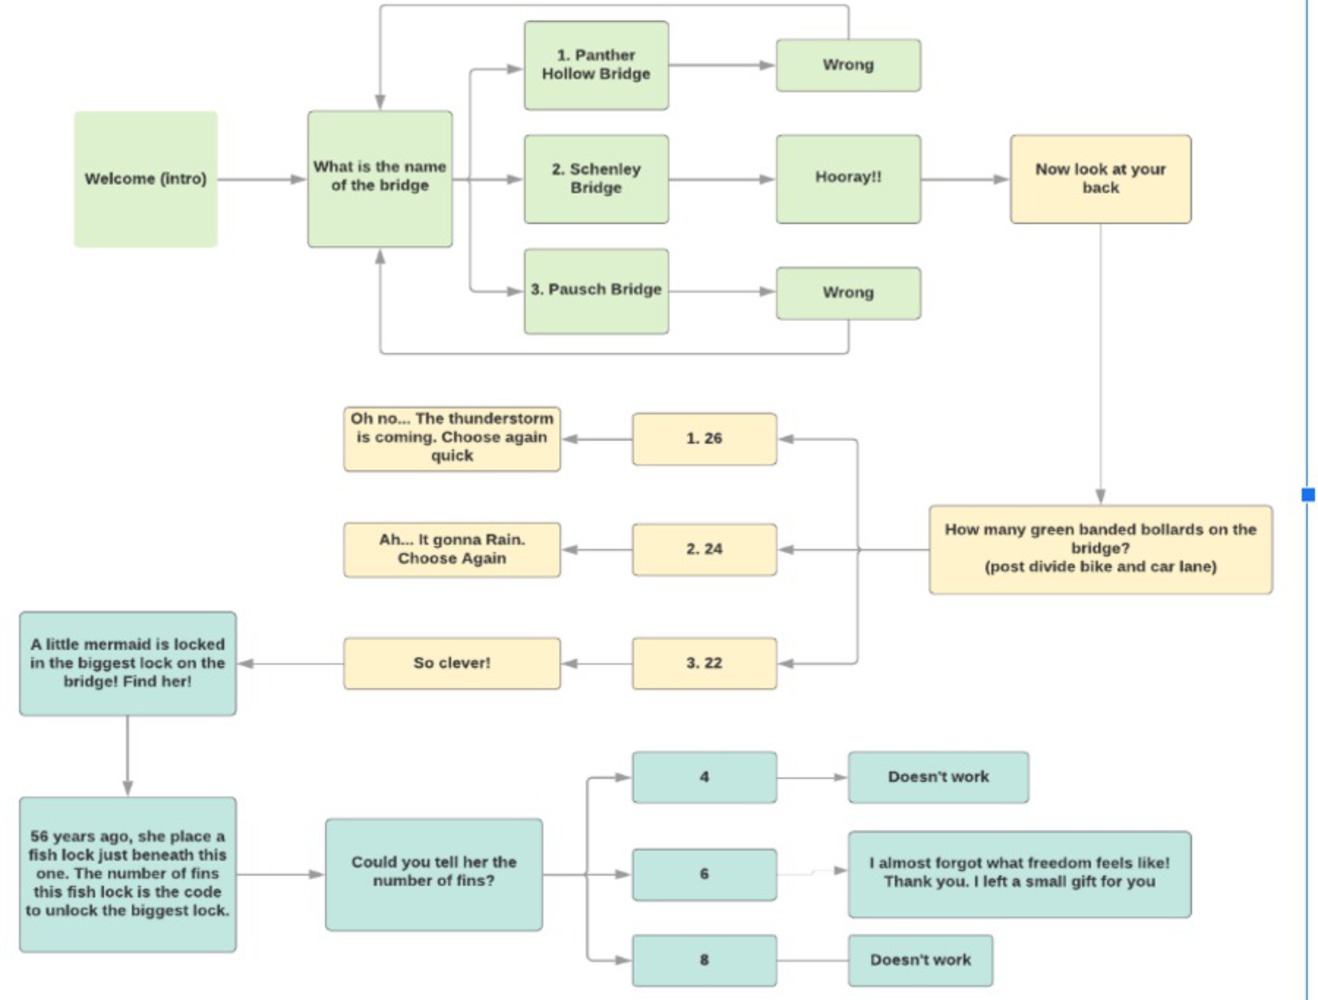
The clues implemented were designed to encourage players to explore the bridge more, making note of its features and the surrounding view. They were also designed to be completed within a few minutes. Some of the clues we thought of were:
- How many bollards were there on the bridge?
- Which direction was Hammershlag Hall?
- When was the bridge constructed?
- How many locks are on a particular section of the fence?
3) Number of Clues
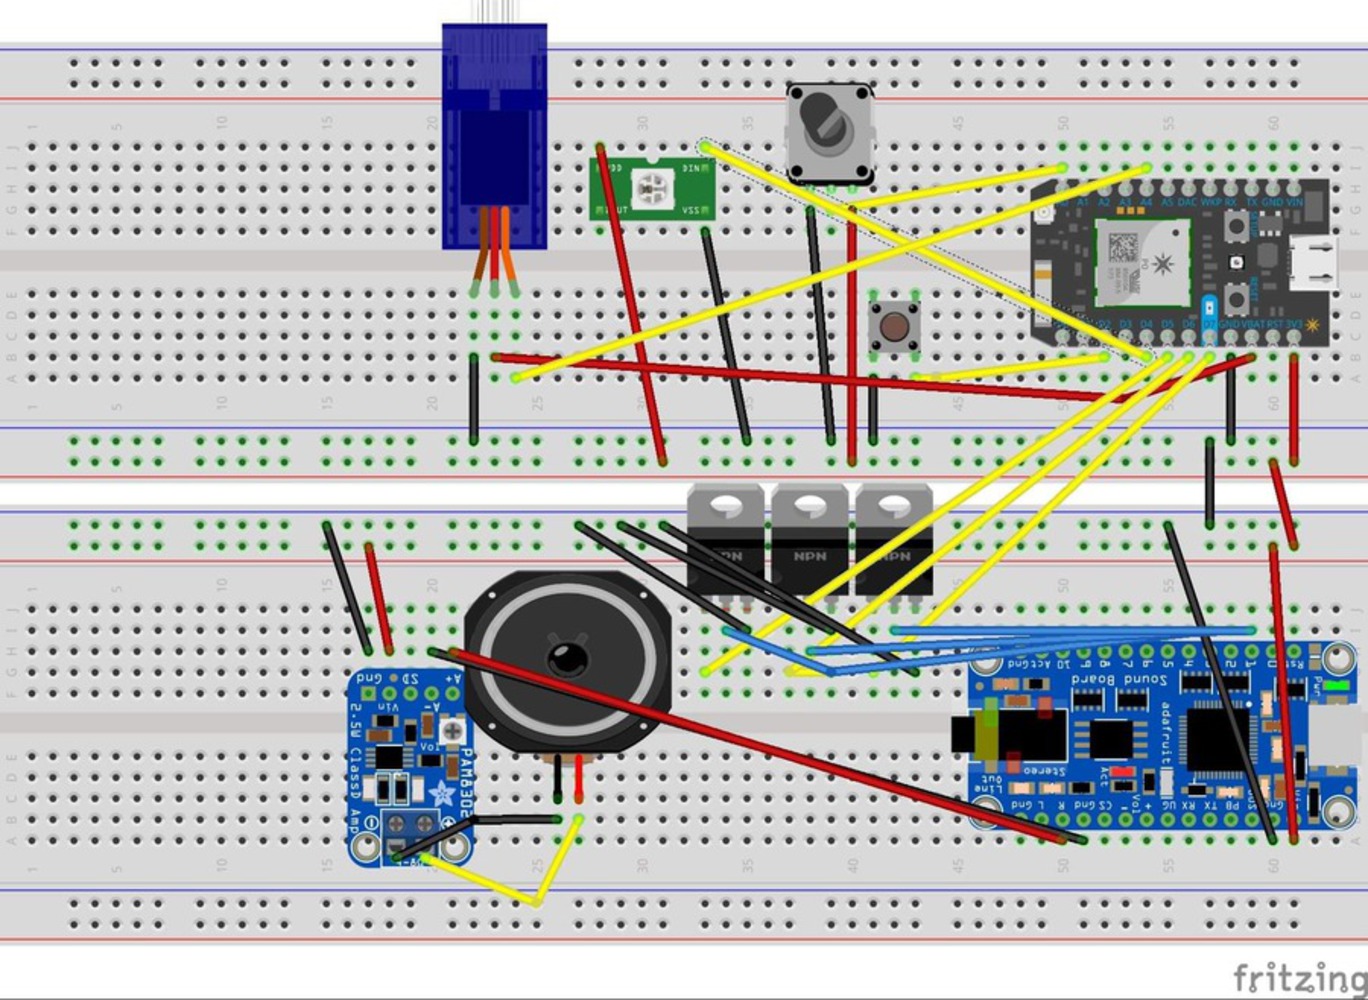
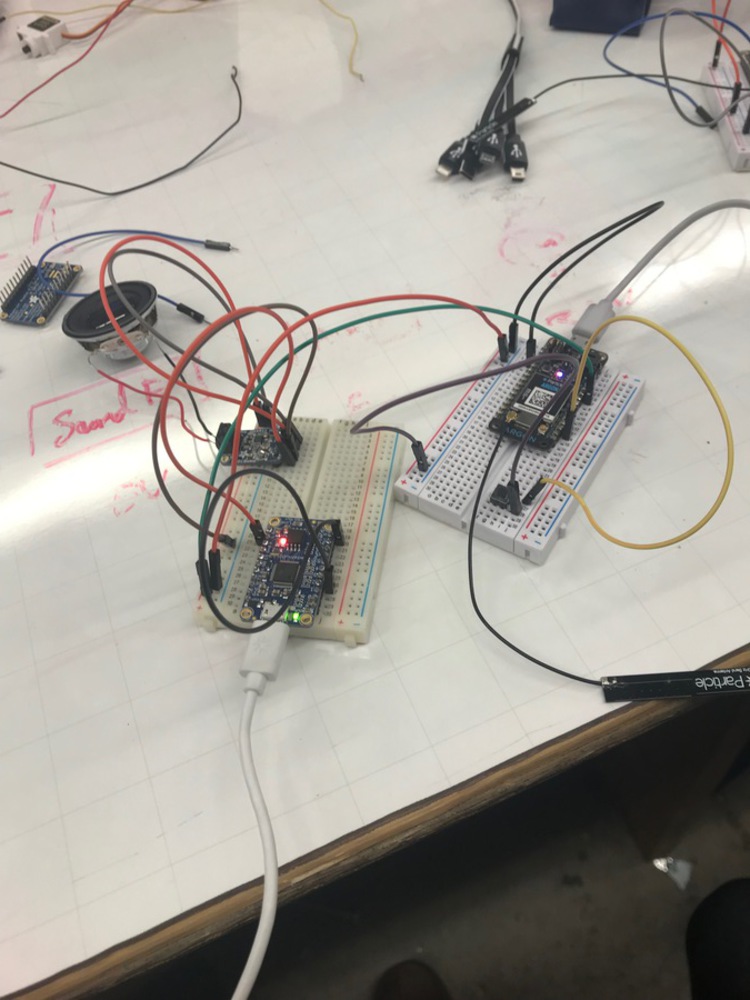
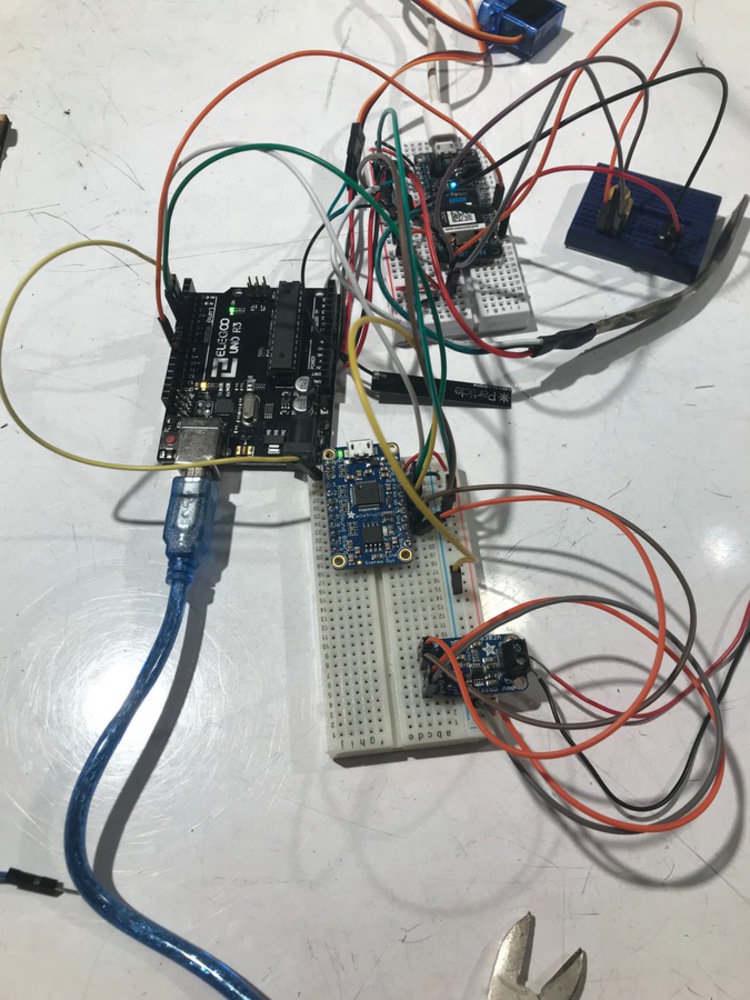
Initially, we wanted to implement multiple clues with multiple locks, taking players from lock to lock and different locations on the bridge. However, due to restrictions on the soundboard that required one digital pin from the Particle board to trigger each sound file, we were limited in the number of sound files we could use. An alternative we had was to use an Arduino as an intermediary between the soundboard and Particle; however this would have taken up too much space and power, so we decided to use only one clue.
In addition, during the demo, commentators suggested that players may not be willing to go to and from the lock multiple times, seeing it as a chore rather than a fun game, and would extend the game to beyond what players would have patience for. Instead, a singular, memorable clue would make the most of a 5-minute interaction. As result, the final Bridgequest contains only a singular question that we deemed most interesting.
4) Potientiometer and Pushbutton
The potentiometer was used for user input due to its general flexibility, having a wide range of readable values. The 0-4000 resistance range could be divided in which ever way that was convenient to the game. It was also similar to a traditional padlock. The pushbutton was important to give the premise of "submitting" an answer, and would also allow the first-time initiation of the game.
5) Reward
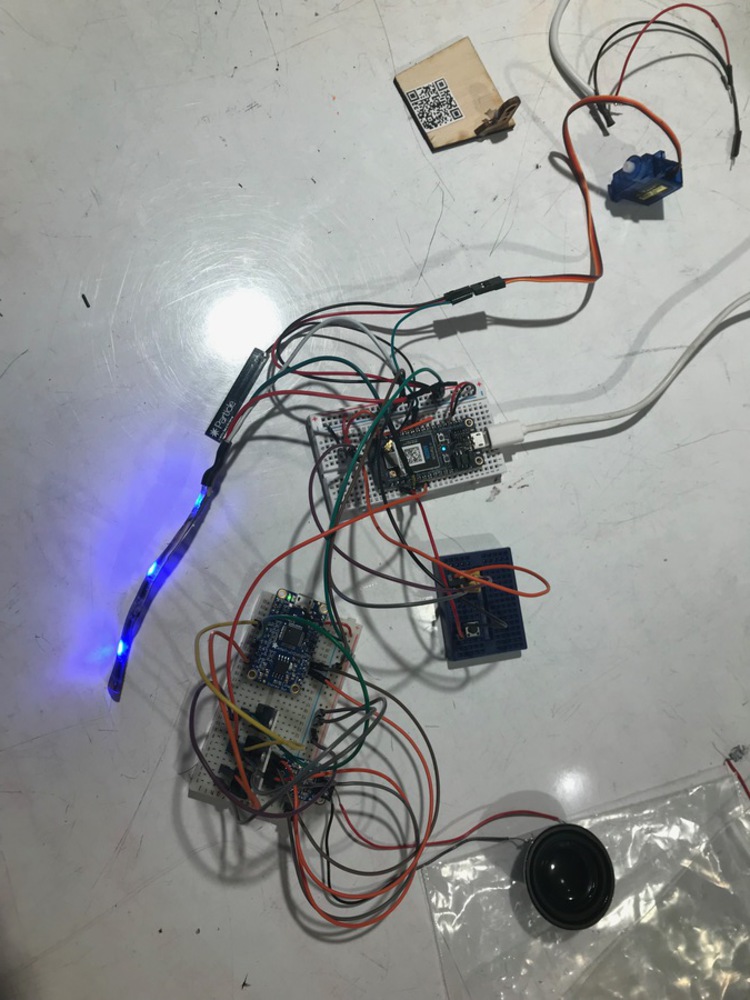
The reward is a panel attached to a servo that flips open on completion of the game. This gives the lock more animation, and intends to emulate magical locks of fantasy. The QR code is an easily accessible prize that removes the need to "restock" the device after use.
6) Glowing Spirit Aesthetic
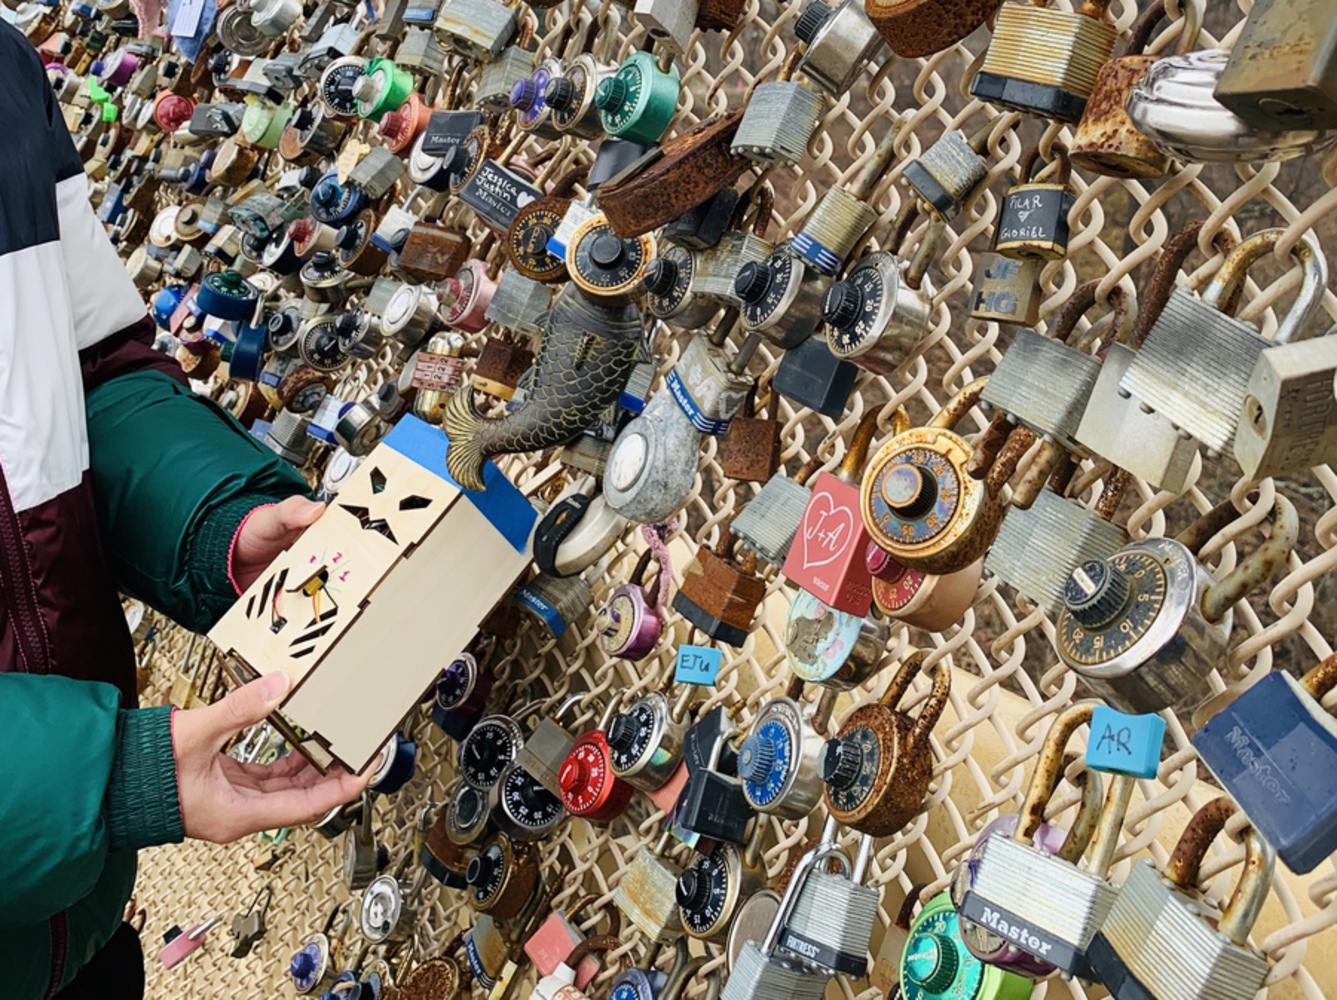
The purpose of the face cutout on the front panel and the Neopixels inside is to attract players to stop by being visually interesting. By default the Neopixels glow blue, animating to green for correct answers and red for incorrect answers, allowing the device to stand out among the other locks on the fence.
7) Lock Size
The intent was for the lock to still fit in with the other locks hanging on the fence; however, the dimensions of the box were expanded to accommodate the electronics. It may be possible to decrease the size of the outer shell by phasing out use of jumper wires.
