INVDR ALRT
For Your Room. For Your Home. For Your Family. Protection from Invaders and Intruders.
Made by Jeremy Jiang
Made by Jeremy Jiang
Demo for a home security system that is light activated and uses pressure sensors to detect invaders and intruders and trigger an alarm. (Cover Image Source: http://www.readyresponse.org/home-security-experts/)
Created: January 27th, 2015
Home security has always been and continues to be a concern for individuals and families. Most homes nowadays come standard with a security system that is keypad controlled from within the home and is triggered when any of the magnetic contact switches placed on the entrances to the home are broken. What's new is that many connected systems are now emerging integrating cameras and the like as well as online connectivity allowing home security systems to be more comprehensive. The online connectivity enables control through everyday portals, such as phone applications, giving people remote control of their home security, which increases their peace of mind. People can now check on the status of their home from anywhere.
The goal of this demonstration is to emulate such a home security system. The demo system is light activated -- when light levels are low, the system is activated and when light levels are high, the system is deactivated. This was designed with the thought that during the day, when light levels are high, a security system is not needed, but during the evening, a security system would be needed in situations where the lights in your home are turned off, such as when you leave the house or go to sleep. Once the system is activated, it employs pressure sensors at the entrances of the home to detect if someone is trying to enter, and when one of the pressure sensors is triggered, the alarm goes off alerting the homeowners to the intruder. Once the homeowners feel that they are safe, they can deactivate the alarm by resetting the security system (resetting the security system is the only way to turn off the alarm, relieving the pressure on the pressure sensor or turning on the lights will not deactivate the system once the alarm is triggered).
To create this demo, the capabilities of the Spark Core were used. The components needed were:
Spark Core
Breadboard
Jumper Wires
Force Sensitive Resistor
Photoresistor
2x 10K Ohm Resistors
2x 1K Ohm Resistors
120 Ohm Resistor
Piezo Buzzer
Red LED
Green LED
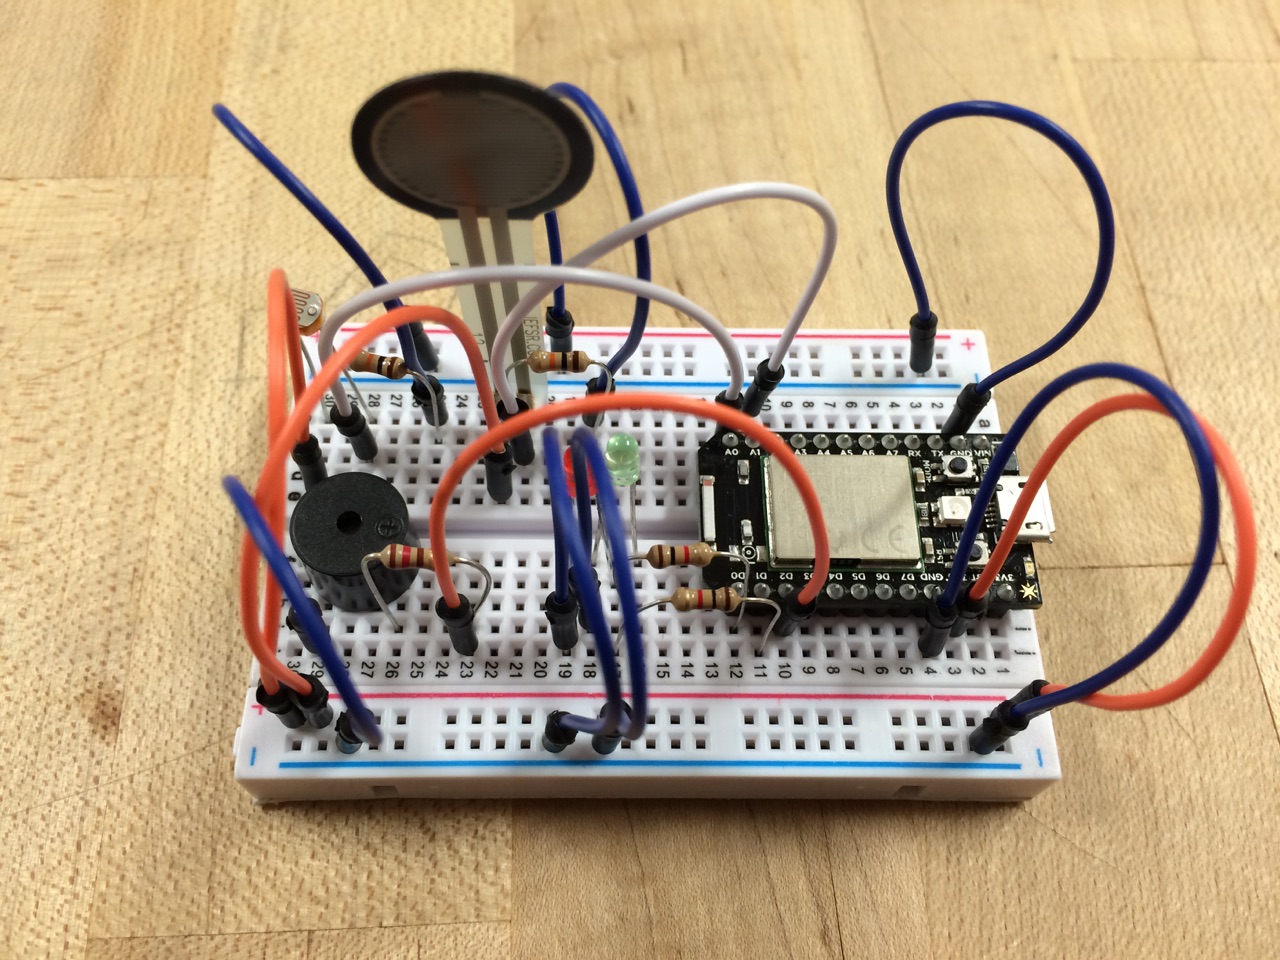
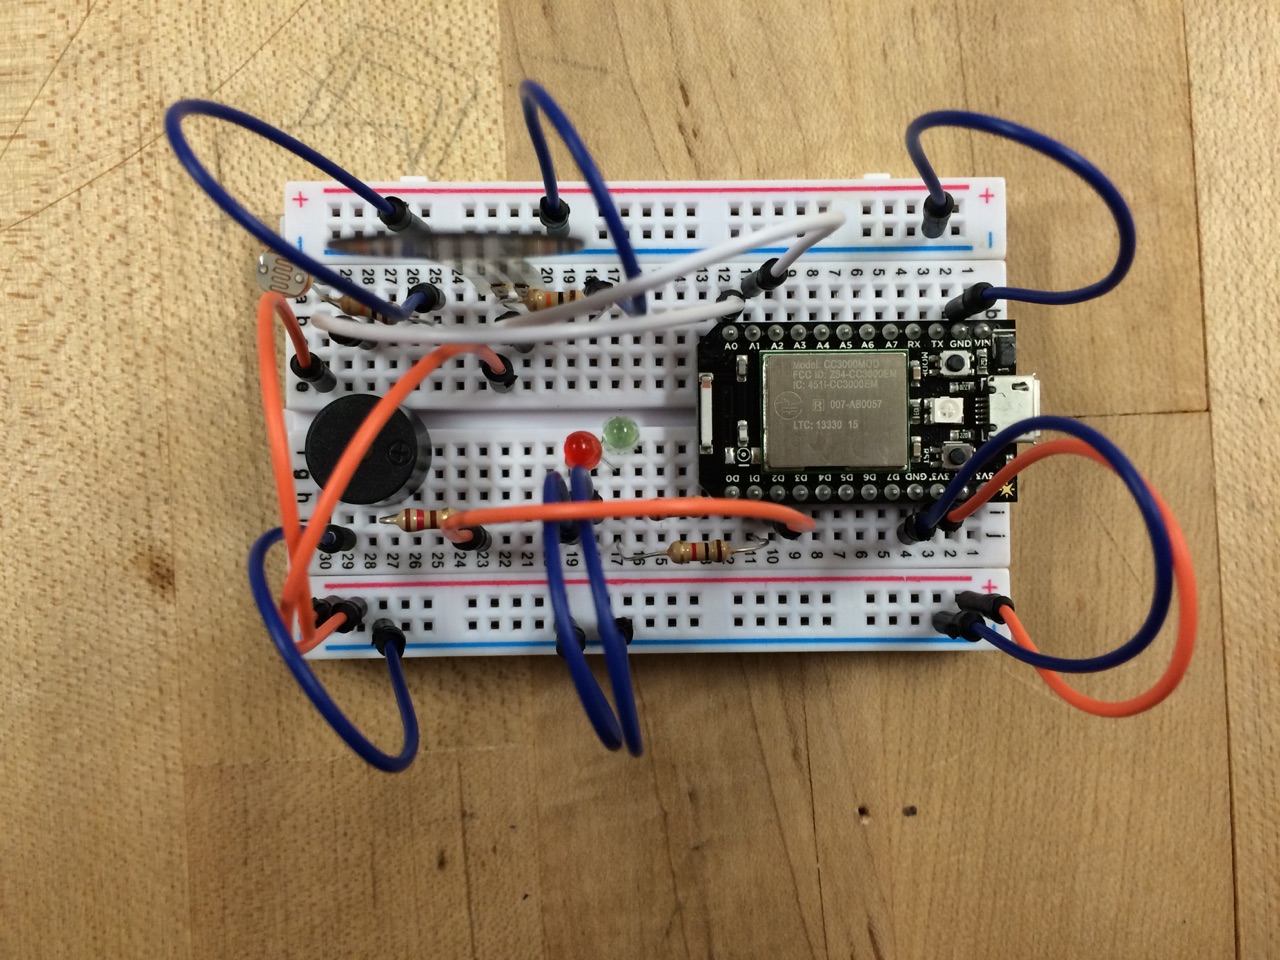
The images below show how the demo was wired and constructed.
int photoResistorPin = A0;
int lightReading = 0;
int fsrPin = A1;
int fsrReading = 0;
int onLED = D0;
int offLED = D1;
int buzzerPin = D2;
bool securityOn = false;
bool alarmOn = false;
void setup()
{
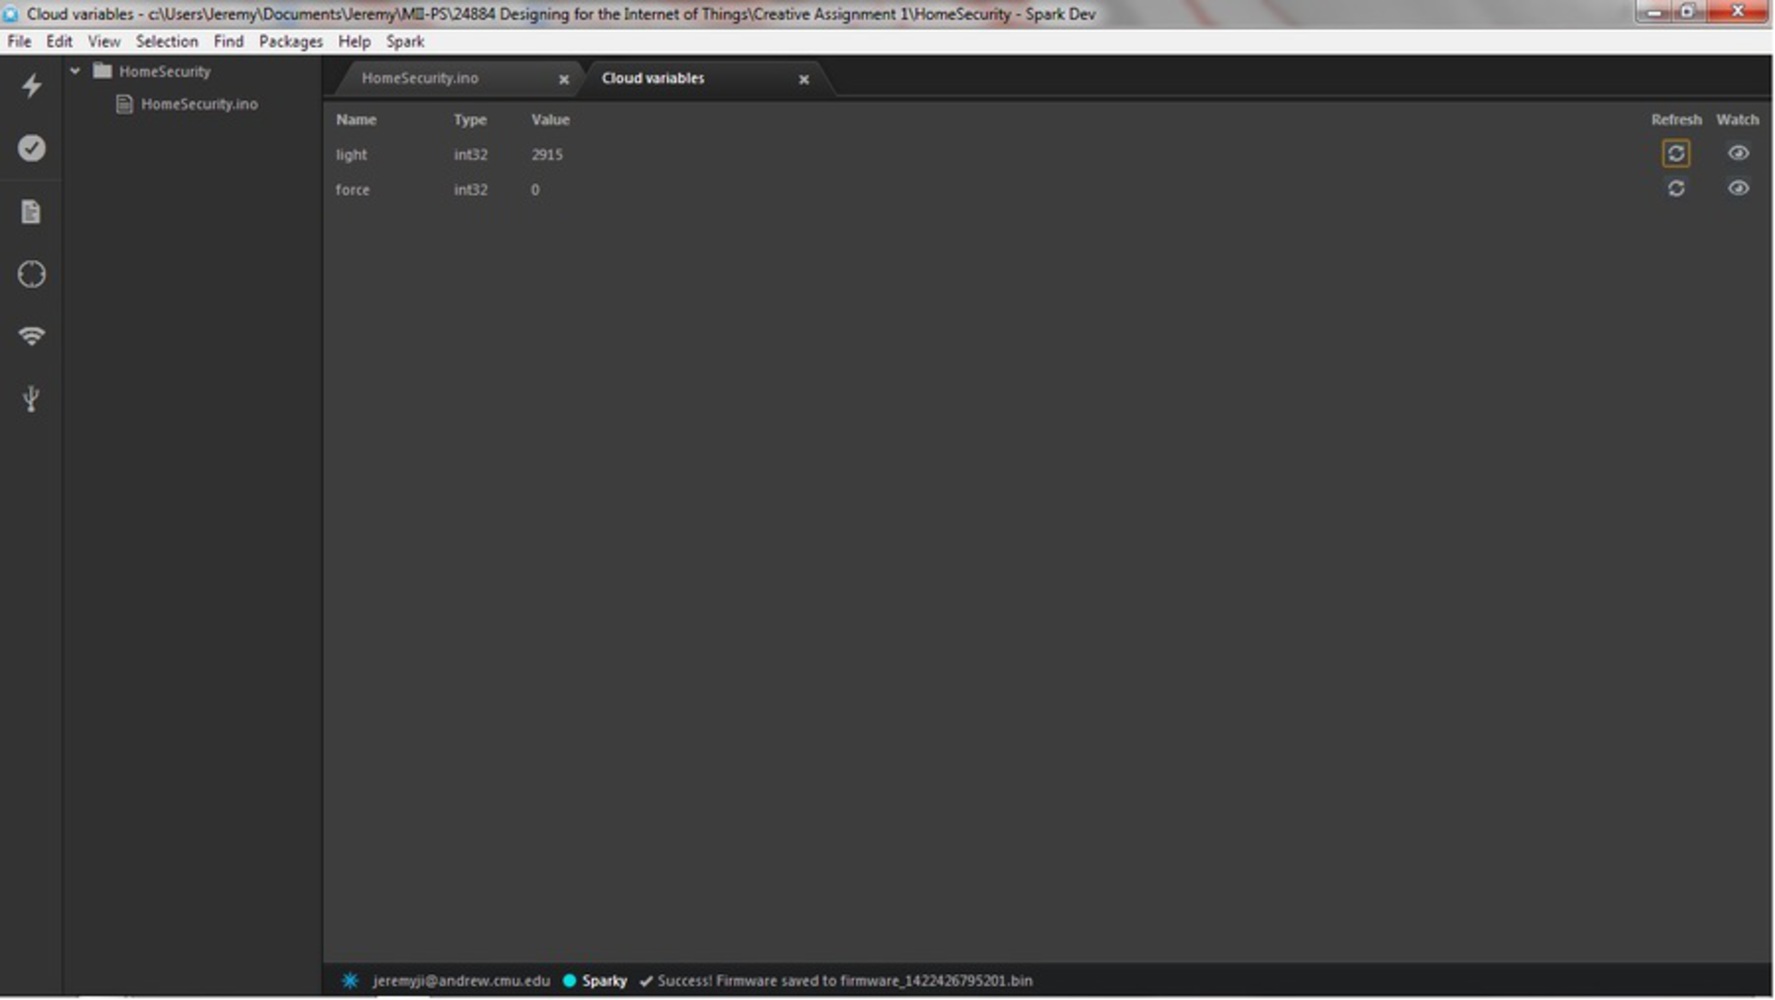
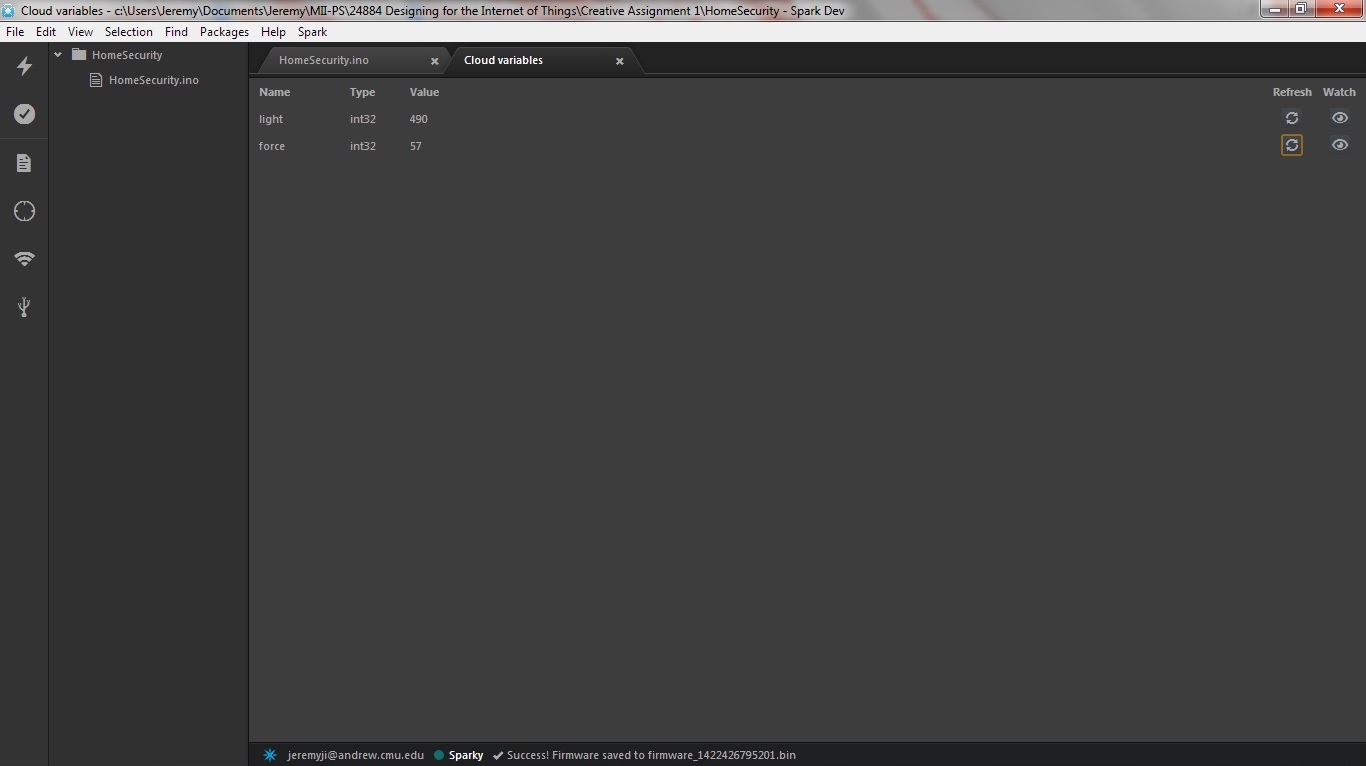
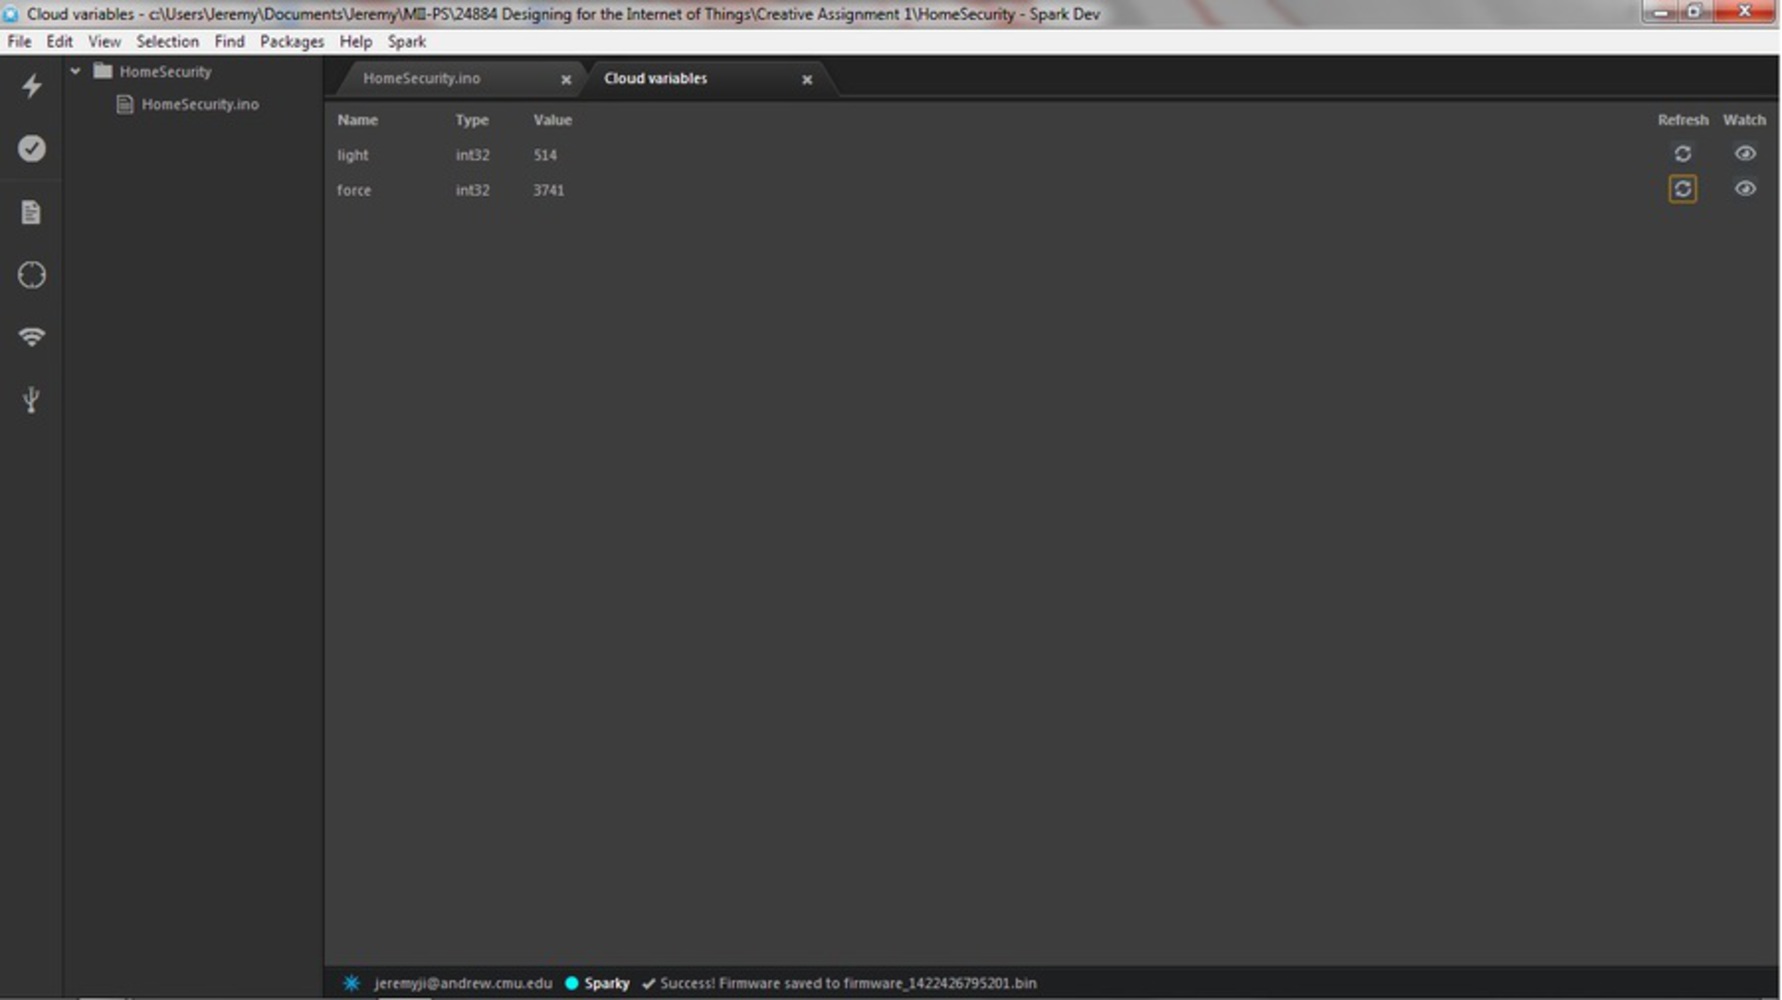
Spark.variable("light", &lightReading, INT);
Spark.variable("force", &fsrReading, INT);
pinMode(photoResistorPin, INPUT);
pinMode(fsrPin, INPUT);
pinMode(onLED, OUTPUT);
pinMode(offLED, OUTPUT);
pinMode(buzzerPin, OUTPUT);
digitalWrite(onLED, LOW);
digitalWrite(offLED, LOW);
digitalWrite(buzzerPin, LOW);
}
void loop()
{
lightReading = analogRead(photoResistorPin); //reading will be between 0 to 4095
if (lightReading <= 750)
{
securityOn = true;
}
else if (lightReading > 750)
{
securityOn = false;
}
else
{
digitalWrite(onLED, HIGH);
digitalWrite(offLED, HIGH);
}
if (securityOn || alarmOn)
{
digitalWrite(onLED, HIGH);
digitalWrite(offLED, LOW);
fsrReading = analogRead(fsrPin);
if (fsrReading > 2000 || alarmOn)
{
alarmOn = true;
digitalWrite(buzzerPin, HIGH);
delay(1000);
digitalWrite(buzzerPin, LOW);
delay(100);
}
}
else
{
digitalWrite(onLED, LOW);
digitalWrite(offLED, HIGH);
}
delay(100);
}The biggest obstacle I encountered was getting the piezo buzzer to work. Initially, I wanted the piezo buzzer to play a tune for the alarm, but I didn't realize that the tone() function could only be used with specific pins. I played around with the wiring and code for a while before I found, through the Spark webpage, that tone() only works with specific output pins. I also found that you can simply turn the buzzer on and off by sending a digital high and low signal. I chose to use this simpler method because it made the buzzer louder and more annoying, which should better alert the homeowners and drive away the invaders or intruders.
The demo worked great and properly served its function as a demonstration. Aside from the piezo buzzer, no other big problems arose. The overall process was fun and enjoyable, and I achieved the goals that I had set. Moving forward, this project would need to be scaled up to the size of a room or home. Separate microcontrollers would be needed for the light sensors and pressure sensors, and larger pressure sensors would be ideal. The pressure sensors would also need to be calibrated for average human weights so that pets and the like don't set off the alarm. Finally, an application could be developed to allow control of the system through a phone or computer.
Demo for a home security system that is light activated and uses pressure sensors to detect invaders and intruders and trigger an alarm.
(Cover Image Source: http://www.readyresponse.org/home-security-experts/)