3D Album Art
Made by Michelle Wiedmann
Made by Michelle Wiedmann
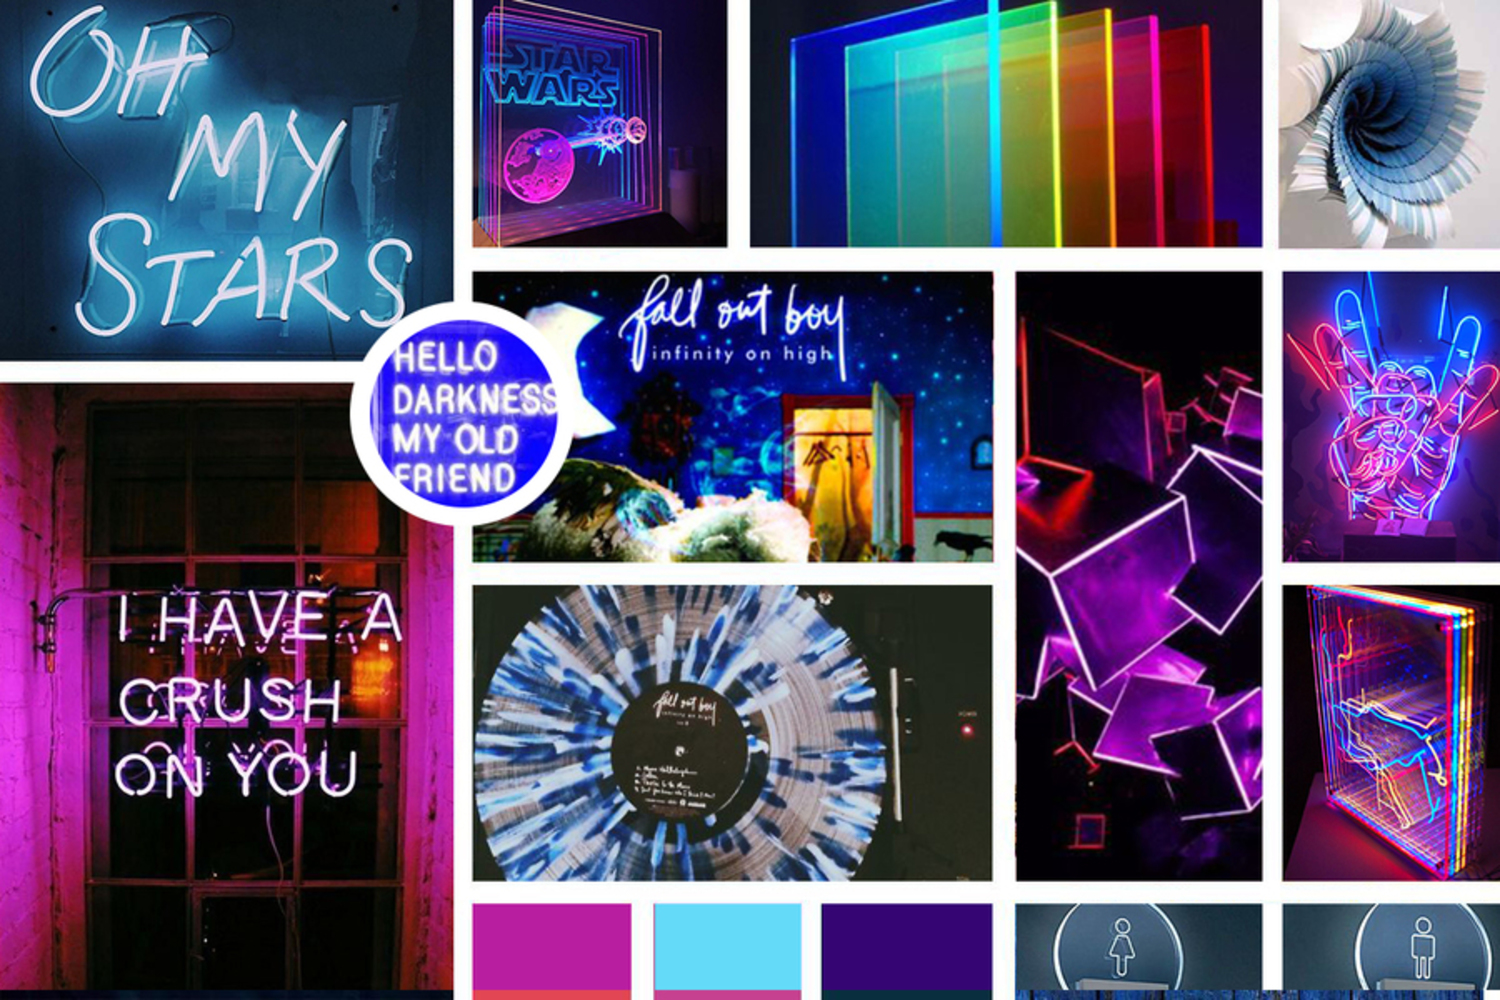
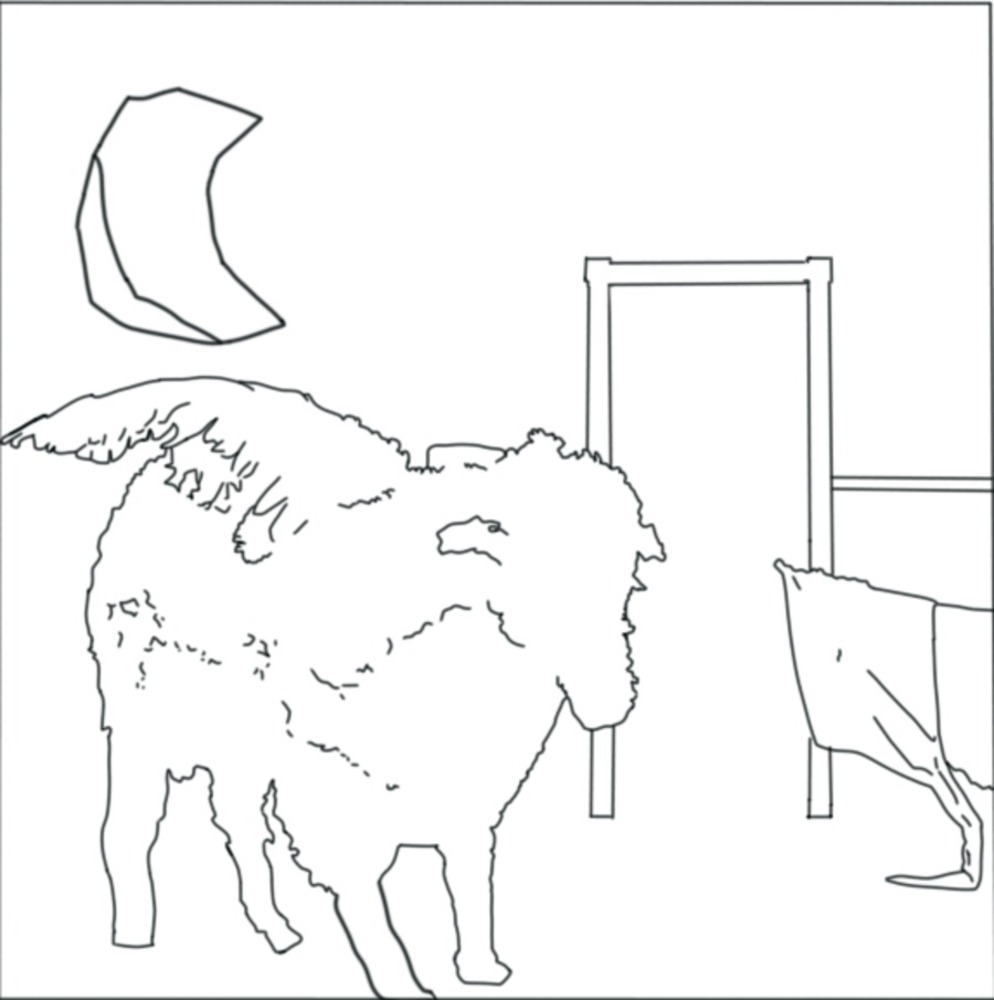
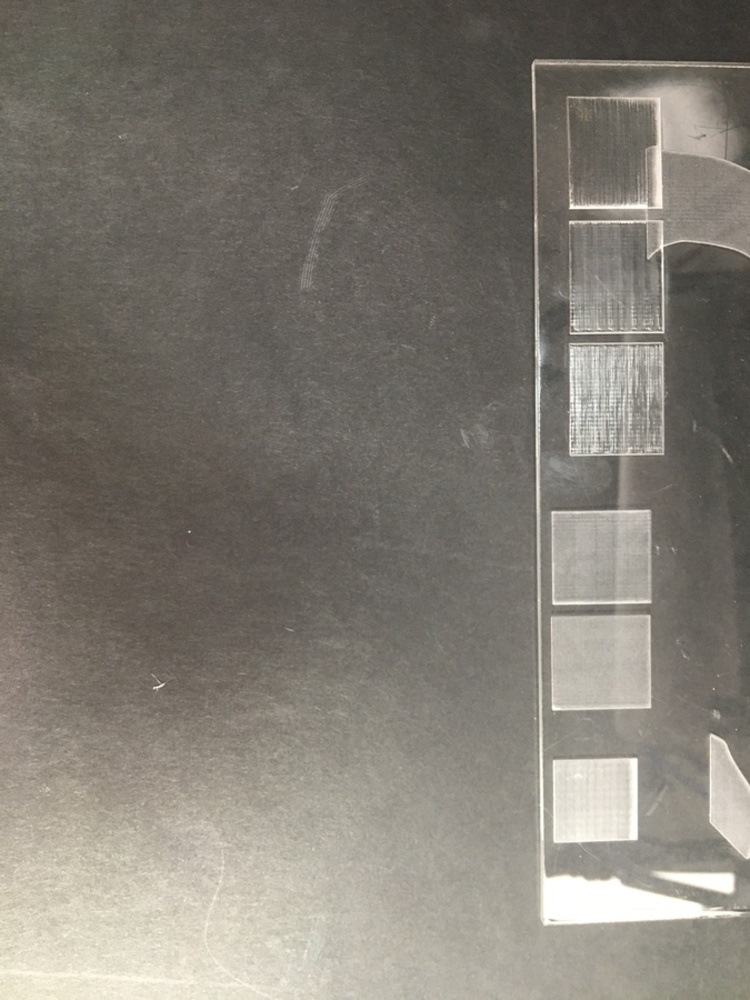
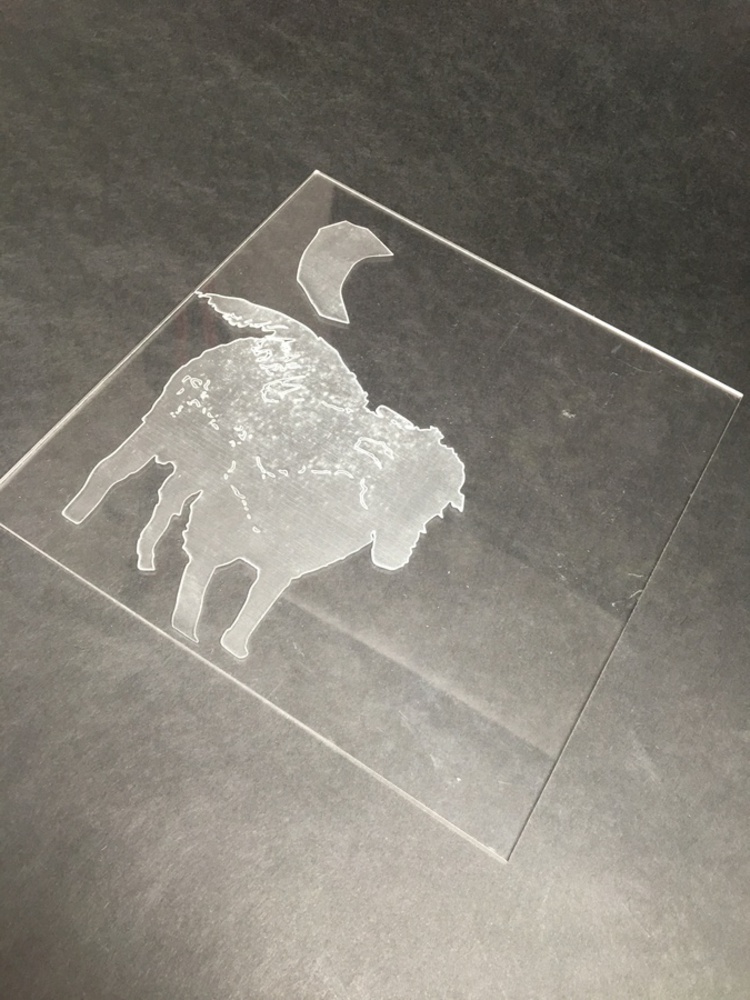
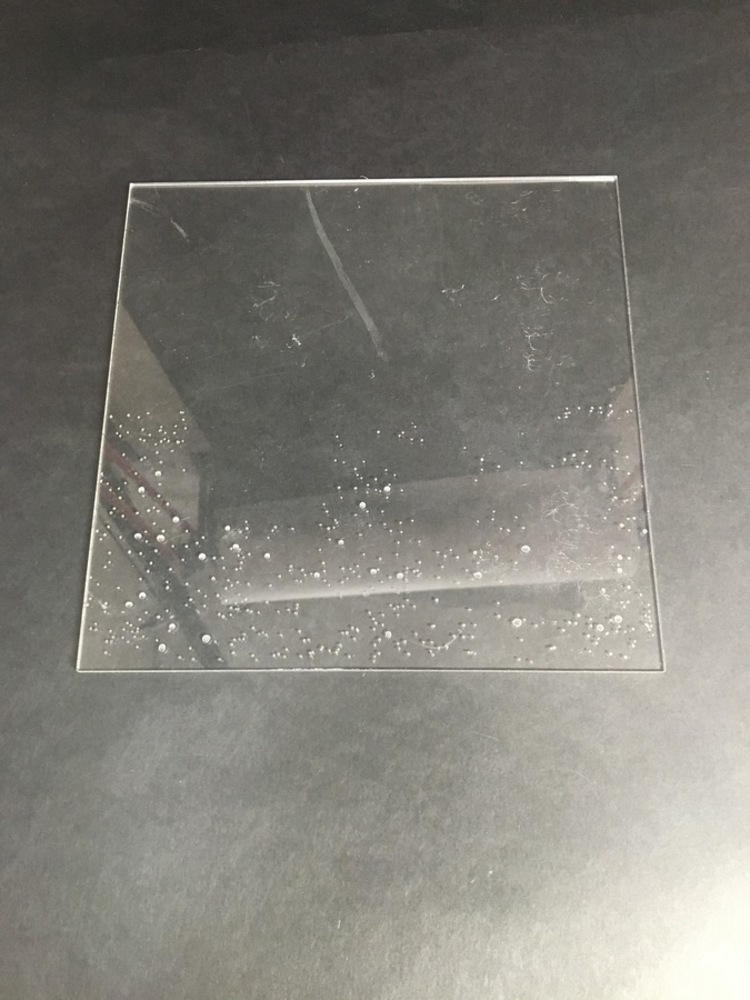
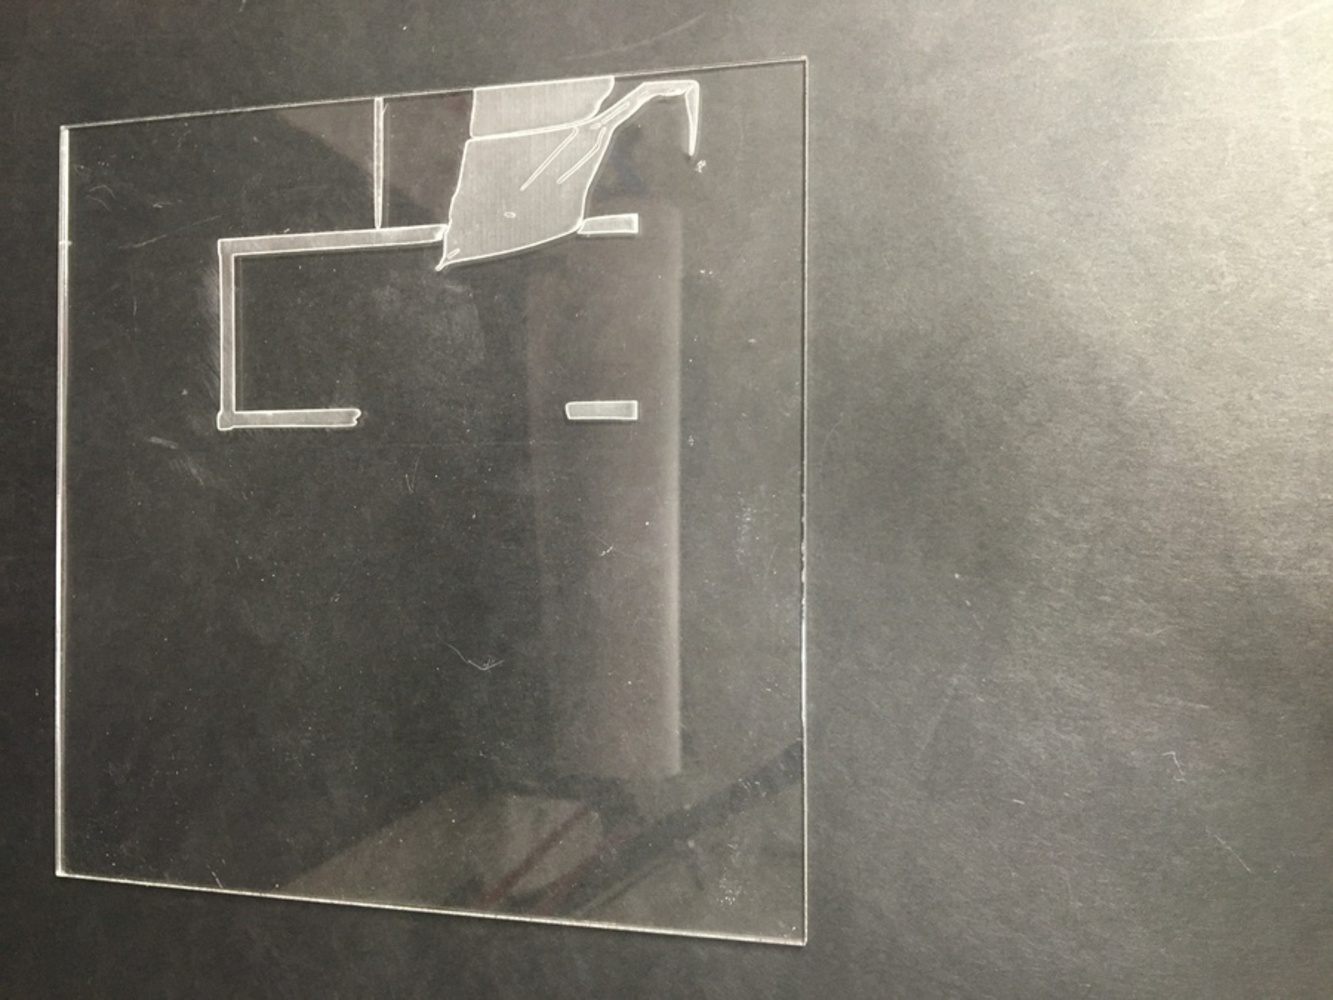
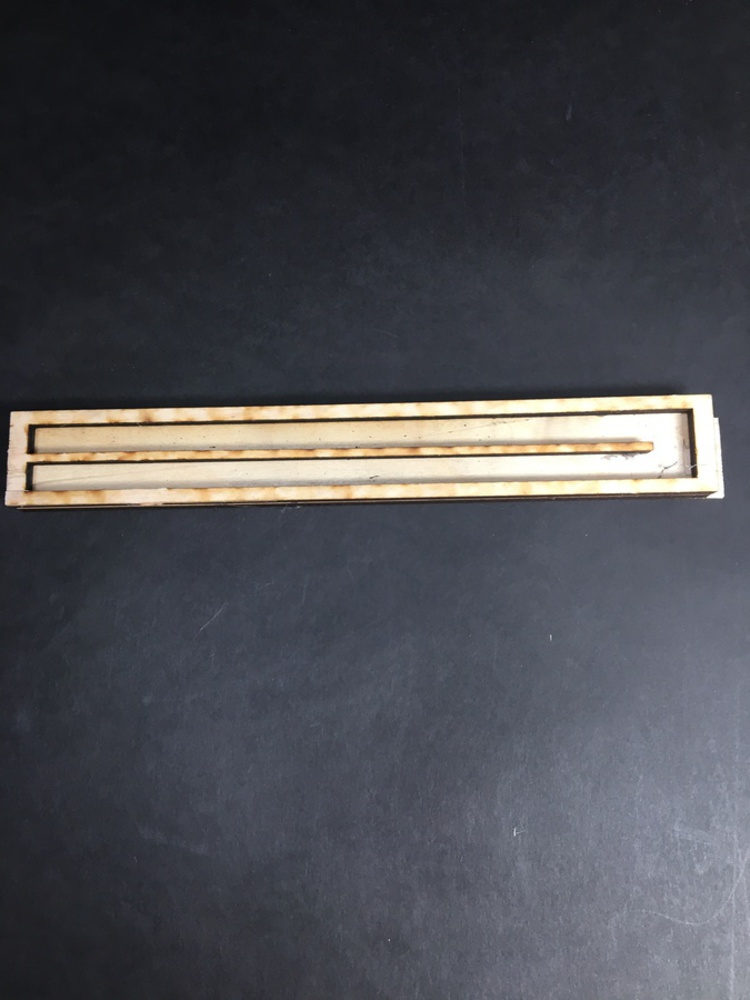
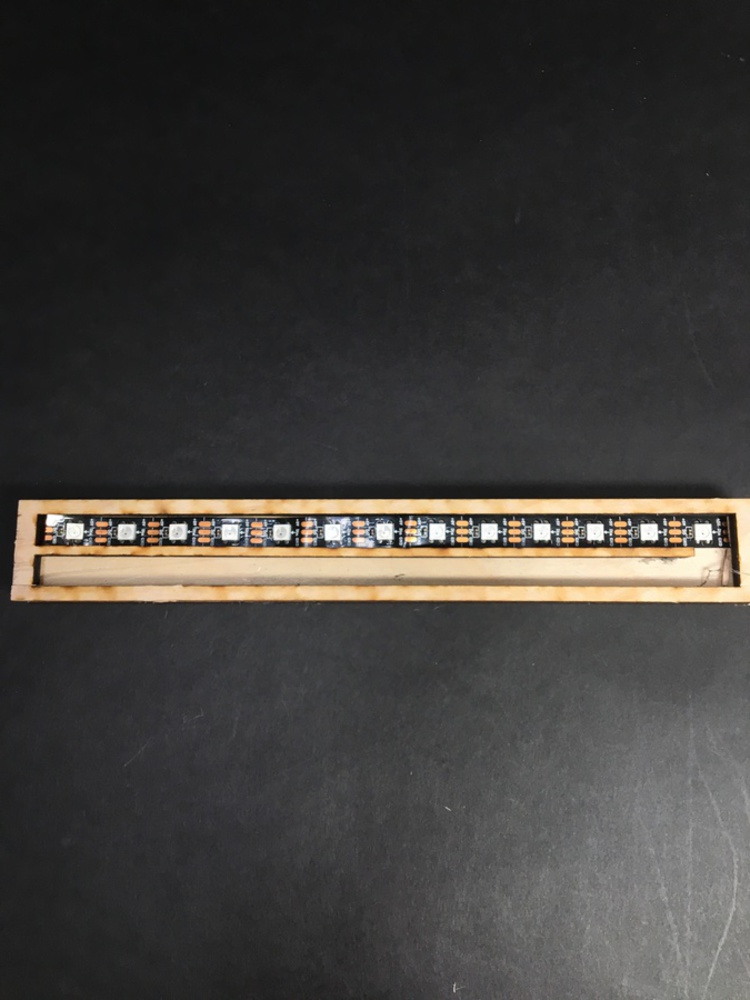
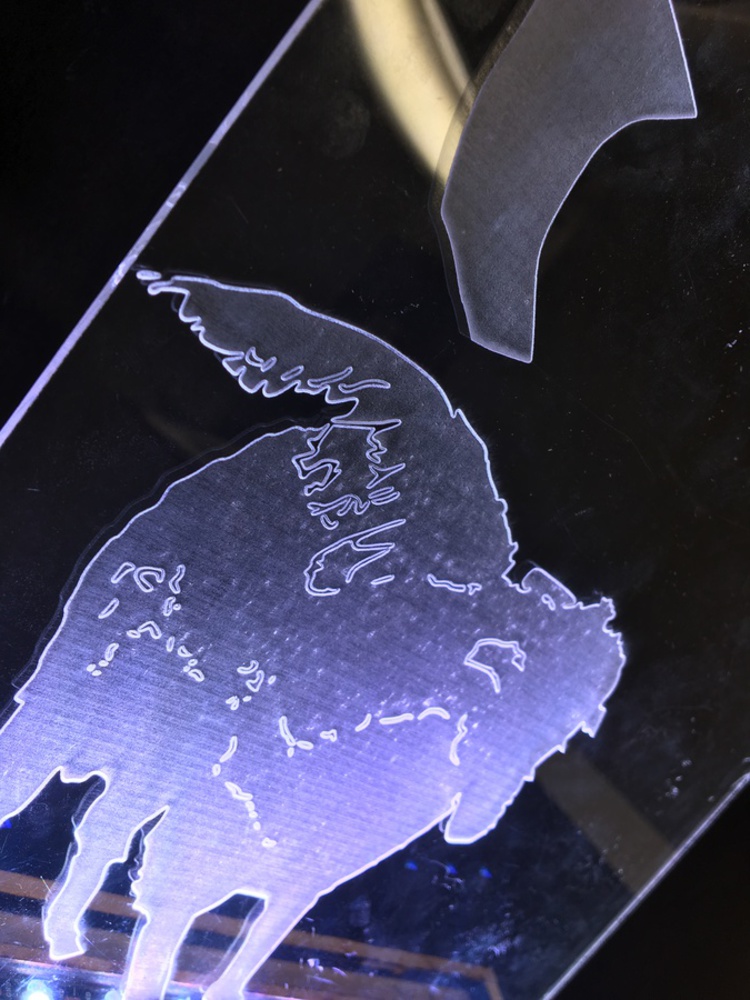
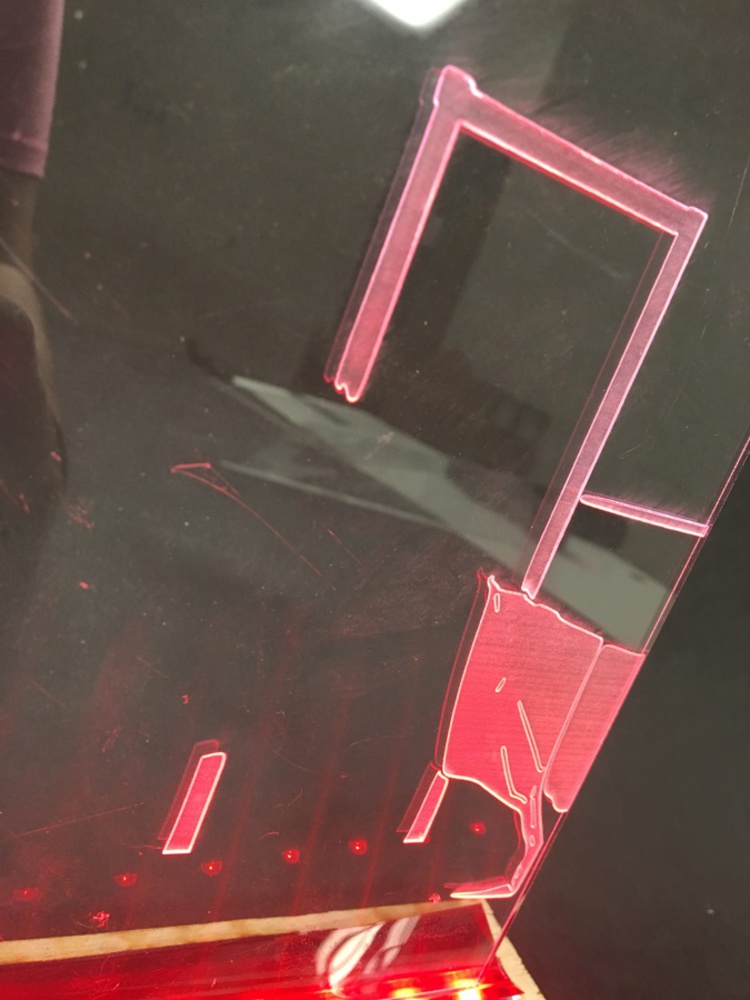
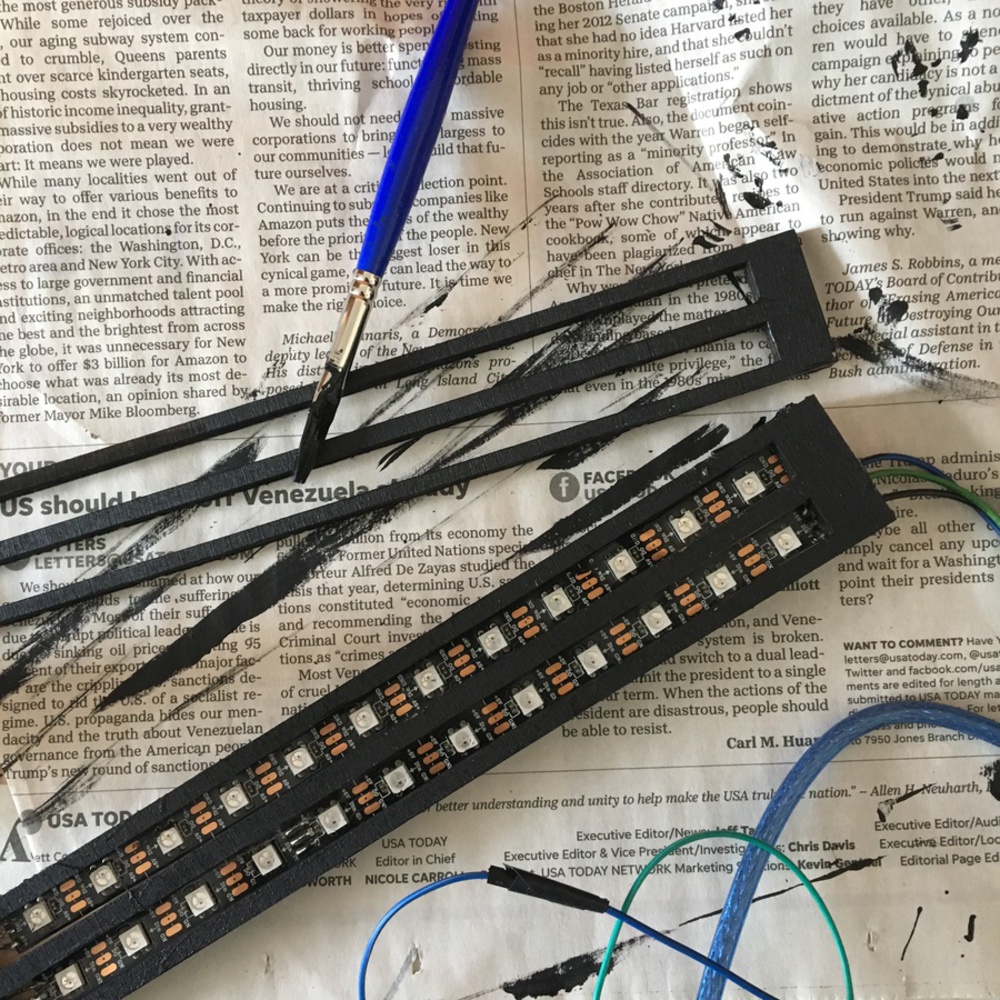
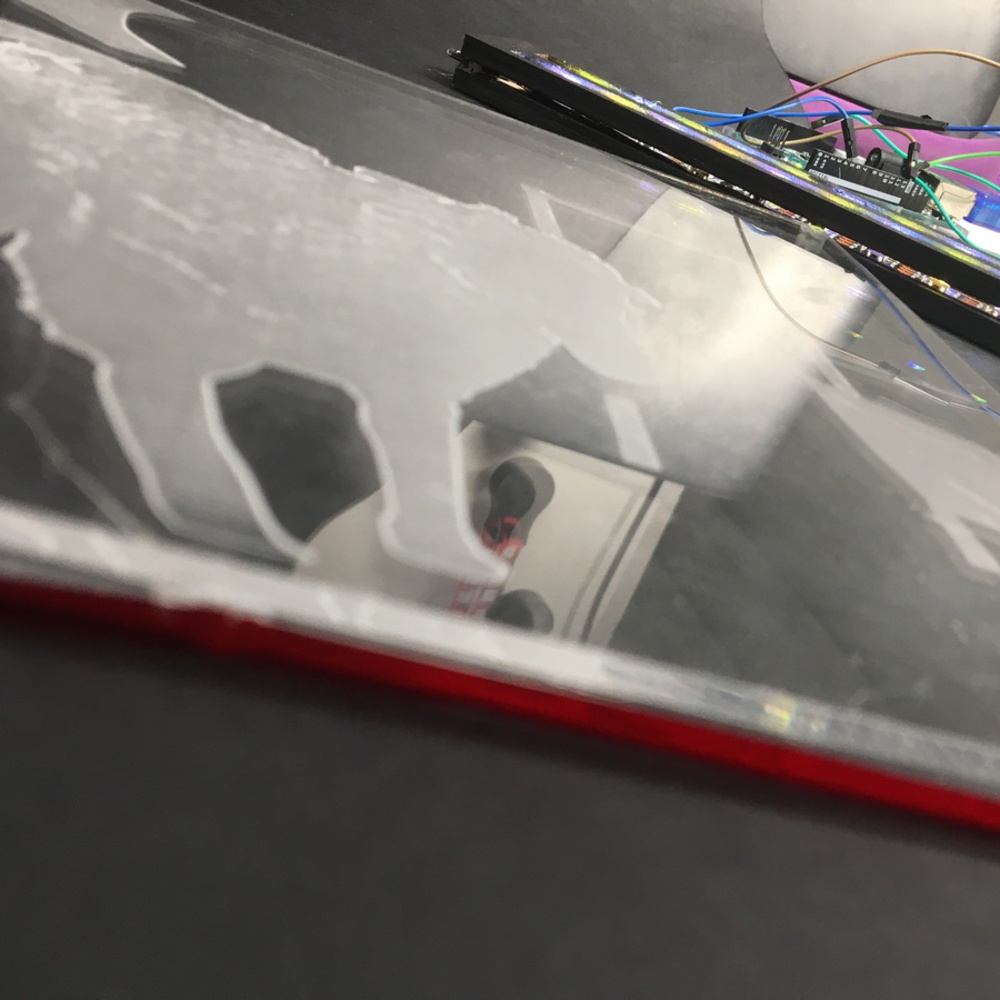
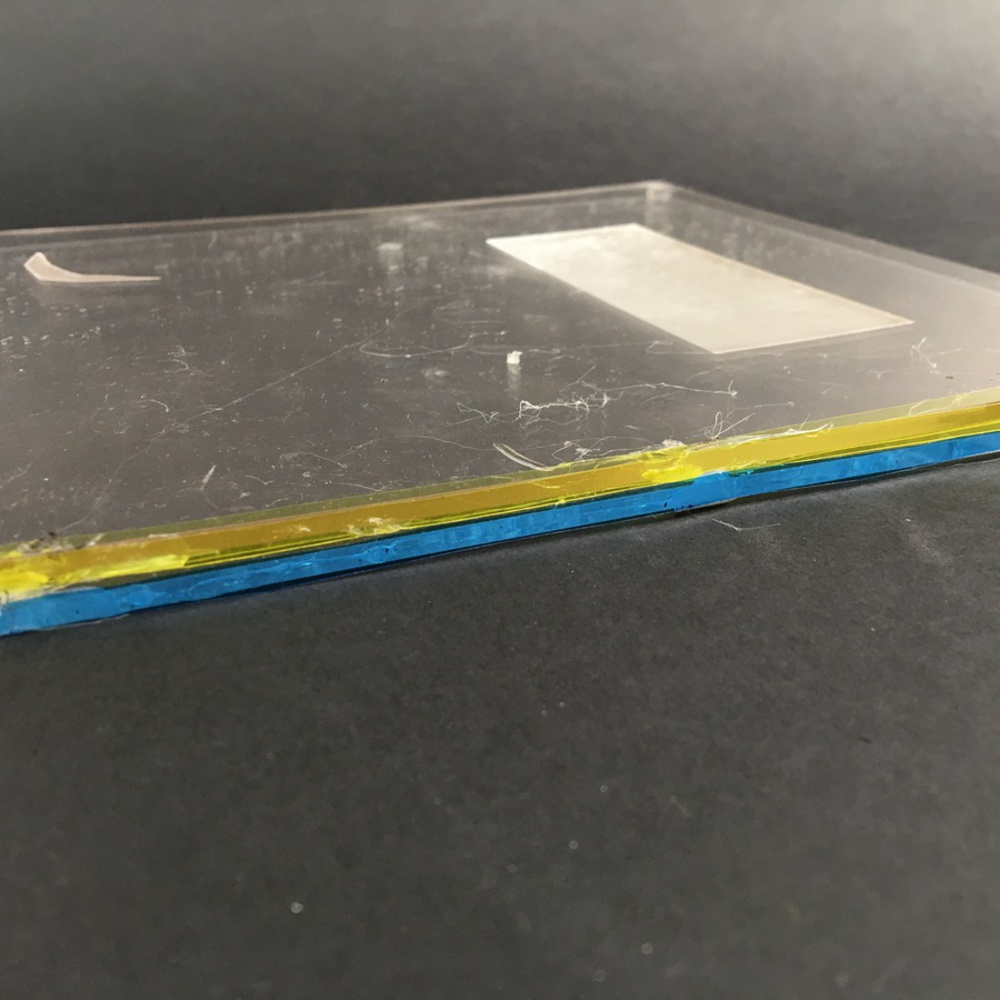
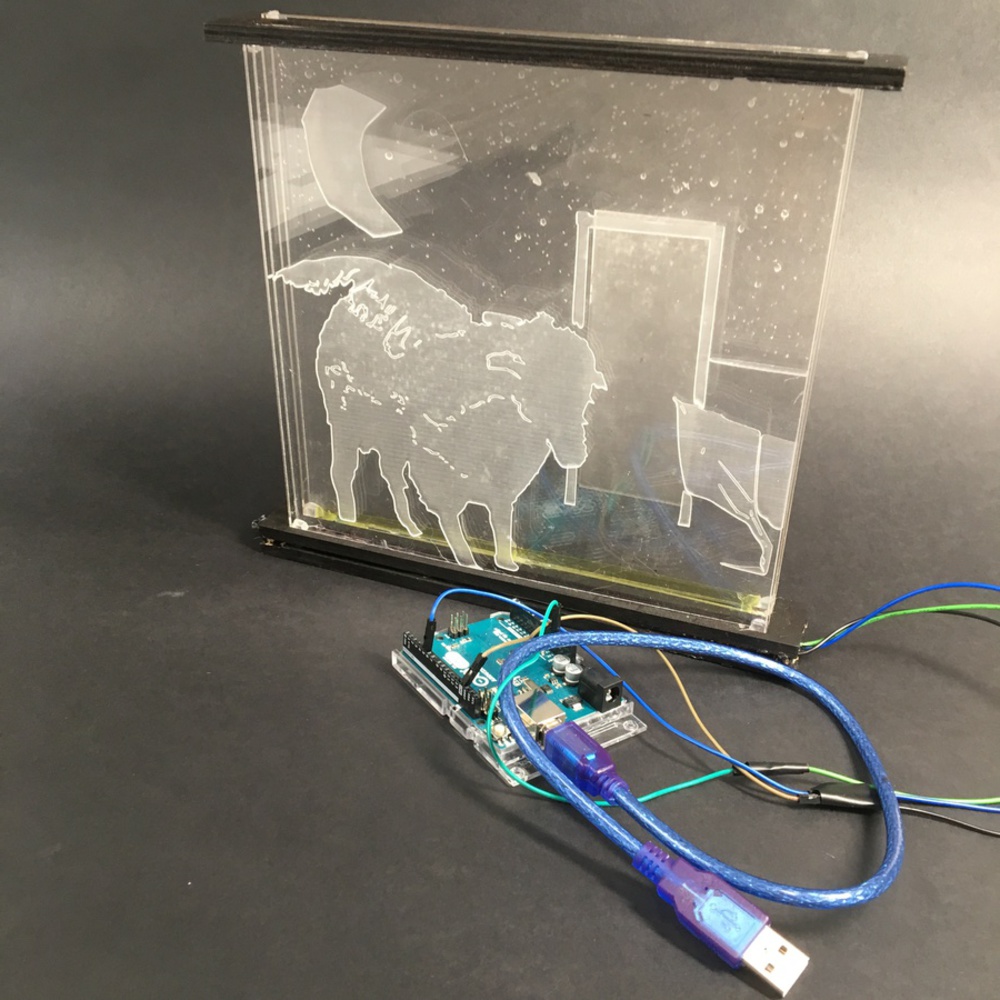
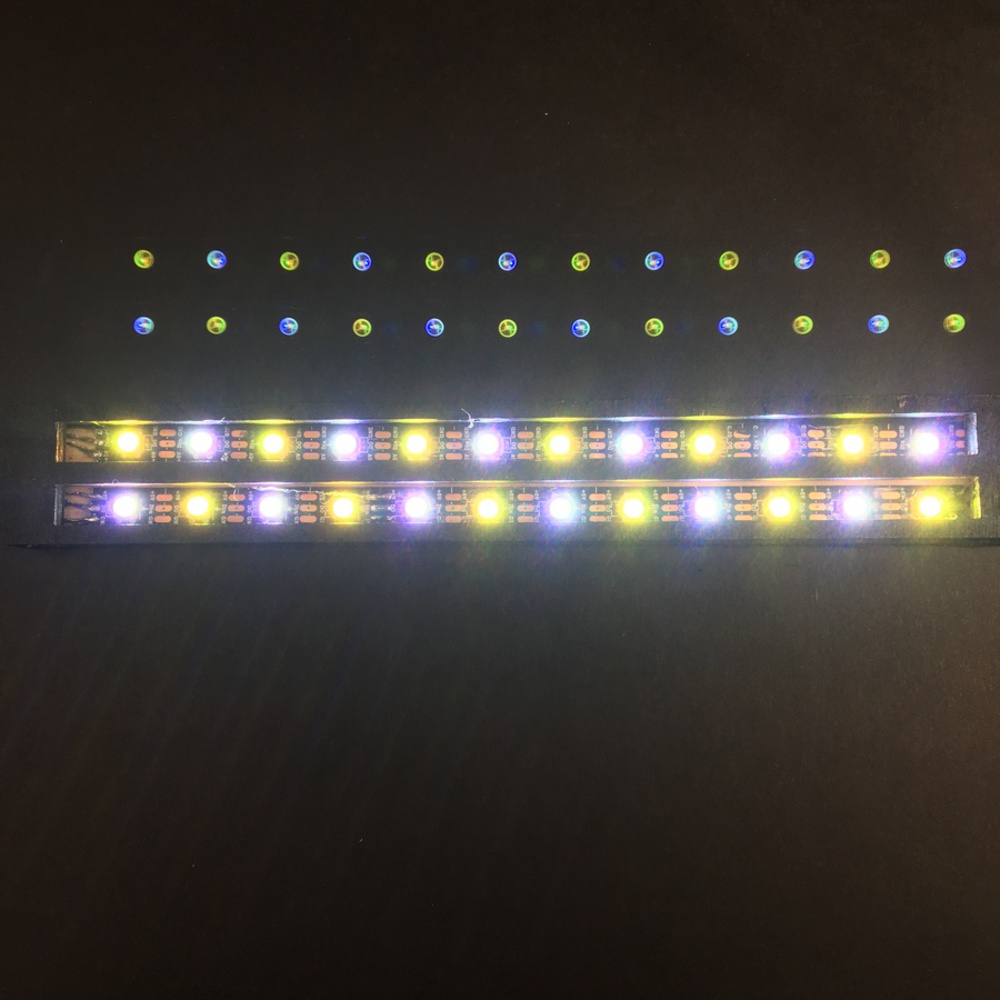
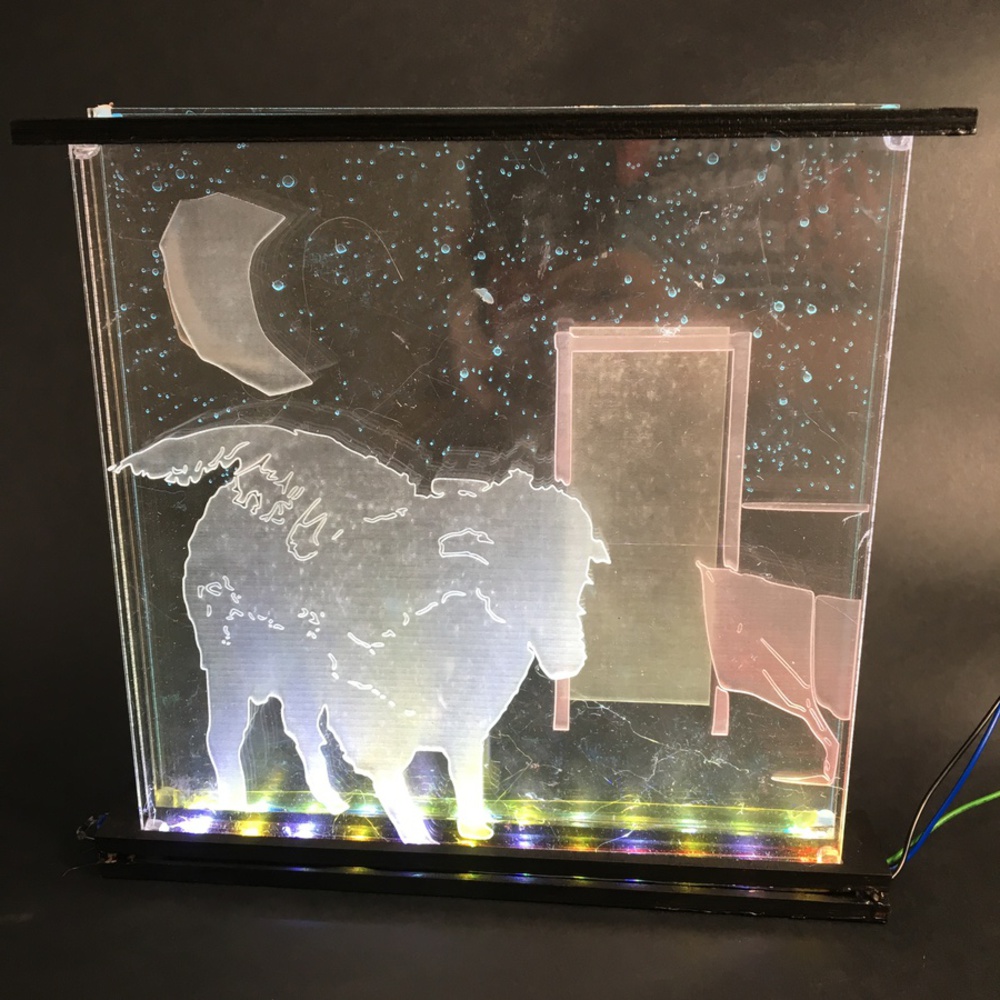
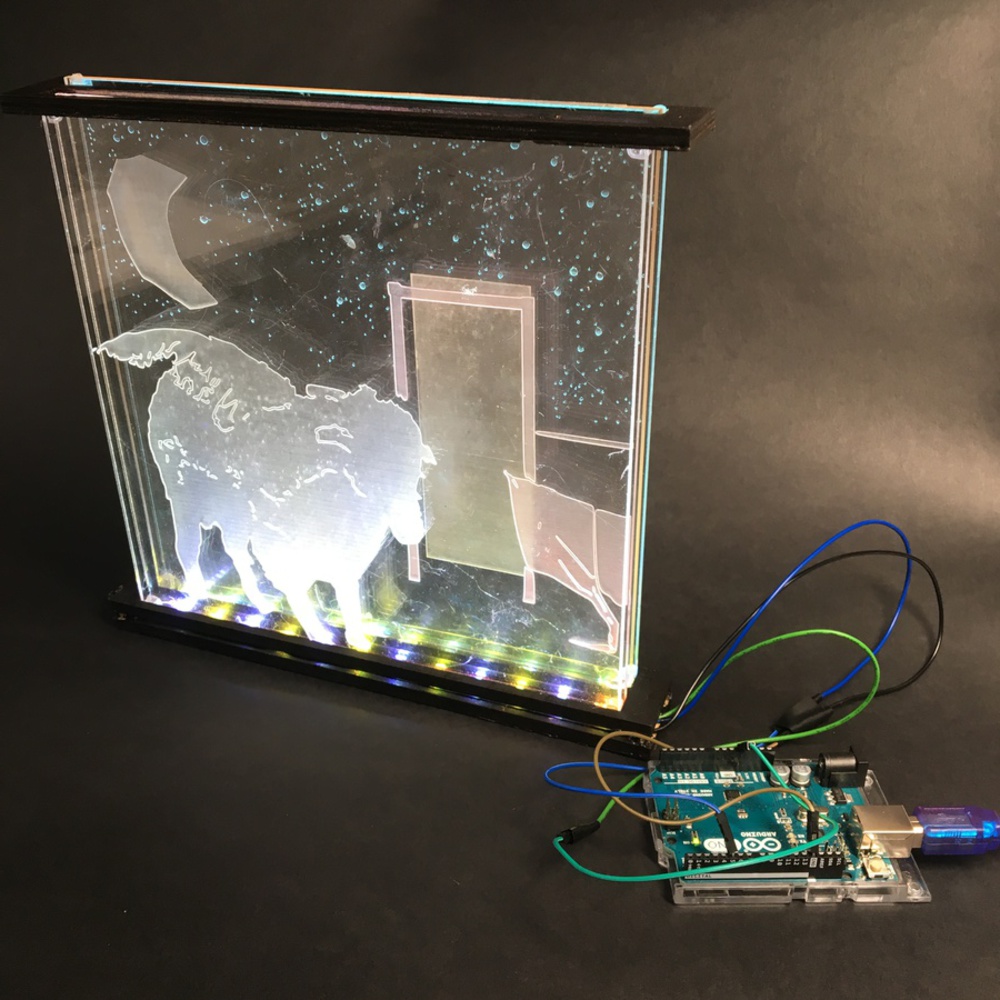
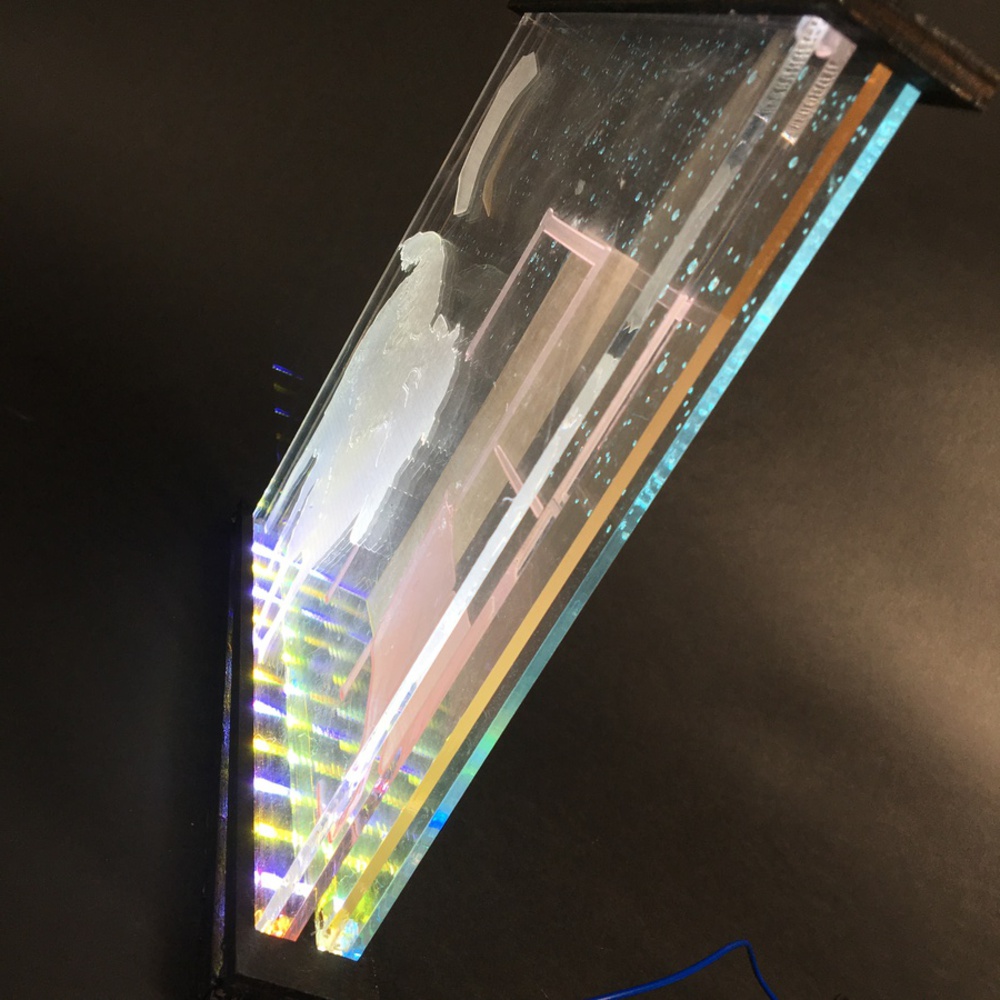
Recreate the main features of a Fall Out Boy album using edge lit acrylic. Each layer of acrylic is lit a different color.
Created: May 5th, 2019


Offers students hands-on experience in DIY product design and fabrication processes. Students work individually or in small groups to design customized and personalized products of their own and bu...more
Recreate the main features of a Fall Out Boy album using edge lit acrylic. Each layer of acrylic is lit a different color.