Album Art LED Display
Made by Lisa Carter · UNLISTED (SHOWN IN POOLS)
Made by Lisa Carter · UNLISTED (SHOWN IN POOLS)
Art installation displaying currently playing Spotify album art on a live LED board
Created: April 15th, 2019

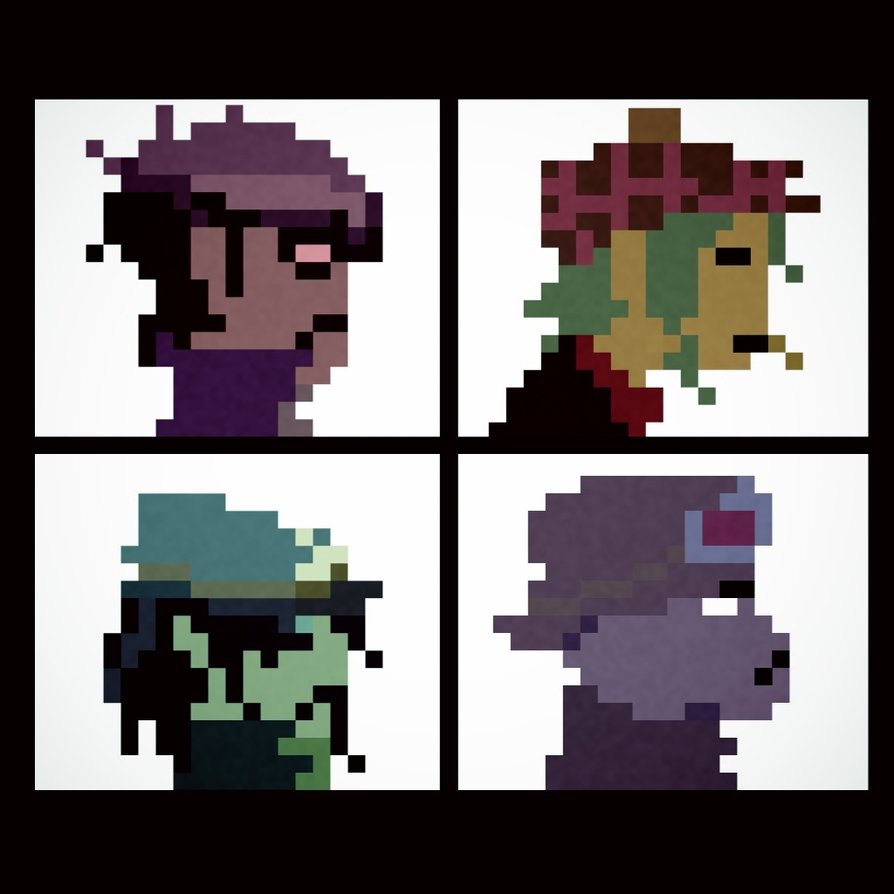
Inspired by 16-bit retro video game design and tinkering with LED panels, I sought to combine my passion for music and technology into a dynamic LED board that updates to show what music is currently playing. The board was designed to sit in an elegant customized wooden dock which further highlights the juxtaposition between low-tech and high-tech merging together.
User mood board, designed for fans of old-school, retro gaming style graphics
Product mood board, mixing new tech with old materials to create an updated vintage vibe
Through the ideation process, I looked online for different resources. I was inspired by Retromancers' cool UI that converts images to 8-bit graphics inspired by images.
Digging through the existing Spotify API library, I read through the different features I could access using the Spotify developer platform. Developing this program wouldn't be as easy as simply hooking up an LED matrix and connecting it to Spotify. We would have to obtain proper authorization and API credentials in order to access user data.

A "brief" overview of how the Spotify API manages requests for data
After some fighting with the API, I managed to get it to access my Spotify account information with the proper authorization.
API accessing my Spotify account
This was my first dive into embedded systems. As such, there was a lot of research and purchases from TechSpark and AdaFruit to get the necessary supplies. I was lucky enough to find a Spotify Album Art guide on TechSpark which gave me a good parts list.
Once I had all the necessary parts acquired, it was time to learn how to use the hardware. I started out with soldering an RBG Matrix HAT onto a Raspberry Pi, which would be used to control the 32x32 LED Matrix display.
RGB Matrix HAT, used to control LED Matrix via an RPi
(Left) Overview of the board connections, (Right) Close-up of ESP32 Thing microcontroller
Once I had the proper connections set up, it was time to add software. I ran into issues connecting the LED Matrix with a Raspberry Pi using the existing software guide, but managed to find an LED guide that could be powered by Arduino using a SparkFun ESP32 Thing, so I switched to that instead.
I tried a few different Arduino LED Matrix examples and was able to get a few different displays. This was the result of a full-color test. I got the grid to flash multiple colors at once and the end result was very bright and colorful.

Once I got the matrix up and running, I wanted to design a case to hold the matrix and all the necessary hardware associated with it. I wanted this case to have an analog feel to it in order to keep with the old-school old video game console theme.
As far as size, I wanted to keep the case small but also make it durable enough to withstand moving around. I opted to design a case out of wood to accomplish the desired look and feel to it.
Initial sketch of case, figuring out the necessary parts or pieces
Higher quality sketches of case for production
After making some sketches, I selected some leftover pieces in the Drama scene shop to build the frame. I found some leftover walnut and cherry pieces to build the main frame and some thick acrylic to work as a diffuser for the LED matrix.

Cutting 45° angles into the cherry frame
Frame mid-assembly, waiting for glue to dry
Once the glue dried, I drilled two holes in the bottom of the base and attached the main panel case onto it.
Adding diffuser panel and cleaning up glue residue