Black Hole (Sun) Lamp

Made by Tyler Stern

A black hole-in-a-box -- the most destructive object in the universe, now safely illuminating your home!

Created: May 3rd, 2019

0

Ideation

0

 Warm lighting makes rooms way nicer to spend time in, so I knew I wanted to make some sort of lamp for my final project. I also really like LEDs and the combination of natural materials like wood with modern electronics. I used to be a physics major and I have a passion for astronomy, so I wanted to make some sort of lighting fixture that incorporate that kind of aesthetic. 


One of my friends turned me onto the idea of creating a lamp like a black hole. I really liked the idea, and due to the amount of coverage in the news on the first ever image of a black hole, I knew it had to happen. 

0

I started sketching out some ideas. Black holes have really cool properties like gravitational lensing and jets of electromagnetic particles that had potential for some really cool lighting inspiration. However, I have limited experience with fabrication, and a lot of these ideas involved creating spherical forms. Since I was looking to use wood as a medium, there wasn't a lot I could do since I have barely any woodworking experience. 

So, I settled for my lamp to take the form of a box with an illuminated ring that would mimic a black hole's accretion disc -- a ring of eviscerated matter falling inward into the black hole that is emitting massive amounts of light and energy up due to the ridiculous tidal forces.

0

Fabrication

0

I created the design for the face of the lamp in illustrator and got to work testing it out on the laser cutters. Although I had used them before in a previous project, I wanted to see what the different line thickness would look like as etches on the surface. It turned out that the printer registers anything under .5 stroke as hairline and will cut through the material. 


I also started designing the overall container. I drew the individual teeth to connect the finger joints in illustrator, although, afterwards I learned from another student that there is a website -- makercase.com-- that will do it for you. Oops.  Learning moment. 


I also spent some time learning about living hinges. I know I settled on a rectangular shape for my lamp, but that was merely because I didn't know how else to create spherical shapes out of wood. Living hinges offered a chance to make more rounded shapes with cool patterns, but I was already deep into the project. I tested out a print while I was putting together my box just to experiment. Ultimately, the hinge was too small and brittle to utilize. Maybe next time. 

0

Electronics

0

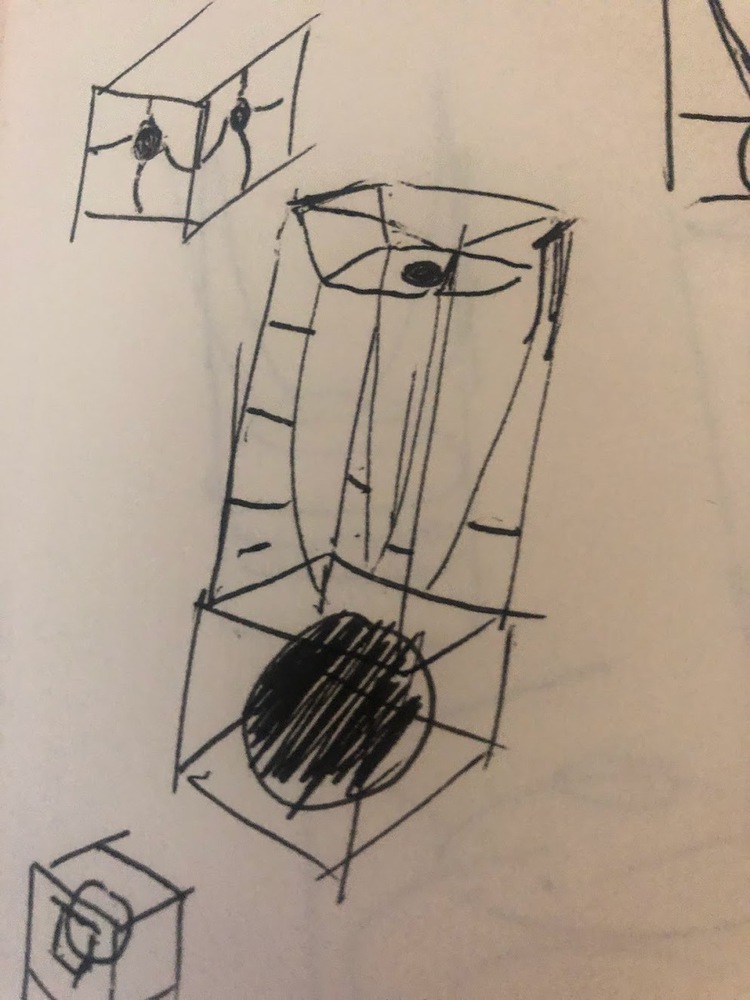
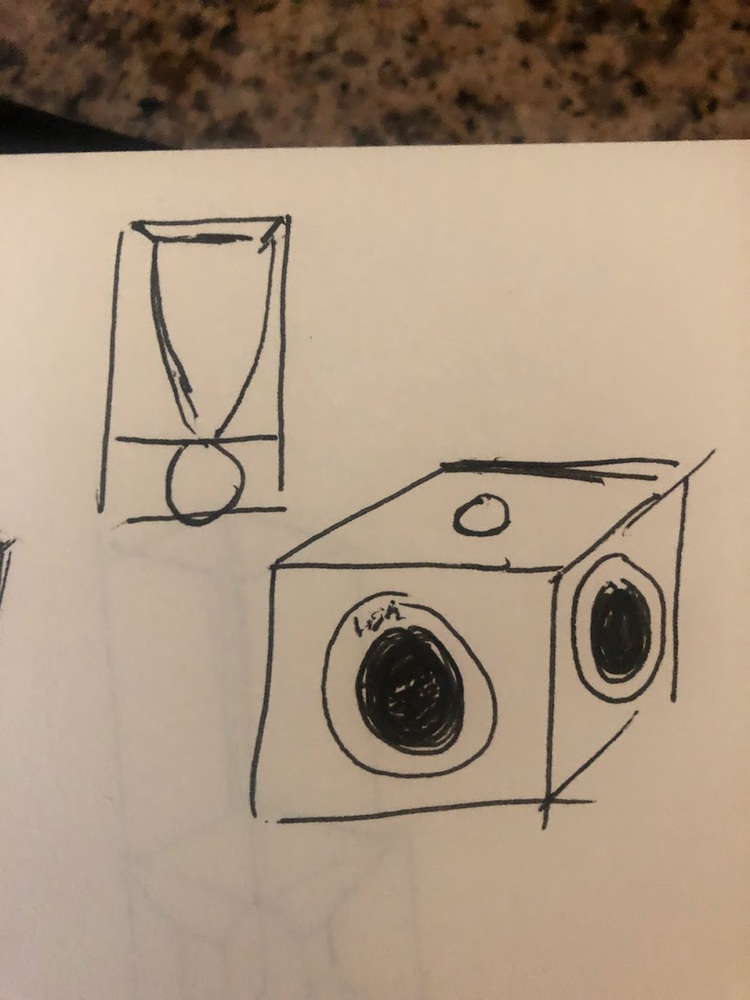
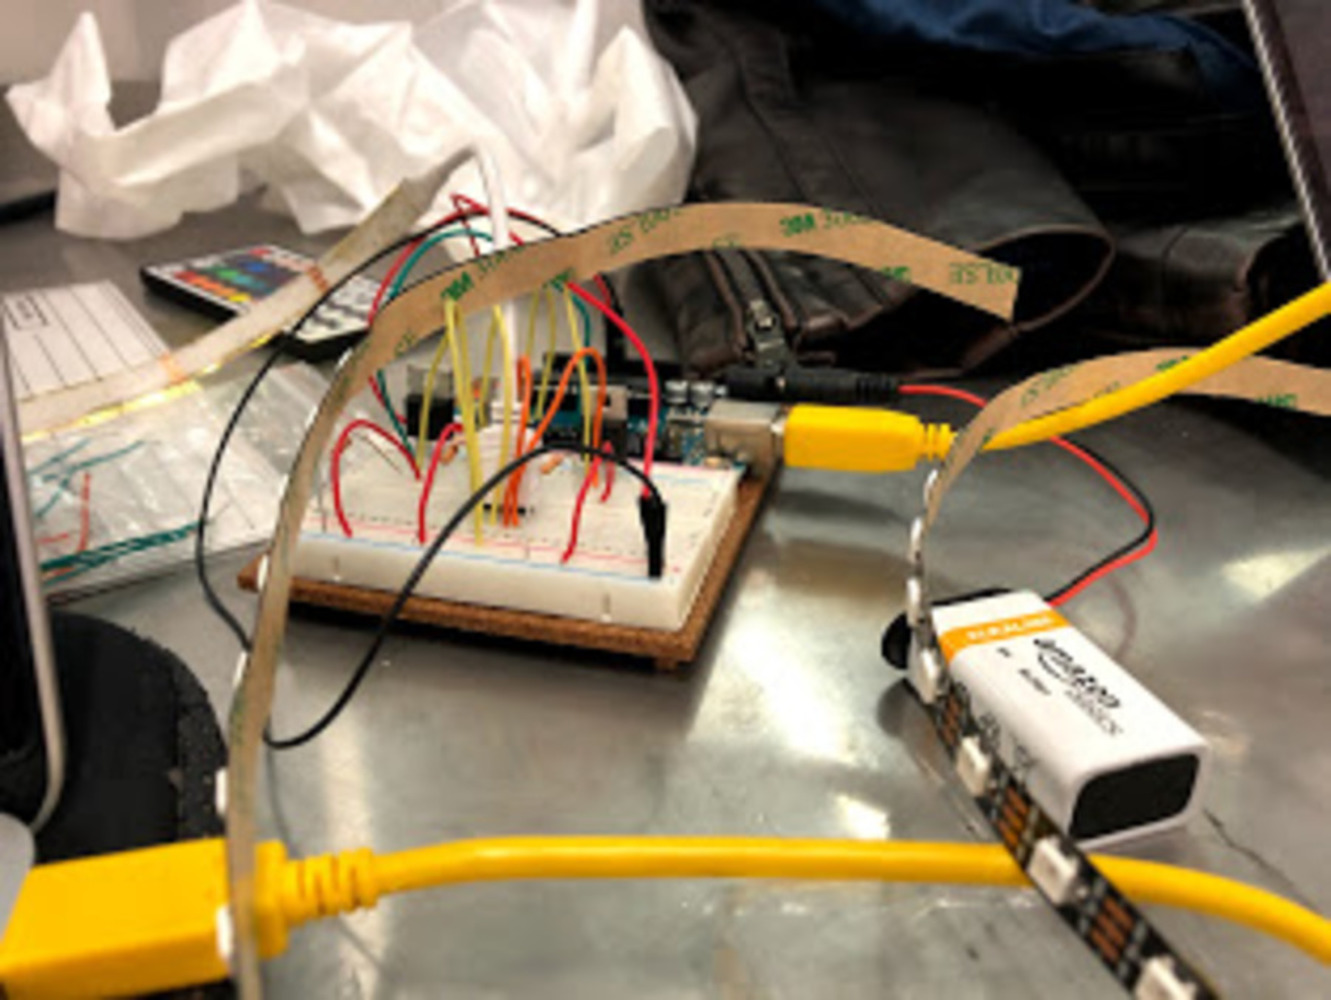
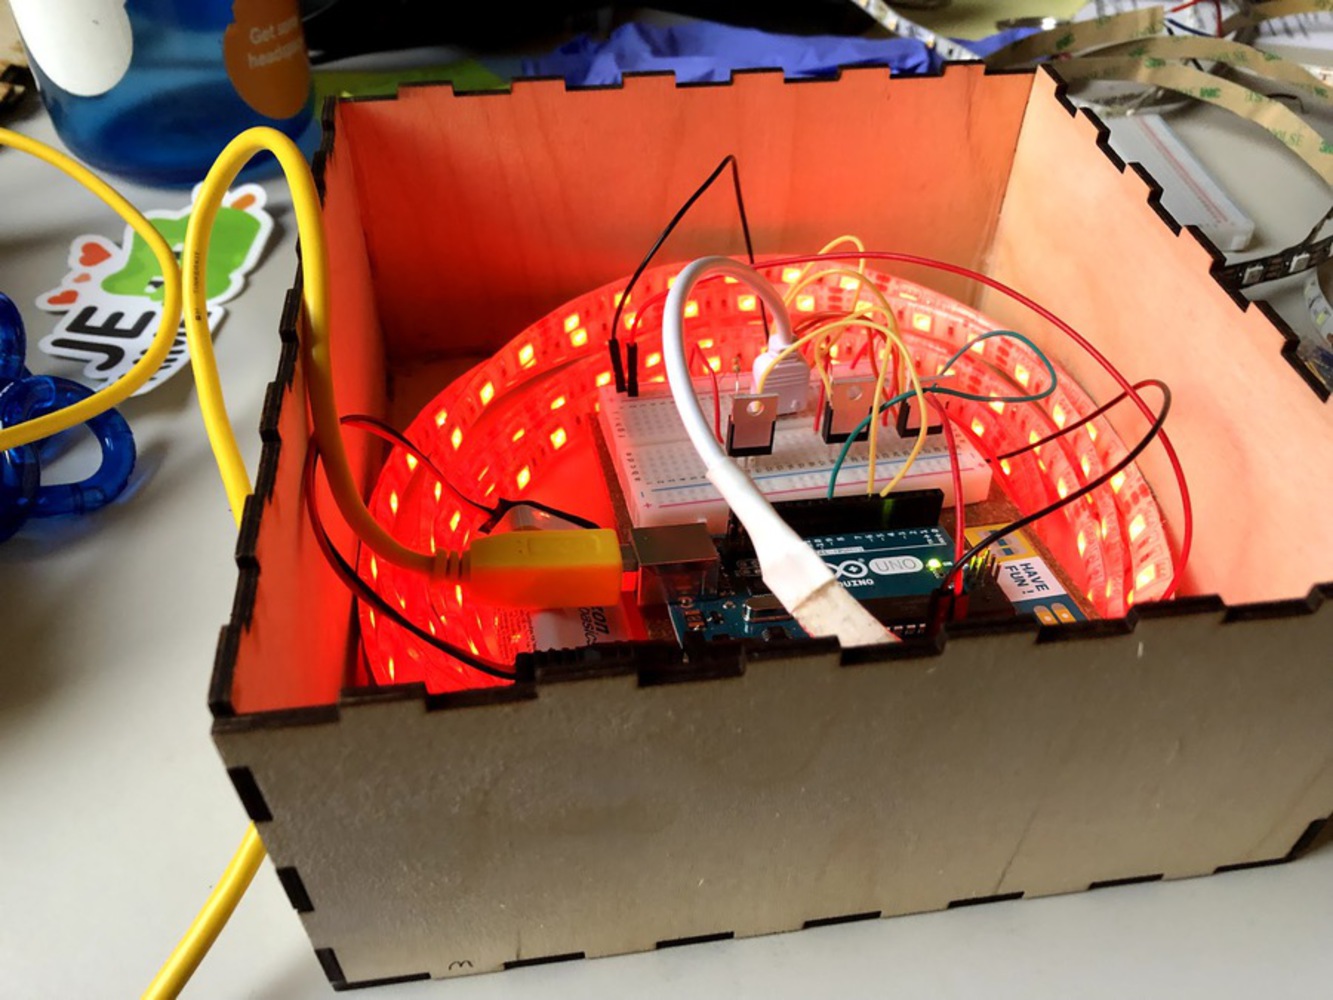
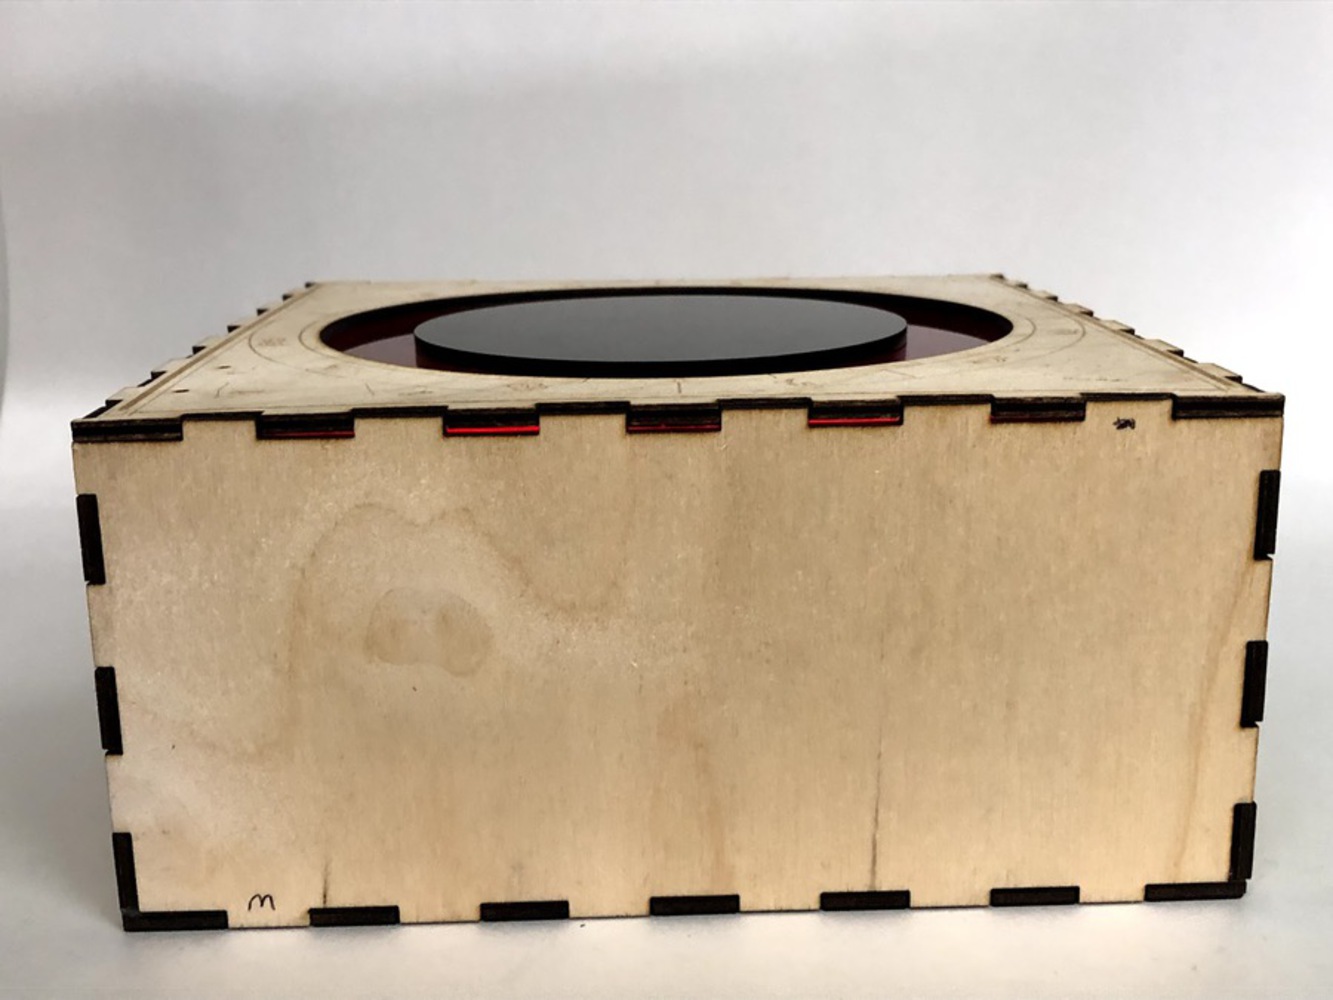
With my box constructed, I then set out to pull together the lighting components. I initially designed a hole in the back of the box in the worst case scenario that I had to run a string of LEDs to a wall socket, but I wanted to hook the lights to a battery so that the lamp could be portable and self contained. In addition, my ideal scenario involved an Arduino so the light could also appear to orbit around the black hole. 


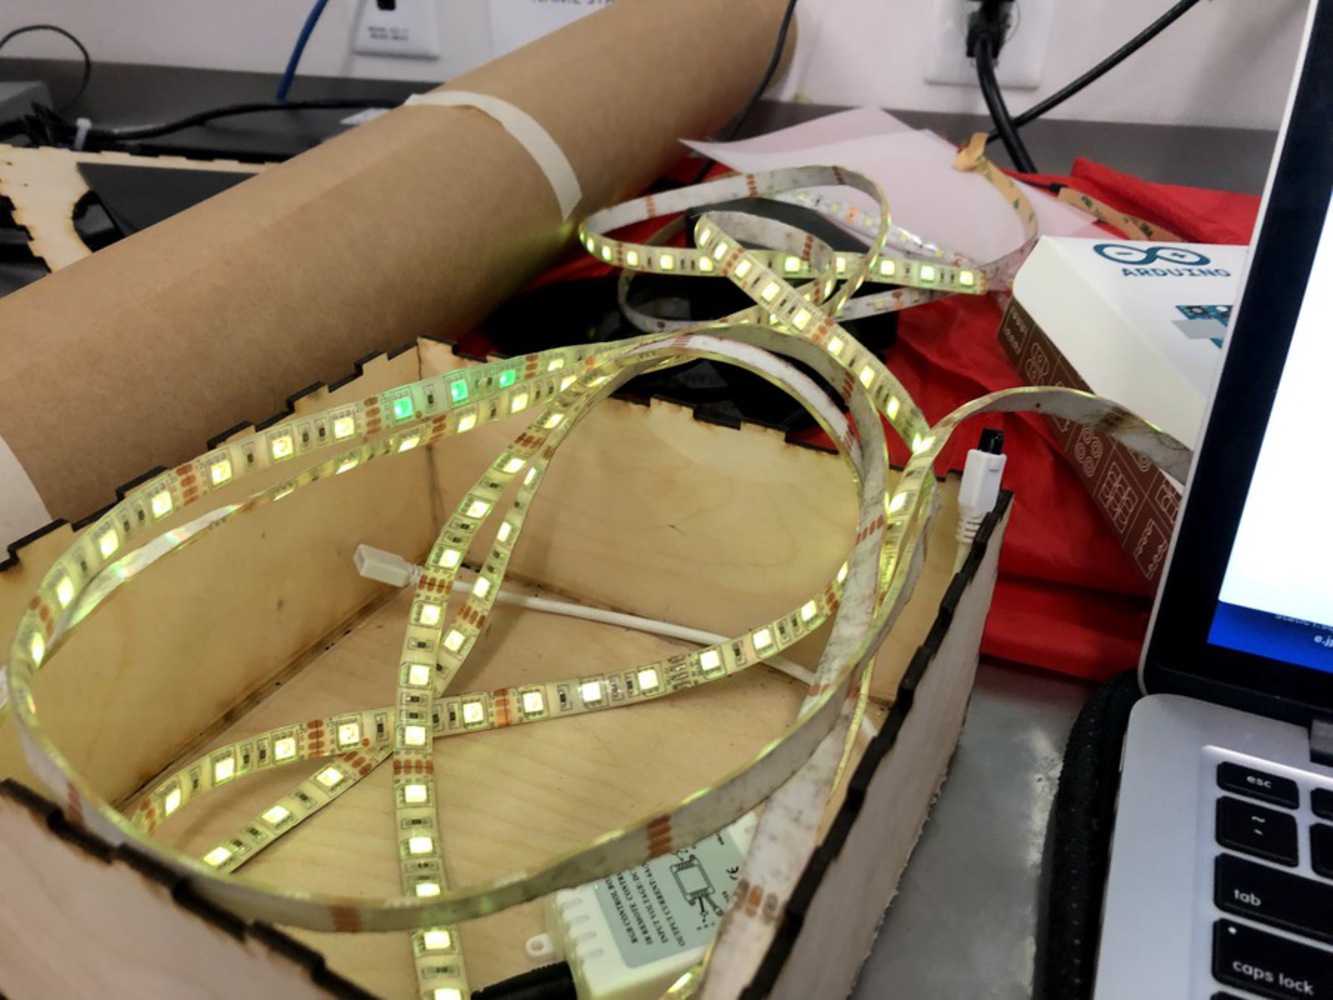
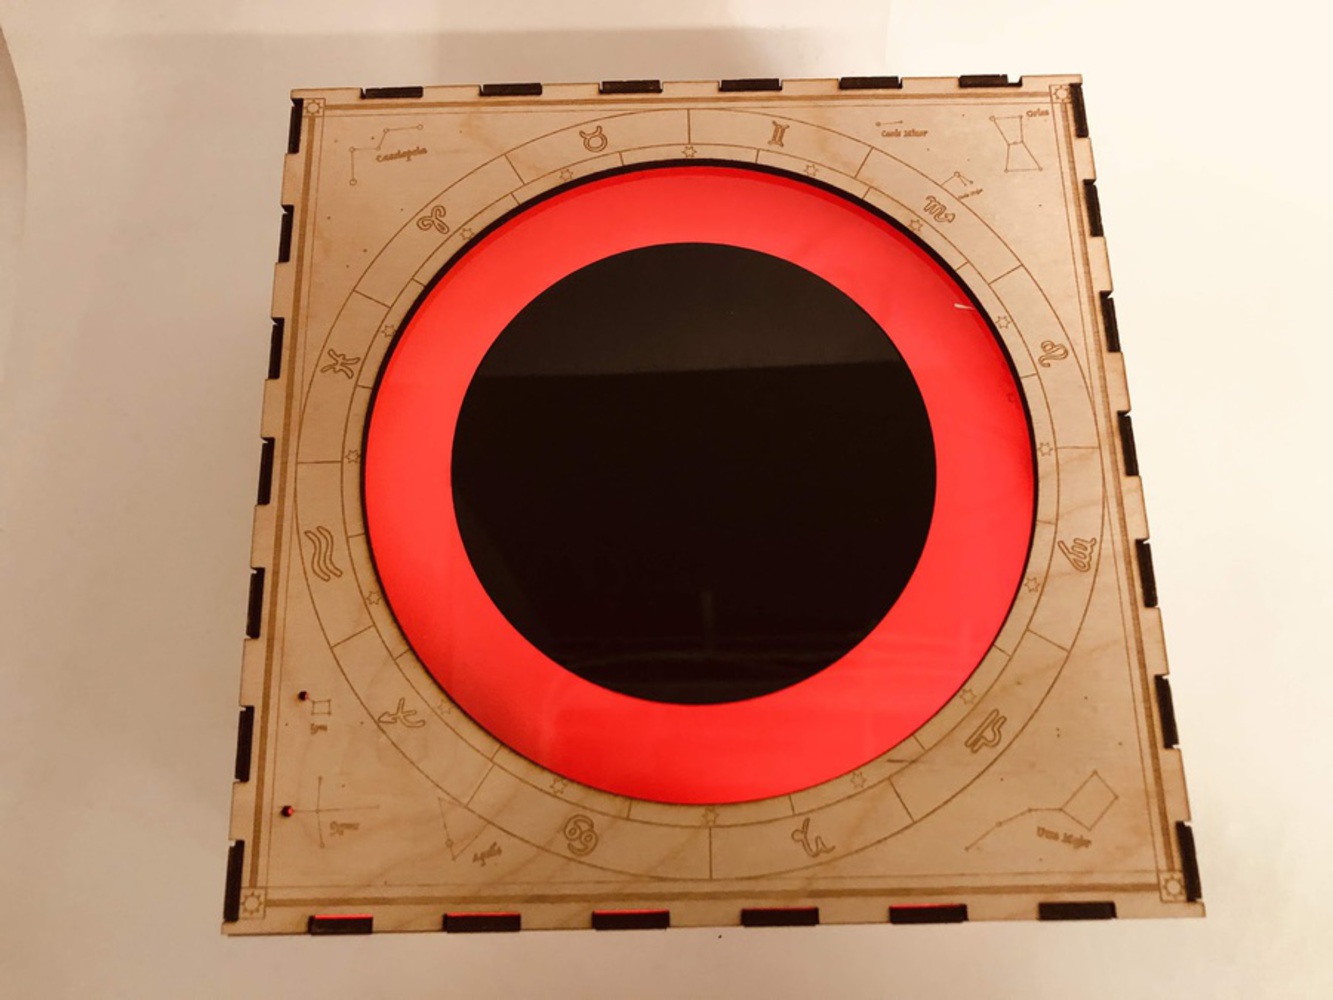
Using some code and schematics I found online (https://www.ledsupply.com/blog/7-tips-before-installing-led-strip-lights/ and ( https://www.makeuseof.com/tag/connect-led-light-strips-arduino/) I built the circuit and got the LEDs running. Unfortunately, I learned that my LEDs were not addressable, and so I couldn't create the orbiting effect that I wanted. In addition, for whatever reason the Blue LED PIN was not receiving any data. I tried switching out the electronics and that did nothing, but when I rewired it to the wall outlet, the blue lights worked. For whatever reason, the Arduino circuit just didn't like the blue pin, meaning my colors were going to be a little off my intended design as well. 


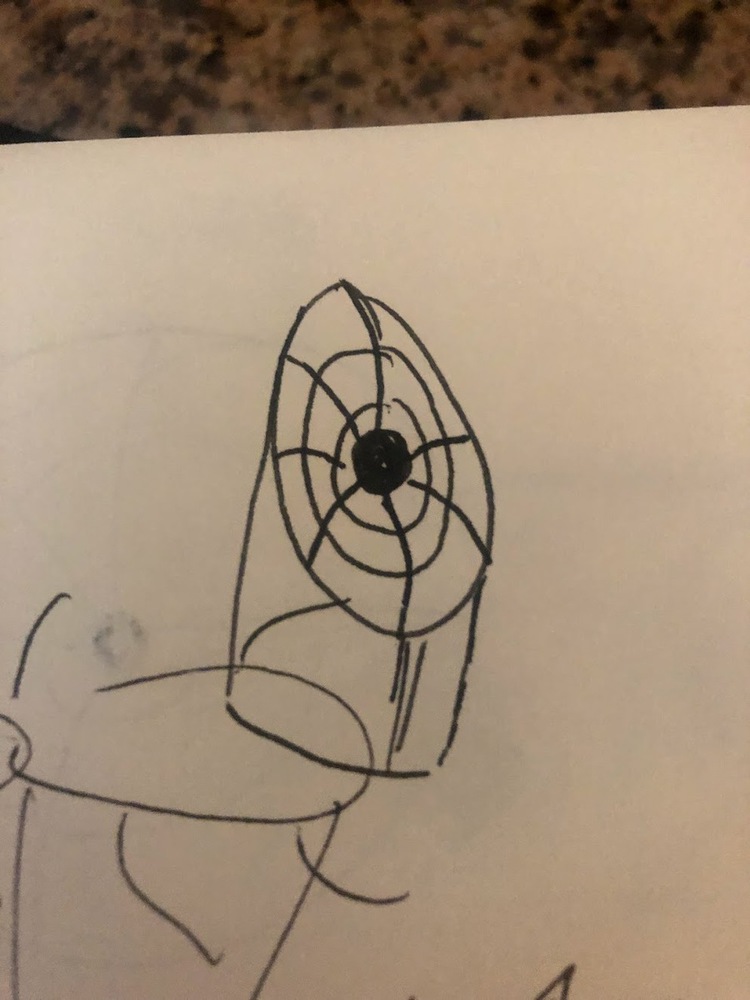
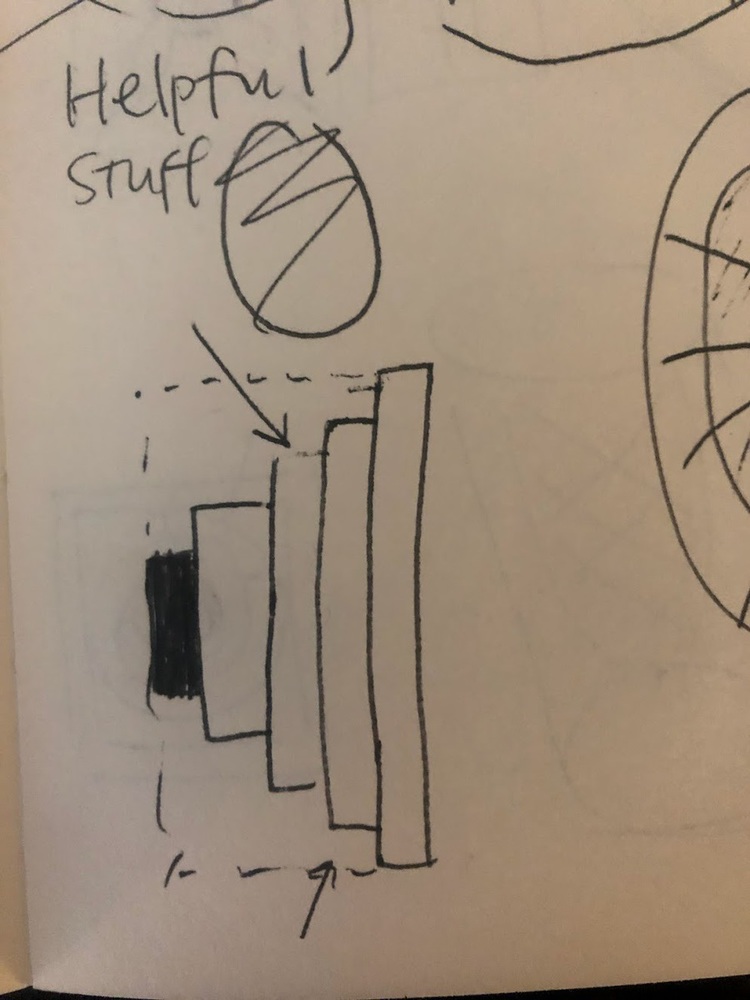
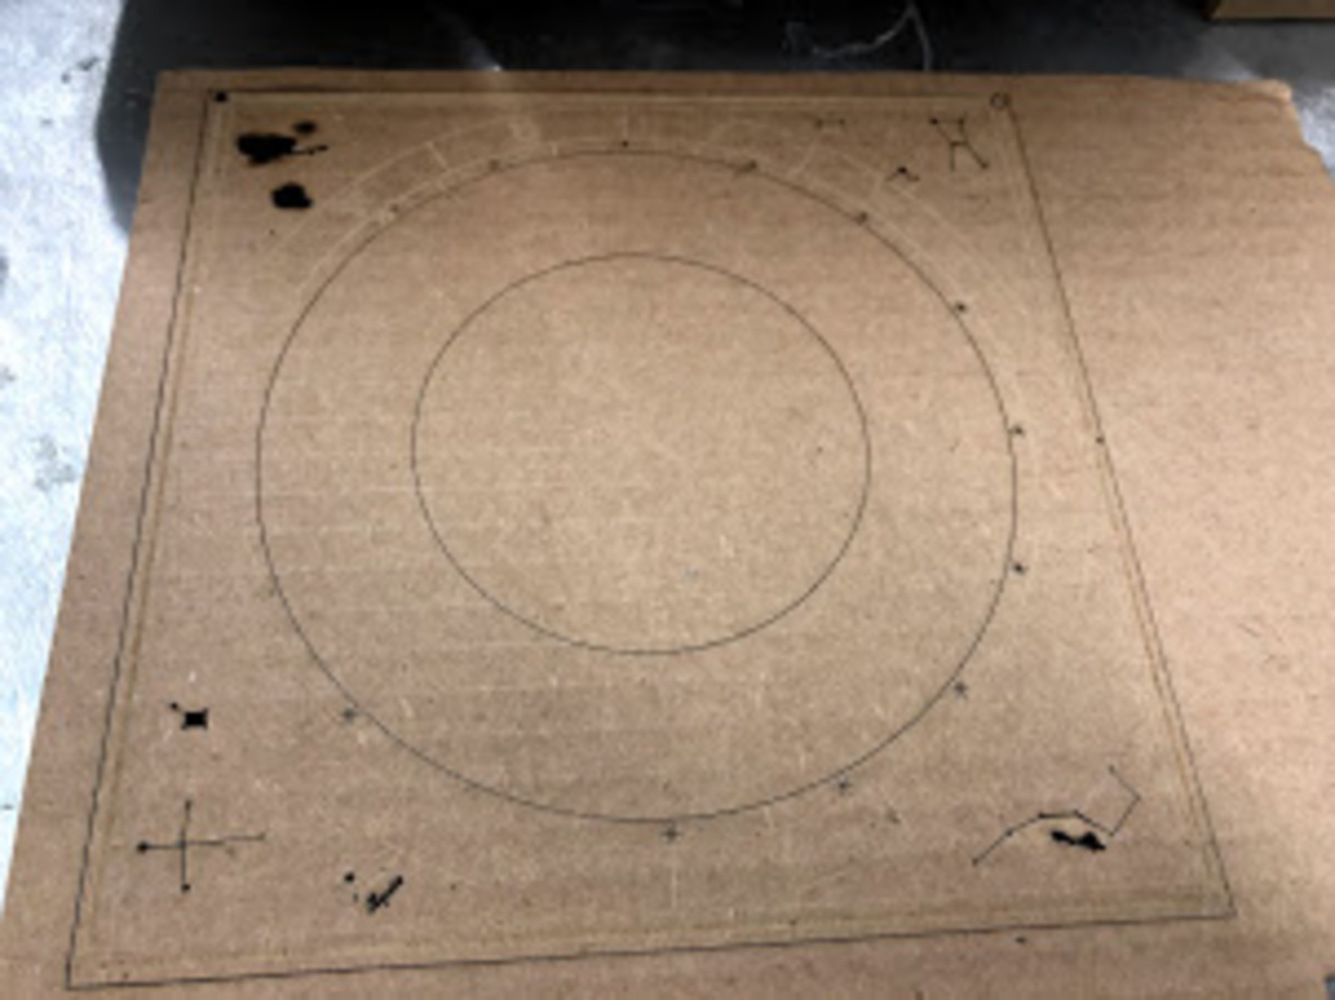
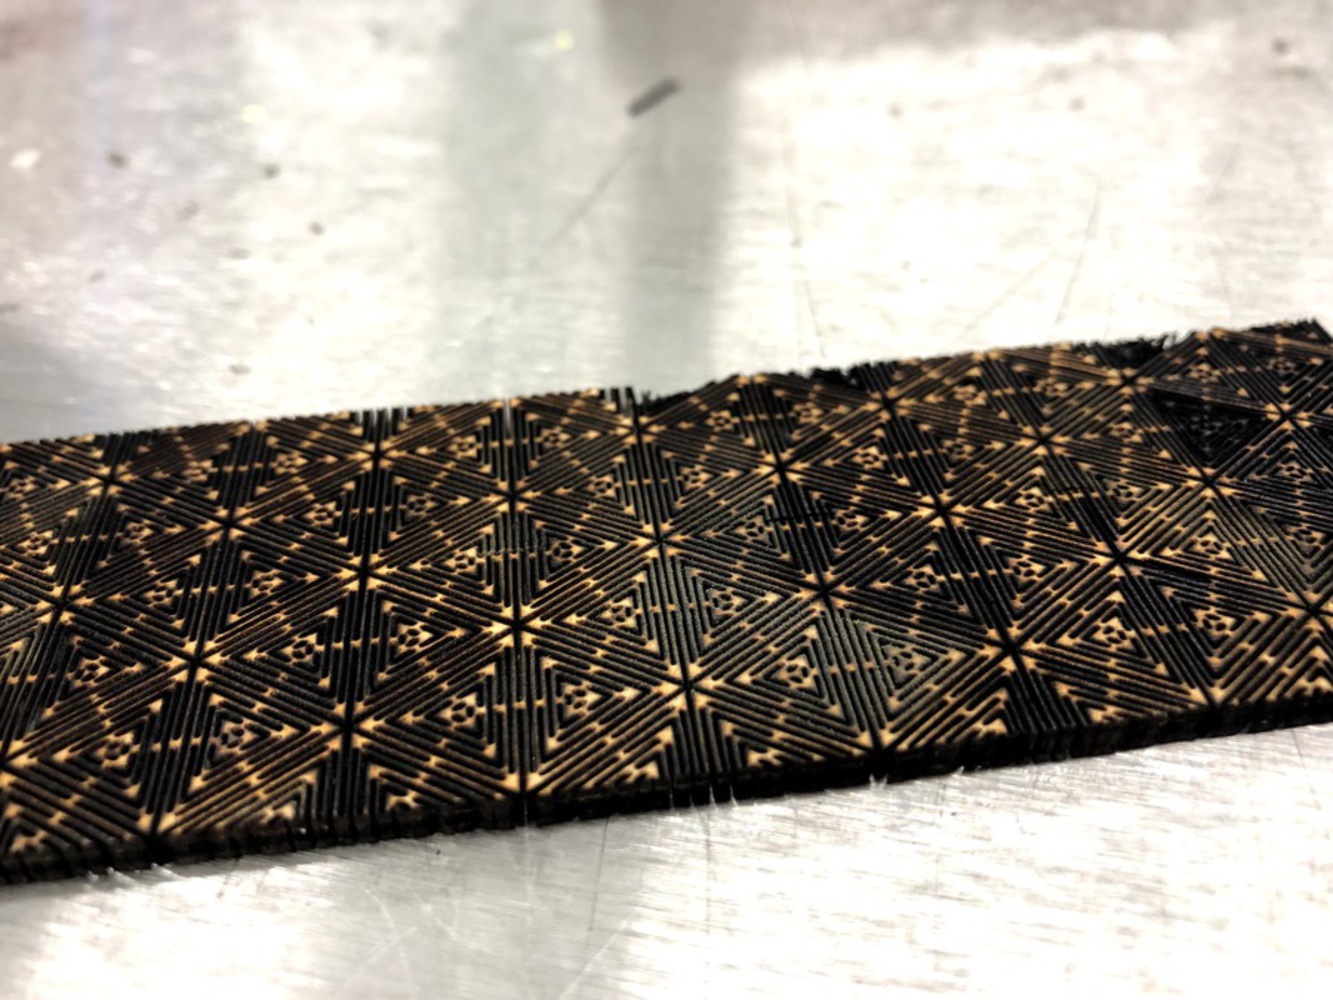
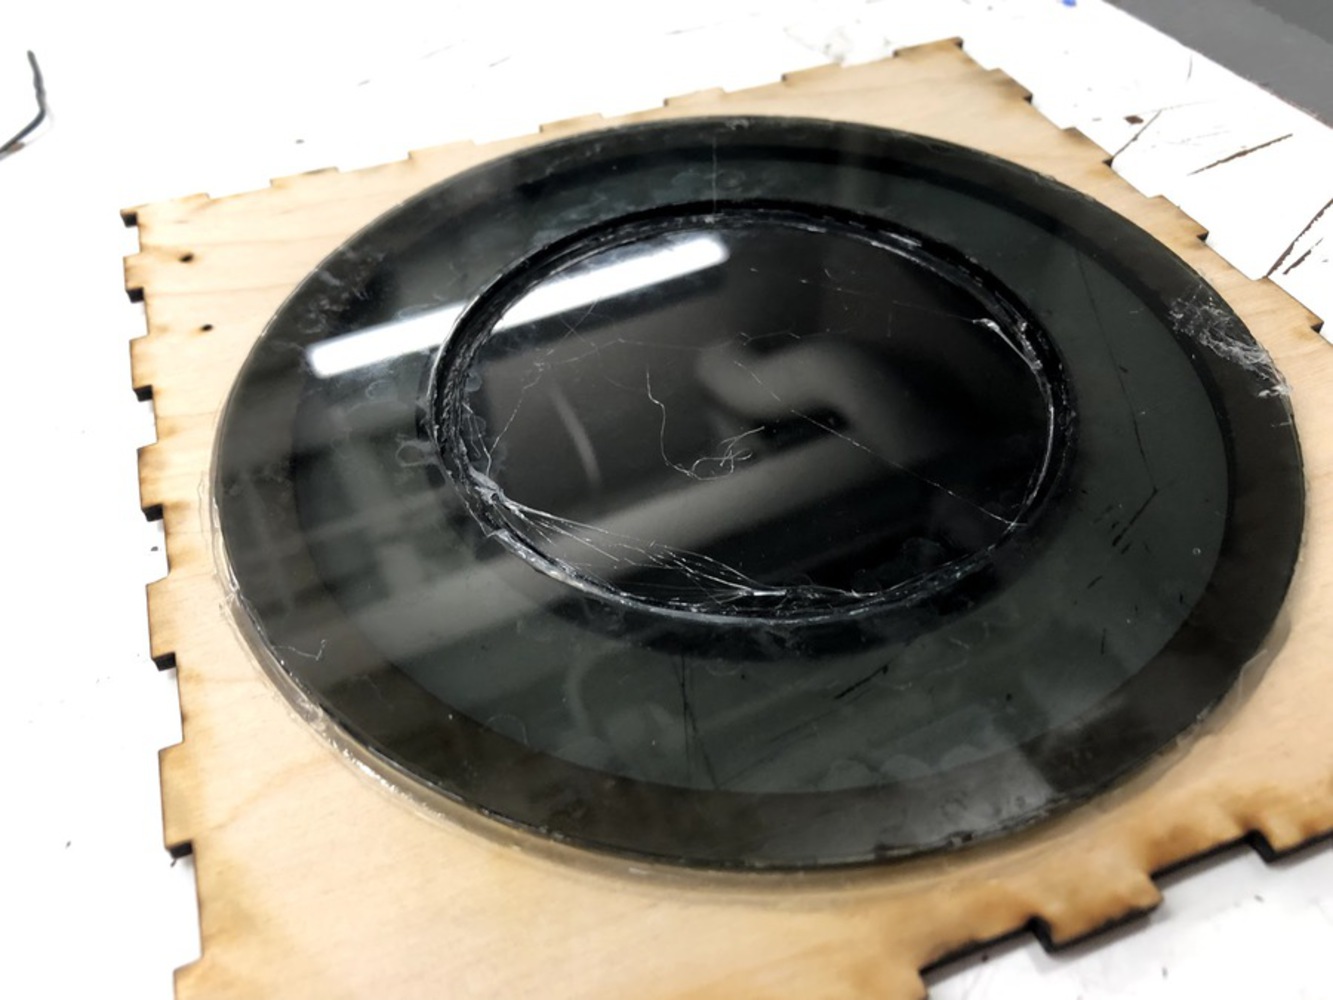
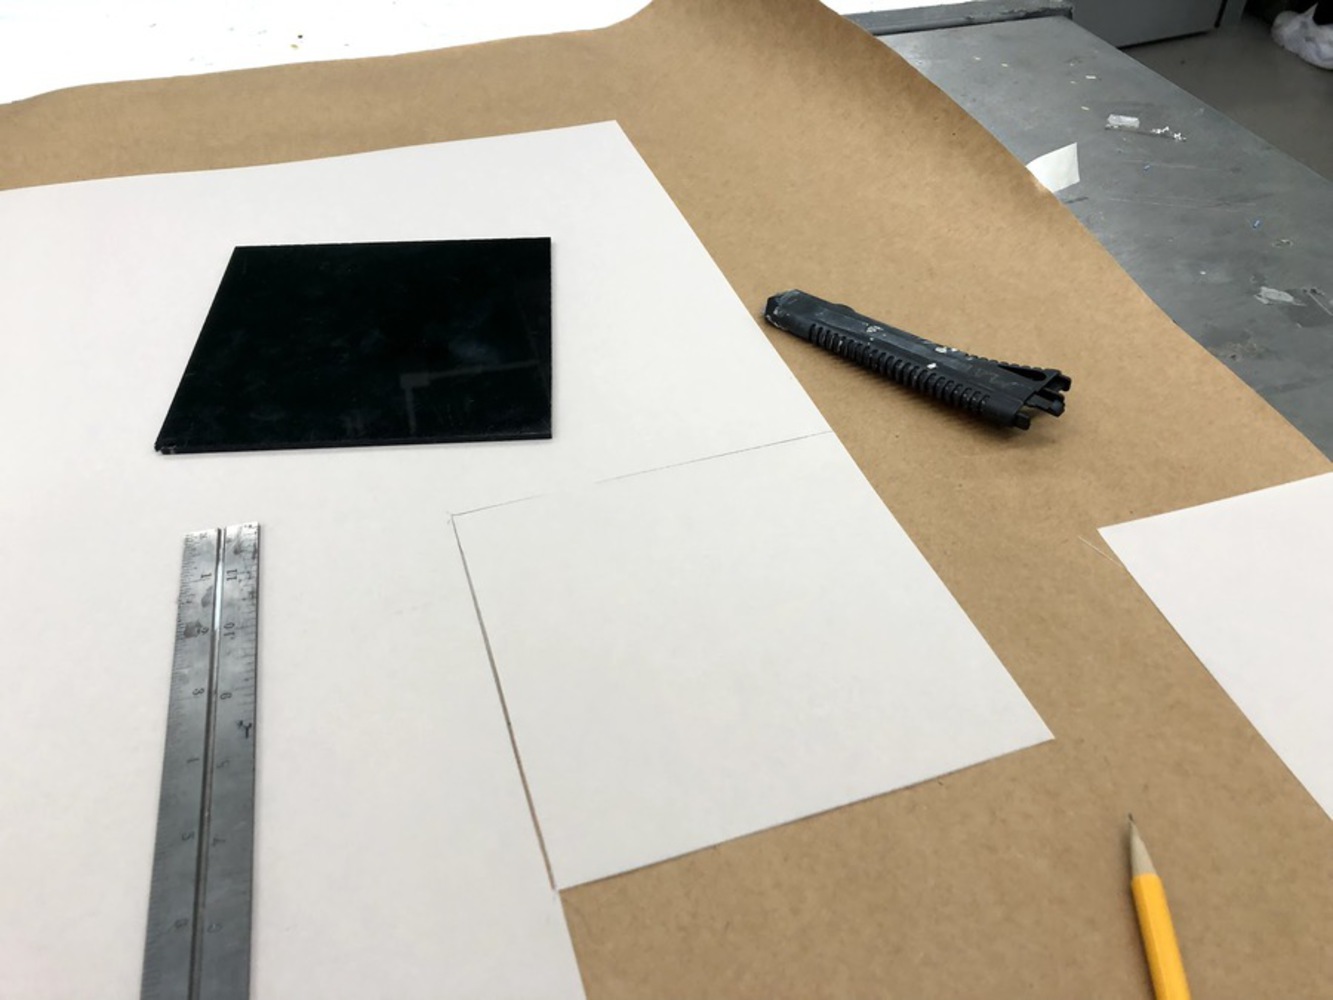
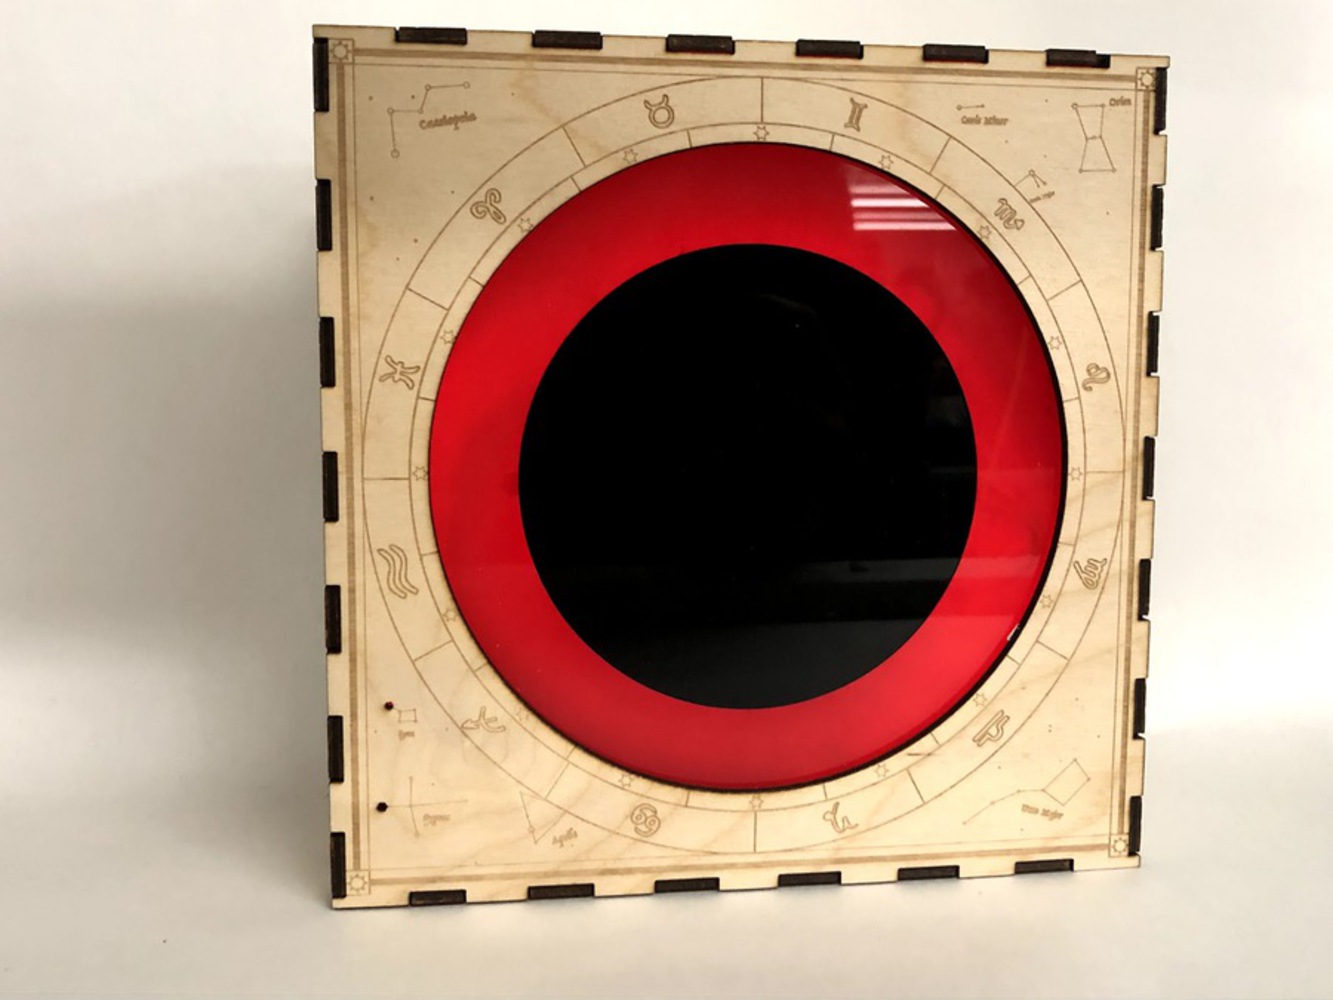
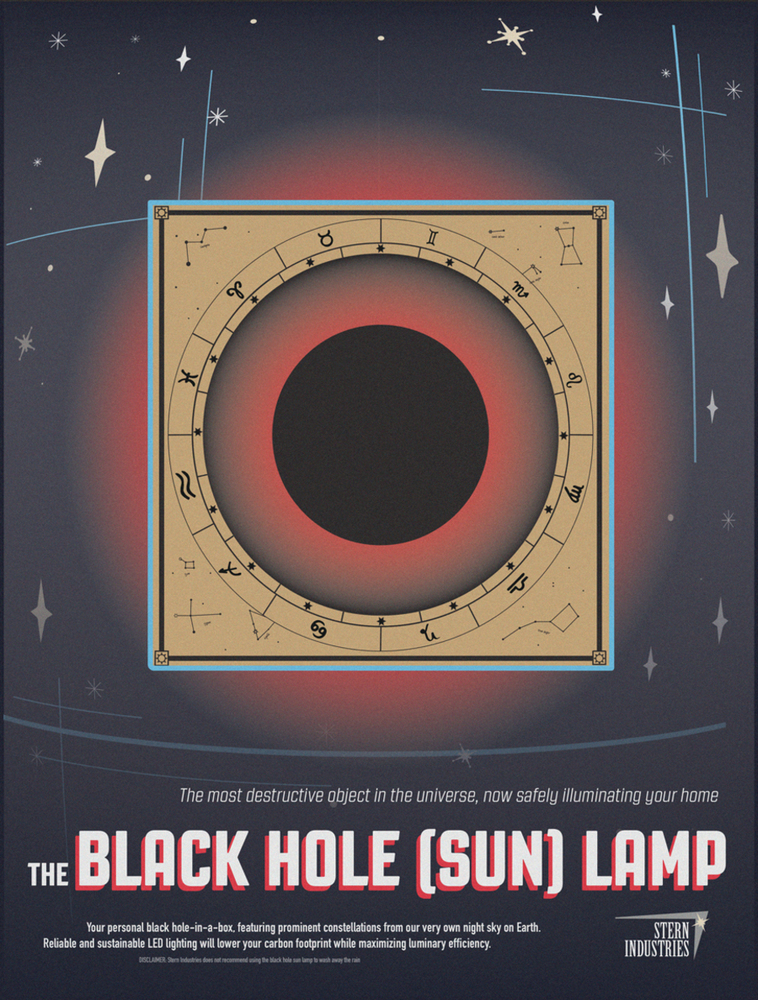
The final let down came from the diffusing effect. I tried a couple of different types of frosted acrylic but settled on the dark gray color called "smoke" because it looked a bit more like outer space. However, this acrylic was much more translucent than the other frosted acrylic sheets. To make it more diffuse, I cut out a piece of mylar and glued it to the back of the front face of the lamp. This diffused light as it emitted from the inside of the lamp, but the overall light output was incredibly dim. 


The lamp shone in the dark, but not enough to be a functional lamp. There were most likely several reasons for this. One, the diffusing material work well -- maybe too well. Two, I used a 12V LED strip and powered it with a 9V battery. The lower voltage meant that my LEDs were always going to be dimmer than their max setting. However, there wasn't enough time left in my project to try something else. 

0

Final Iteration

0

Reflection

0

Although my lamp didn't turn out exactly as I intended it, I was actually pretty happy with the end result. Not so much the final product, but feeling like I had at least tried to bring a creative vision to life. There were a lot of lessons that I learned while trying to make this, and they were lessons I could pretty much only learn by trying and failing. Embracing failure is pretty freeing. I feel more motivated to keep trying in the future to tackle fabrication projects, simply to see what I can learn in the process. Hopefully I can make cool stuff while I'm at it, but even if I don't, I know there will be something else that I can try, and I'll only get better at making them. 

x
Share this Project

Found In
Courses

24-672 Special Topics in DIY Design and Fabrication

· 22 members

Offers students hands-on experience in DIY product design and fabrication processes. Students work individually or in small groups to design customized and personalized products of their own and bu...more


About

A black hole-in-a-box -- the most destructive object in the universe, now safely illuminating your home!