Reflection
We learned a lot about manufacturing processes and how kids think/learn from this project.
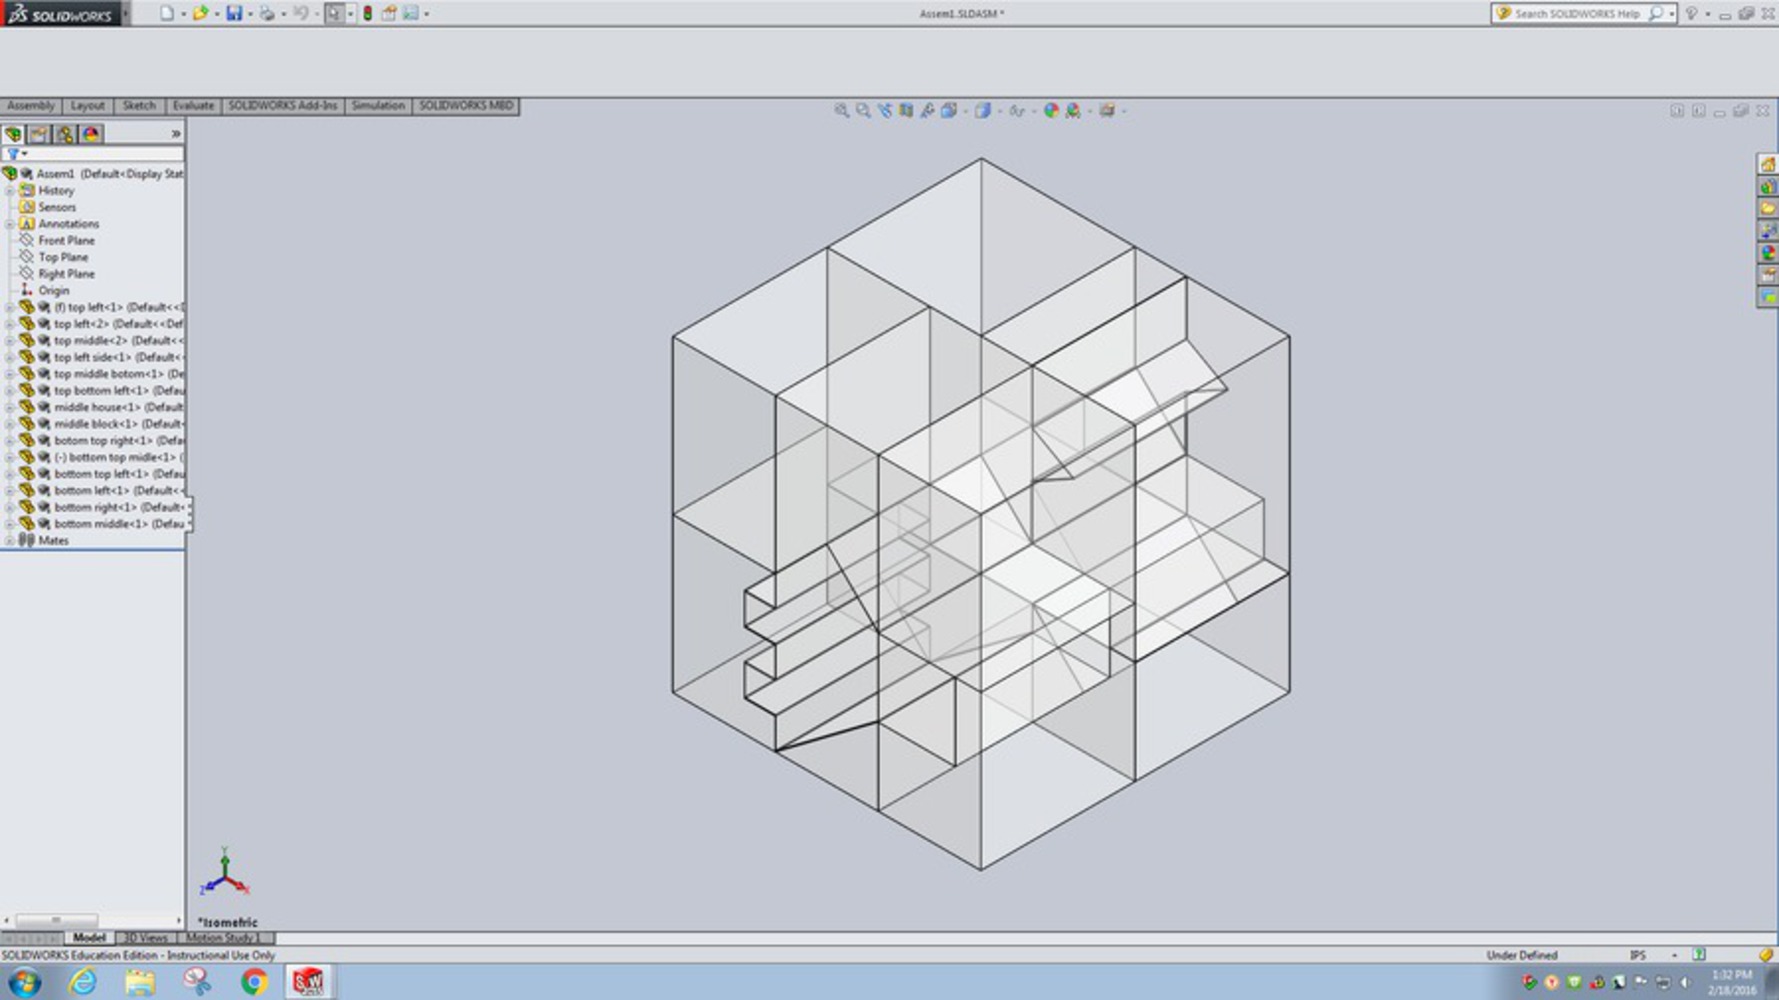
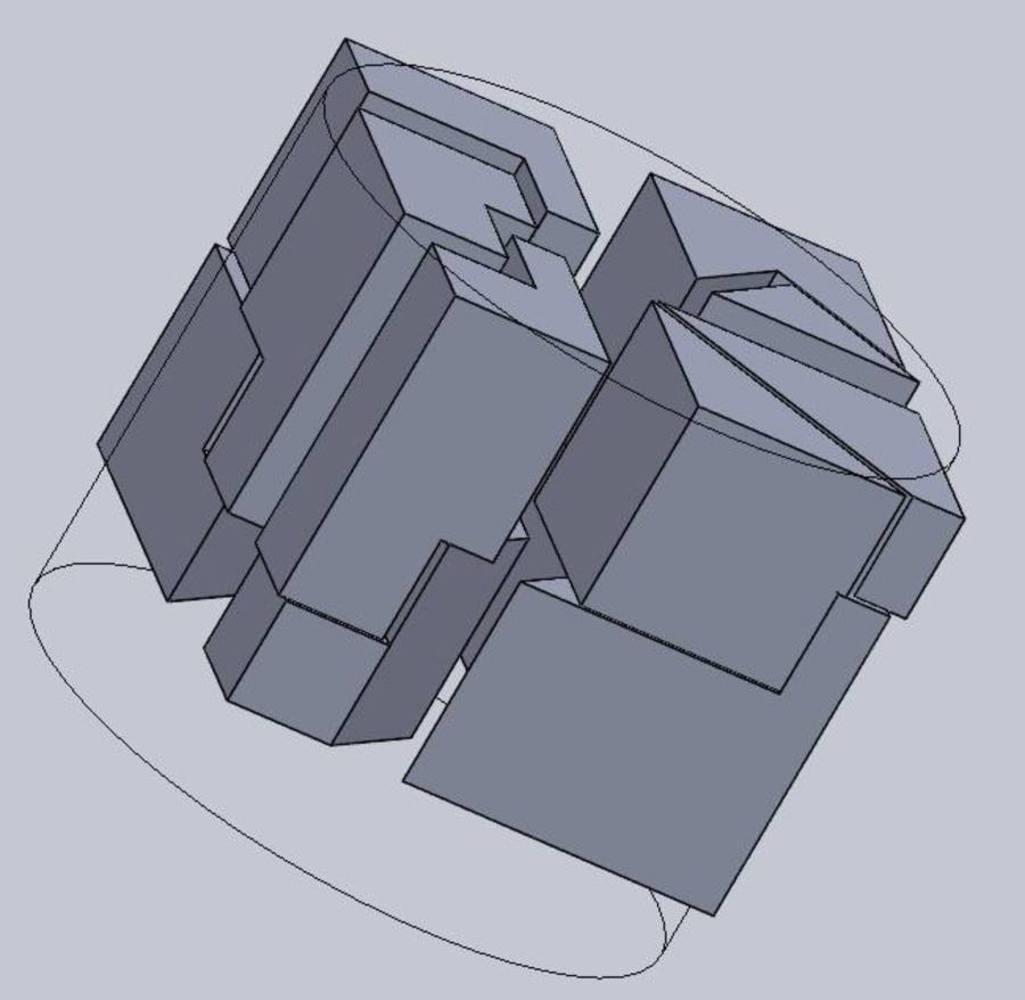
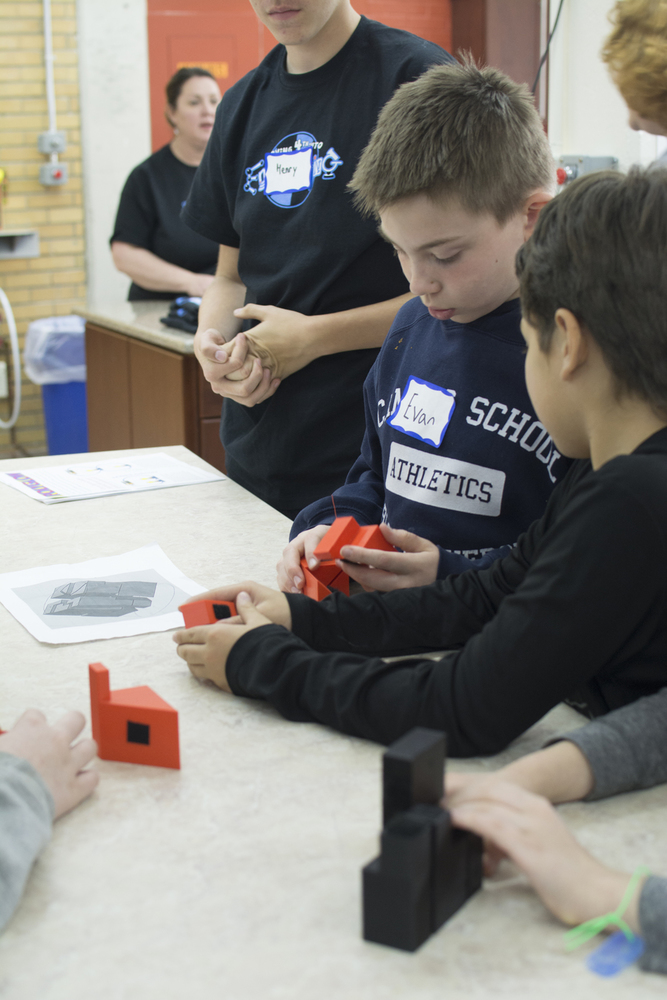
-Initial Concerns: Since the main goal of our toy is to recreate a cube, we were unsure if kids would like this one answer format compared to a multi-answer format where they could create whatever they wanted. We decided to take a chance and see how the one answer format would work. We were also concerned if the toy would have been too challenging for the kids to solve, especially considering that some students in class had trouble solving it, so we remedied this by giving them a picture to use as a guide.
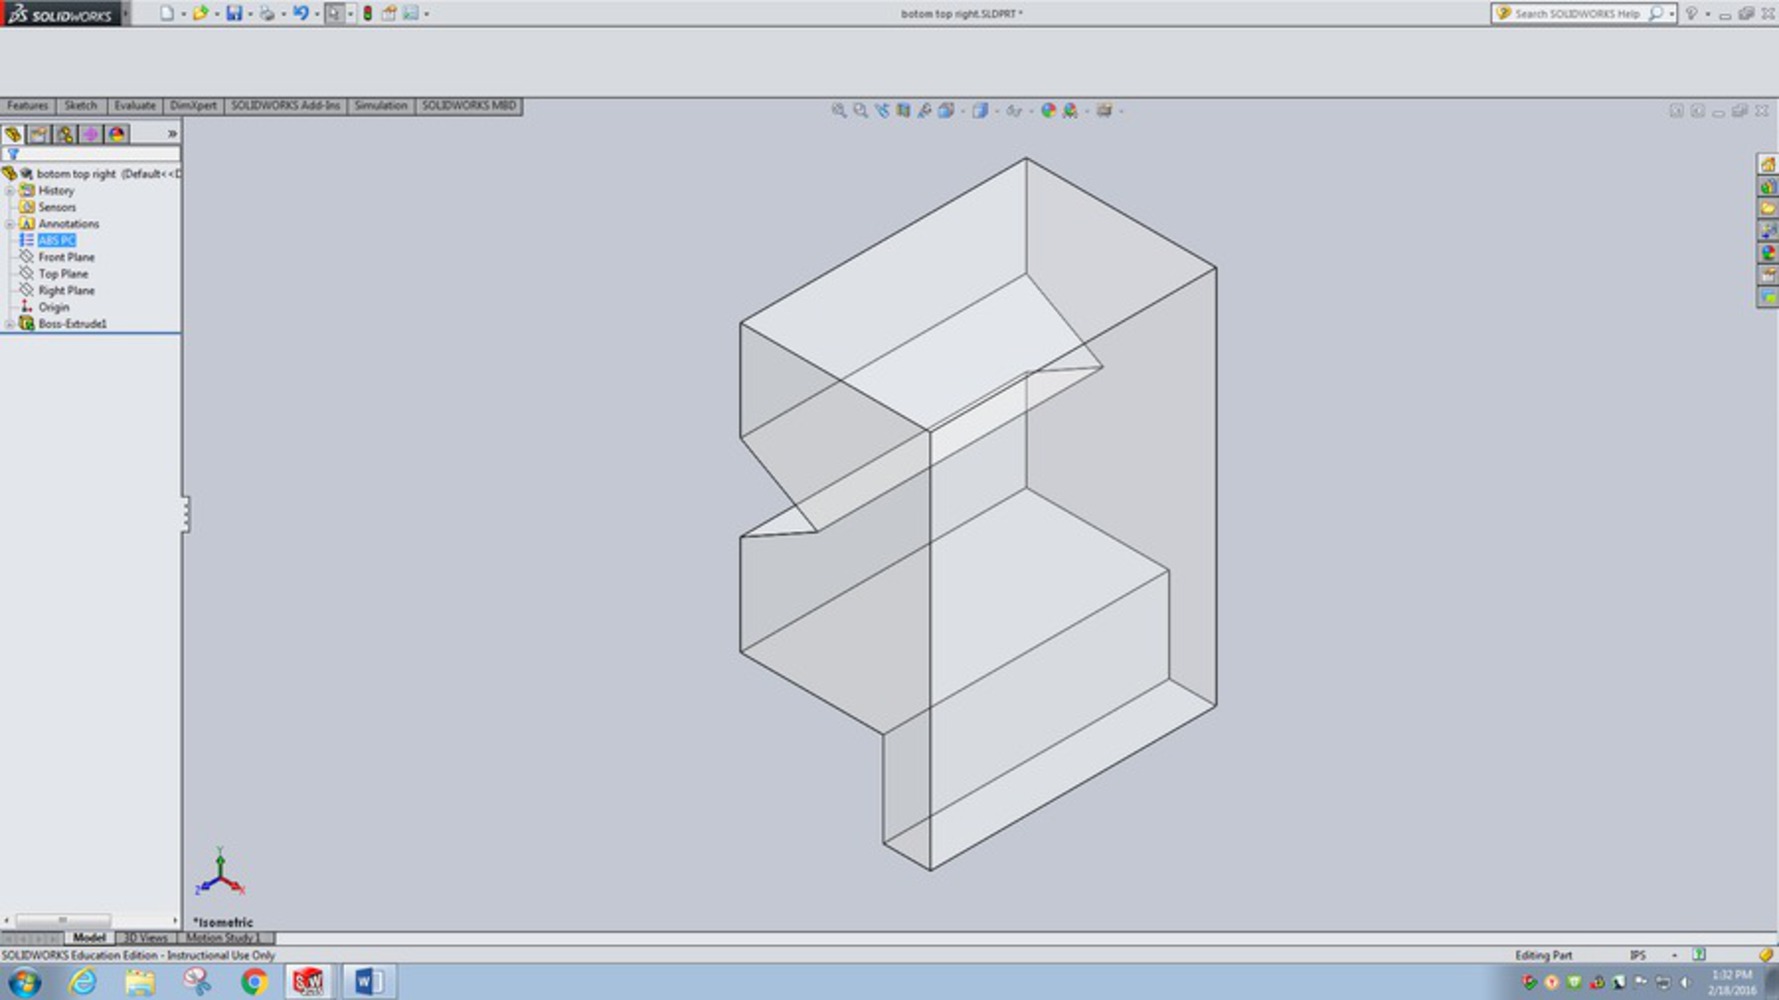
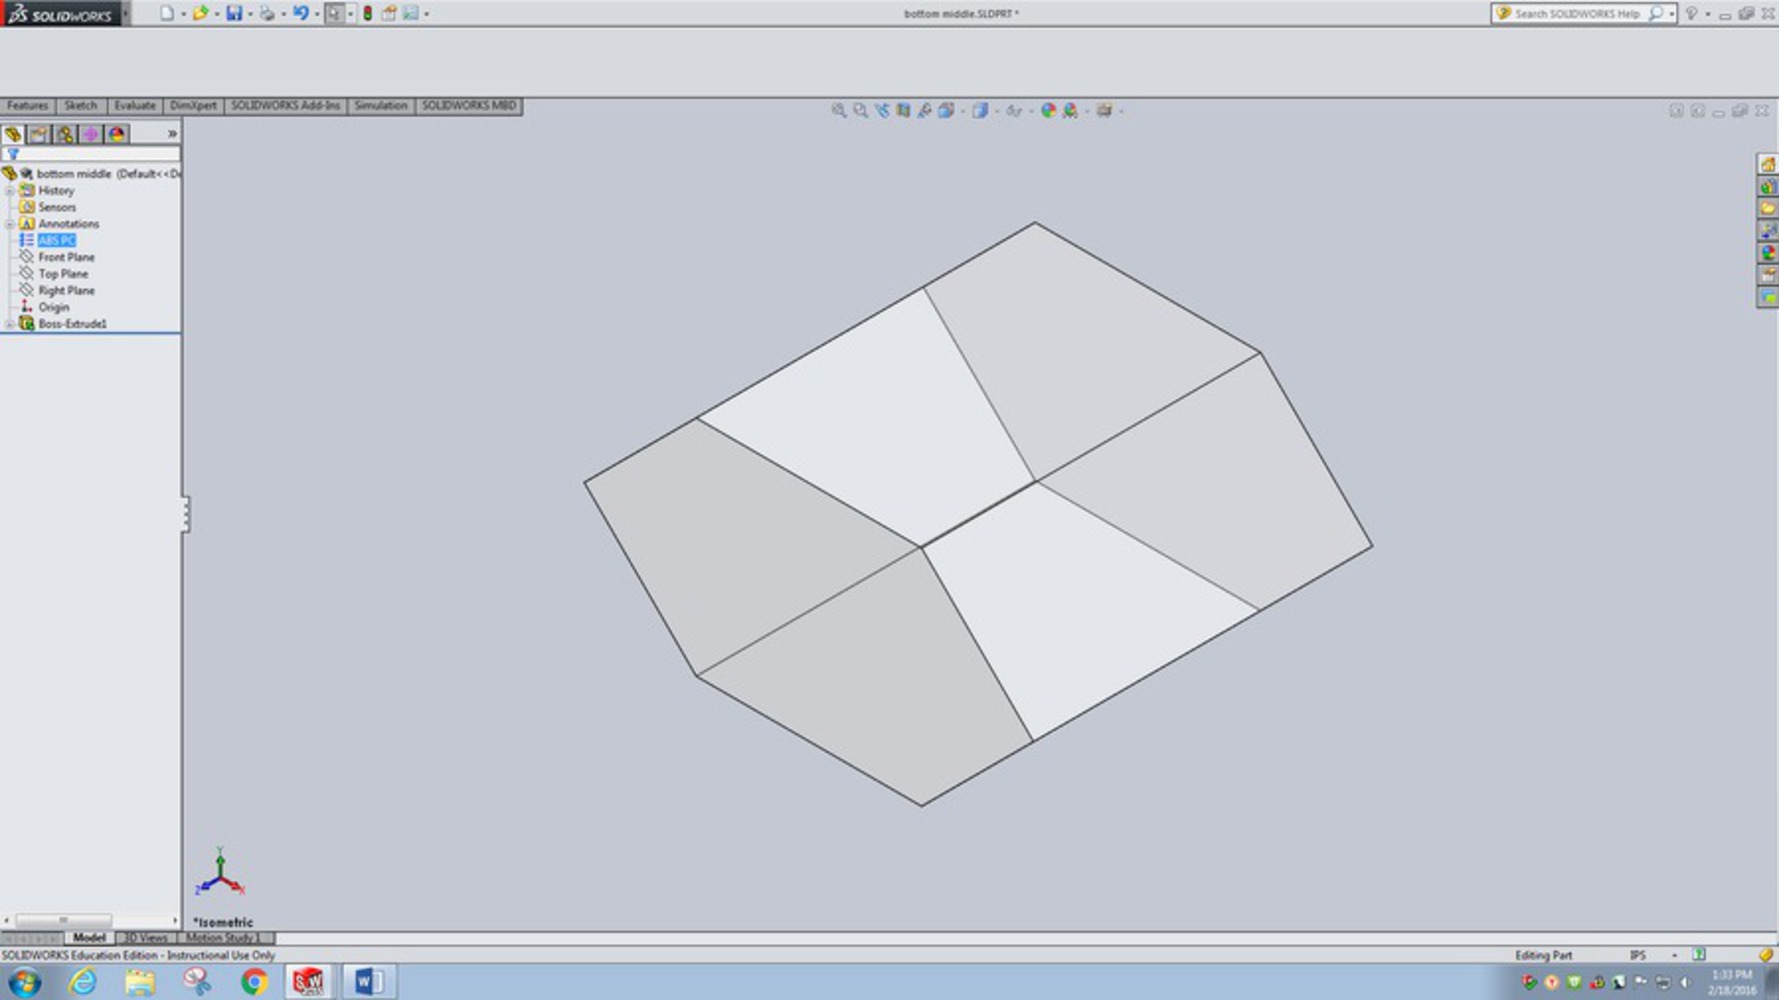
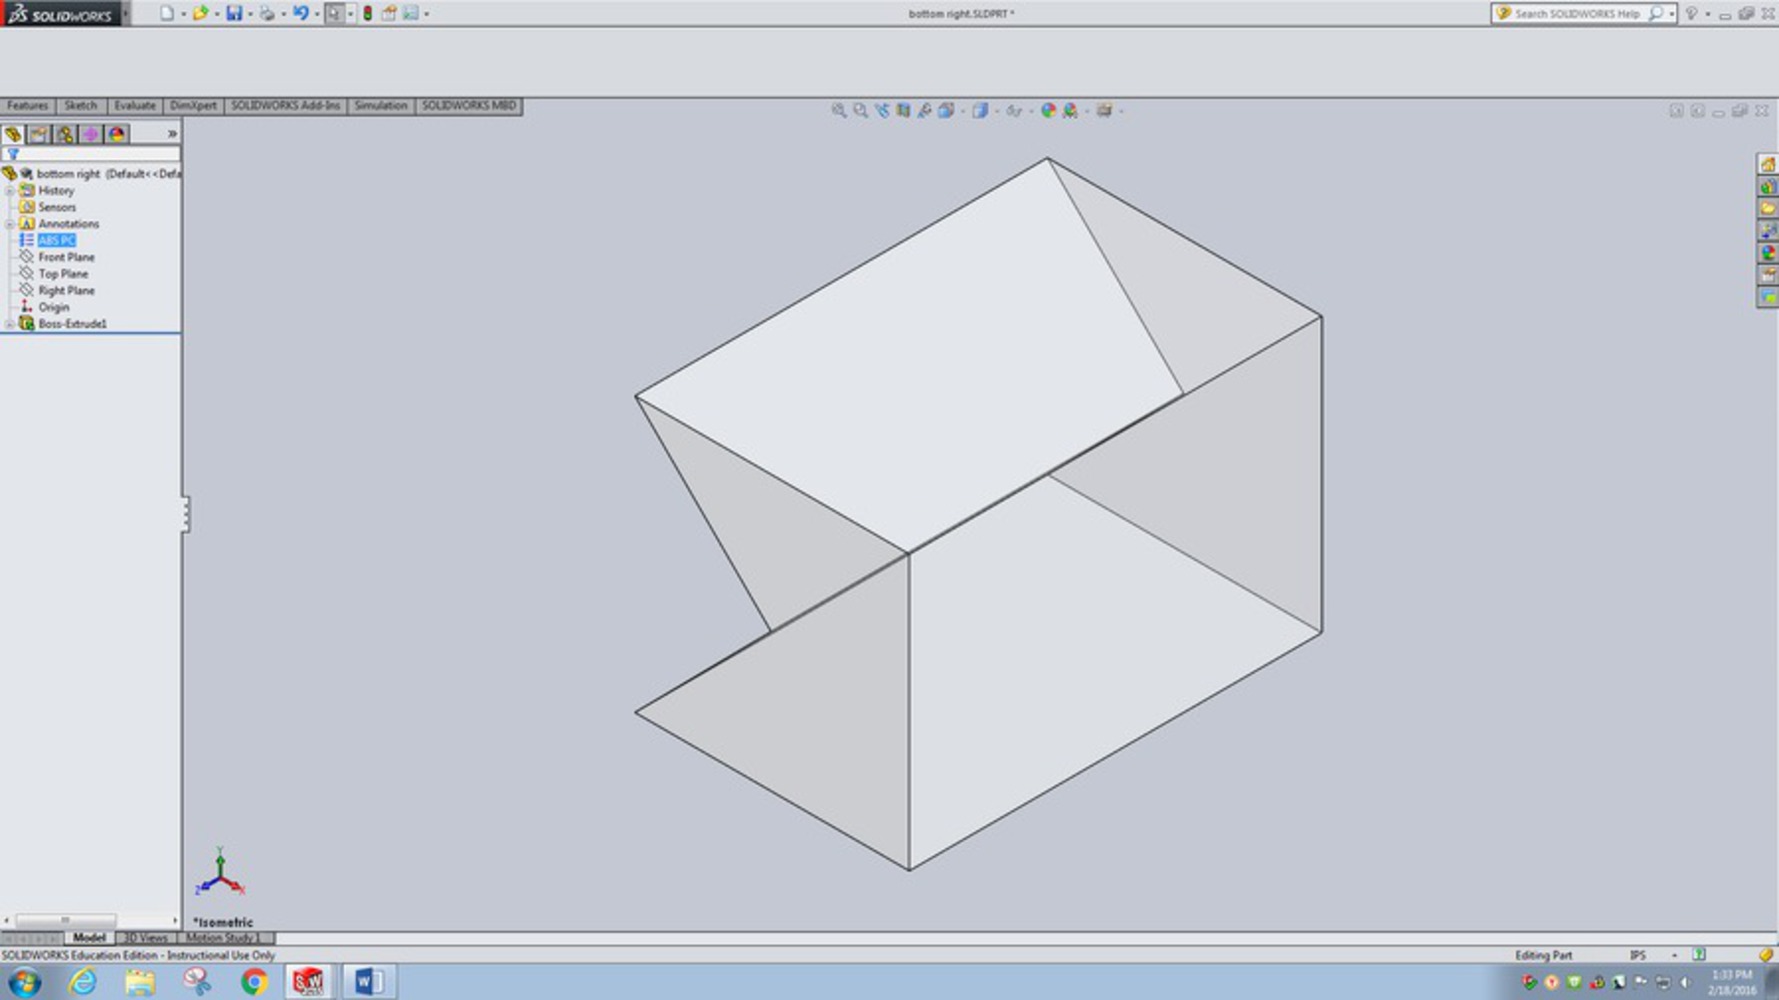
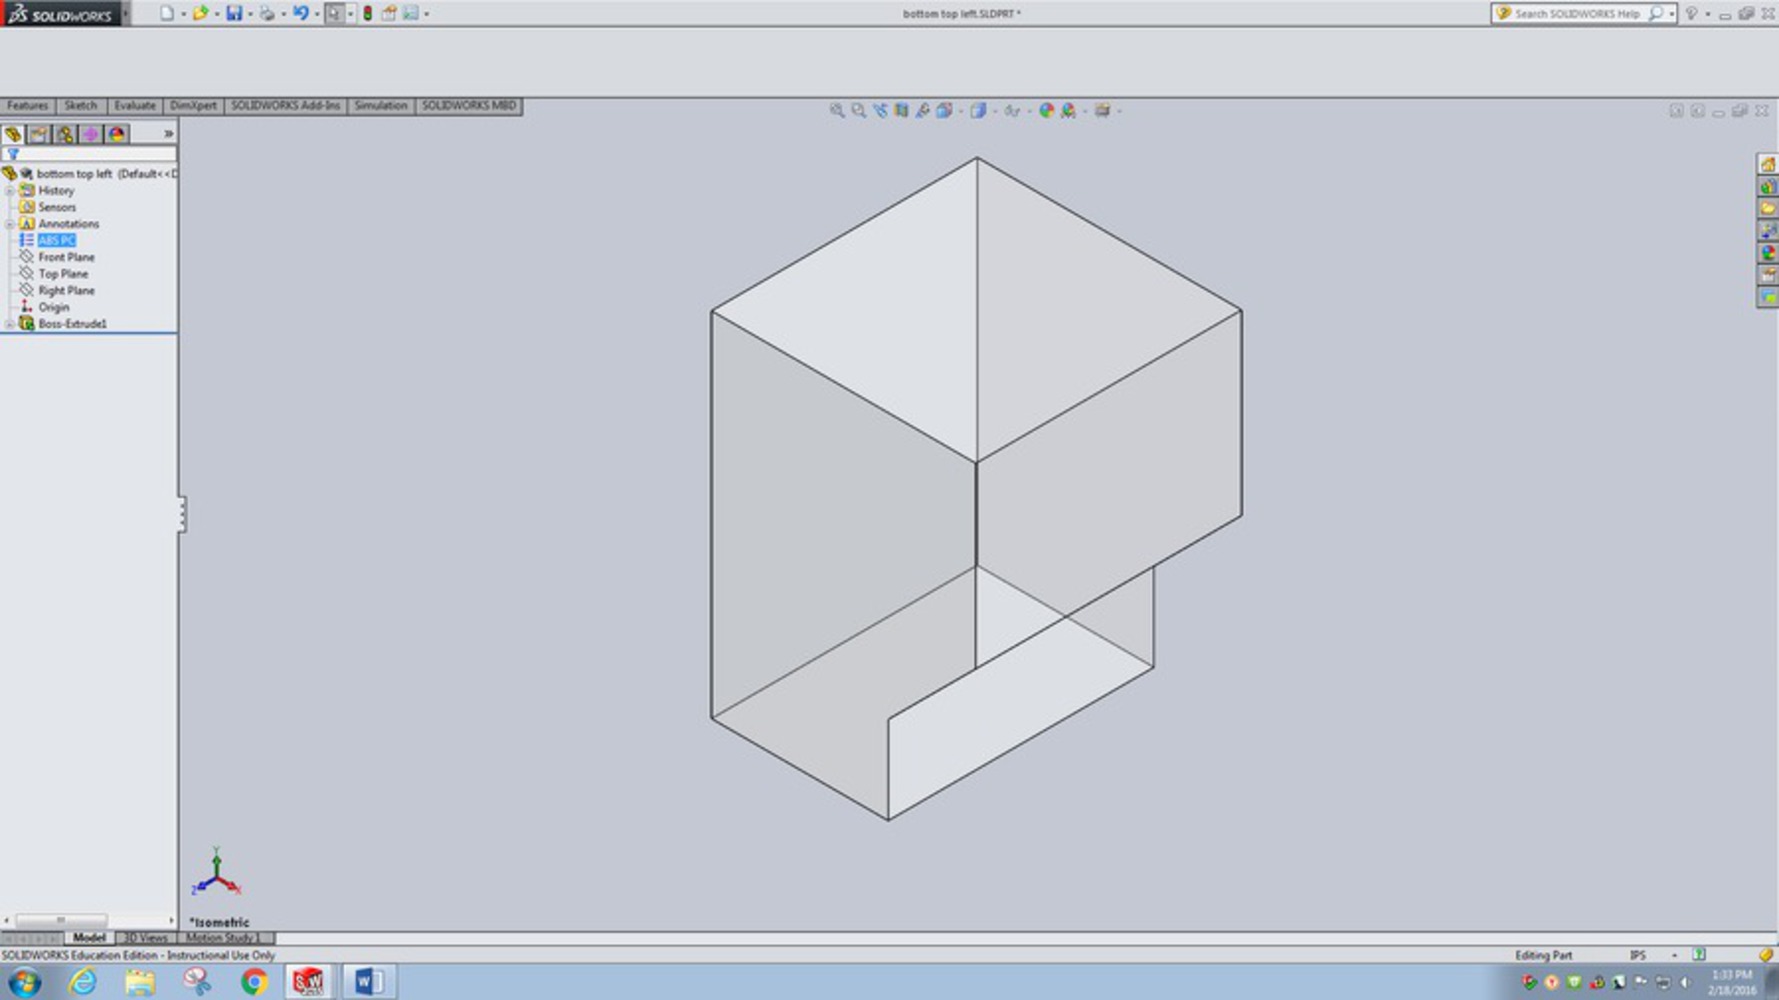
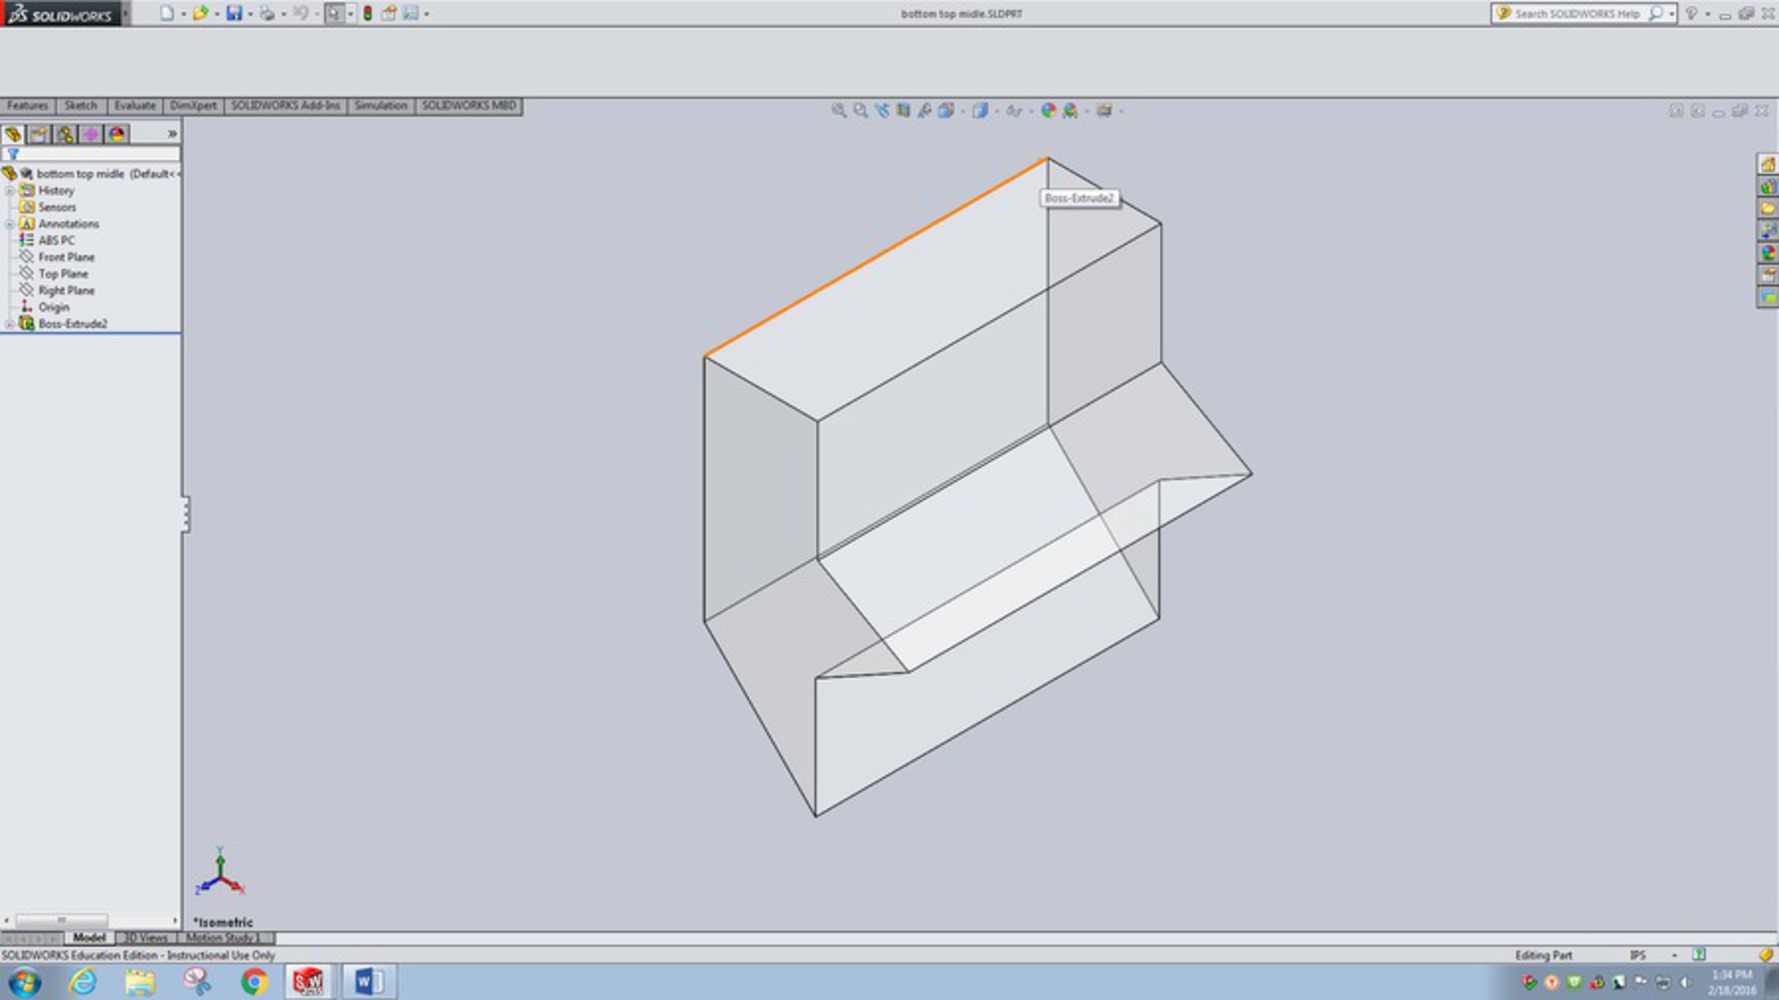
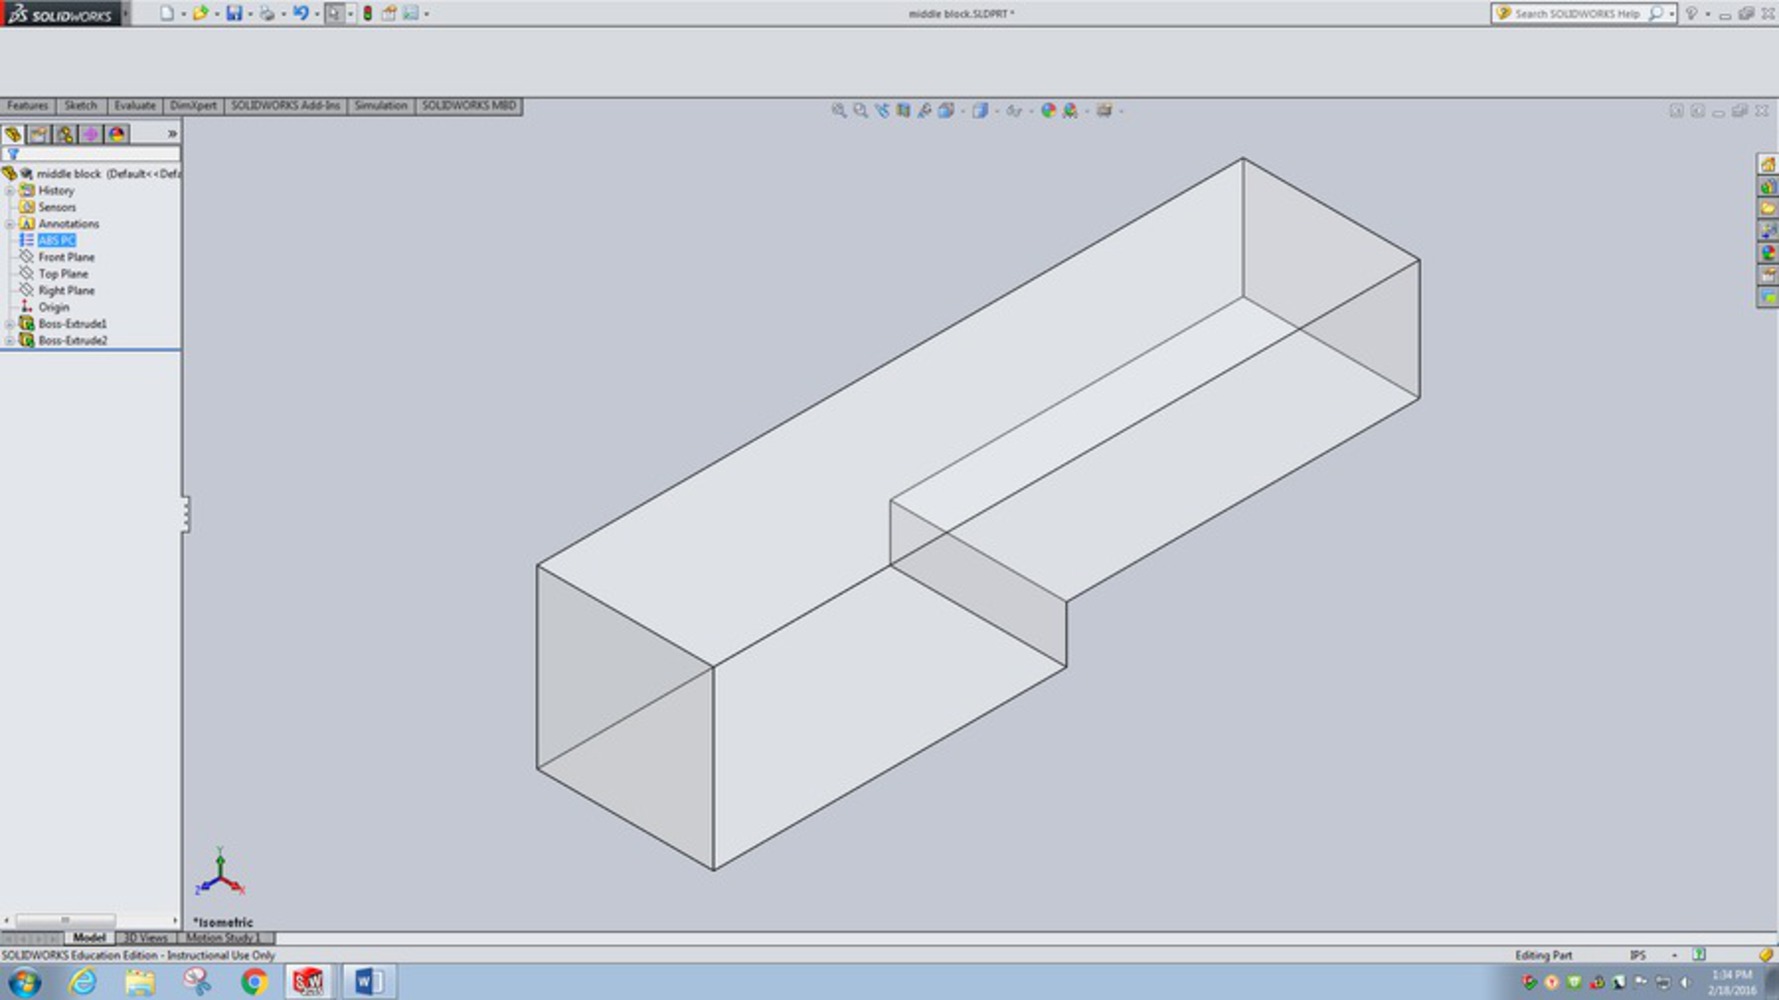
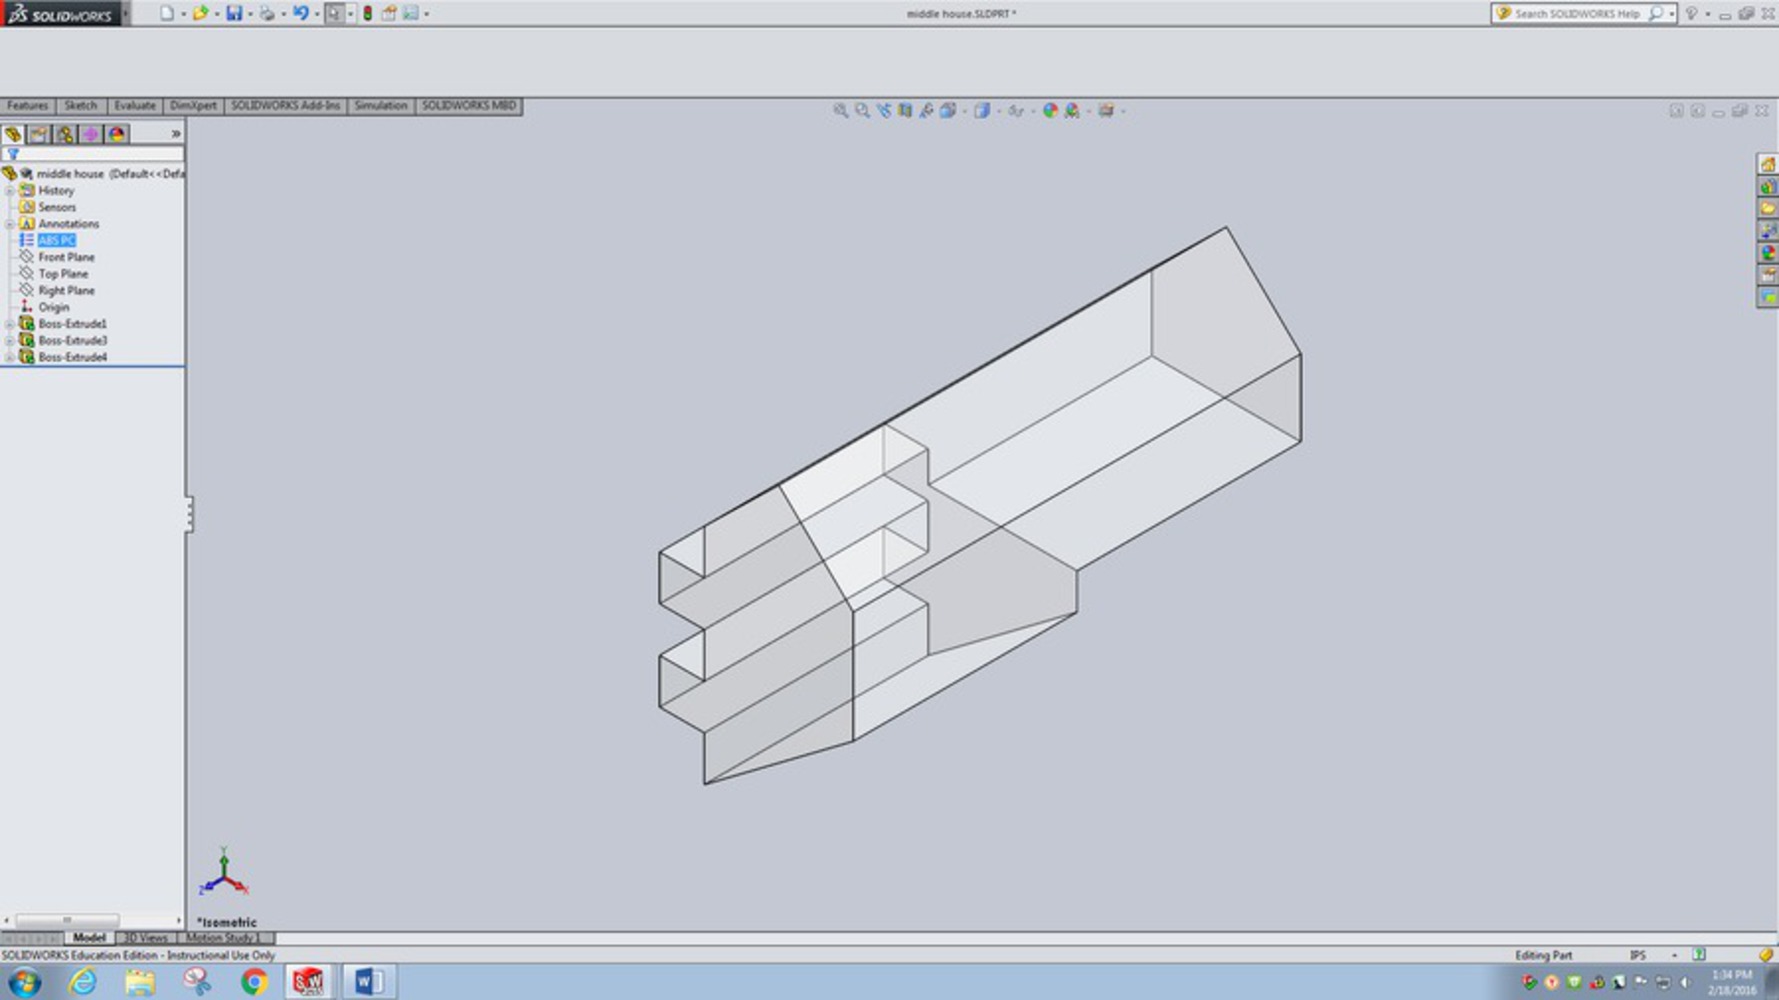
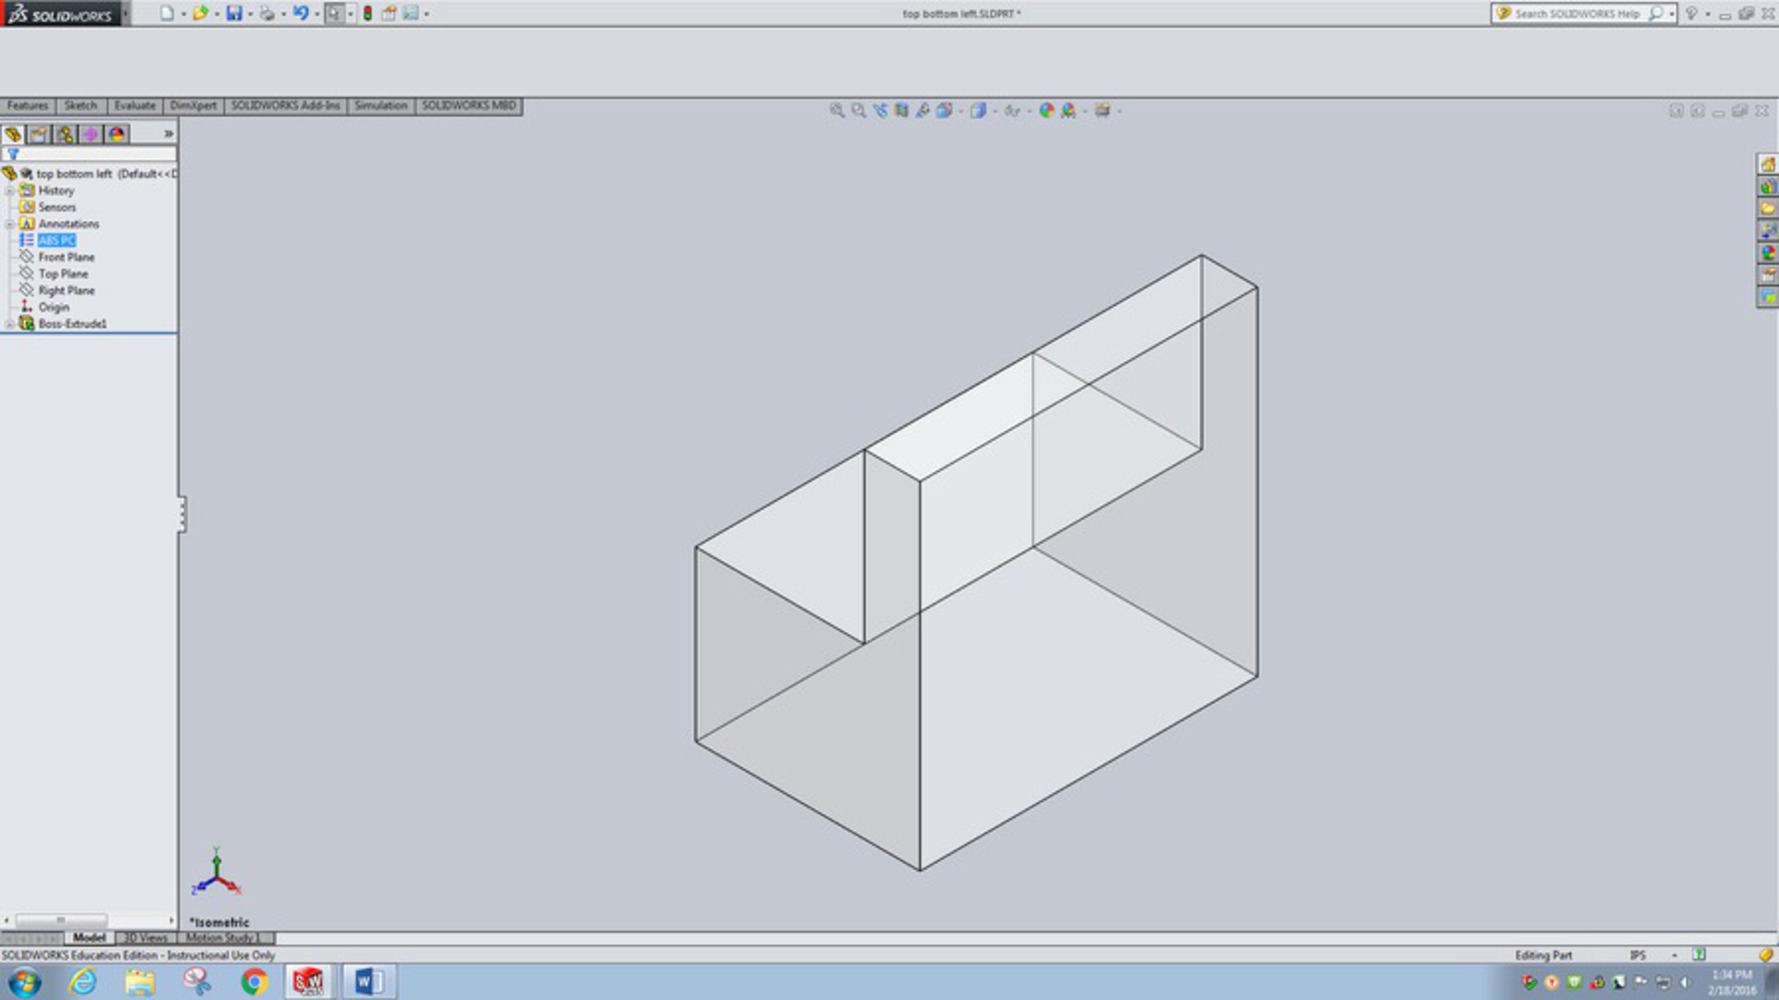
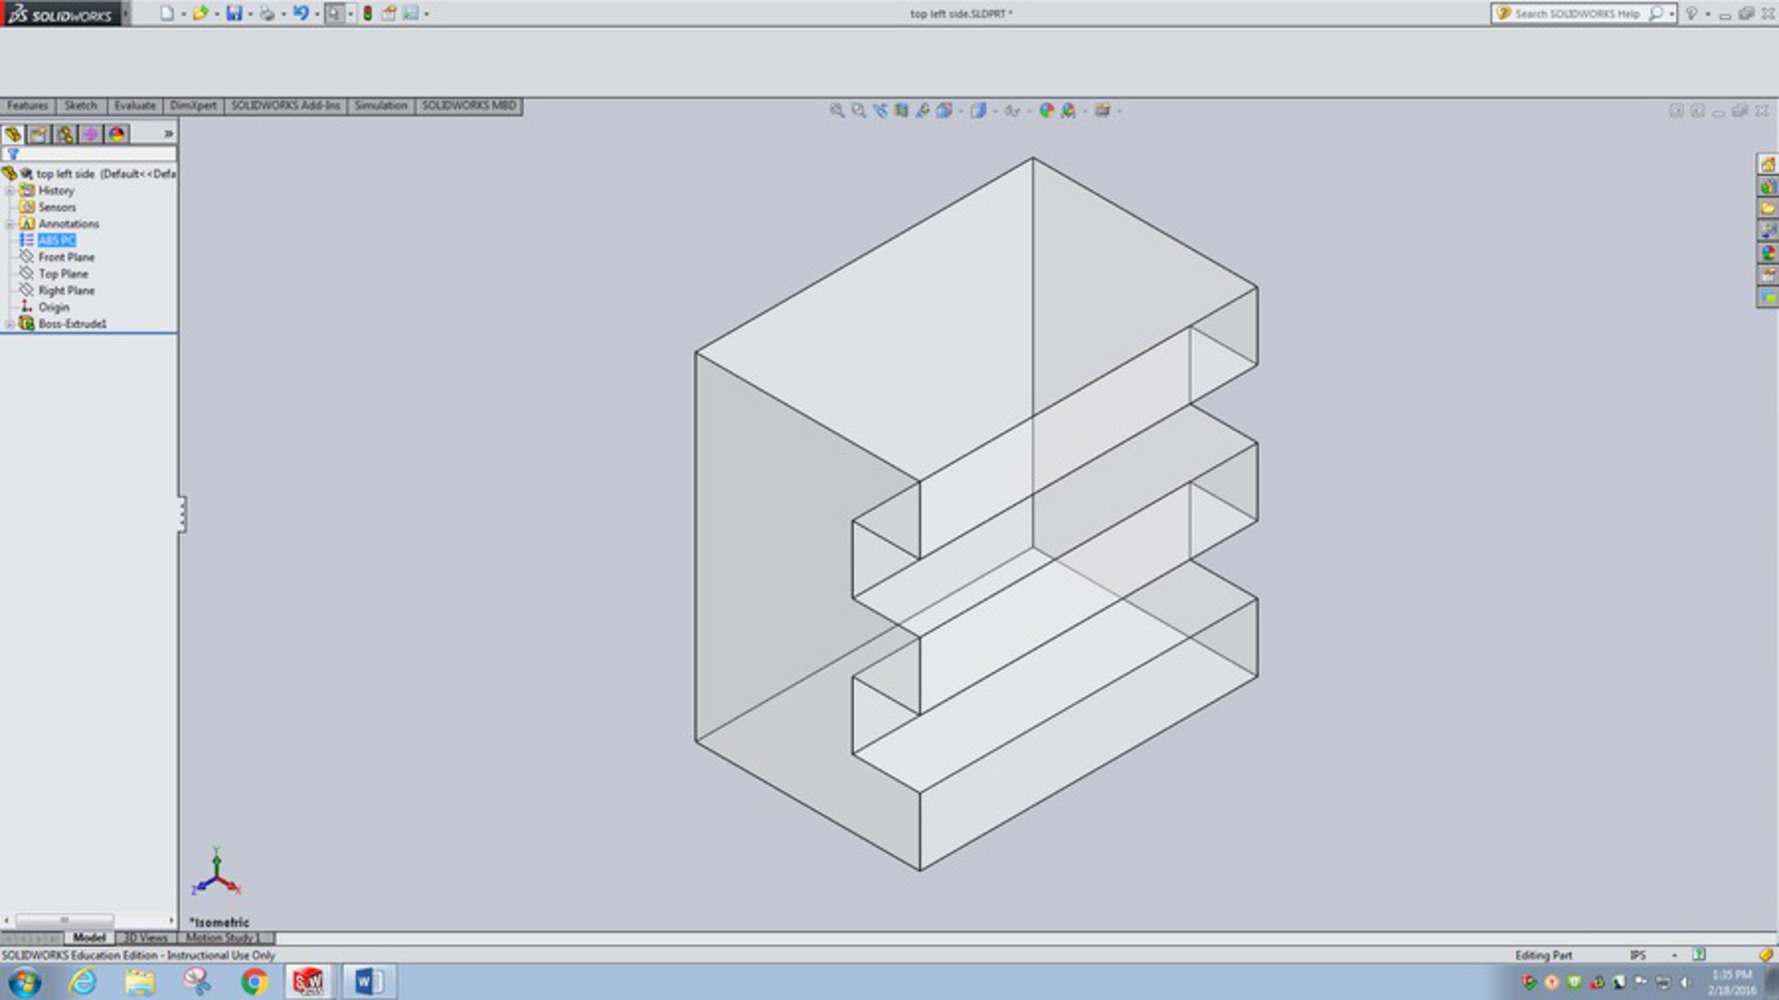
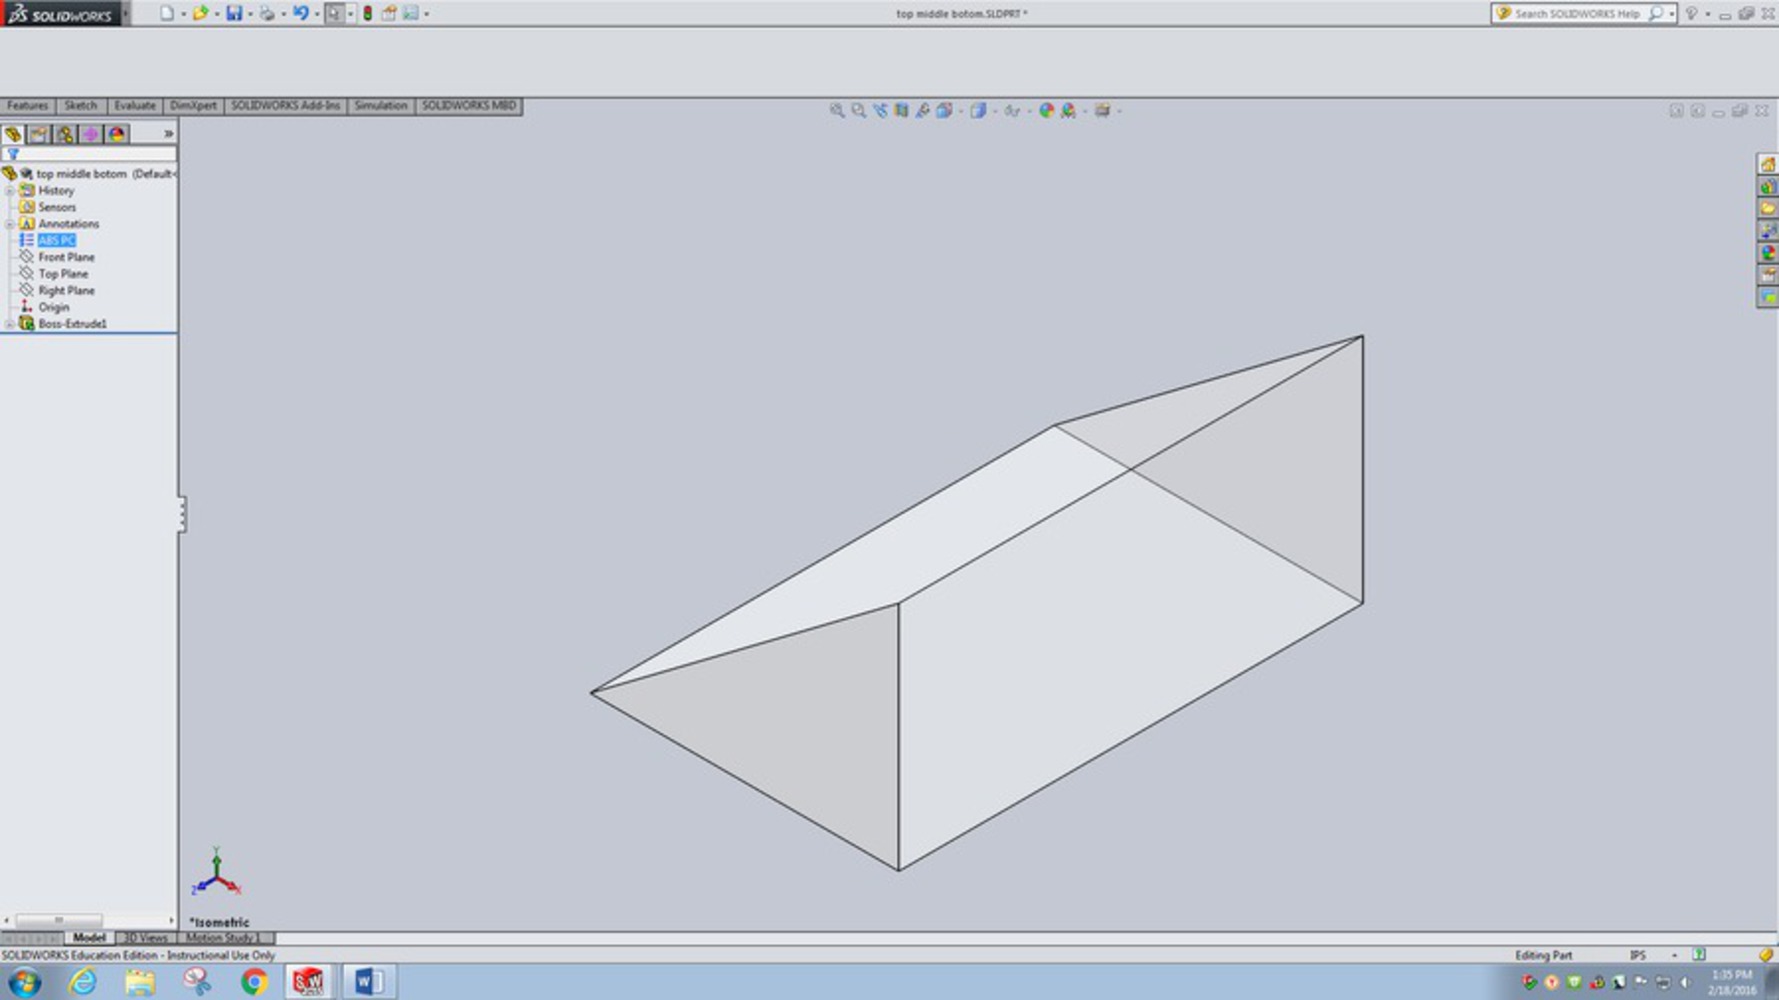
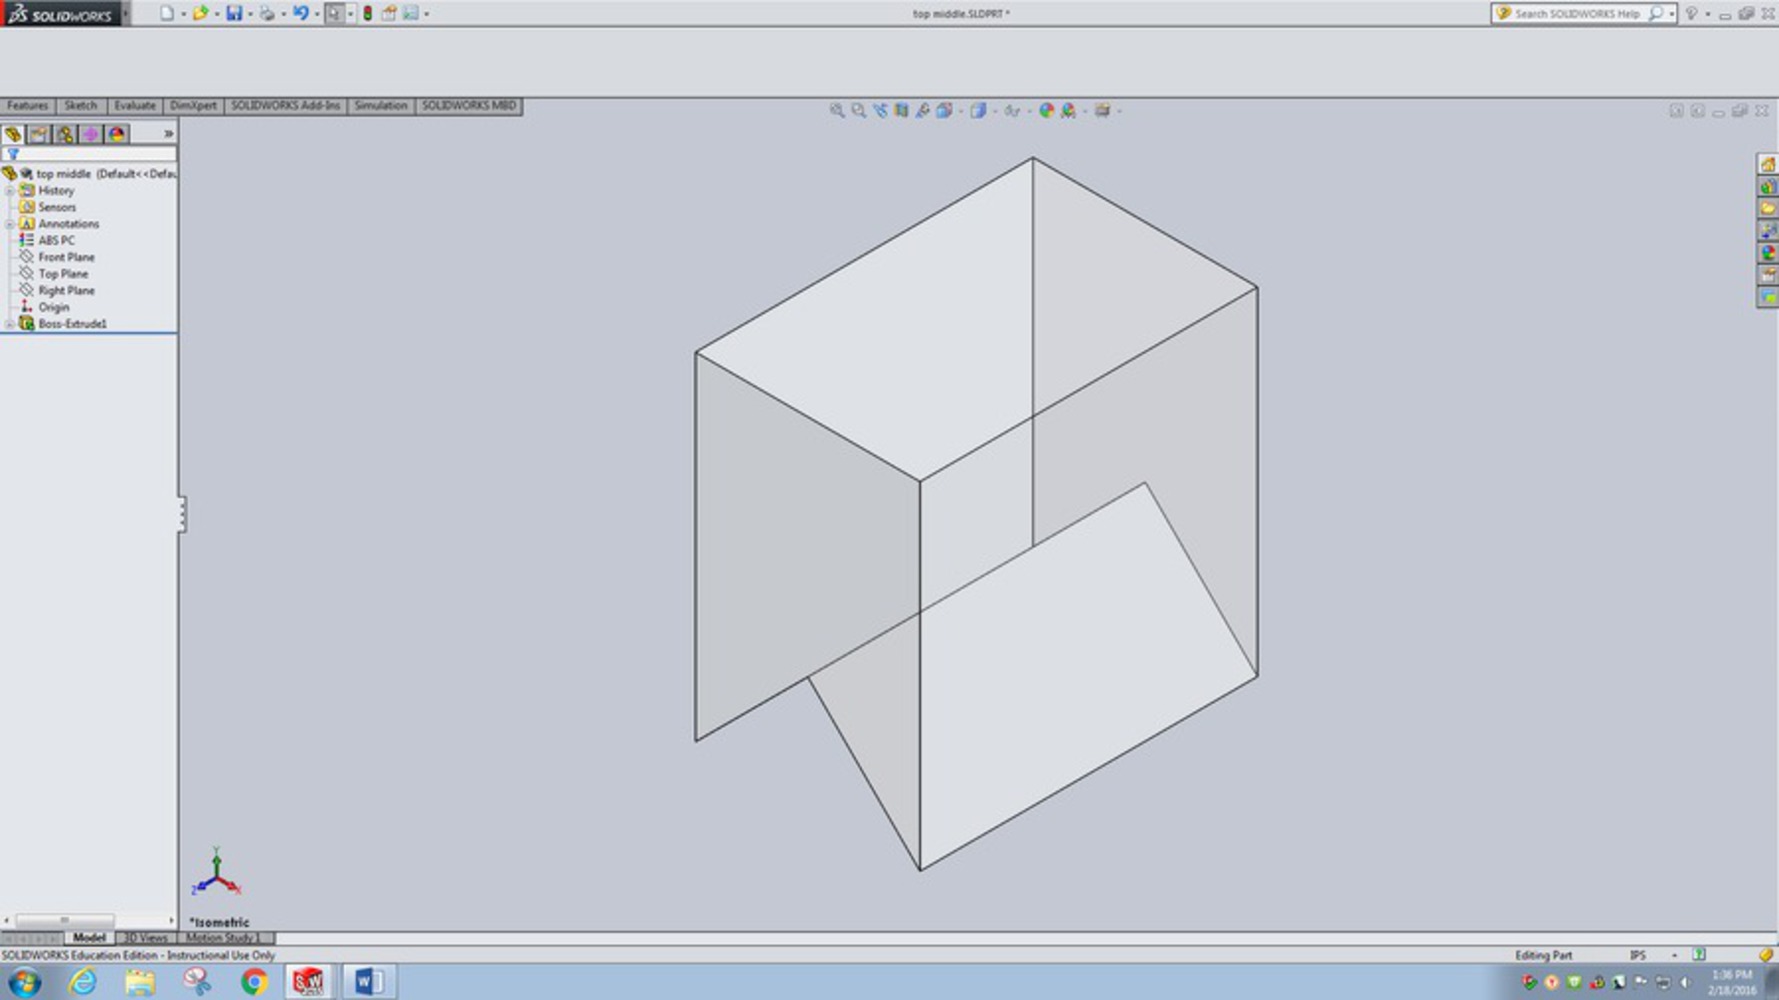
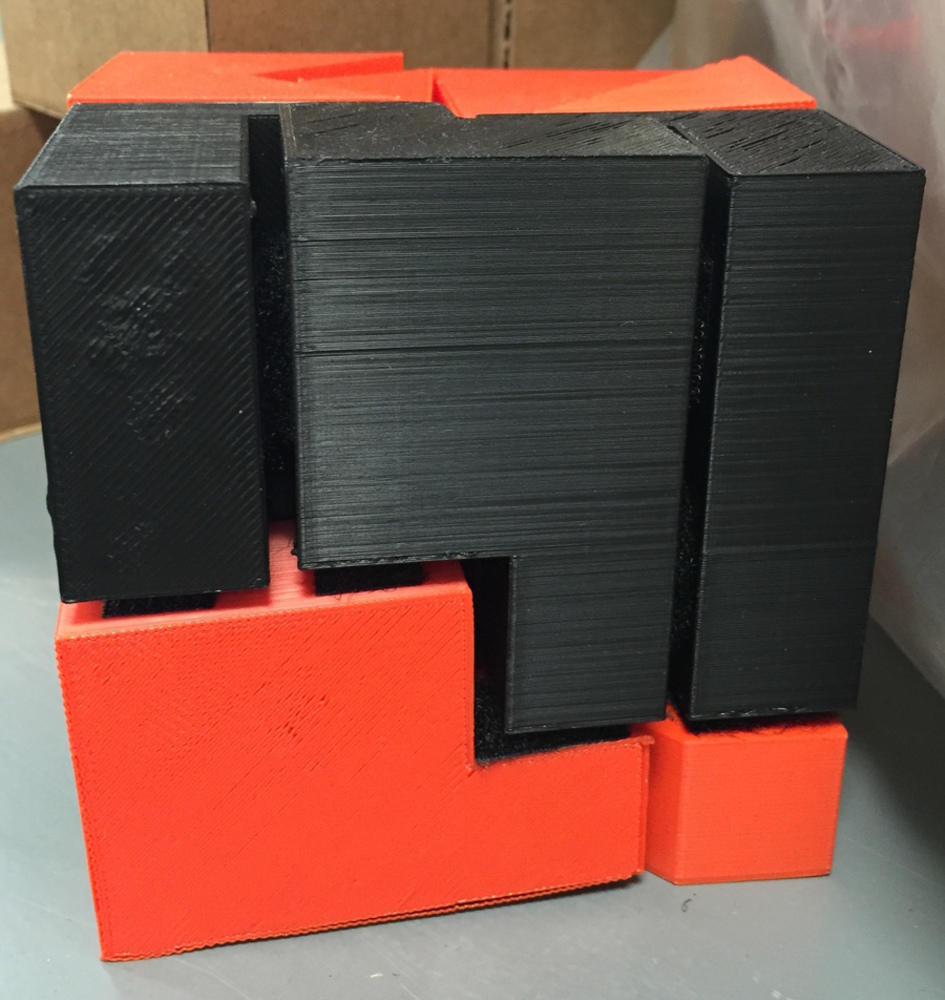
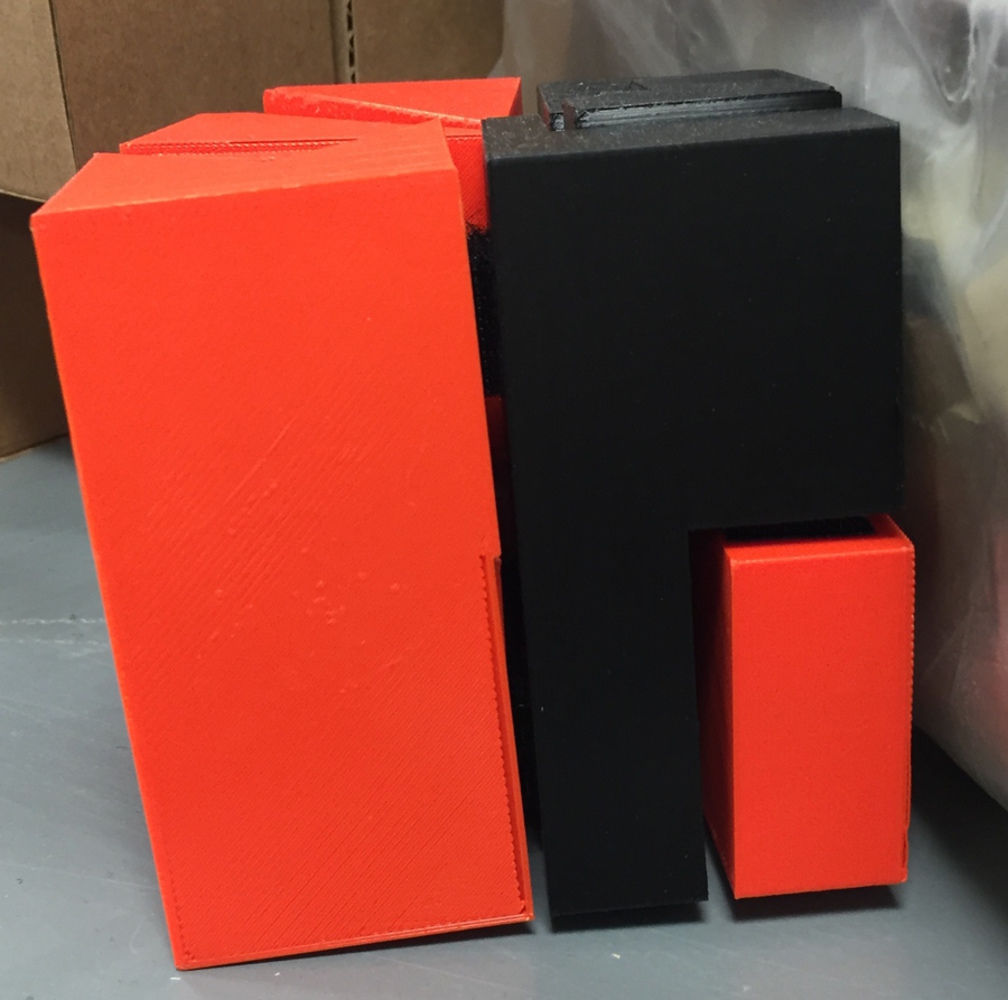
-Manufacturing Process: We originally wanted to laser cut our toy, but since no one had adequate experience with the laser cutter, we decided to 3-D print each shape. 3-D printing was easier, though not without its challenges. The process was time consuming and the shapes sometimes came out damaged, but we still conclude that 3-D printing was our best option in terms of our experience and time constraints.
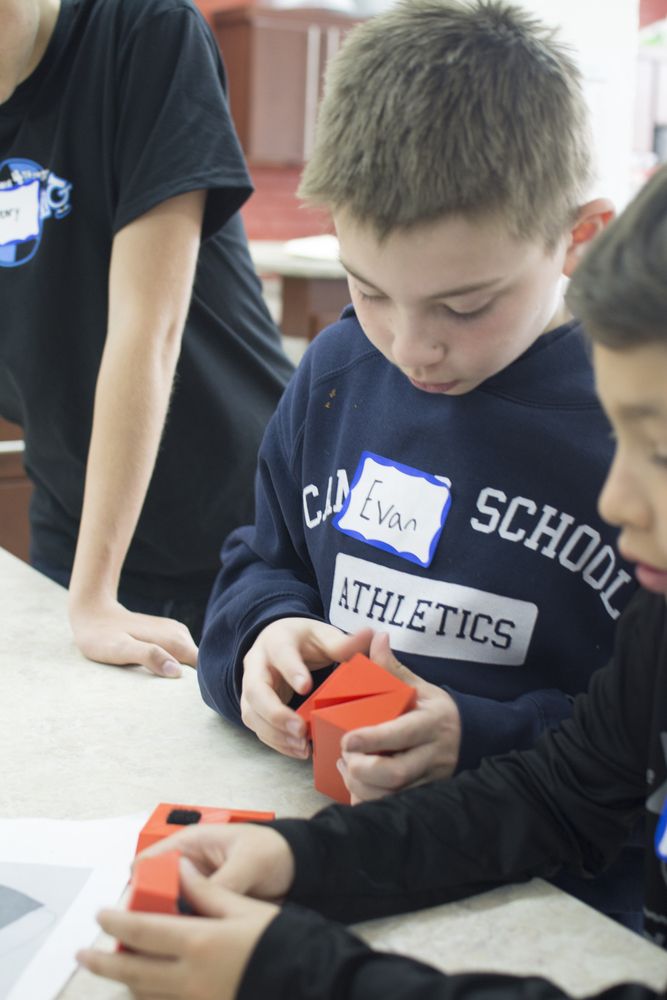
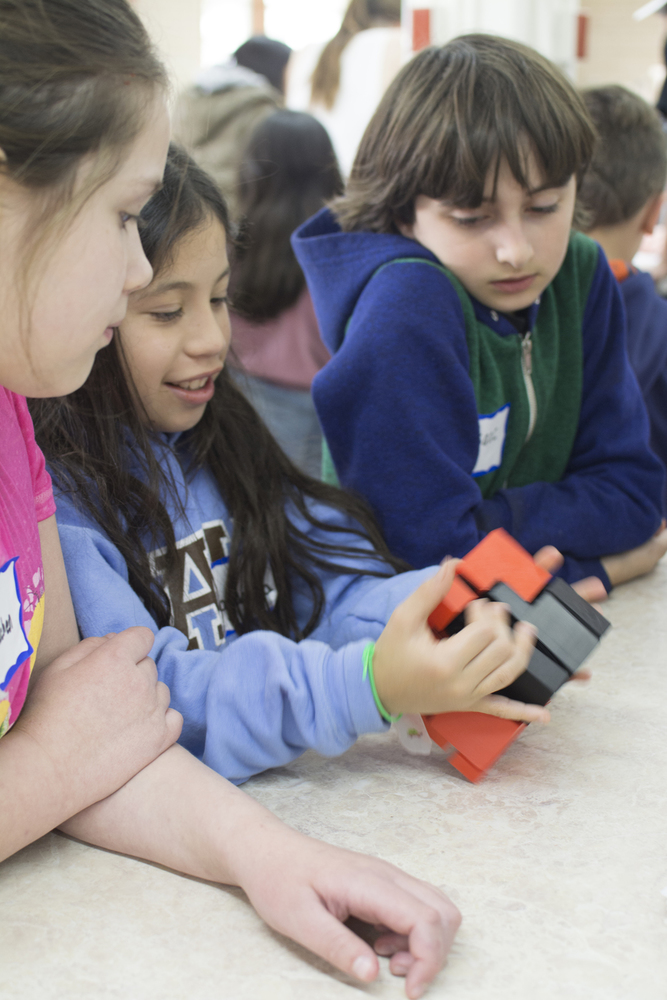
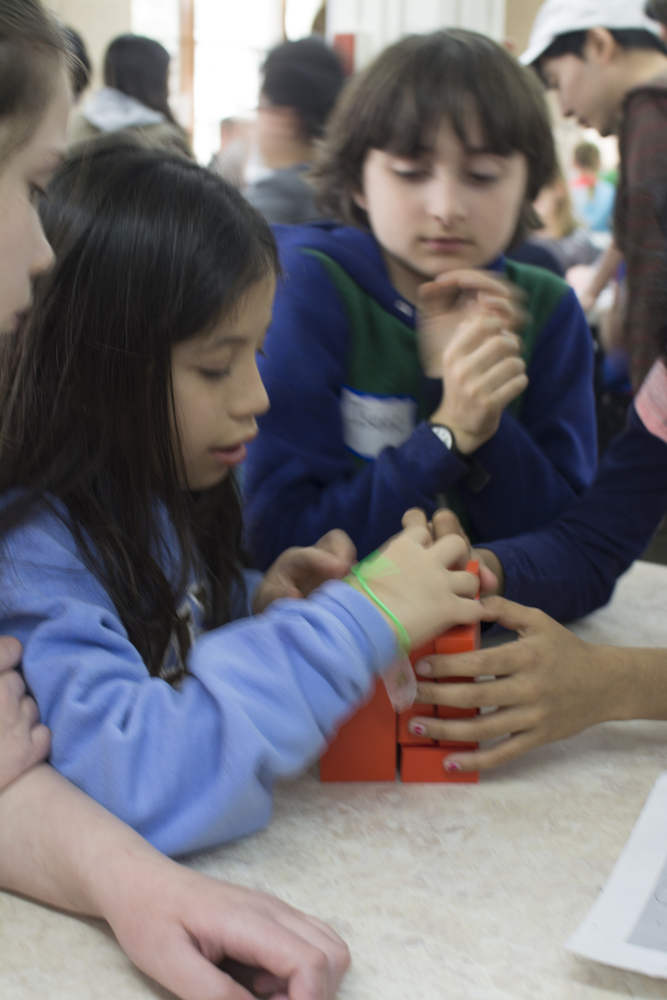
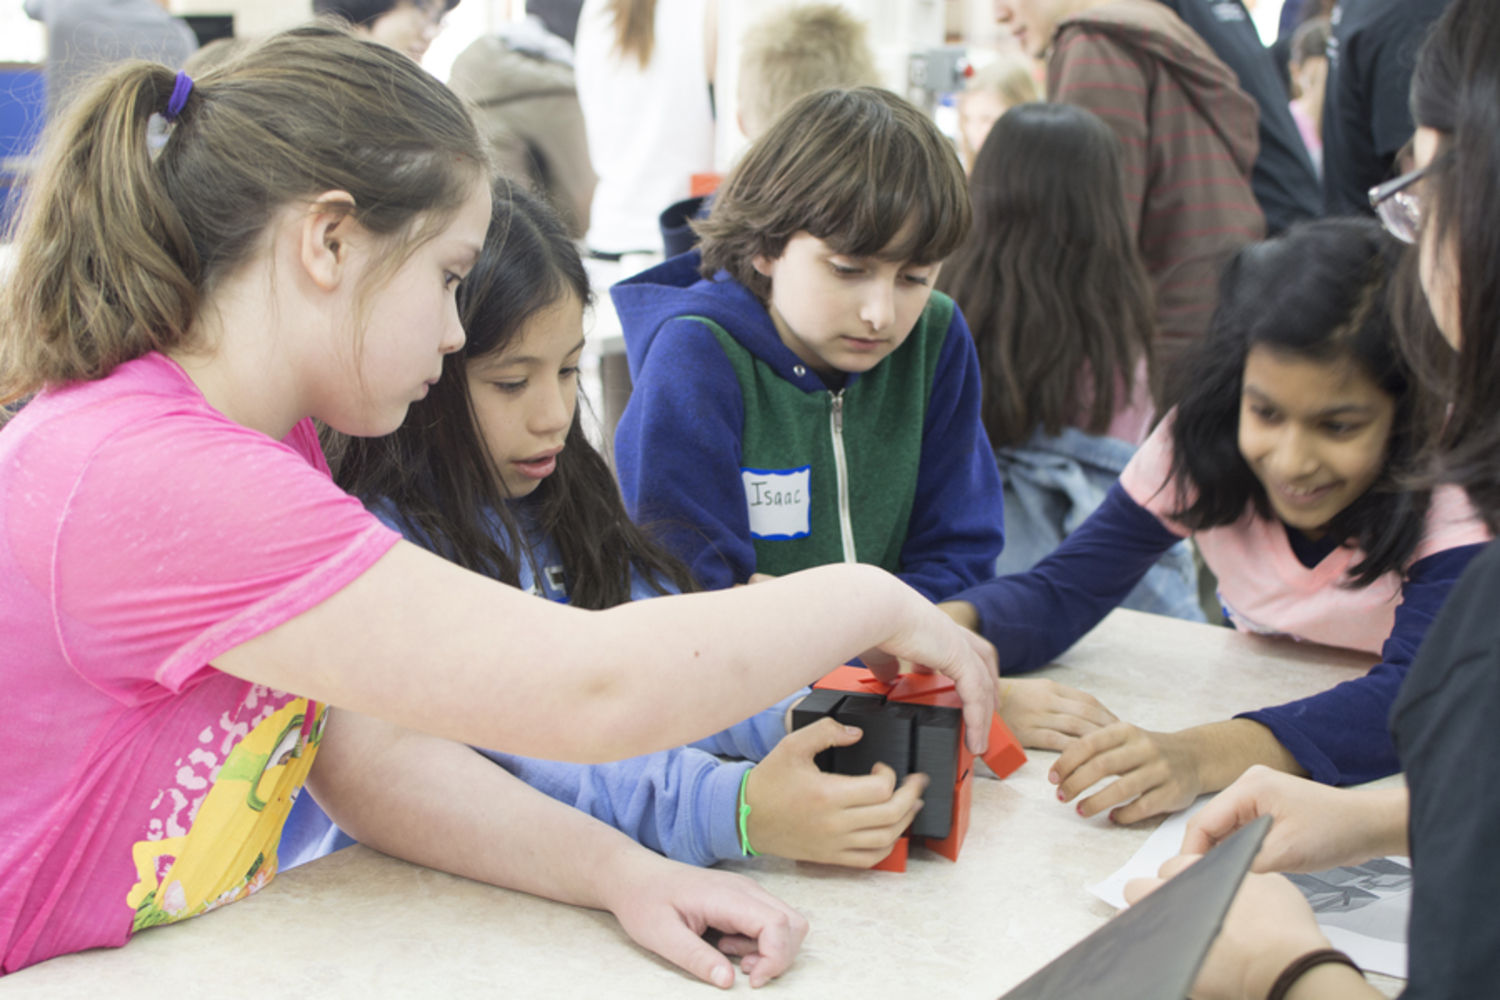
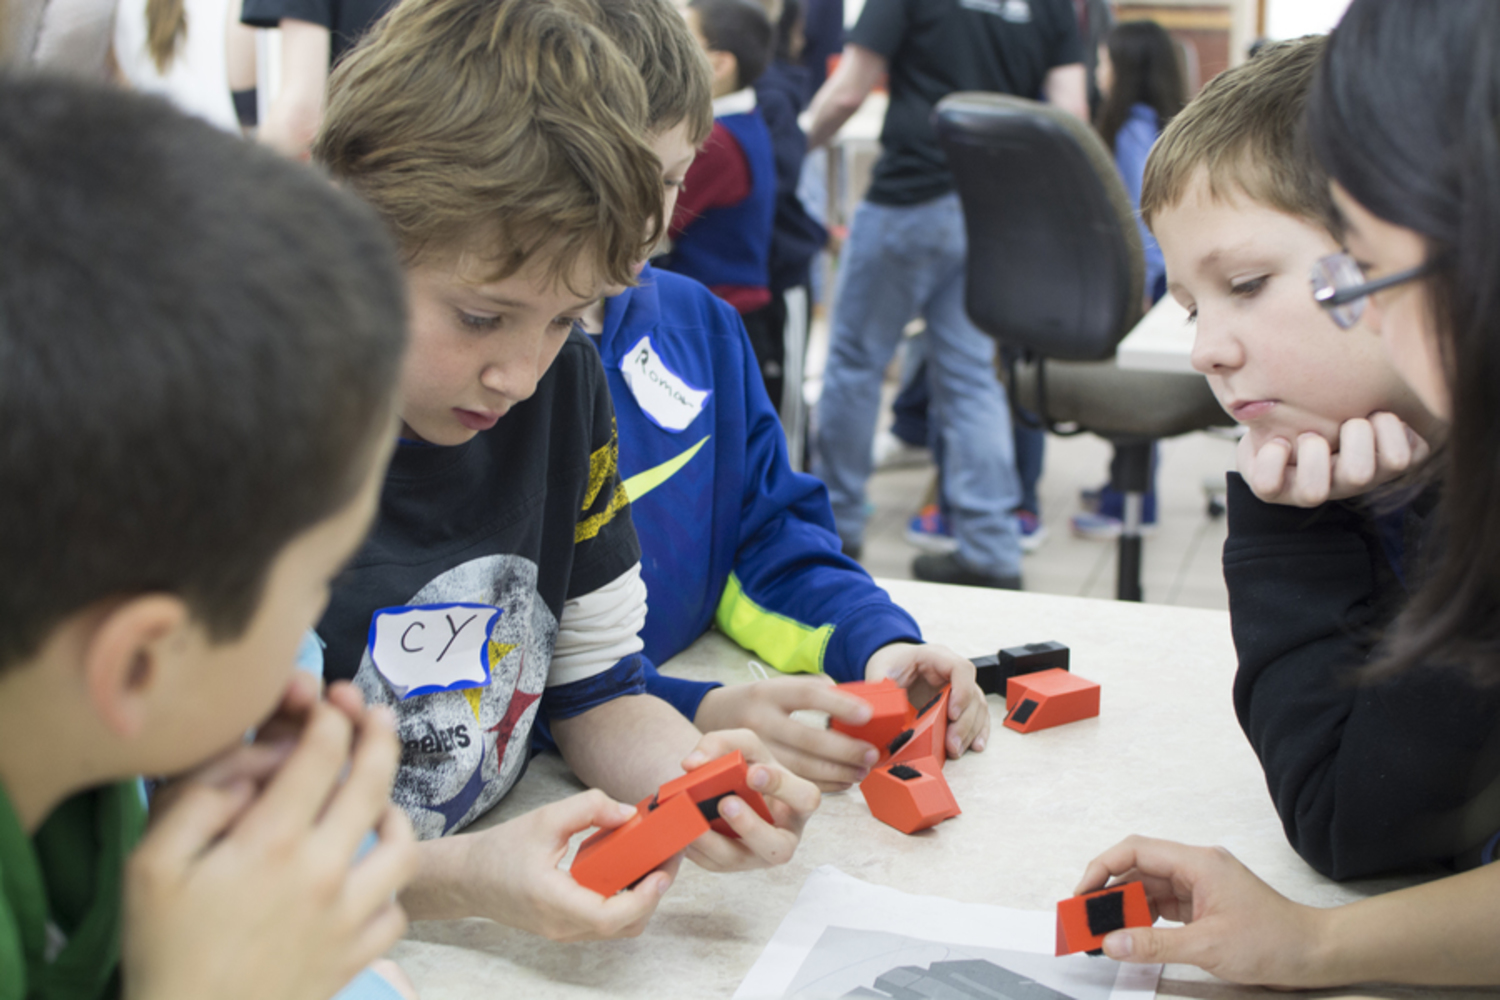
-Moving 4th into Engineering: We simply took apart the cube and presented all the shapes to the children for them to put together, allowing us to more clearly understand and see the toy's exact strengths and weaknesses. In terms of strengths, we believe this toy did help the kids learn how shapes fit together because they had to compare each piece and see how each shape fit in relation to one another. Surprisingly, we found the children liked the one answer format of our toy, most likely because they wanted to overcome a challenging problem. There were a few children that initially wanted to just make their own creation with the shapes, but they eventually tried to make the cube and said they enjoyed doing it. Moreover, we saw kids using their teamwork and communication skills to work and put the shapes together. However, this toy is not suitable for large groups (works at most for 3 children at a time) because, when the groups became too large, everything became very disorganized, discouraged, and distracted, which slowed down the time they took to solve it. We also could see that there could be advantages to having a multi-answer format because then children could play with our toy more often (might get bored if there is only 1 answer all the time) and they would need to use their imagination more. We plan to remedy this by creating more general shapes (e.g. rectangular prism), rather than specific ones, for project 3.