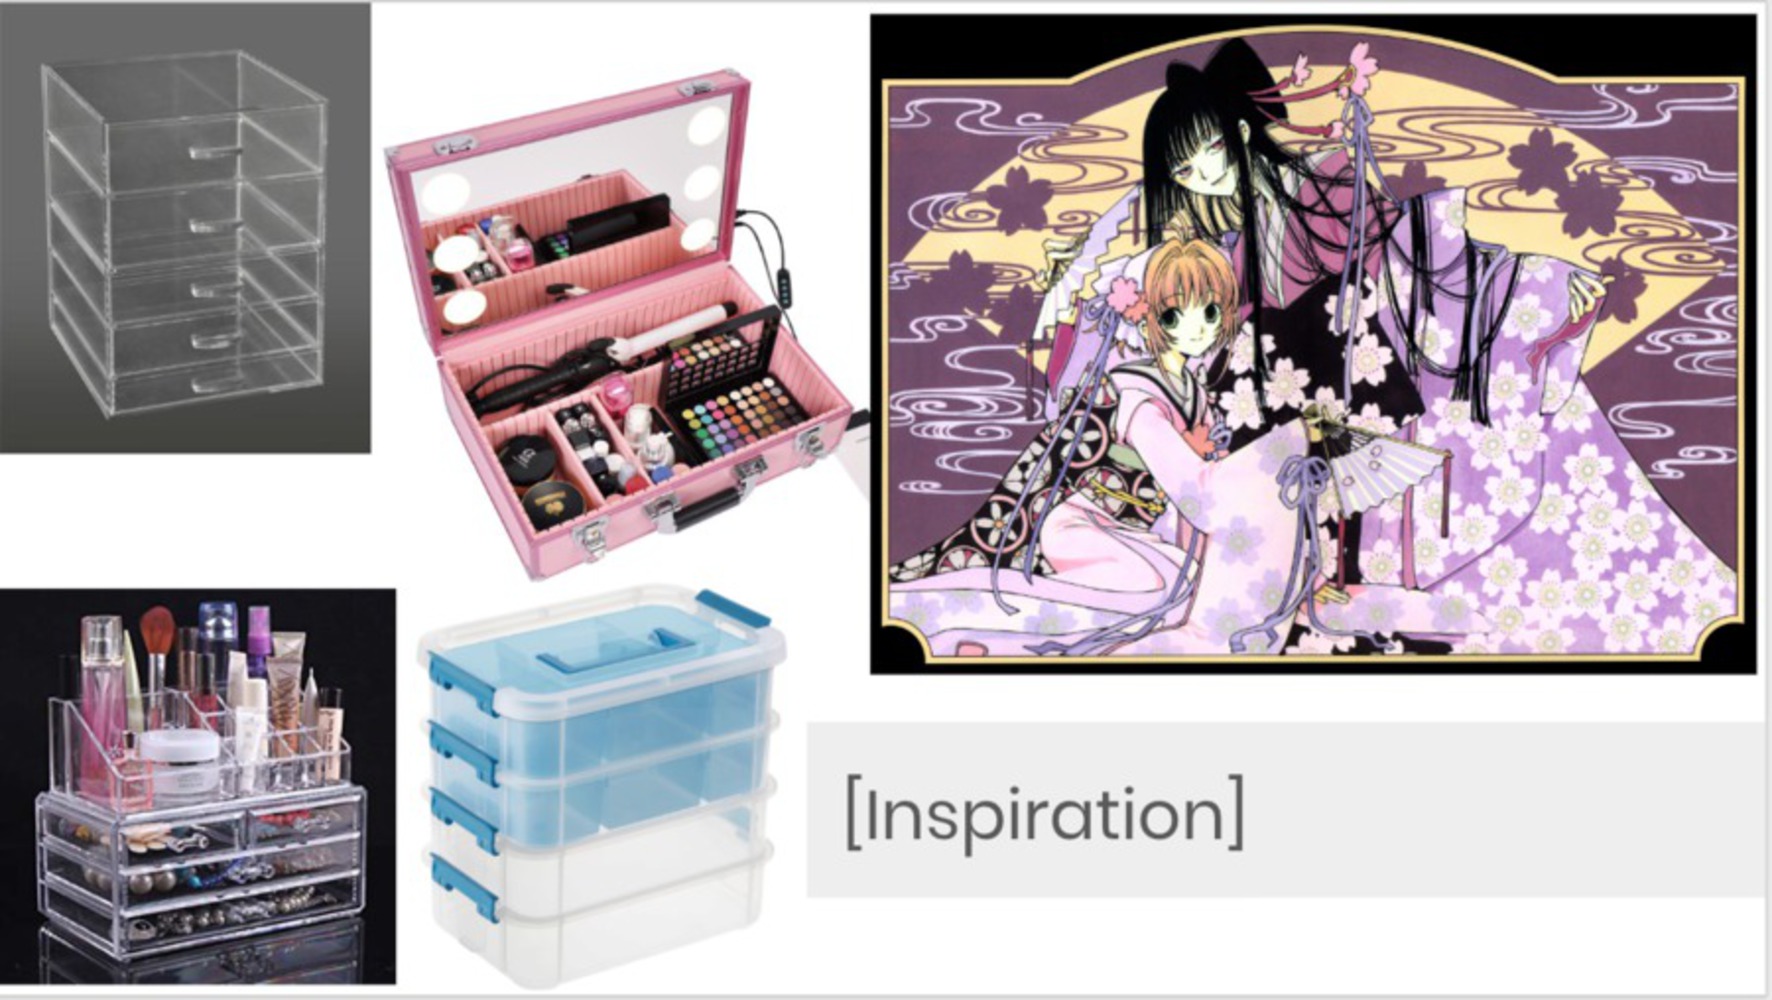
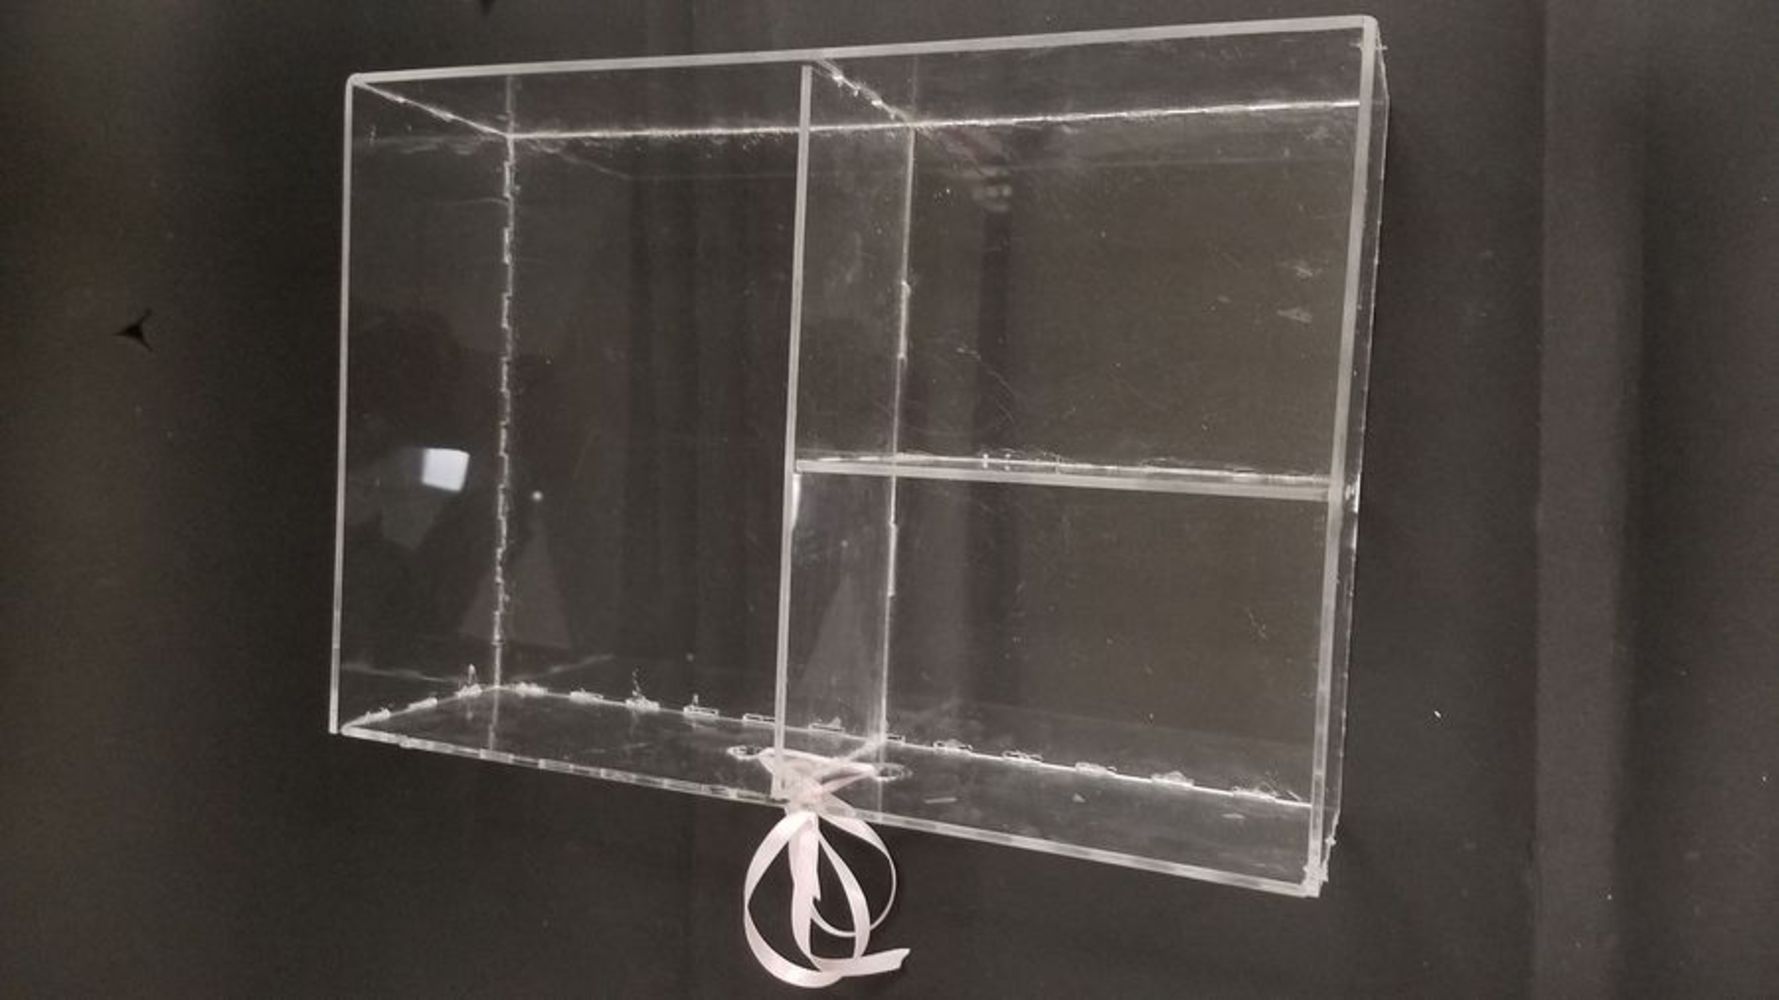
I began the process by creating a 3d model of the outer box, then moved on to each of the drawers.
Sketch and Modeling in Fusion360
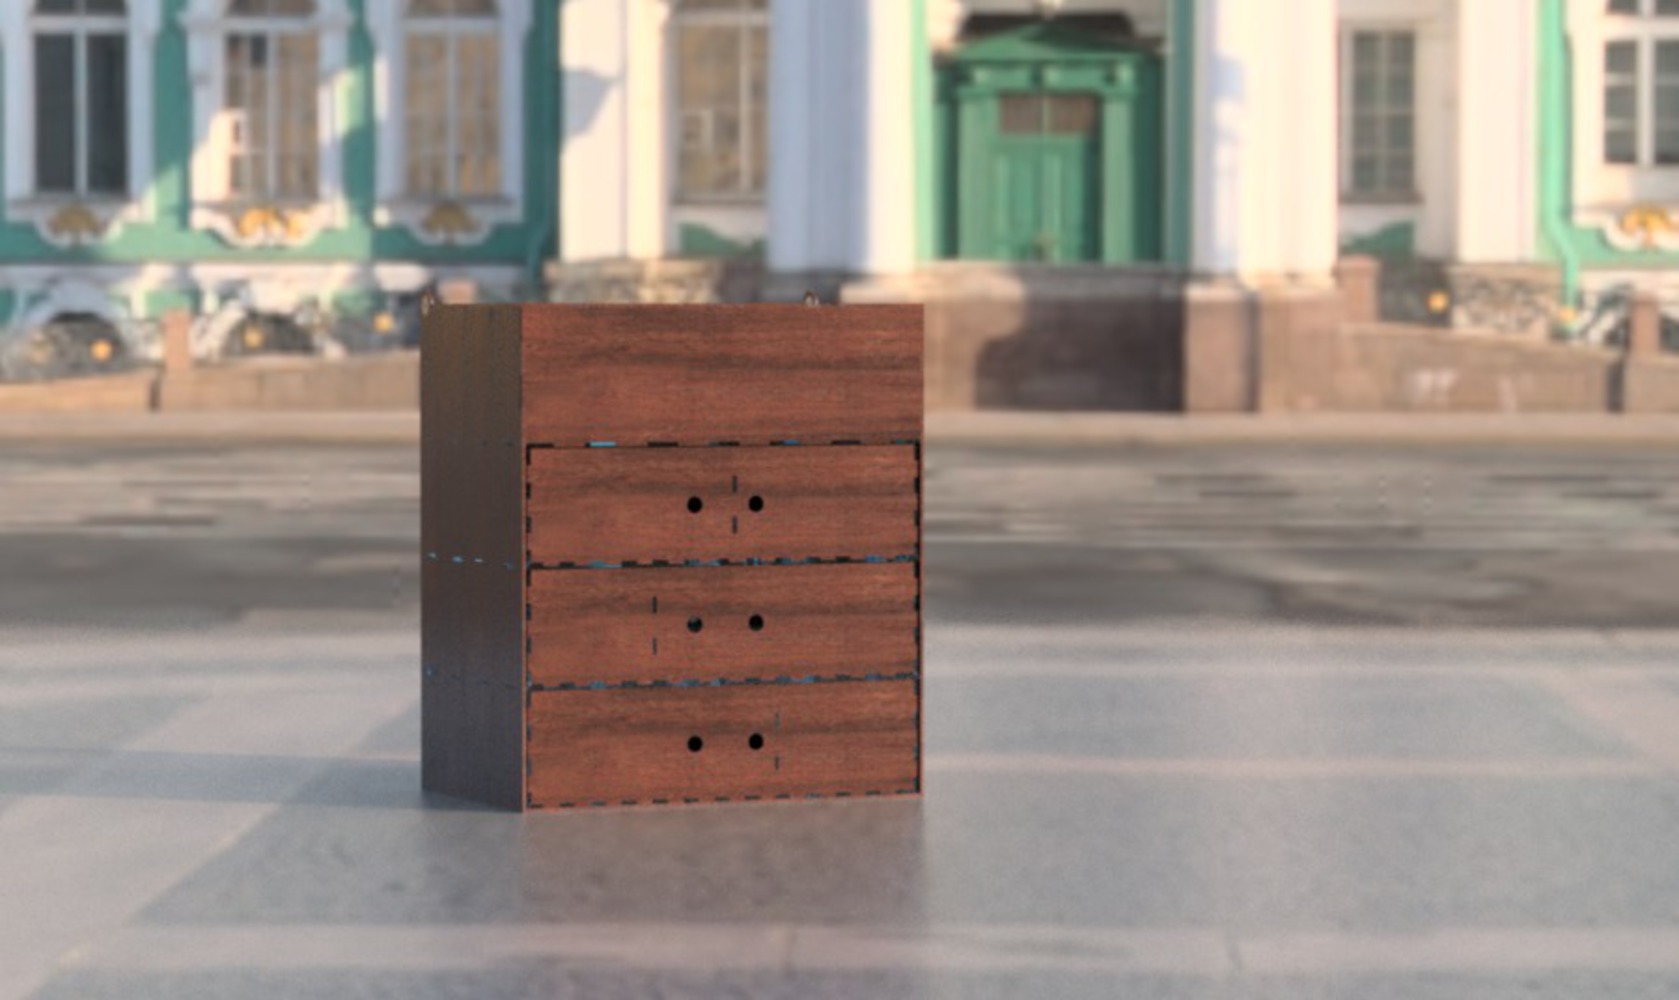
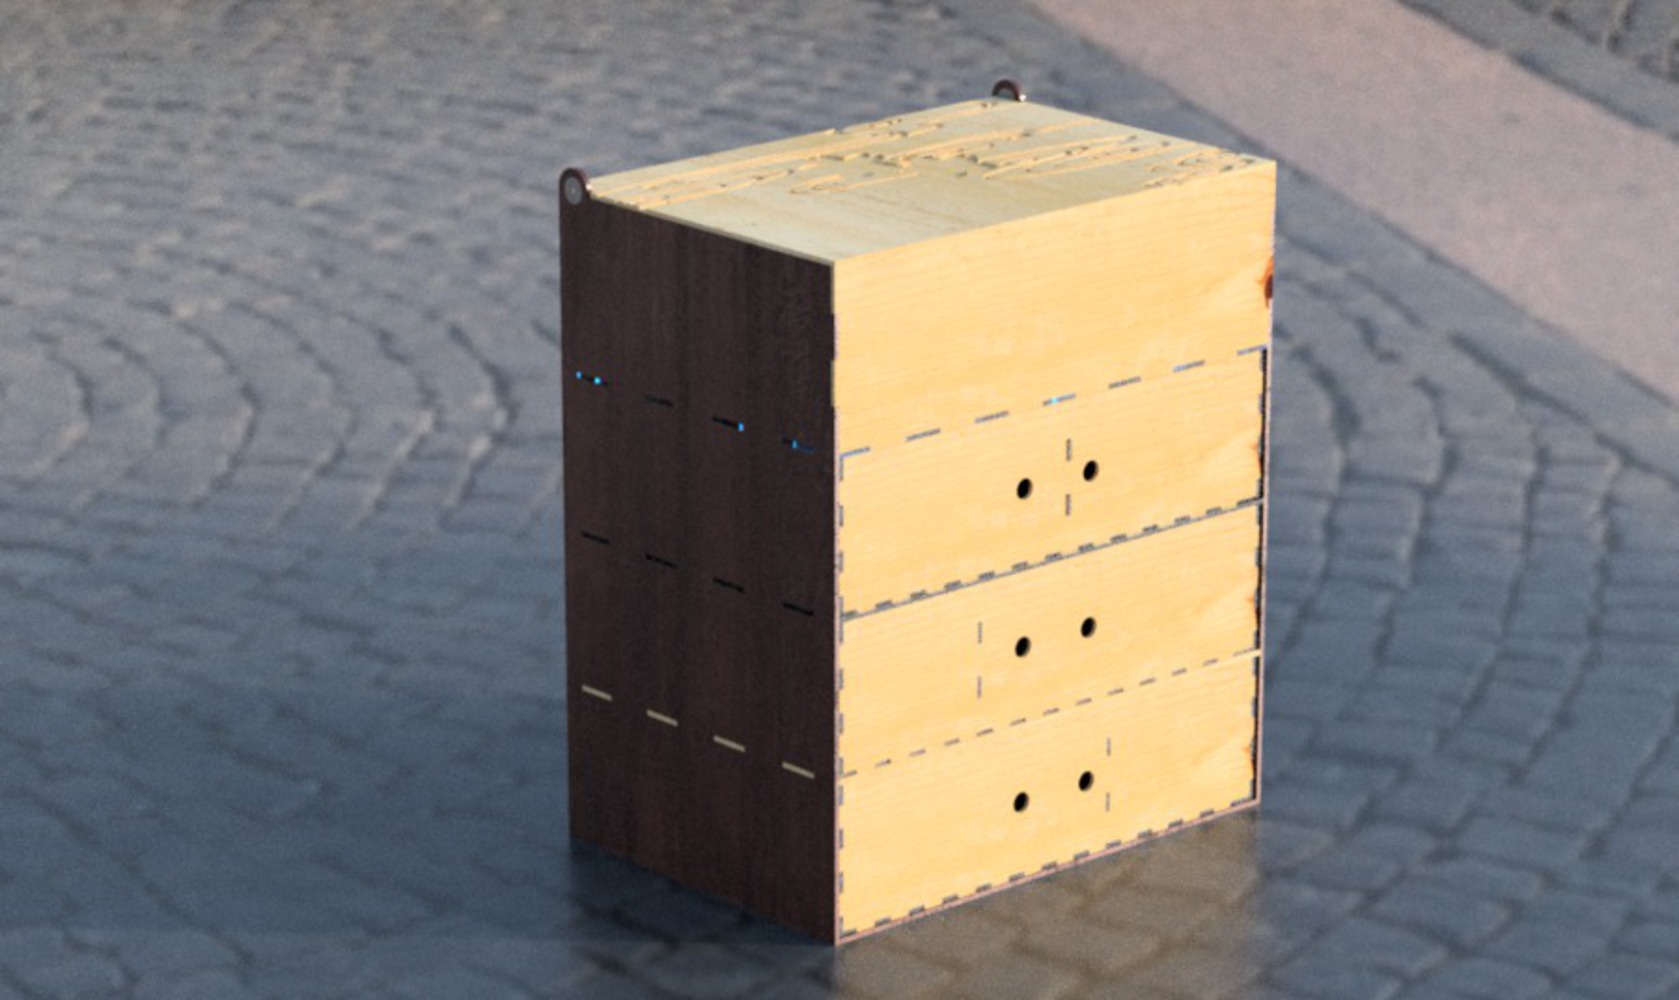
Outer Box:
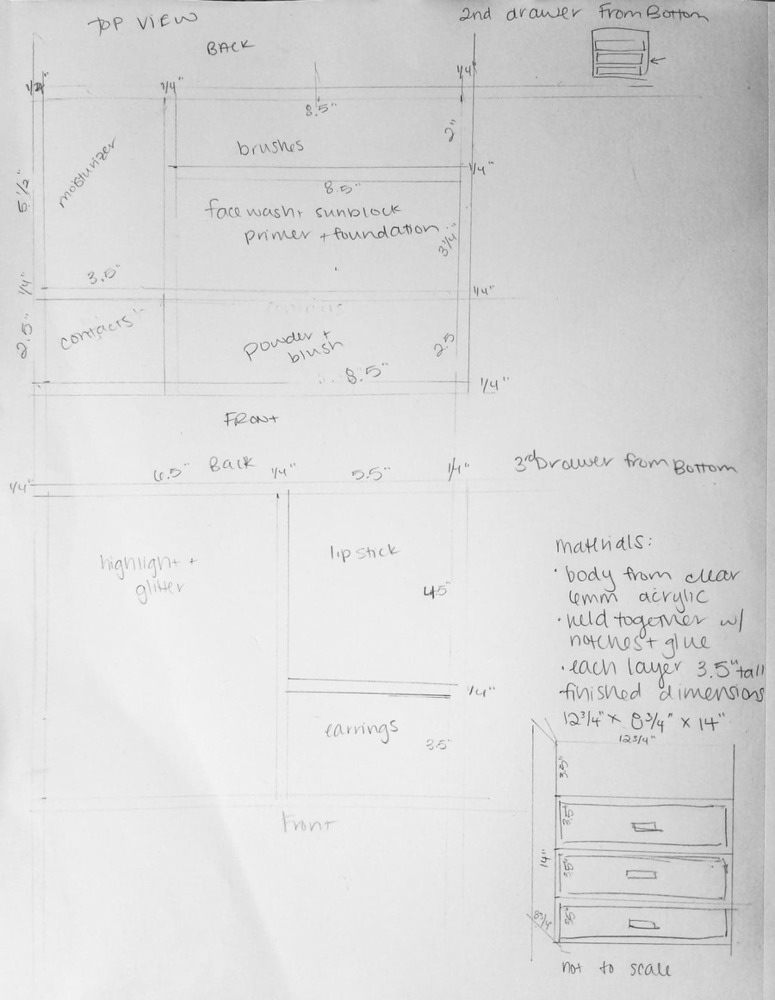
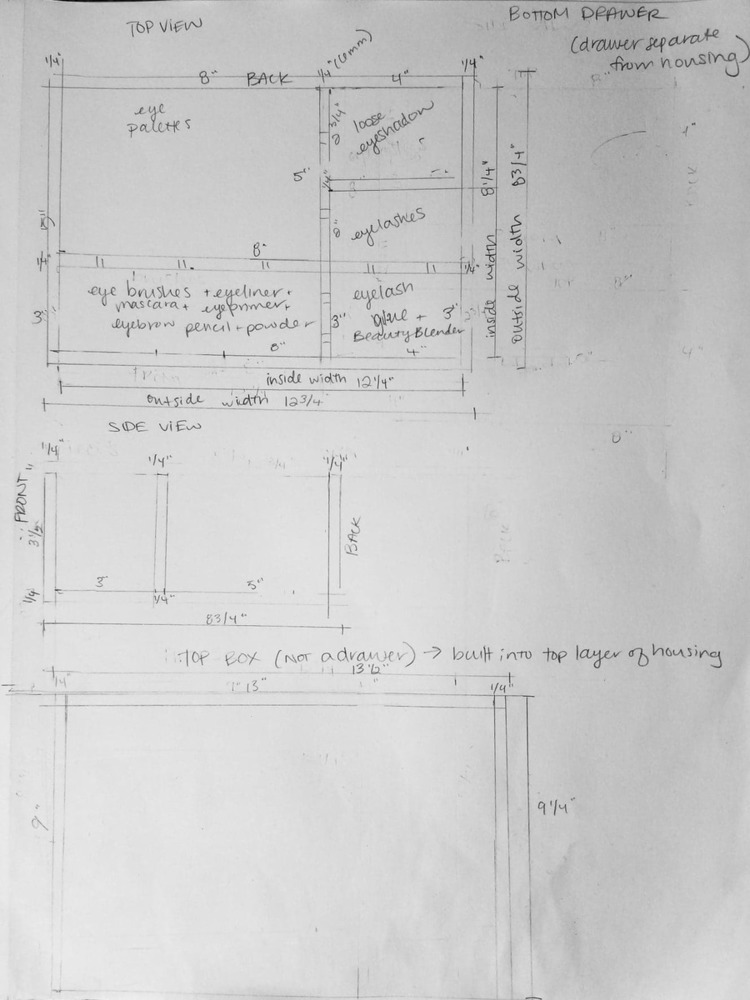
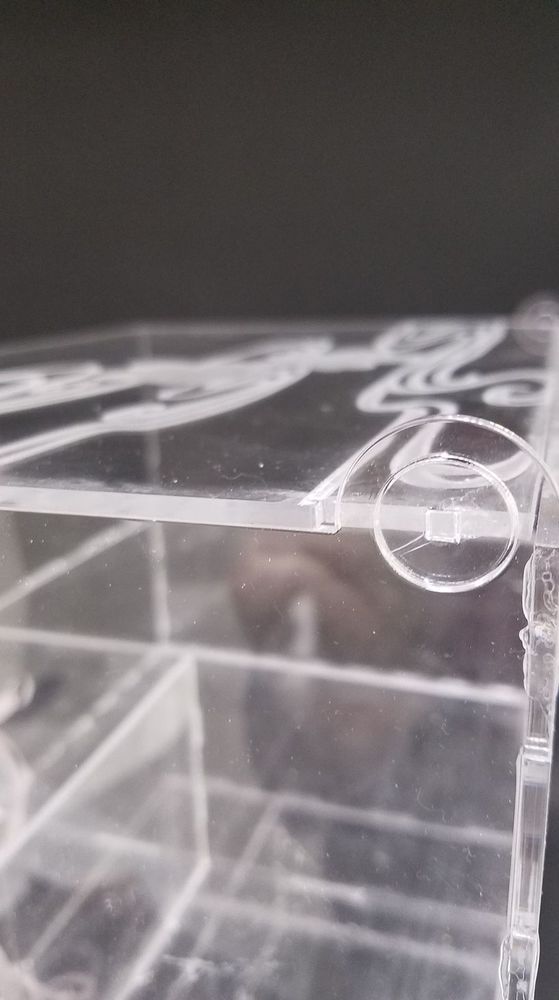
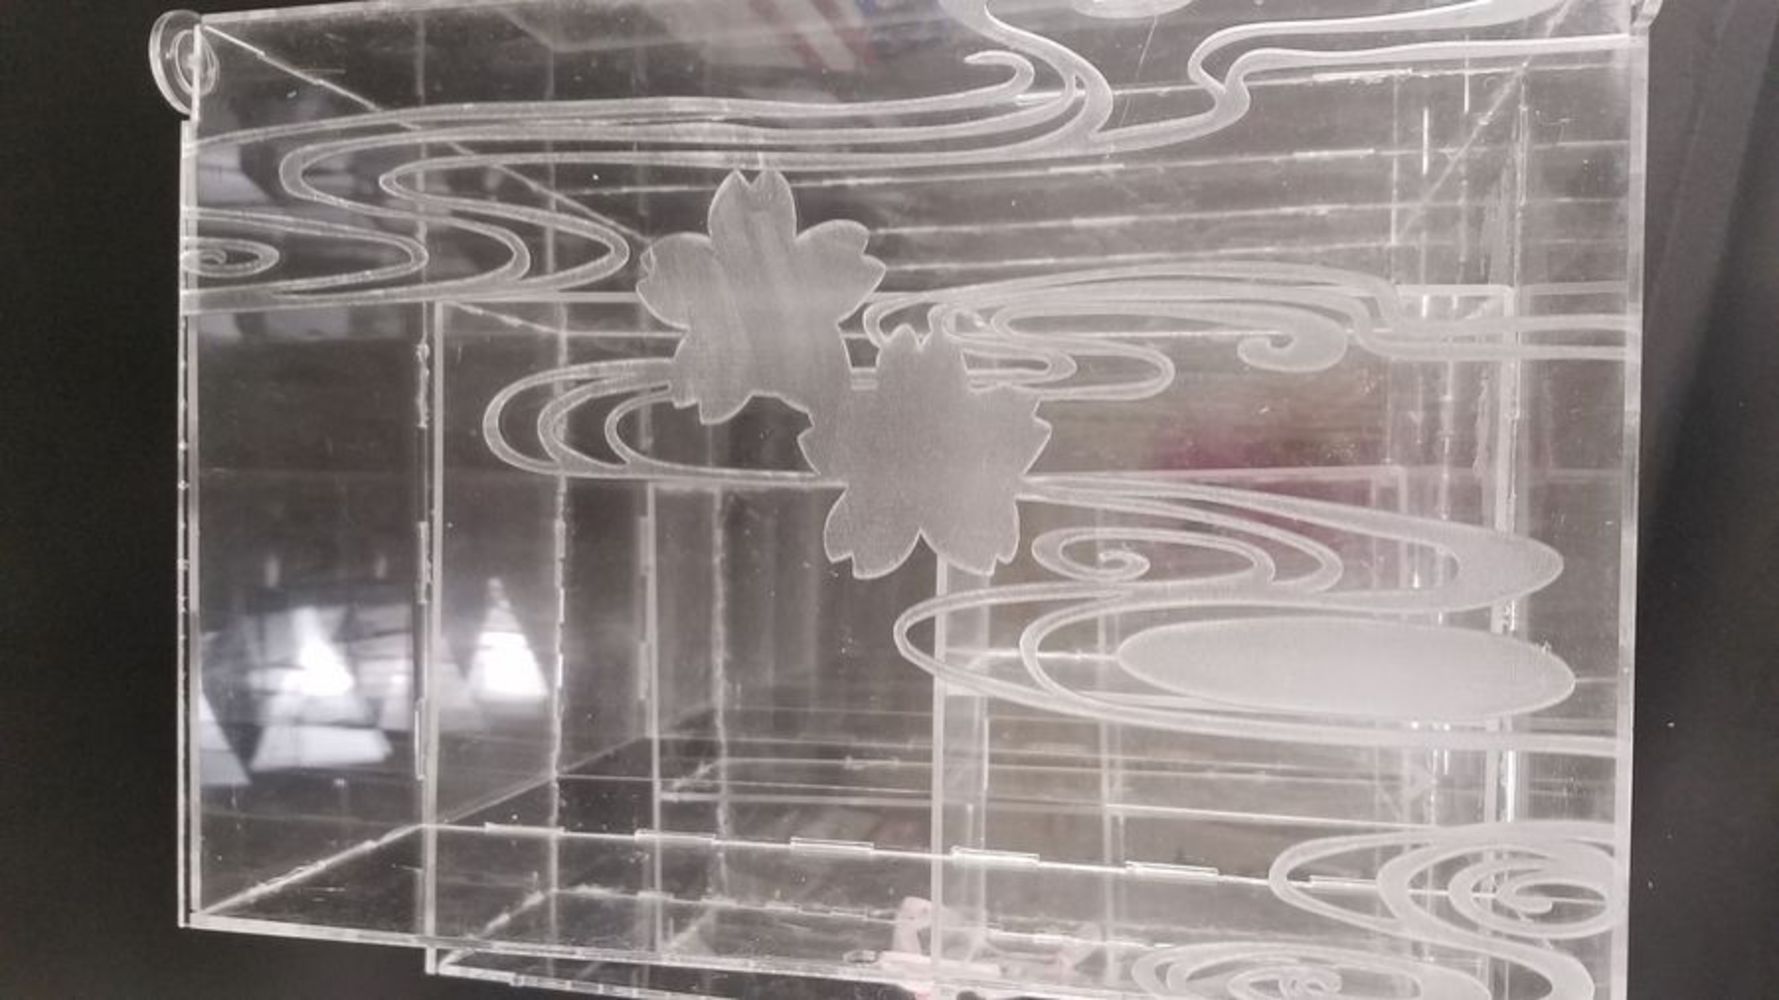
I sketched the sides first, and used a fixed measurement of 1" by the material width for the notches to connect into the back. I sketched two circles at the back top corner of the side pieces for the hinge. From the sides I made the back piece to match in size and correspond to the notches on the sides. The shelves and box bottom came next, and were a similar process of matching size and notches. I determined the size and placement of the protruding shelf notches first, then cut out notches in the sides. The top shelf also got a corresponding front wall.
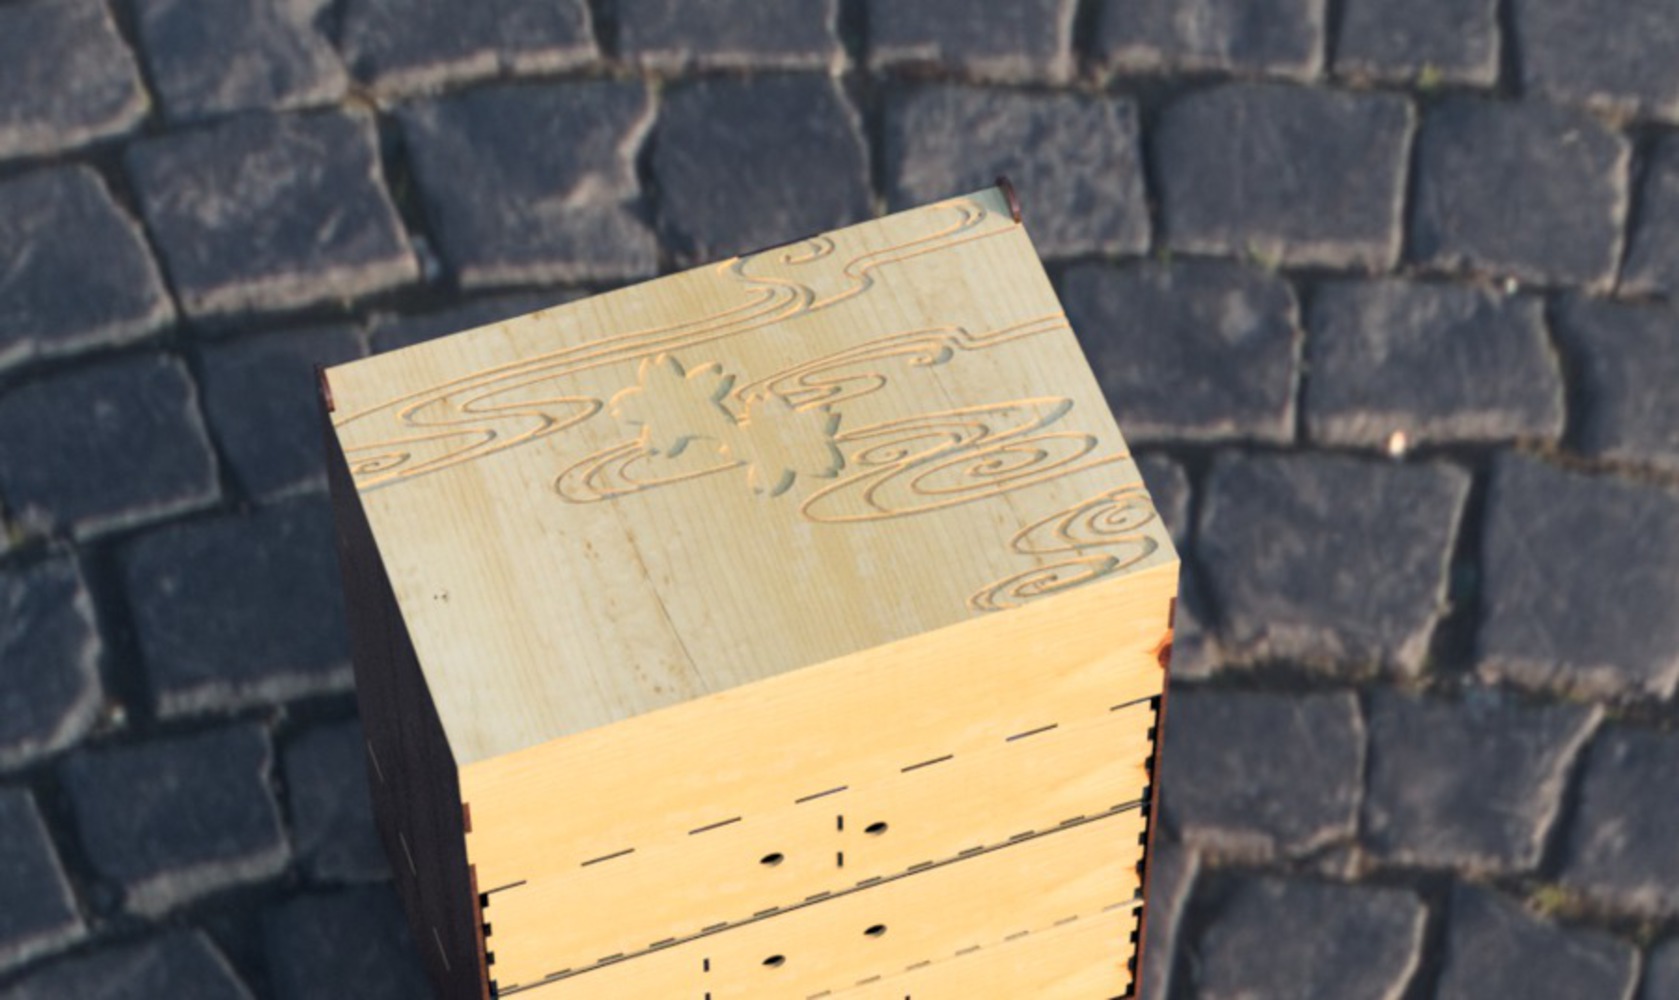
Lid:
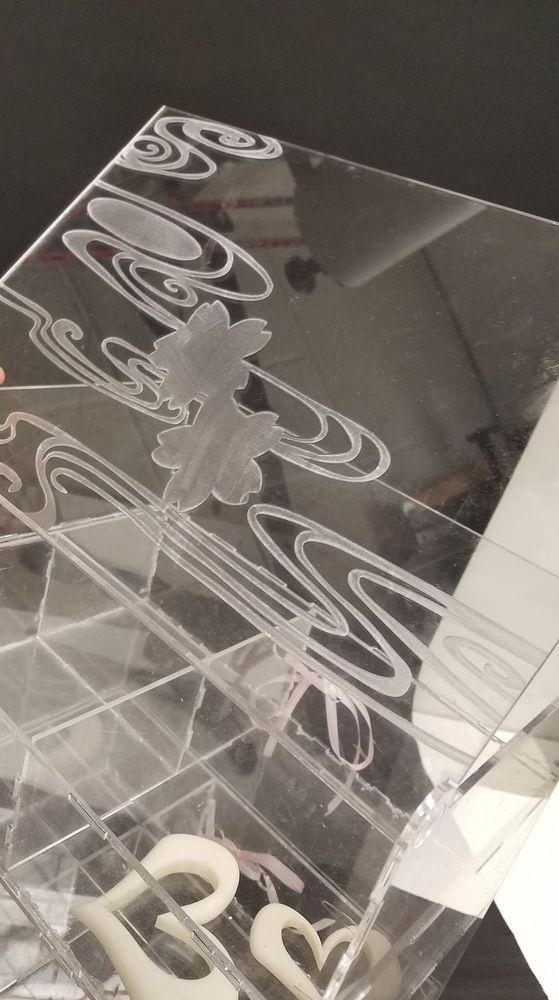
The lid was made as a rectangle with notches cut out to fit into the hinge. The square notch in the lid matches the square cut out in the hinge. I traced the above illustration using the spline tool.
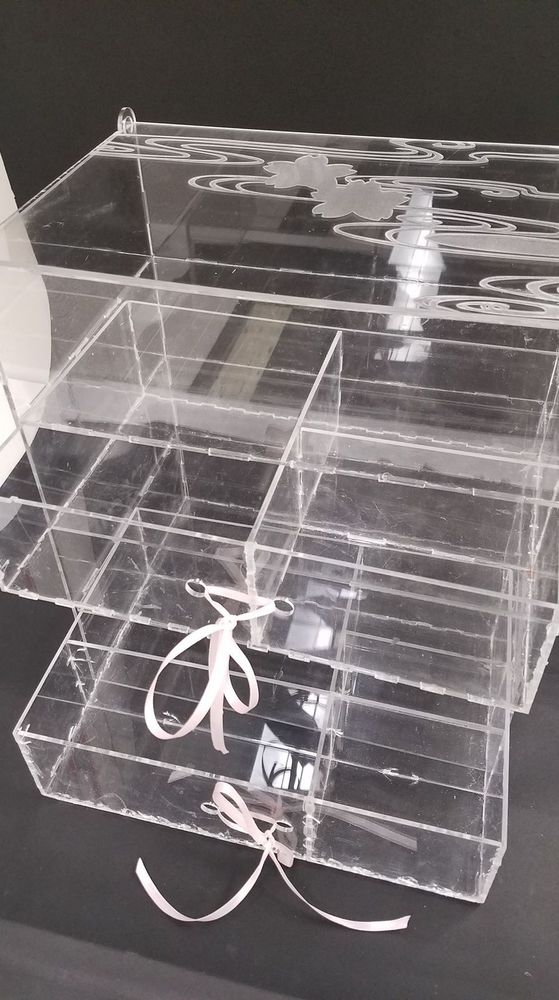
Drawers:
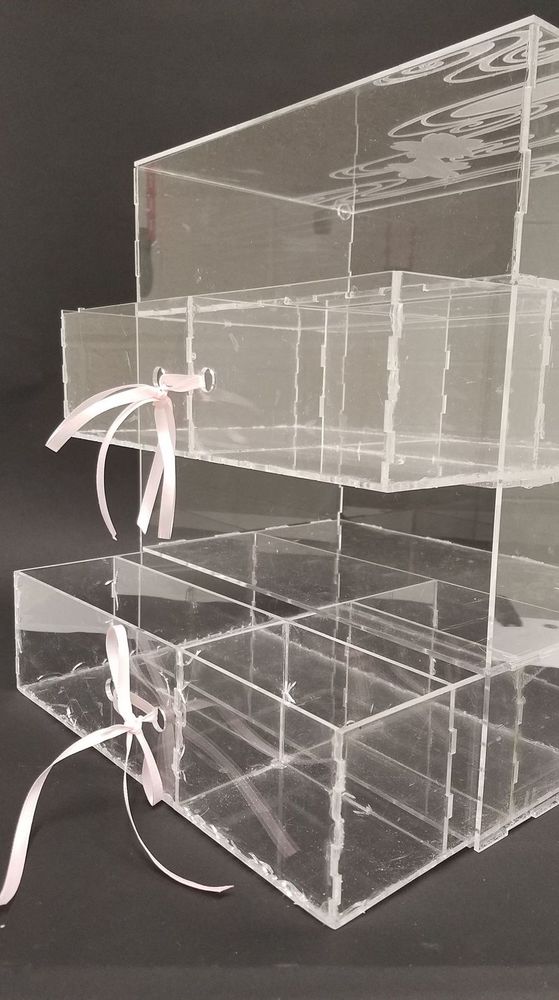
I made a base template for the drawers and copied it through all three. I left two circular cutouts in the front to run a ribbon through as a drawer pull. I took the measurements specific to each of the drawers and made corresponding dividers and notched each to fit into the walls of the drawers.
All pieces of the box and drawers were translated to DXF files for laser cutting.
Embellishment:
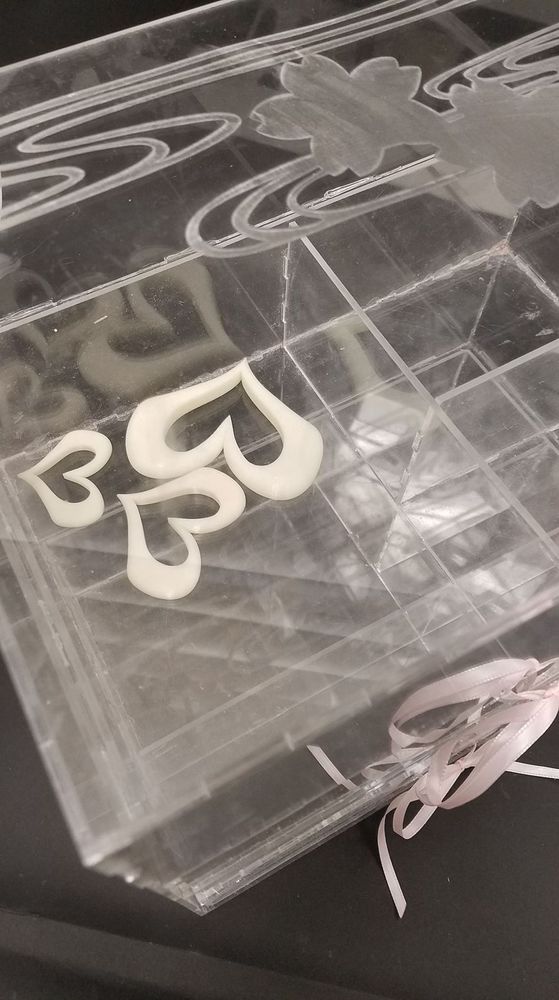
I traced heart shapes from a different illustration into a sketch. I then extruded the heart shape and filleted the outside edges.
The hearts were 3D printed.
Prototyping
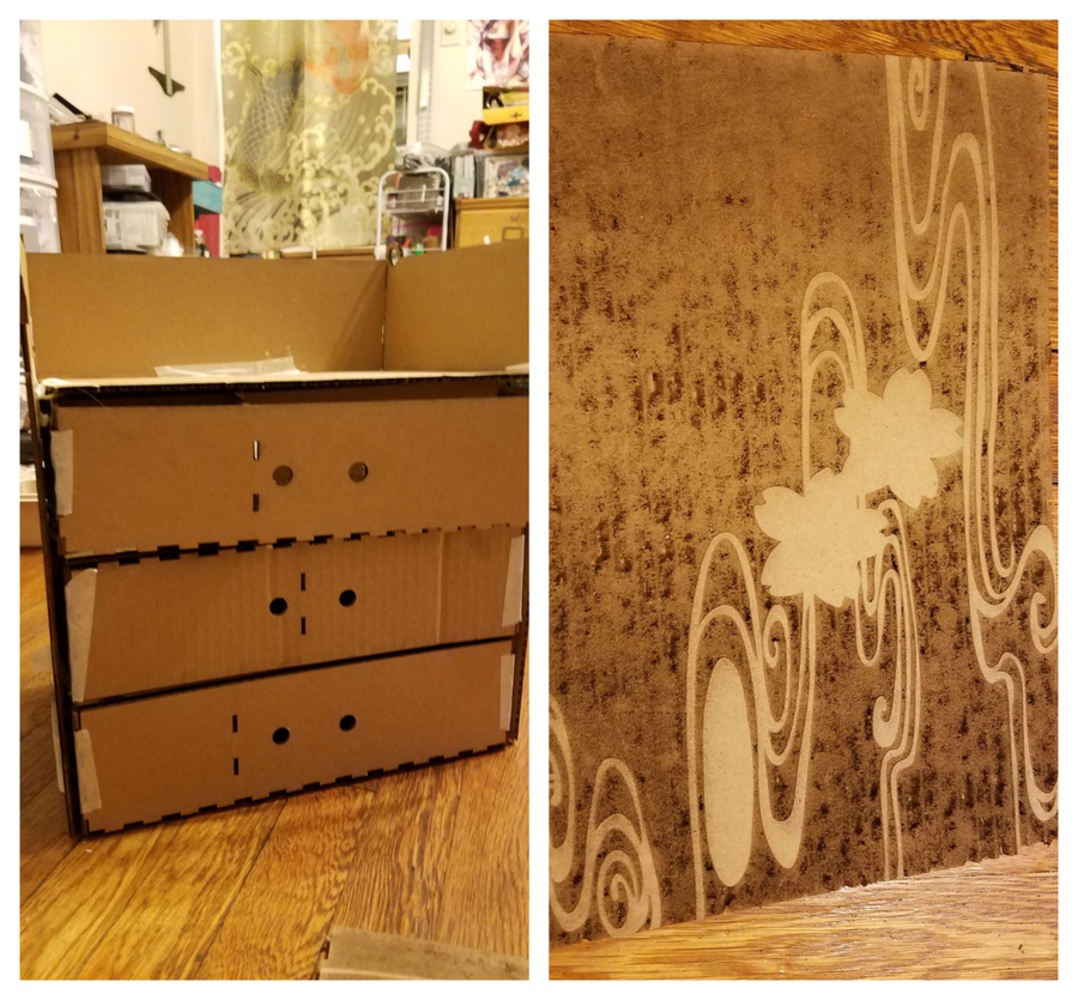
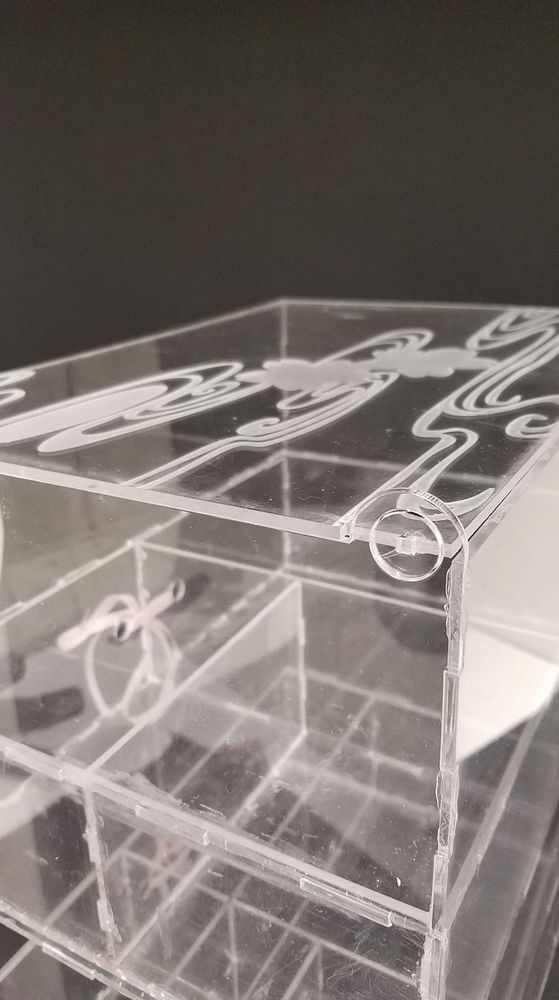
I prototyped the laser cut elements out of cardboard. The etching was reversed on the cardboard than I had anticipated, but I was fine with either way aesthetically so I left it how it was. In assembling the prototype I found that some notch cuts had been missed and adjusted my DXF files accordingly.
Laser-Cutting and 3D Printing
This was quite a few pieces to keep track of while laser cutting so I actually missed a few the first time and had to do three rounds of laser cutting. This took multiple 2'x4' sheets of 3mm acrylic plus some large scraps left in the Fabrication Lab. I also had to recut one of the drawers because of a discrepancy in drawer and drawer slot size.
3D printing was simple once done but was a struggle to actually get it there because of the status of the 3D printers. I sent to three separate printers in the hopes that one would get printed, but in the end had to ask maintenance to manually input my file to the Stratasys printer.
Assembly
I had been told previously that acetone would work as a glue for acrylic, however that was very much not the case. The acetone caused some spiderwebbed cracks but I don't believe any of them will affect the structural integrity. Instead I used E6000, which while kind of messy, worked well to adhere the pieces. Assembly of the box went without problems, however it was during assembly of the drawers that I realized I had forgotten to cut some of the dividers. It was also during this stage that I noticed that the drawers were too tall for their places in the box. I sanded down two of the drawers, but cut the third drawer shorter to accommodate the space.
The hearts were sanded down and finished with a gloss coat in preparation for molding. I molded the hearts in Oomoo30, then resin cast the final pieces. These were then glued to the box with E6000.