elarson2 Project 1 - Mid Century Clock
Made by Louise Larson
Made by Louise Larson
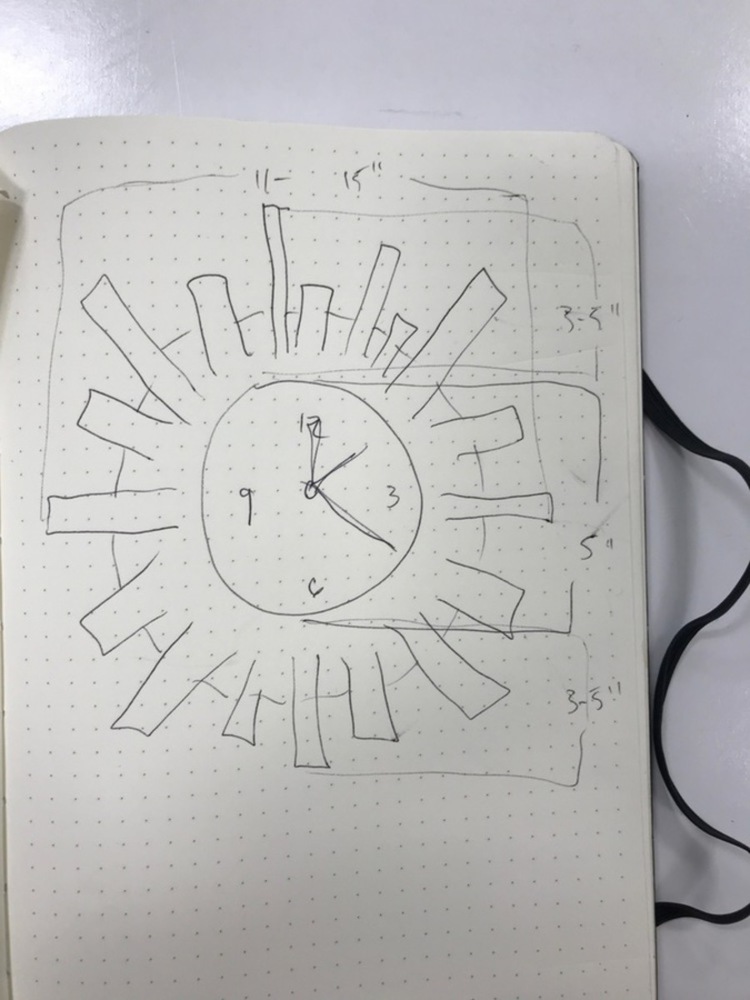
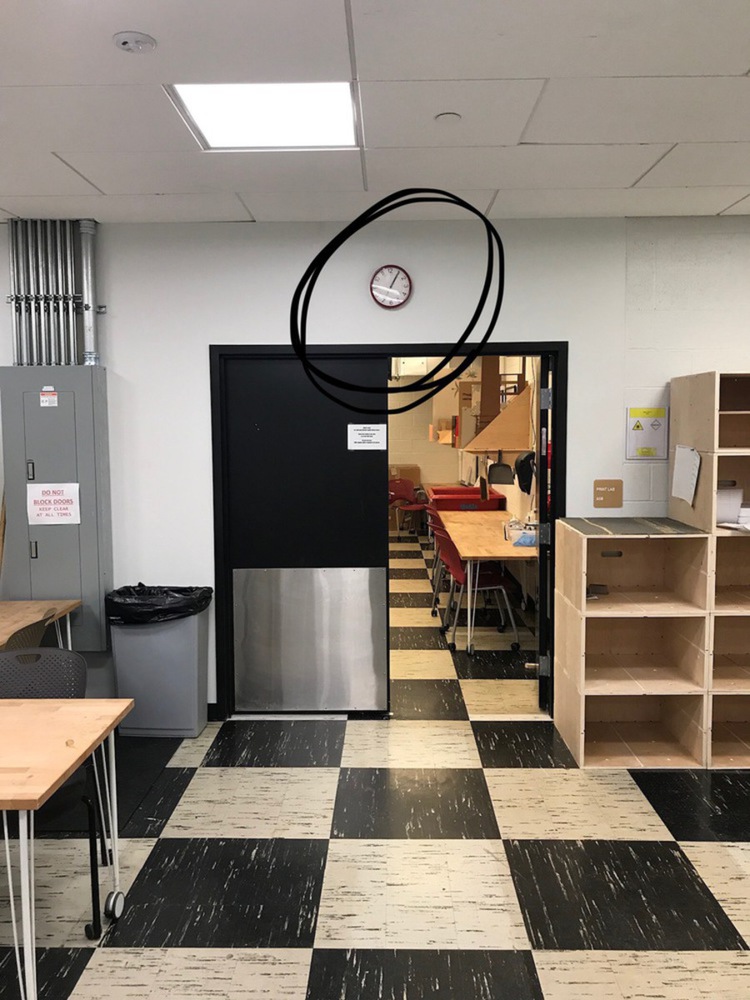
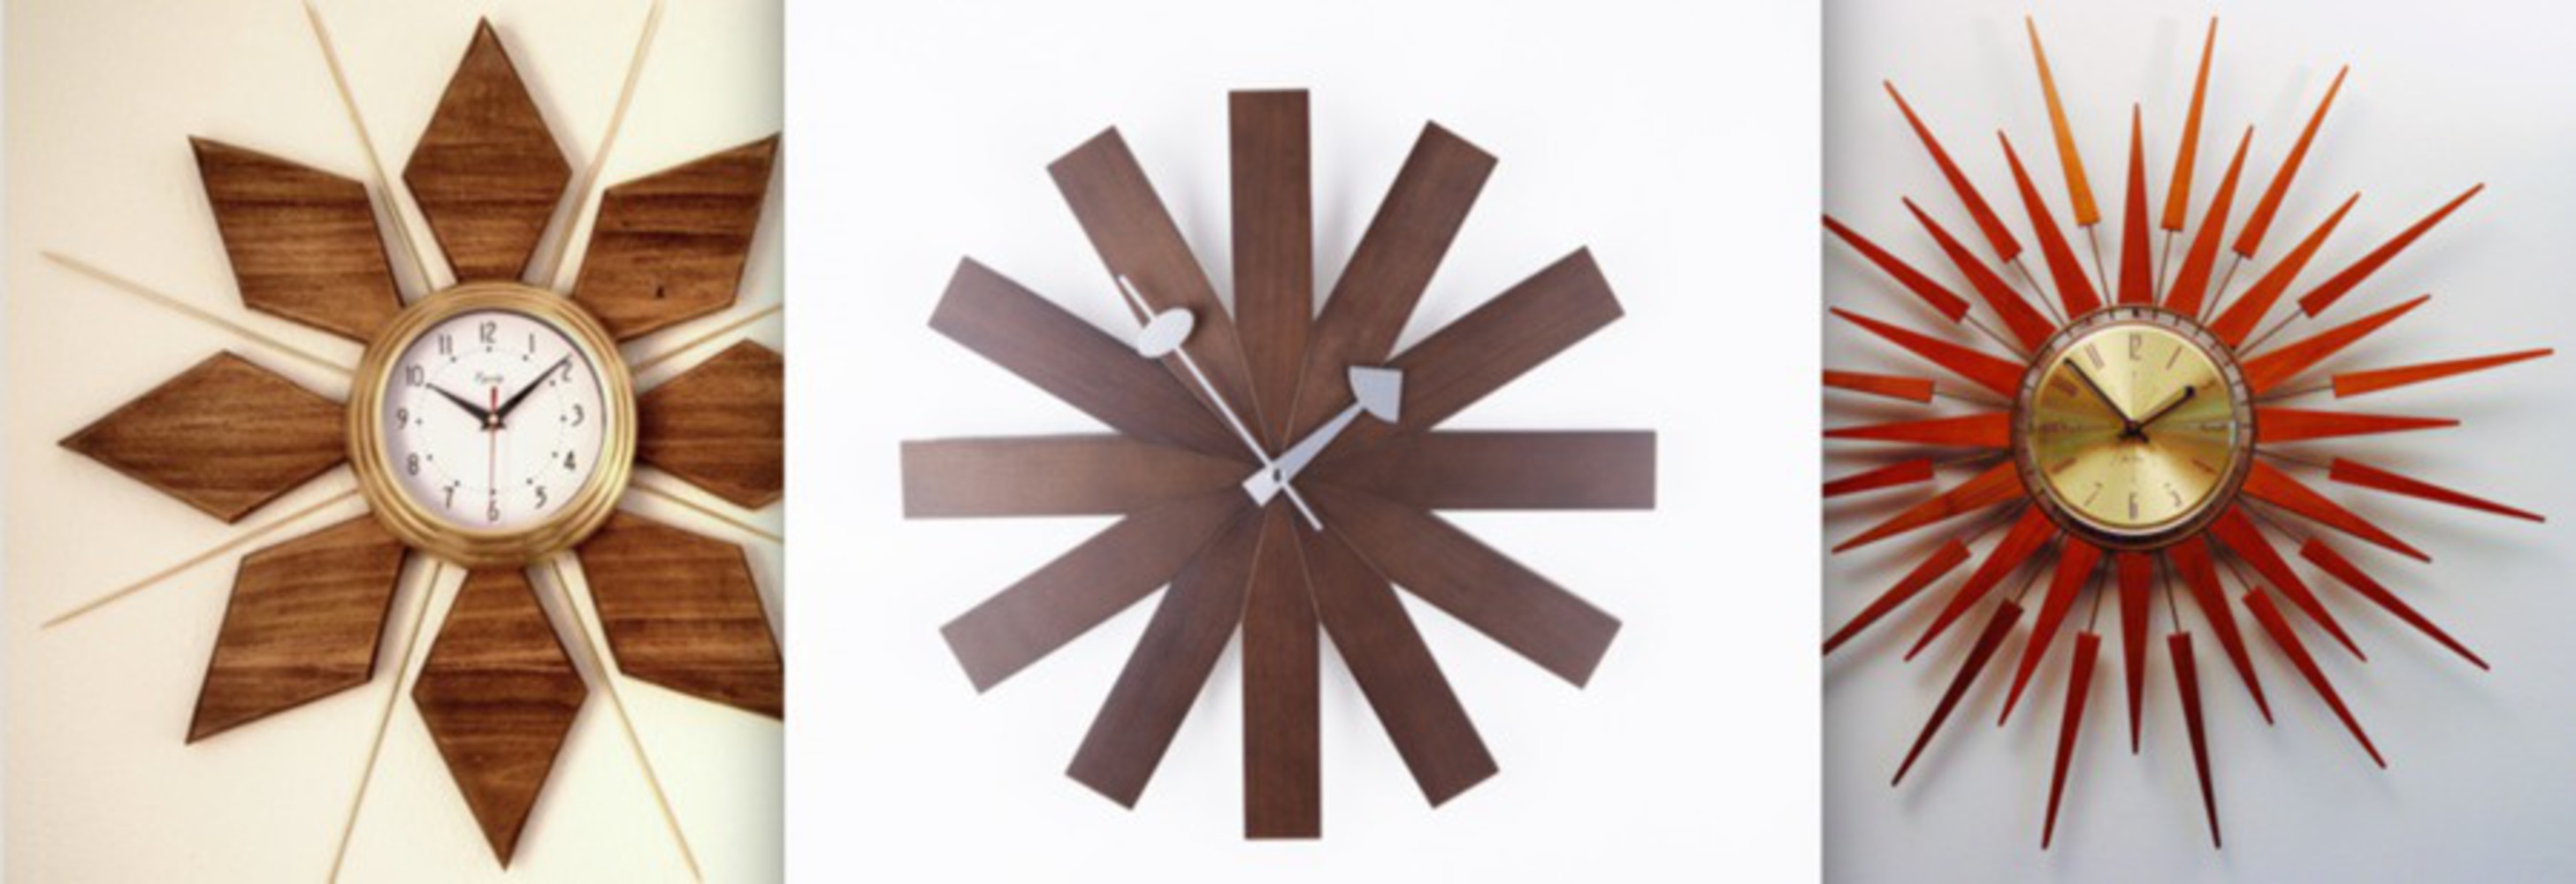
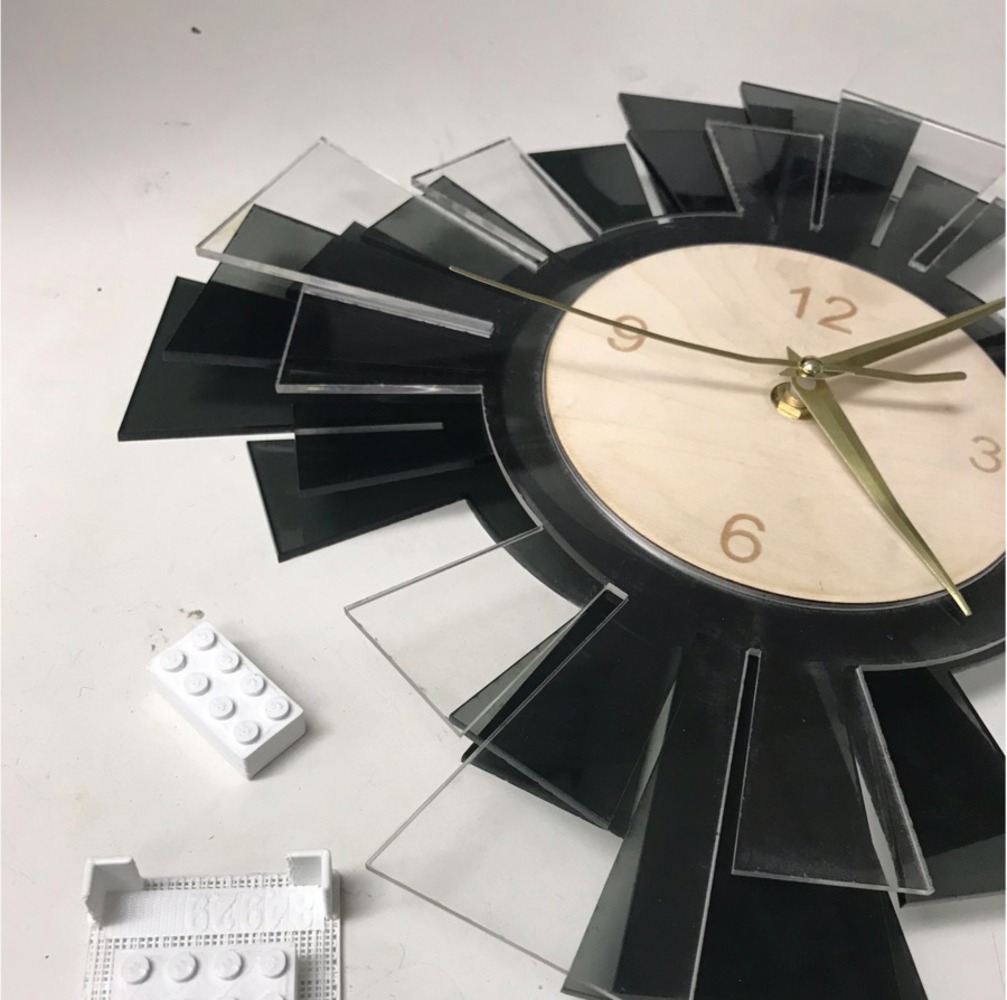
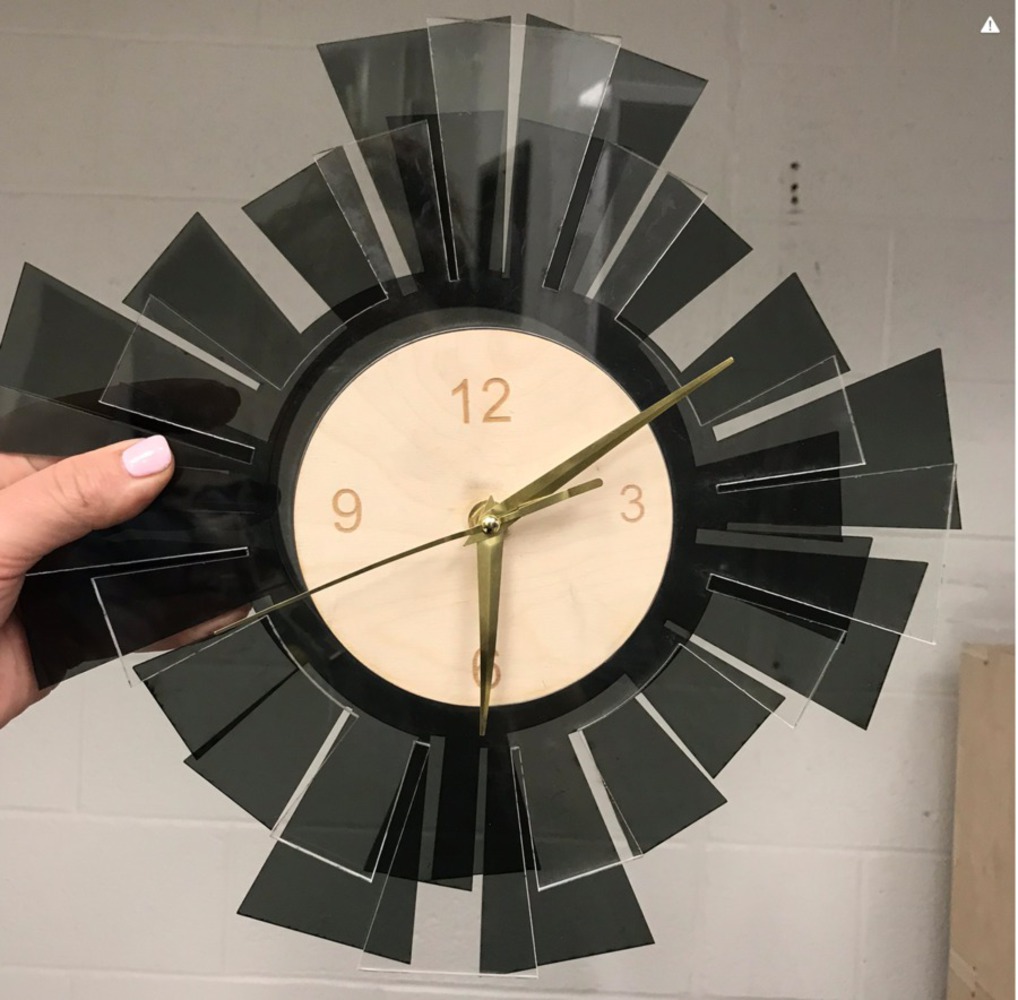
Use the Rabbit Laser to etch, score, and cut a mid-century modern inspired wall clock for the A5 workspace and classroom.
Created: October 22nd, 2017
Digital Tooling (DigiTool) provides a platform for any CMU student to learn Digital Fabrication processes; all of which are very hands-on. Like these processes, this class is also very hands-on. I...more
Use the Rabbit Laser to etch, score, and cut a mid-century modern inspired wall clock for the A5 workspace and classroom.