Get A Grip: Sanding Block Grip
Made by dnuxoll · UNLISTED (SHOWN IN POOLS)
Made by dnuxoll · UNLISTED (SHOWN IN POOLS)
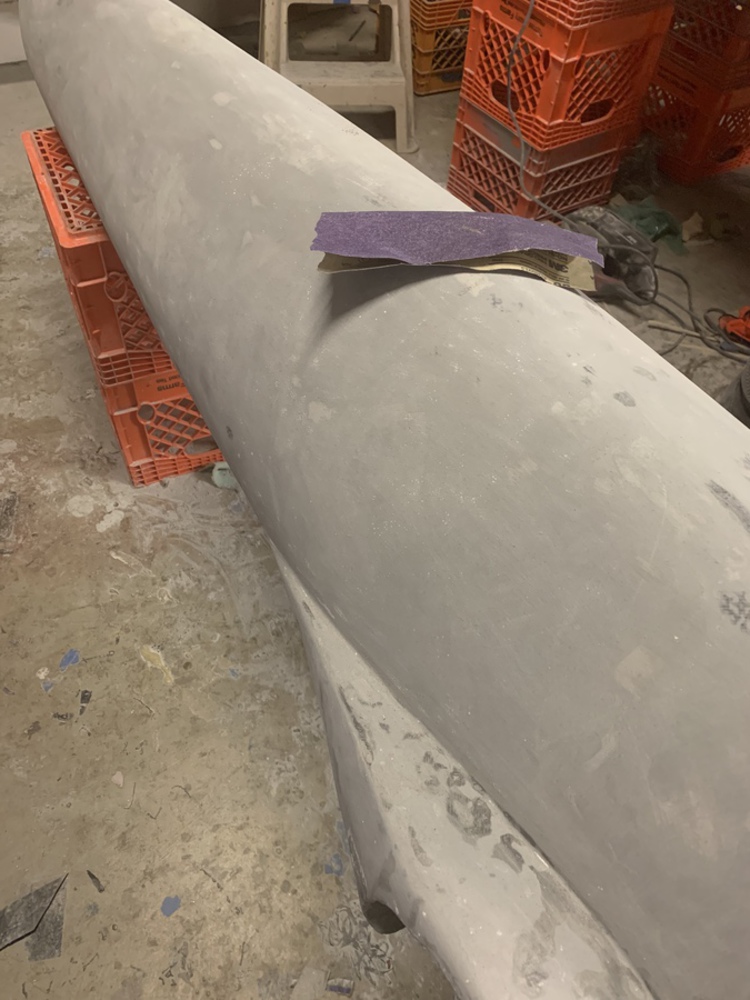
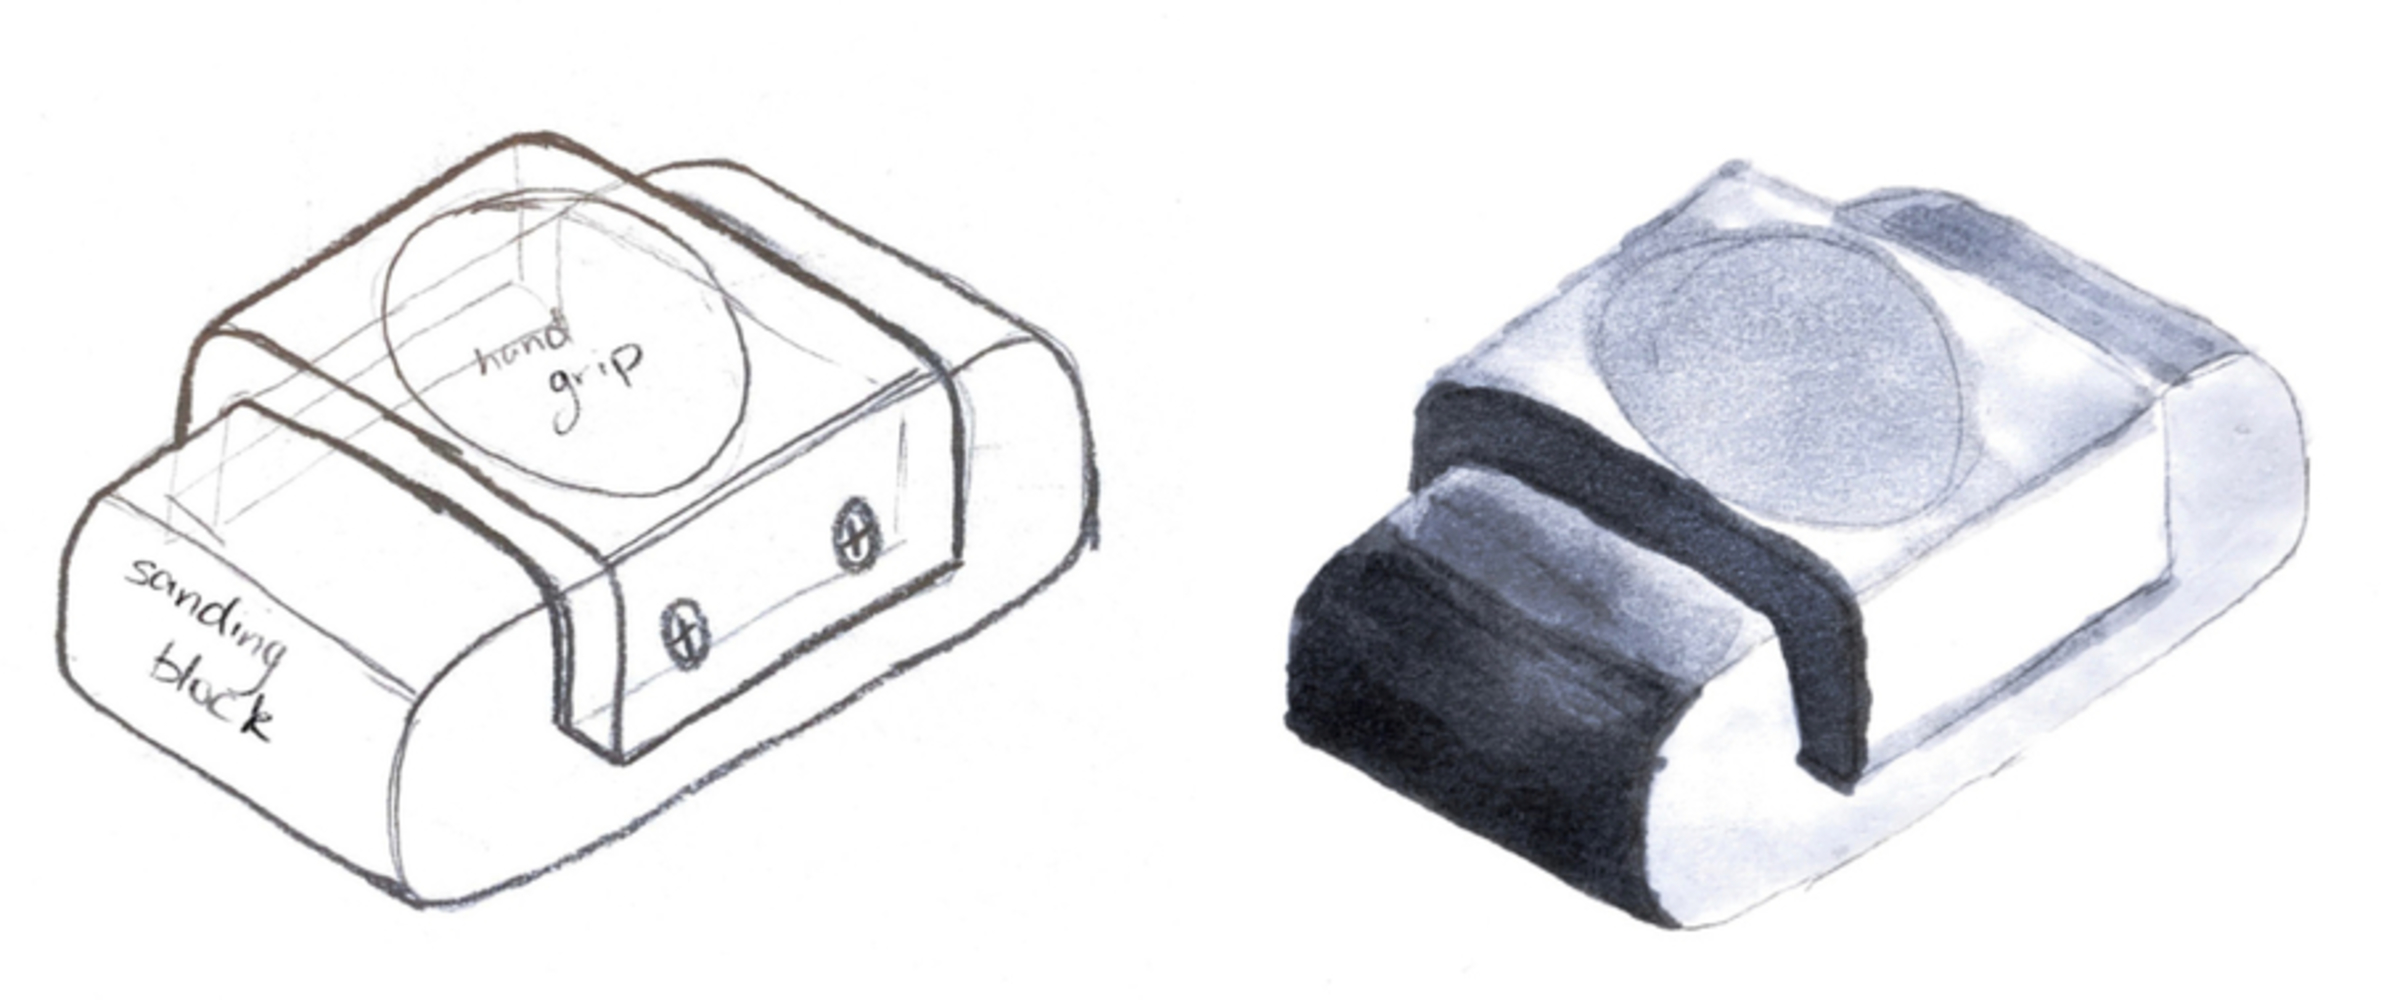
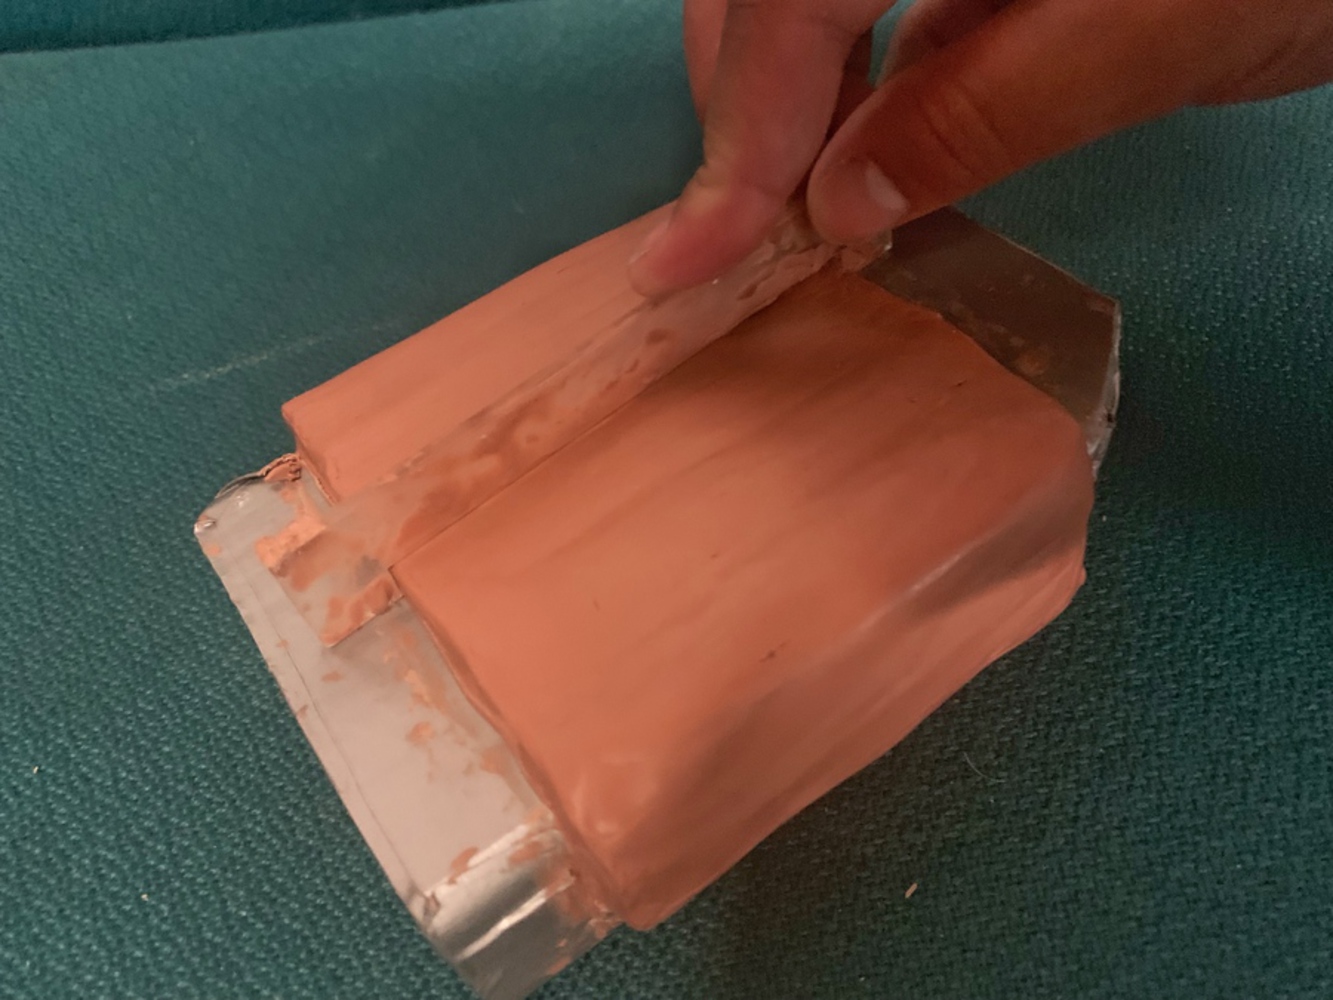
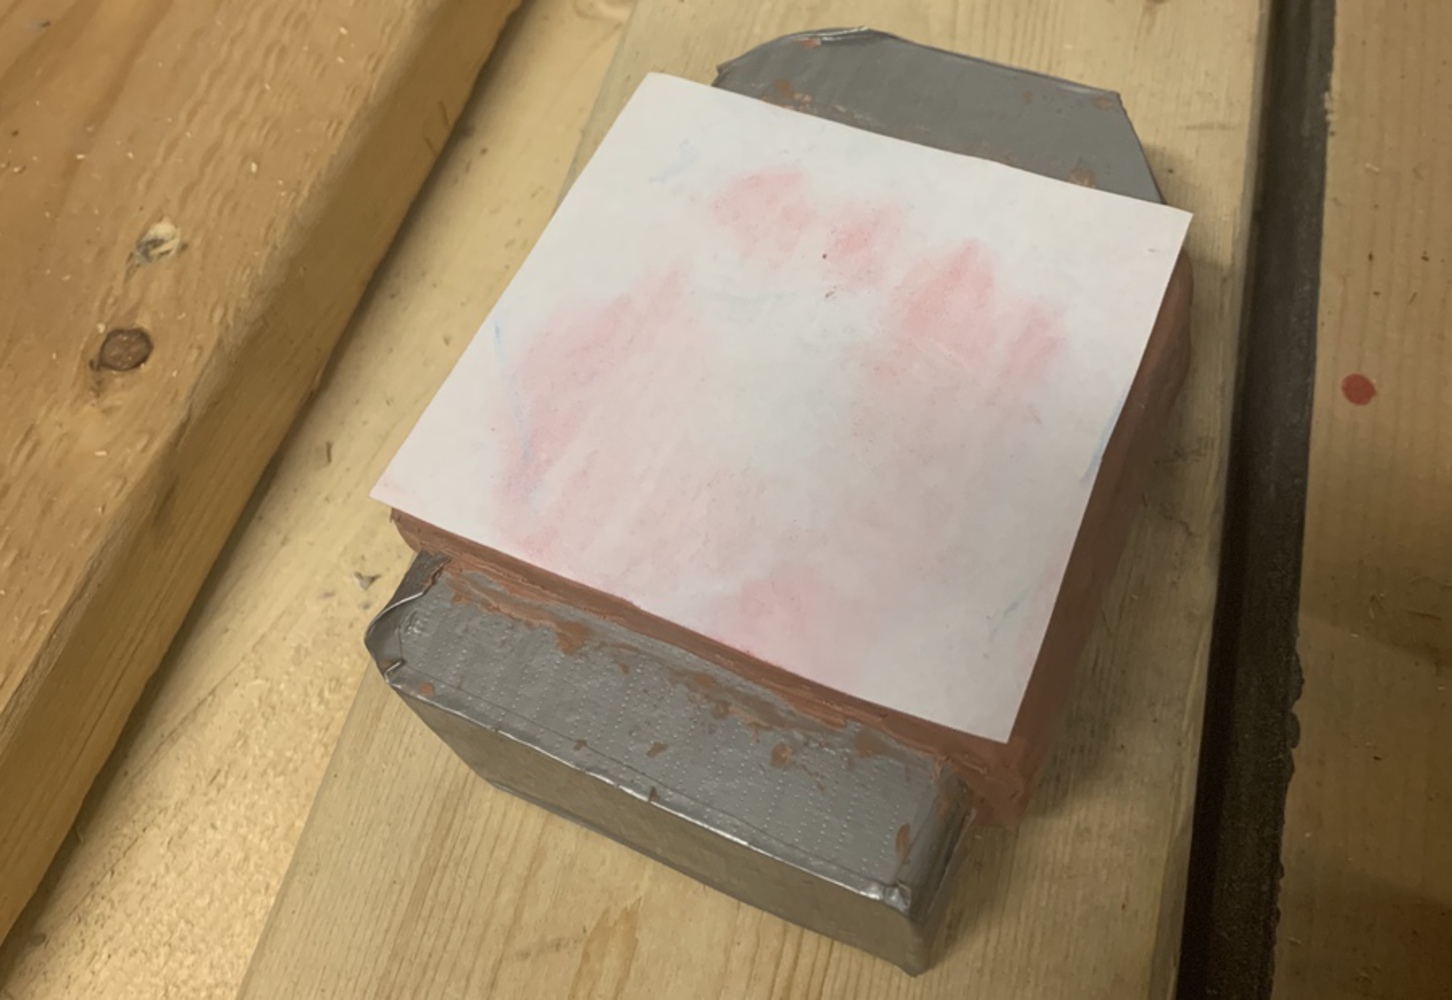
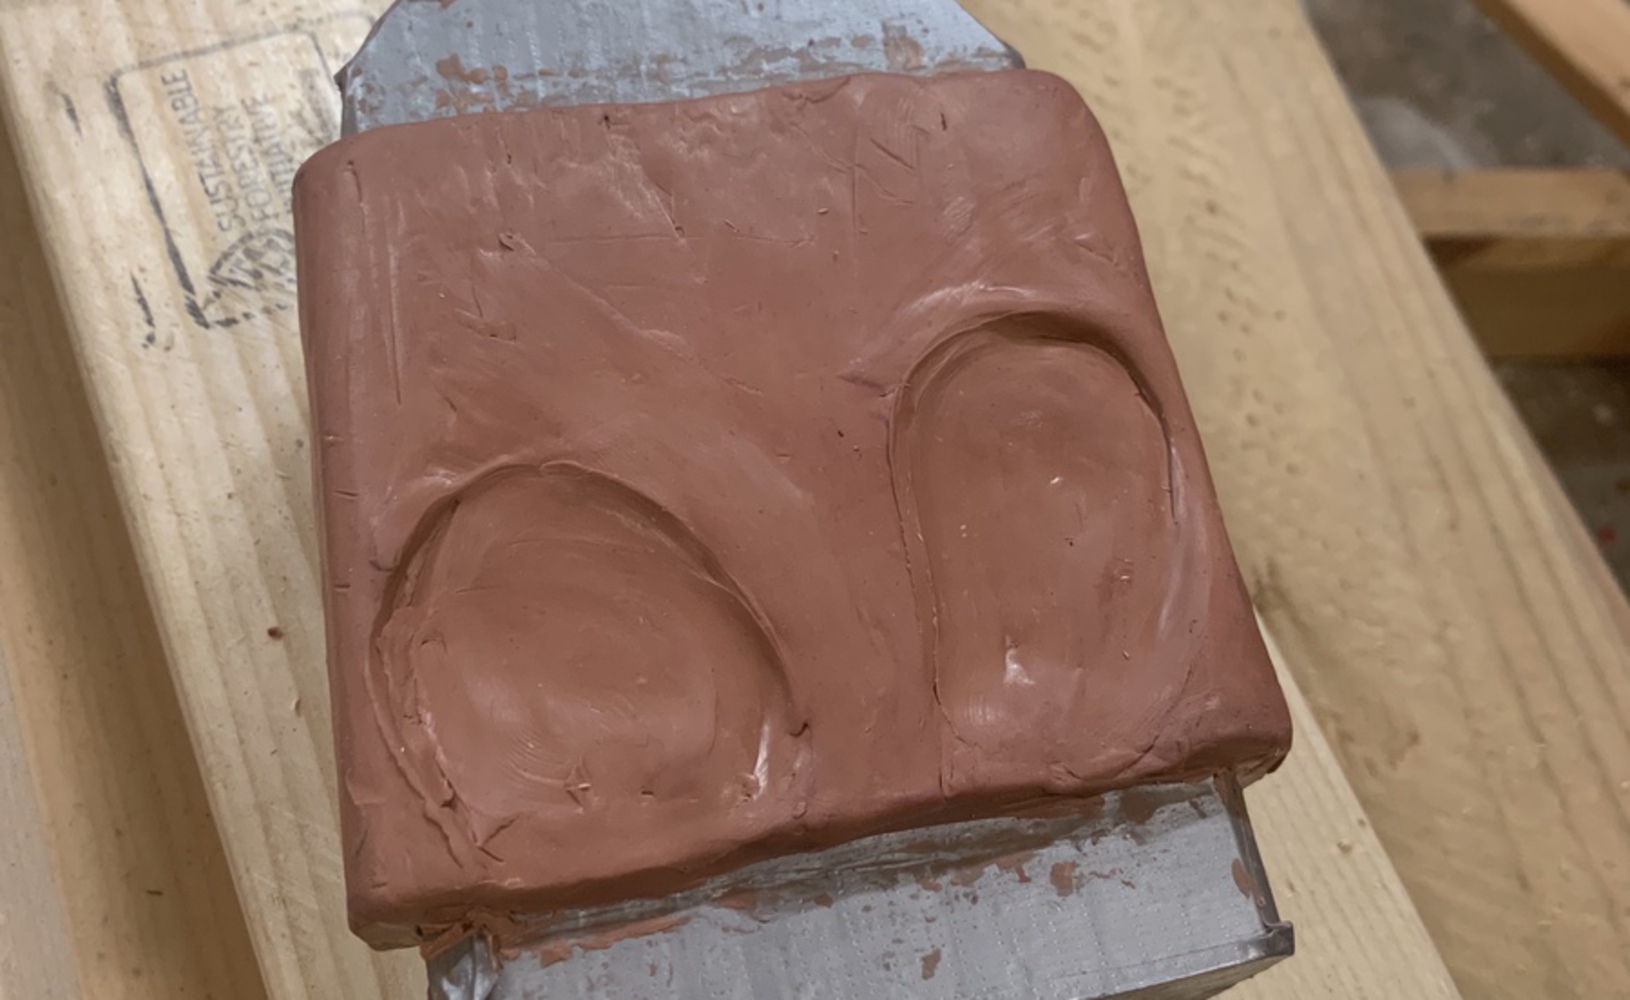
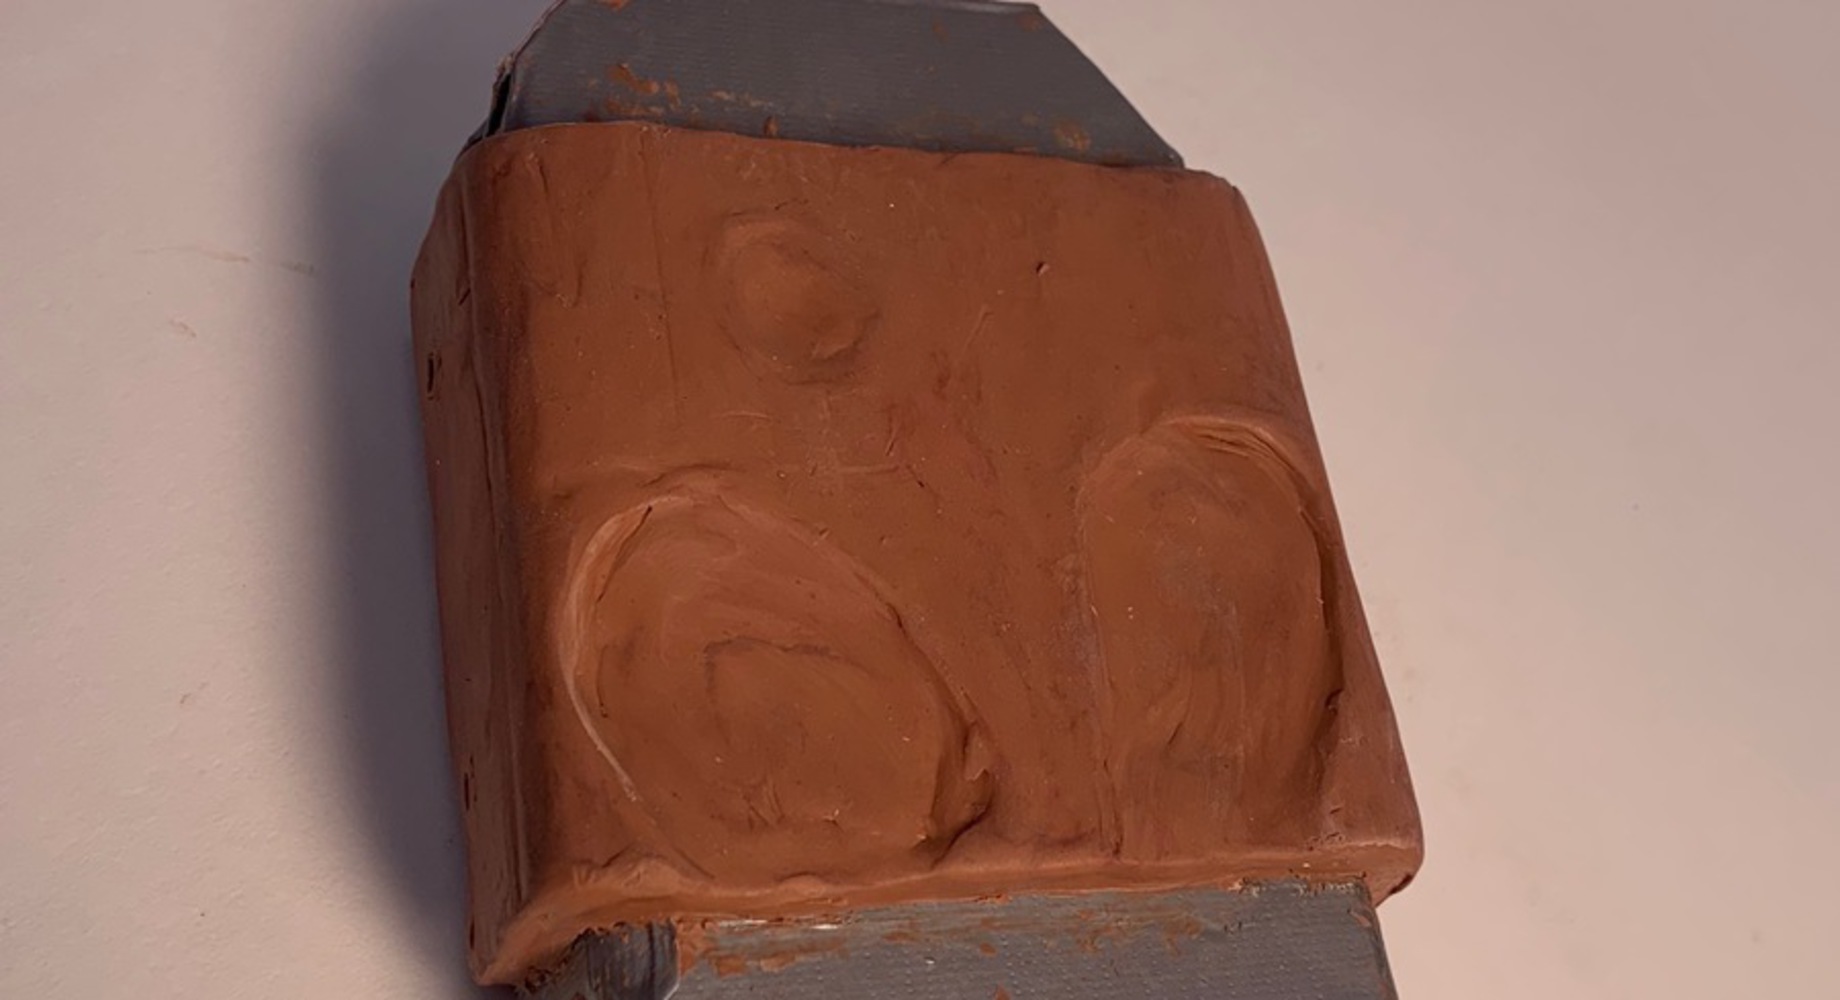
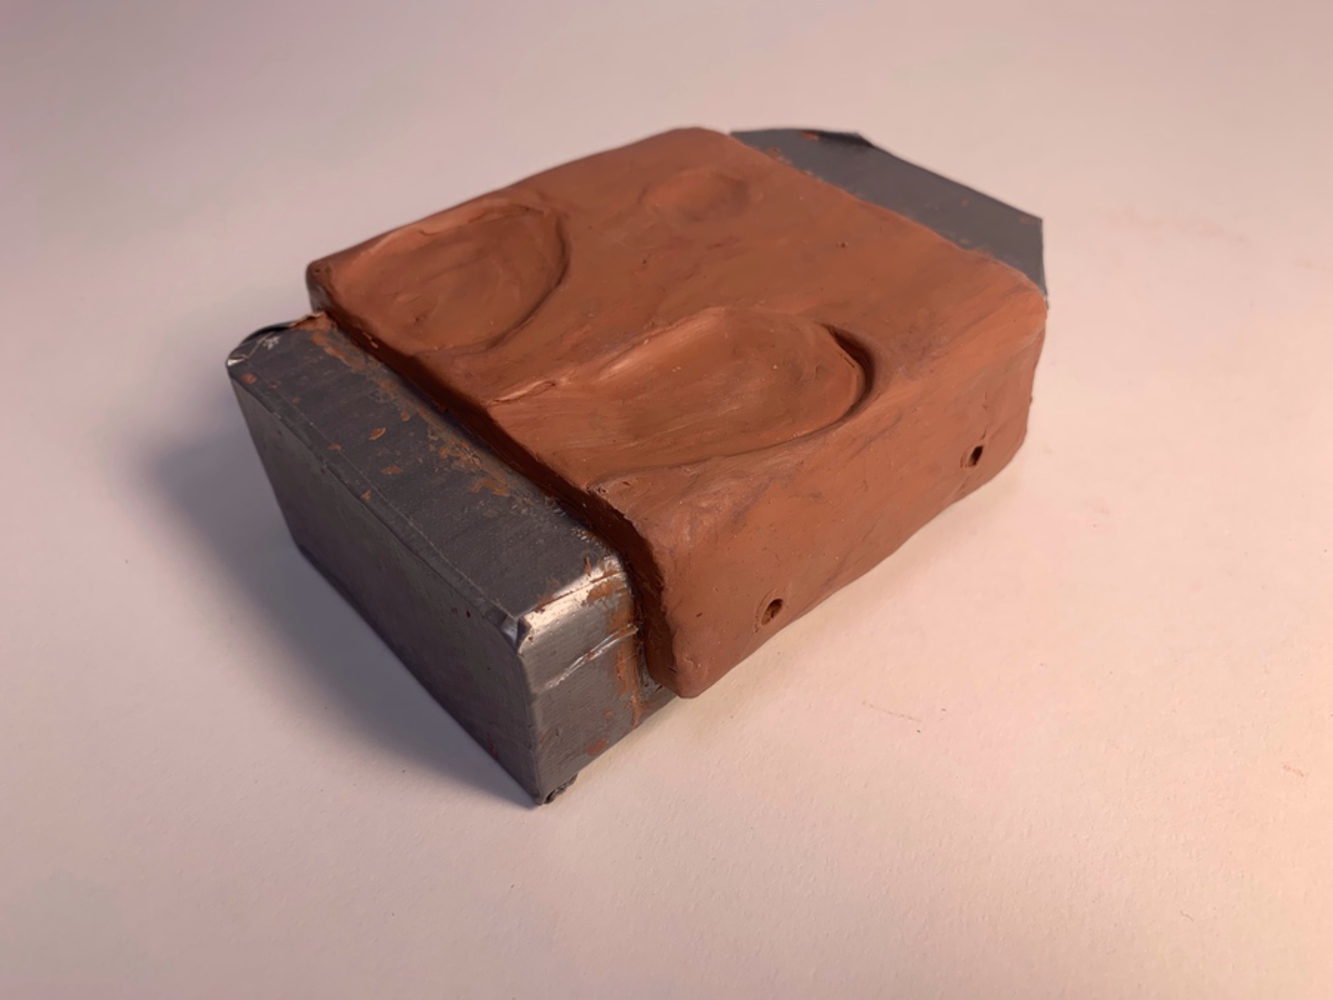
The intention of this project is to create an ergonomic grip easily screwed onto a wooden or foam sanding block, to keep your hands from cramping while sanding.
Created: March 18th, 2019
This project is only listed in this pool. Be considerate and think twice before sharing.
Offers students hands-on experience in DIY product design and fabrication processes. Students work individually or in small groups to design customized and personalized products of their own and bu...more
The intention of this project is to create an ergonomic grip easily screwed onto a wooden or foam sanding block, to keep your hands from cramping while sanding.