High Five Computer Activator
Made by tcabezon
Made by tcabezon
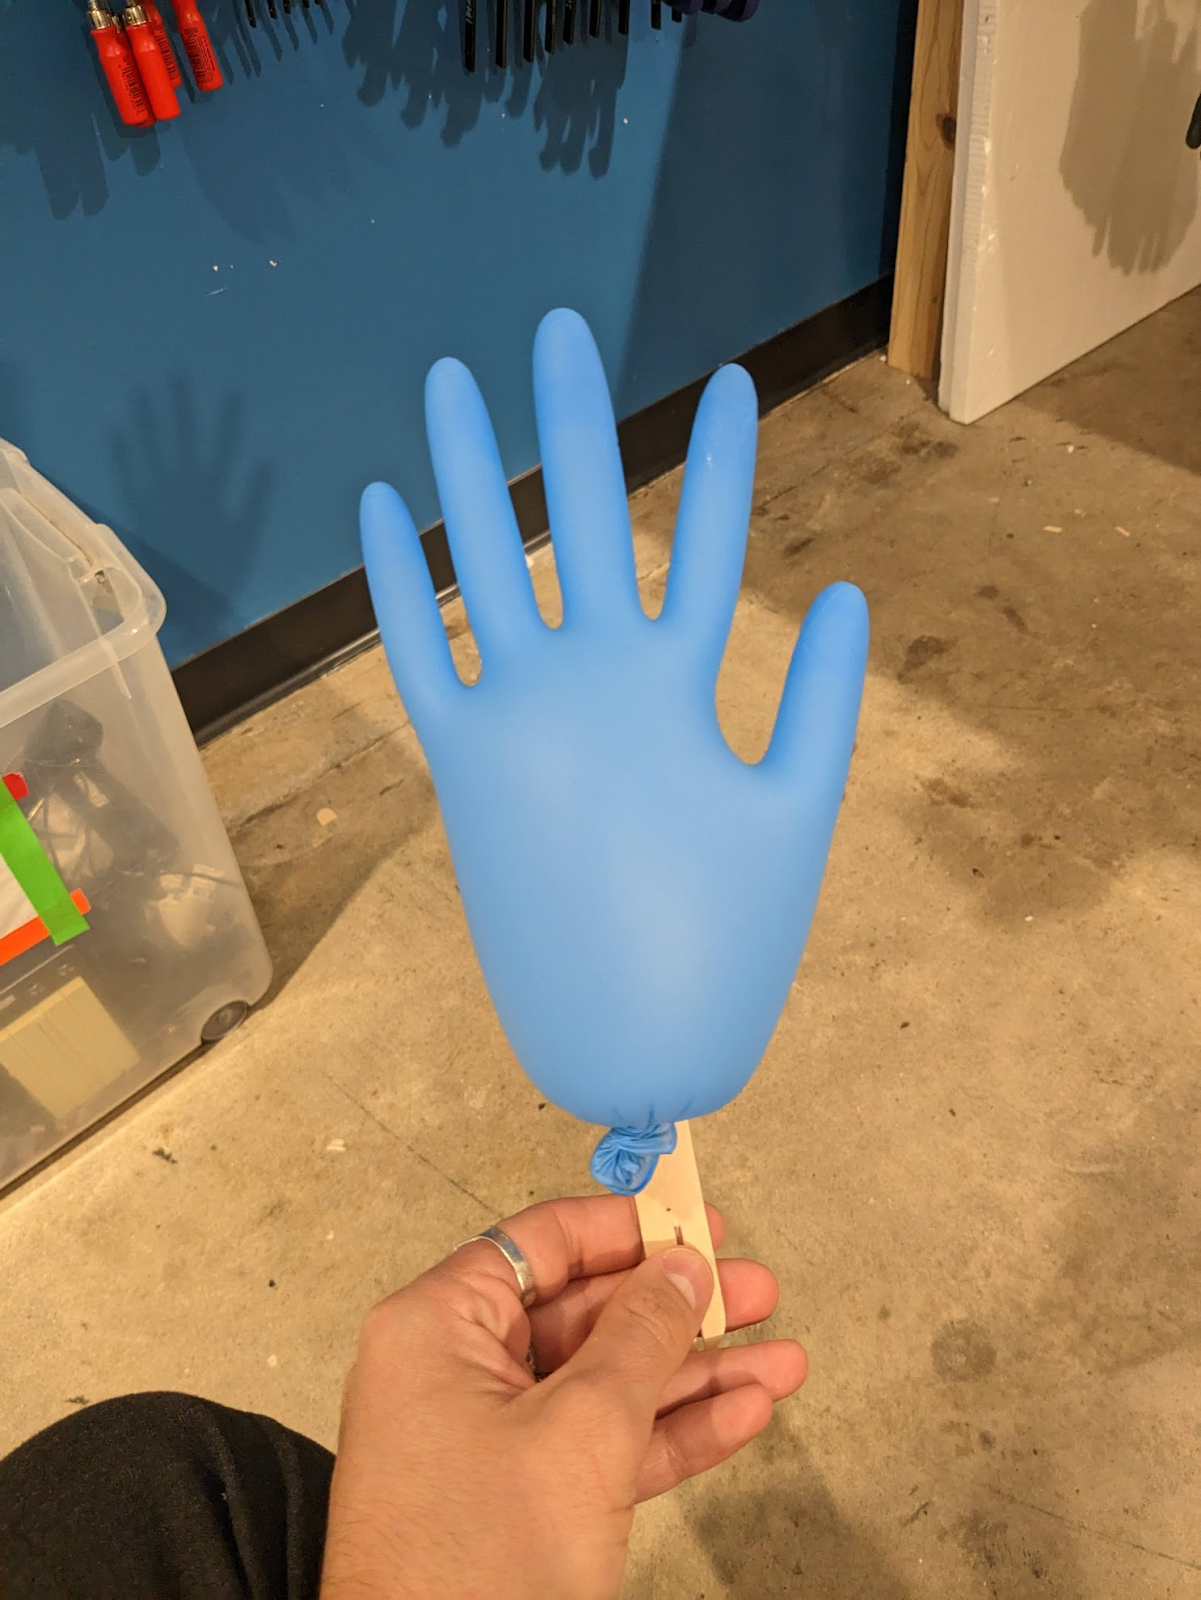
(Fan + Proximity + Servo) This device has a puffy hand-shaped exterior made of soft and comfortable material that is designed to turn on your computer only when you give it a high five. It is a playful and unconventional device that explores the potential of physical interaction as a means of activating technology.
Created: February 21st, 2023
What is the first thing you do when you see a friend? A high five! Why don’t we do the same with our computers? Aren’t they our best friends?
The Puffy Hand Computer Activator project responds to the initial brief by engaging with the line of inquiry around spooky technologies and exploring the potential of everyday analog technology imbued with intelligence. By subverting the conventional function of an appliance, a fan, and integrating the sensor information into a playful and unconventional device, the project creates a novel and animistic interaction. The puffy hand exterior, coupled with the fan and servo components, imbues the device with a sense of magic and agency, inviting users to engage with technology in new and unexpected ways. By exploring the potential of physical interaction as a means of activating technology, the project challenges our assumptions about the role of technology in our lives and invites us to imagine new possibilities for how we might interact with intelligent devices.
Asking chatGPT about a high five:
The Puffy Hand Computer Activator project was influenced by a range of prior work, ideas, and projects, as well as concepts and research from this module. In particular, the project drew inspiration from critical making and counterfactuals, which encouraged the exploration of alternative devices that challenge our assumptions about technology. The concept of animism, as discussed in class, informed the project's aim to imbue technology with a sense of magic and agency, while the idea of spooky technologies inspired the exploration of unconventional and unexpected interactions.
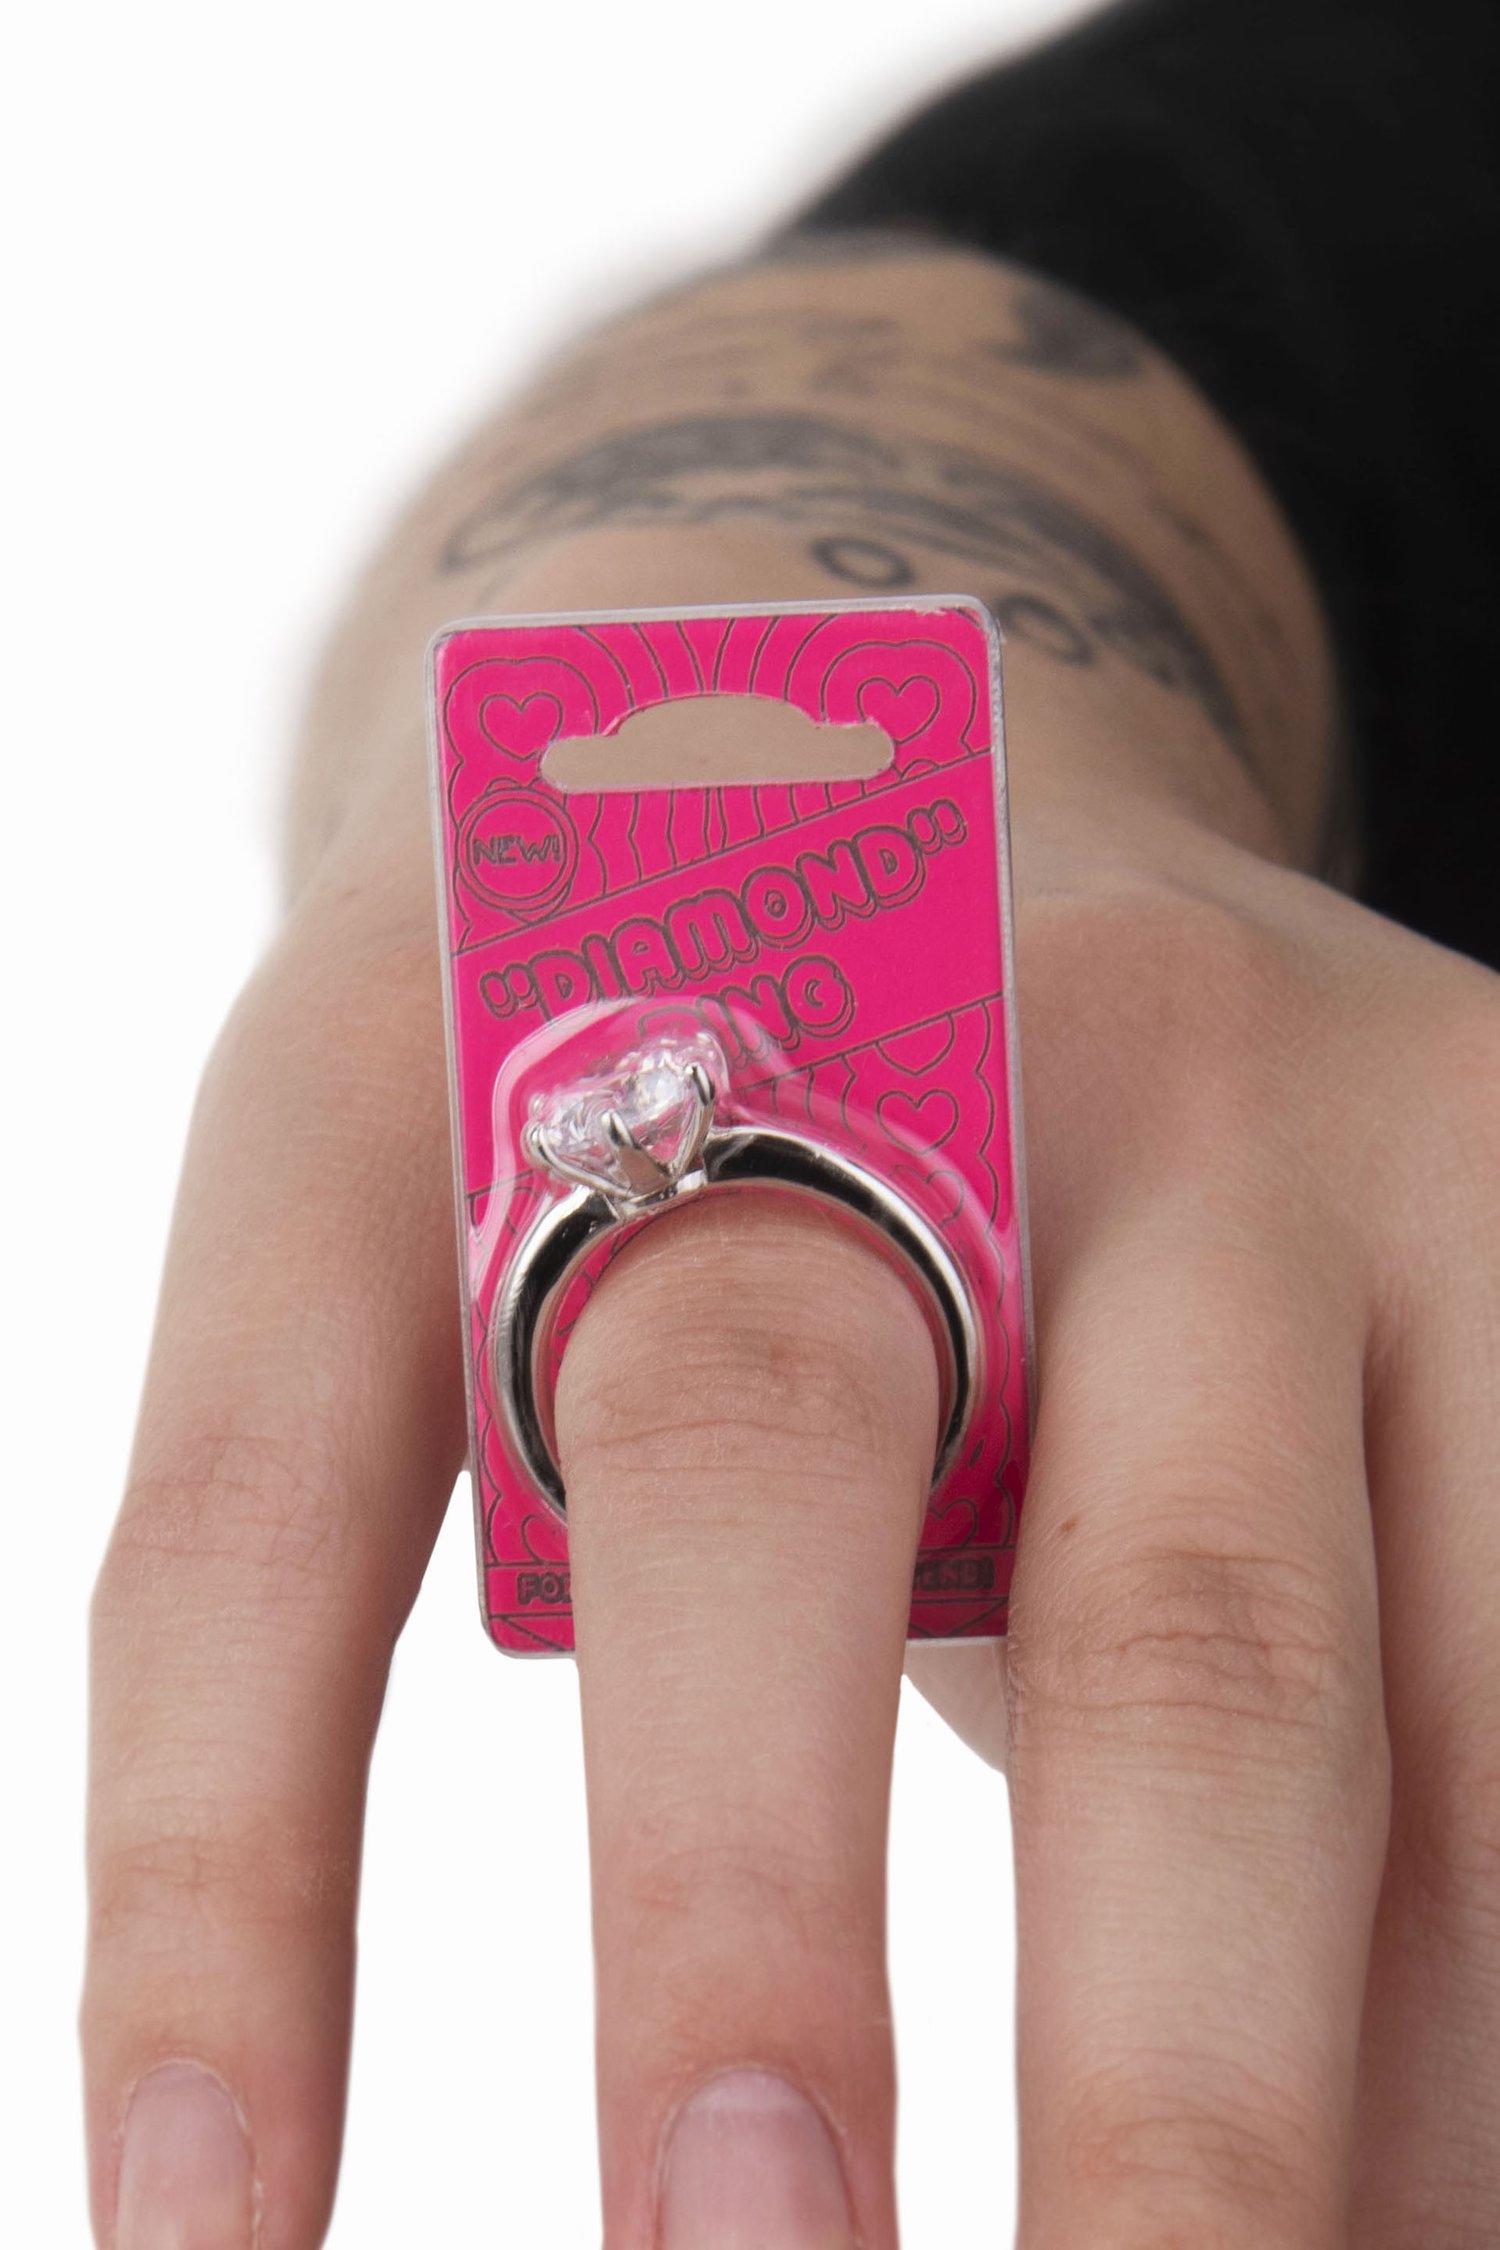
The Diamond "Ring" project (http://www.caseynewberg.com/graduate-1/kaw8tb8rt9bw4jo8xfjec3tzvn2htc) by Casey Newberg is a great example of rethinking the use of an object of technology that challenges our assumptions about the purpose and design of an everyday object.
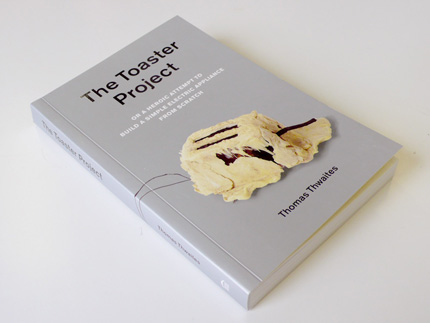
By making the interaction with the device more difficult and requiring a physical high-five to turn on the computer, the project encourages users to become more aware of their use of technology and to consider the role it plays in their lives. The toaster project (http://www.thetoasterproject.org/ ) is a prime example of a project that explores the conscious use of technology through critical making.
I would divide the process in two:
This includes the small experiments I did after each class.
Bellow a video of the log #4 output
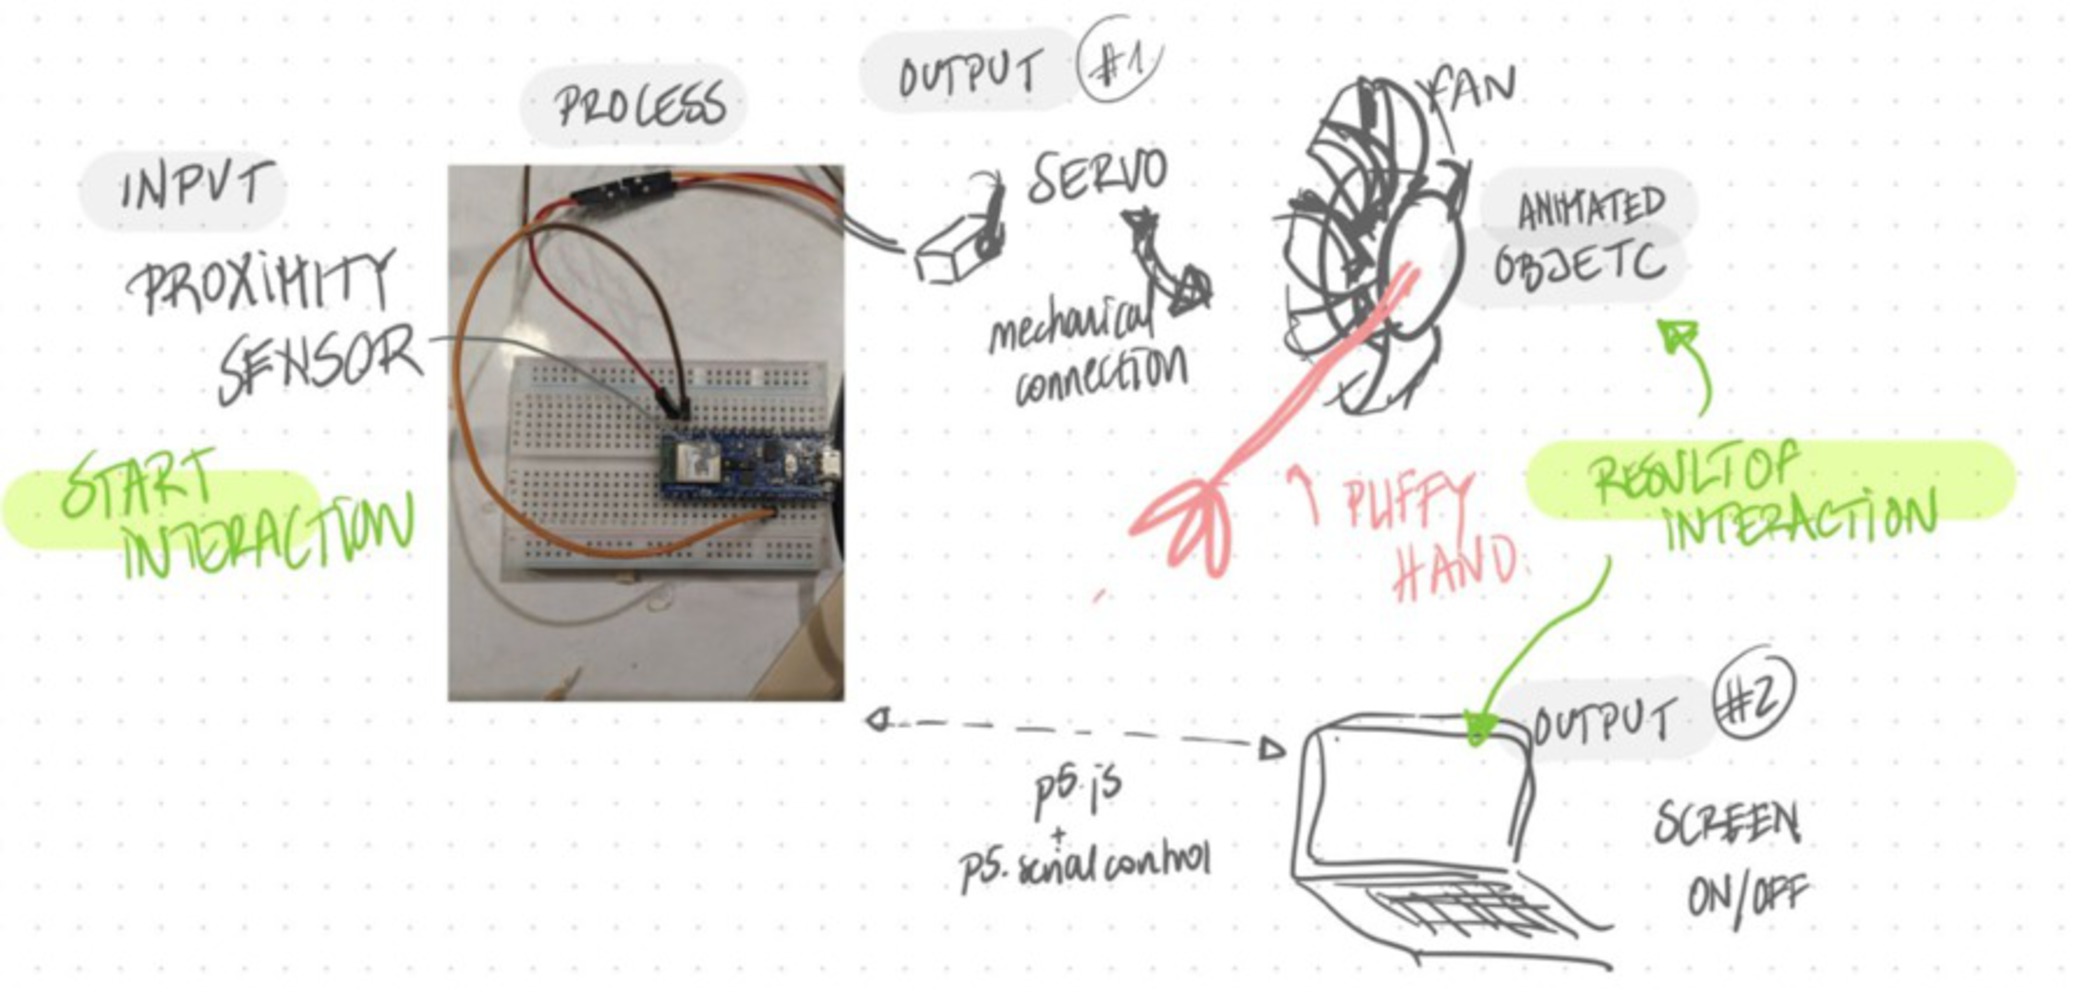
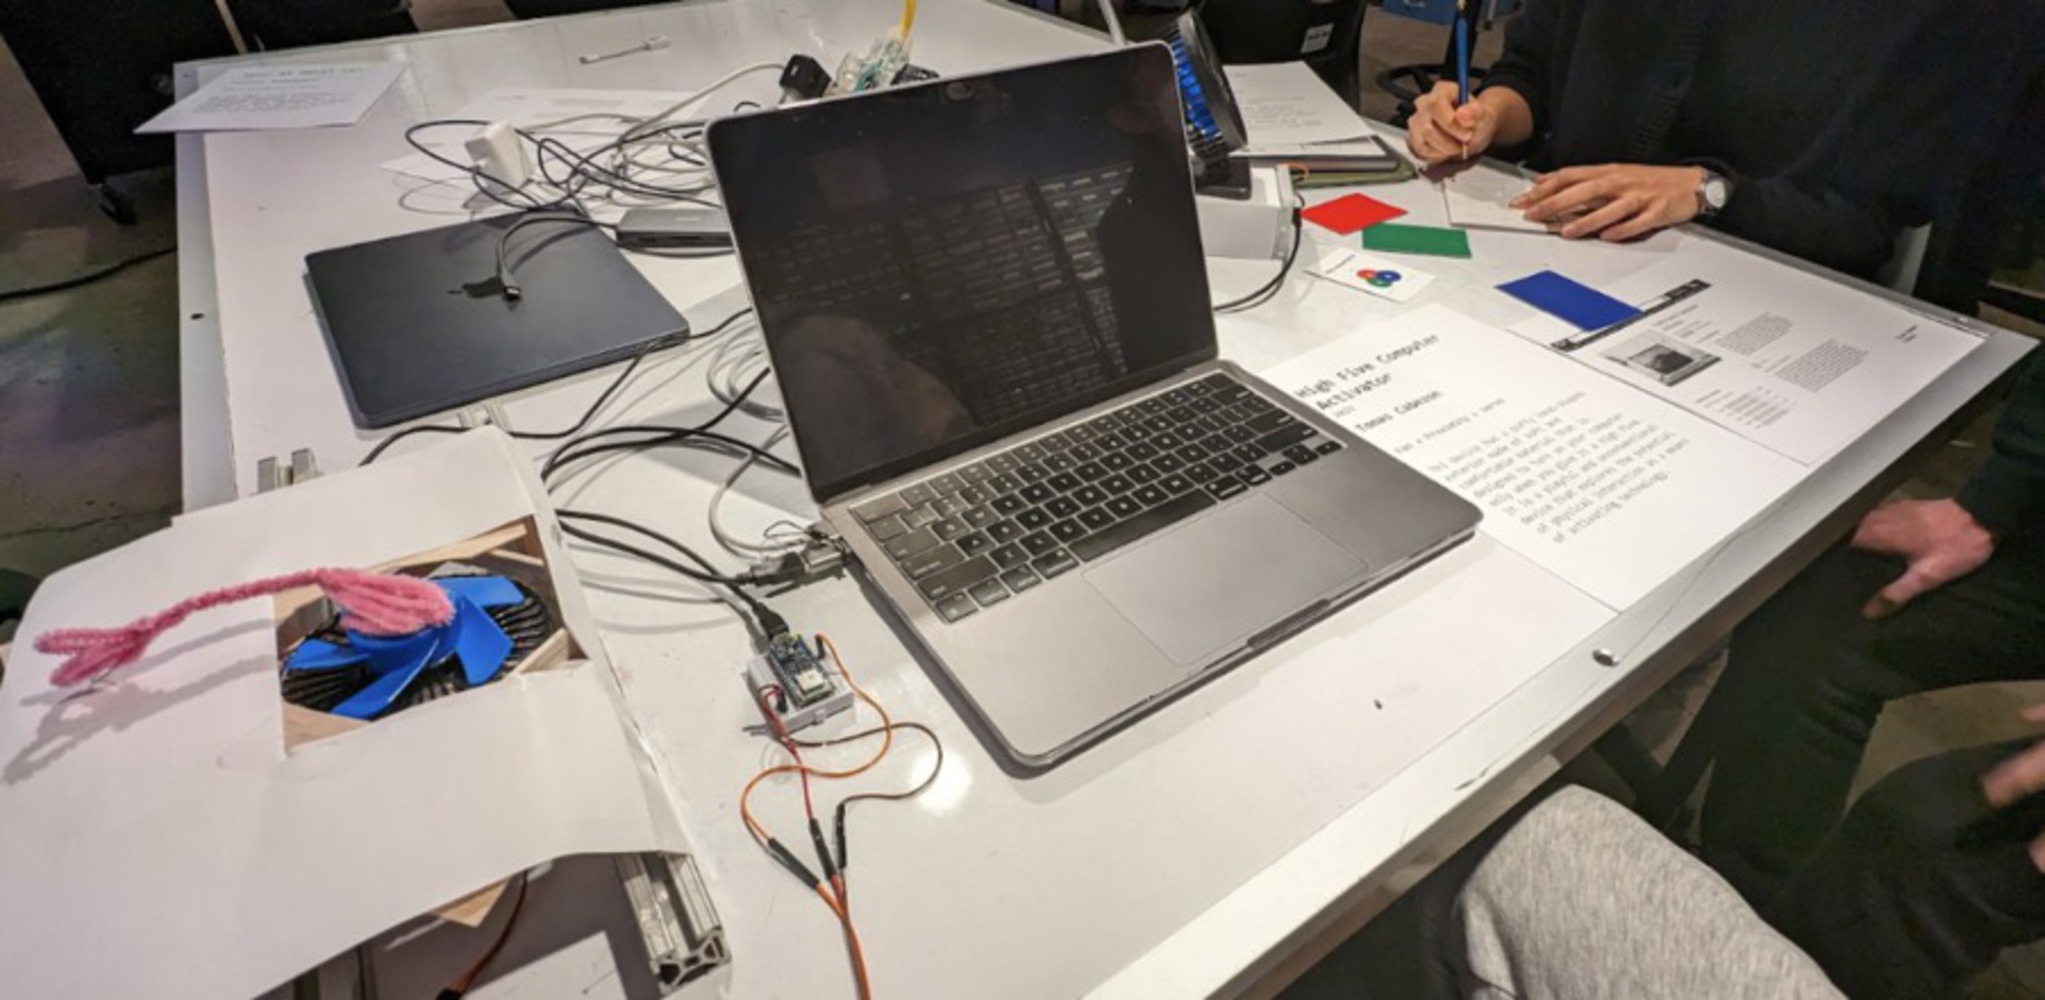
On the one side, writing the code and making every part communicate ans work as I wanted. On the other side, prototype the actual physical device. This was first connecting the hand to the fan, which was the most difficult part and the one that didn’t end up as I wanted. The limitations on the power force of the fan made me have to use a smaller hand. The second part was connecting the servo to the fand to make sure that I was going to be able to click the button and turn the fan on and off. To do this I placed the servo in place and used the ‘brute force algorithm’ of lots of silicon gun glue until the fan and the servo were one very rigid solid.
Bellow a detailed view of the connection between the servo and the fan, and the on/off when the proximity sensor is activated.
For the next steps, I would improve the fan power. The problems encountered with the fan turning off when a bigger hand was attached made me change the ‘look and feel’ of my initial idea. So in the future, I would try to incorporate a bigger hand like the following image.
In terms of the interaction, the speed of the rotation or how often it high fives back, I have a lot of open questions. Should U make this interaction even more annoying? Or should I make it simpler, an individual high five. Should I keep the interaction longer in time, or only every time the user uses the computer?
The project ended up working as hoped, and showcasing the interaction I wanted, which makes me consider it a success. However, I have learned that when doing physical computing, prototyping should start earlier, simultaneously with the coding to avoid future trouble and the need to redesign the concept.
I was especially surprised about how the high five by the computer was too fast, and a bit annoying, which made me think of my computer as a very very needy friend. Which thinking about it, it think is a true feeling. My computer is always asking for more power and crashing when I ask him to perform a bit out of his comfort zone. So yes, definitely is a very needy friend, but a very good friend after all, so being reminded that I need to take better care of him is a good thing.
I also attach a video of a classmate (thank you Chang!) interacting with my device.
(Fan + Proximity + Servo) This device has a puffy hand-shaped exterior made of soft and comfortable material that is designed to turn on your computer only when you give it a high five. It is a playful and unconventional device that explores the potential of physical interaction as a means of activating technology.