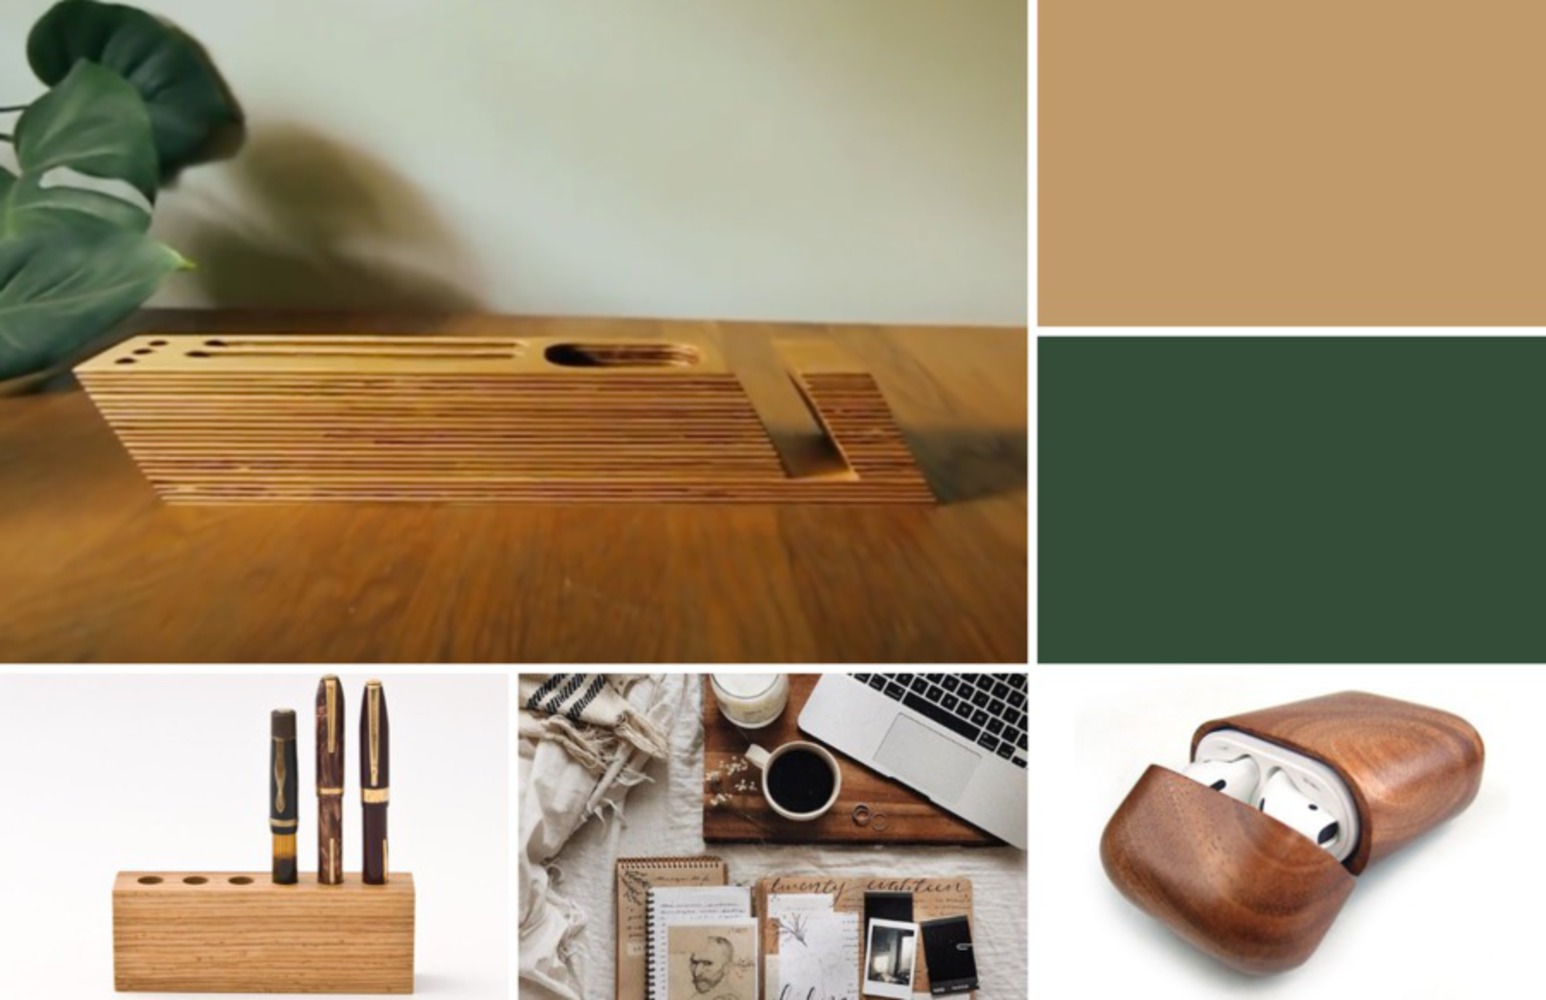
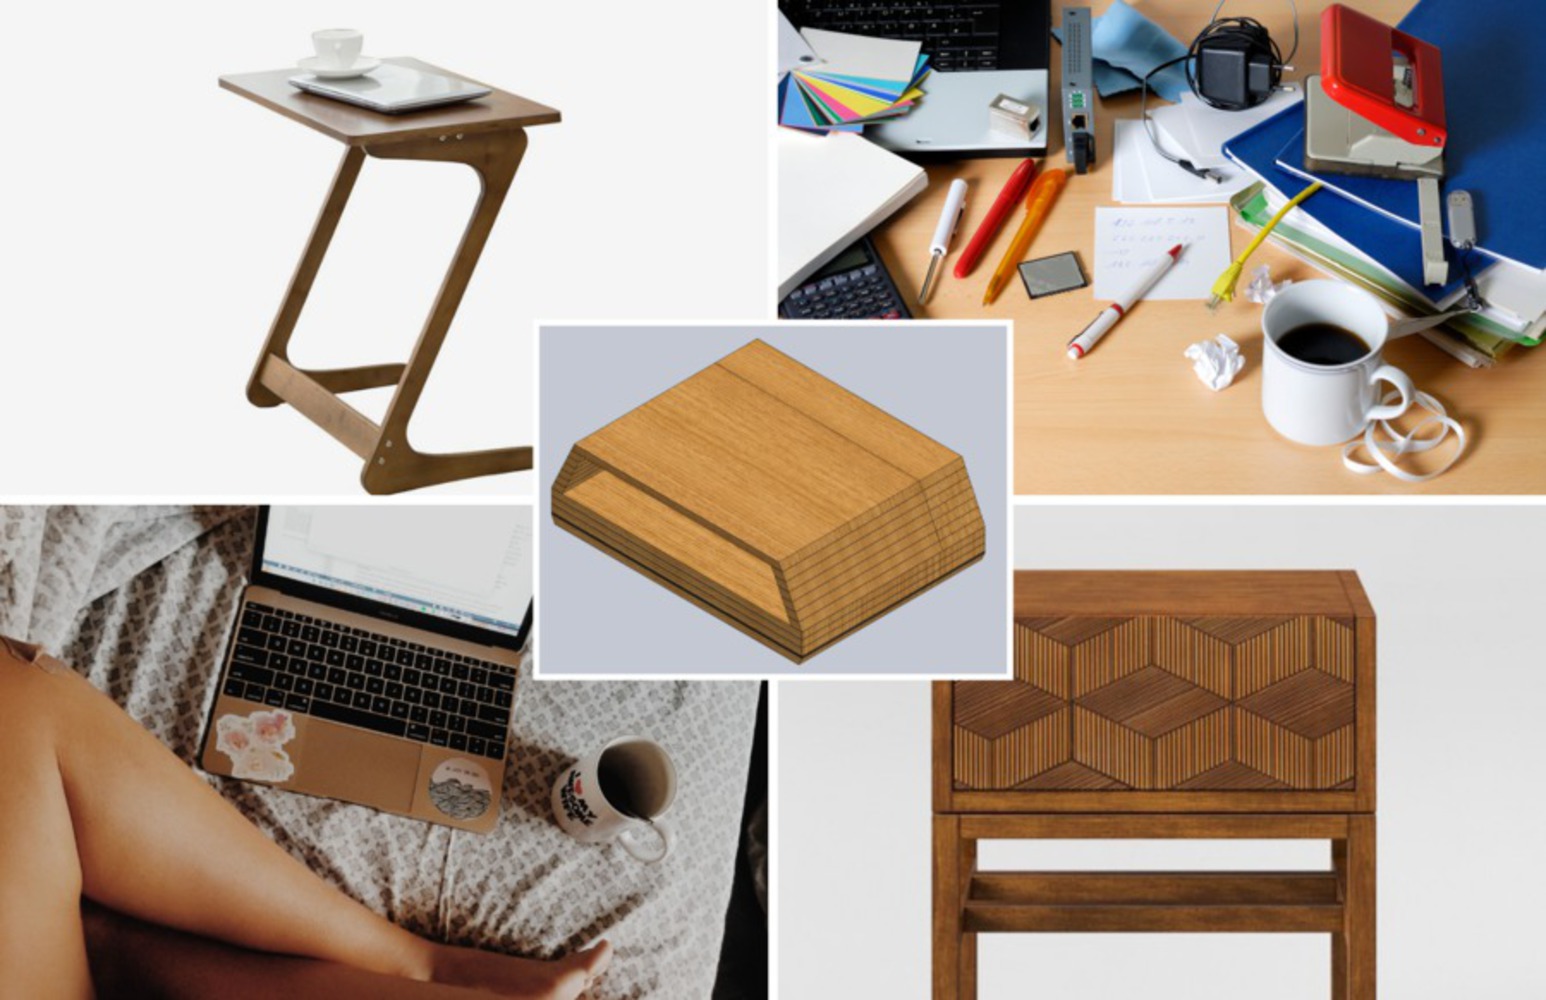
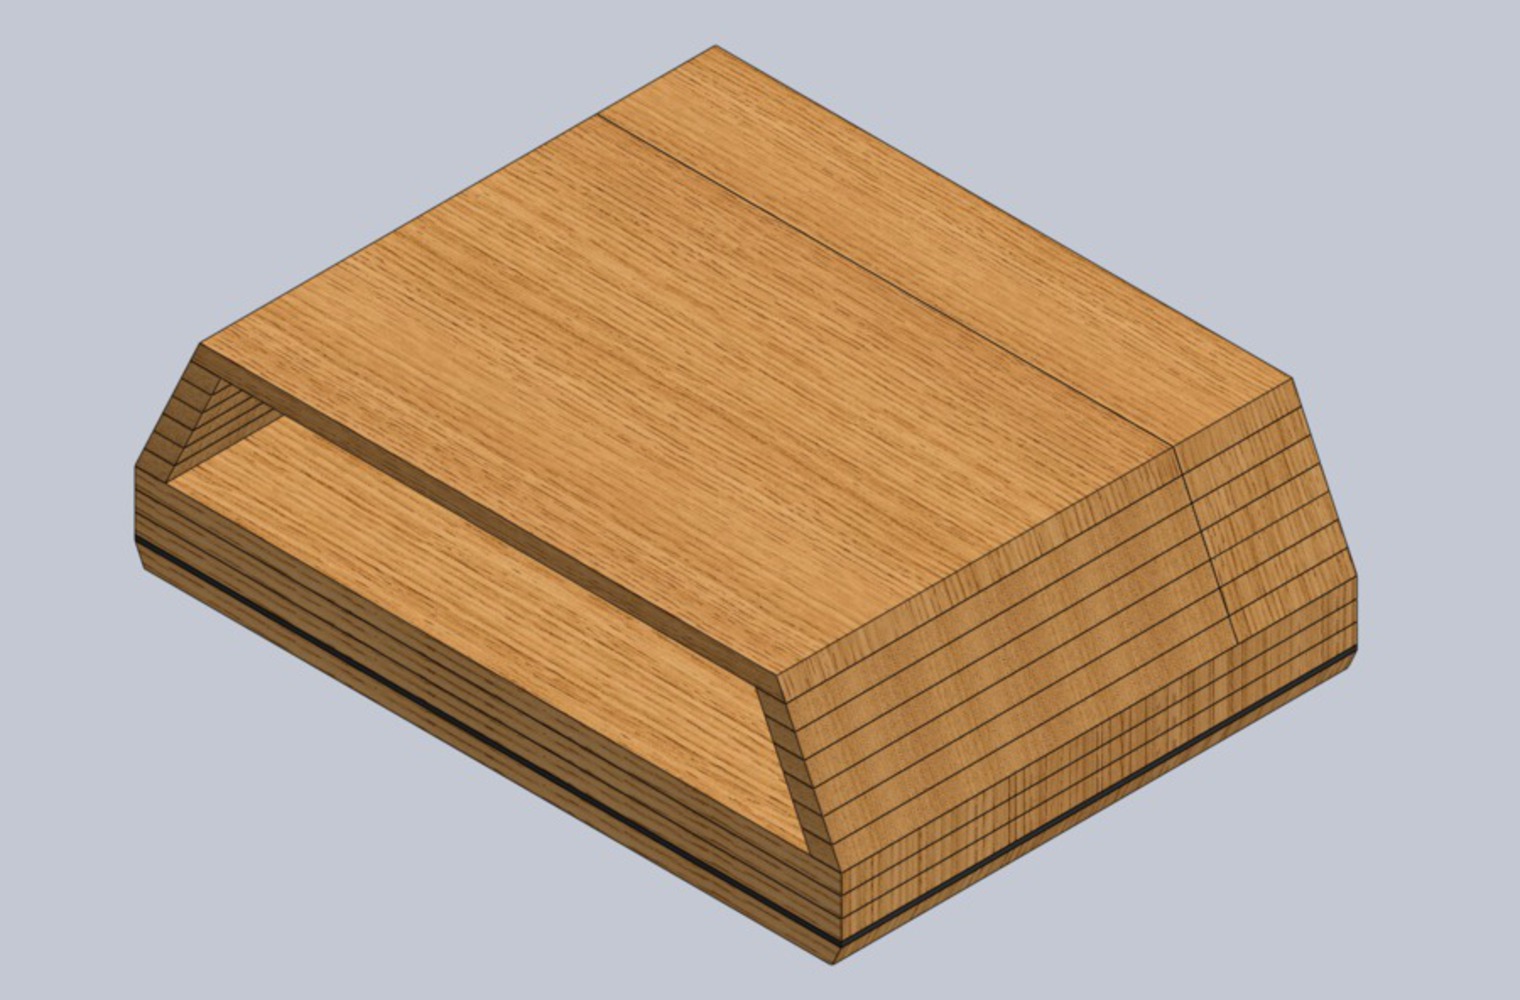
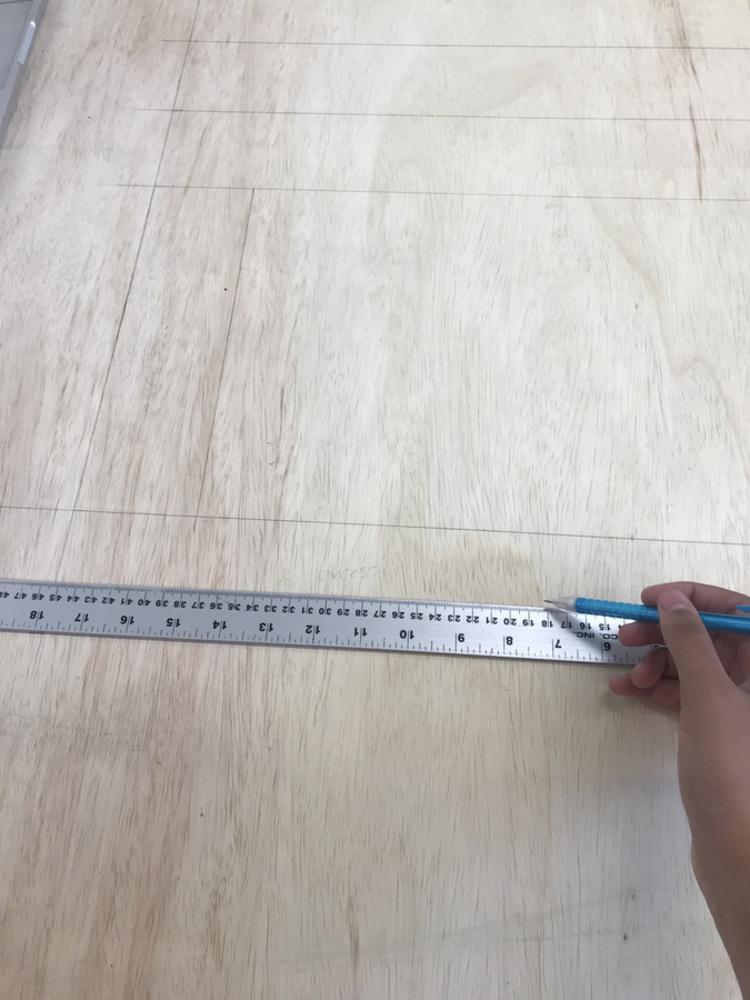
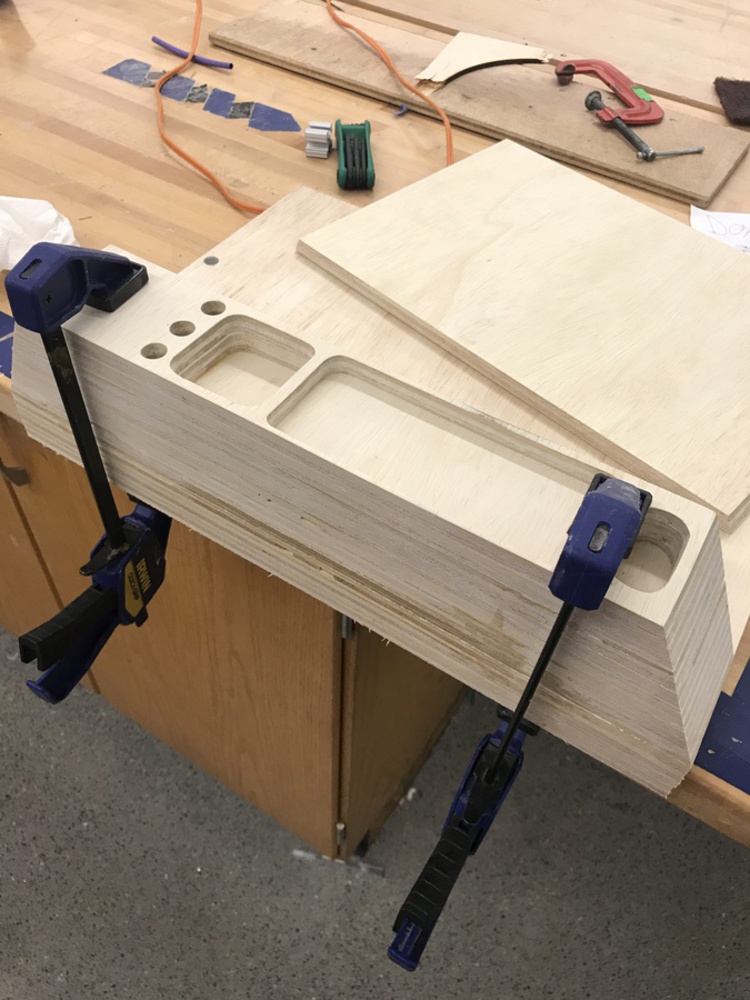
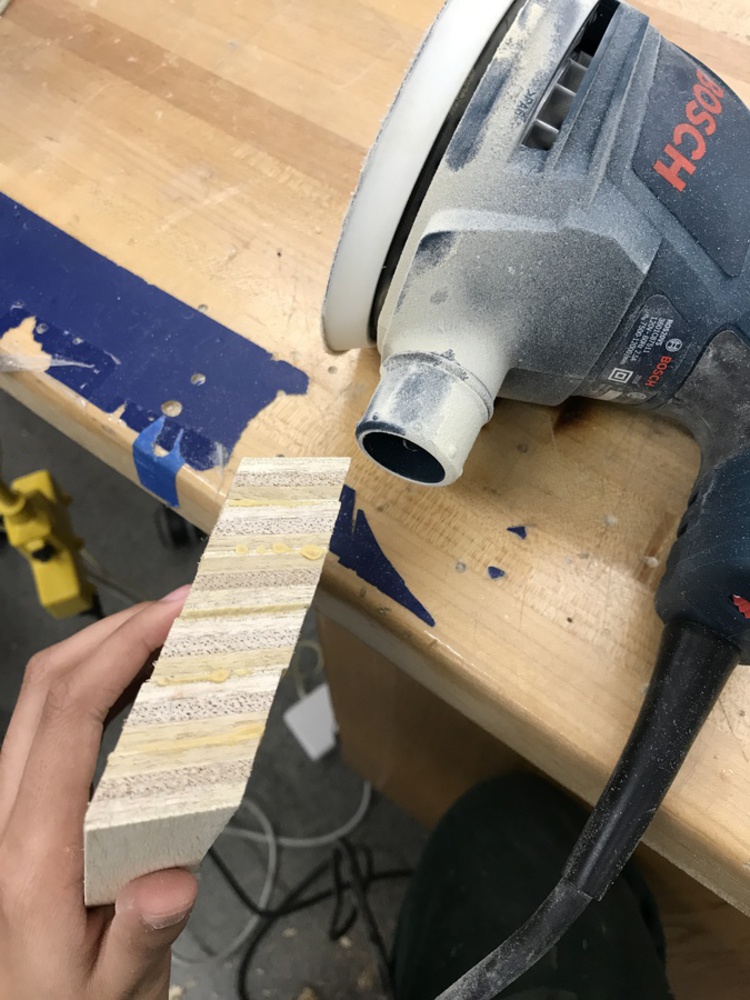
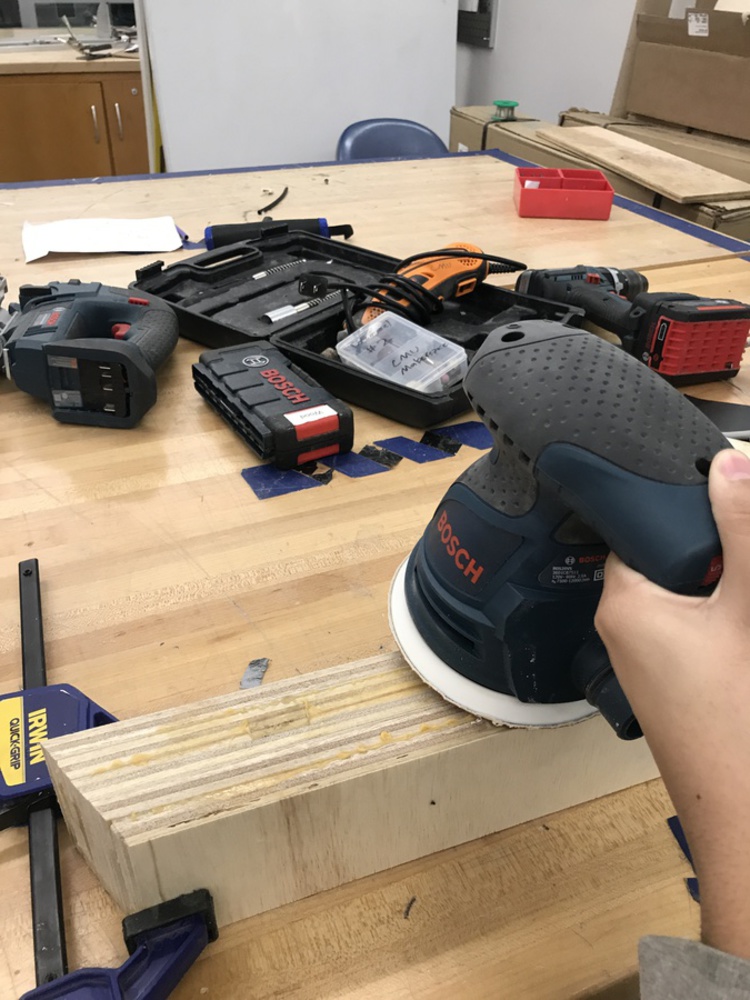
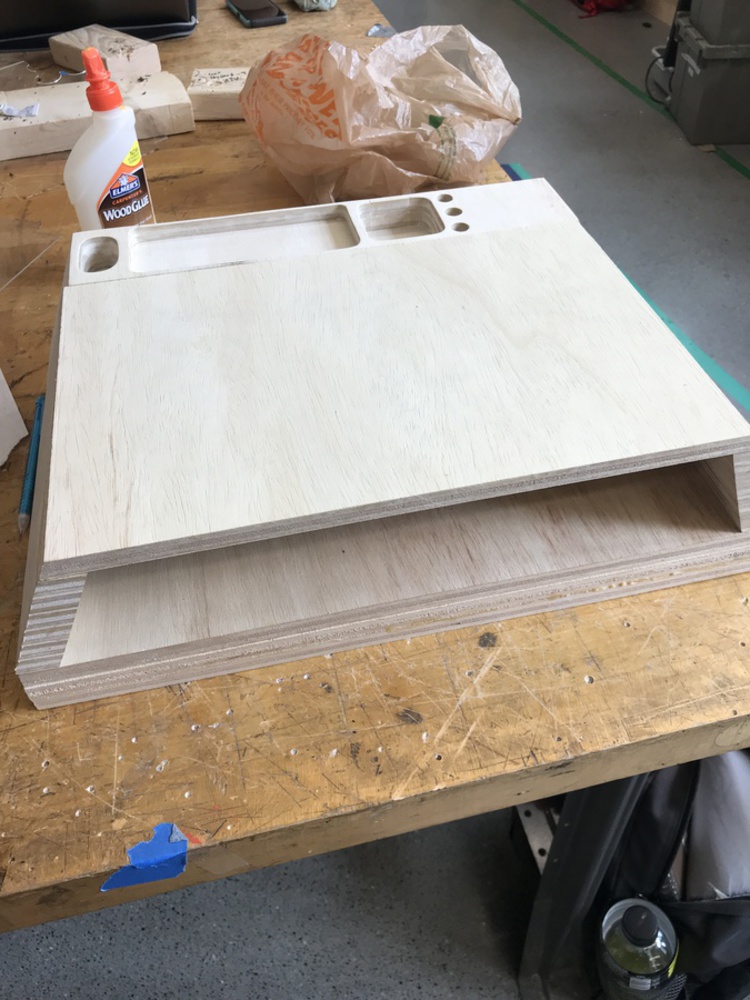
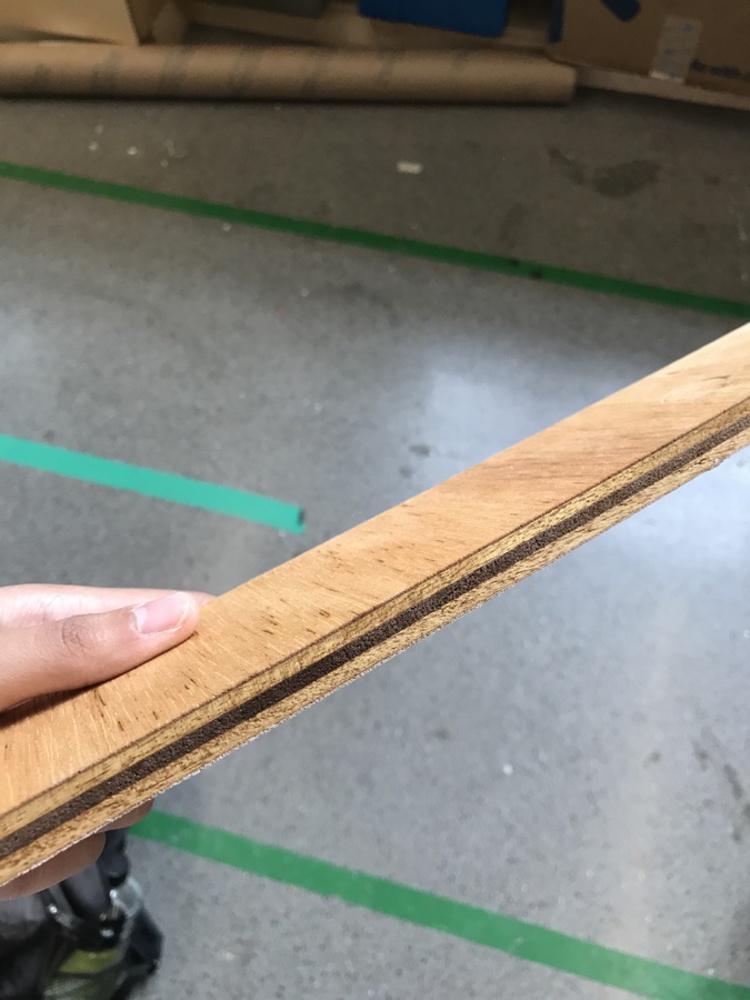
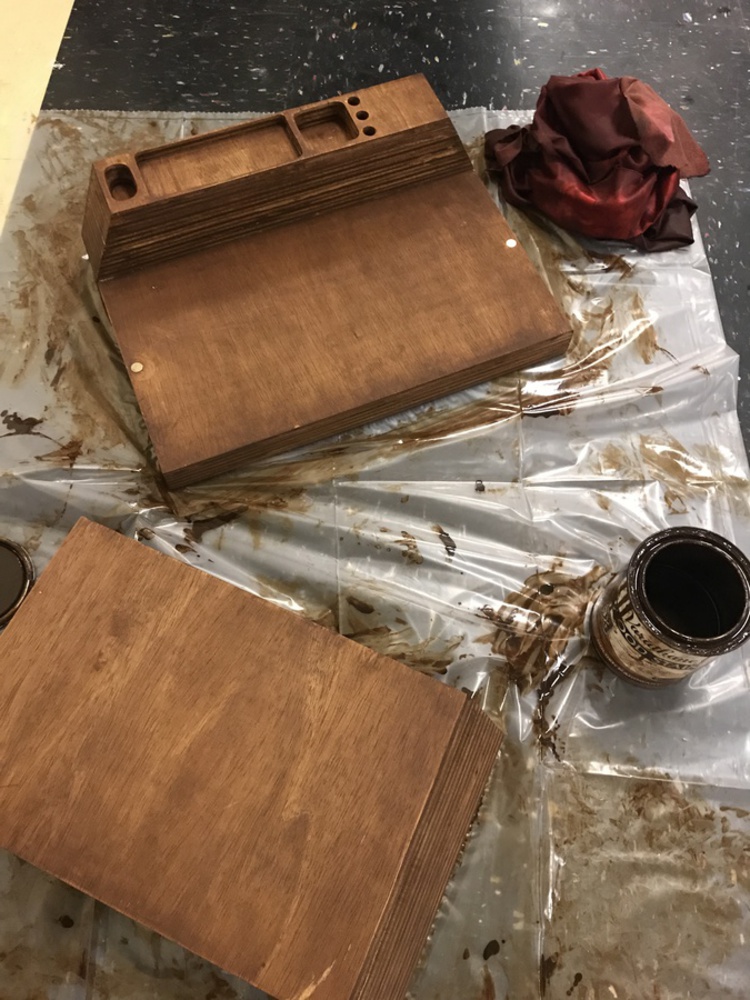
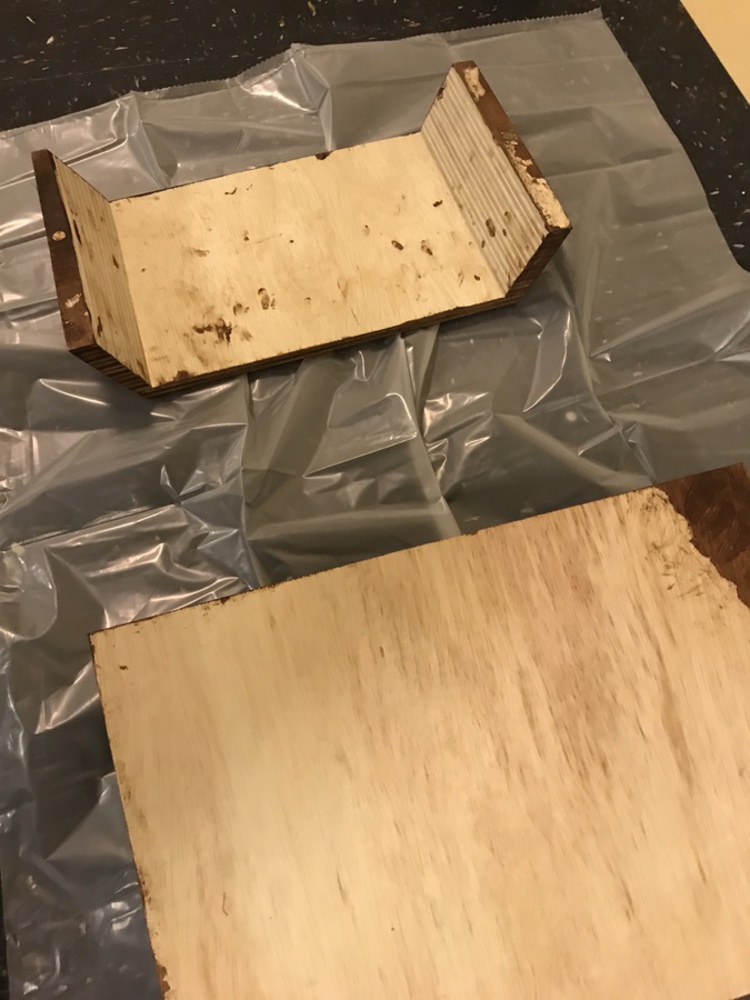
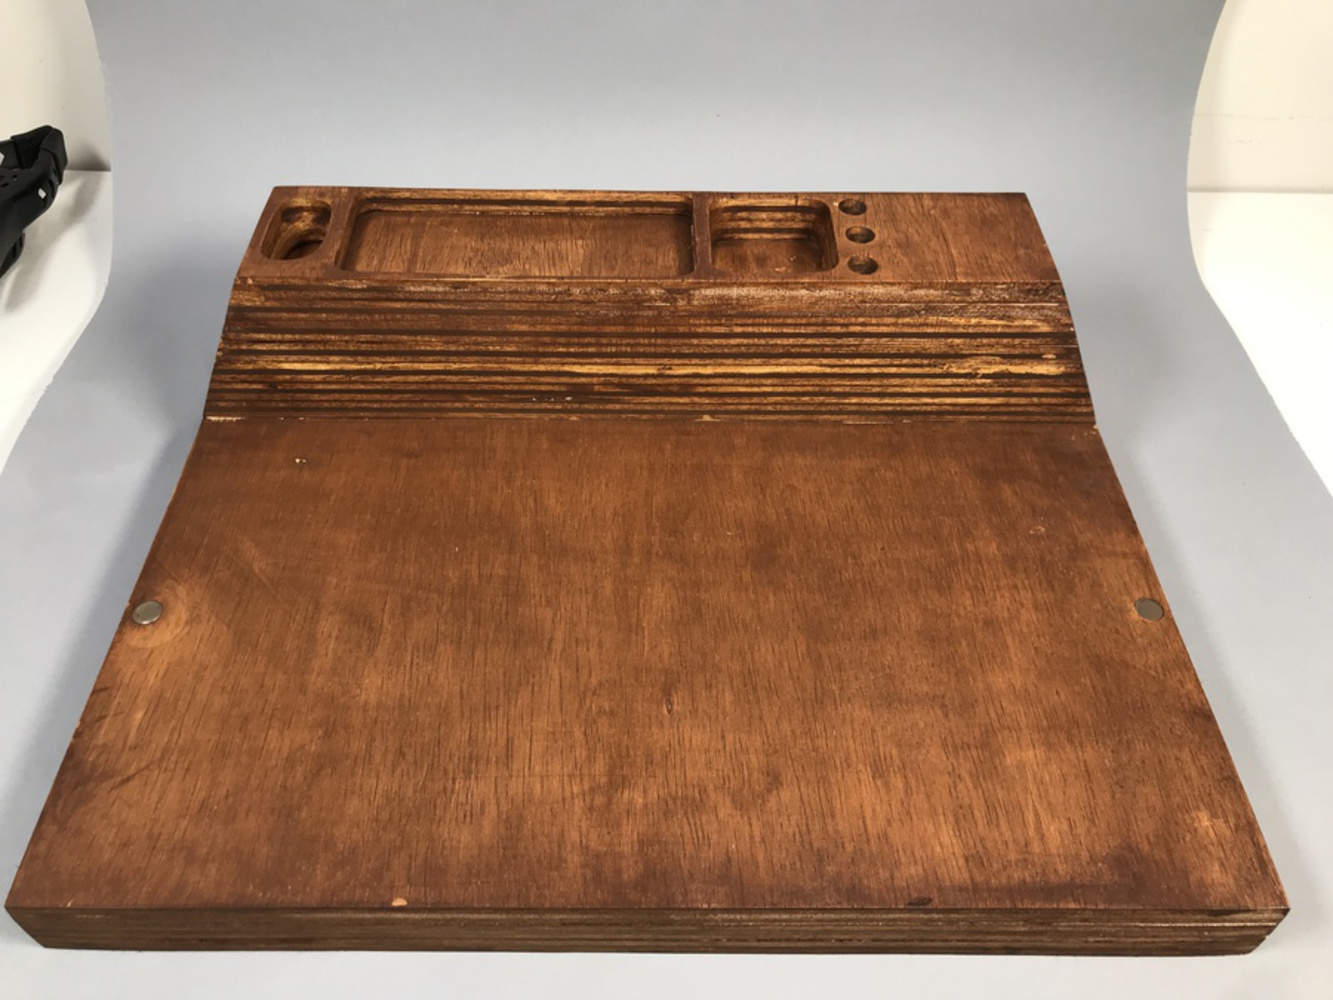
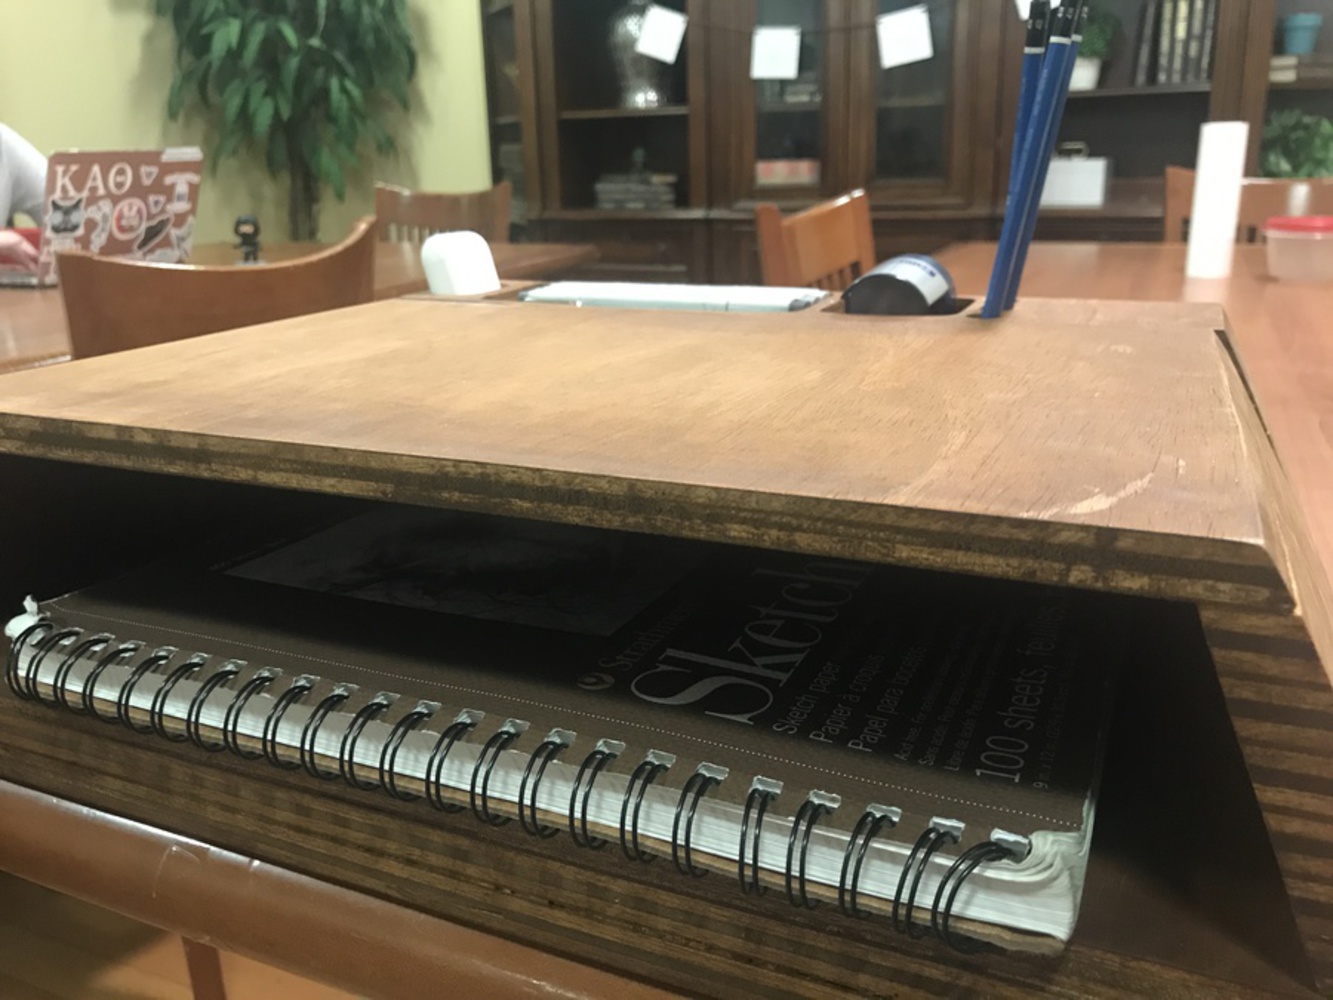
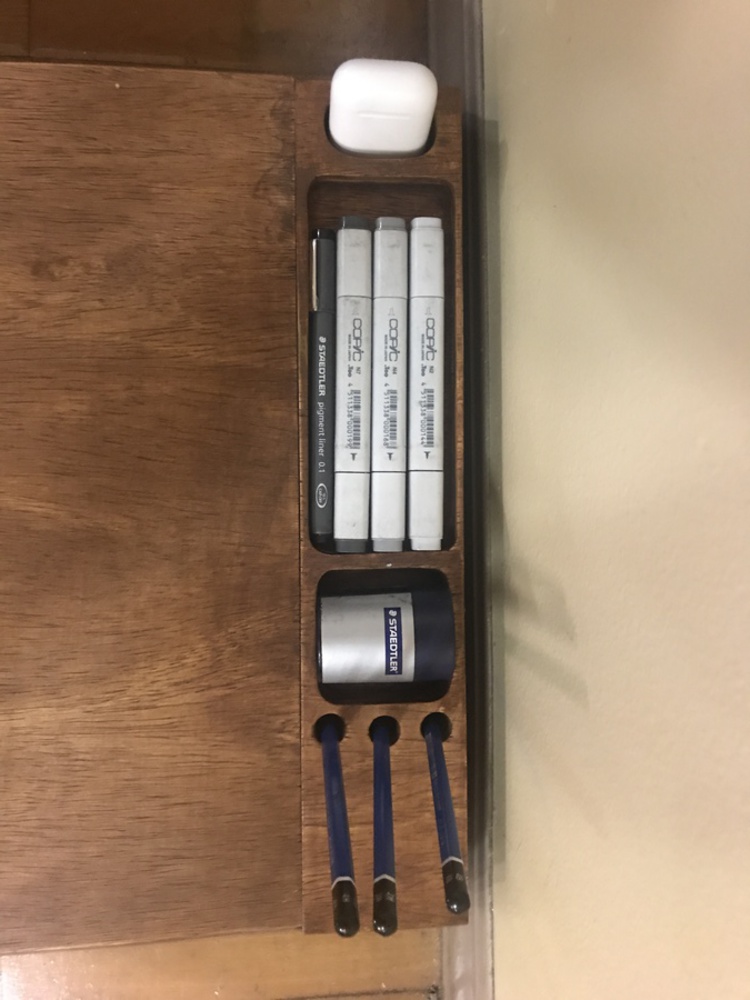
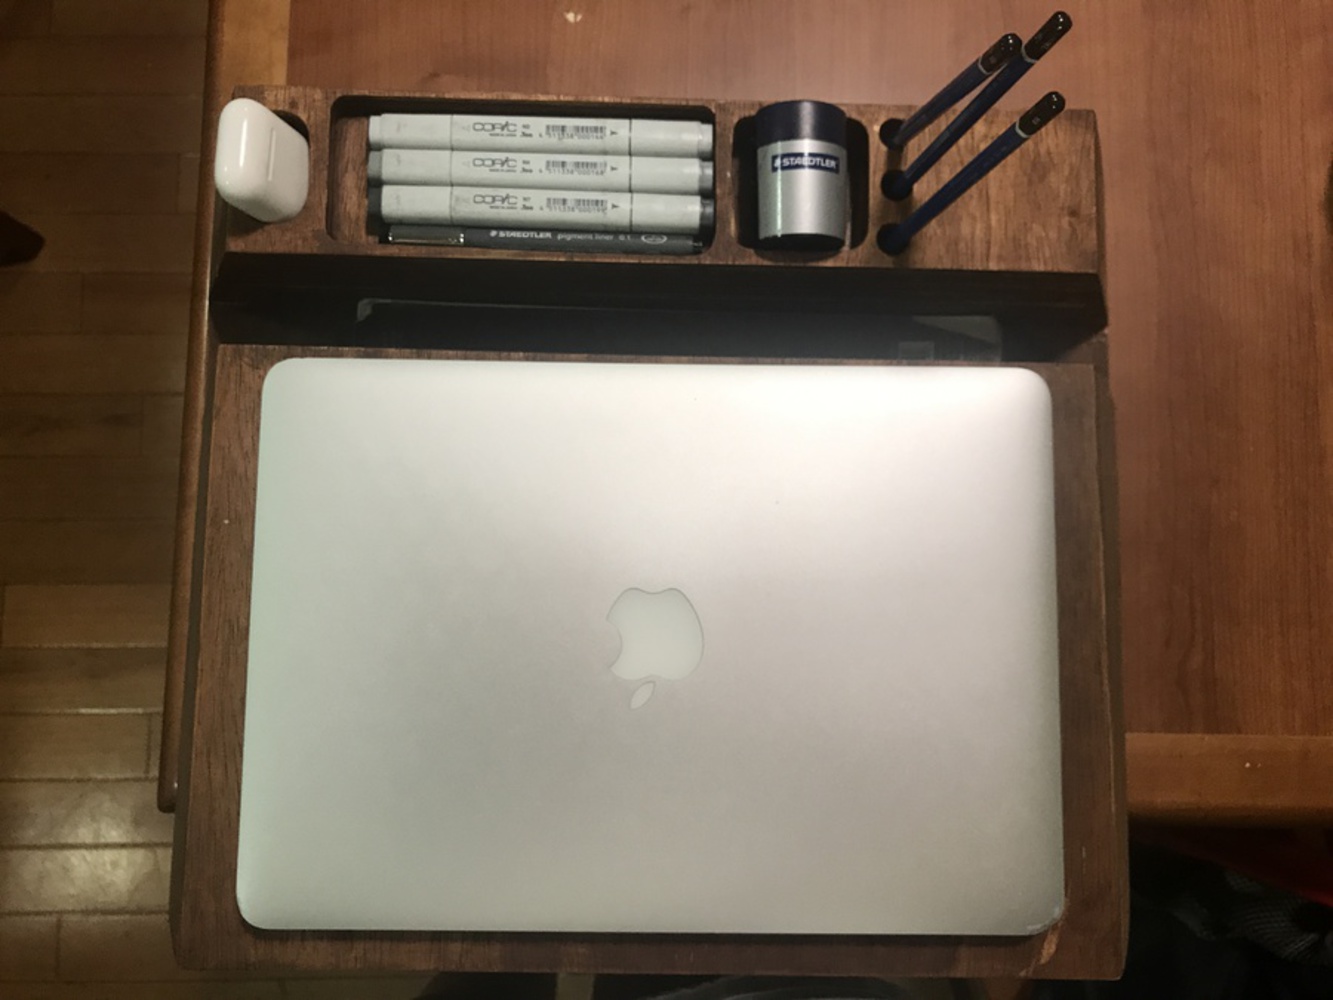
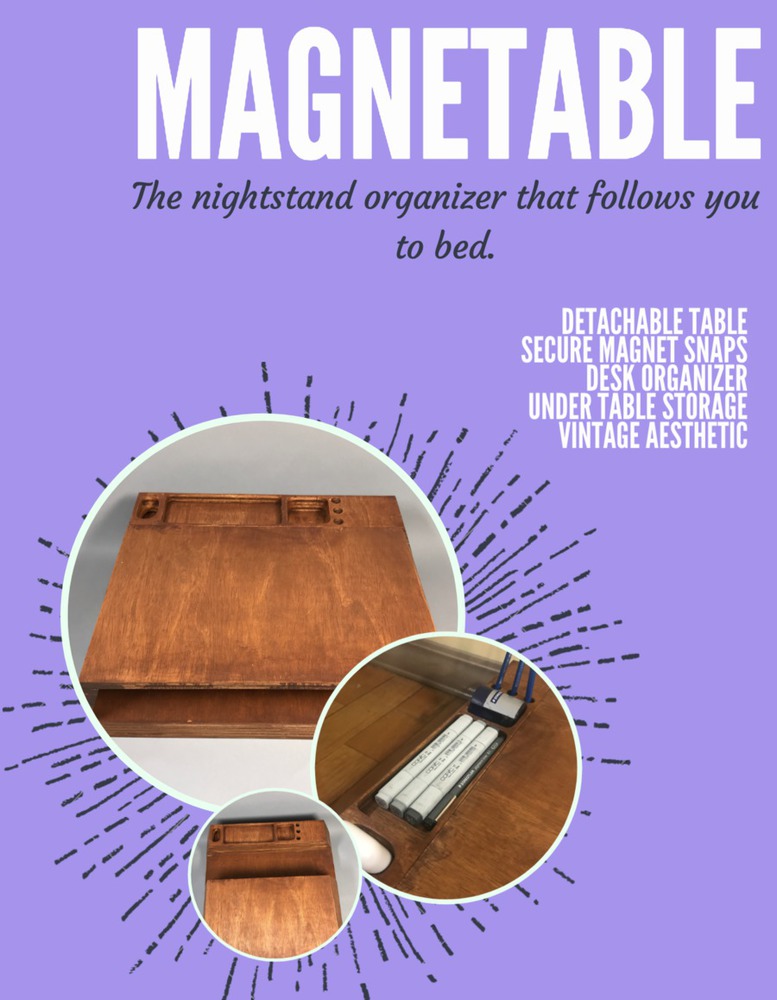
Magnetic Nightstand Table

Made by sealy

Created: May 5th, 2019

0

Preface

As a person who doesn't enjoy working on a desk, I wanted to create a nightstand that would allow me to stay organized while letting me work in my bed. I wanted the design to not only have a functional purpose, but also appeal to the modern geometric aesthetic of furniture. I always found the bands in baltic birch plywood to be very beautiful when visible, therefore, I wanted to create a design that appeared to be layered sheets of plywood. All of this inspiration is displayed on the mood board below.

0

Product Stakeholders

This product would attract any person who maintains a messy nightstand. This includes men and women of all ages. It especially appeals to those who enjoy doing work away from the desk. Most people who use their laptop in bed place it directly on their lap, which exposes us to radiation that is damaging for our health, therefore, the detachable table feature can really help improve this bad habit. This product would also captivate those who are big on Scandinavian furniture because of its particular design. Below is a mood board telling the story of the customer that would be attracted to this product. 

0

Drafting the Product

I started off by designing the nightstand in Solidworks. This step was necessary to figure out the appropriate dimensions for my product, so that it would be user friendly. Additionally, this step allowed me to figure out how much plywood I would need to buy. I based the dimensions off of what items I would want to organize and how large the average laptop is. Finally, I came to the conclusion that I would only need two 2' x 4' plywood with a thickness of 0.5" to achieve the look I wanted with a limited budget. In my initial idea generation, I wanted to include an acrylic layer that would hold an LED strip that would be activated by a touch light switch at the top. This is a feature I wanted to include only if the final product turned out clean. Below is the final CAD model. The base is approximately 17" and 13" in length and width, respectively.

0

Fabrication Process

In the above Solidworks assembly, I had created four separate parts:

  1. Laptop tabletop
  2. Laptop table legs
  3. Organizer
  4. Base

Based on these part dimensions, I penciled out all of these rectangles to be cut with a track saw to ensure that the lines were straight.

0

Below is the laptop tabletop, where I am using my 13" MacBook Pro as a reference.

0

Below are the resulting pieces.

0

Then, I began to assemble the base using wood glue. I applied the glue in a zigzag formation and used the edge of a flat sheet of acrylic as a spatula to ensure that there was an even coat of glue along both surfaces of wood. Next, I clamped three of the edges to the table to guarantee that there would be no gaps between the layers. I wanted the bands of plywood to look seamlessly stacked.

0

Next, I started to cut the edge of the laptop tabletop legs at a 25° angle, as I had used in my CAD model. I did this by slanting the bandsaw at 25°, then using a guide to ensure that the cut was as straight as possible.

0

After I finished cutting all 6 legs at an angle, I glued all of the pieces together and clamped them. A problem that I ran into during this phase was making sure that the pieces didn't shift while they were clamped. Also, since the edges were slanted, it was a lot harder to secure the clamp.

0

Next, I began to construct the organizer where there would be slots cut into each layer depending on what depth I wanted for my personal items. I started by cutting the edges to ensure that they were angled 25° and the correct length while they were stacked. Then, I mapped out where the projected slots that were different shapes and sizes on the top layer of the organizer.

0

I wanted there to be a 0.5" deep slot for my writing utensils to lay flat. Therefore, I only needed to cut through one sheet of the plywood. I used the mill to drill four 0.5" diameter holes in each of the corners. Then, I used a jigsaw to cut out the inner area. After that, I took down the remaining wood with a dremel to get a flat surface with seemingly parallel lines. I used 220 and 800 grit sand paper to get a smooth finish on the inner edges.

0

Next, I wanted there to be two 1" deep slots for my AirPods and possibly an eraser or pencil sharpener. I glue the top layer to the next sheet of plywood and clamped it for 30 minutes. Next, I drilled two ¾" holes for my AirPods slot. Then, I repeated the above process of drilling and jigsawing for the other slot. I cleaned up both holes with the dremel and file. Finally, I used 220 and 800 grit sandpaper for finishing touches.

0

The last slot was 2" deep, therefore, I needed to glue on two more sheets of plywood. I left this clamped for 30 minutes, then drilled three 0.5" diameter holes using the drill press. After I glued the remaining three sheets of plywood to achieve the desired height in my CAD. Viola! The organizer section was complete.

0

After this dried, I glued the organizer to the base and left it clamped overnight.

0

It was time to assemble the detachable table and embed the magnets. Unfortunately, my slanted legs shifted while they were clamped, so they were misaligned. In addition, the dried wood glue had seeped out of the edges, so the sides were discolored. I thought the best way to fix this problem was to use the orbital sander to even it out, however, it made the the lines very skewed, which I din't realize until after the fact. As a result, my legs were no longer at the proper angle in comparison to the organizer pieces that were already cut at 25°. 

0

Once I had evened out the legs to the best of my ability, I used the drill press to drill a 0.469" diameter hole into the top layer of the base for my magnets. The magnets were 12 mm in diameter, which equates to 0.472", therefore, the magnets were a press fit. The magnets were 3 mm thick, so I had to estimate on the drill press how deep to drill into the wood. On two out of the four holes, the hole was too shallow, so the magnet was a bit raised out of the wood, which created a problem for the table to sit flush on the base. Additionally, I had not glued the tabletop on to the legs yet so it made the angle of the legs even more warped then they originally were since the did not sit flat. I used a rubber mallet in an attempt to drive the magnets down further. 

0

Finally, I glued the table onto the legs. The magnets allowed the table to snap in very nicely, although, I wished the edges lined a bit better. After using the orbital sander on the edges, I could finally reveal a mostly finished product. All that was missing was a wood stain to tie the look together.

0

I tested the wood stain on a piece of scrap wood to make sure that it was easy to work with and an ideal color. I poured the stain on the wood and used a rag to disperse the color. This was my first time working with wood stain, so there were some areas that were blotchy and some areas where a mark had been left so the stain would not penetrate. However, I don't think it turned out too bad for the first time.

0

Final Deliverable

In the end, my product turned out worse than my expectations only because my project was moving during the night while it was drying so it messed up the finish in prime areas. Overall, I still think it came out nicely, especially being that it was my first time working with wood in the machine shop. I may sand off the wood stain and try again, so that the finish is to my liking. Overall, the items that were made to fit in the organizer are very secure and the magnets work like a charm. 

0

Product Flyer

Although I am not totally happy with the finished result, I still believe this product is very marketable. Below I have created a flyer of how I would market the item including the product's name, description, and features.

x
Share this Project

Found In
Courses

24-672 Special Topics in DIY Design and Fabrication

· 22 members

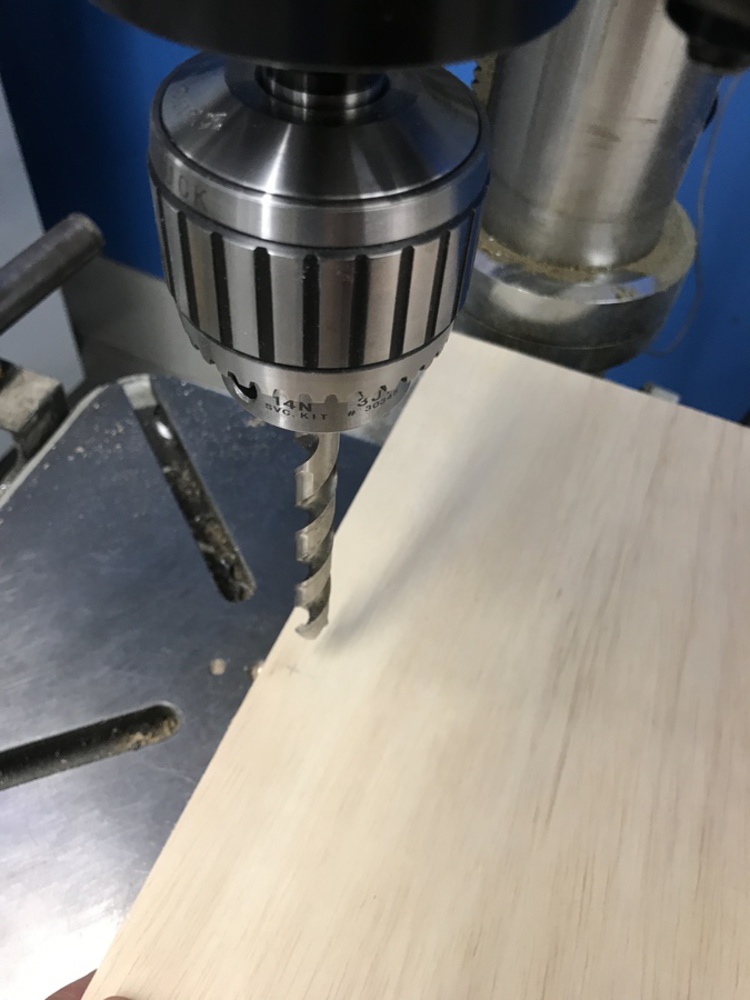
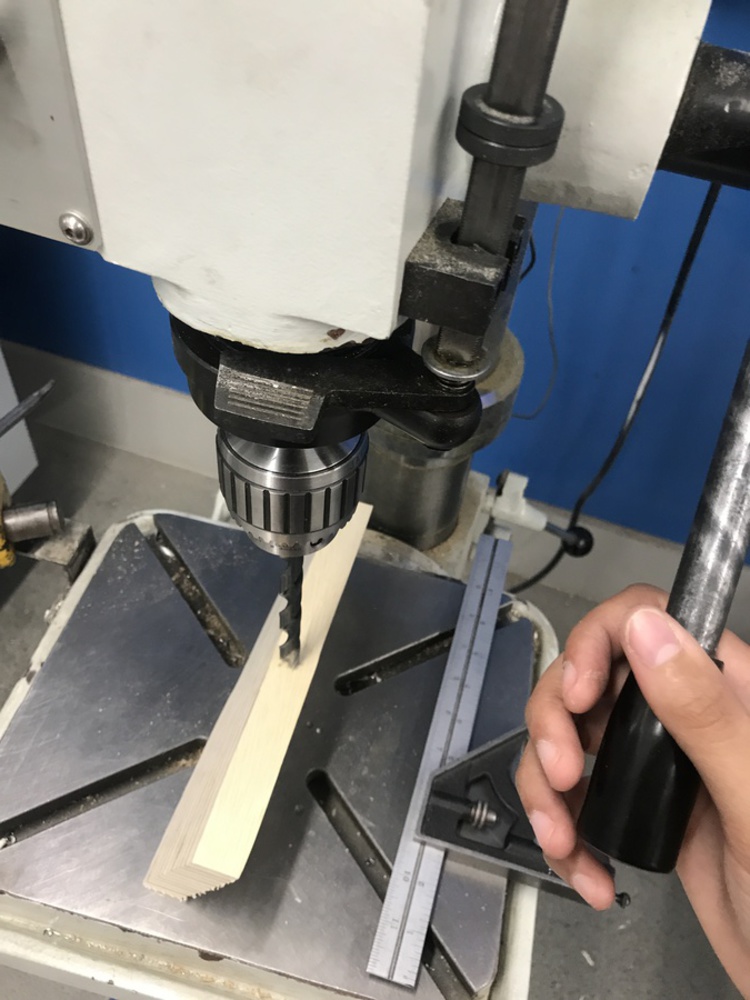
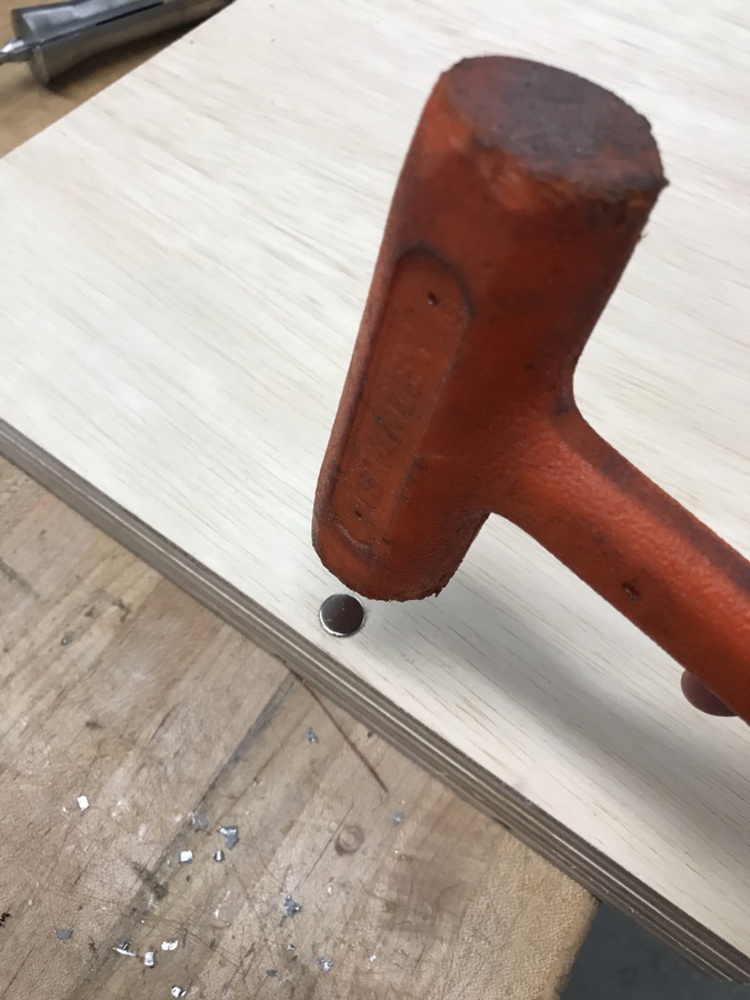
Offers students hands-on experience in DIY product design and fabrication processes. Students work individually or in small groups to design customized and personalized products of their own and bu...more


About

~