Project Proposal: Iron Man Is Born & Sample Book
Made by Cem Ergin
Made by Cem Ergin
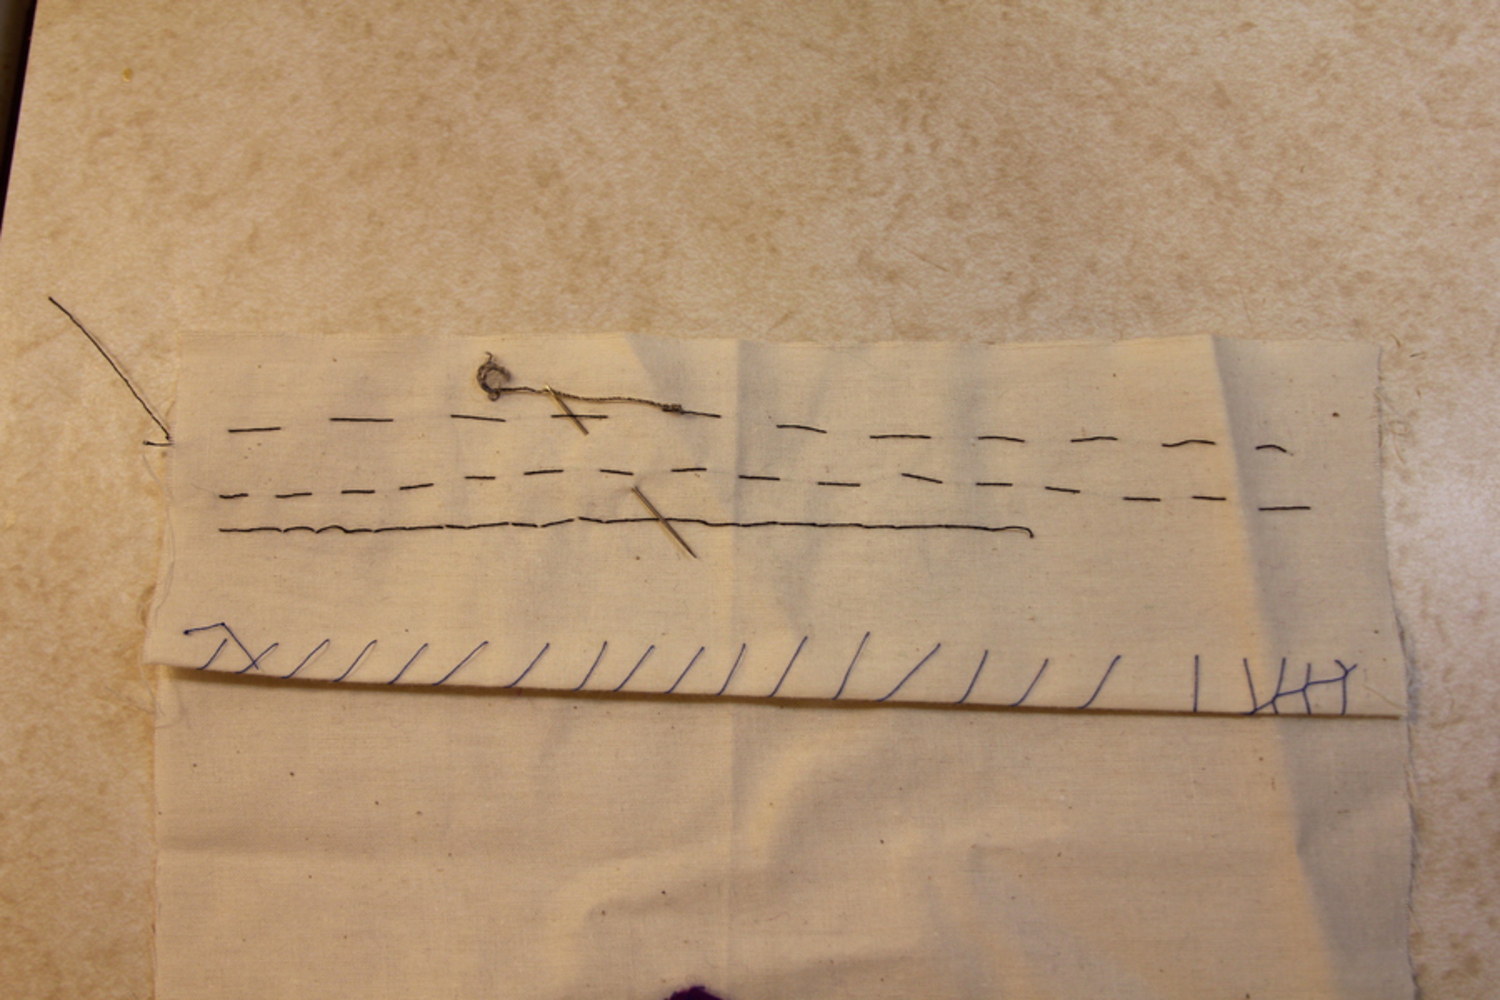
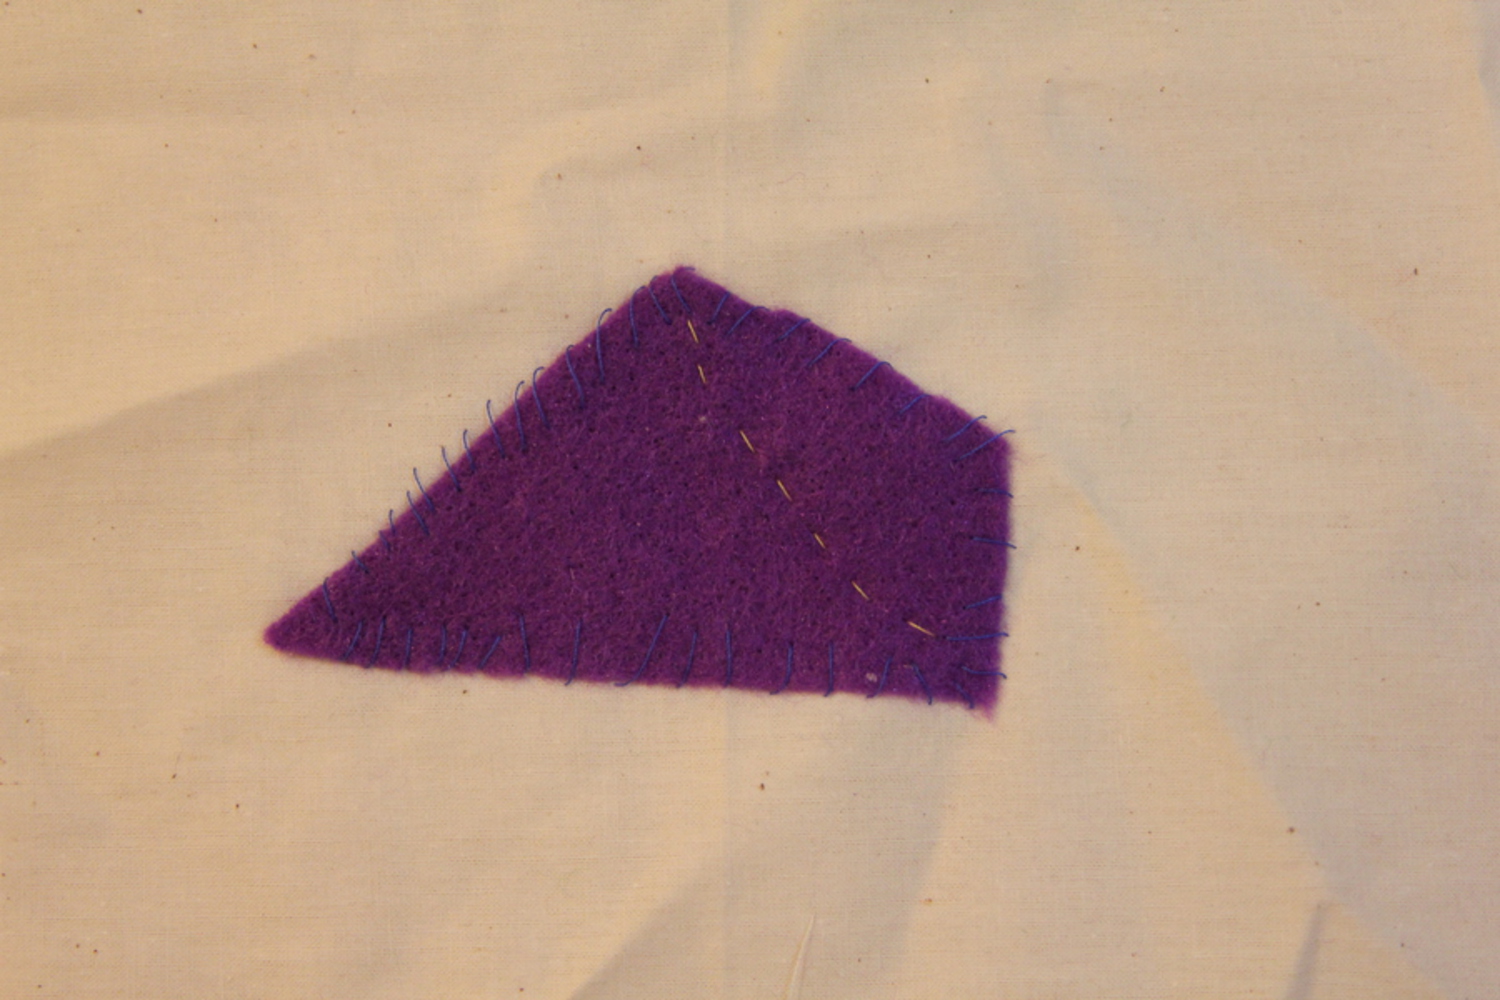
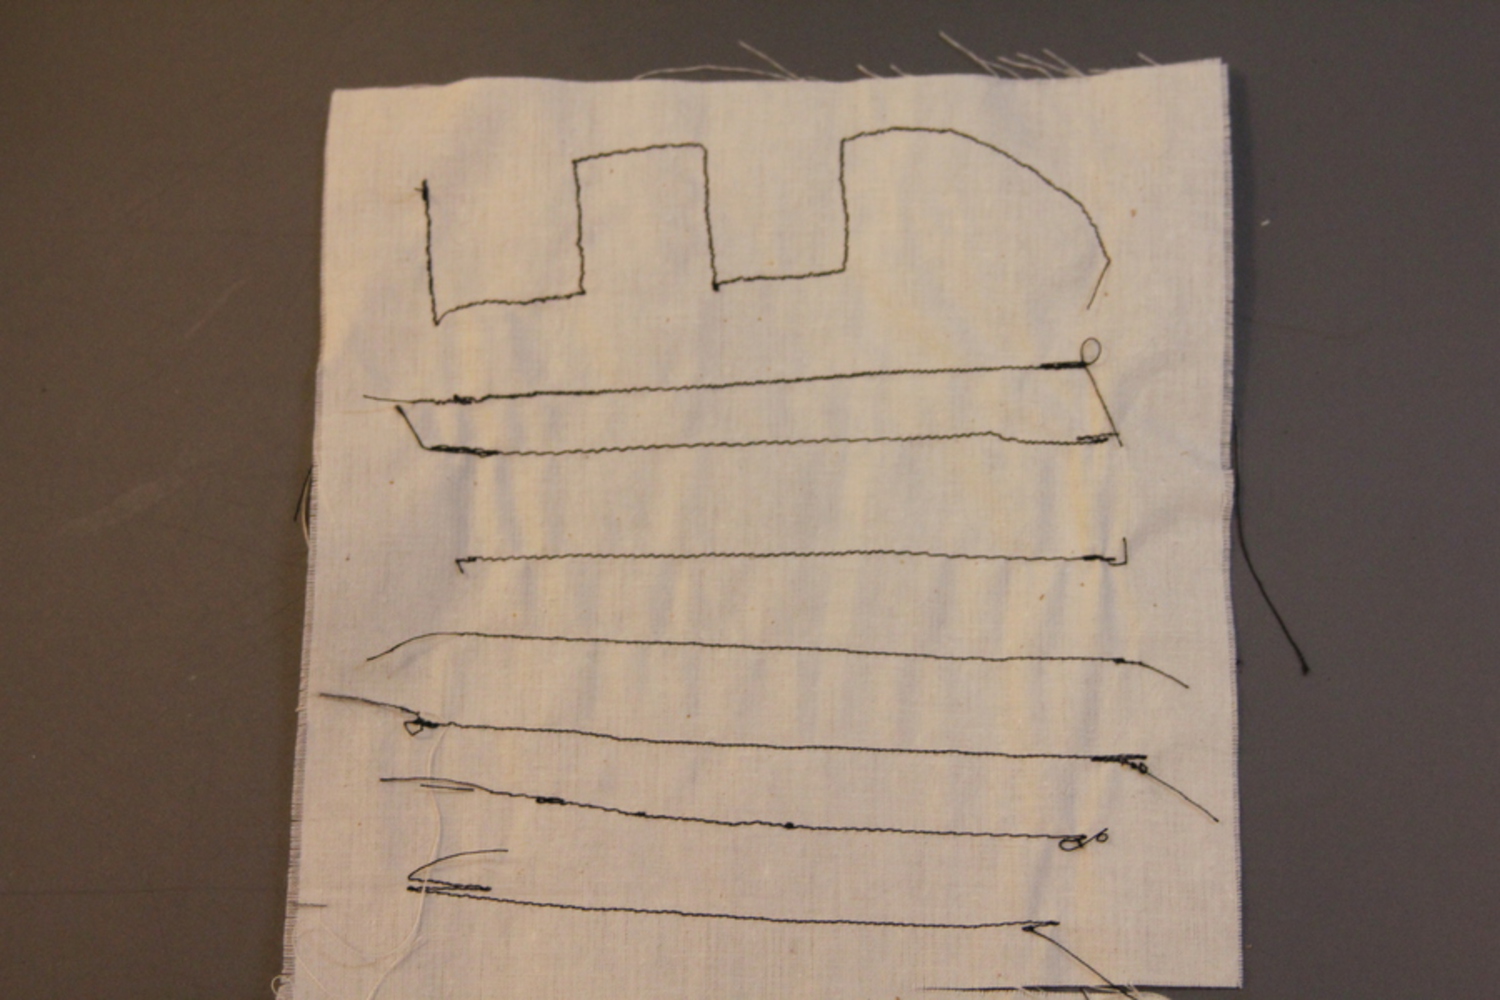
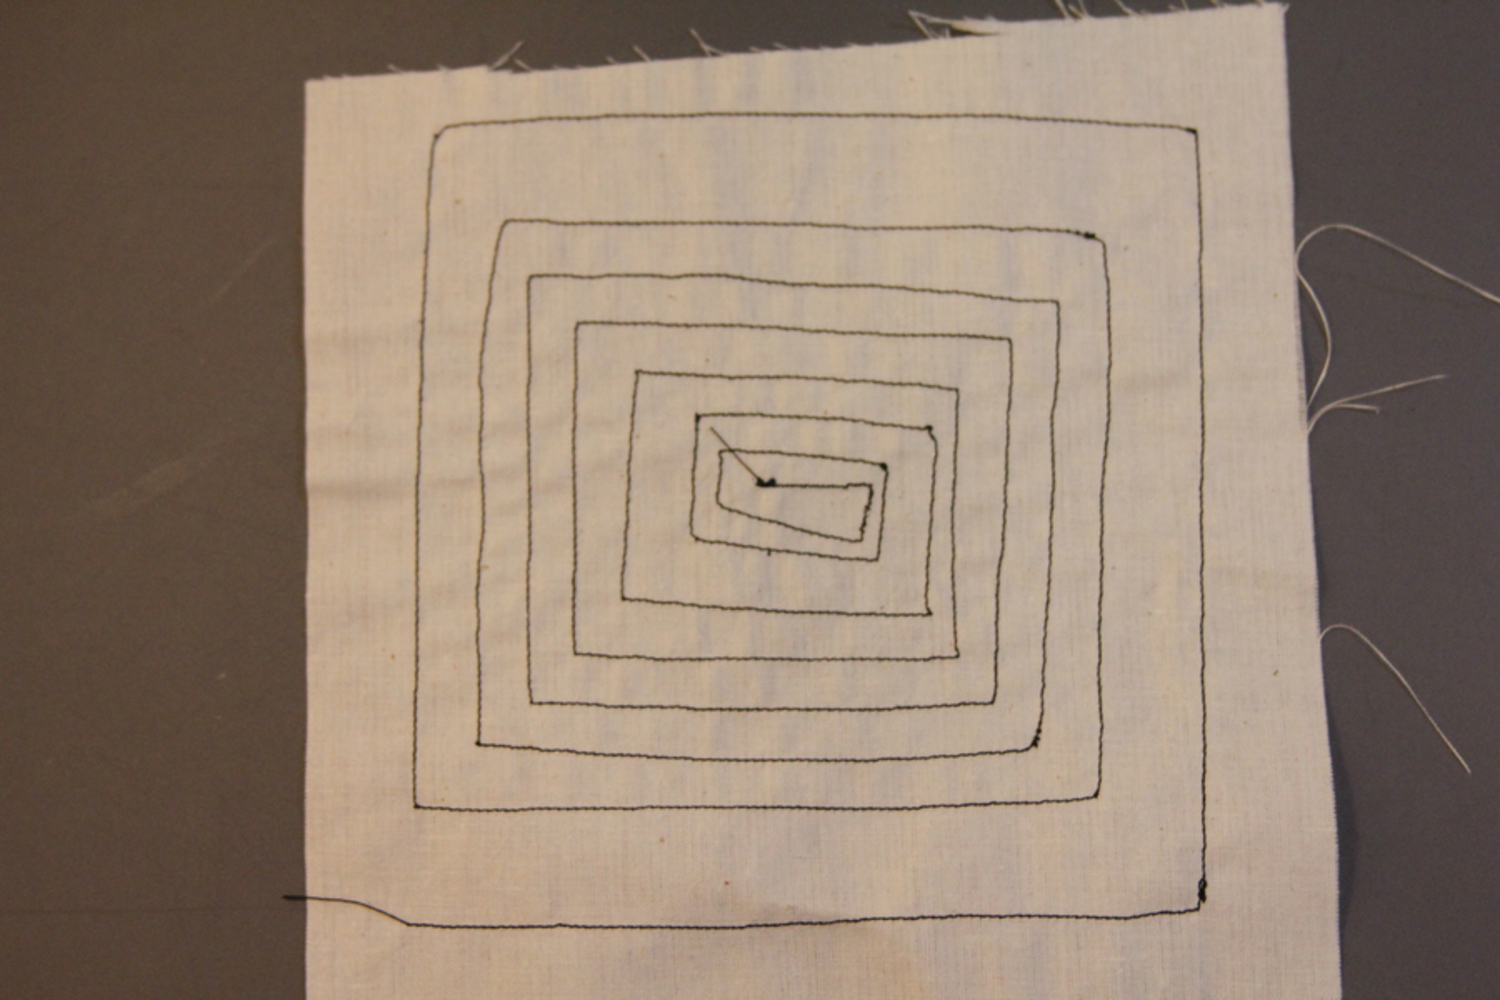
This project includes my proposal to create a sound activated Iron Man costume along with the work I created during the Soft Fabrication Class.
Created: October 6th, 2018
October is here, which means, we are only a couple weeks away from the best night of the year, Halloween!
What’s more fun and impressive than making your own costume, right? So for my proposal, I wanted to investigate a project that can make me the king of the party. While searching online for ideas, I came across a lot of projects that incorporate sewable LEDs and fabric to create pieces of clothing that can “dance with the music”.
Unfortunately, just wearing the piece of cloth with LEDs on to party didn’t quite cut it for me so looked for a way to raise the bar with my costume. To spice things up, I turned to another hobby of mine which is definitely a good source for Halloween costume ideas, comics!
Which comic book hero has a lot of electronics on and still looks cool? Iron Man, of course.
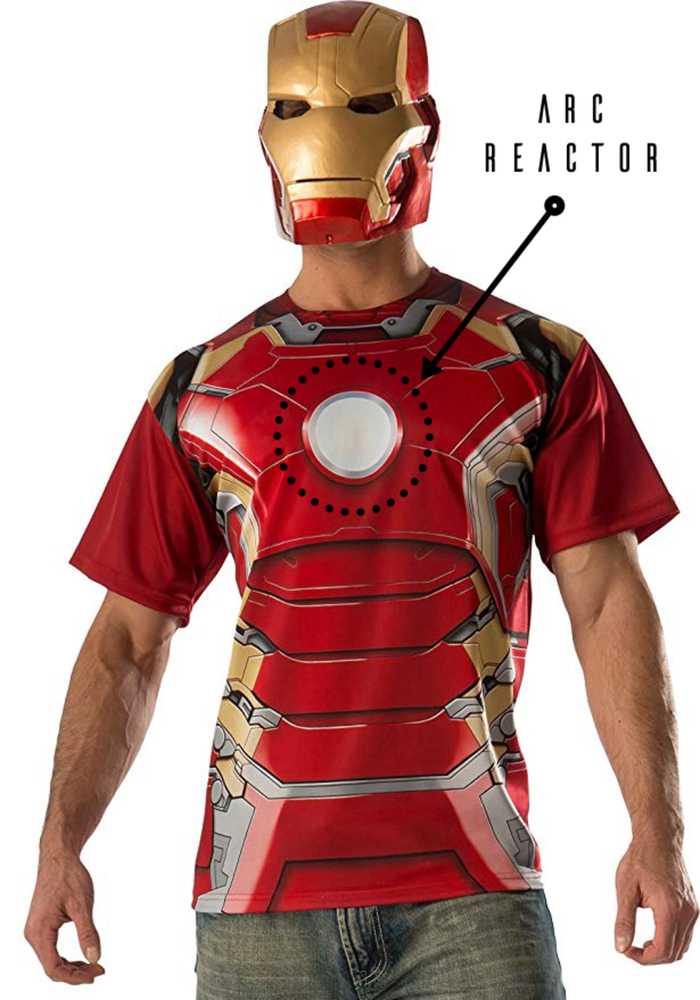
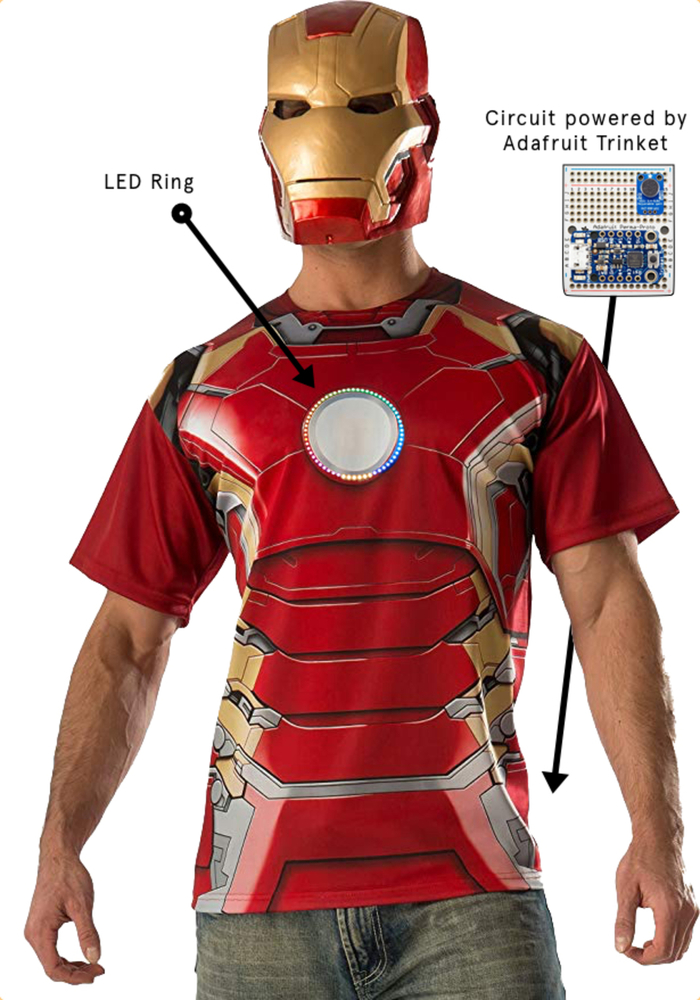
So my proposed project is as follows: To create an Iron Man t-shirt with a programmable LED strip to spice up the “arc reactor” located on Iron Man's chest using Adafruit’s Trinket microcontroller and NeoPixel LED strips. The design will require a microphone integrated into the circuit to create movement in-synch with the music on the LED strips. I really believe this can be a good chance to showcase the skills I’ve acquired during this semester’s Soft Fabrication Skills class.
So let’s how we can make complete such a project without asking J.A.R.V.I.S.
To create the right Iron Man look we first need a good Iron Man shirt to that looks good. I looked through what Amazon had to offer and found one that is suitable.
Iron Man T-Shirt & Mask
After that, I looked for ways to create the desired electronics that will do the job. First, I was thinking of using an Arduino microcontroller like Uno but I decided that Adafruit products would be more suitable since they to provide most of the parts we need for the project along with couple sample projects to get inspired by. So in the end, my microcontroller of choice is Adafruit Trinket, which is small and light enough to run around with but supports up to 16MHz of clock speed which is required to control the LEDs in synch with the music.
Adafruit Trinket
https://www.adafruit.com/product/1501
The most important ingredient is the LED strip. Again, Adafruit provides a very good product that can solve this issue. With 4 pieces of NeoPixel ¼ 60 Led Ring, we can create a LED ring with 6.2” diameter which is perfect!
Adafruit NeoPixel ¼ 60 Led Ring
https://www.adafruit.com/product/2873
In addition to these essential items, we also need some parts to complete the circuit and securely place in the t-shirt. A soldering iron, a sewing kit, a power source, a small microphone, a flexible breadboard to solder the circuit on, a slide switch to turn the circuit on or off, a button to easily change the “dance mode” of LEDs, at least 7-8 feet worth of electric wires, some red cotton fabric and sewing thread for to hold everything in place. You can find the shopping list for additional material below.
Shopping List:
Lithium Ion Battery // https://www.adafruit.com/product/328
Backpack for dissipating power to all elements // https://www.adafruit.com/product/2124
Small Microphone // https://www.adafruit.com/product/1063
Flexible Breadboard // https://www.adafruit.com/product/589
Slide Switch // https://www.adafruit.com/product/805
Button Switch //https://www.adafruit.com/product/367
Red Fabric // https://www.amazon.com/Cotton-Broadcloth-Red-Fabric-Yard/dp/B000WFNABO
Red Sewing Thread // https://www.amazon.com/S910-2250-General-Purpose-Thread-250-Yard/dp/B001ELD2DQ/ref=sr_1_fkmr1_1?s=arts-crafts&ie=UTF8&qid=1538787848&sr=1-1-fkmr1&keywords=red+weing+thread
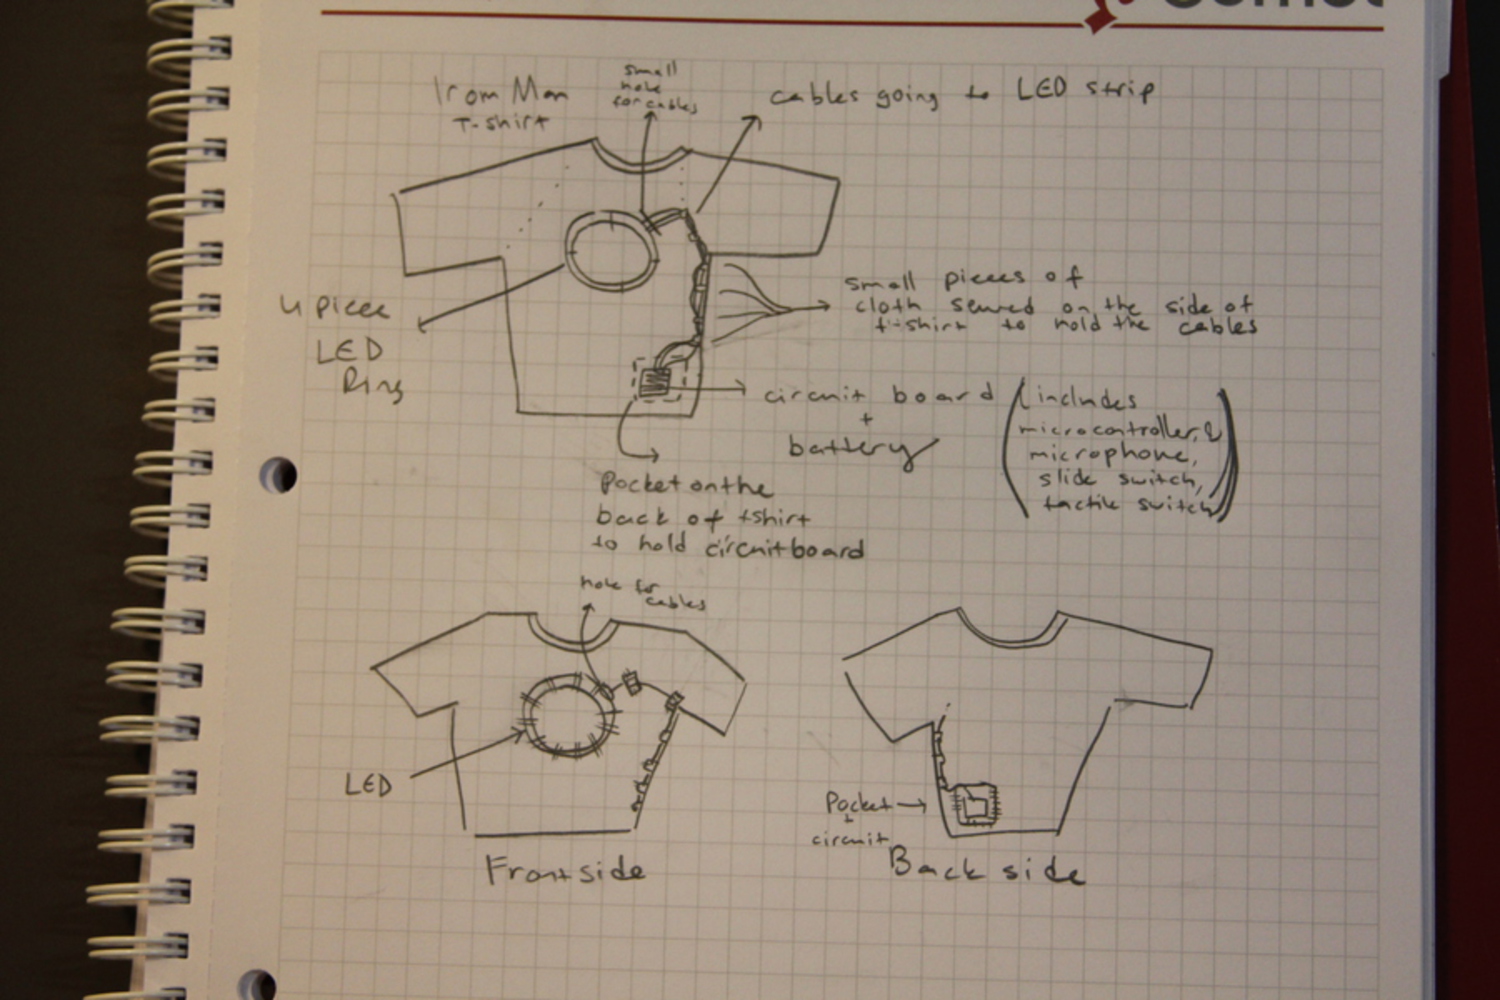
Thinking about how to successfully hold and conceal everything. I found it best to sew a small pocket at the inner back side of the t-shirt and place the circuit there. Additionally, by sewing strips of red fabric to the side of the t-shirt, we can create a tunnel for the cables to go through. You can find the sketches below.
The most challenging part is placing the LED Ring to the chest. Soldering or sticking the ring to plastic ring can be more effective rather than sewing it on the t-shirt directly. I think this will take couple rounds of trial and error to solve.
After thinking about the placement of electronics, I considered how I can get the electronics the work which is going to be doing most of the job. I found two sample projects that are not quite similar with what I’m trying to do but can be really helpful, on Adafruit’s website.
Camera LED Ring Light
https://learn.adafruit.com/camera-ring-led-light/featured_products
Trinket Sound-Reactive LED Color Organ
https://learn.adafruit.com/trinket-sound-reactive-led-color-organ?view=all
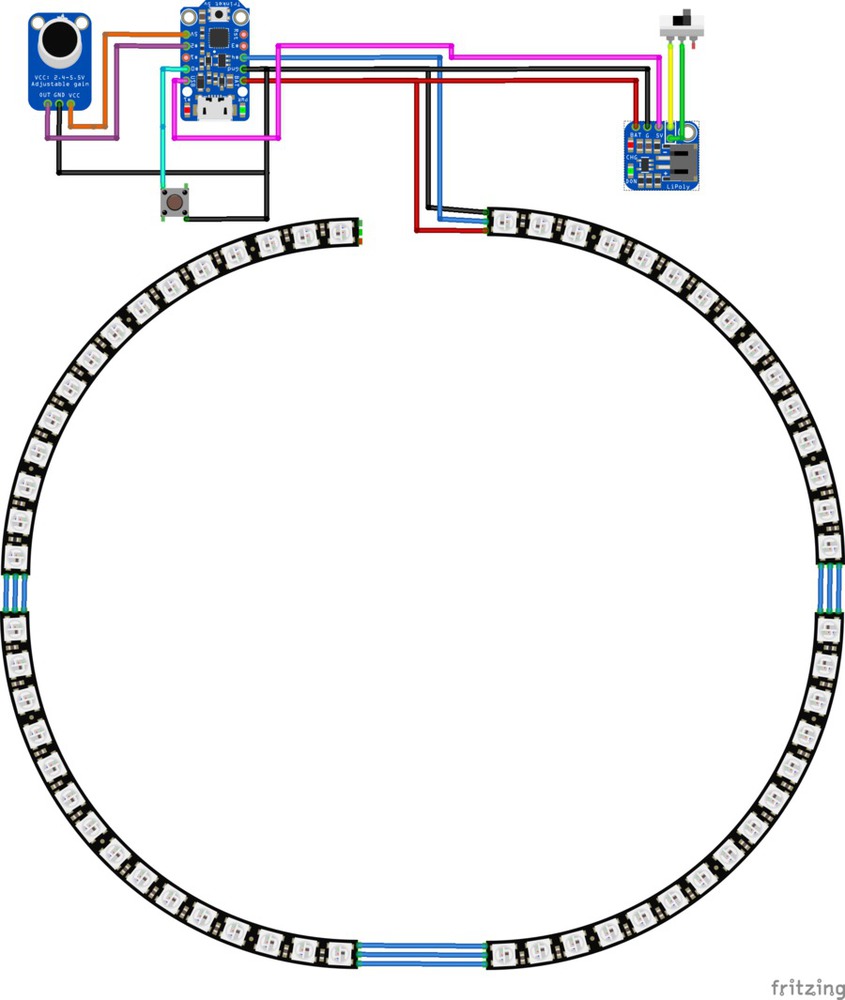
I think that we can create the desired circuit by taking some parts of the design and code of these projects and playing around a little. This is one of the reasons I’ve strictly chosen Adafruit
Products because their website provides a lot of guides, manuals, and libraries to make the development process simple. Mixing the two circuits in the examples I came up with a design of my own using Fritzing software. You can find the diagram below.
I think that the most challenging part of this project is to come up with enjoyable patterns for the LEDs to dance to within the code. This will take some time to program and since I currently do not have the tools in front of me to the prototype I can’t make any suggestions here but the Adafruit Sound-Reactive LED Color Organ can present some starting points. I should note here that, there should be at least 3 different functions for “dance” patterns declared within the code to be able to switch around during the party.
There are a lot of products on Amazon and other online shopping websites that have clothing with integrated LEDs that dance around to the sounds around but I wasn’t able to find one that does this on a real costume.
Some examples of sound activated LED shirts:
Additionally, there are a lot of project online that use microcontrollers such as Arduino along with LEDs and a simple microphone to create visual effects that go along with the sound. Yet again, I wasn’t able to find a version with any superhero comics or Halloween costumes.
Some of the examples I found online:
https://www.hackster.io/WannaDuino/vu-meter-round-style-on-steroids-mega2560-f7892d
https://www.instructables.com/id/Sound-Reactive-LED-strip/
In the end, I think that none of these products or projects can give you the satisfaction of wearing your custom made costume with wearable electronics during a Halloween party. I believe that it would be even easier in the following years as electronics get smaller and more durable, we will be able to make crazier clothes that incorporate circuits and smart elements.
As with every DIY project, the biggest challenge is to get off the couch and isdo the hard work that is required to realize your dream. In that sense, wearing a custom Iron Man t-shirt is still a dream to me, even though I’ve gone great lengths to come up with the most complete plan I can. Furthermore, I’m that there will be last minute problems and bugs that will occur during the actual process.
After the skills I’ve gained during class and the insight I gathered during the planning process, I feel that I’m now ready to embark on a DIY adventure that includes soft fabrication.
I’m looking forward for the day I have the time and energy to get off the couch and become the king of that Halloween party!
This project includes my proposal to create a sound activated Iron Man costume along with the work I created during the Soft Fabrication Class.