Components Needed
1 Green LED
1 Photoresistor
1 TMP36 Temperature Sensor
1 Capacitor (103)
Jumper wires
1 Breadboard
A 1kΩ Resistor
A 10kΩ Resistor
1 Piezo buzzer
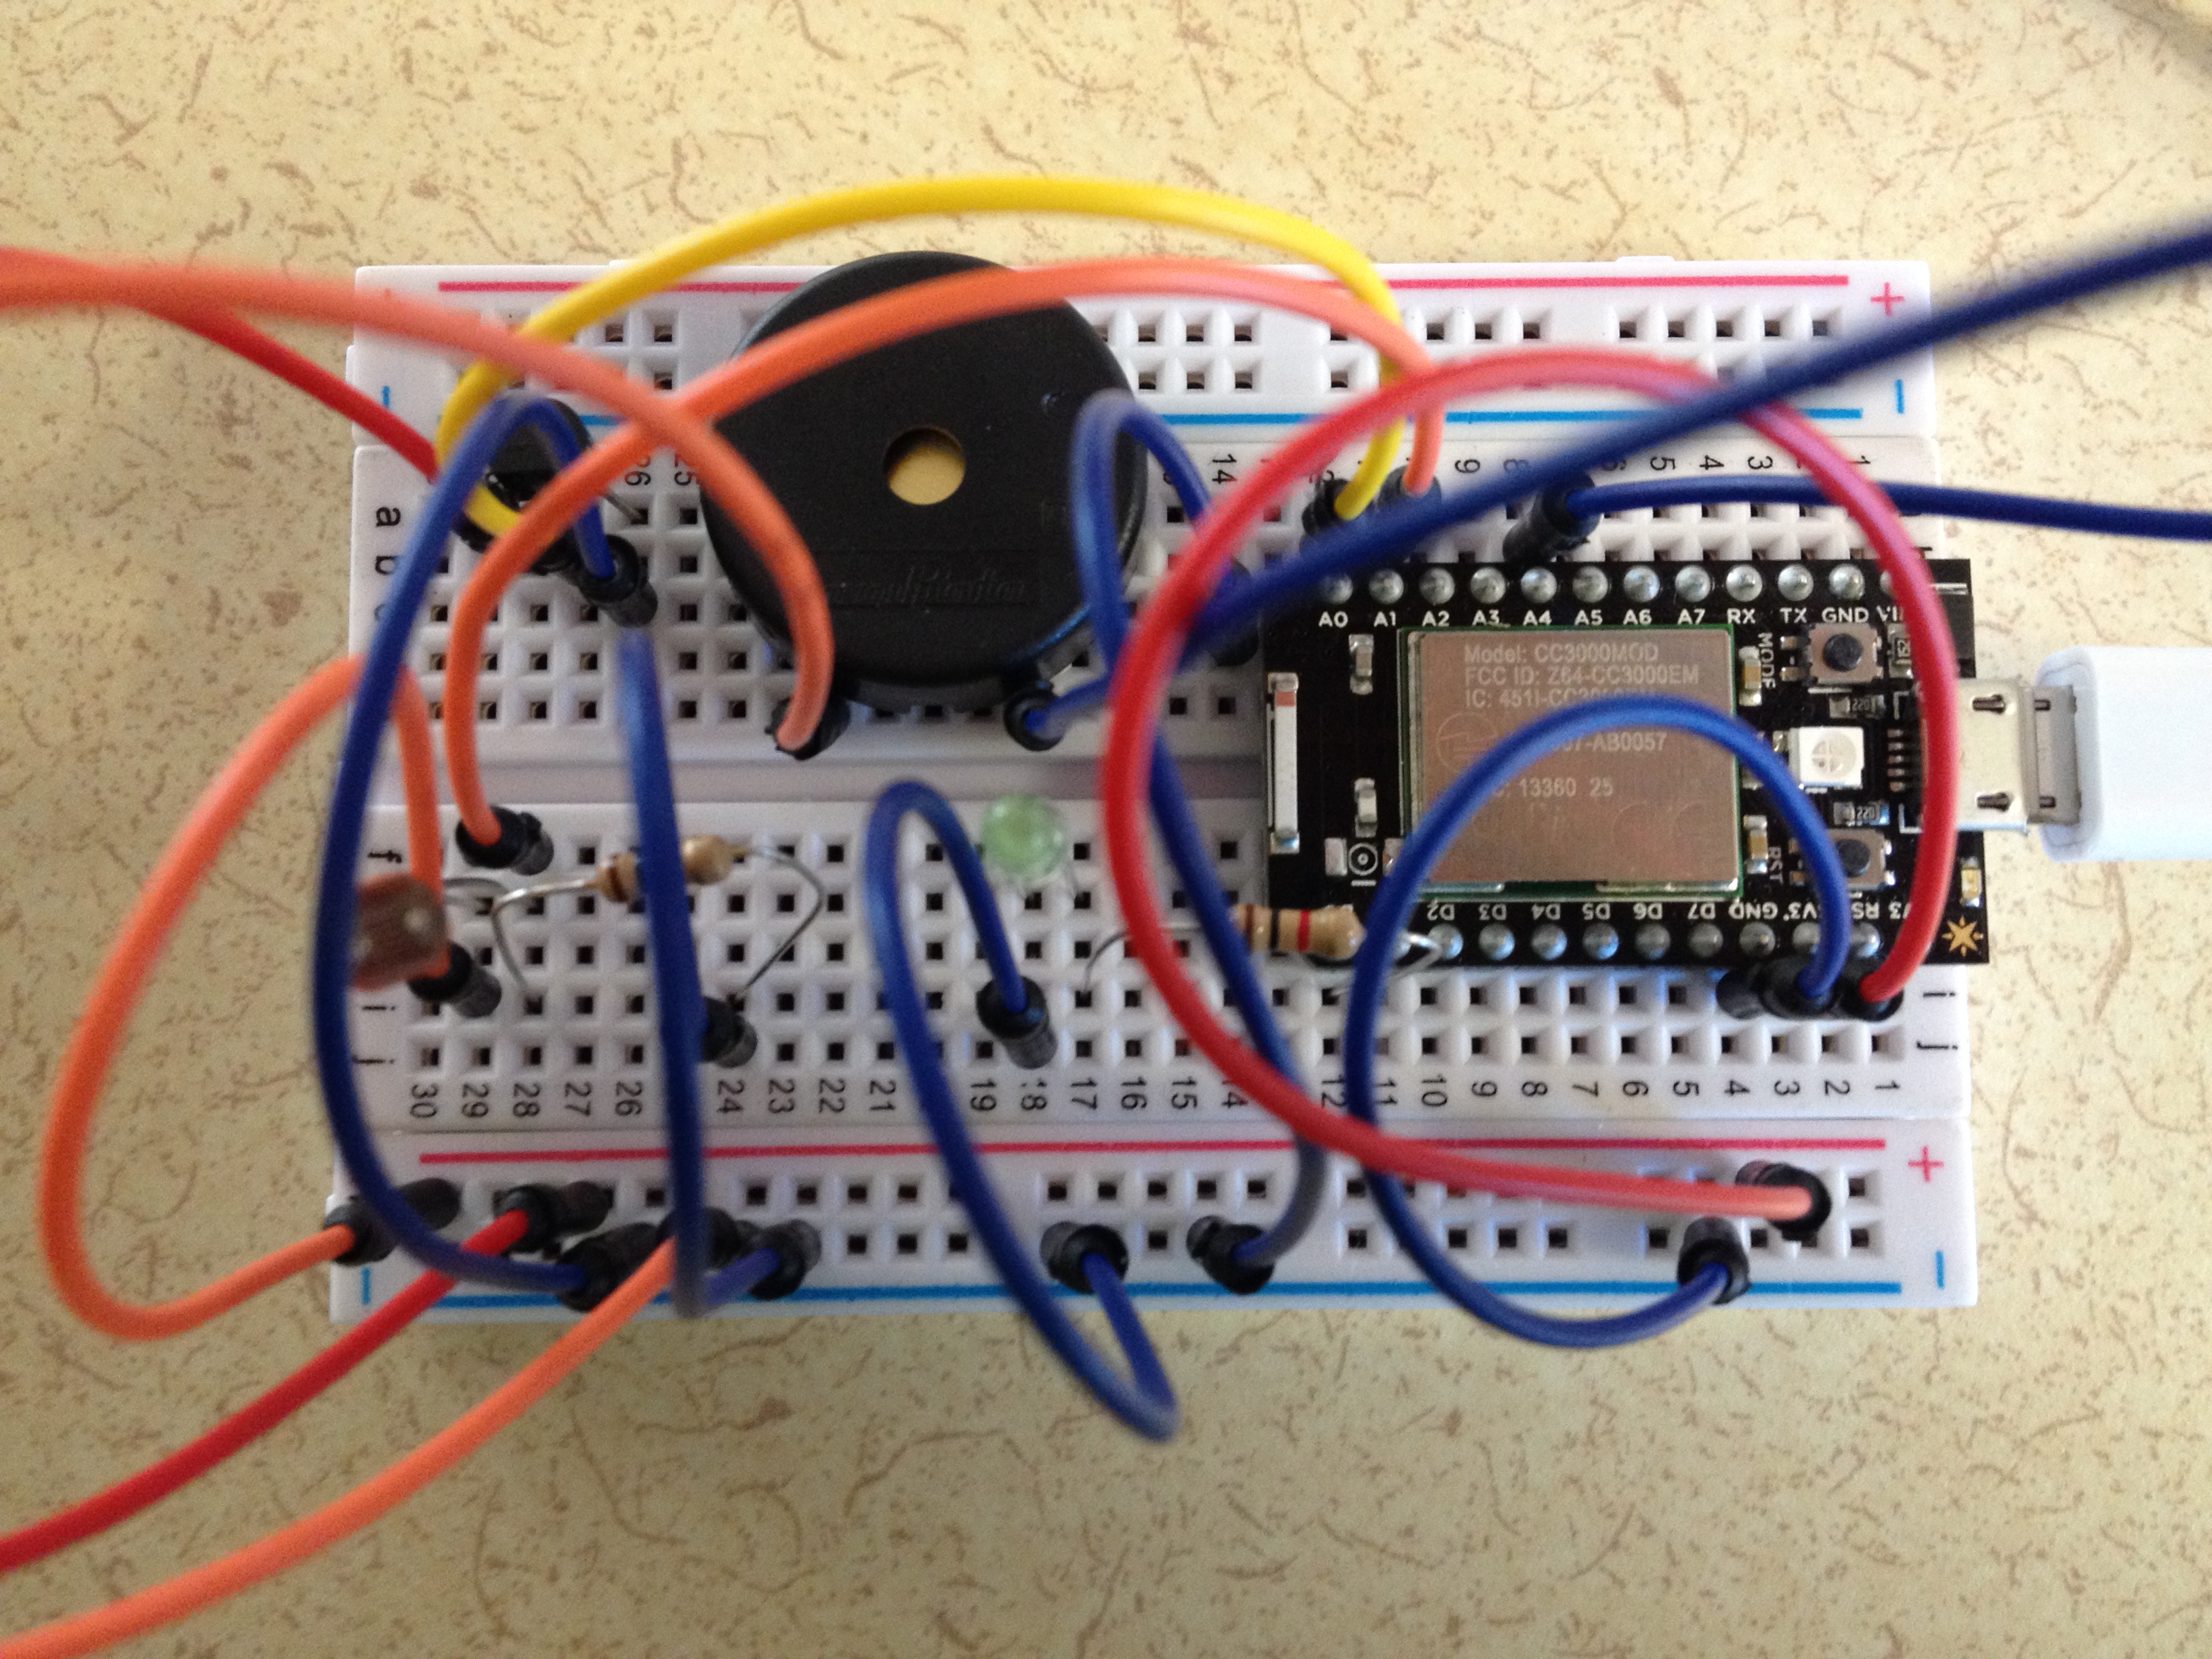
My project is an alarm clock that wakes a person up based on the amount of light present outside. In a sense it is like a rooster that wakes a farmer up at the break of dawn. This is for people who want to wake up to the general rhythms of the solar cycle instead of a numbers based time system. Disclaimer: given that the sun rises at different times throughout the year, this would not be for someone that wanted to get up at a consistent time every day, unless that consistent time was when the sun was up.
I started with the general temperature sensor platform that we used in class. I then added the code and physical set up for the photoresistor that we also used in class. At first I wasn’t going to have an LED in the platform so I deleted the LED code and wires from my breadboard. I then realized that it was a requirement for the project so I added it in again. I tweaked the code so that it would only take a temperature reading if the amount of brightness was over a certain threshold. This would then allow both the temperature reading as well as the light reading to be sent to the cloud so that it could be viewed on a web site that the user could look at when getting ready for the day.
Outcome
At first I was getting very high readings for interior temperature (347 degrees F) and found that the photoresistor was giving a higher reading of brightness when I covered the component with my finger versus when I shined my phone flash light on it. This confused me and led me to ask others if they were getting odd readings with their temperature readout. Many said that they were receiving false readings with their temperature sensor so I thought it was simply the component that was bad. I substituted another temperature sensor for the one that came in my Spark kit, but it was the same situation. I had used this temperature sensor for another project using an Arduino controller so I knew that it was accurate. After some time I realized that I had defined the wrong pins for the temperature and light sensors - they were switched! After changing them and saving the sketch I ran the program again and it worked. The temperature was still reading a little high (76 degrees F), but it was far more accurate than it was before.
Currently if the device detects light over a certain threshold value a buzzer beeps (waking up the sleeper), takes a temperature reading, and sends the light and temperature reading to the cloud. The next step I would like to take would be to set it up to a 16 pin LCD display to display the temperature in digital format versus on a website link and add a button to turn off the buzzer. I think the LCD display would be more useful than having to look at a cell phone or tablet in the morning to get the temperature. Also the person wouldn't have to unplug the device to stop the beeping sound if a button was added.
Reflection
The experience of getting a simple project to work was positive. Probably the best part of it was when I was made aware of my mistake of which pin to use for the temperature and light sensors. It was so simple of a mistake, yet it had an outsized effect on the project. It was rewarding to make the device, figure out what code I needed, and get the device to send feedback to the cloud where I could view it. Although I generally used code that we have went over in class, I could see in the future a difficulty in not knowing what commands are needed in what situations.
Sources Used
I heavily utilized the code and examples that we went over in class last week regarding photoresistors and temperature sensors. This was the bulk of my code but it was also supplemented by a sketch from the Instructables web site by EGRobotics called “Arduino Night Light” which can be accessed by the links below. I also used a sketch for the buzzer from the higepon on GitHub which can be accessed here
http://www.instructables.com/id/Arduino-Night-Light/
https://github.com/higepon/Spark-Core-Examples/blob/master/11.Piezo%20Buzzer/main.ino.
Both of these are acknowledged in the code behind the // symbols.