Skill Dev 4
Made by Tyler White
Made by Tyler White
Created: December 16th, 2023
Describe the process you underwent to reach the outcome (problems encountered, how you resolved them, as well as, experiments, hacks, tests, refinments, iterations, failures)
I started out trying to do this with a flex sensor. I had used the flex sensor before and initially thought it would make more sense. Getting the servo to run wasn't an issue at any point, but when running it with the flex sensor things just never worked perfectly and I was continuously stumped as to why. I think either I don't fully understand how to use a flex sensor or mine is possibly damaged. Either the servo wouldn't stop running - indicating there was always a flex above the threshold - or it would never run - indicating the flex was below the threshold. However, often I wouldn't change the threshold from flash to flash but I would get different outcomes. I moved to a fsr sensor because it seemed very similar to set up and it worked out great. The code was very similar and so was the particle function set up - as it was just based around adjusting the threshold to something new.
Detail what you created. What methods or techniques did you use? What tools and technologies were involved? Include images, code or video.
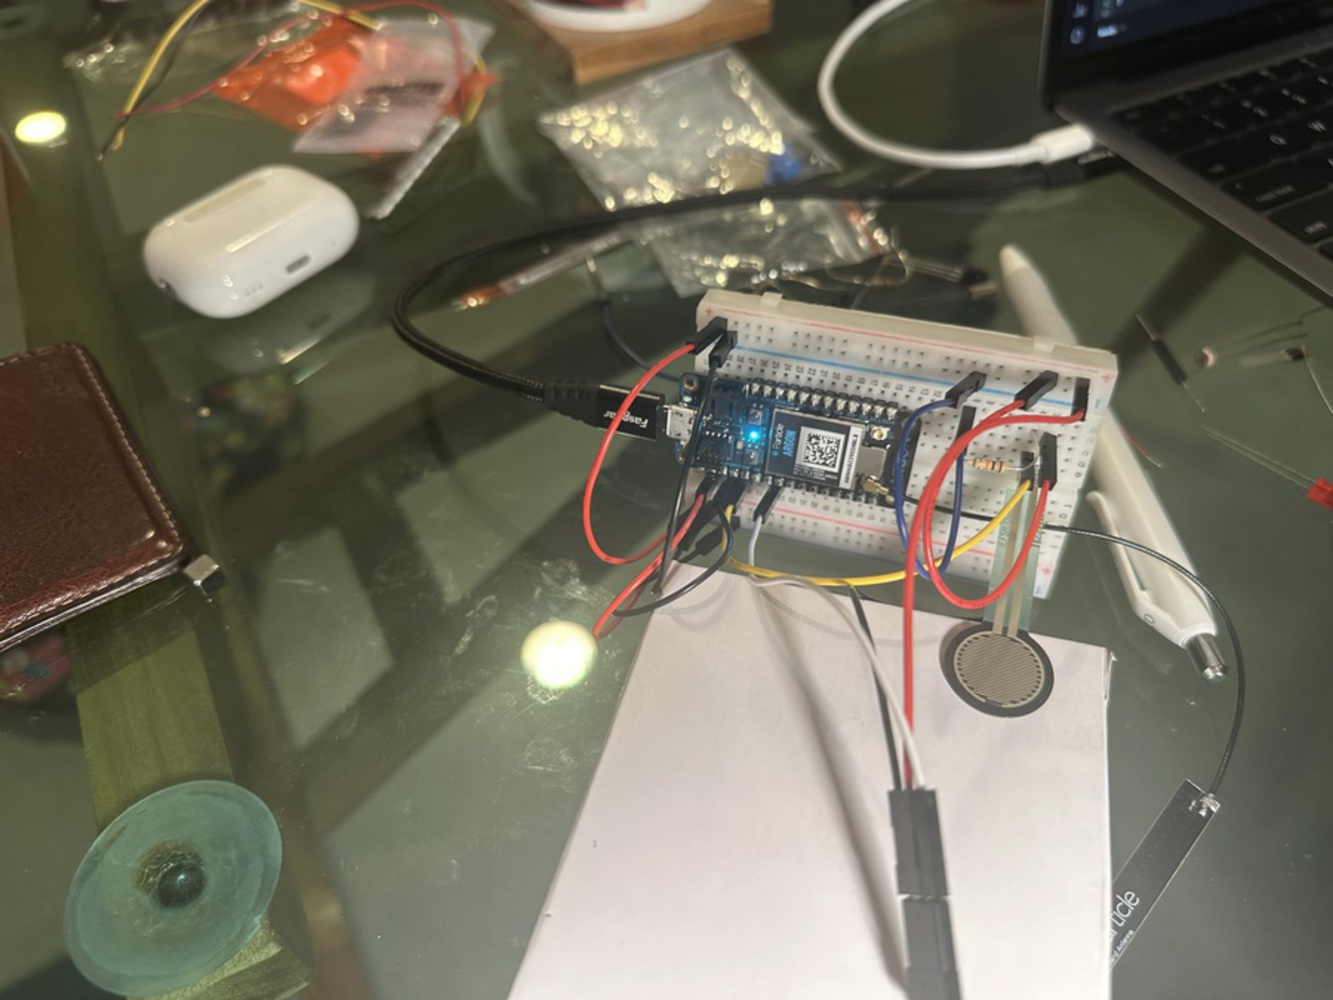
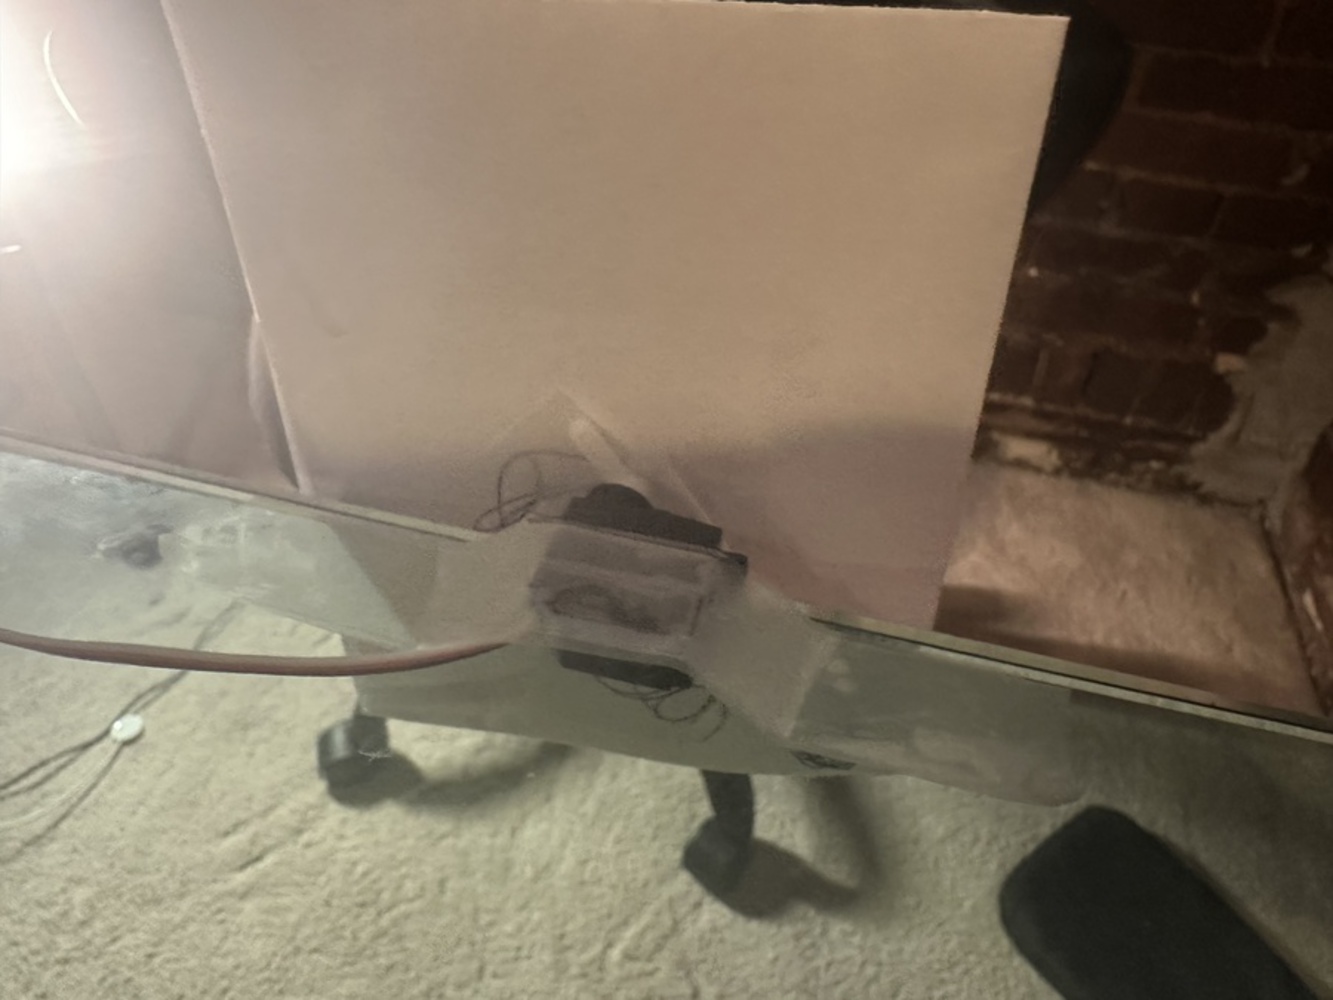
I created a notification for your mail being delivered. The fsr sensor triggers the servo motor which wiggles a sign back and forth notifying you that mail has been delivered. Ideally the fsr sensor would be situated inside the doorframe of the mailbox door and then when mail is delivered and the door pressure changes you would be notified. The prototype is developed backwards though because its easier to demonstrate, so in this prototype the servo is triggered by an increase in pressure to the fsr sensor (me tapping on it), but if it was deployed the servo would be triggered by a decrease in pressure when the door is opened. The particle function is set to allow for the user to remotely adjust what pressure level triggers the servo, which could be helpful if the mailbox door gets damaged or if there is a time of day where there is a lot of street traffic thats vibrations could trigger the fsr sensor.
Servo myServo;
int servoPin = A3;
int fsrPin = A0;
int fsrReading = 0;
int fsrThreshold = 2000;

void setup() {
  myServo.attach(servoPin);
  pinMode(fsrPin, INPUT);
  myServo.write(55);
    delay(500);
  Serial.begin(9600);

  Particle.function("setThreshold", setThreshold);
  Particle.variable("fsrReading", &fsrReading, INT);
}


void loop() {
  fsrReading = analogRead(fsrPin);
  Serial.println(fsrReading);

  if (fsrReading > fsrThreshold) {
    // Trigger the servo motor
    myServo.write(90);
    delay(1000);
    myServo.write(0);
    delay(1000);
     myServo.write(90);
    delay(1000);
    myServo.write(0);
    delay(1000);
  }else{
      myServo.write(25);
  }

  delay(10);
}

int setThreshold(String command) {
  int newThreshold = command.toInt();
  if (newThreshold > 0) {
    fsrThreshold = newThreshold;
    return 1;
  } else {
    return -1;
  }
}A hands-on introductory course exploring the Internet of Things and connected product experiences.
~