Skill Dev IV: Working with Motors
Made by Junke Zhao
Made by Junke Zhao
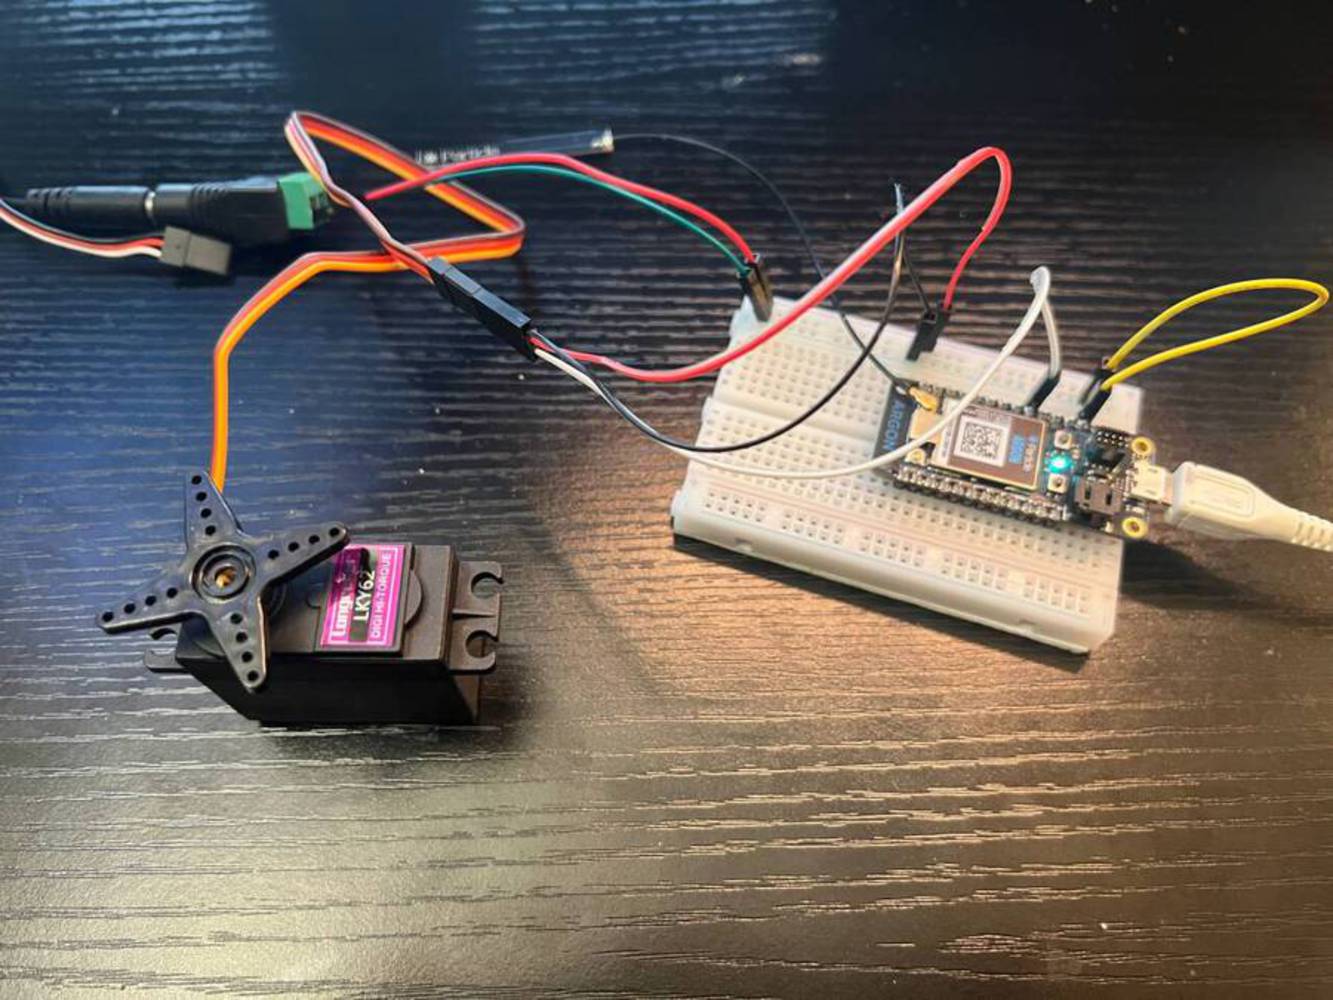
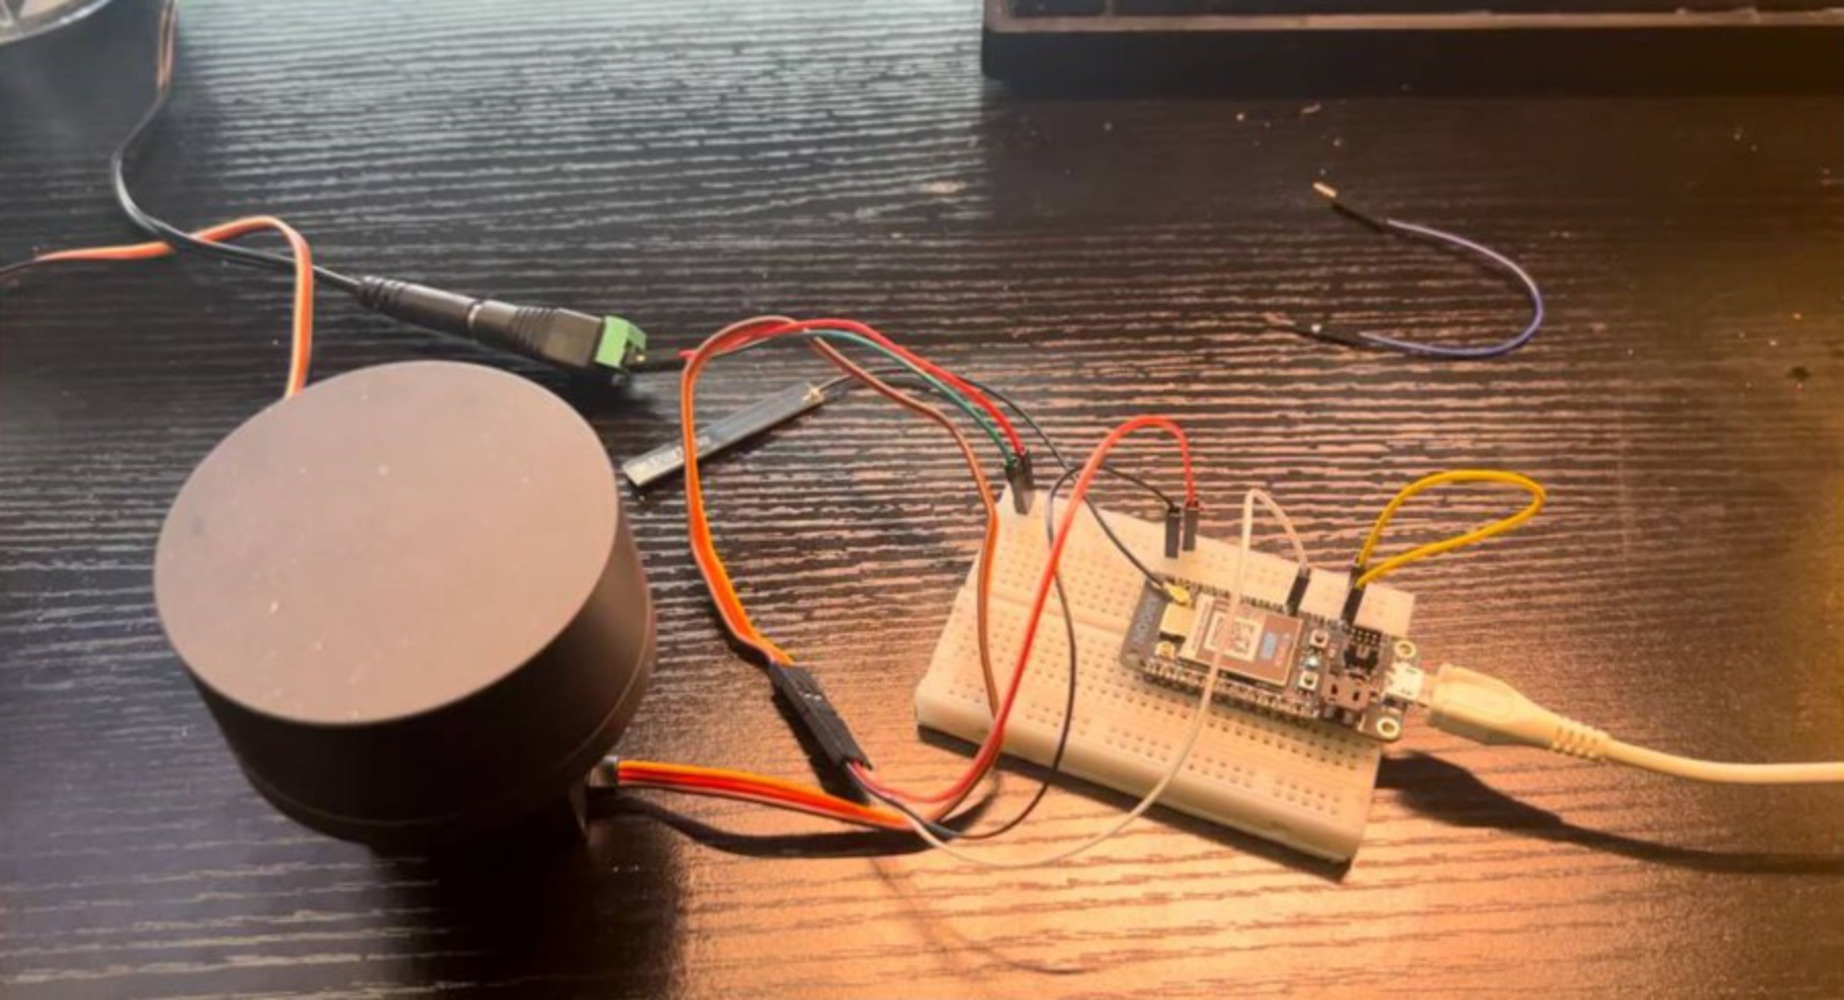
Control servo movement with Particle Cloud and create a simple interactive gadget.
Created: December 18th, 2023
A hands-on introductory course exploring the Internet of Things and connected product experiences.
Control servo movement with Particle Cloud and create a simple interactive gadget.