Skill Investigation: Embroidery

Made by jnishiza

The goal of this skill investigation was to help me further explore embroidery, a skill I had only briefly experimented with before, and to introduce me to the Japanese technique of sashiko embroidery.

Created: March 11th, 2018

0

Intention

When I was younger, I learned some of the basic embroidery stitches, but never applied those skills to a specific project or piece of clothing. Thus, the intention of this skill investigation was not only to apply the skills of embroidery to decorate one of my old shirts, but also to learn a new stitch and to explore the technique of sashiko.

0

Process

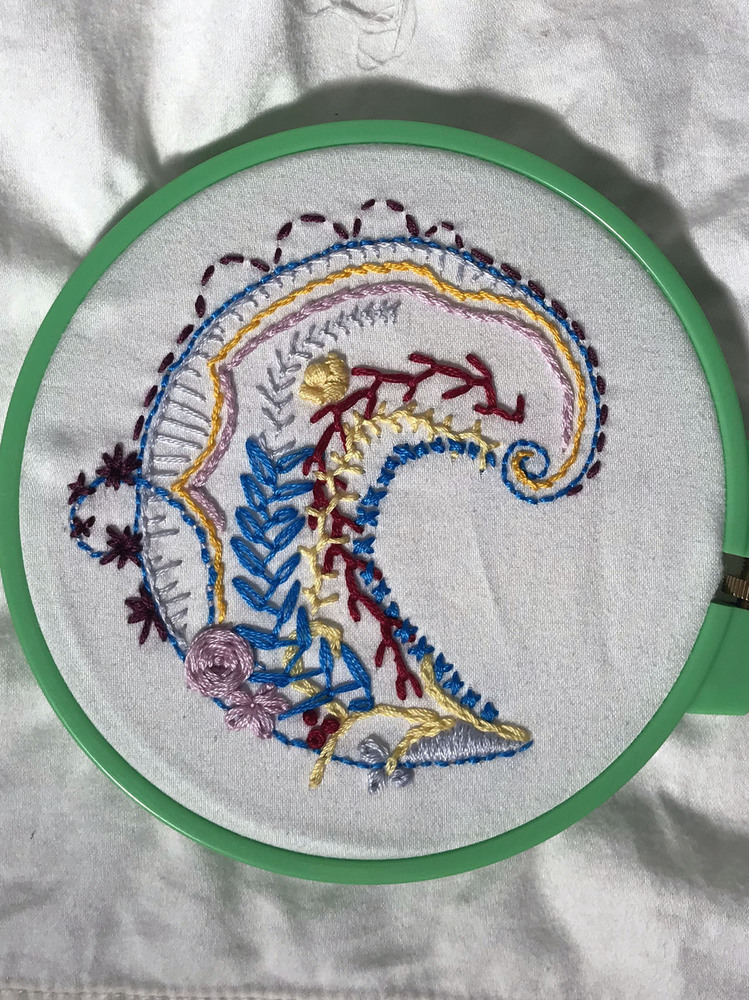
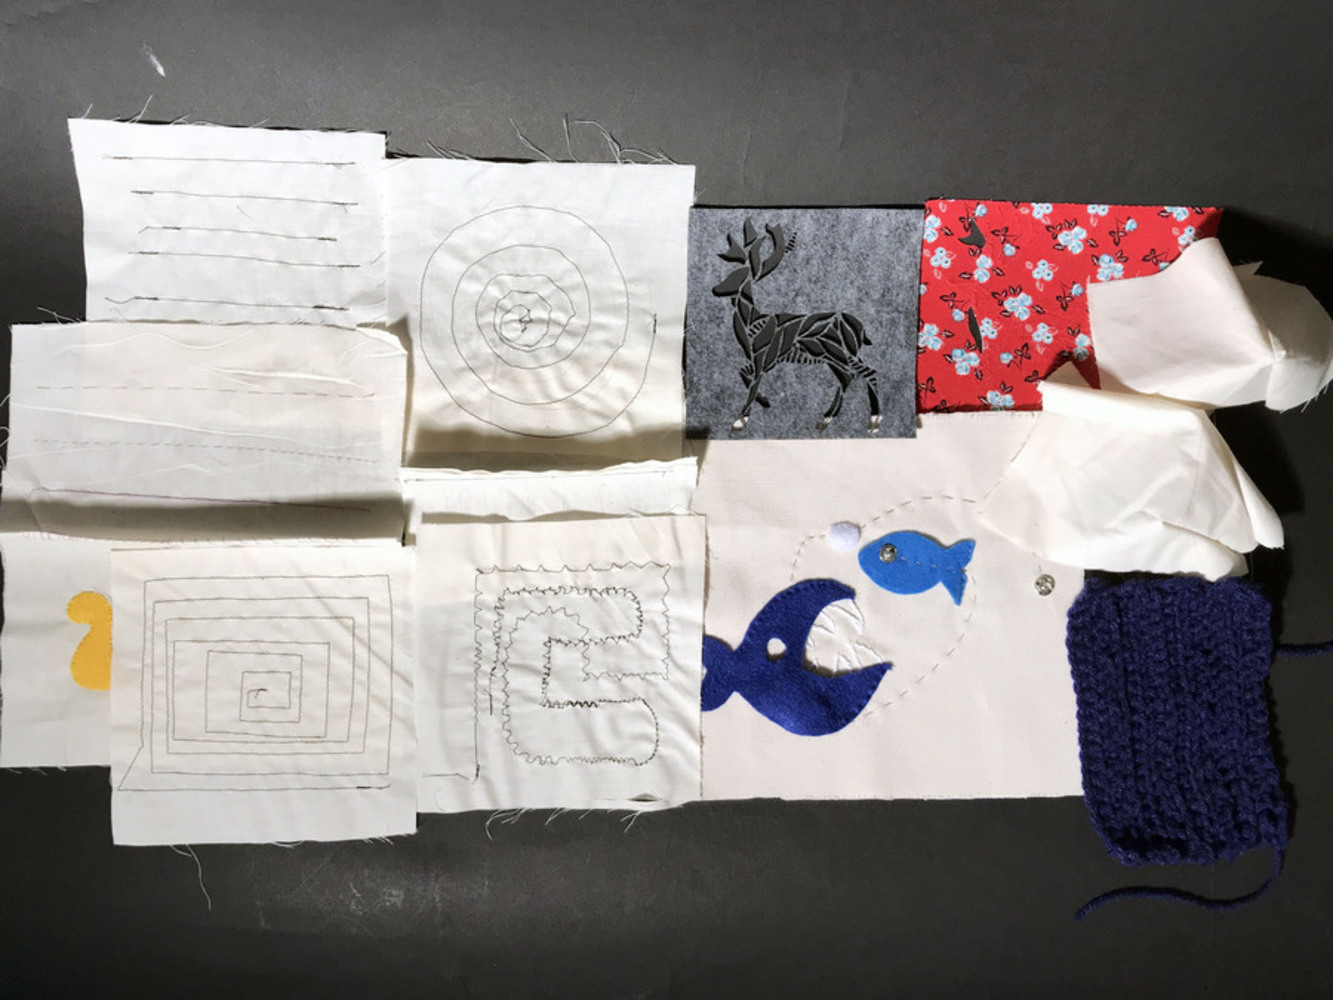
From the start of this project, I knew that I wanted to use embroidery to decorate one of my old shirts, but was unsure as to what stitch or pattern to use. Therefore, the first sampler I created for this project was a free-hand exploration of many different embroidery stitches. However, I wanted to embroider something that connected to me as an individual, so I started to research Japanese embroidery techniques, eventually choosing sashiko. As a fourth generation Japanese American, I'm not very connected to Japan or Japanese culture, and I wanted to take this opportunity to learn and explore that vein.

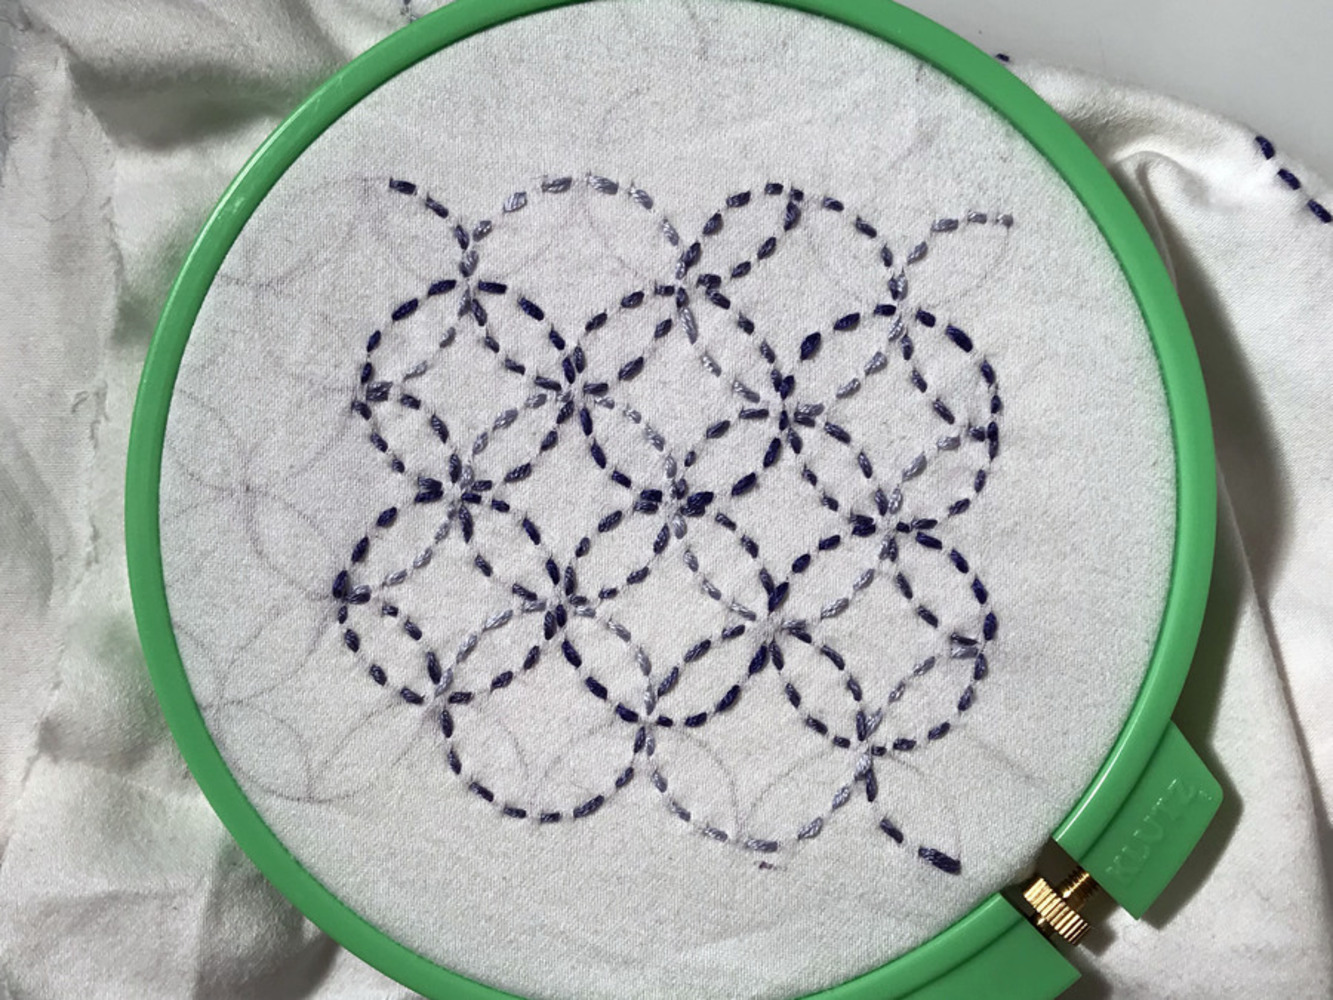
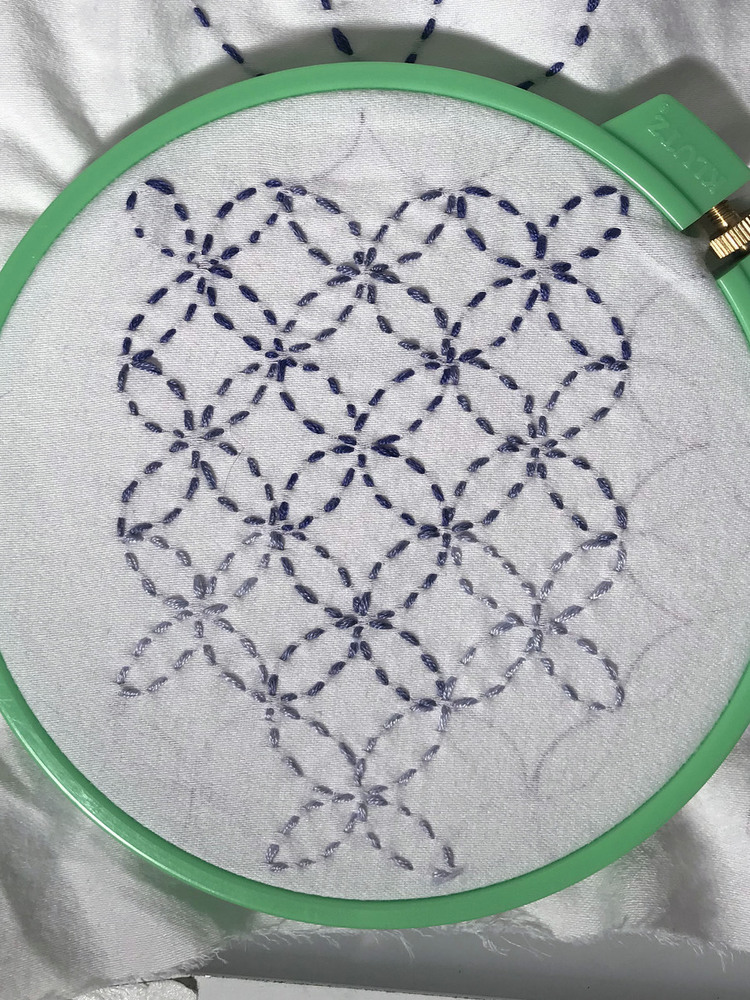
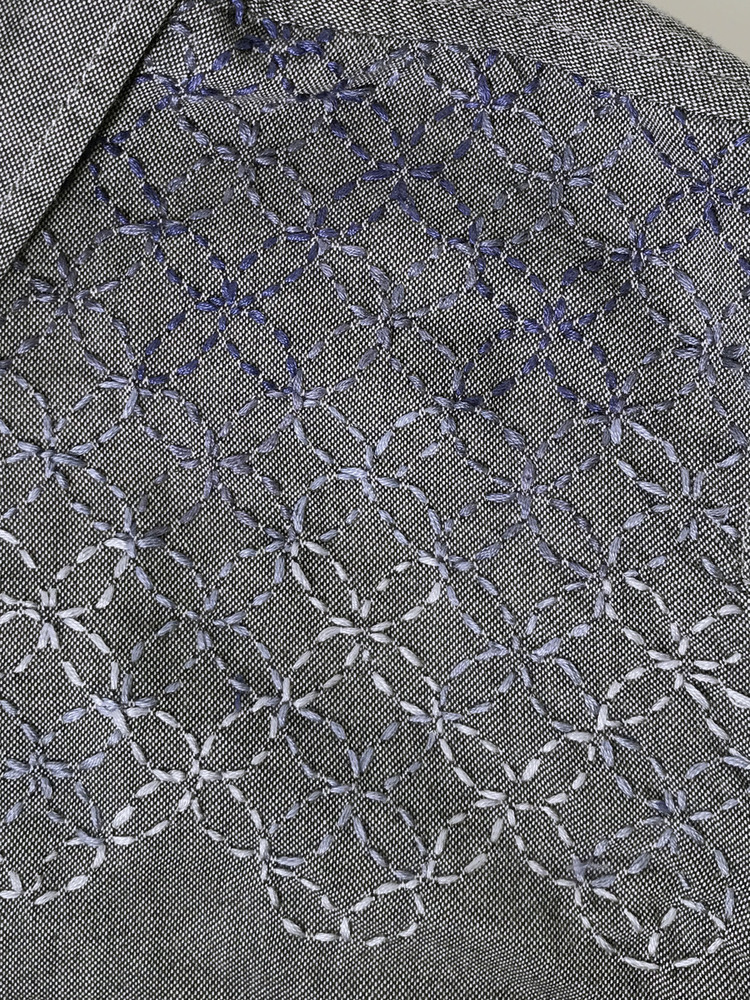
At its core, sashiko is made up of running stitches, arranged into decorative patterns. Its name translates to "little stabs," in reference to how sashiko is created. Sashiko was first used during the Edo era, and was originally used to repair or reinforce clothing.

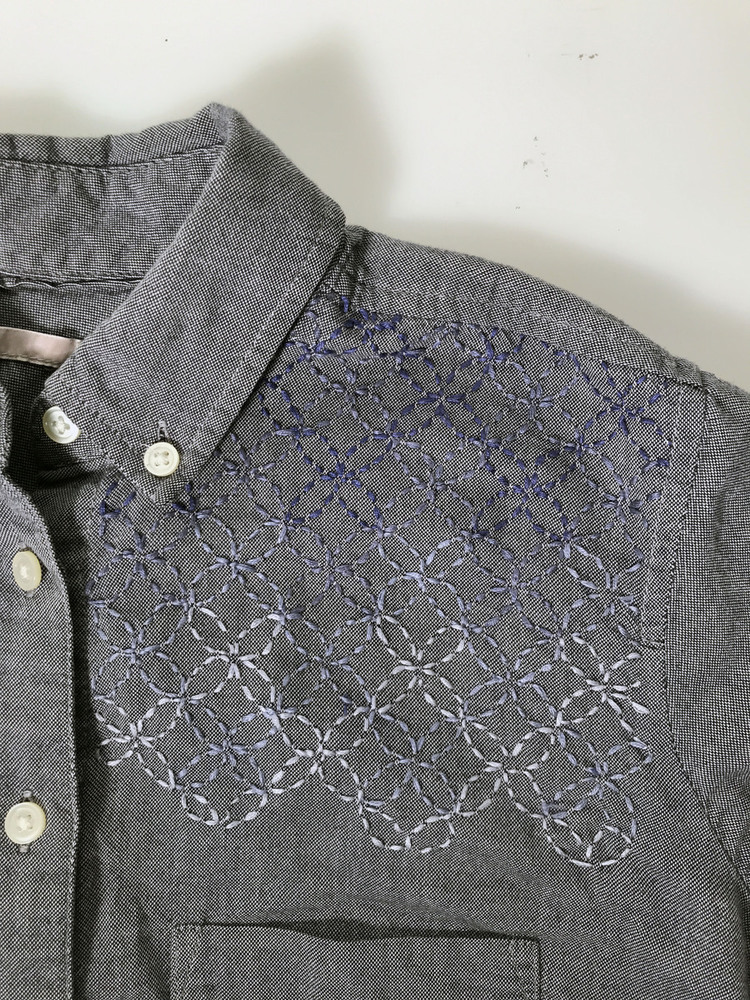
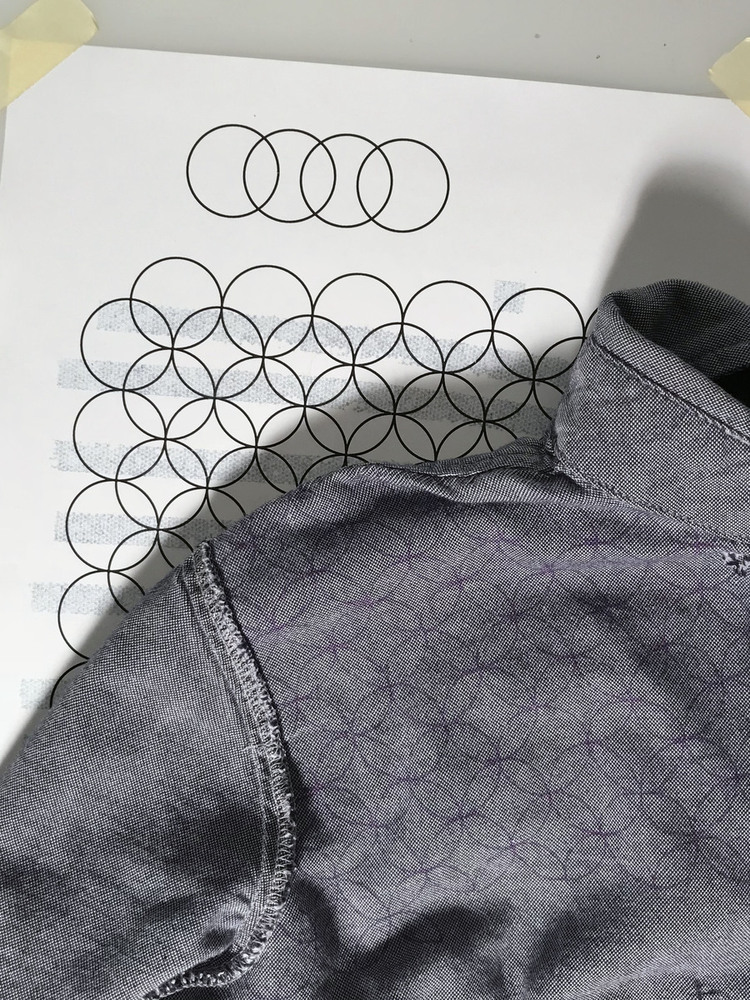
Once I had chosen to use sashiko, I decided on a pattern, and created/printed out a template for that pattern on Adobe Illustrator. I then transfered the pattern onto muslim, and experimented with different colors and color combinations. I decided on a gradation from dark at the top, to light at the bottom, used a FriXion Pen to mark the pattern on the back side of my shirt, and embroidered the design.

0

Product

I embroidered a 6" by 5.5" patch in the upper corner of my shirt, using four colors of embroidery thread, with the darkest threads used at the top, and the lightest ones used at the bottom. I used all 6 threads for each color, in order to ensure that my lines and stitches were thick enough to be visible. 

I chose to embroider this particular shirt, because it was fairly plain, and it didn't stretch as much as some of my other shirts, which would have made it much more difficult to embroider without first using interfacing.

0

Reflection

While I originally wanted to create a design that covered both the front and back shoulder areas of the shirt, I decided to just complete the front upper-left corner for this project, due to time constraints, as embroidering this one area took me roughly 9 hours to complete. However, I hope to eventually finish embroidering the front, and to embroider the back.

On future embroidery projects, or when I continue this one, I will make sure to tie off my thread everytime I switch colors. In this exploration, I ended up using the same embroidery thread for several patches of embroidery that were not adjacent, making the back of my embroidery very messy, and the threads easier to snag.

However, despite some of the setbacks and problems, this project not only allowed me to explore a new stitch, but it also introduced me to an efficient way to transfer my design to the fabric, using a light-board, a template, and a FriXion Pen, which disappears when heated with an iron.

0

Sample Book

x
Share this Project


About

The goal of this skill investigation was to help me further explore embroidery, a skill I had only briefly experimented with before, and to introduce me to the Japanese technique of sashiko embroidery.