Skills Dev II: Jody - Sensors & Inputs
Made by jmadala
Made by jmadala
Using pushbuttons to get input and combining with a potentiometer as a dimmer switch. Also exploring use of the photoresistor as a sensor using surrounding light levels to vary the brightness of the LED.
Created: November 28th, 2020
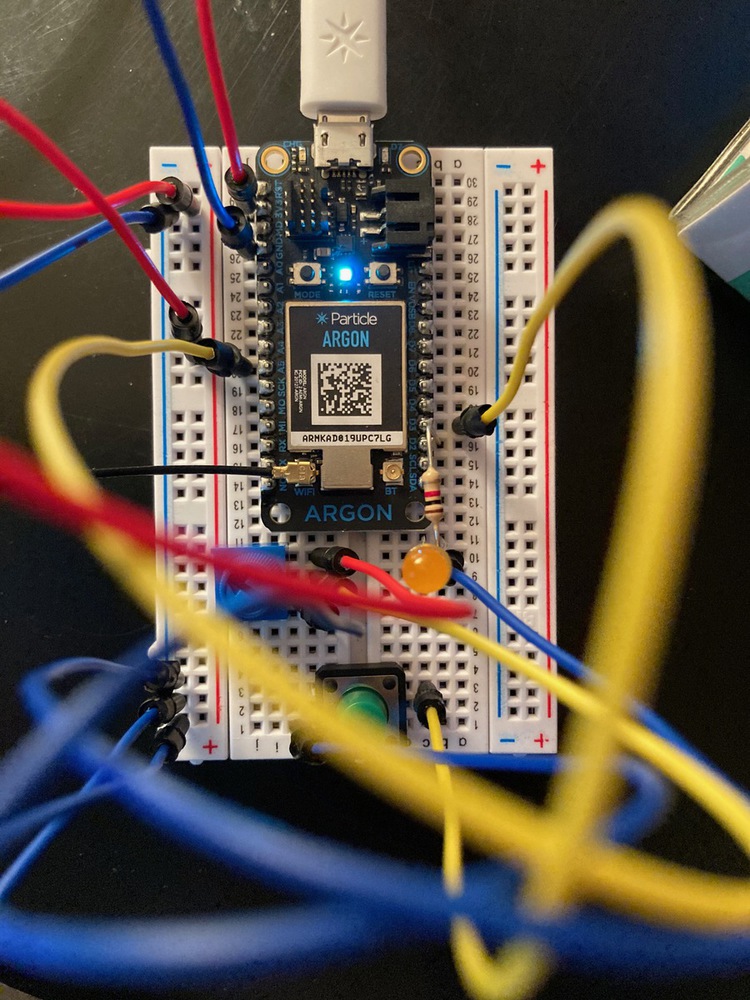
To get comfortable using the various components in the kit, I started by using a pushbutton to control the power to the LED; then replaced it with the potentiometer to dial the power up and down - finally, I combined the two which you can see below in the video and the corresponding code block.
// We will be using D2 to control our LED
int ledPin = D2;

// Our button wired to D0
int buttonPin = D3;
int buttonState; // store if the button has been pushed

int potPin = A5;
int potReadinIg = 0;

void setup()
{

  // For input, we define the
  // pushbutton as an input-pullup
  // this uses an internal pullup resistor
  // to manage consistent reads from the device

  pinMode( buttonPin , INPUT_PULLUP); // sets pin as input (button

  // We also want to use the LED

  pinMode( ledPin , OUTPUT ); // sets pin as output

}

void loop()
{

   // find out if the button is pushed
   // or not by reading from it.
   buttonState = digitalRead( buttonPin );

   int potRead = analogRead( potPin); // 0-4095

  // remember that we have wired the pushbutton to
  // ground and are using a pulldown resistor
  // that means, when the button is pushed,
  // we will get a LOW signal
  // when the button is not pushed we'll get a HIGH

  // let's use that to set our LED on or off

  if( buttonState == LOW )
  {
    // turn the LED On
    //digitalWrite( ledPin, HIGH);
    int ledBrightness = map( potRead, 0, 4095, 0, 255);
    analogWrite( ledPin, ledBrightness); // 0-255

  }else{
    // otherwise
    // turn the LED Off
    digitalWrite( ledPin, LOW);

  }

}// We will be using D2 to control our LED
int ledPin = D2;
// Our button wired to D3
// We wire D0 to the middle terminal on the switch
// And any of the two other terminals to ground
int switchPin = D3;
void setup()
{
// For input, we define the
// switch as an input-pullup
// this uses an internal pullup resistor
// to manage consistent reads from the device
pinMode( switchPin , INPUT_PULLUP); // sets pin as input
// We also want to use the LED
pinMode( ledPin , OUTPUT ); // sets pin as output
}
void loop()
{
// find out if the button is pushed
// or not by reading from it.
int buttonState = digitalRead( switchPin );
// Using a pulldown resistor we get a LOW
// Signal when its on
if( buttonState == LOW )
{
// turn the LED On
digitalWrite( ledPin, HIGH);
}else{
// otherwise
// turn the LED Off
digitalWrite( ledPin, LOW);
}
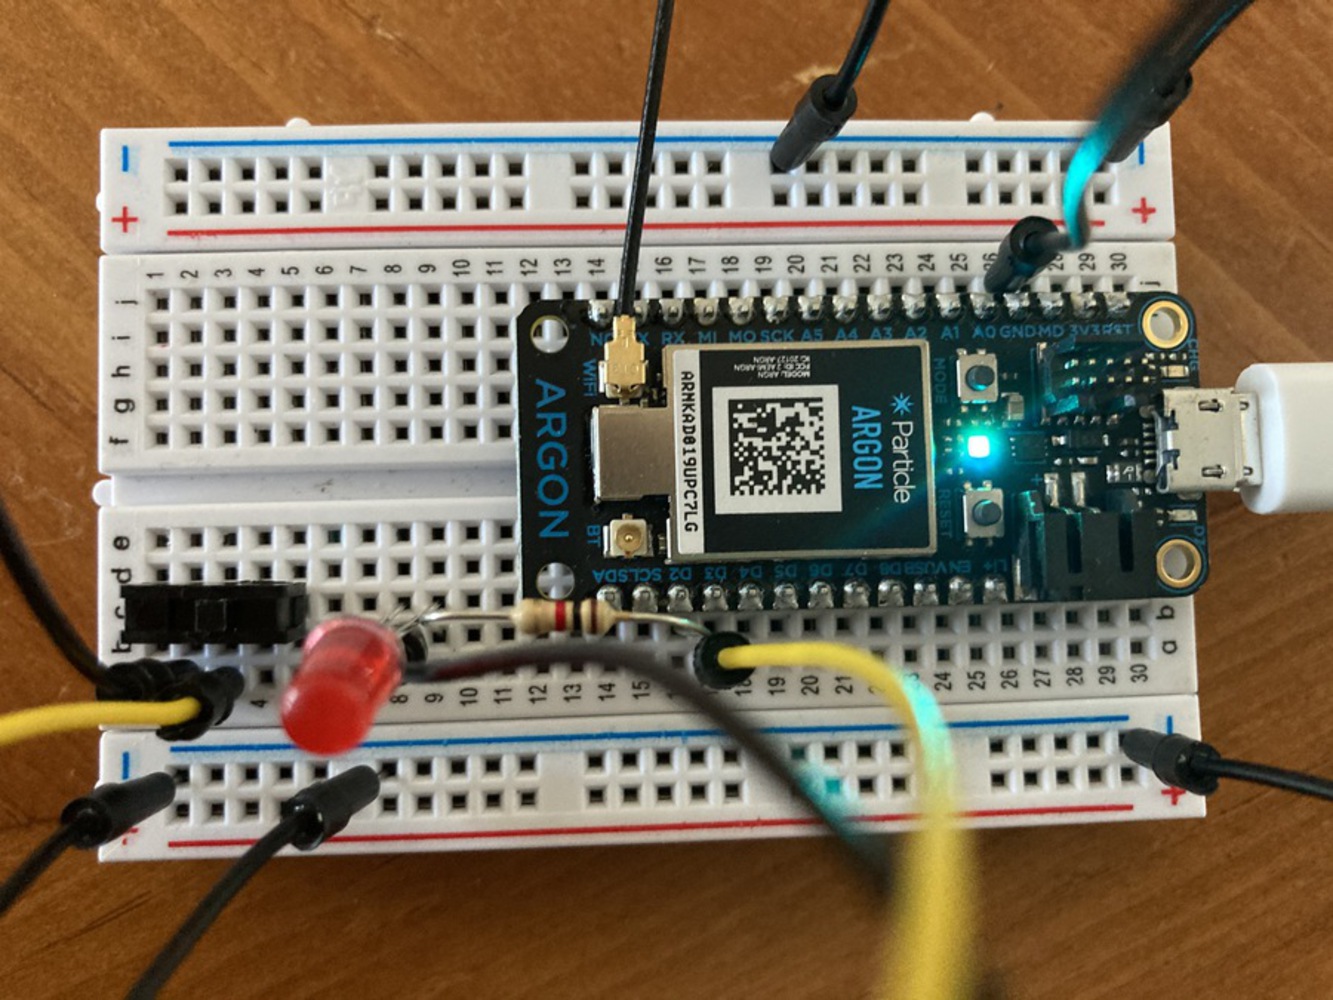
}I wanted to get the basic photoresistor sensor to work, but had a hard time with this one. At first, I had not wired my LED correctly to ground and after fixing that, the LED lit up; however, when I covered the photoresistor with my finger, the LED did not dim.
But it turns out it needs to be super dark in order for it to dim a lot since it is very sensitive to ambient light. I put a black glove over the photoresistor and it dimmed a good bit, took a reading and then removed the glove, allowing the LED to glow brightly and took a much higher reading. Video included below the code.
// Define a pin that we will place the photo cell on
// Remember to add a 10K Ohm pull-down resistor
int photoCellPin = A0;
// Create a variable to hold the light reading
int photoCellReading = 0;
// Define a pin we will place an LED on
int ledPin = D2;
// Create a variable to store the LED brightness
int ledBrightness = 0;
void setup() {
// Setup the LED for output
pinMode( ledPin, OUTPUT);
// Create a cloud variable of type integer
// called "light" mapped to photoCellReading
Particle.variable("light", &photoCellReading, INT);
}
void loop() {
// Use analogRead to read the photo cell reading
// This gives us a value from 0 to 4095
photoCellReading = analogRead(photoCellPin);
// Map this value inti the PWM range (0-255)
// and store this as the led brightness
ledBrightness = map(photoCellReading, 0, 4095, 0, 255);
// fade the LED to the desired brightness
analogWrite(ledPin, ledBrightness);
// wait 1/100th of a second and then loop
delay(100);
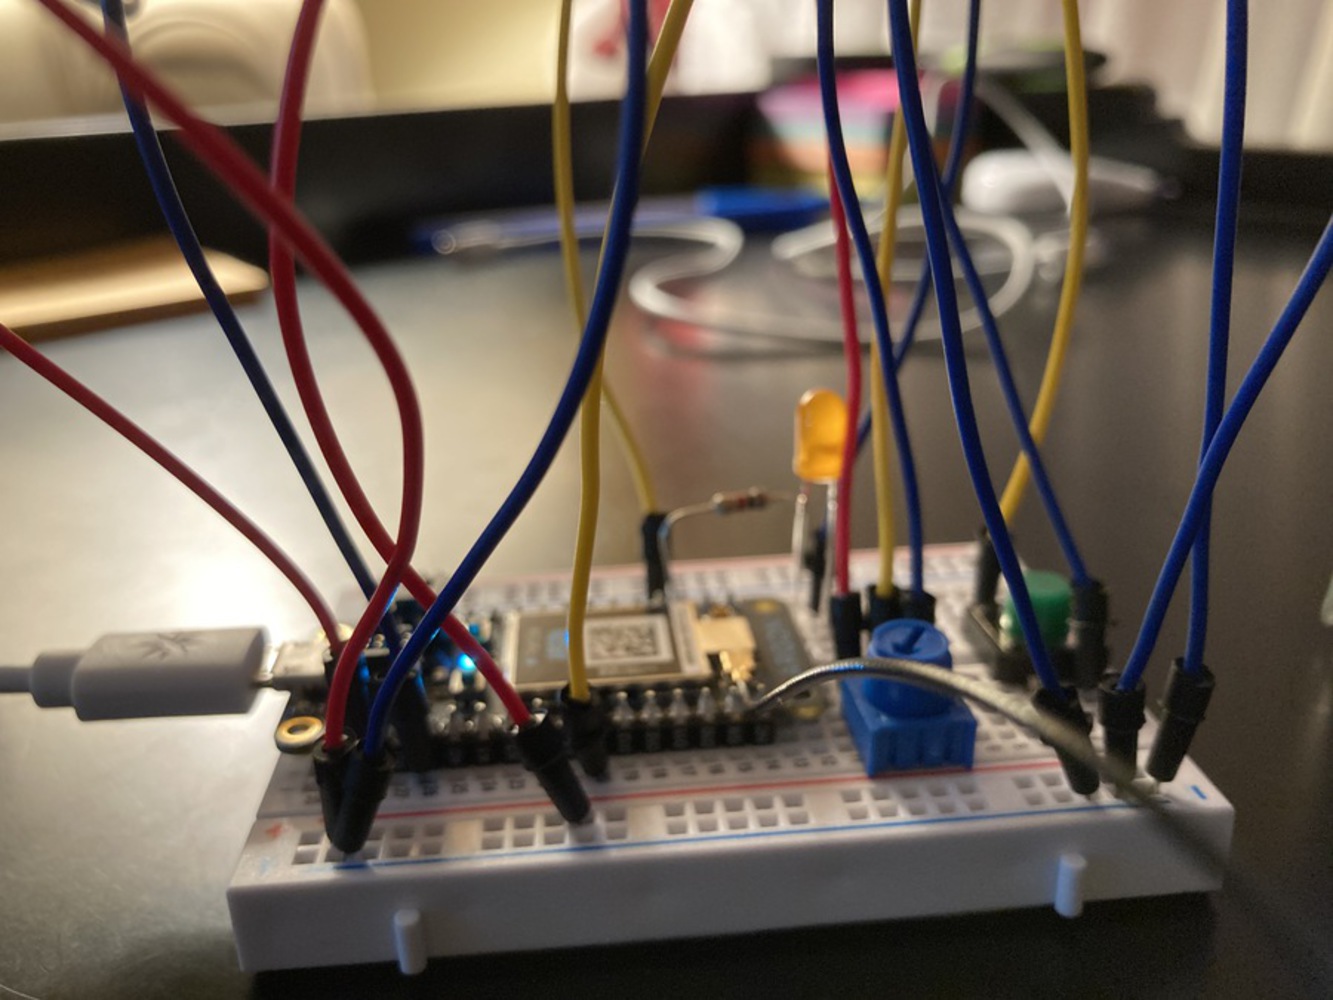
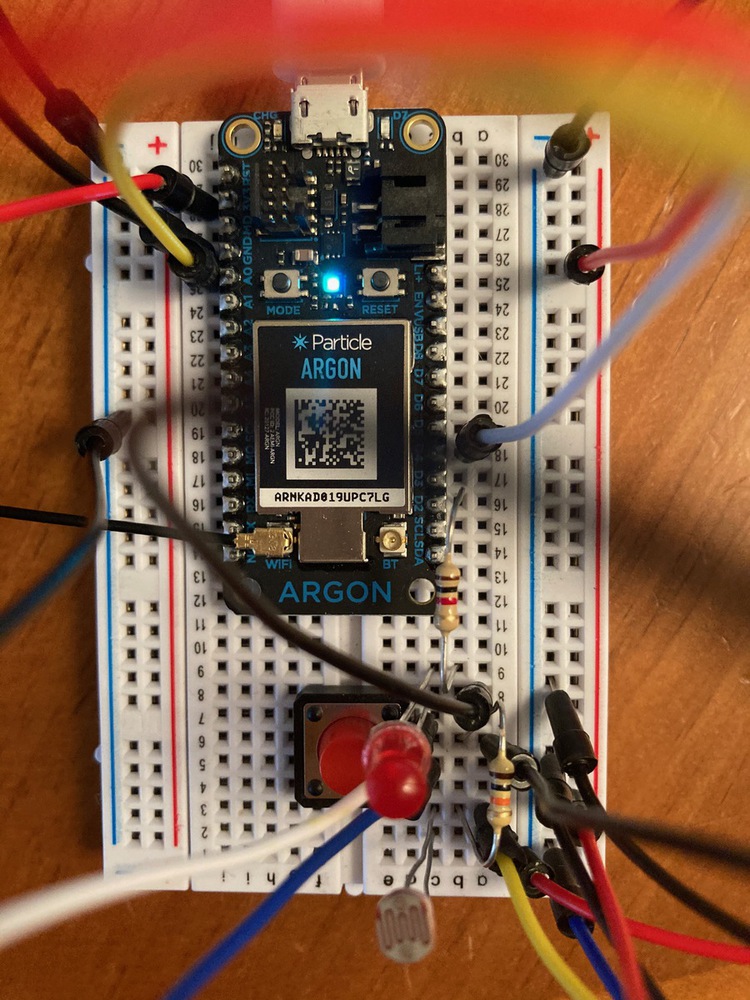
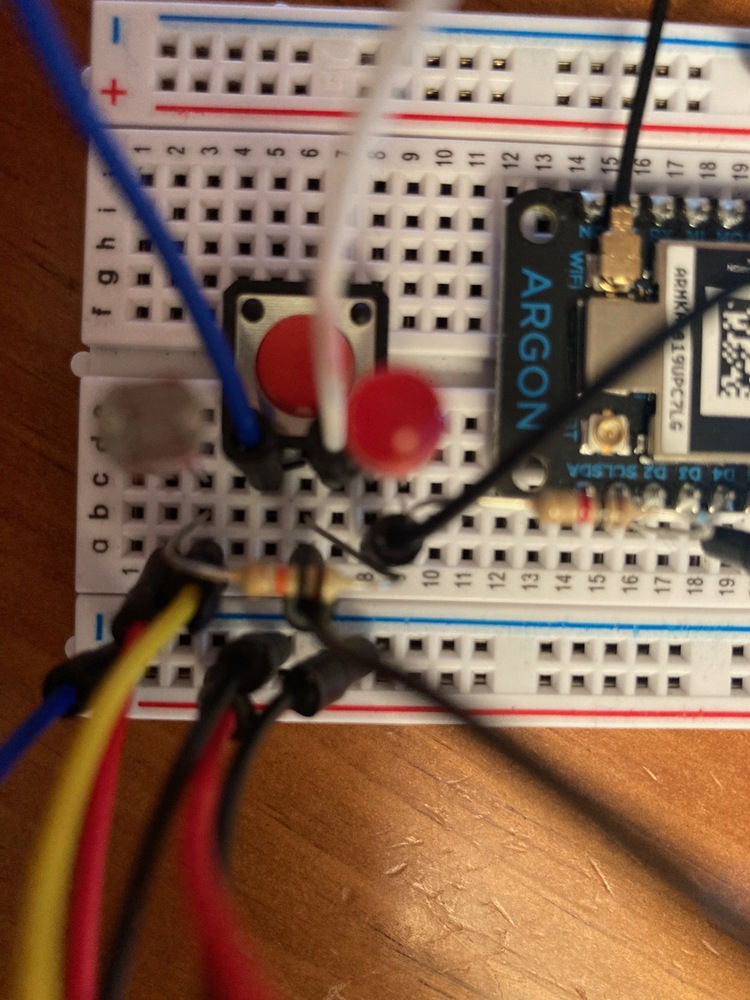
}For this, I wanted to set up a situation where, when a button was pressed, the photoresistor would take a light reading and convert that to LED brightness. When the button wasn't pressed, the photoresistor would not engage and have a 0 reading (LED if off). The setup required a bunch of wires so the picture on the setup isn't very easy to see (I should use fritzing to do this!). A video of the button and sensor in action is below. As noted above, the photosensor needs to be covered with something really dark (a finger isn't enough) to get a noticeable reduction in light reading.
// Define a pin we will place an LED on
int ledPin = D2;

// Create a variable to store the LED brightness
int ledBrightness = 0;

// Define a pin for the button
int buttonPin = D4;

// Create a variable to store if button has been pushed
int buttonState;

// Define a pin that we will place the photo cell on
// Remember this is a 10K Ohm pull-down resistor
int photoCellPin = A0;

// Create a variable to hold the light reading
int photoCellReading = 0;

void setup() {
// For input, we define the
// pushbutton as an input-pullup
// this uses an internal pullup resistor
// to manage consistent reads from the device

pinMode( buttonPin, INPUT_PULLUP); // sets pin as input

// Setup the LED for output
pinMode( ledPin, OUTPUT);

// Create a cloud variable of type integer
// called "light" mapped to photoCellReading
Particle.variable("light", &photoCellReading, INT);

}

void loop() {

    // find out if the button is pushed or not by reading from it
    buttonState = digitalRead( buttonPin);

    if(buttonState == LOW)
    {
        // Turn sensor "on"
        // Use analogRead to read the photo cell reading
        // This gives us a value from 0 to 4095
        photoCellReading = analogRead(photoCellPin);

        // Map this value inti the PWM range (0-255)
        // and store this as the led brightness
        ledBrightness = map(photoCellReading, 0, 4095, 0, 255);

        // Fade the LED to the desired brightness
        analogWrite( ledPin, ledBrightness);

        }else{
            // Turn sensor "off"
            // Use analogRead to read the photo cell reading
            // This gives us a value from 0 to 4095
            photoCellReading = 0;
            ledBrightness = map(photoCellReading, 0, 4095, 0, 255);
            // Turn off the LED
        analogWrite( ledPin, ledBrightness);
    }

}This process took me a long time ... I was much more comfortable with the buttons, switches and potentiometer but the sensors were tricky. I didn't know what to expect with the sensors and I only wound up working with the photosensor. I didn't have a force sensor in my kit and I couldn't get the flex sensor to work unfortunately. But it was a good learning exercise to connect the button (something I like) to the photo sensor and see if the code with the if statements actually worked. It finally did!