Skills Dev V: Working with Networking
Made by Yujin Wu, Sohyun Jin and Yiming Jiao
Made by Yujin Wu, Sohyun Jin and Yiming Jiao
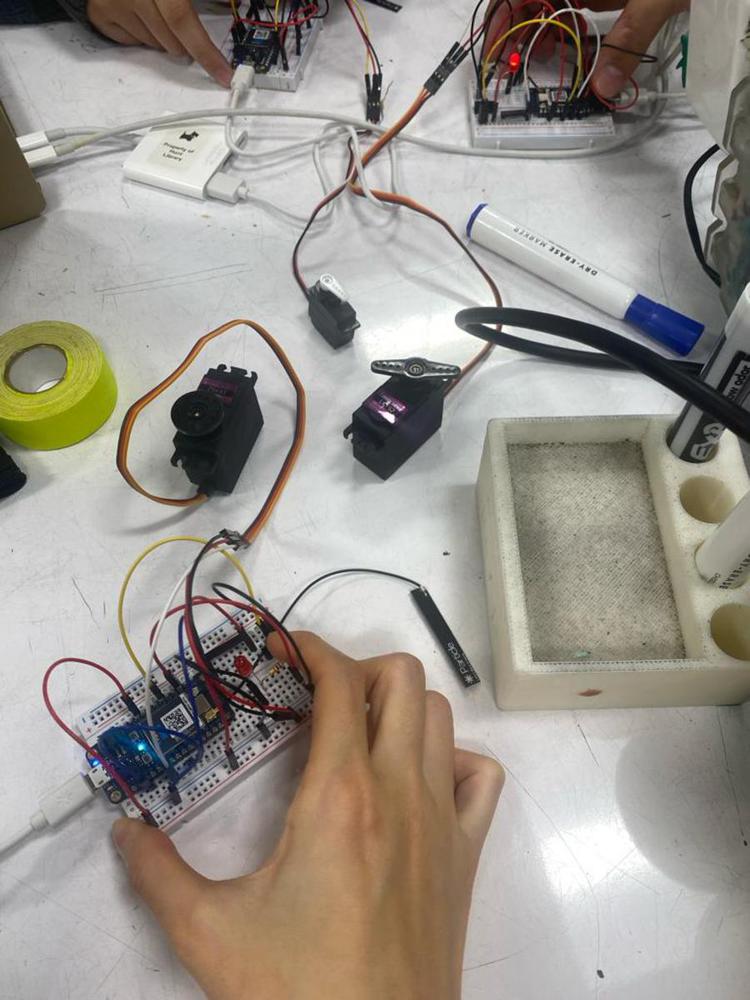
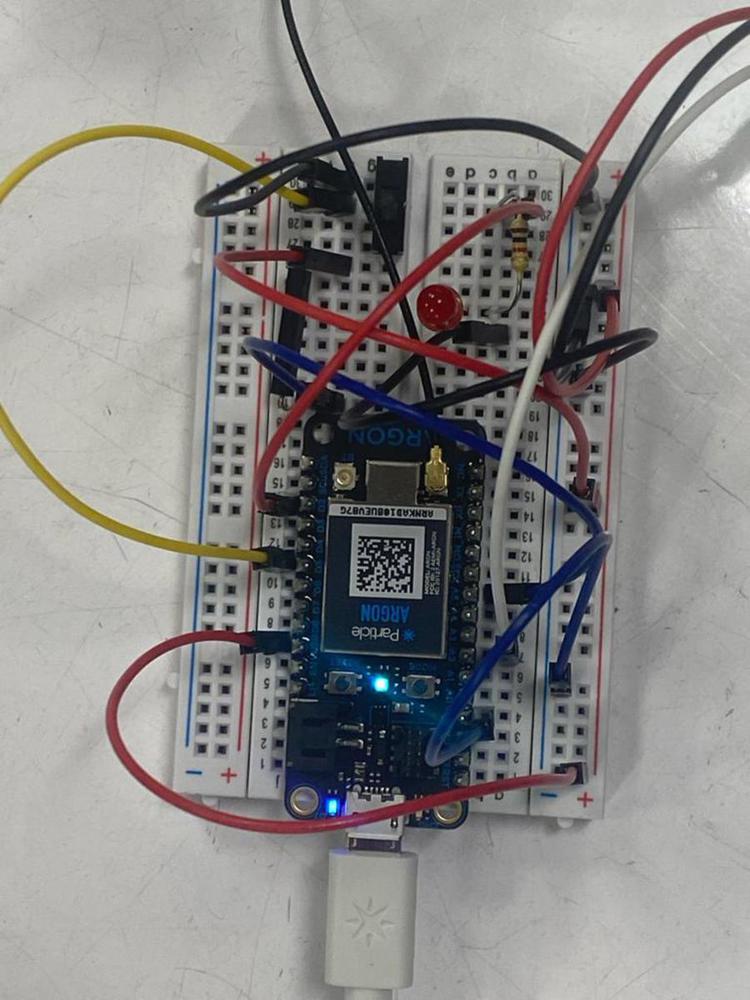
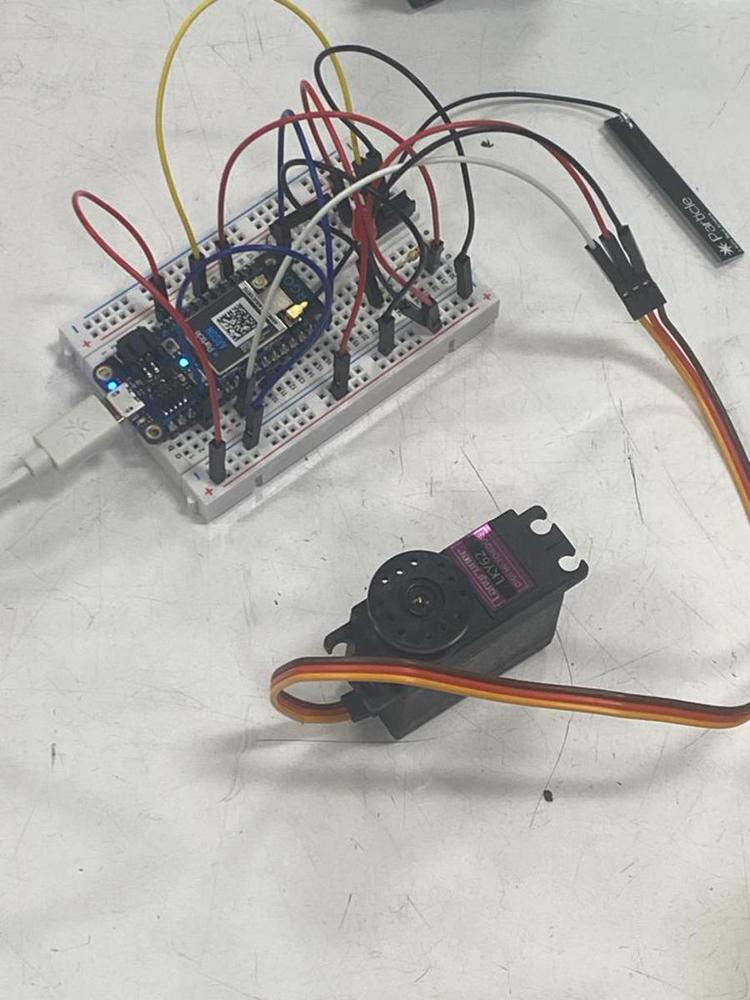
An awesome project where we connect three argon together (and disturb each other)
Created: December 6th, 2023
A hands-on introductory course exploring the Internet of Things and connected product experiences.
An awesome project where we connect three argon together (and disturb each other)