Starry Clock

Made by Lucy Tan

A clock bringing the stars closer.

Created: February 14th, 2018

0

Intention

I've always been in love with the night sky and the stars as a motif, so I decided to make a clock which encompasses the stars. Something understated and modern looking, somewhat minimalist. Clean, sleek, mathematical.

0

Research + Context

Originally, I wanted to make something more reminiscent of the long exposure photos of the sky. The streaks of light are mesmerizing, and there's also the signs of time passing. In the end, I thought that it would be difficult to get the same sort of contrast of light and dark in lines that were thin enough in my humble opinion, and it was hard to incorporate an indication of where each hour was on the clock, so I went with a slightly more traditional layout.

0

Aesthetic & Inspiration

0
Various night sky images found in a Google image search.
Stars.thumb
0

Sketch

Though my initial inspiration came from the long exposure photos, I considered expanding to a galaxy theme. I played around with off-center clock hands, but in the end decided to keep everything centered.

0
Final sketch. The star shapes ended up less square, so the arrangement of the stars in each group changed.
Img 20180131 232154.thumb
0
Some initial ideas. Played around with potentially a galaxy theme.
Starconcepts.thumb
0

Process and Procedure

First, the clock was modeled in Fusion 360. A total of 5 sketch layers were created; one for the clock's basic shape, one for the cutouts meant for the front, one for the scoring for the front, one for the engraving on the front, and one for the cutout for the back. This ended up being something of a mistake, since there were just so many construction lines on a single layer that sometimes making changes would lag the program. In retrospect, there were probably more efficient ways to do the stars than drawing one of each size and then duplicating them repeatedly. 

I originally set the stars up so that some of them were touching corner to corner and cutting off an area in between which would have had to been glued back on, so I had to go through and change all the stars that were set up like that. Grouping the stars involved a lot of construction lines and coincident constraints, which was then costly to go back and change.

0
All sketches. Decided to remove the center star in the end.
Starclockmap.thumb
0

Each of the sketches was exported as a DXF file, then combined in LaserCut to get the final file. When I did the initial cut, I didn't anticipate how the small size of the stars would cause the laser not to cut through well enough on the default settings. Since the clock face came out easily enough by itself, I didn't think that it would be a problem to remove the stars, but when I tried to push the stars out of the acrylic, I actually ended up cracking off a piece of the clock that as meant to stay! The circle in the center came out fine, however, so I ended up using it to test the fit of the clock kit.


0
Coincidentally, though I used the same settings for the white acrylic, the laser didn't cut through all the way. I had shifted the acrylic on the bed, so the first attempt is imprinted upon the clock forevermore. You can see it faintly in this picture.
Img 20180215 003634.thumb
0
At least things fit!
Img 20180215 003911.thumb
0

During this time, I also decided that the scored star trails weren't interesting enough, and it would be cooler to engrave the area instead. A new scoring element was introduced -- a quote that would go on the back as a gentle reminder that even though I messed up, there was still some interesting results that came out of it.

0
Learned my lesson this time! Did a test score on the cracked clock face. The ends of the letters were showing through the other side, so I ended up lowering the power.
Img 20180215 173618.thumb
0

Fiddled around more in LaserCut and recut. Etched the quote into the white acrylic backing. Cleaned up the mess and assembled the clock.

0
The second attempt at the clock face. Much more successful - most of the stars fell out as I was picking the acrylic up out of the laser cutter instead of me having to apply extreme force.
Img 20180215 154259.thumb
0

Renders & Pictures

0
Render of just the clock.
Clock render1.thumb
0
Now with reflections.
Starclock v1 2018 feb 16 10 08 25am 000 customizedview22722789749.thumb
0
"Shoot for the moon. Even if you miss, it will land you among the stars." There are engraved stars on the back where I tested the engrave settings since I'd messed up the cut anyway.
Img 20180215 180213.thumb
0

Reflection

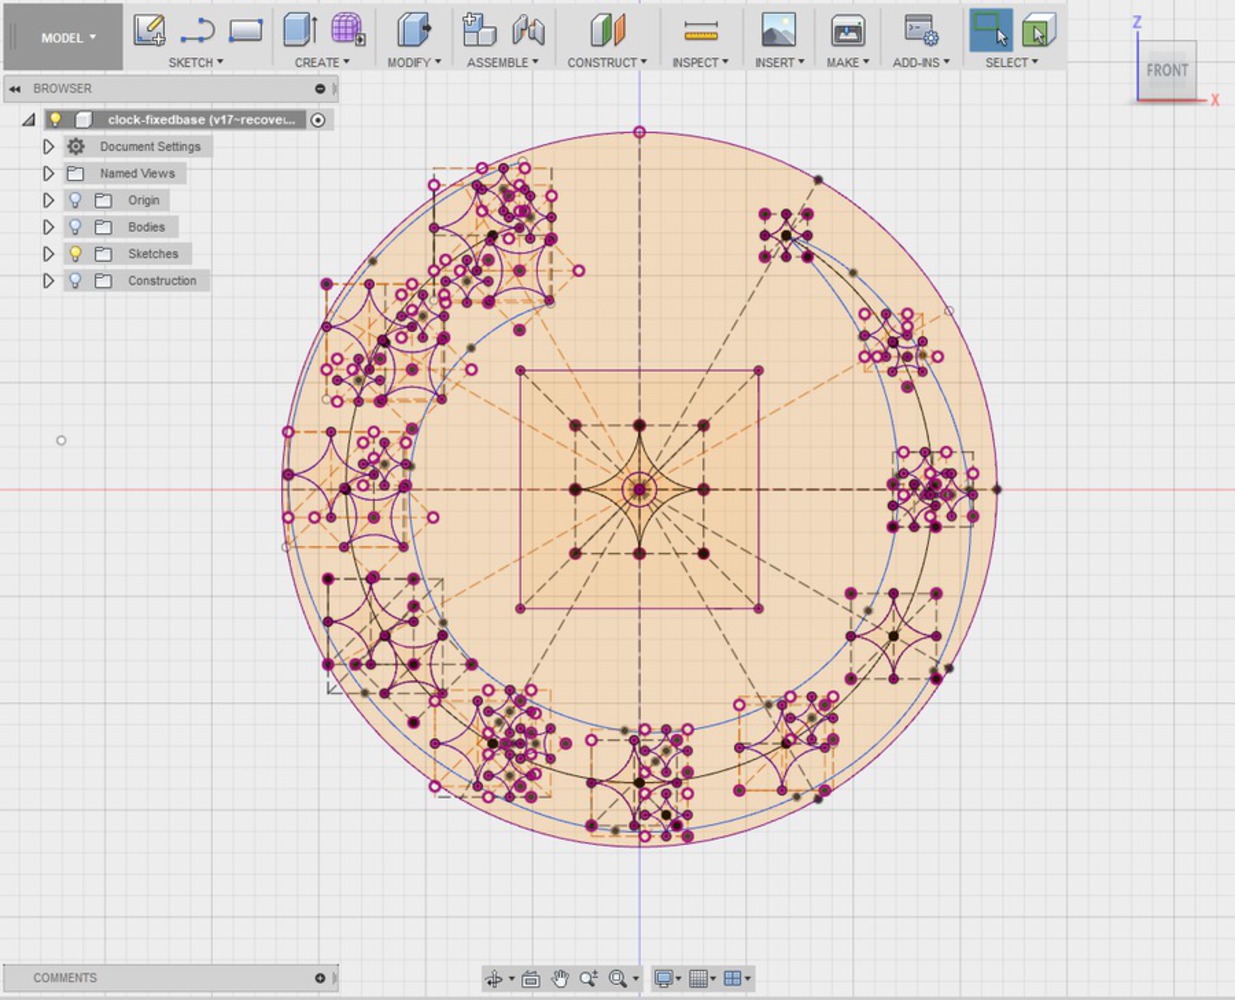
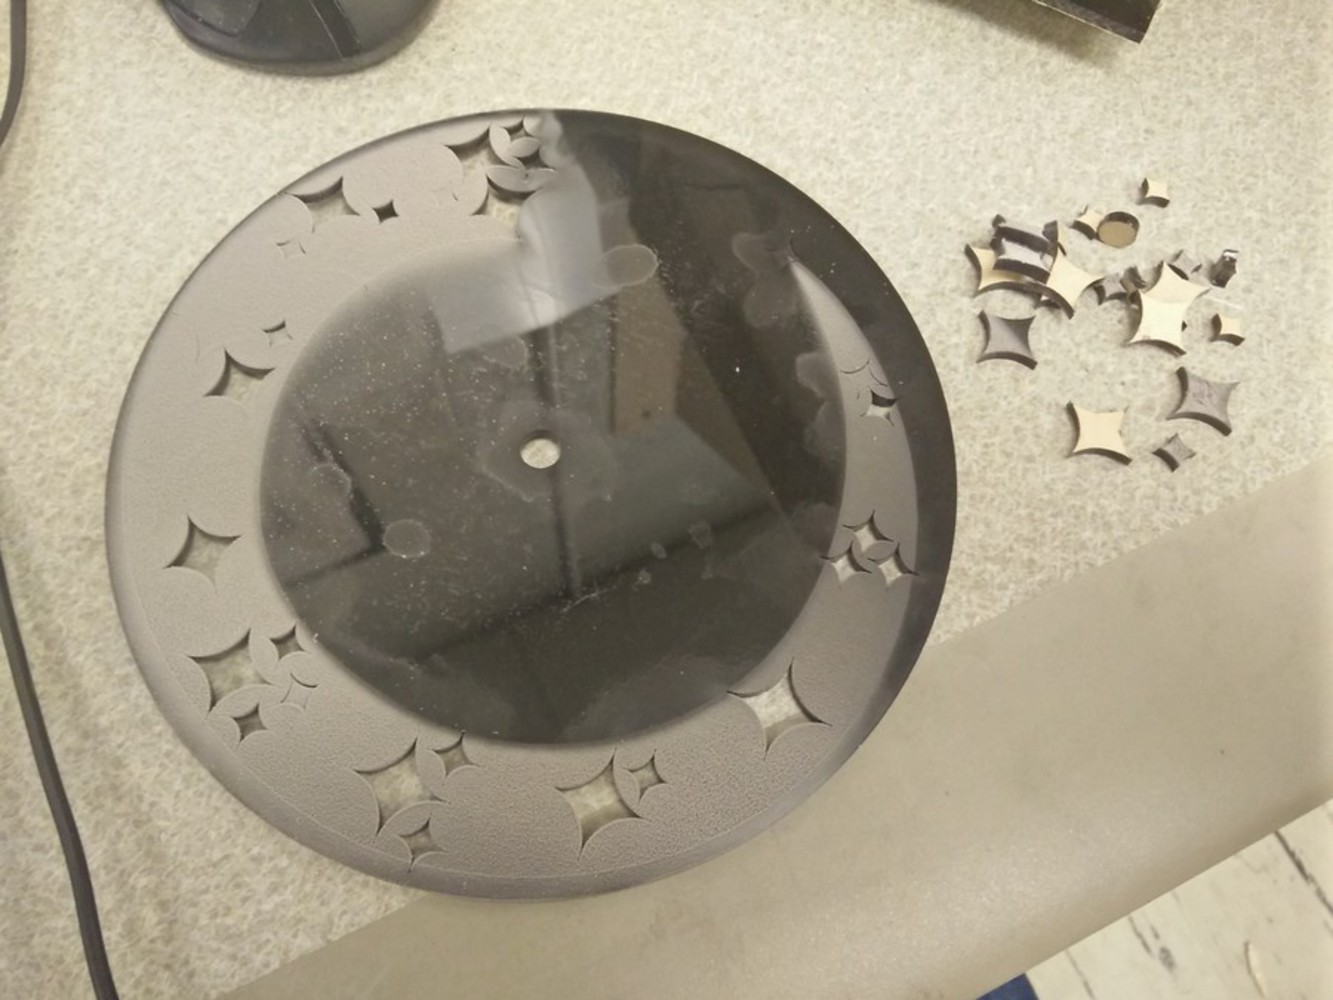
The most important thing I learned was to do a test cut first. It was really frustrating having to redo so much of the laser cutting. If I ever end up developing for laser cutters, I will definitely make a system that can calibrate itself to the end piece so if you make a mistake you can realign everything properly.

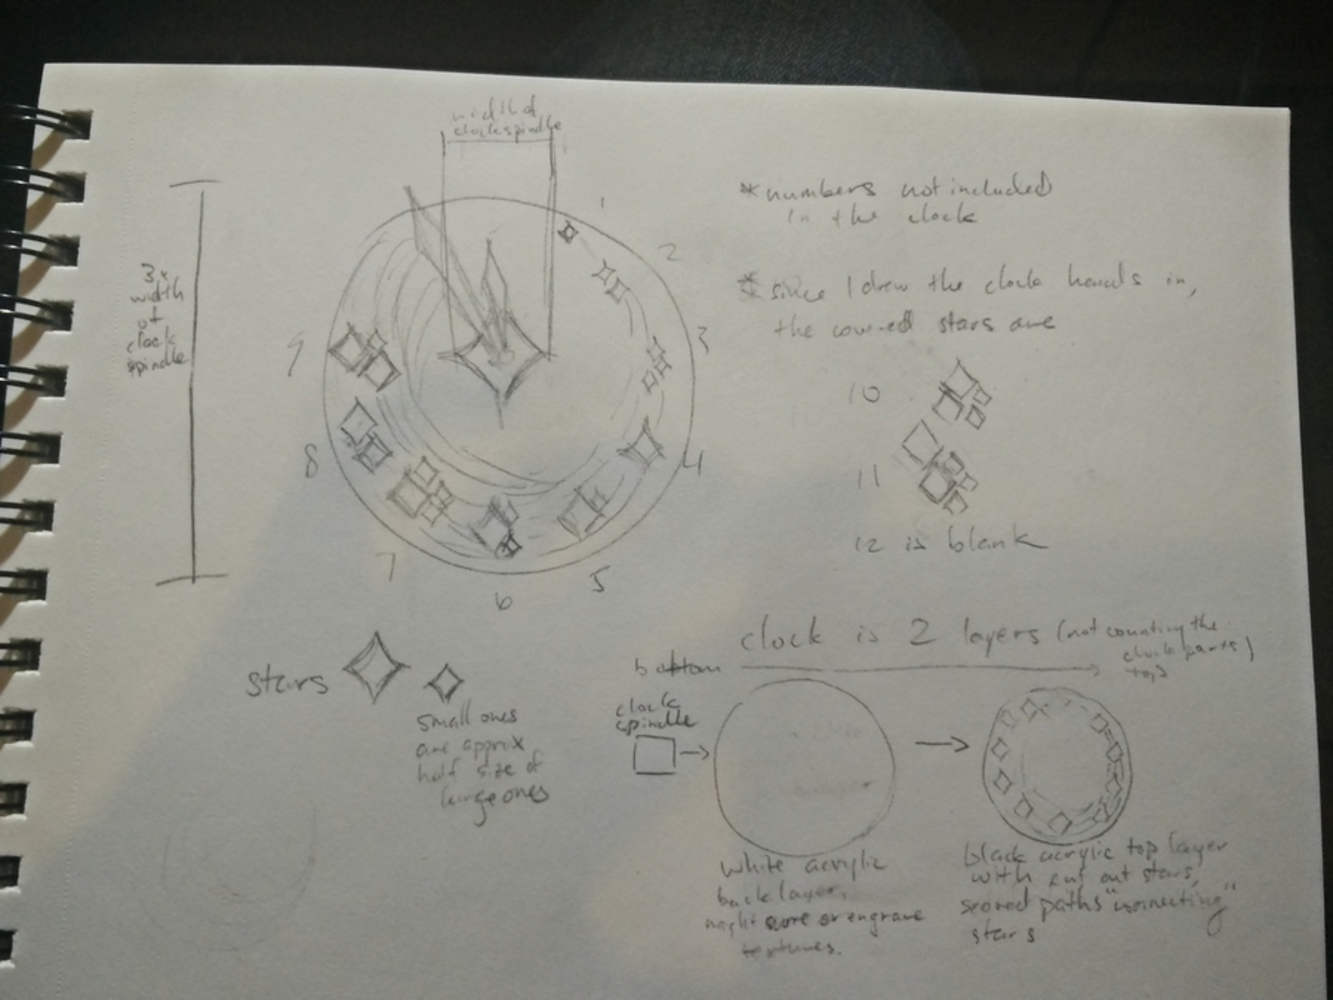
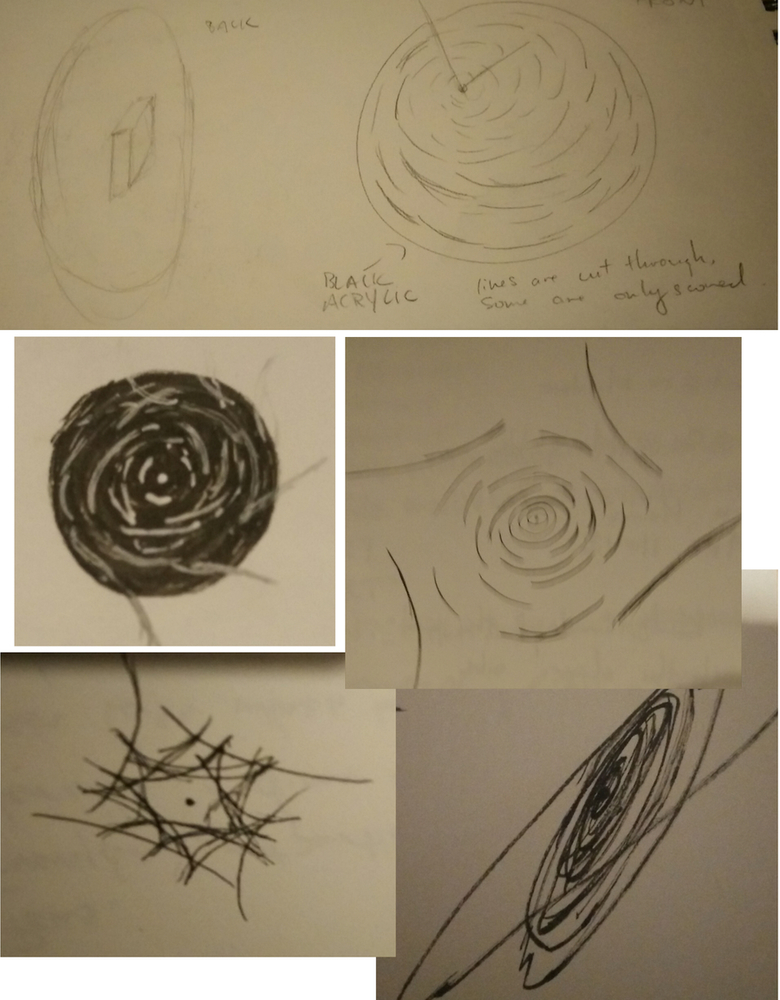
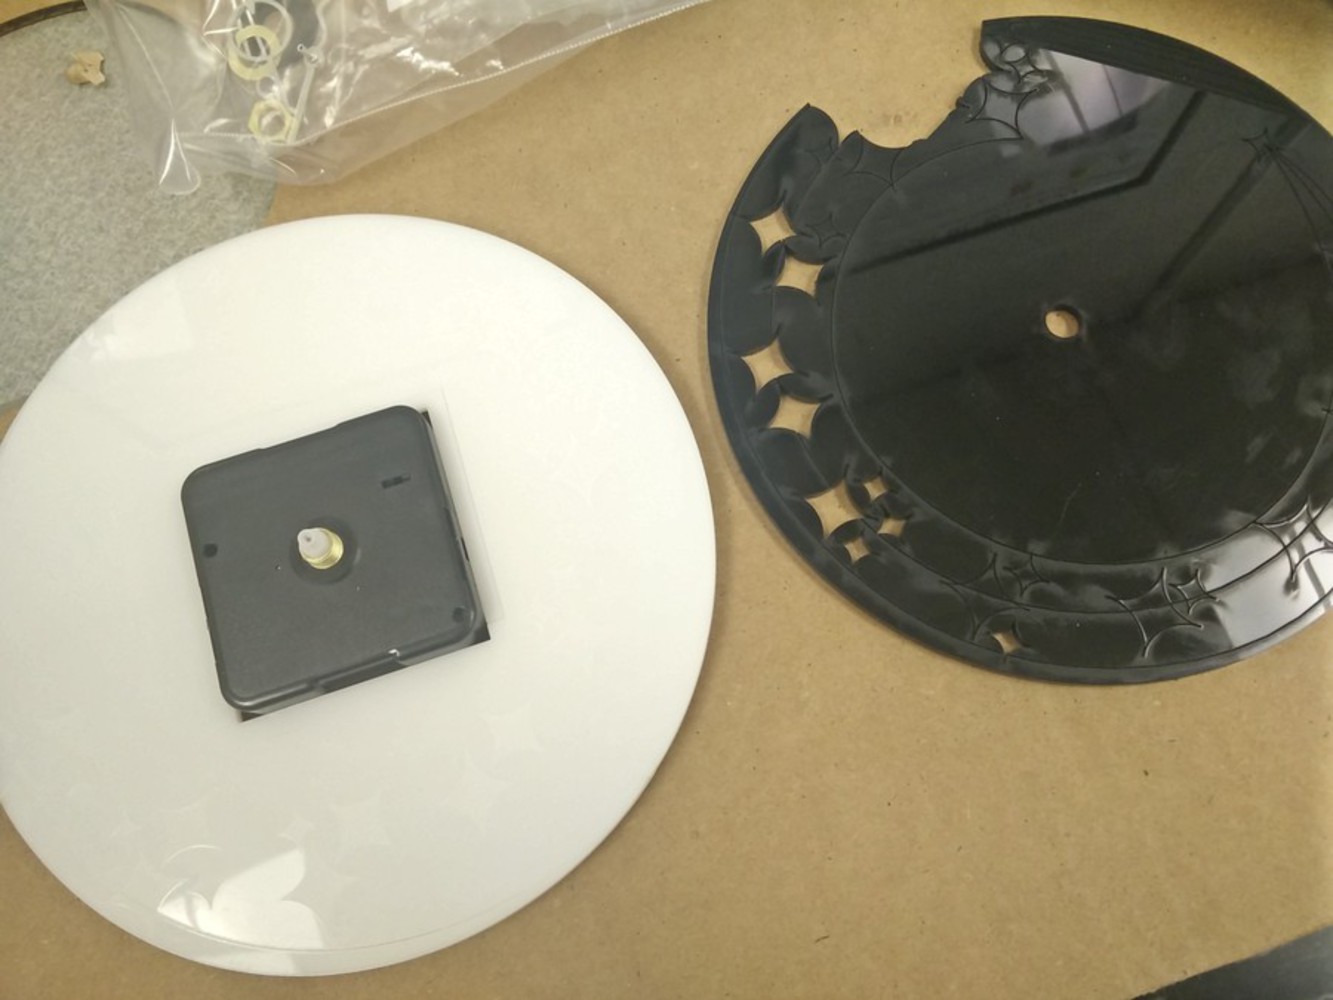
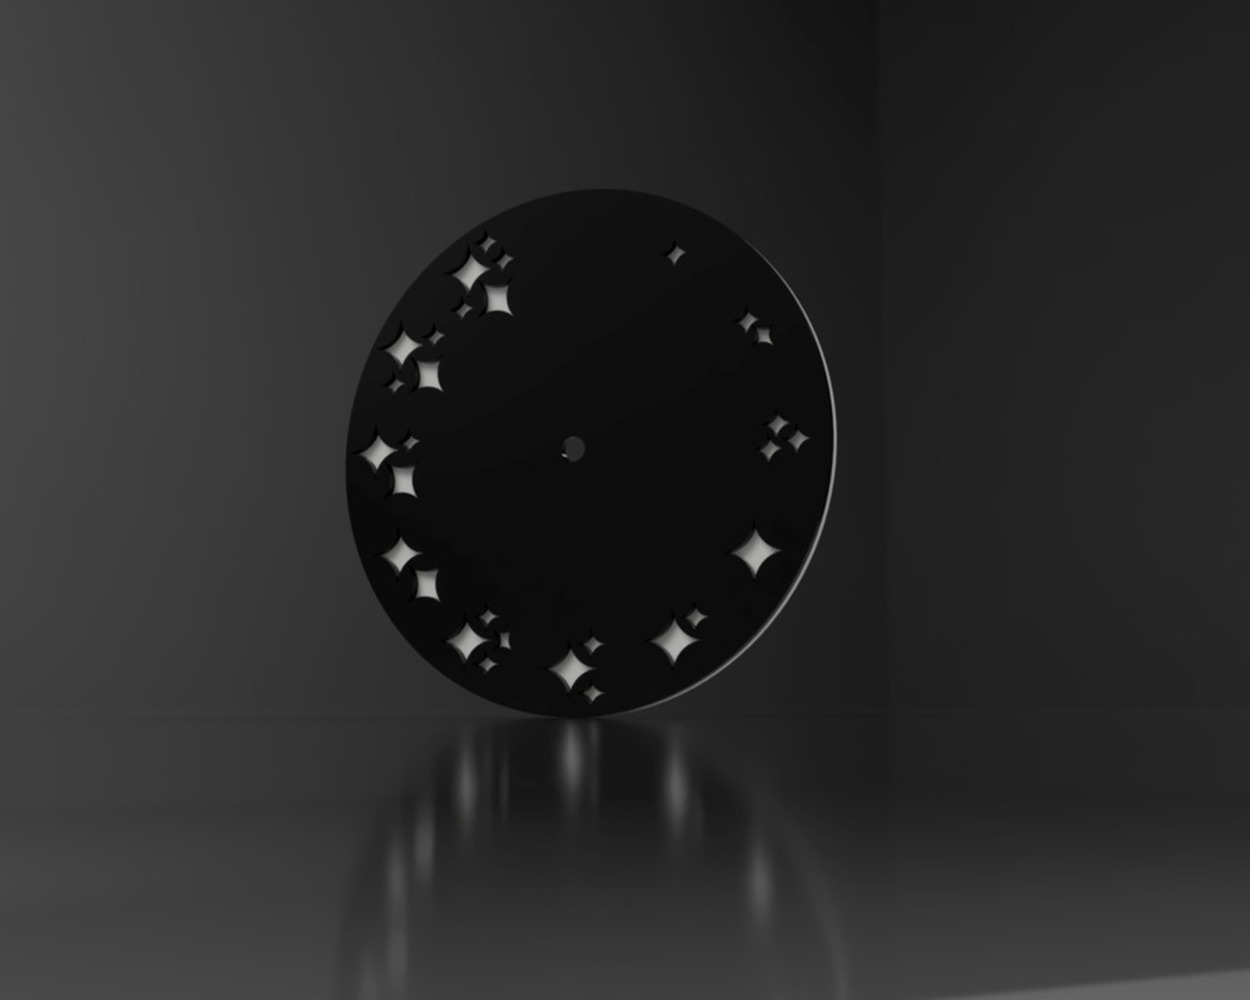
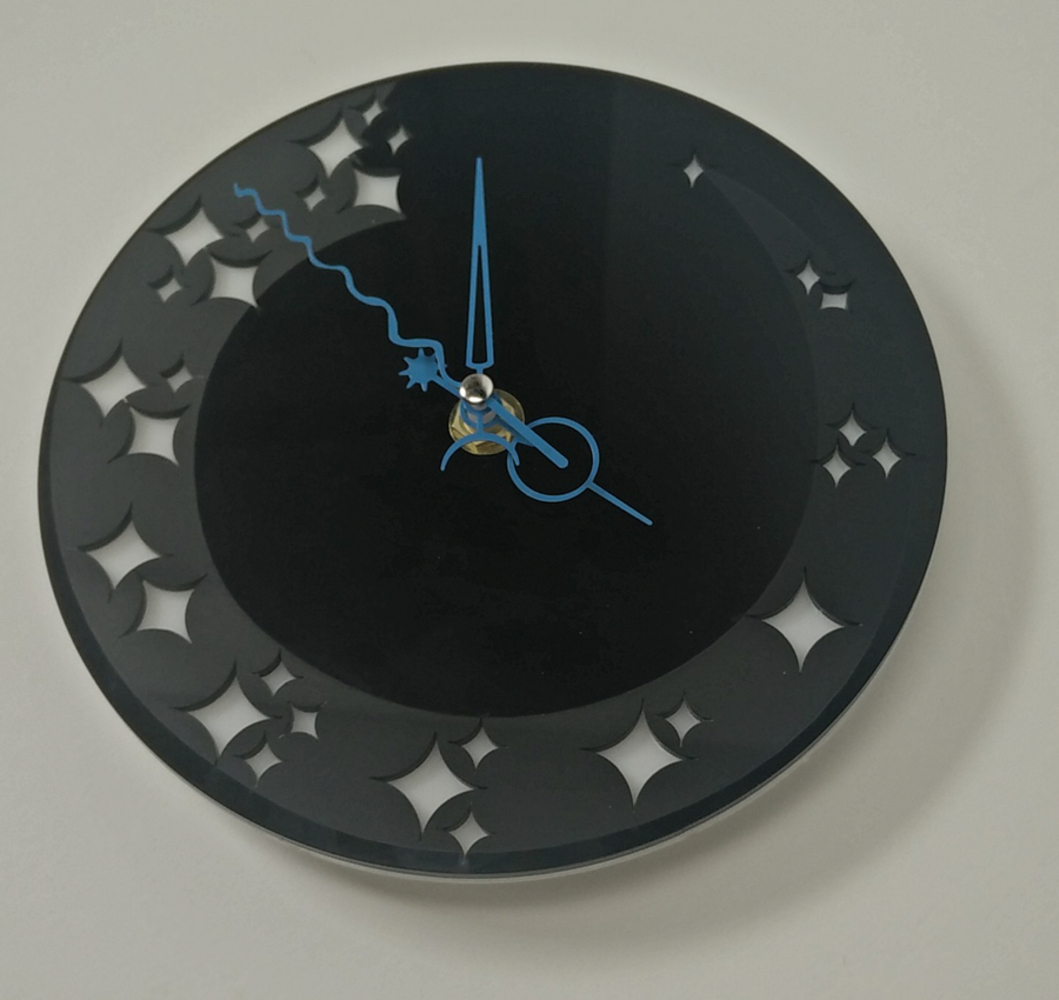
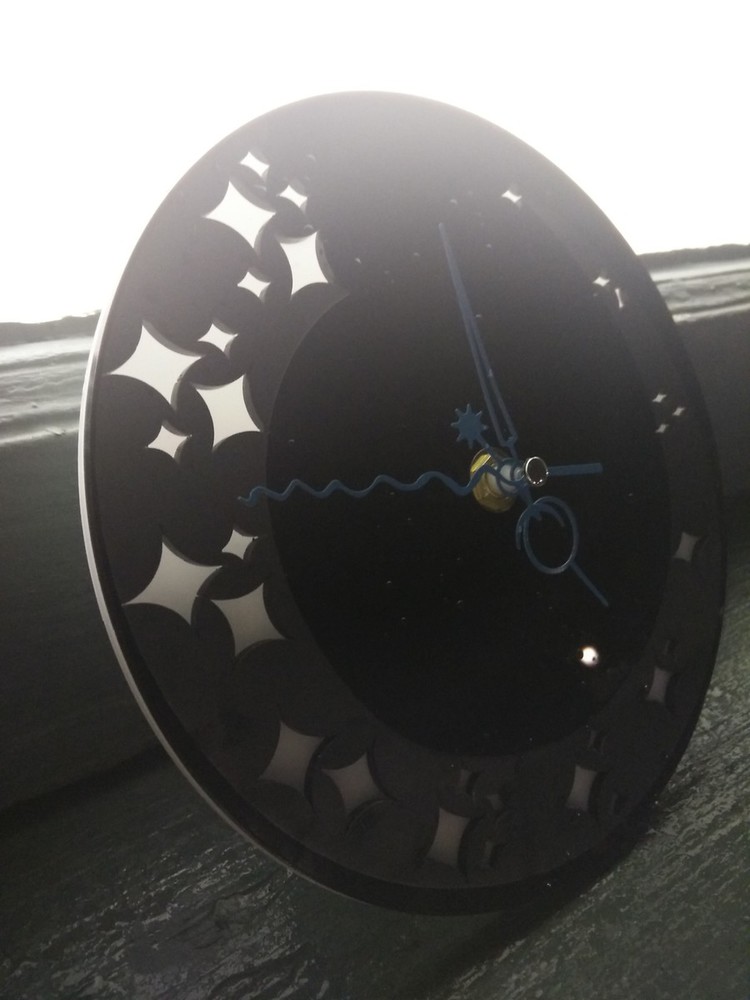
There are a couple of design things I would have done differently - first and foremost, the lack of a marker for the 12 position is actually quite jarring. I would also score in lines to indicate exactly where each hour is, since attempting to gauge the center of each star group is difficult. There are also a slew of smaller changes I would do, such as changing out the clock hands to something that fits the aesthetic more than the current set, adjusting the engraving so that it also contains the rest of the 11 o'clock stars, and changing the layout of the star groups to something more consistent. I'd also like to explore the possibility of including LEDs to light the stars.

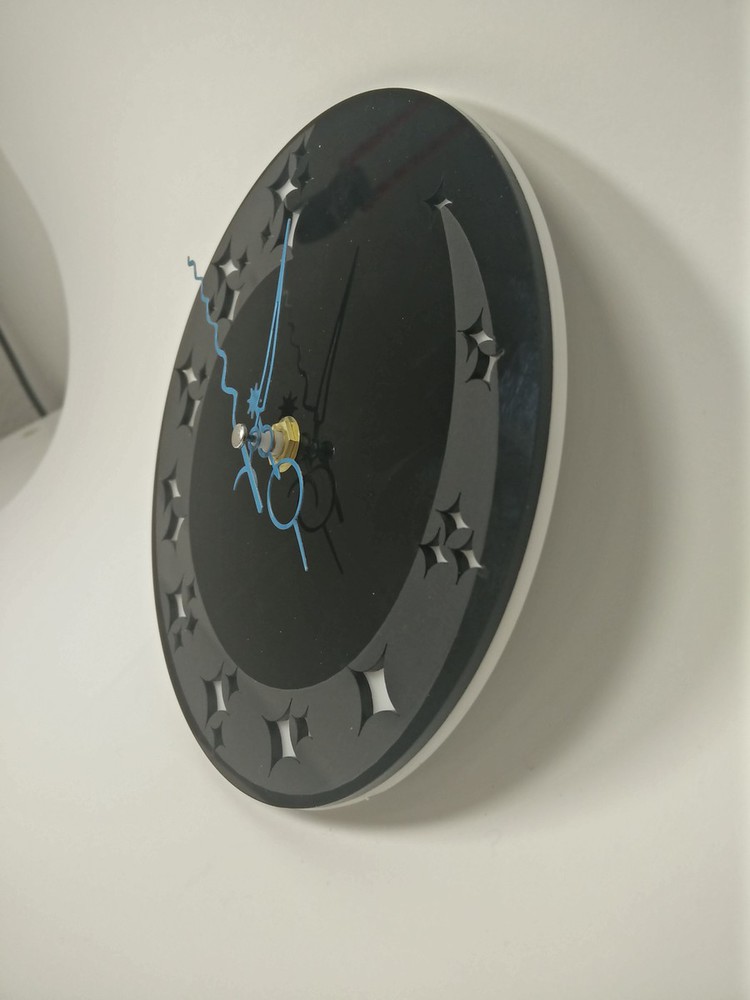
I totally forgot to add a hook of some sort, so I suppose I'll have to rig something up later if I want to hang the clock instead of just leaning it against the wall.


Definitely need to start earlier next time.


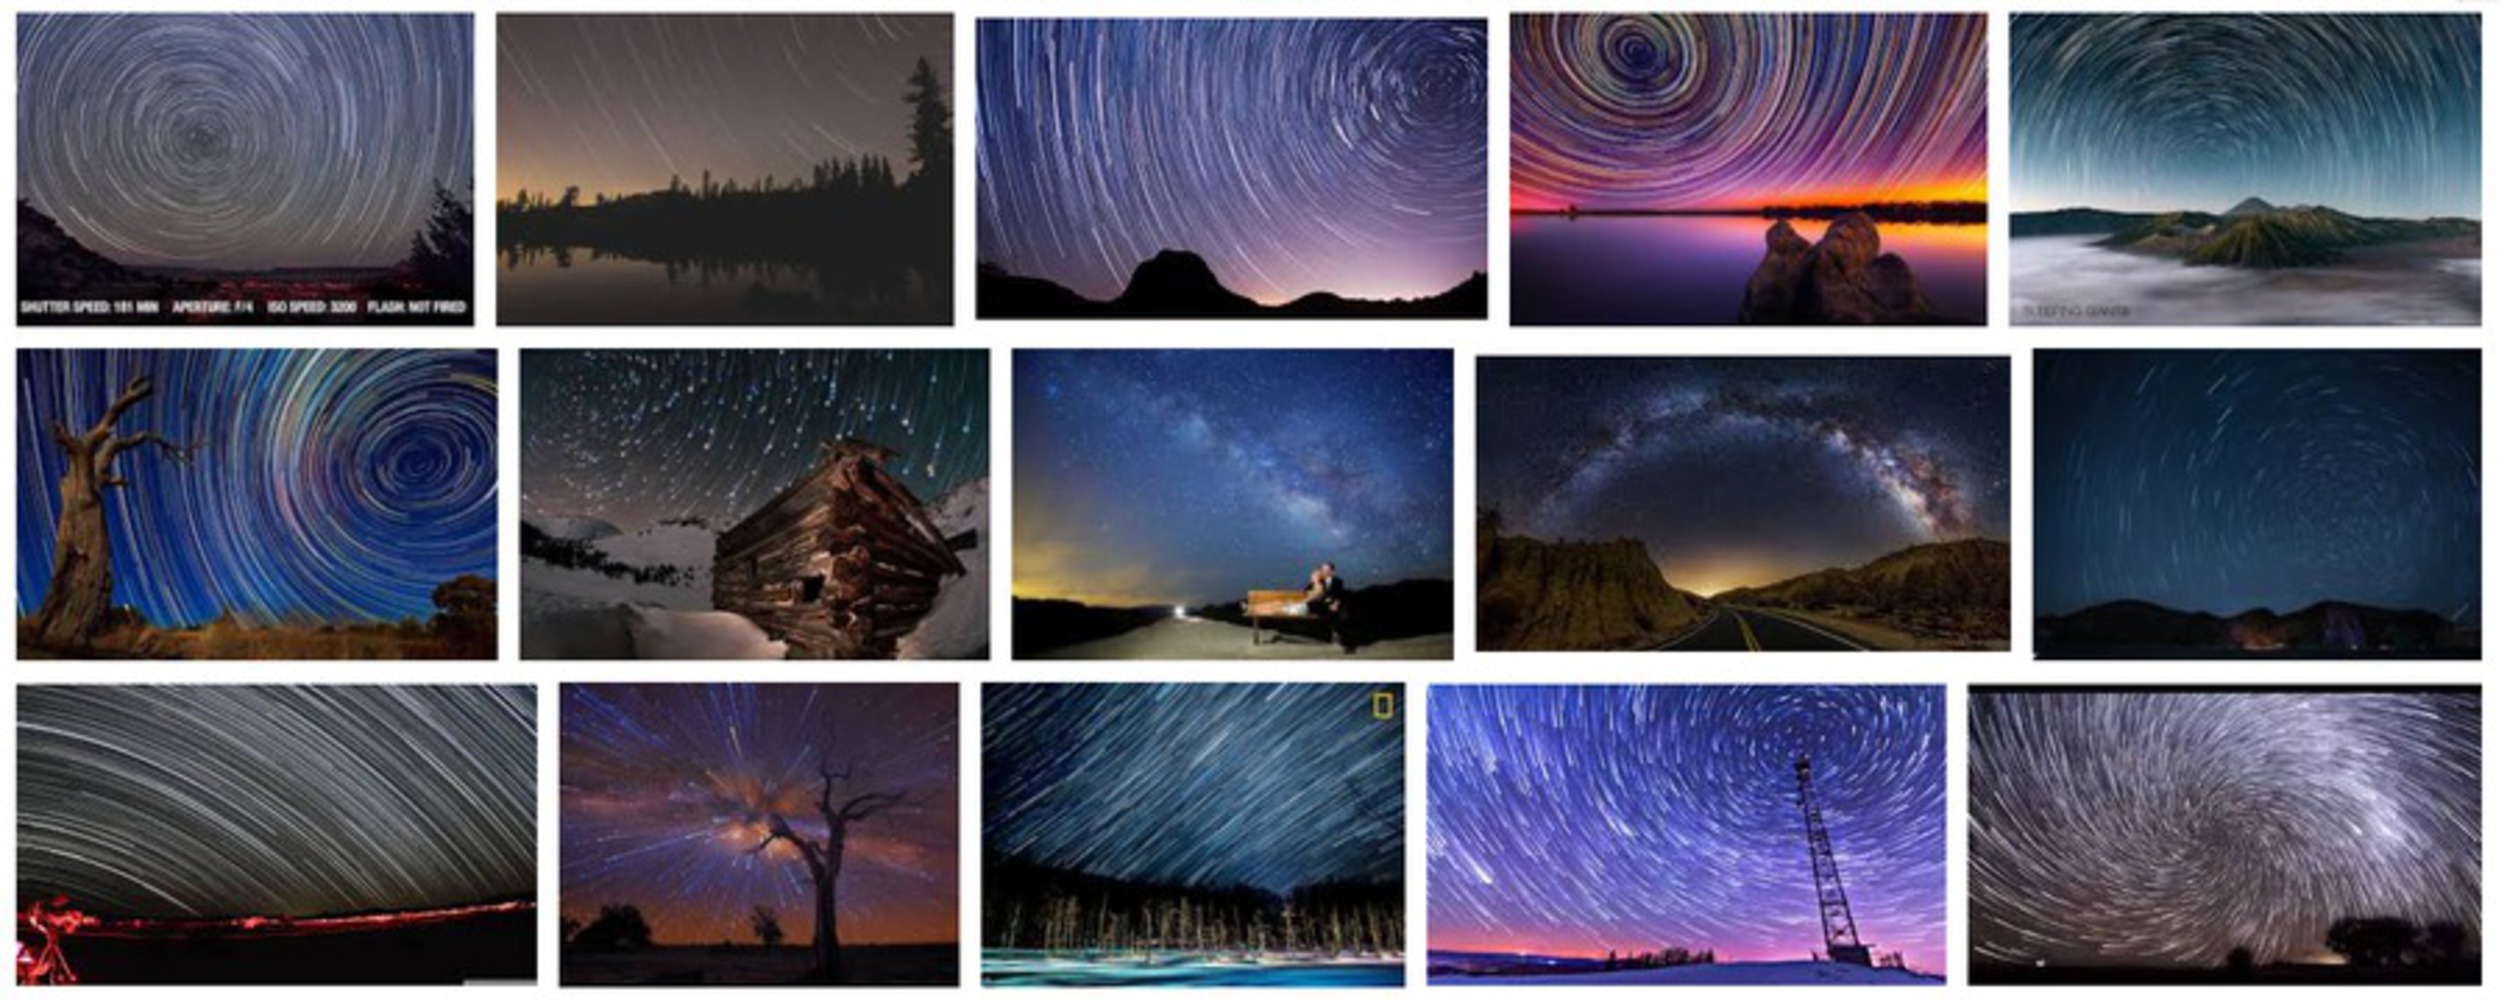
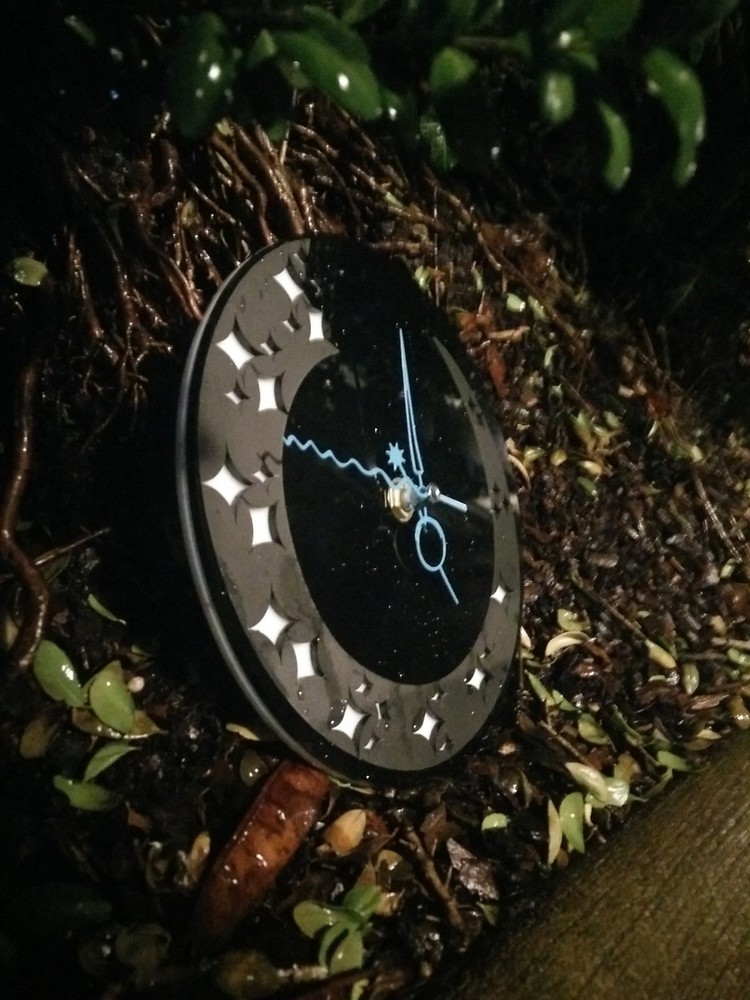
Other random thoughts: walking around at night presented a lot more interesting picture opportunities than at the photo booth. The rain added a nice touch too. Lighting is also a lot more varied and interesting (or maybe I'm just bad at setting up lights).
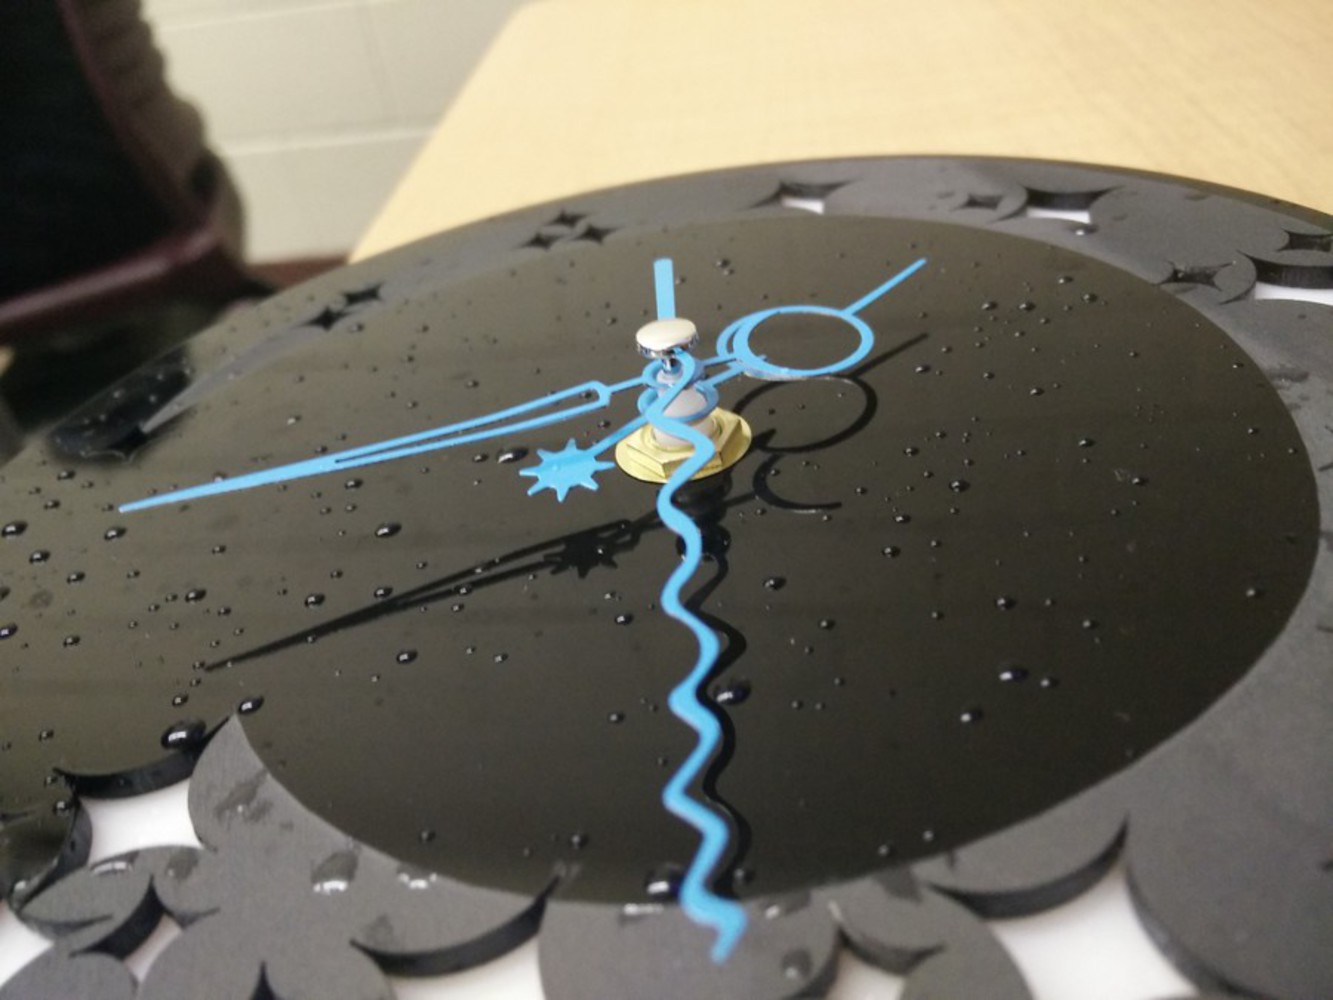
Bonus Picture

0
My phone doesn't like any movement while it's processing an HDR image.
Lol.thumb
x
Share this Project

Courses

62-478 digiTOOL

· 65 members

Digital Tooling (DigiTool) provides a platform for any CMU student to learn Digital Fabrication processes; all of which are very hands-on. Like these processes, this class is also very hands-on. I...more


About

A clock bringing the stars closer.