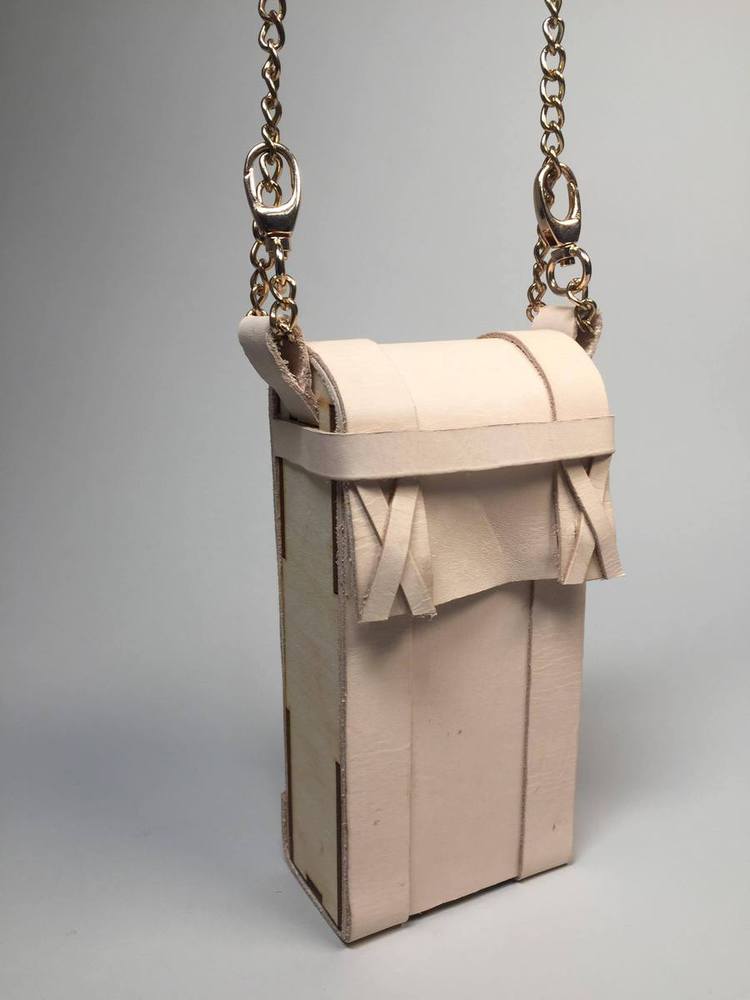
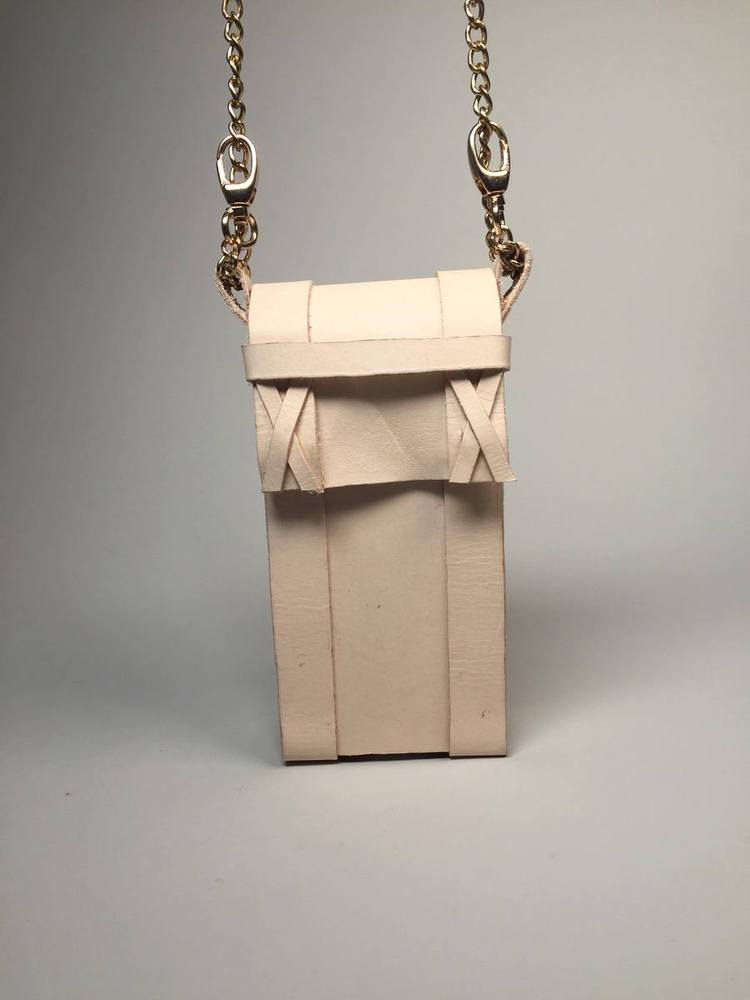
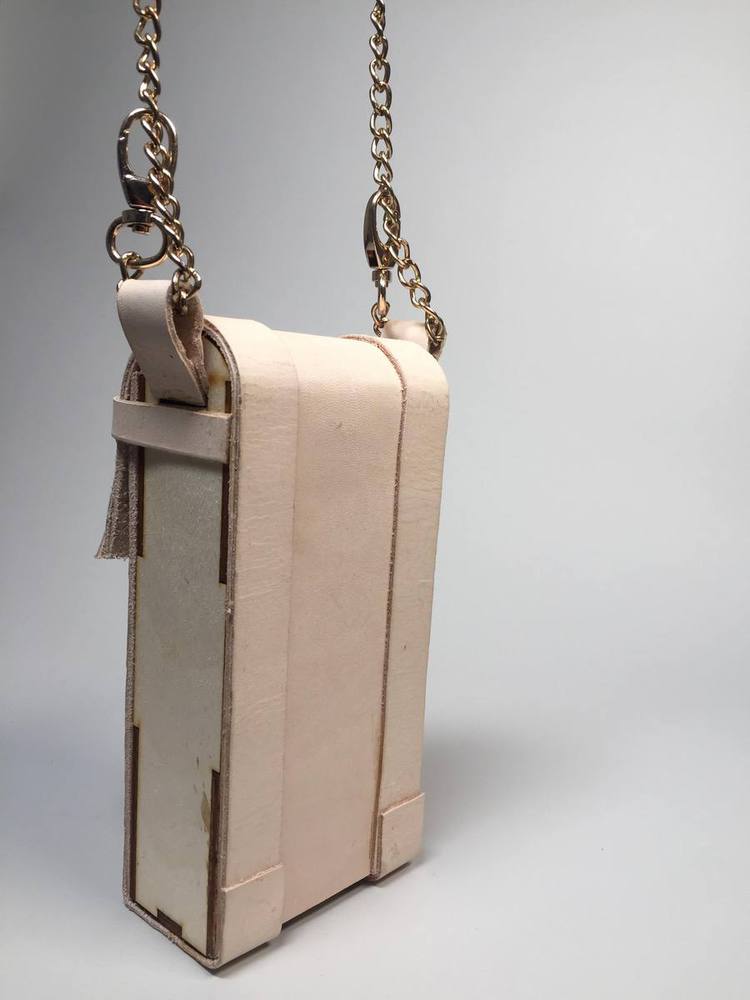
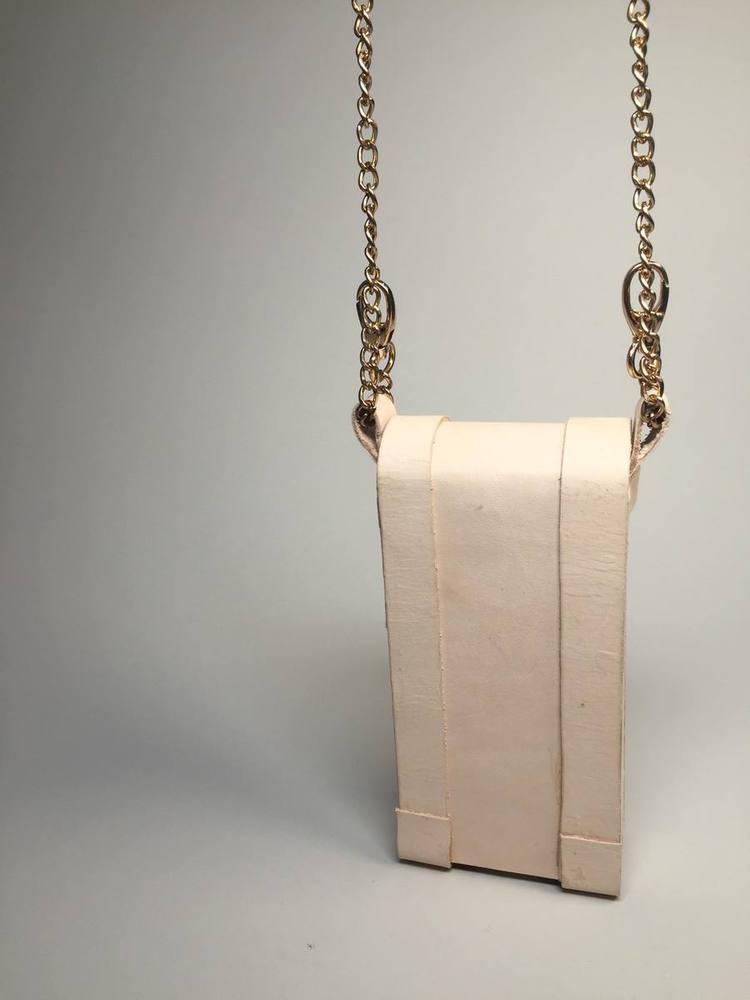
Wooden Phone Purse
Made by pmielke
Made by pmielke
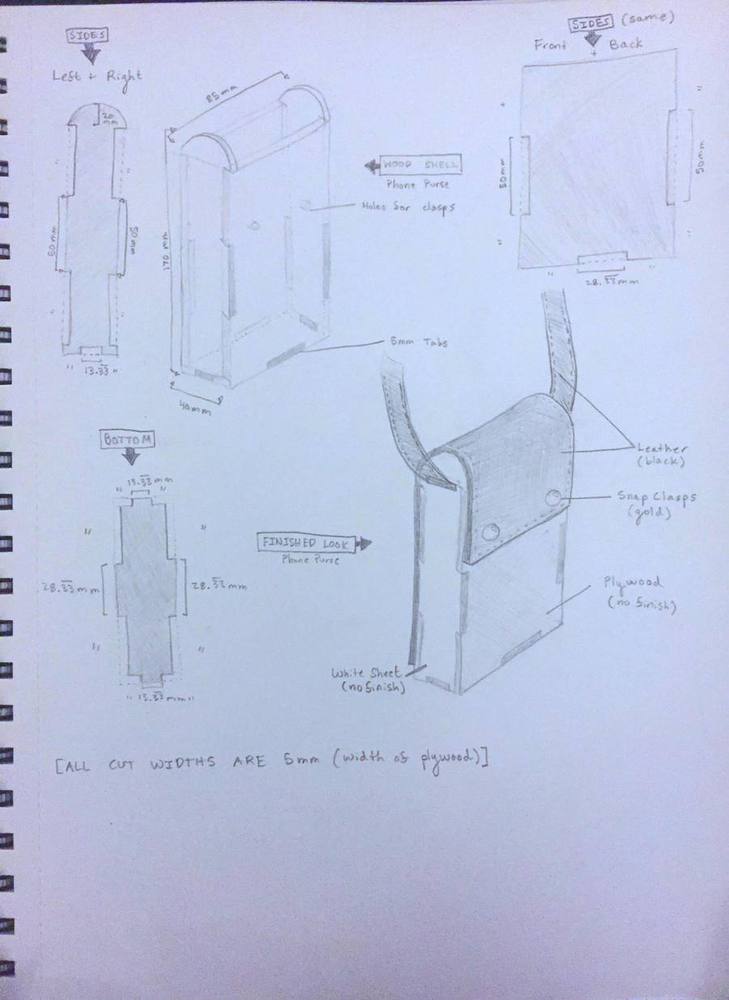
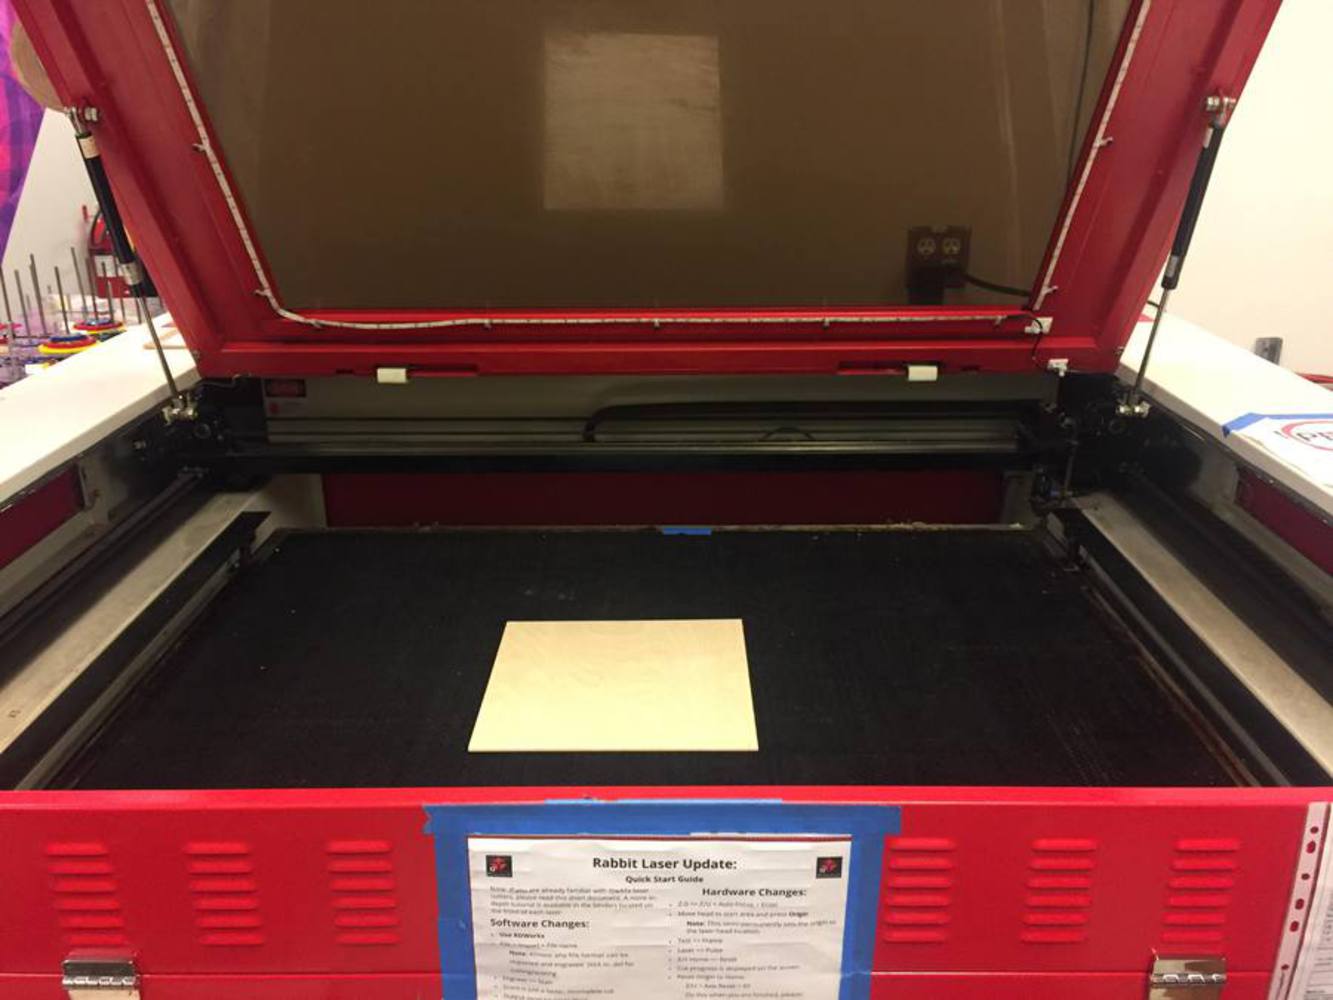
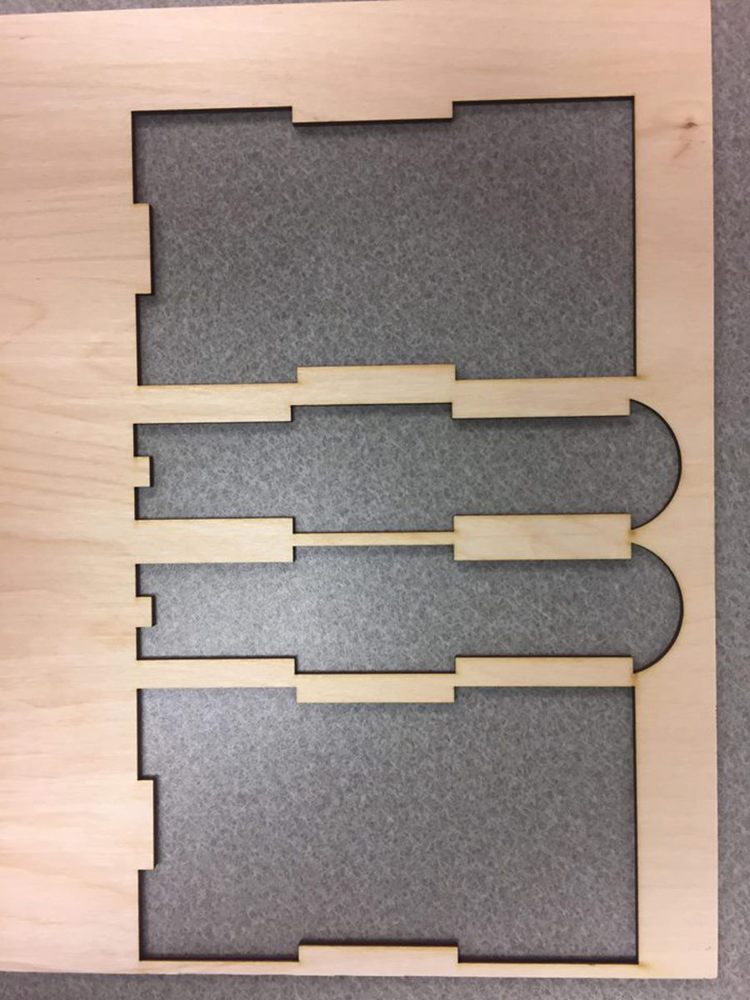
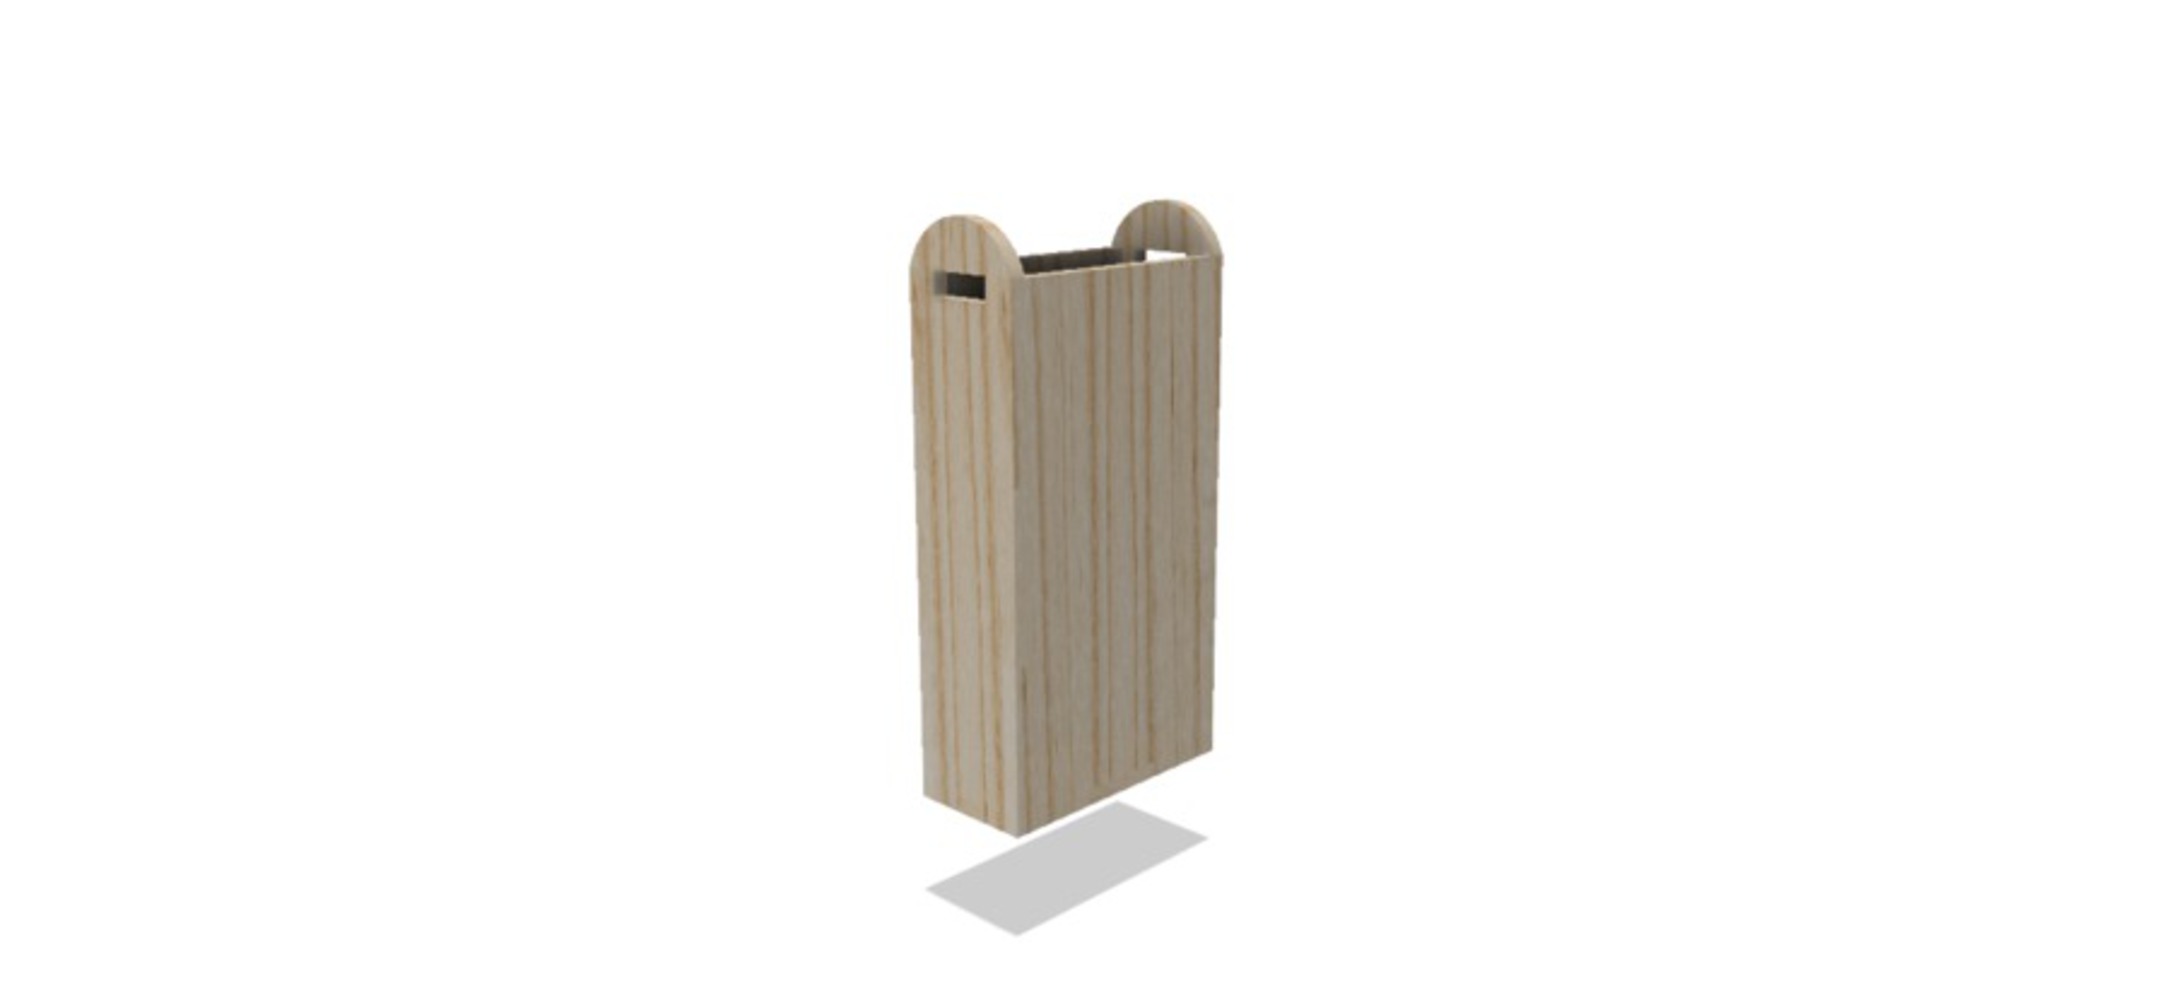
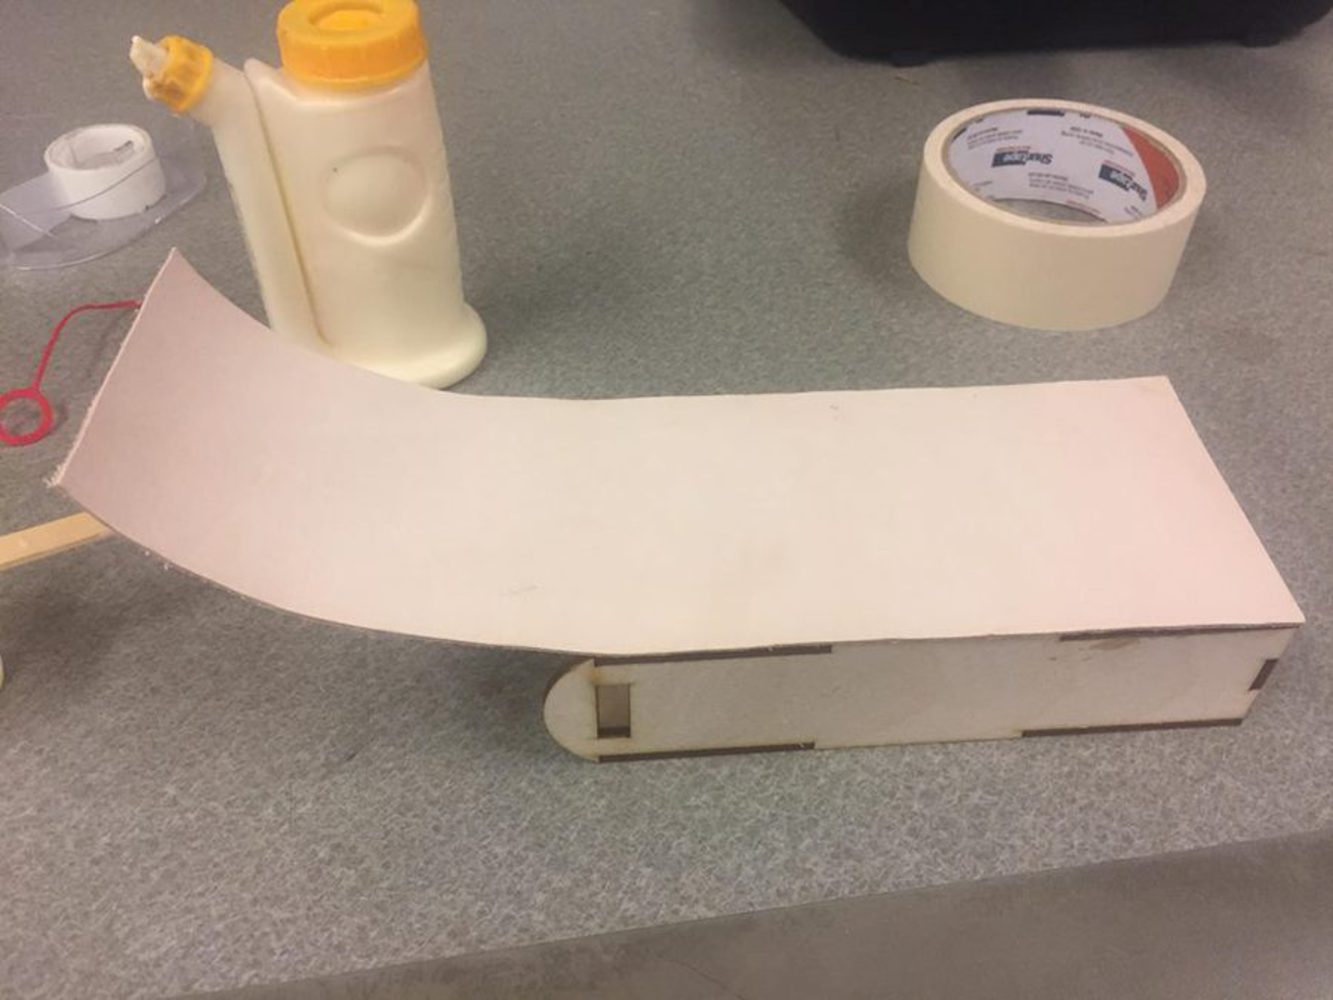
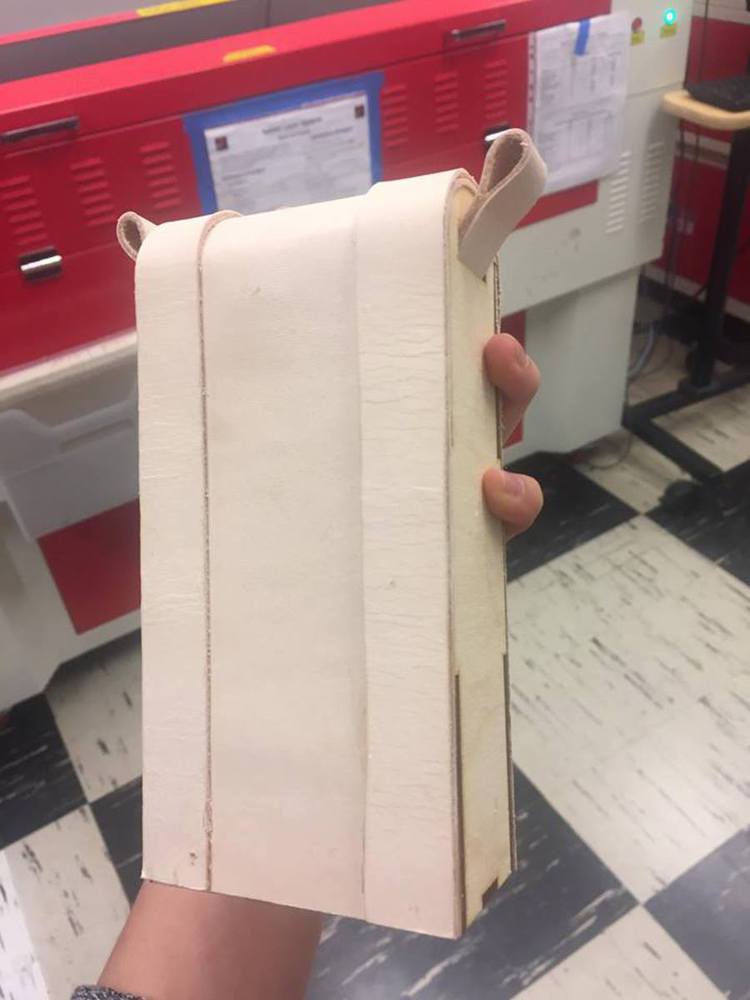
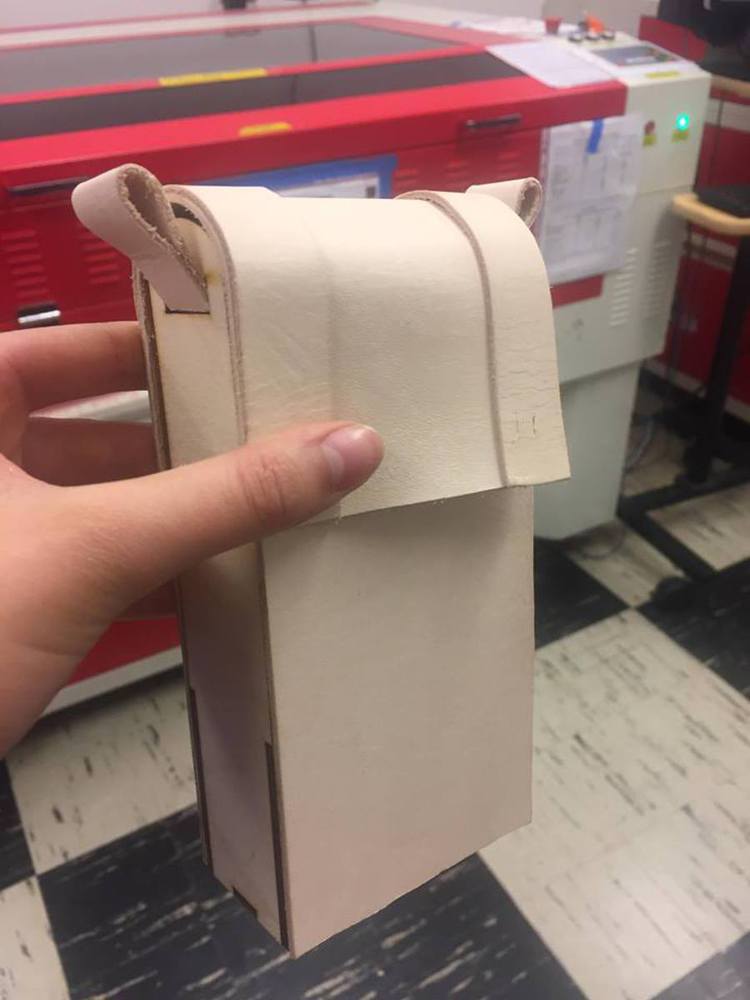
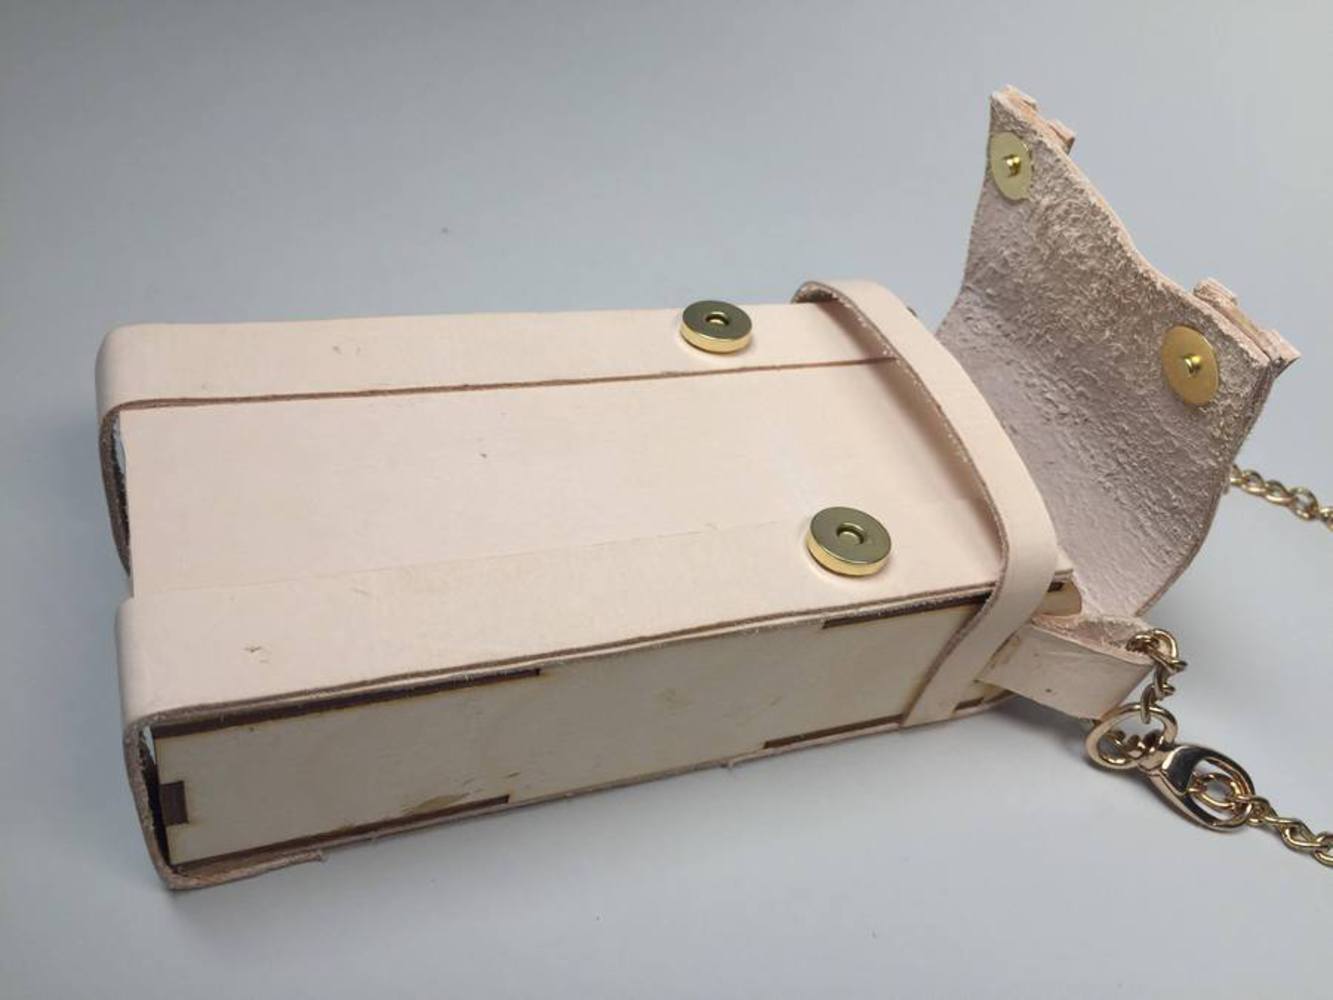
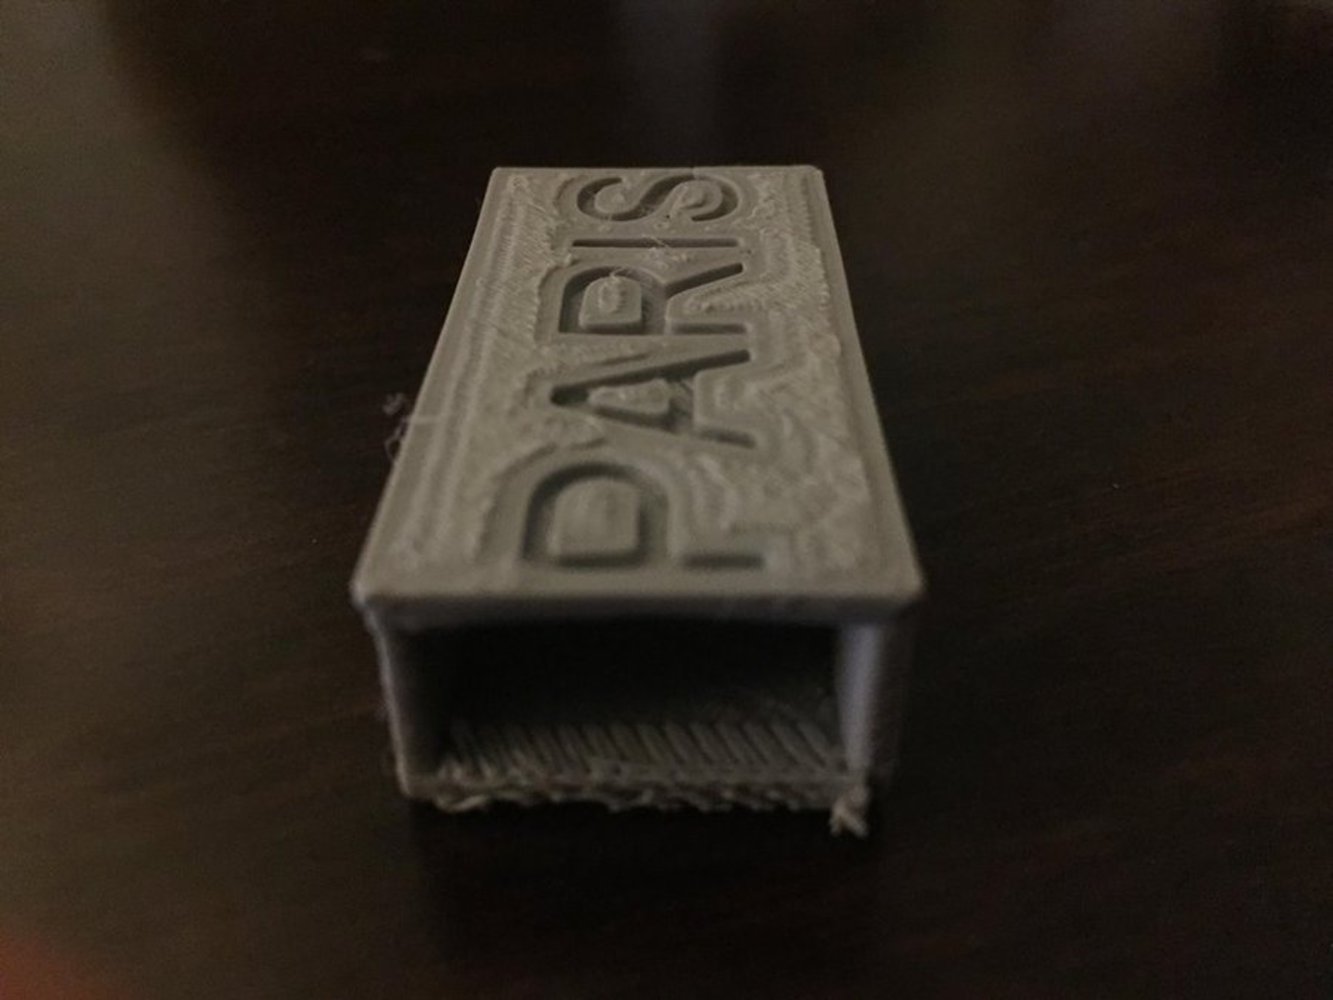
The objective of this project was to create a small purse to hold my phone using laser cutting techniques for the wood base and 3d printing a charm/name tag.
Created: October 14th, 2018
Digital Tooling (DigiTool) provides a platform for any CMU student to learn Digital Fabrication processes; all of which are very hands-on. Like these processes, this class is also very hands-on. I...more
The objective of this project was to create a small purse to hold my phone using laser cutting techniques for the wood base and 3d printing a charm/name tag.