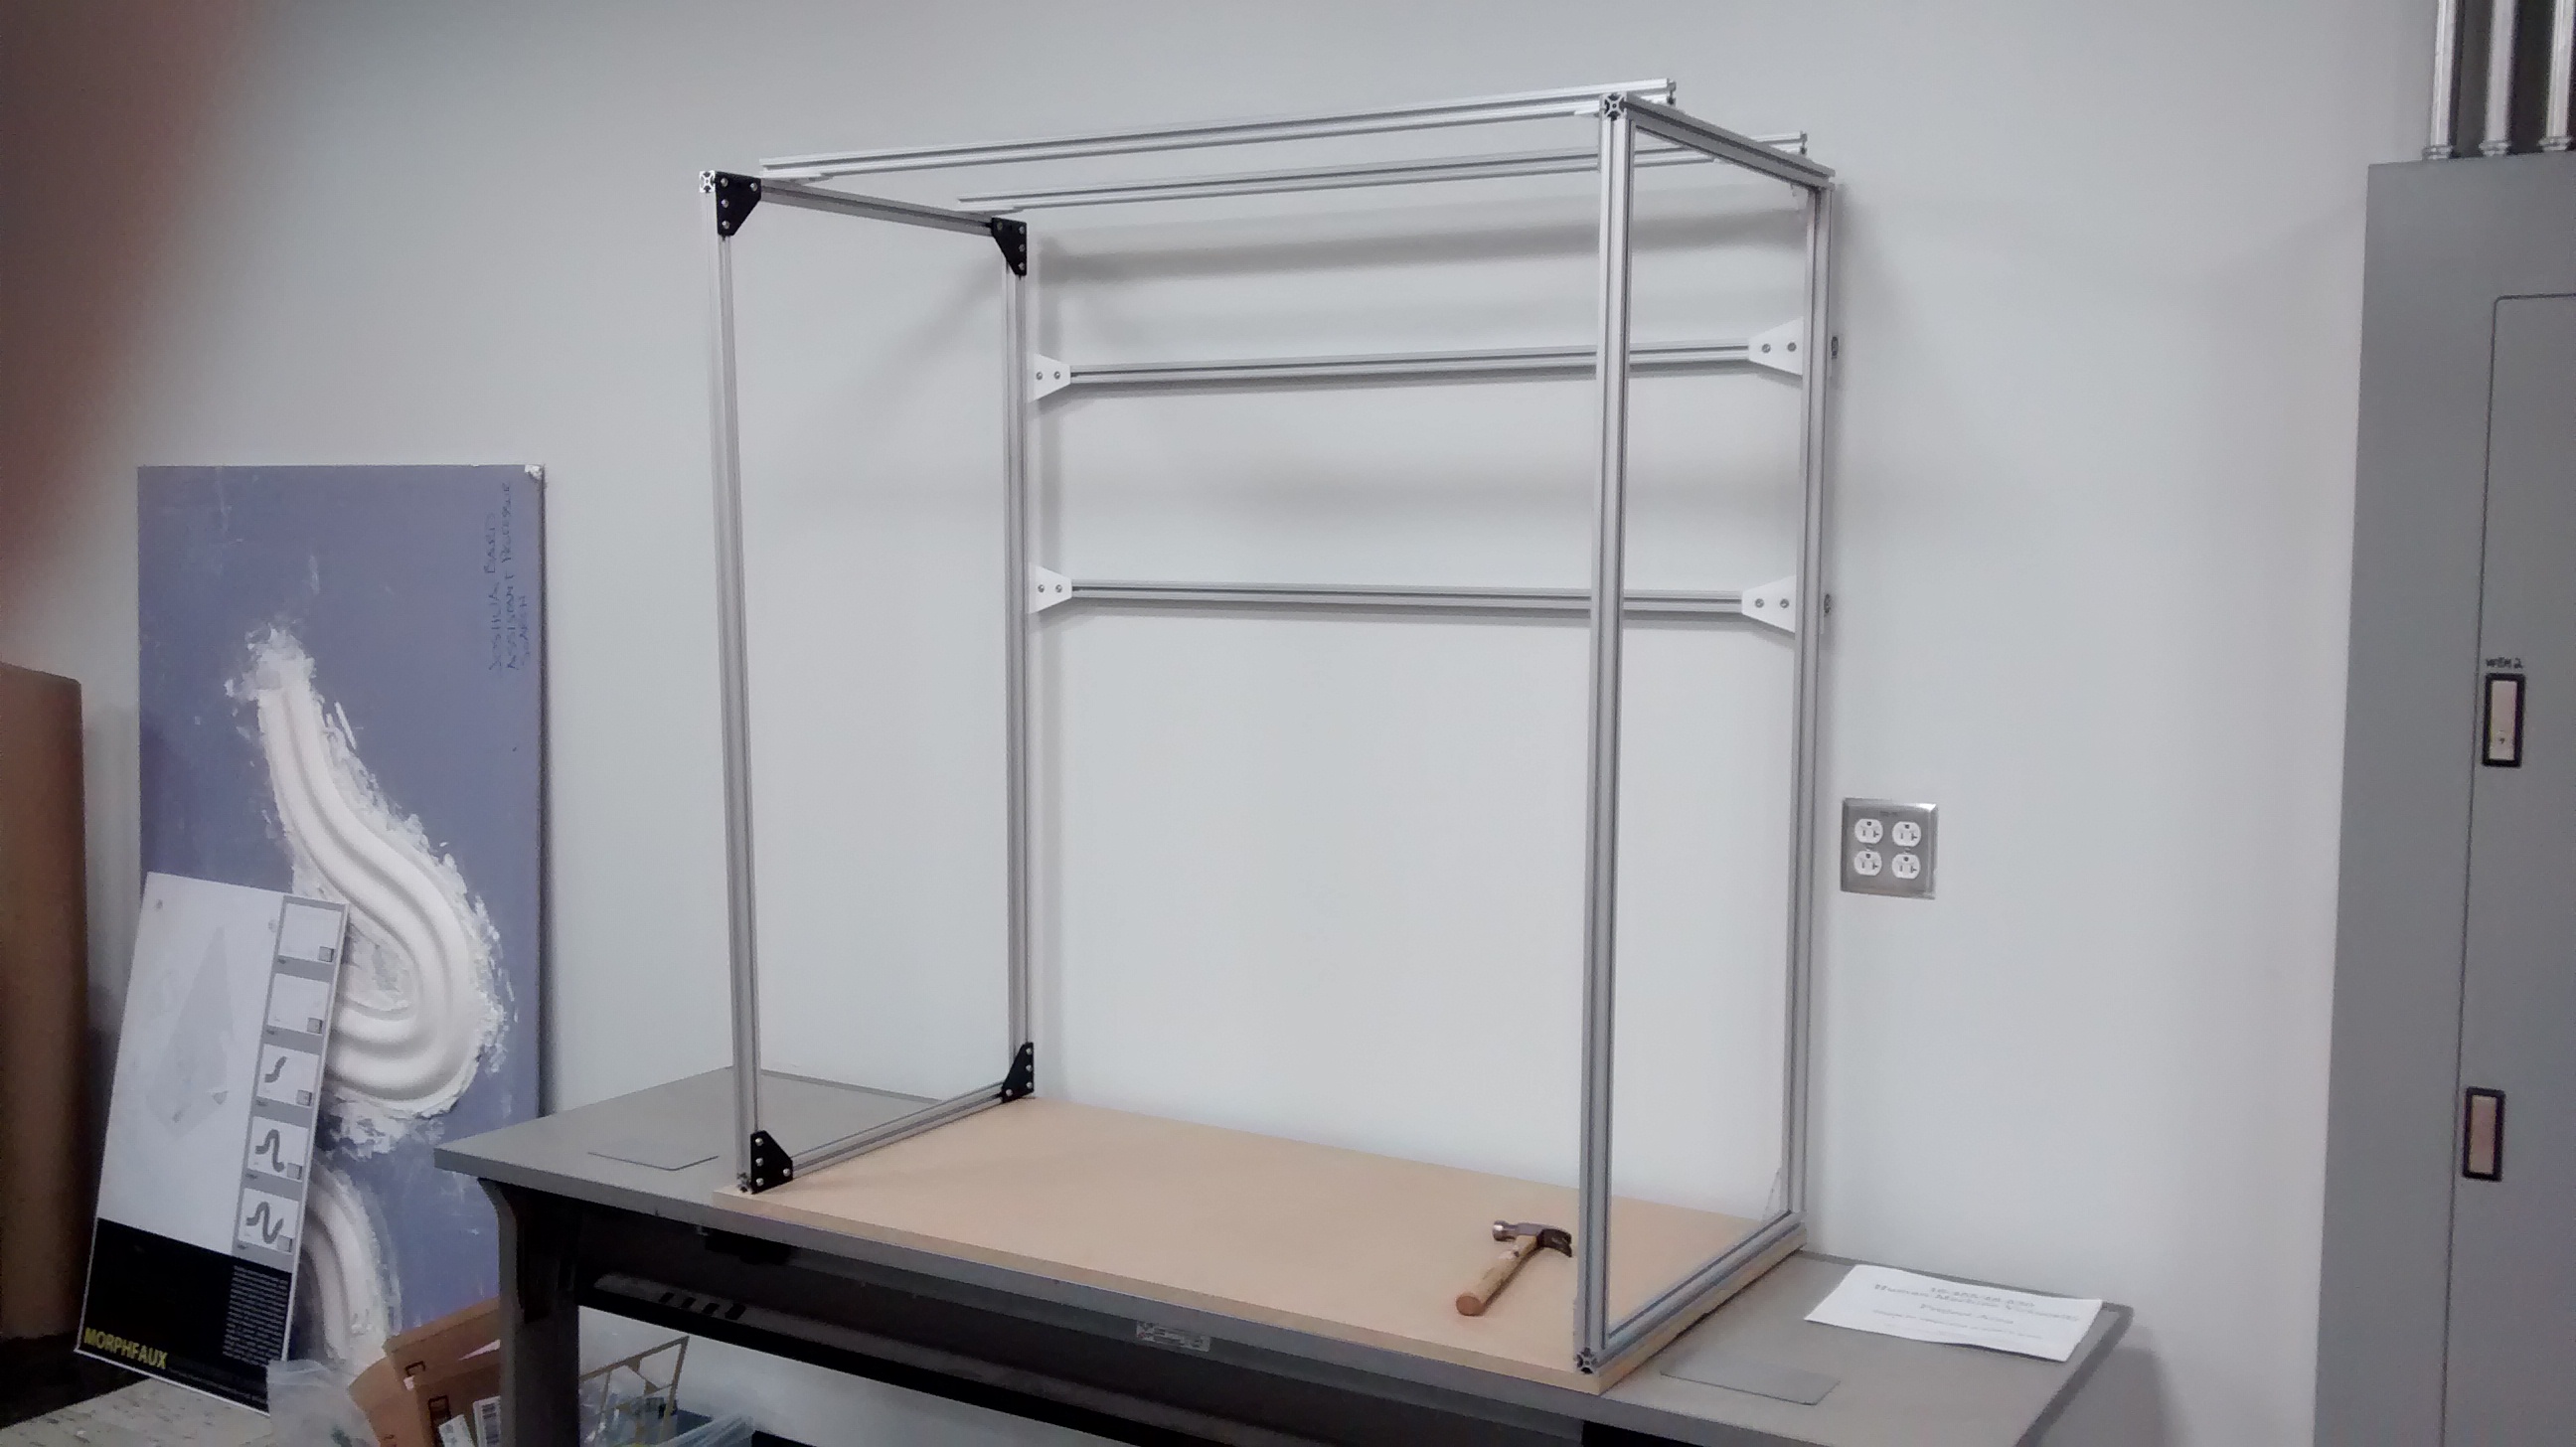
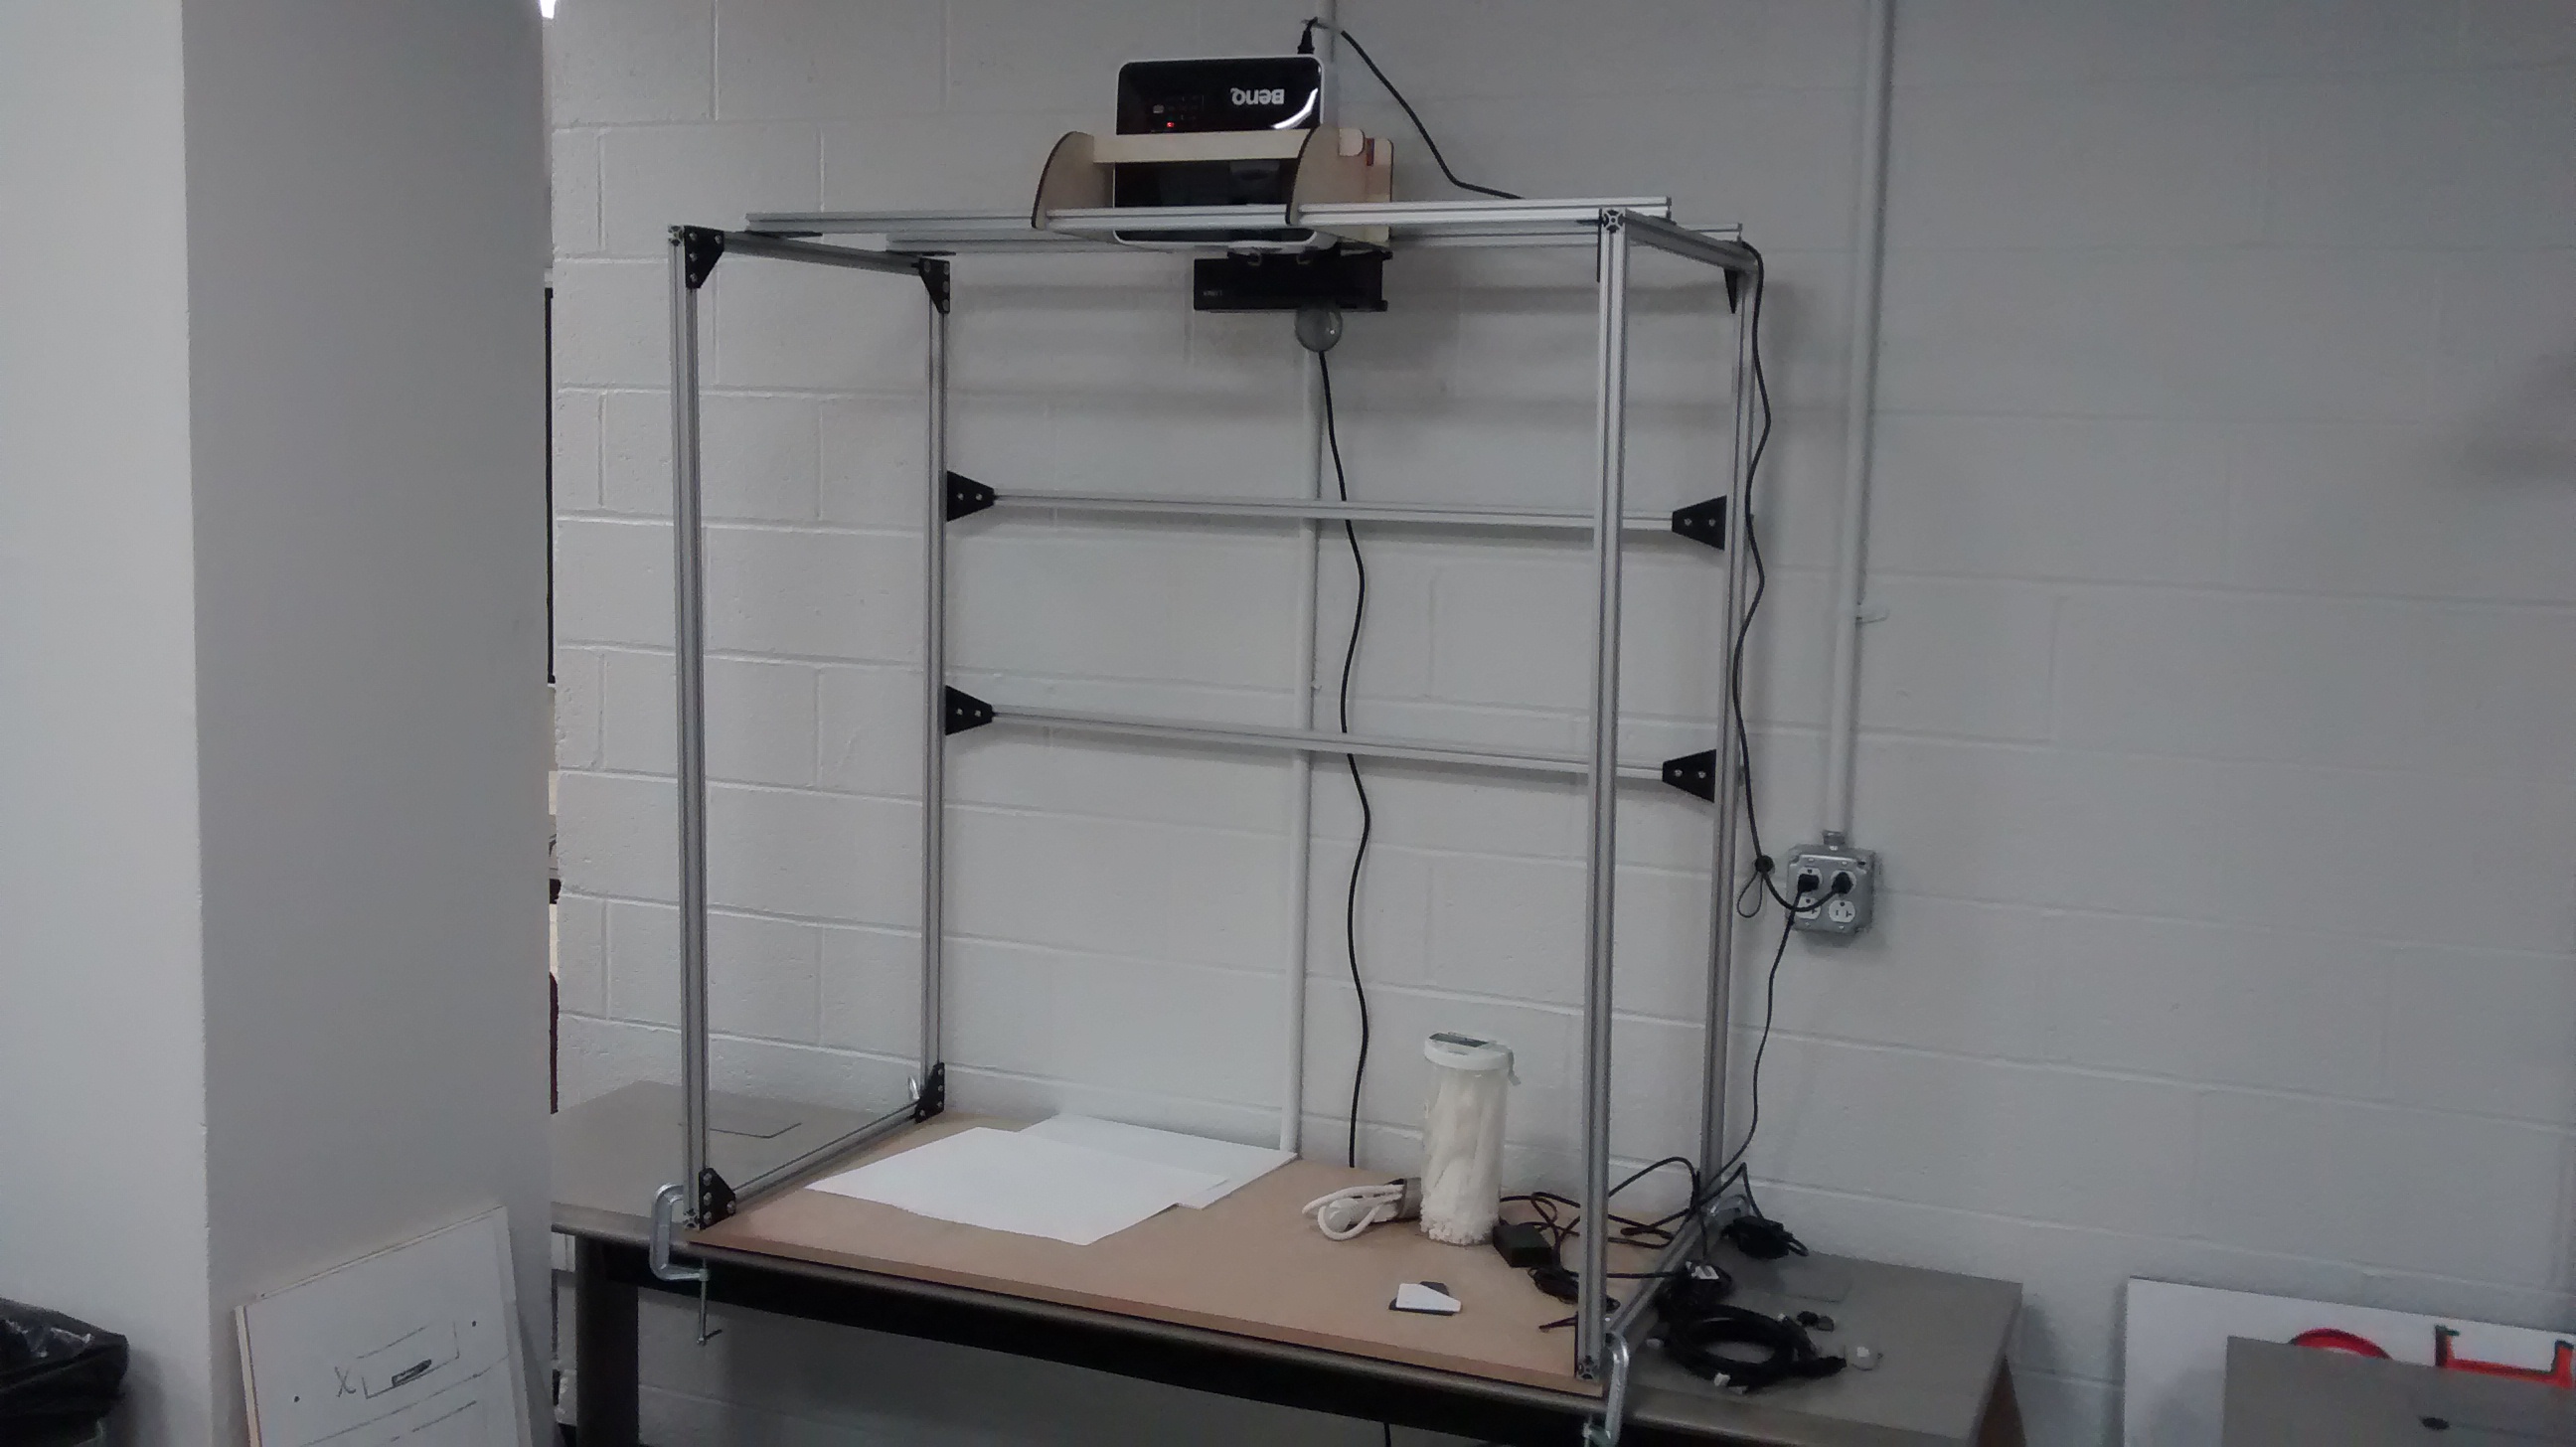
Work Station Setup

A work space for combining the physical and digital

Made by Akiva

The whole HMV class worked together to create four instances of this work station. This post aims to document the process we used to create these stations so that others can create their own as well as modify our design.

Created: April 22nd, 2015

0

Going in to this project we already knew that we wanted to use an over head digital projector and Microsoft Kinect to help bridge the physical-digital gap. We also knew that this had to be a comfortable space for physical crafts such as carving, drawing, cutting, and other table top projects. The base of the work station is the table top. The table itself is a standard school table. These tables have been lowered so that the user can sit and work. To protect the table top we placed a piece of MDF on the table. This surface will withstand hammering or other similar activities. Although this sheet of MDF is replaceable we hope that it will not be destroyed by the users of the space. For example when cutting we recommend placing a cutting mat on top of the MDF.

Both the Kinect and projector need to be mounted over head. We also wanted to make future additions to the station simple. To accommodate these needs we built a simple frame out of 12 bars of 80/20. These bars are held together with brackets made of laser cut acrylic. The files for these brackets can be found at the bottom of this post.

0

Both the MDF and 80/20 frame are held in place with four C-clamps. One clamp on each corner of the MDF hold the structure to the table. This allows the station to easily be moved or removed.

0

The digital projector is held over the table top using a custom frame created from sheets of laser cut wood. This photo shows the first draft of this frame. Because of the lens shift of the projector this setup causes the image to hit the floor in front of the table instead of the table top. Our second iteration of this frame fixes this problem by tilting the projector. The files for this frame can be found at the bottom of this post.

0

The Kinect is mounted to the 80/20 frame using a small acrylic plate that was laser cut. Because the Kinect can rotate we had to be able to lock it down. This was done by plating small acrylic squares between the body of the Kinect and the base of the Kinect. These plates were held in place with clamps. We were very careful not to squeeze the Kinect enough to damage it. Files for these plates can be found at the bottom of this post.

Although this system suspends the Kinect effectively it didn't provide the flexibility that most users of the Kinect need. For the most part this mounting system was scraped in favor of Magic Arms.

0

Cables can easily be run down the back of the station between the frame and the wall. The PC hookups are at table level so that the user can place a laptop on the table edge and plug in.

0

Kinect mount files: https://drive.google.com/a/andrew.cmu.edu/file/d/0B5Ag8l5inECEa240b2hxWERSaDQ/view

Projector mount files: https://drive.google.com/open?id=0B5Ag8l5inECEdTJNd3FiWDJmdExGcjJFbWZvSkJaQWl2alBv&authuser=2

x
Share this Project

Courses

16-455 Human-Machine Virtuosity

· 0 members

Human dexterous skill embodies a wealth of physical understanding which complements computer-based design and machine fabrication. This project-oriented course explores the duality between hand and...more


About

The whole HMV class worked together to create four instances of this work station. This post aims to document the process we used to create these stations so that others can create their own as well as modify our design.