Bb Shark doo doo
Made by Gwen Opiela ·
Made by Gwen Opiela ·
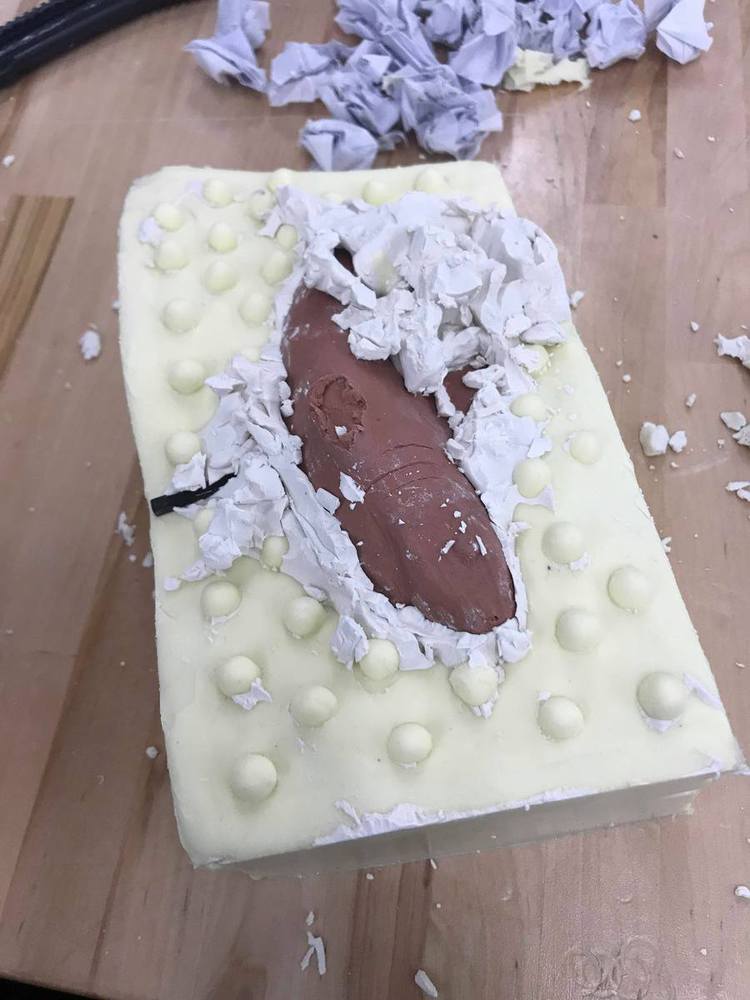
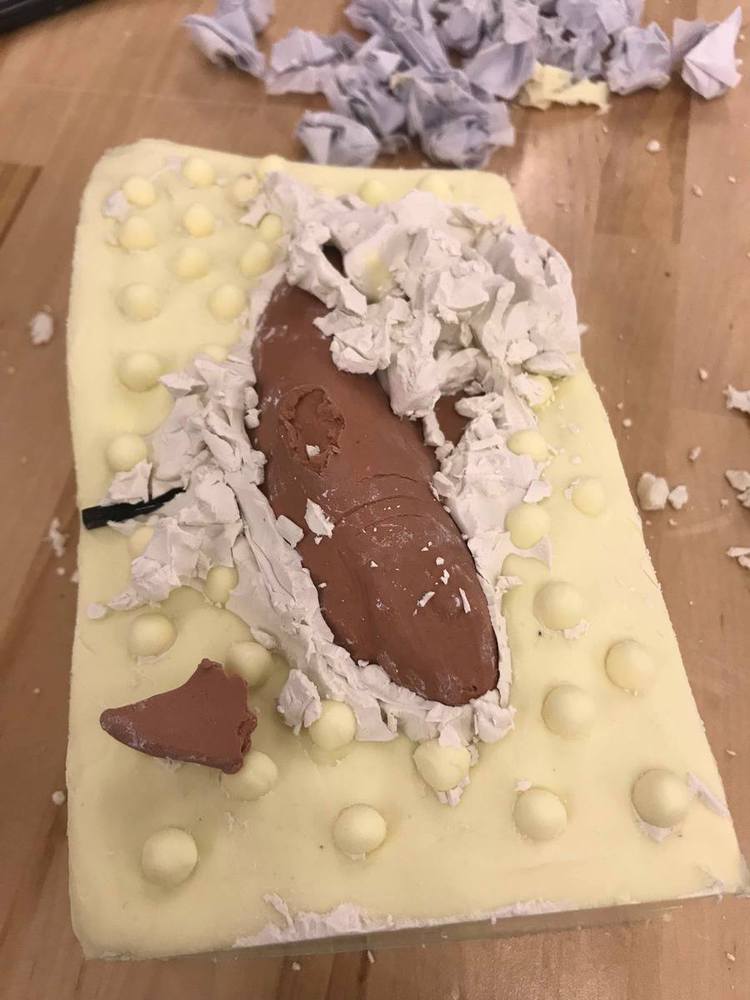
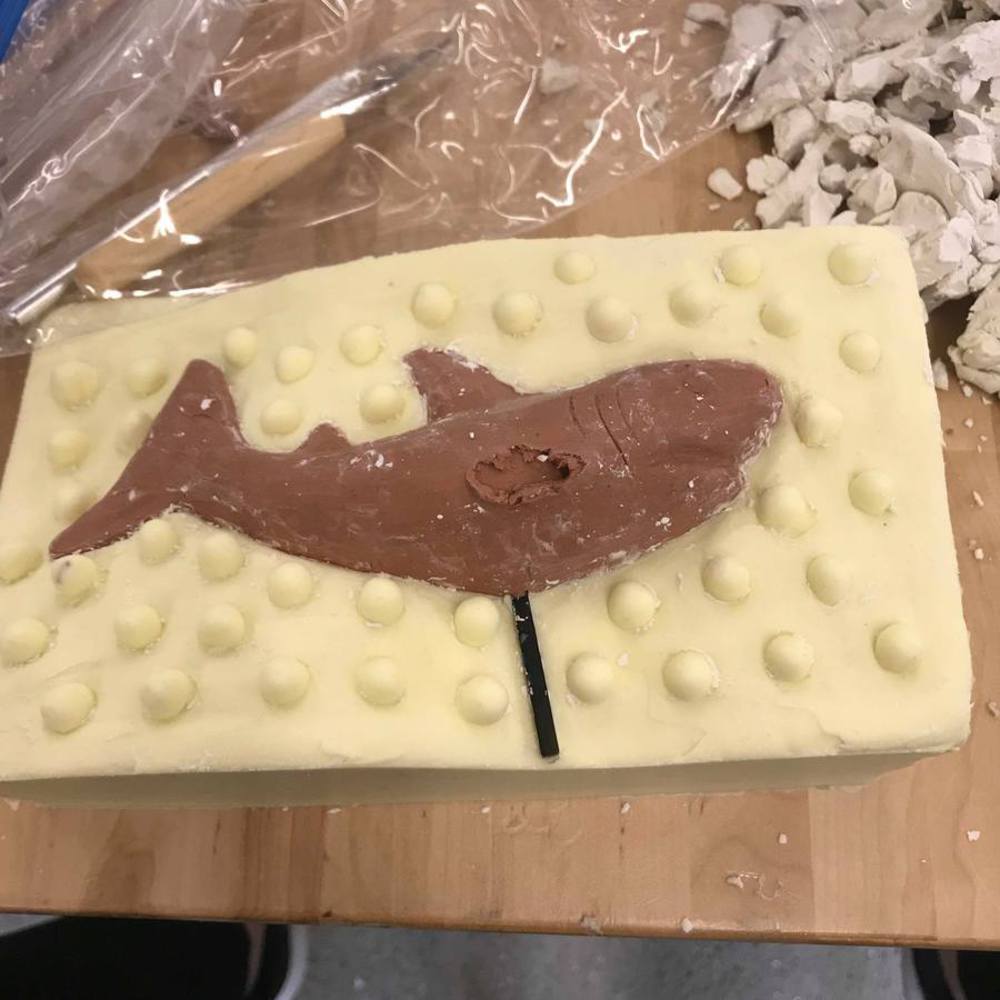
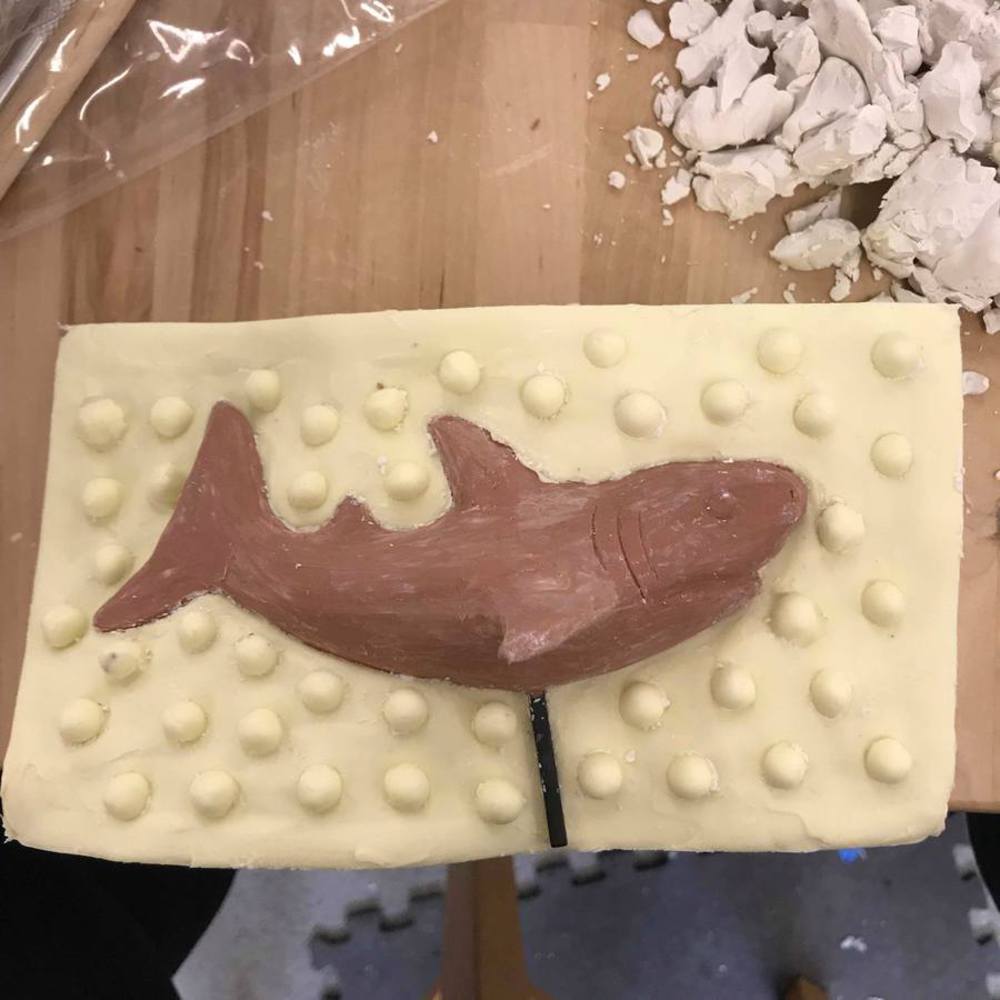
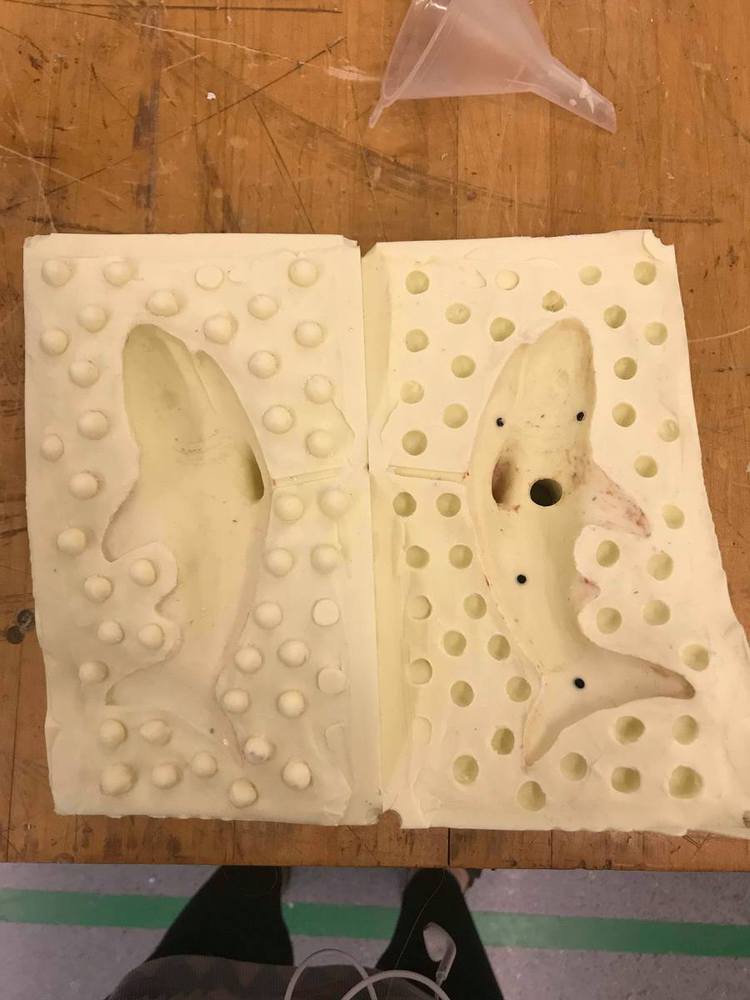
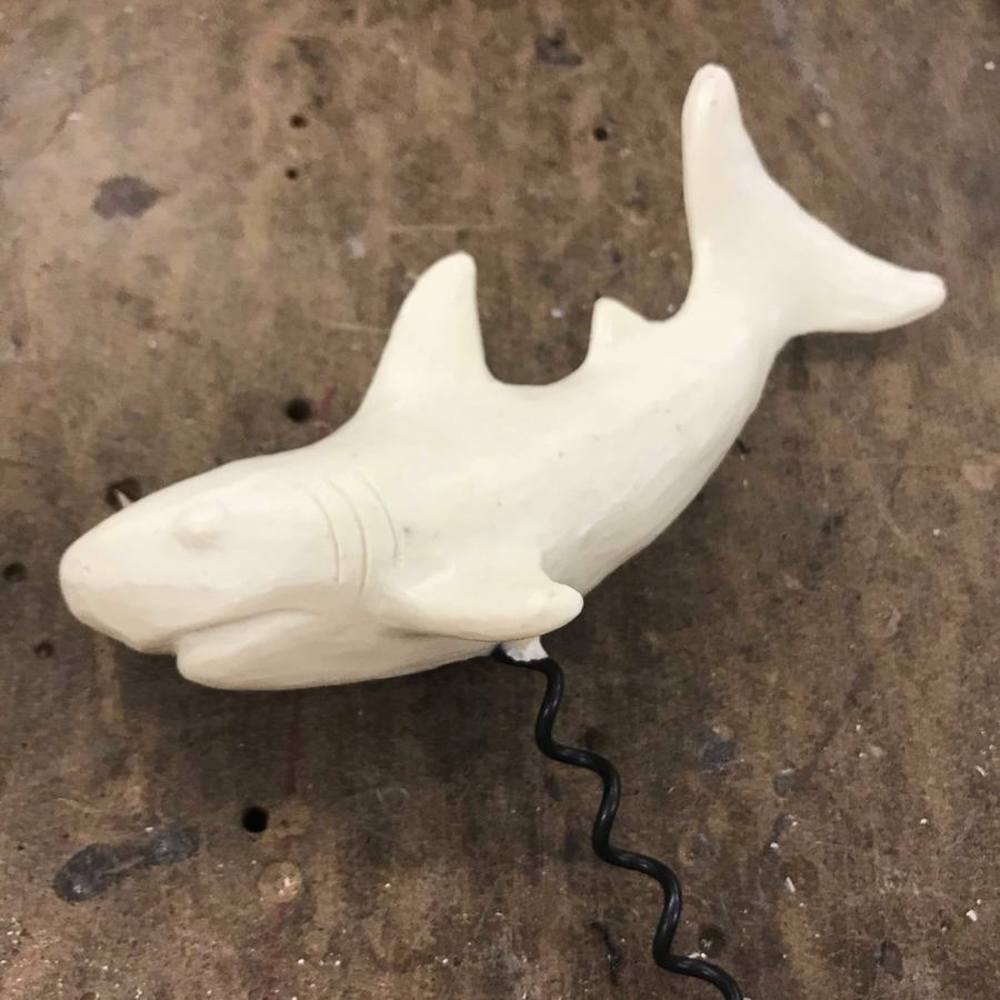
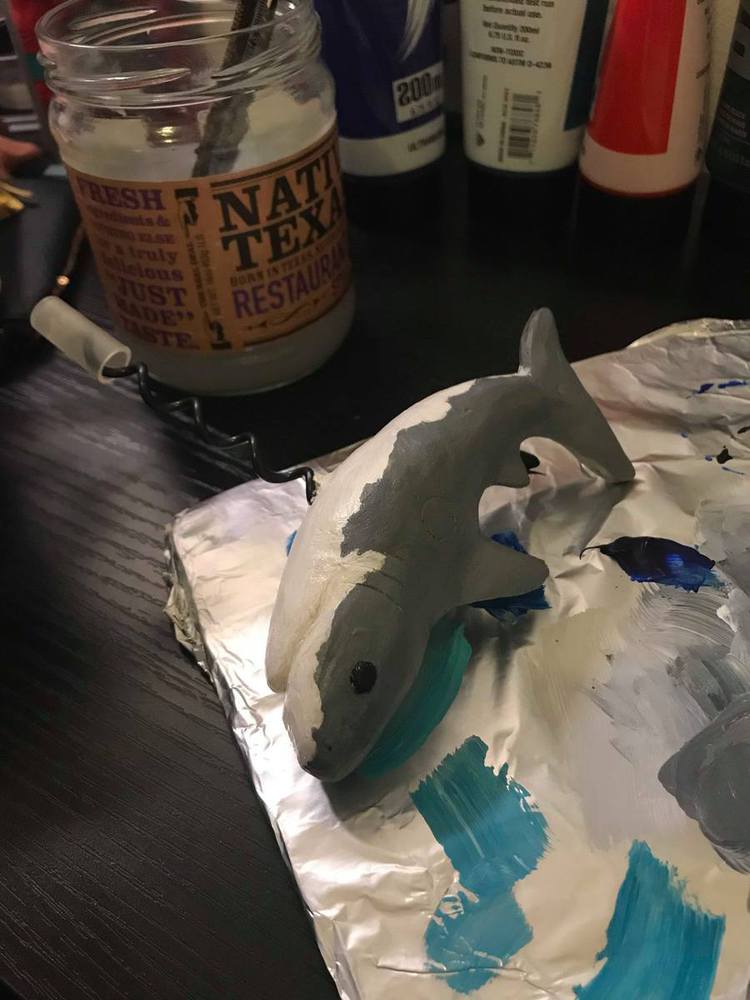
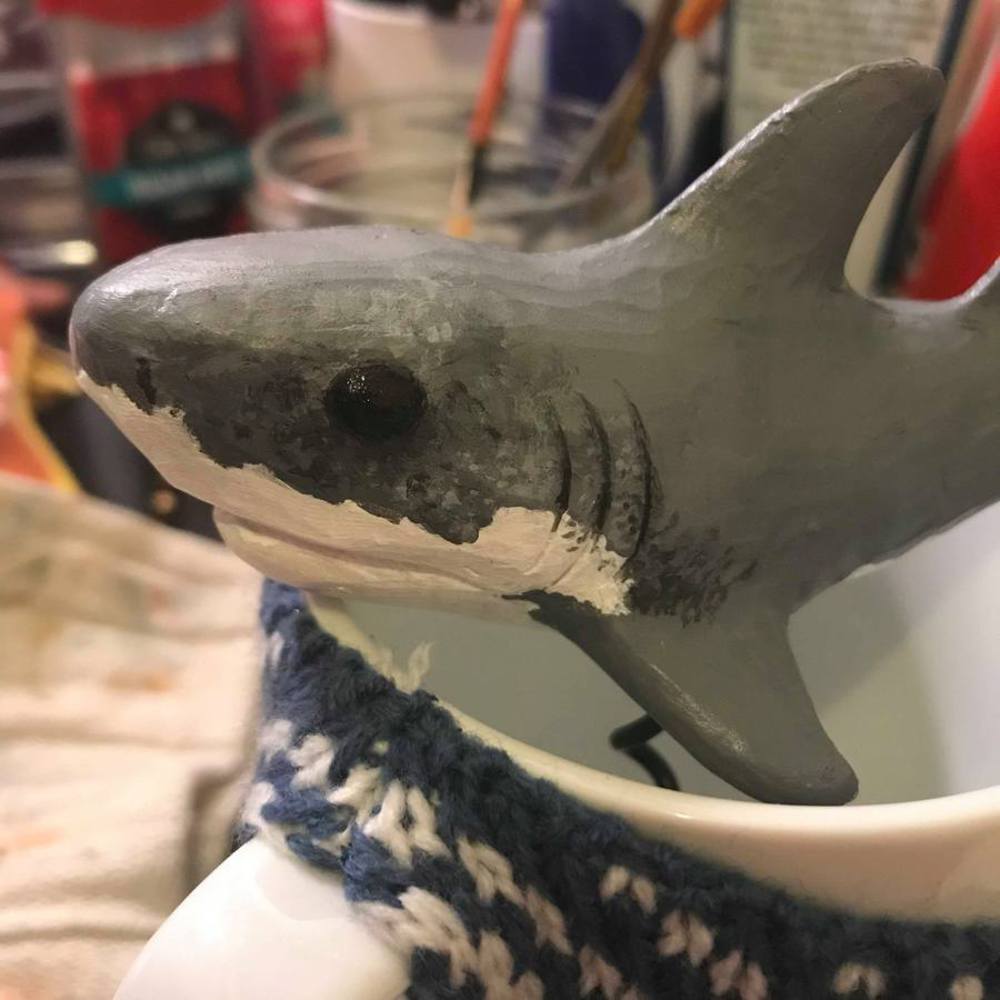
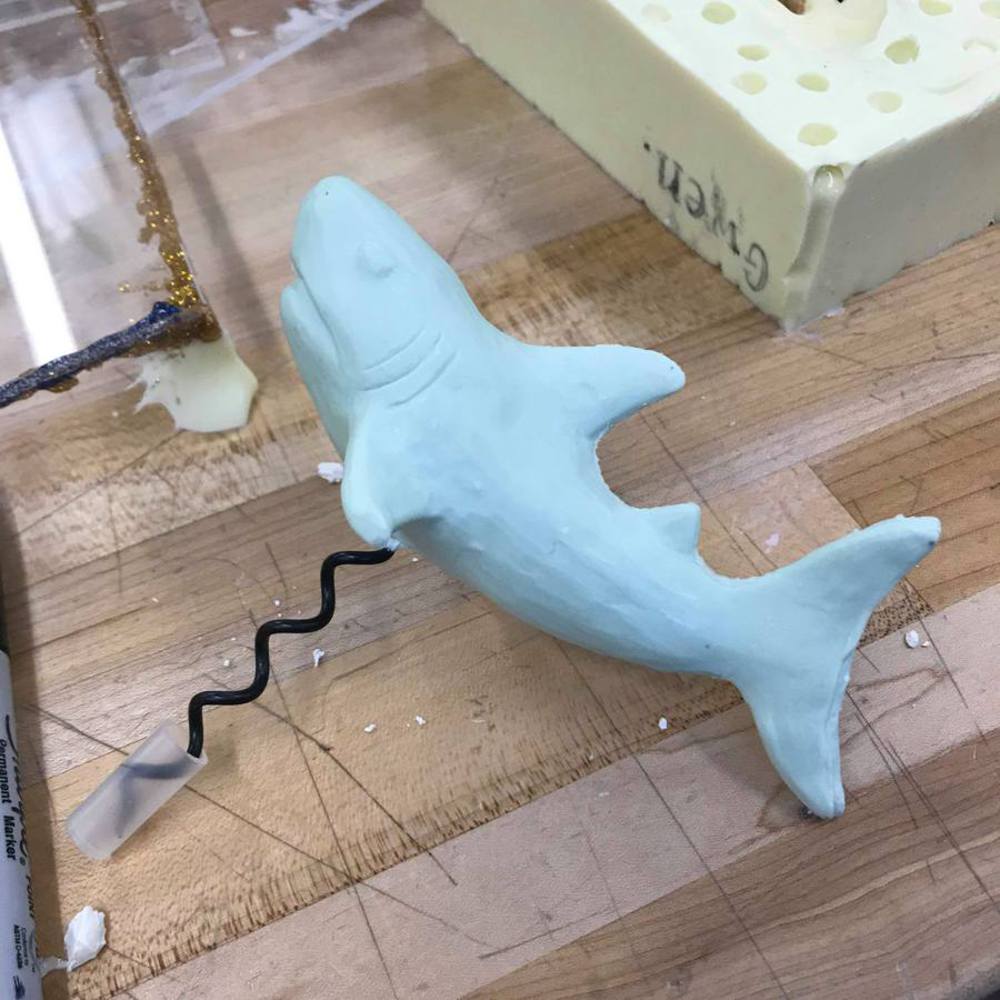
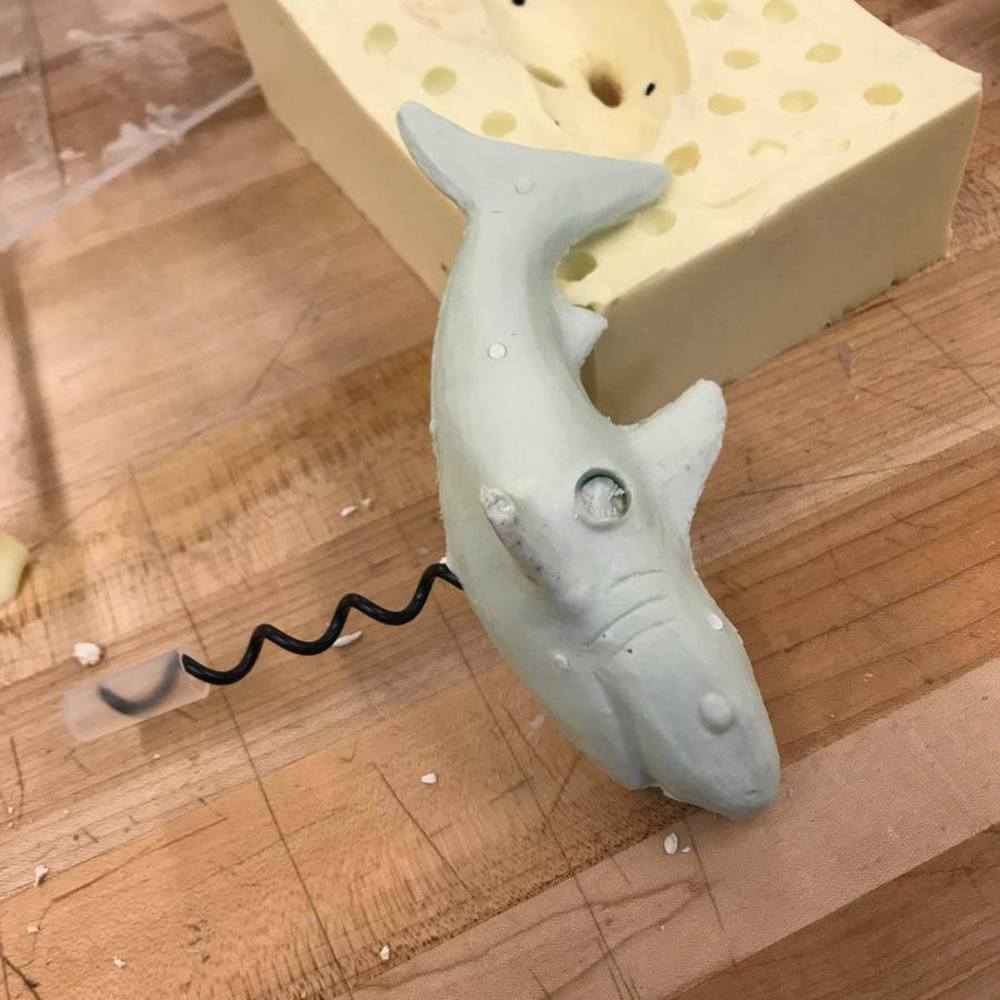
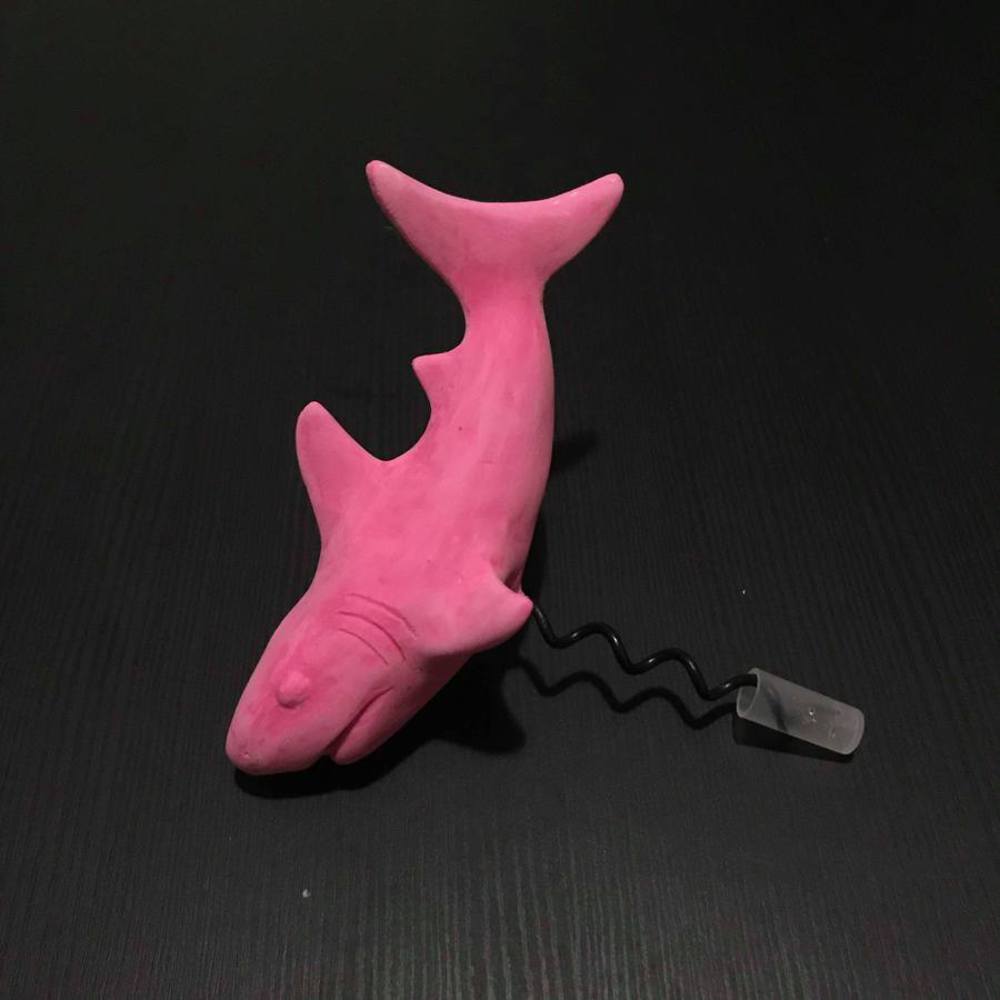
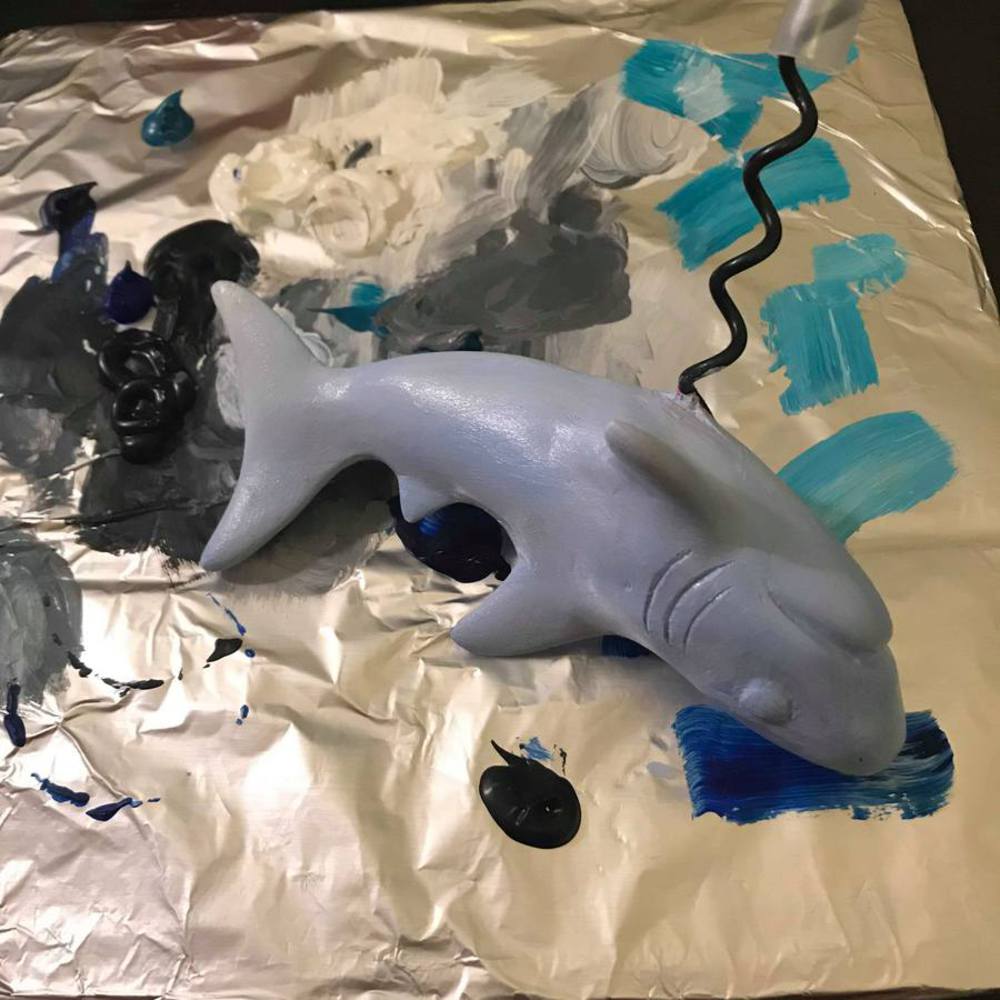
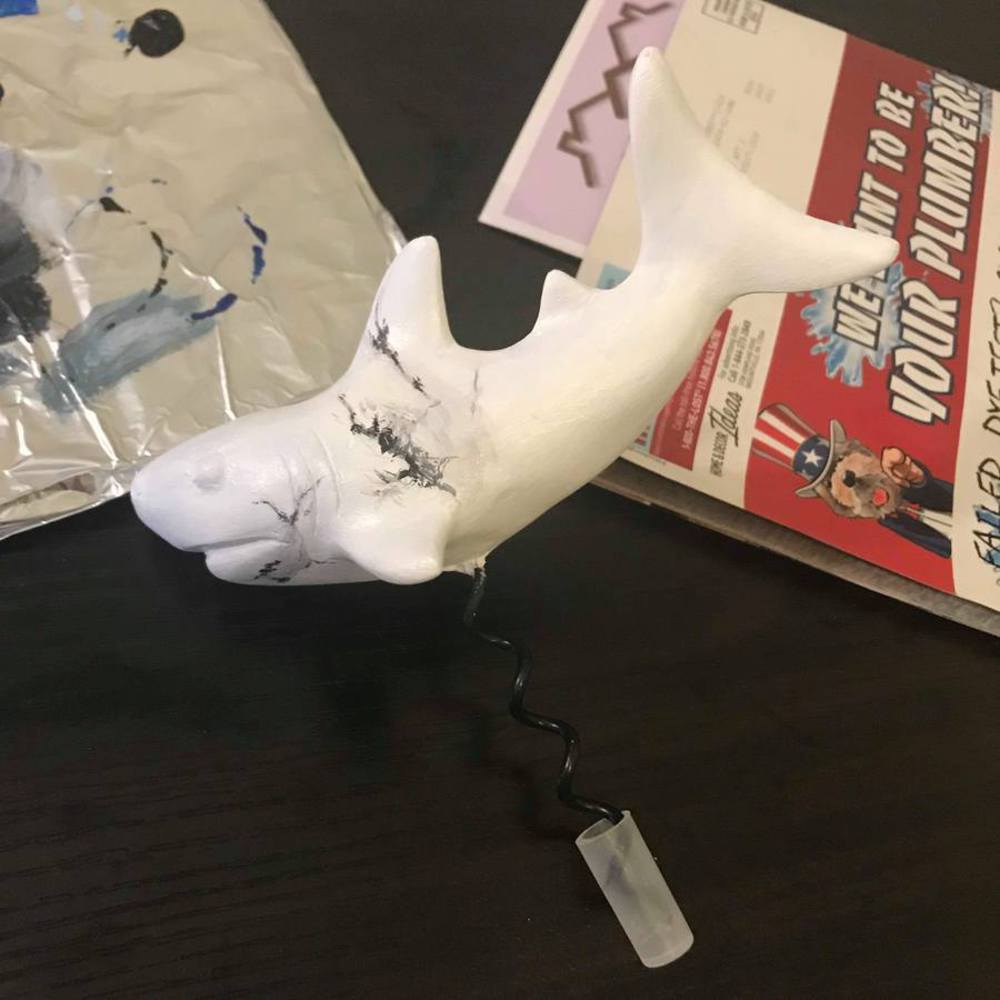
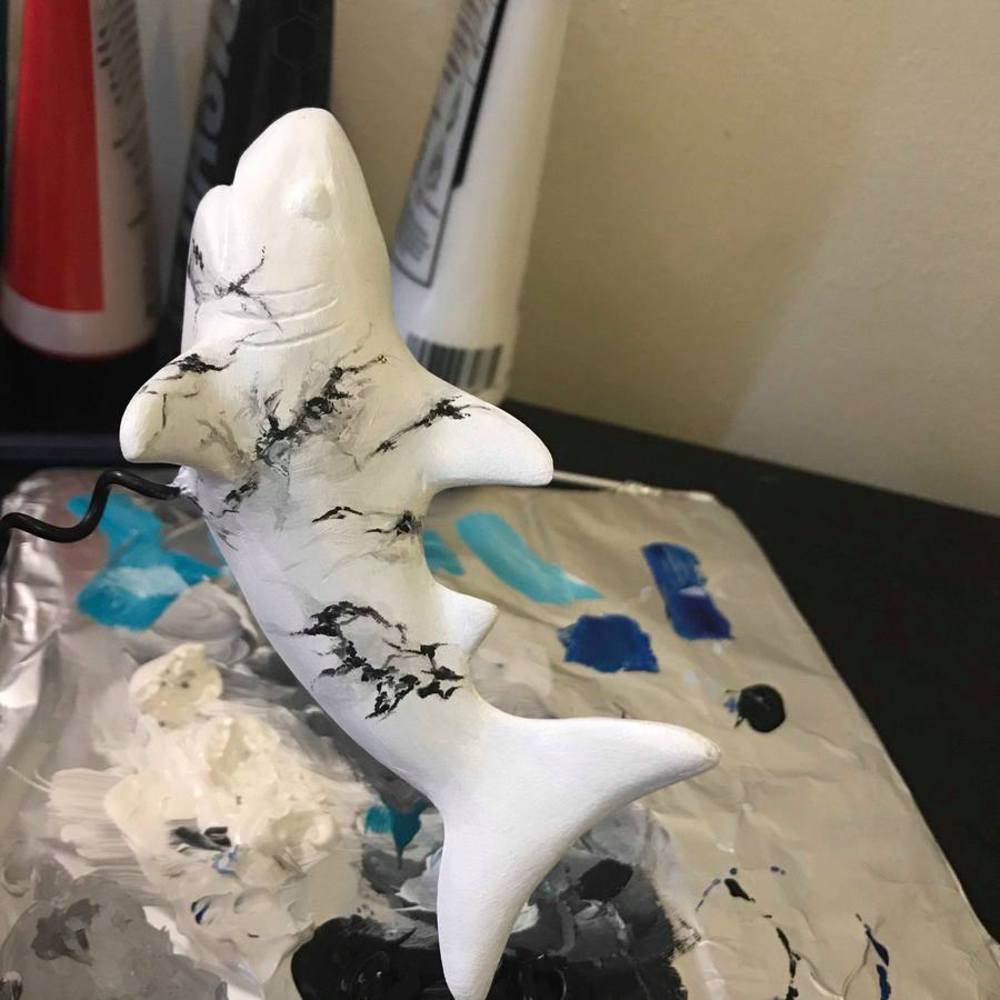
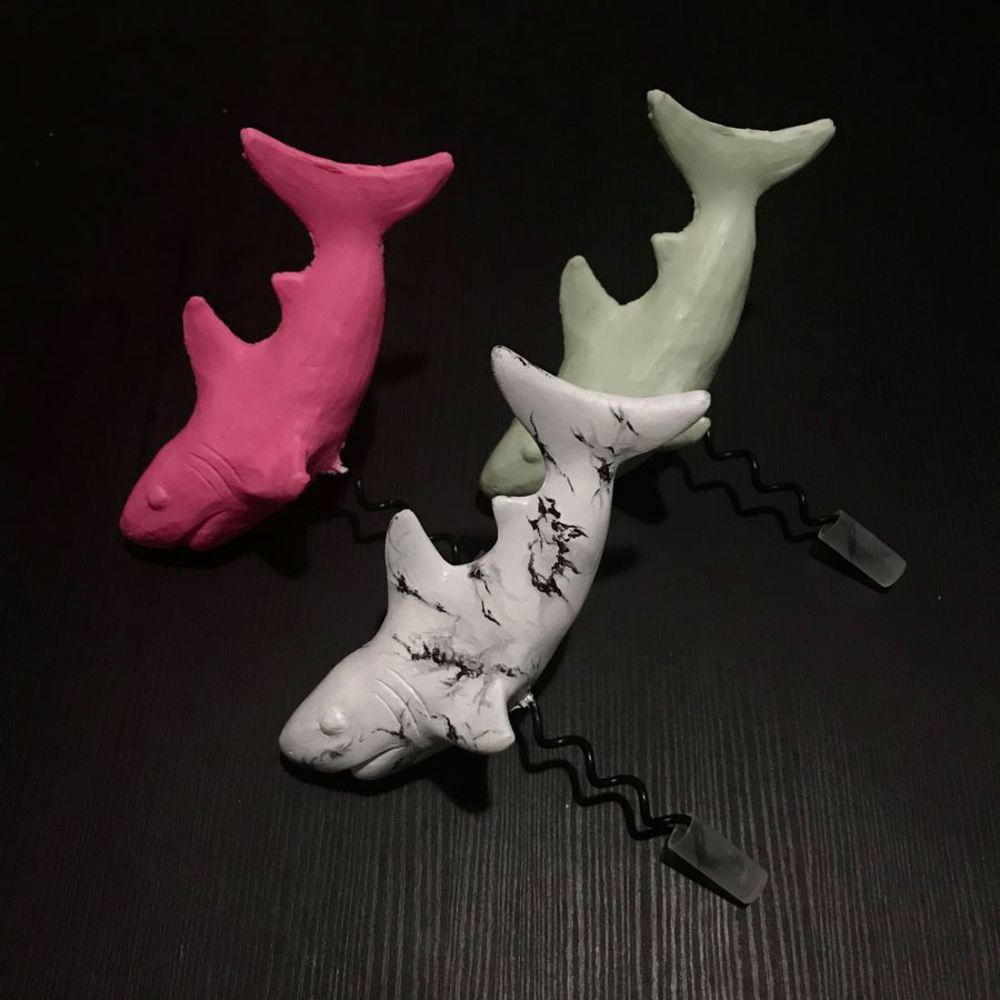
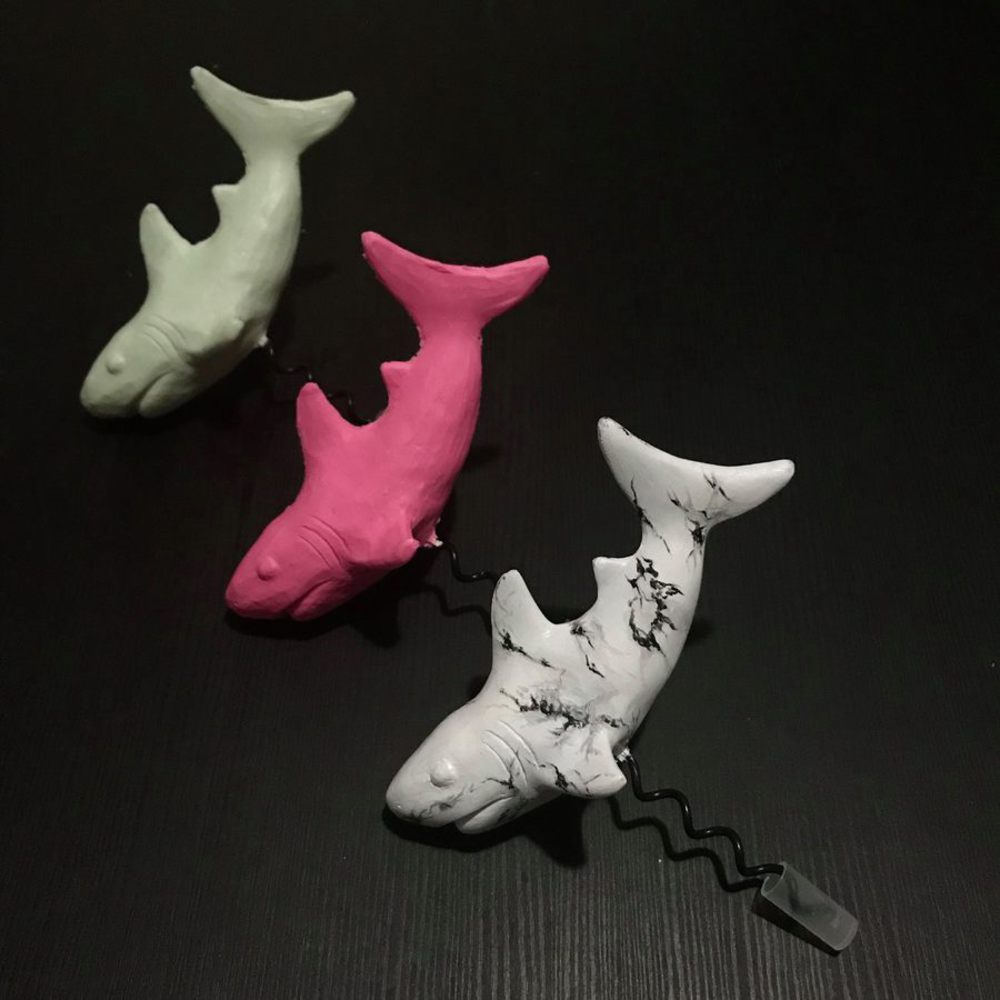
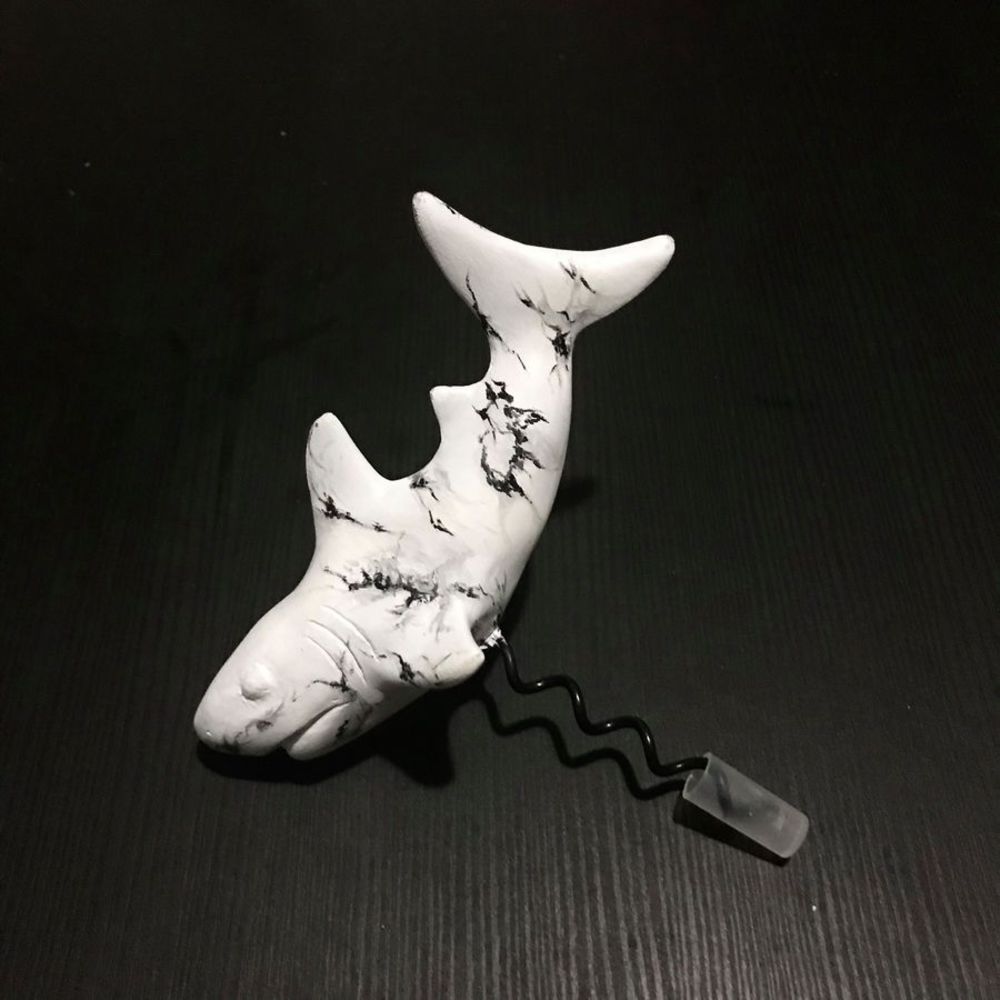
For this project, I used my clay modeled shark from the previous project in order to create a functioning corkscrew from a casted part.
Created: April 17th, 2019
This project is only accessible by signed in users. Be considerate and think twice before sharing.
Offers students hands-on experience in DIY product design and fabrication processes. Students work individually or in small groups to design customized and personalized products of their own and bu...more
For this project, I used my clay modeled shark from the previous project in order to create a functioning corkscrew from a casted part.