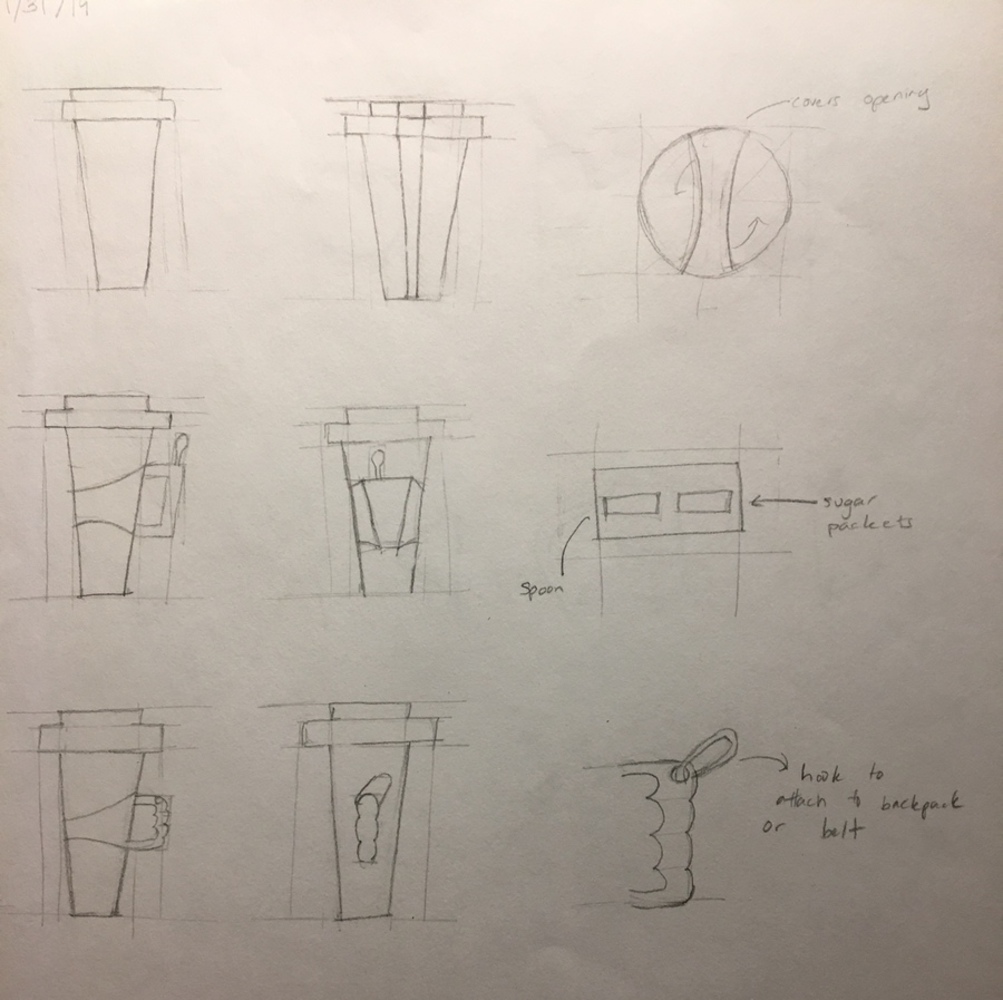
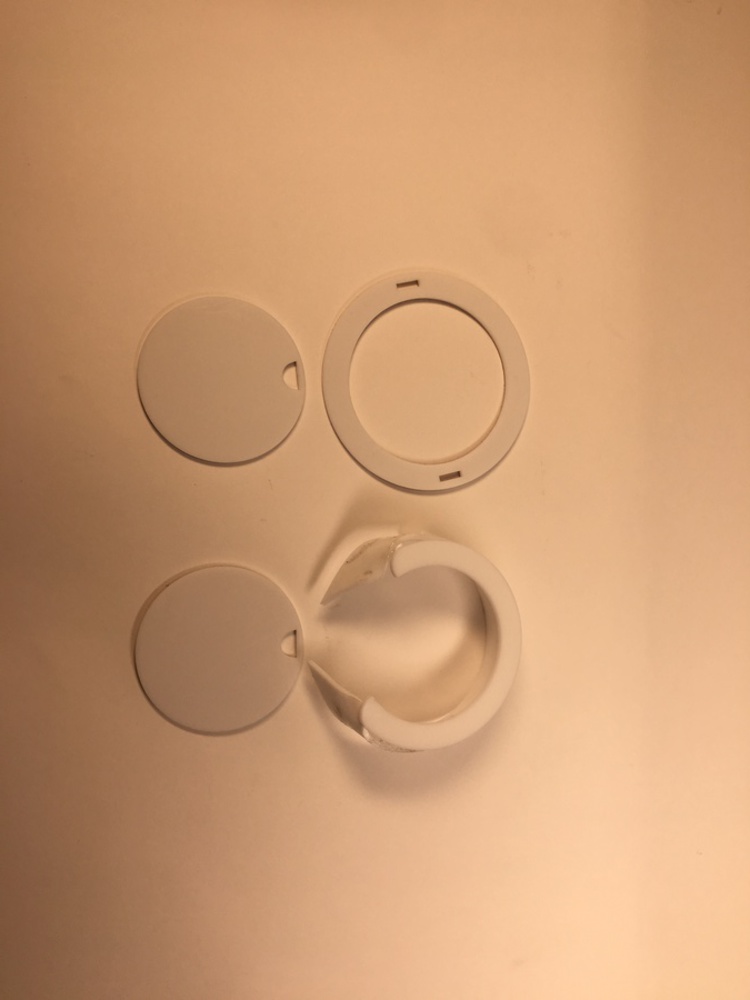
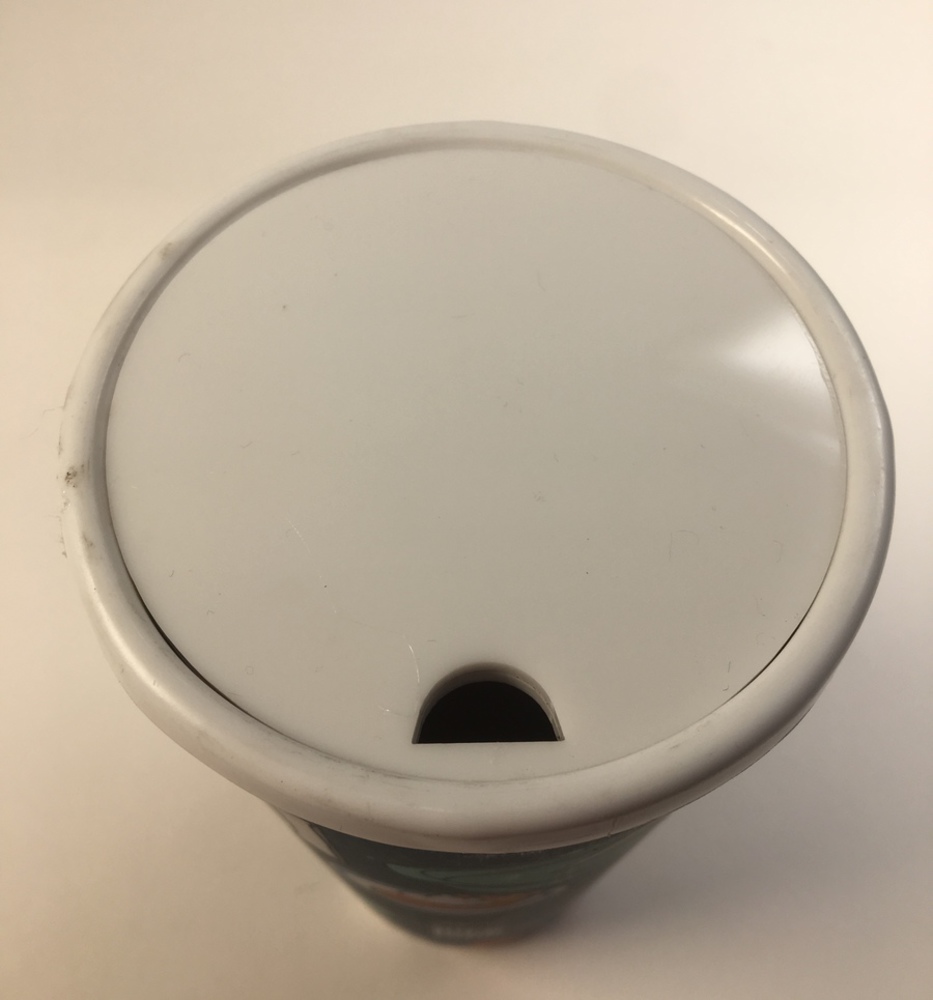
Improved Lid Design Michelle Wiedmann
Made by Michelle Wiedmann
Made by Michelle Wiedmann
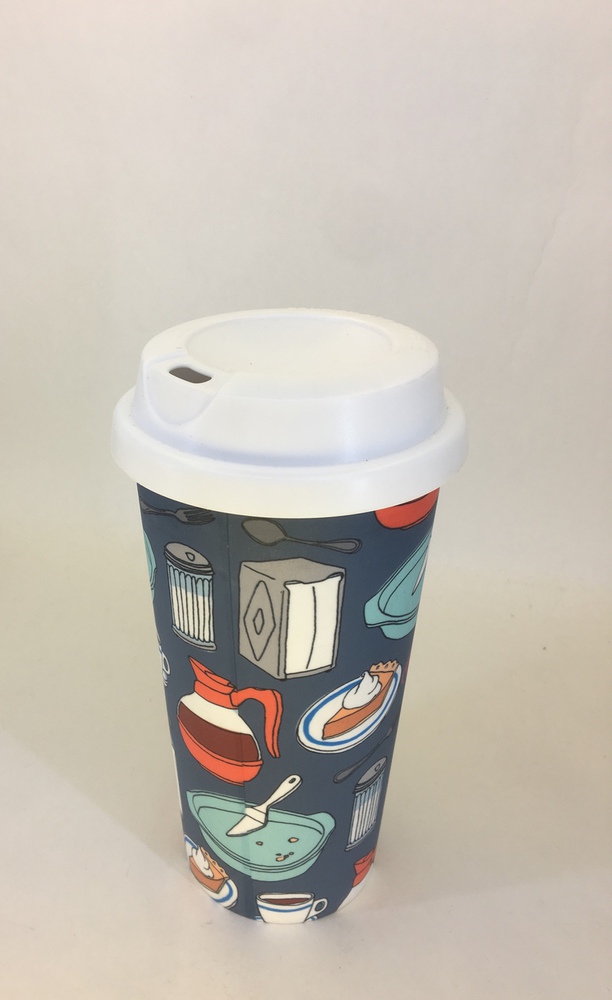
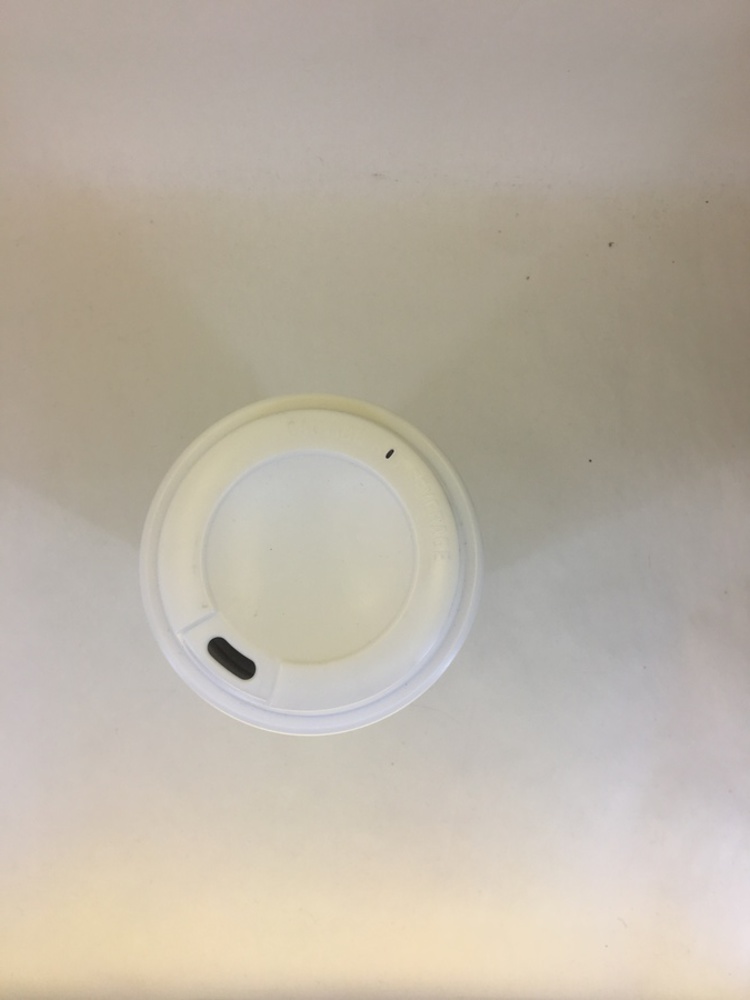
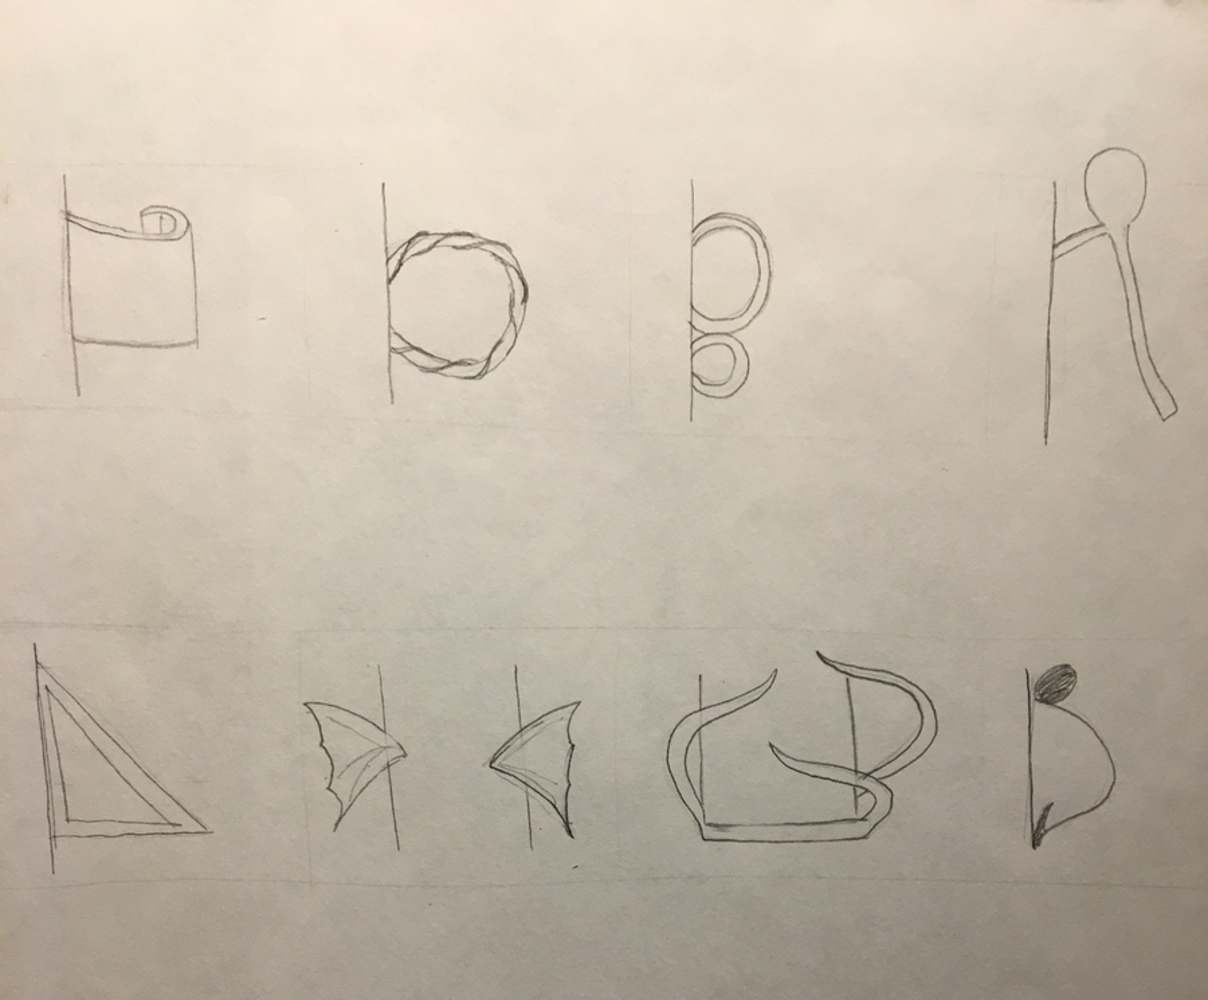
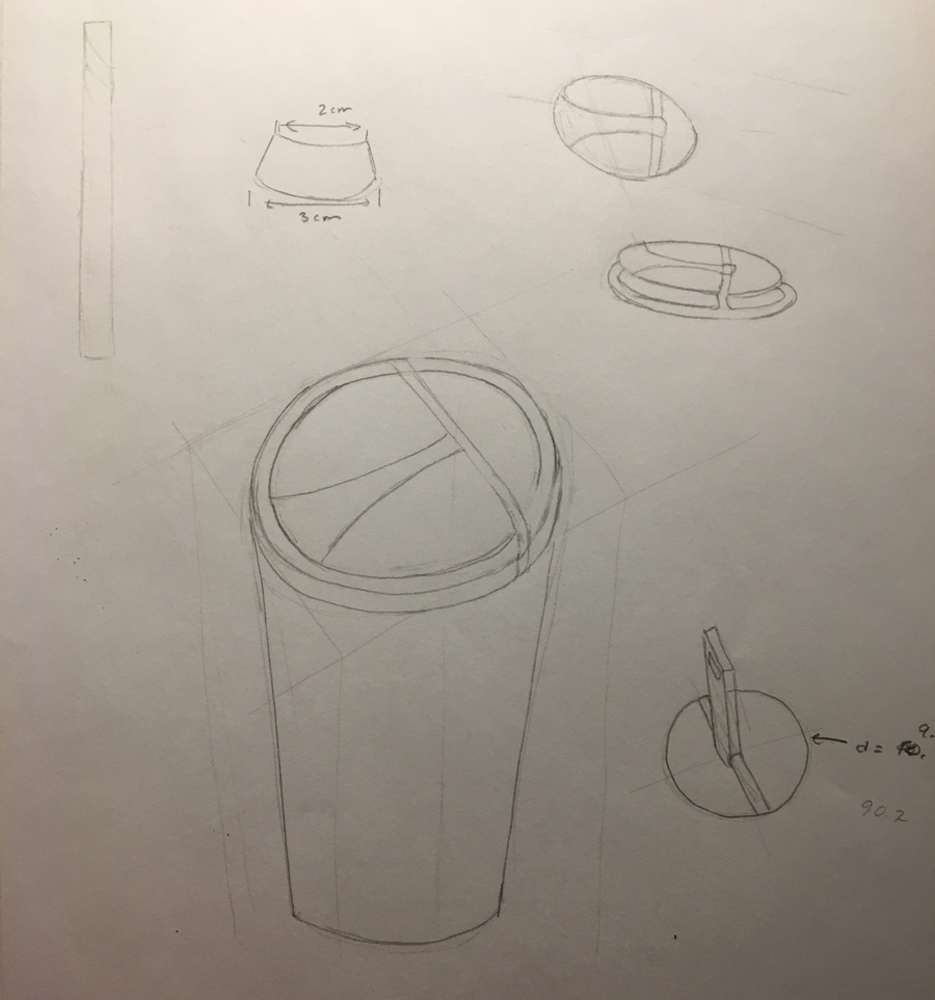
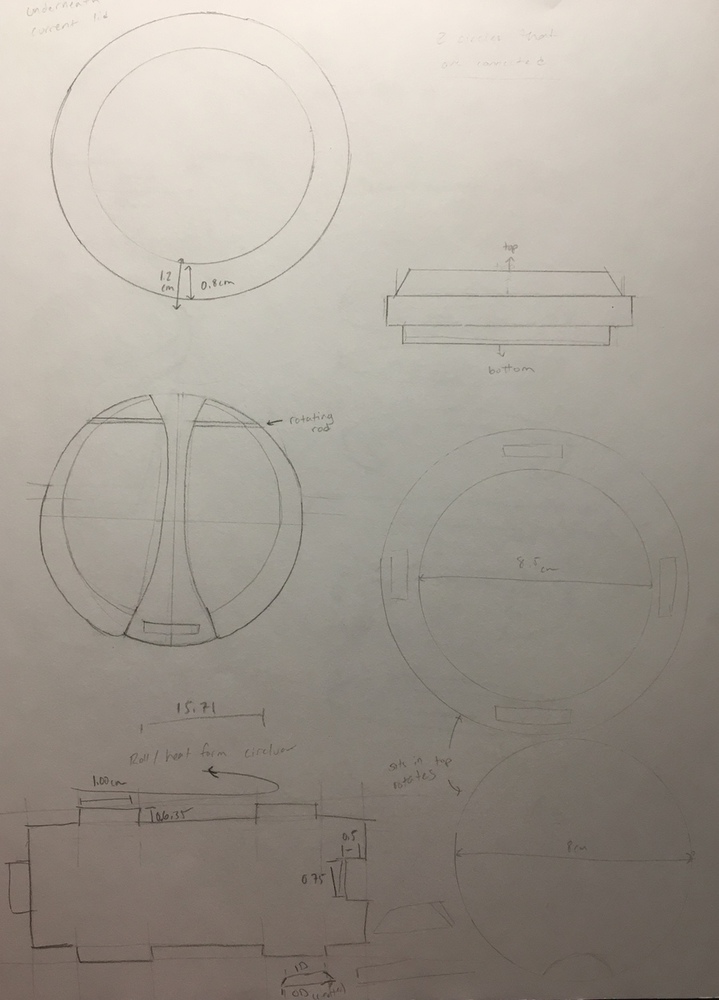
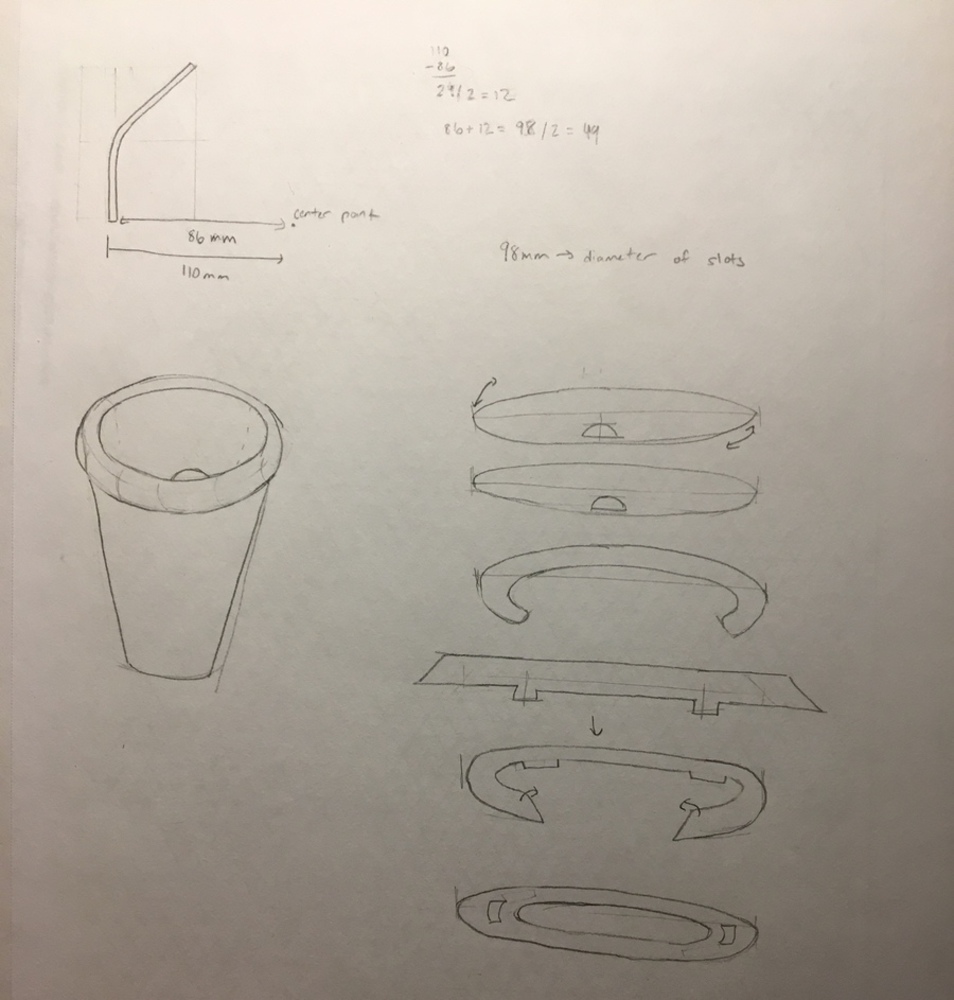
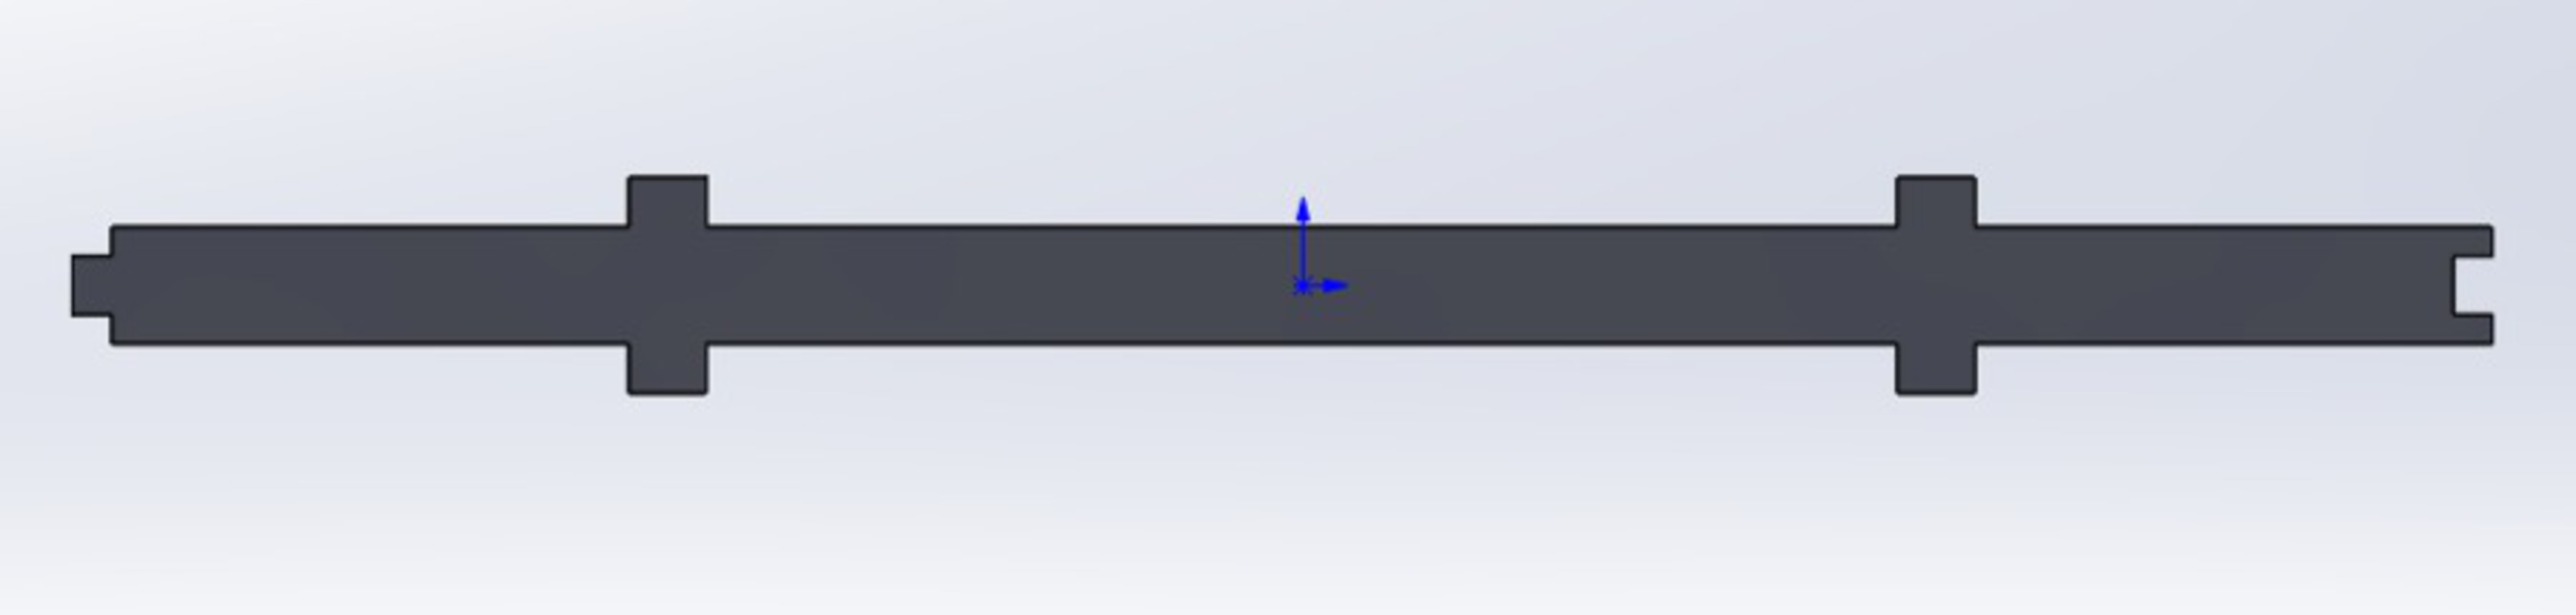
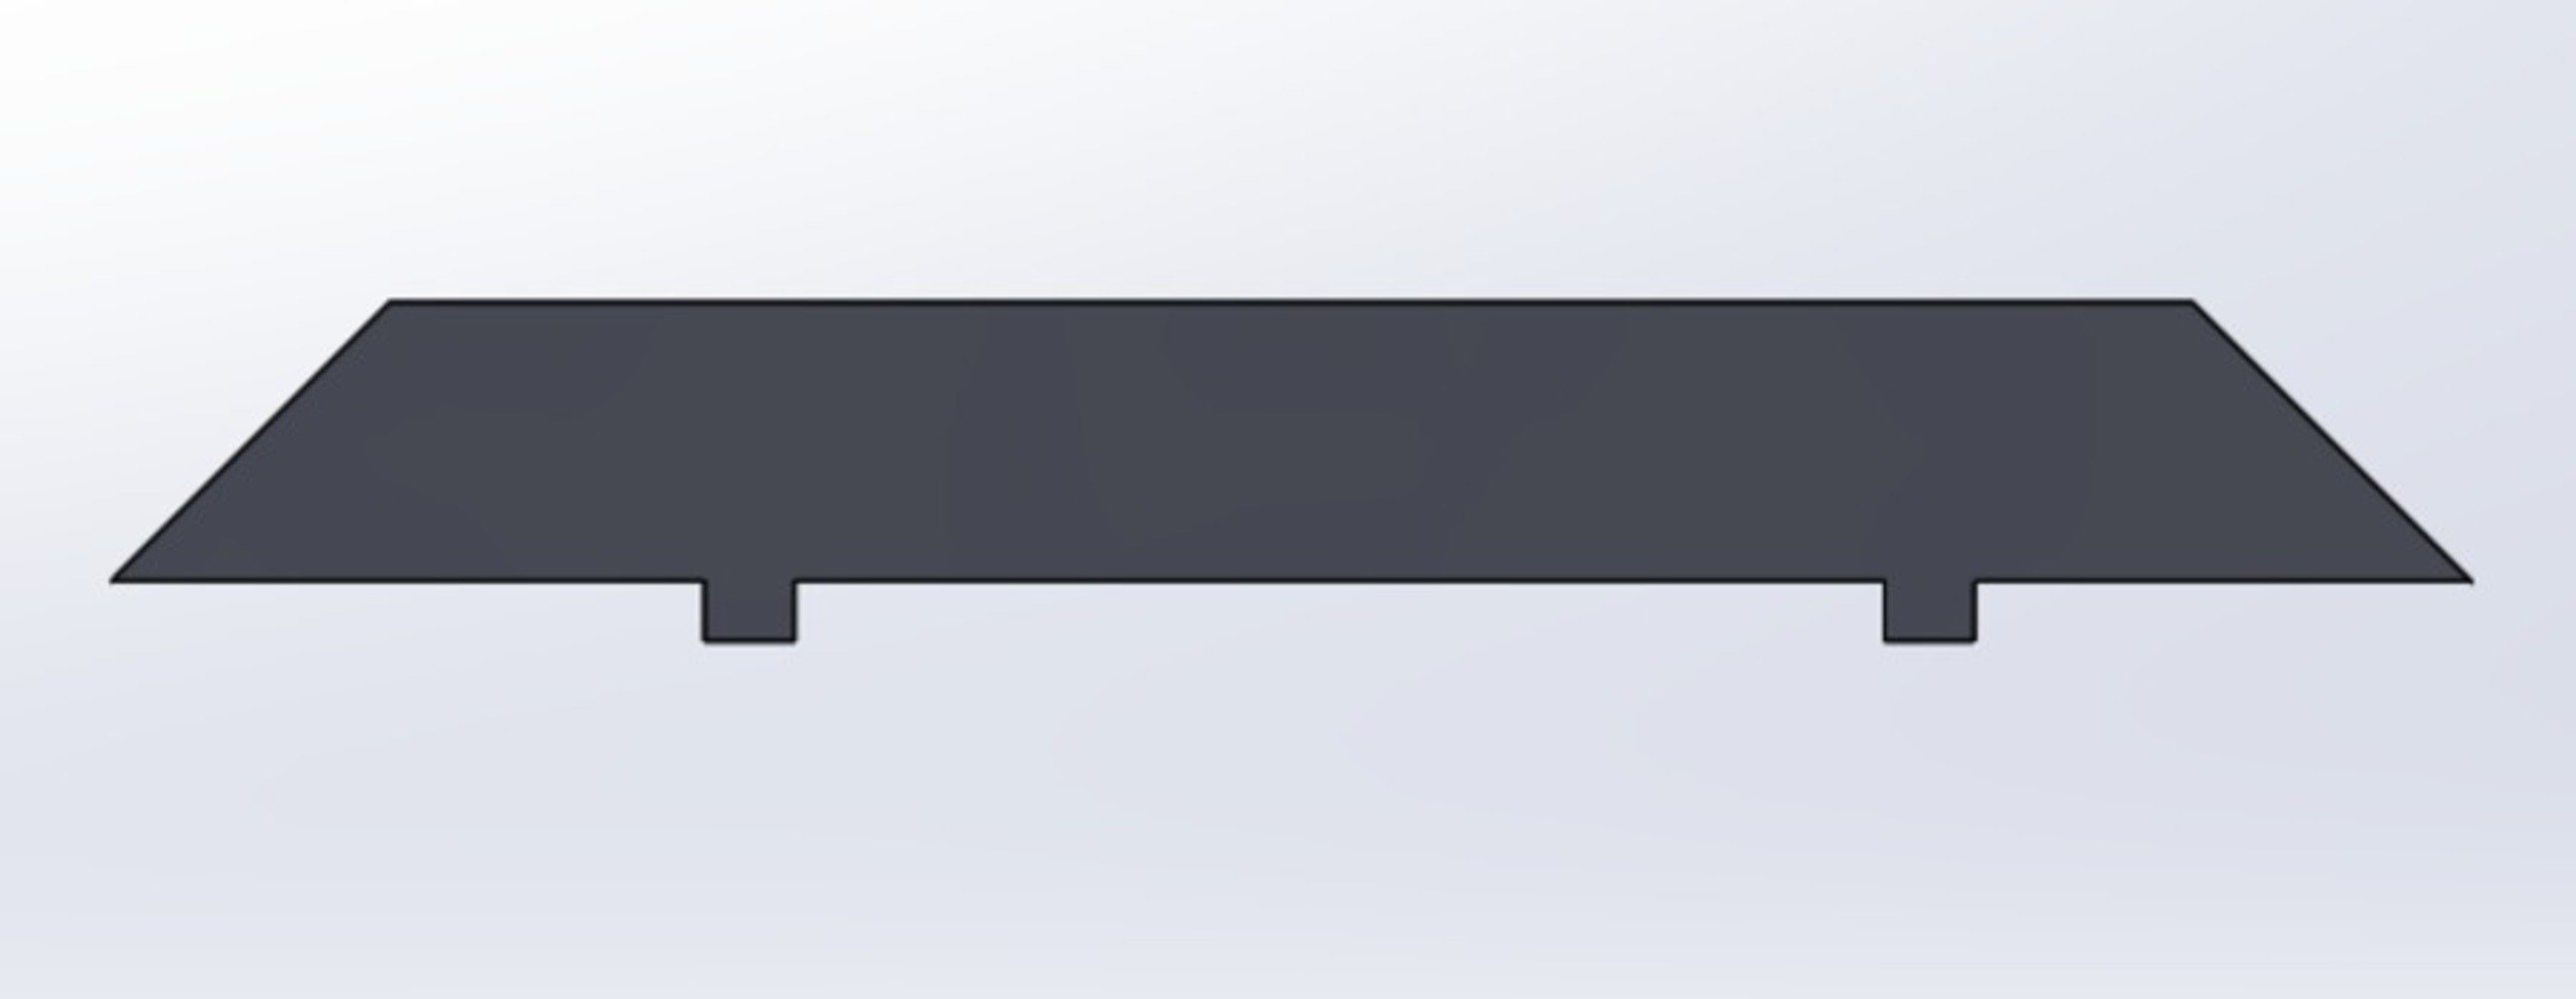
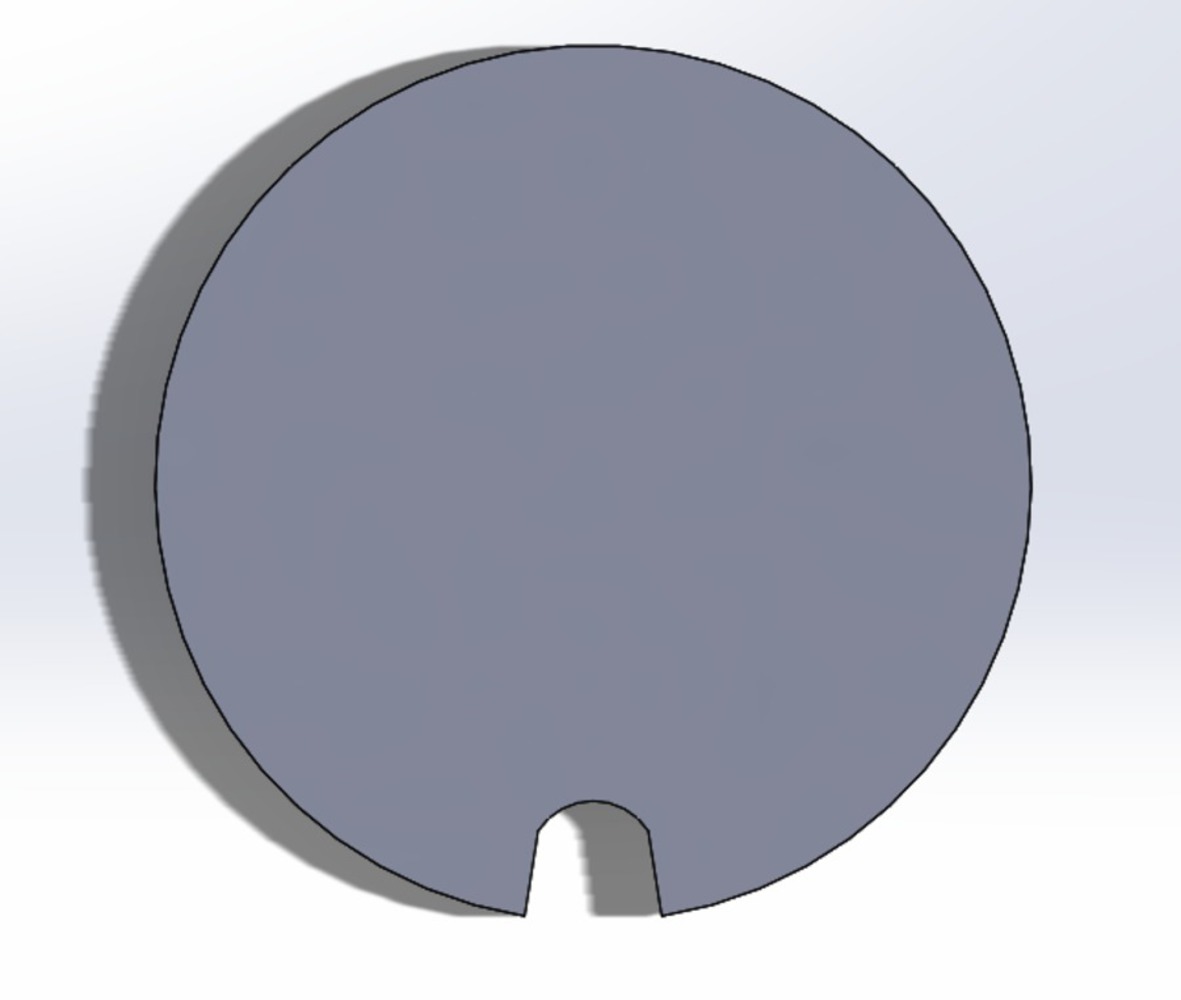
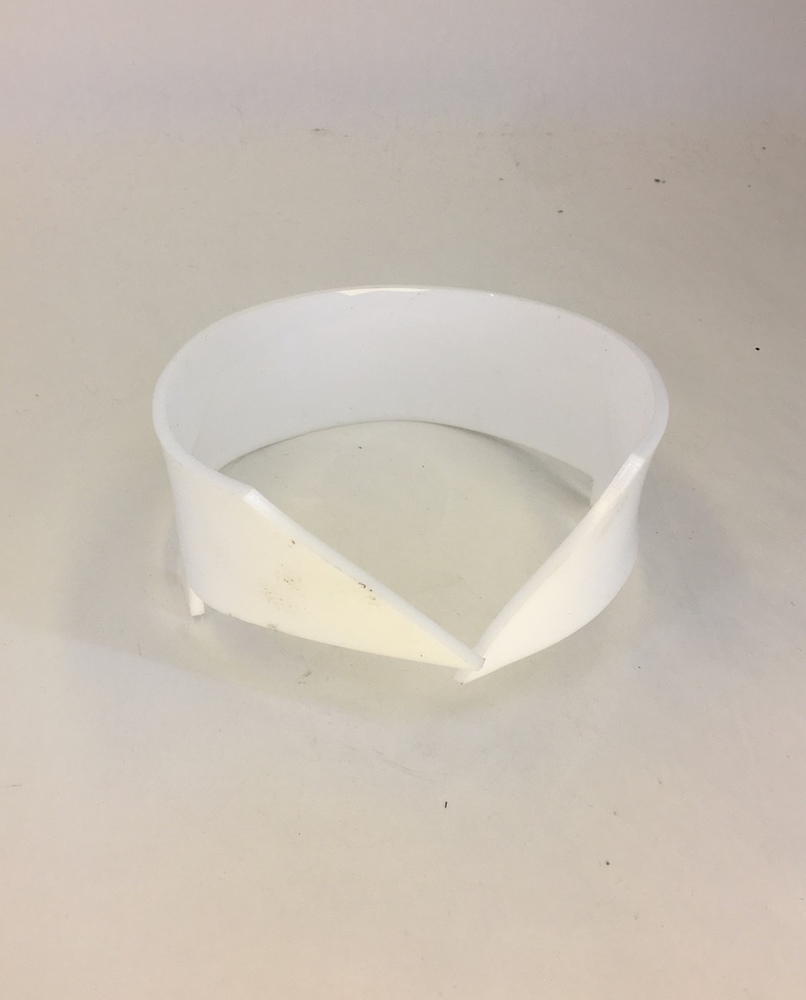
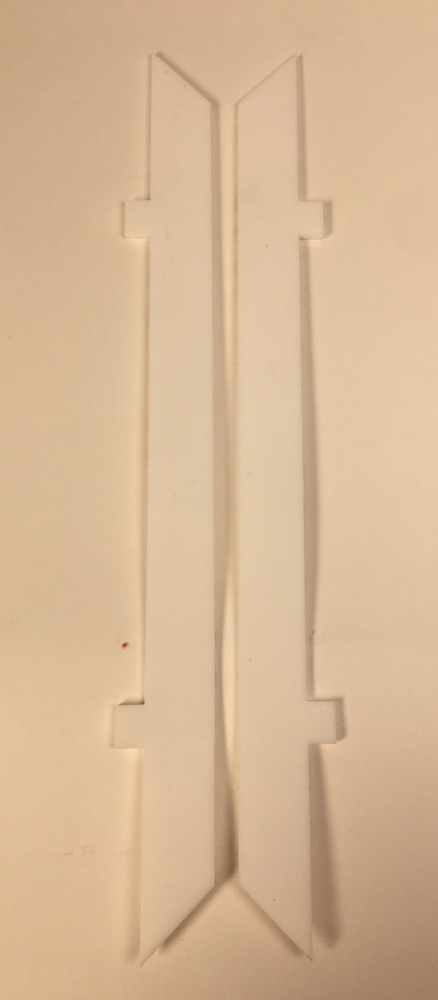
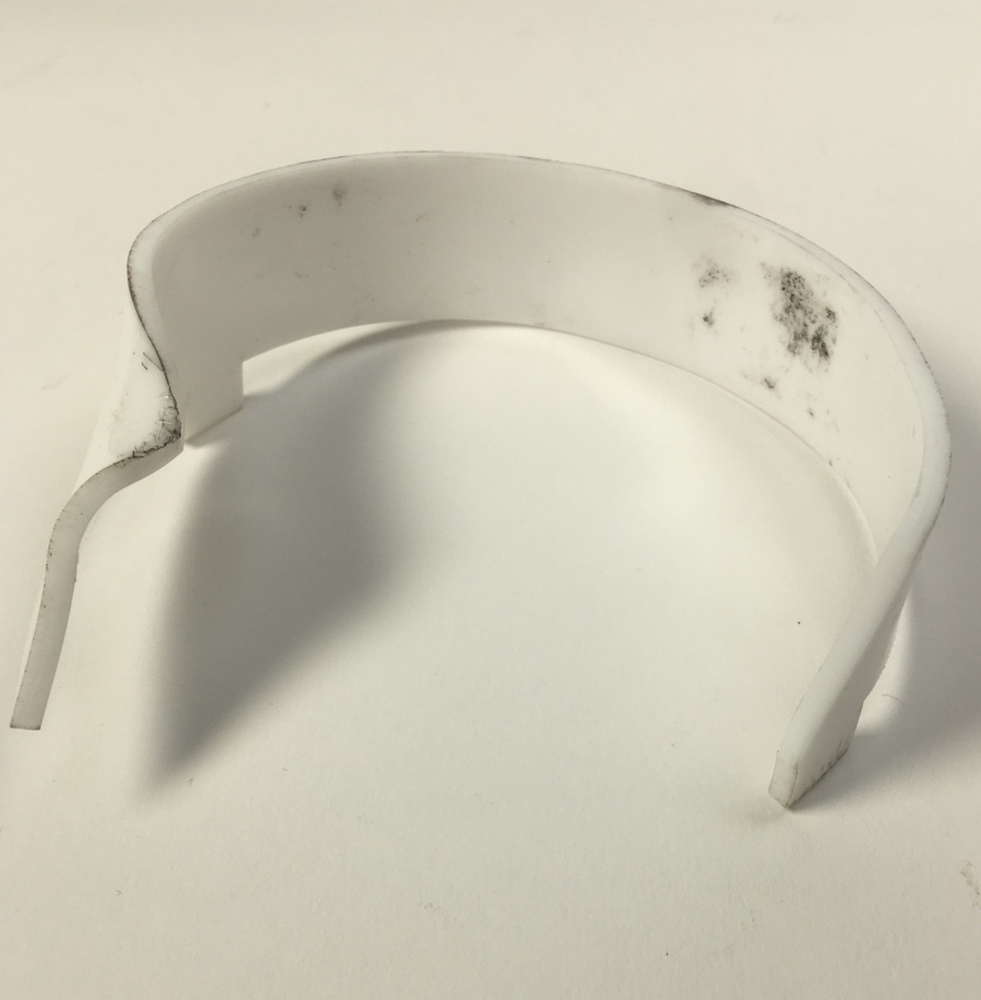
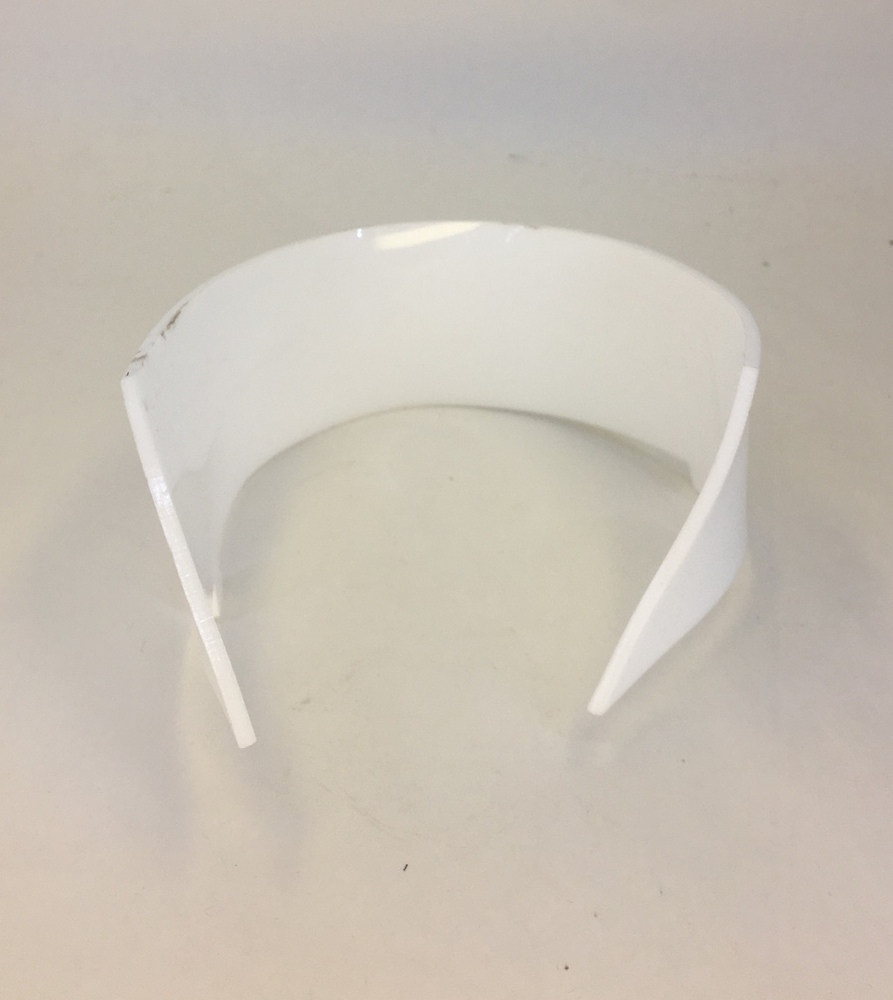
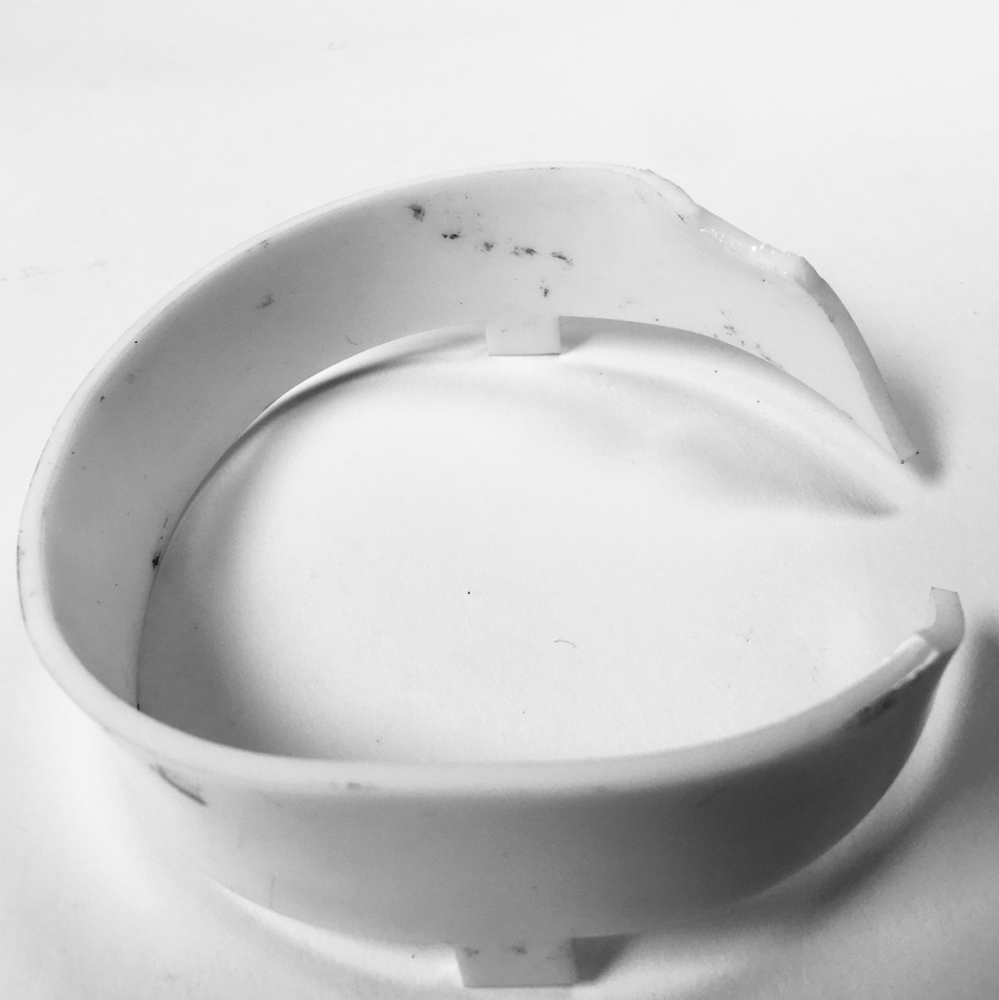
Create a lid that functions better than the current one I have for a travel mug. I would like a lid that can be sealed fully, as opposed to one that always has an open hole for liquids to spill out of.
Created: February 12th, 2019
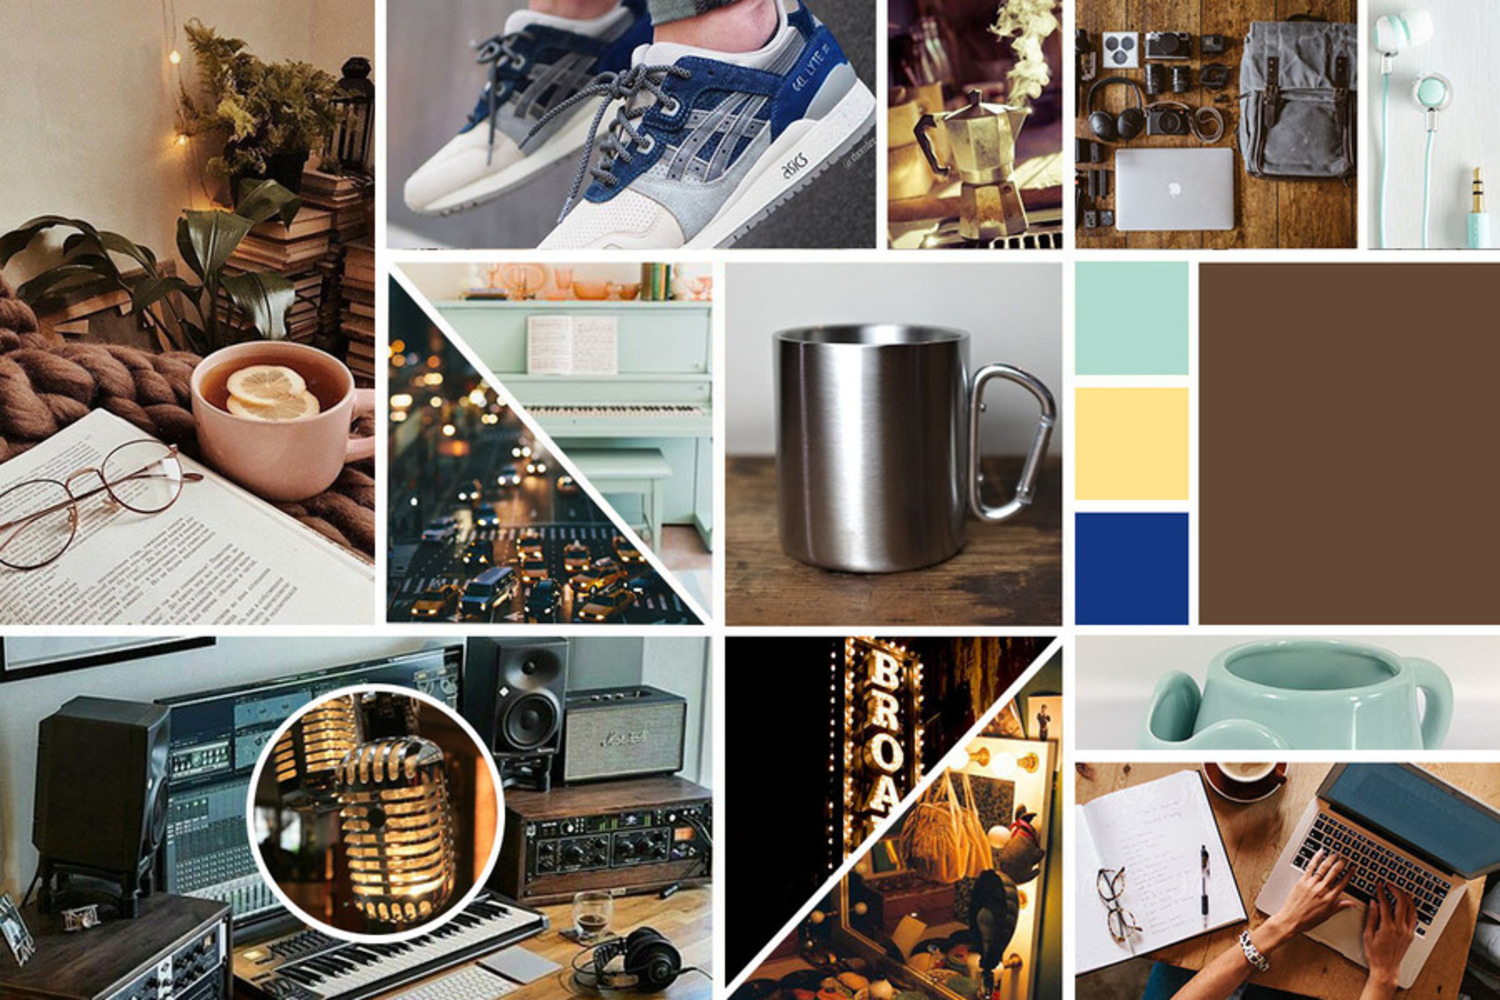


Offers students hands-on experience in DIY product design and fabrication processes. Students work individually or in small groups to design customized and personalized products of their own and bu...more
Create a lid that functions better than the current one I have for a travel mug. I would like a lid that can be sealed fully, as opposed to one that always has an open hole for liquids to spill out of.