Chop, Chop, Chop!
Made by Noel Lau · UNLISTED (SHOWN IN POOLS)
Made by Noel Lau · UNLISTED (SHOWN IN POOLS)
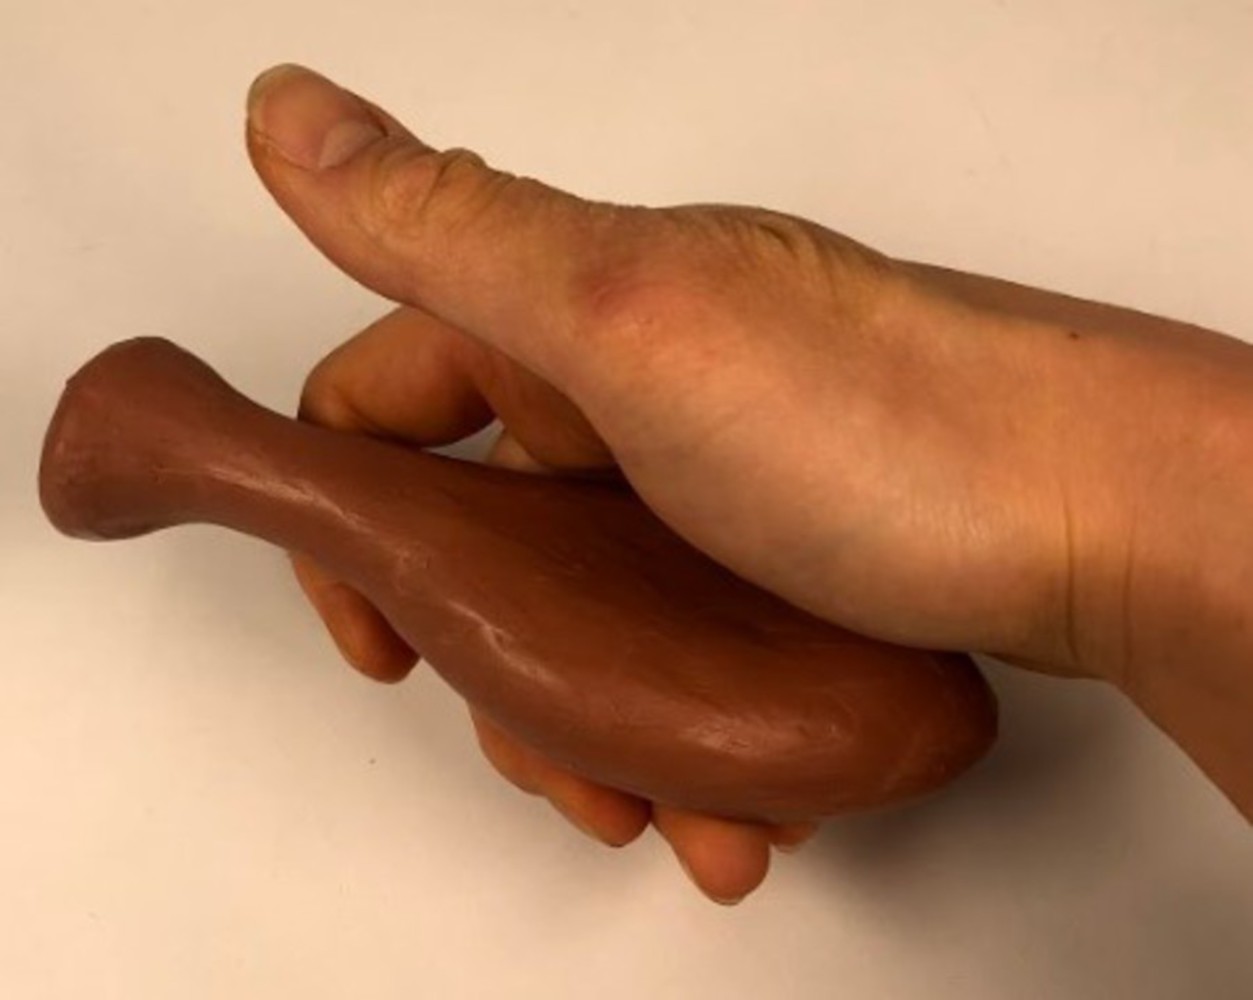
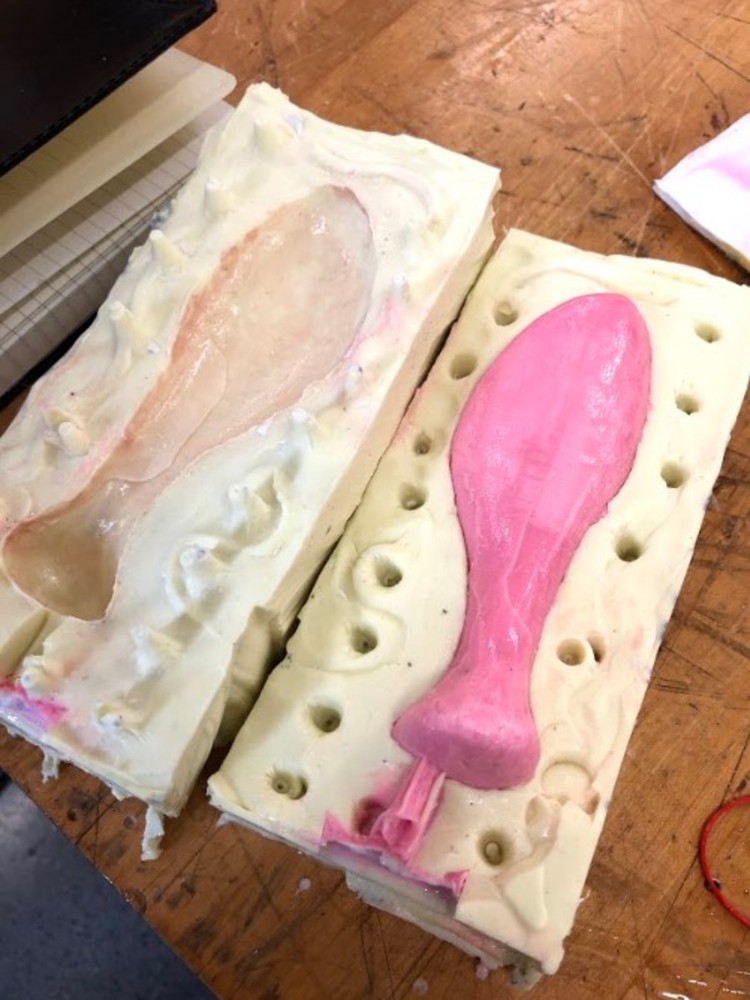
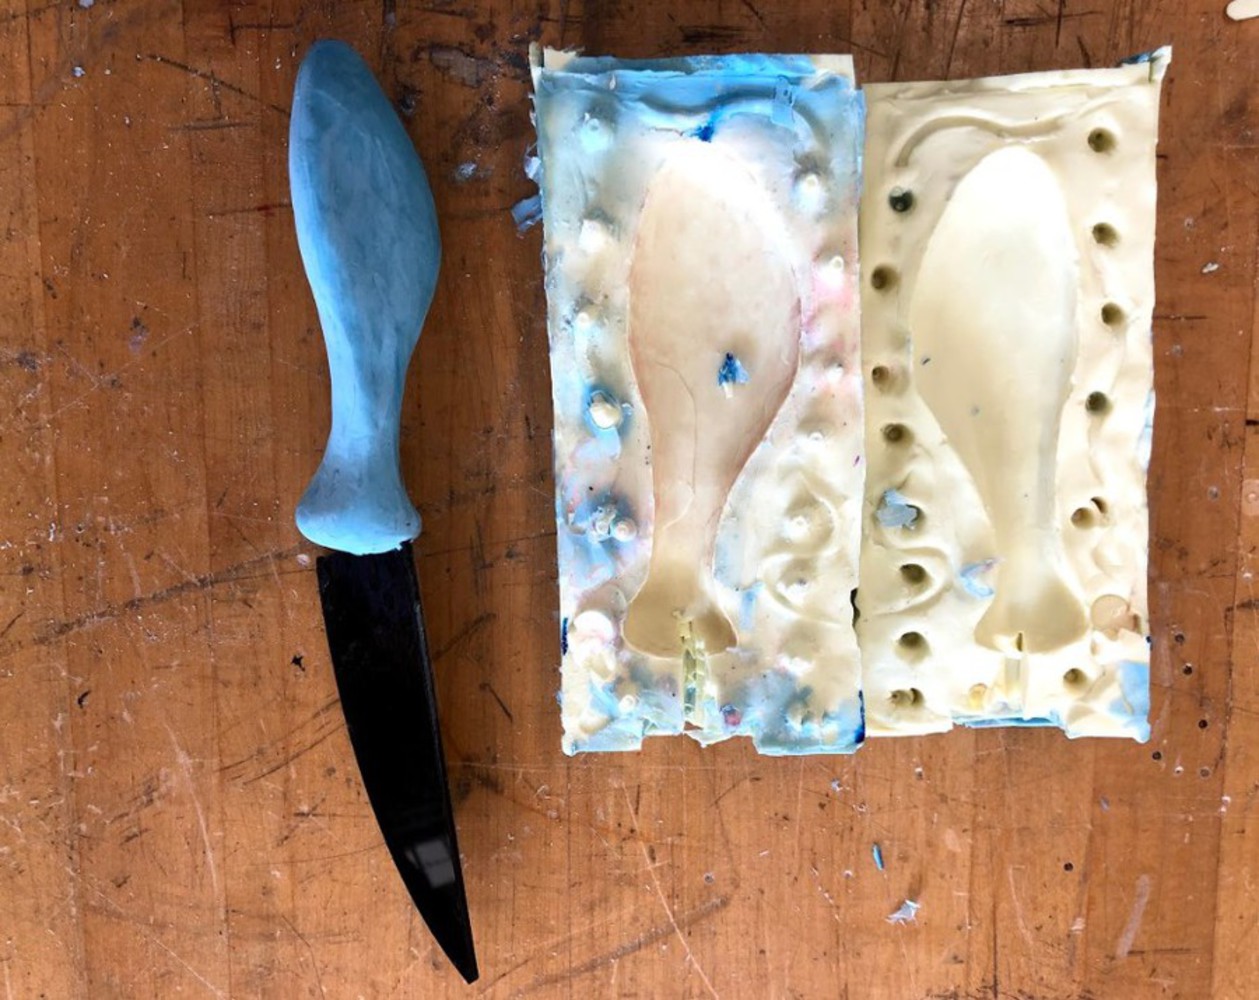
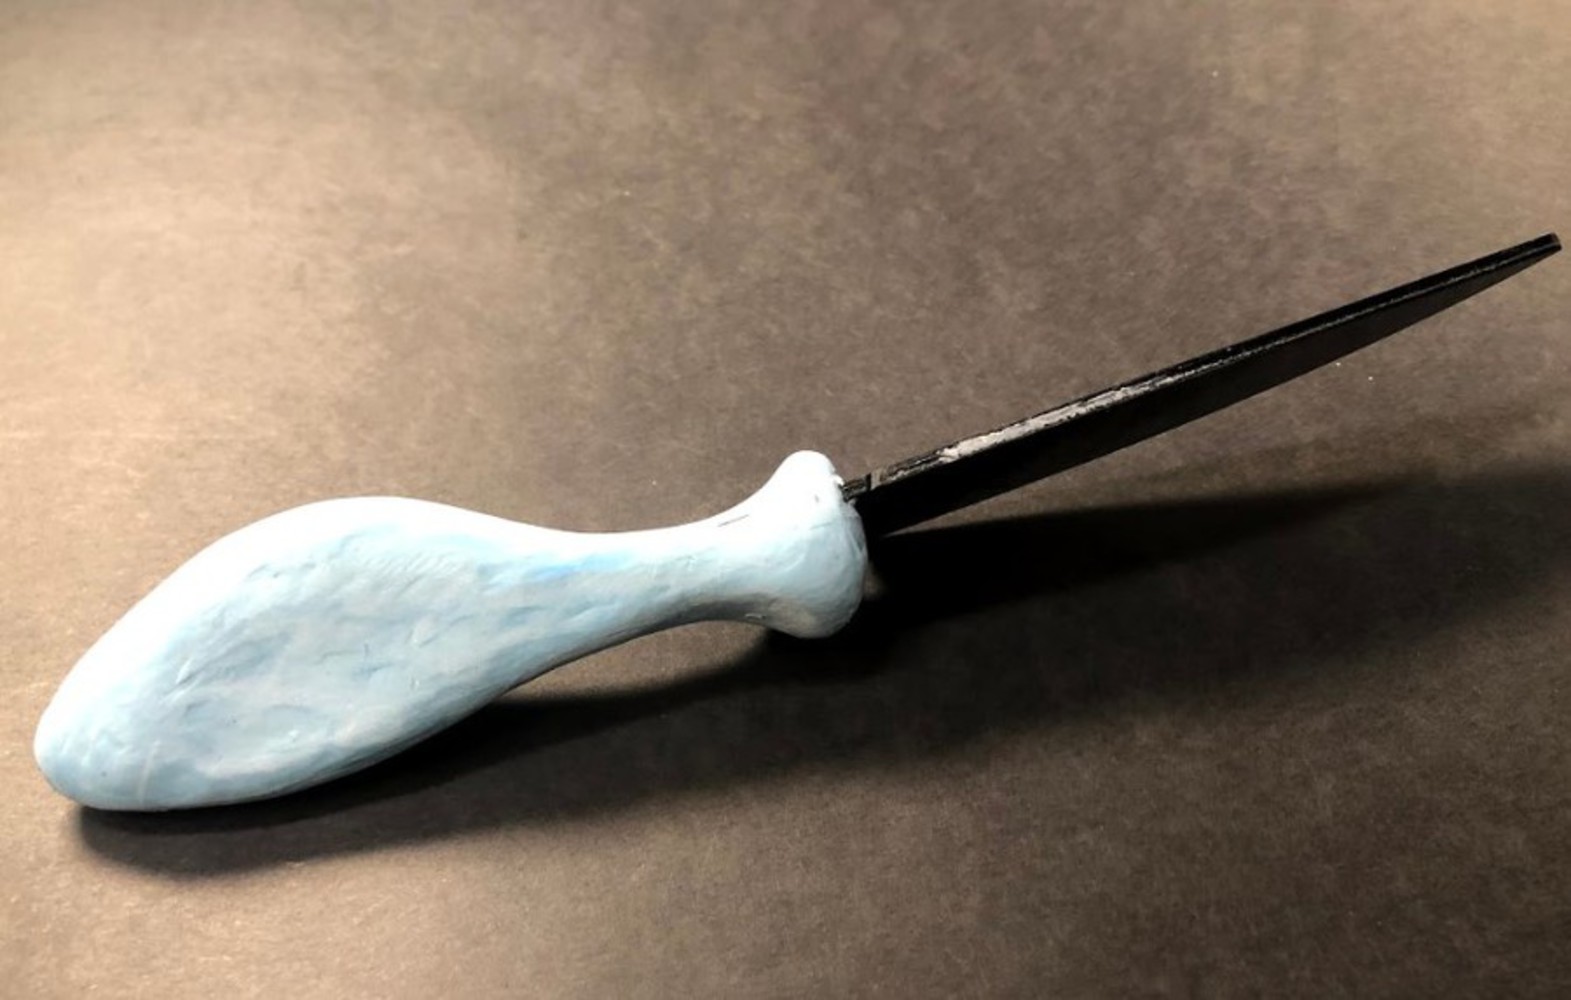
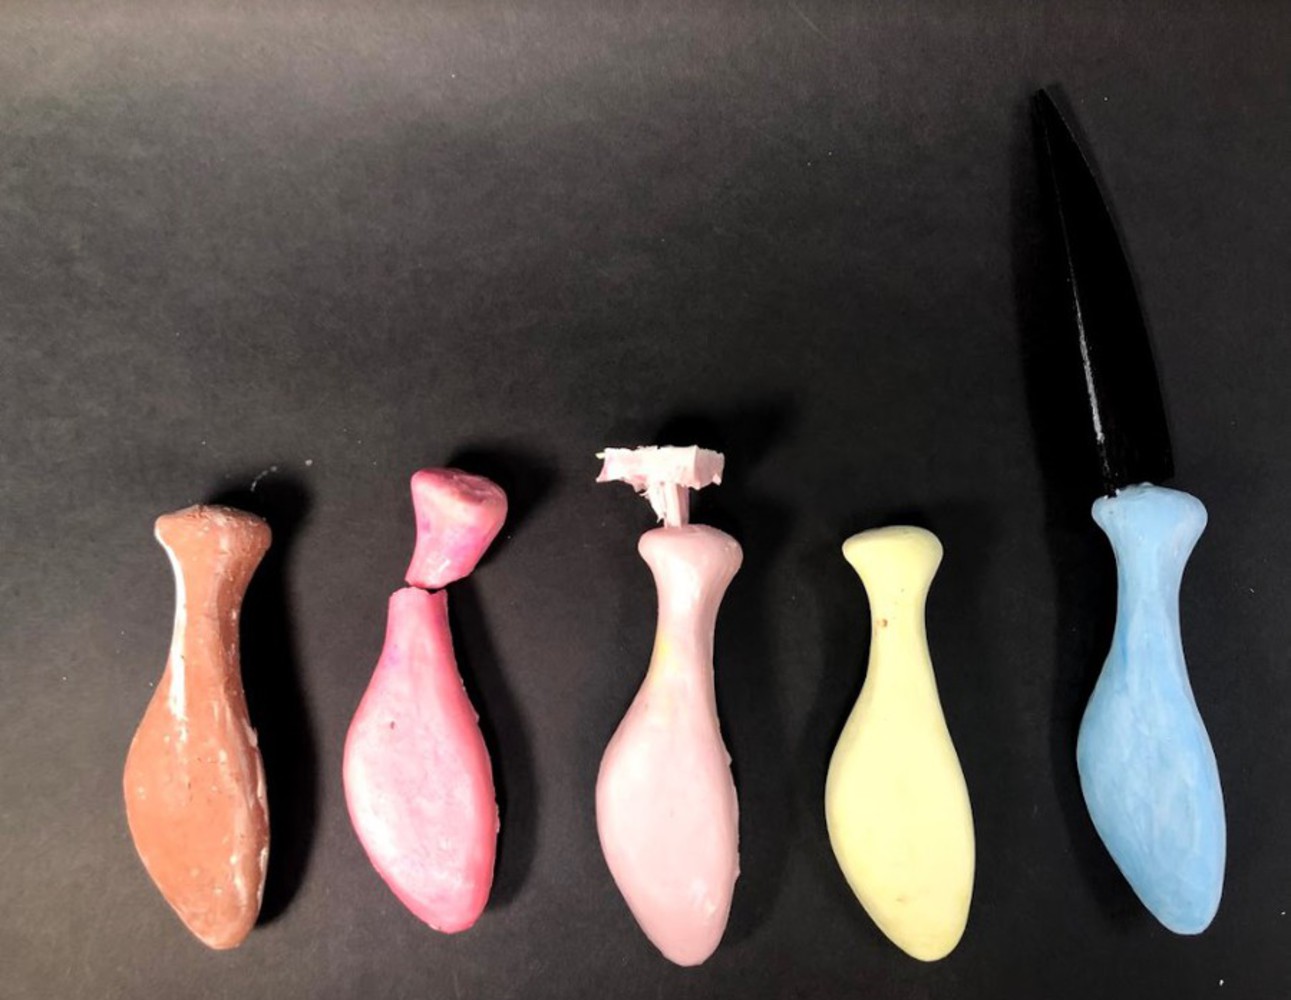
Make an ergonomic knife handle
Created: April 12th, 2019
Future Considerations
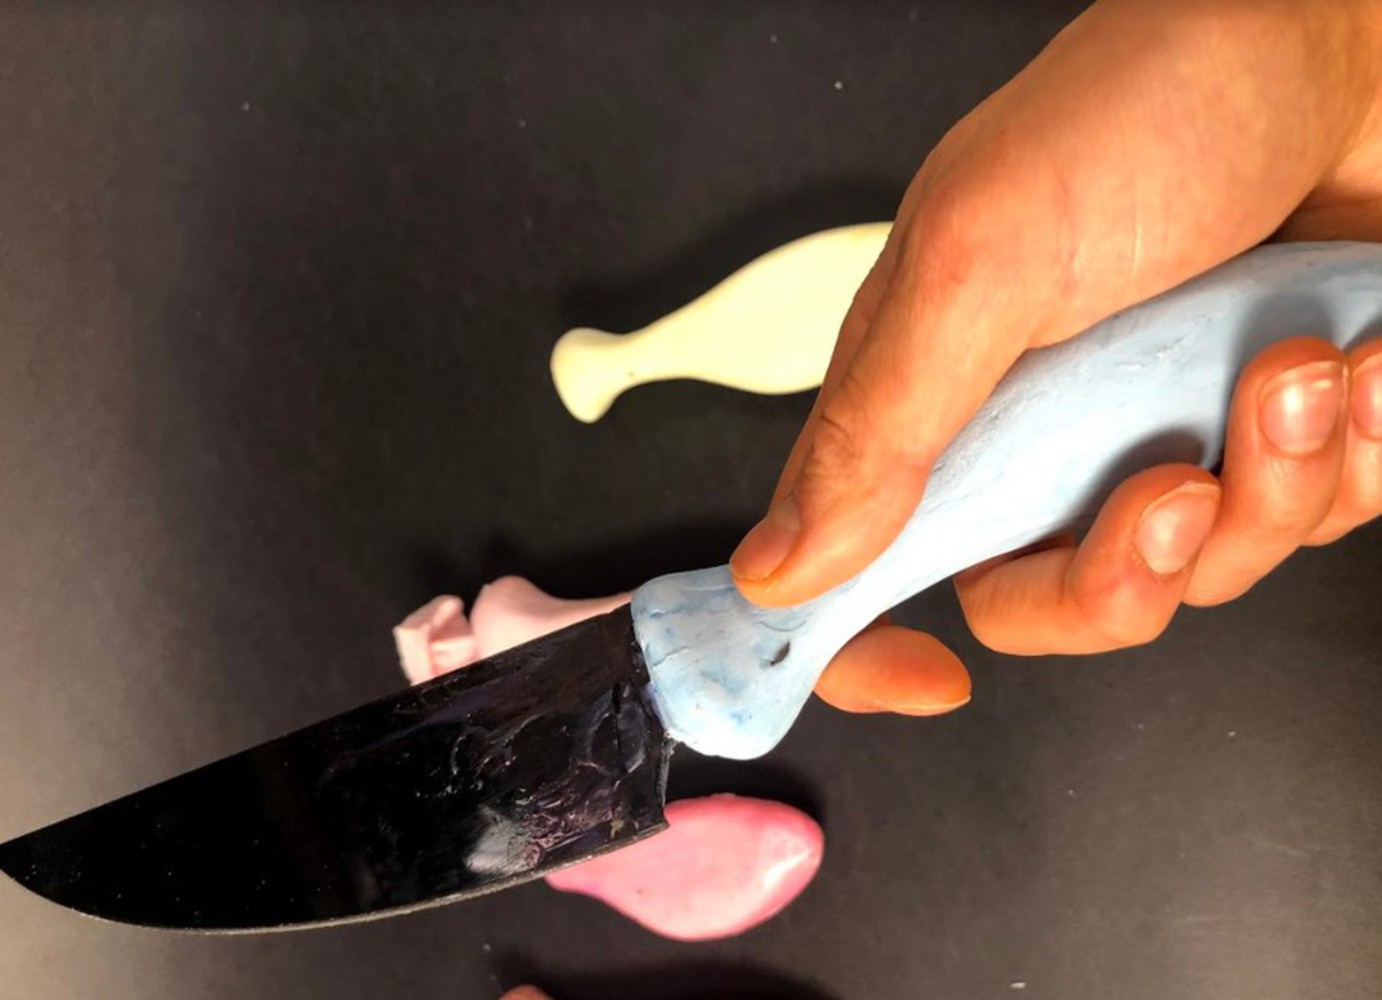
The improve the handle in the future, I would try to add texture to the handle to improve grip and feel. A silicon
mat that has textures such as these can be used:
This project is only listed in this pool. Be considerate and think twice before sharing.
Offers students hands-on experience in DIY product design and fabrication processes. Students work individually or in small groups to design customized and personalized products of their own and bu...more
Make an ergonomic knife handle
