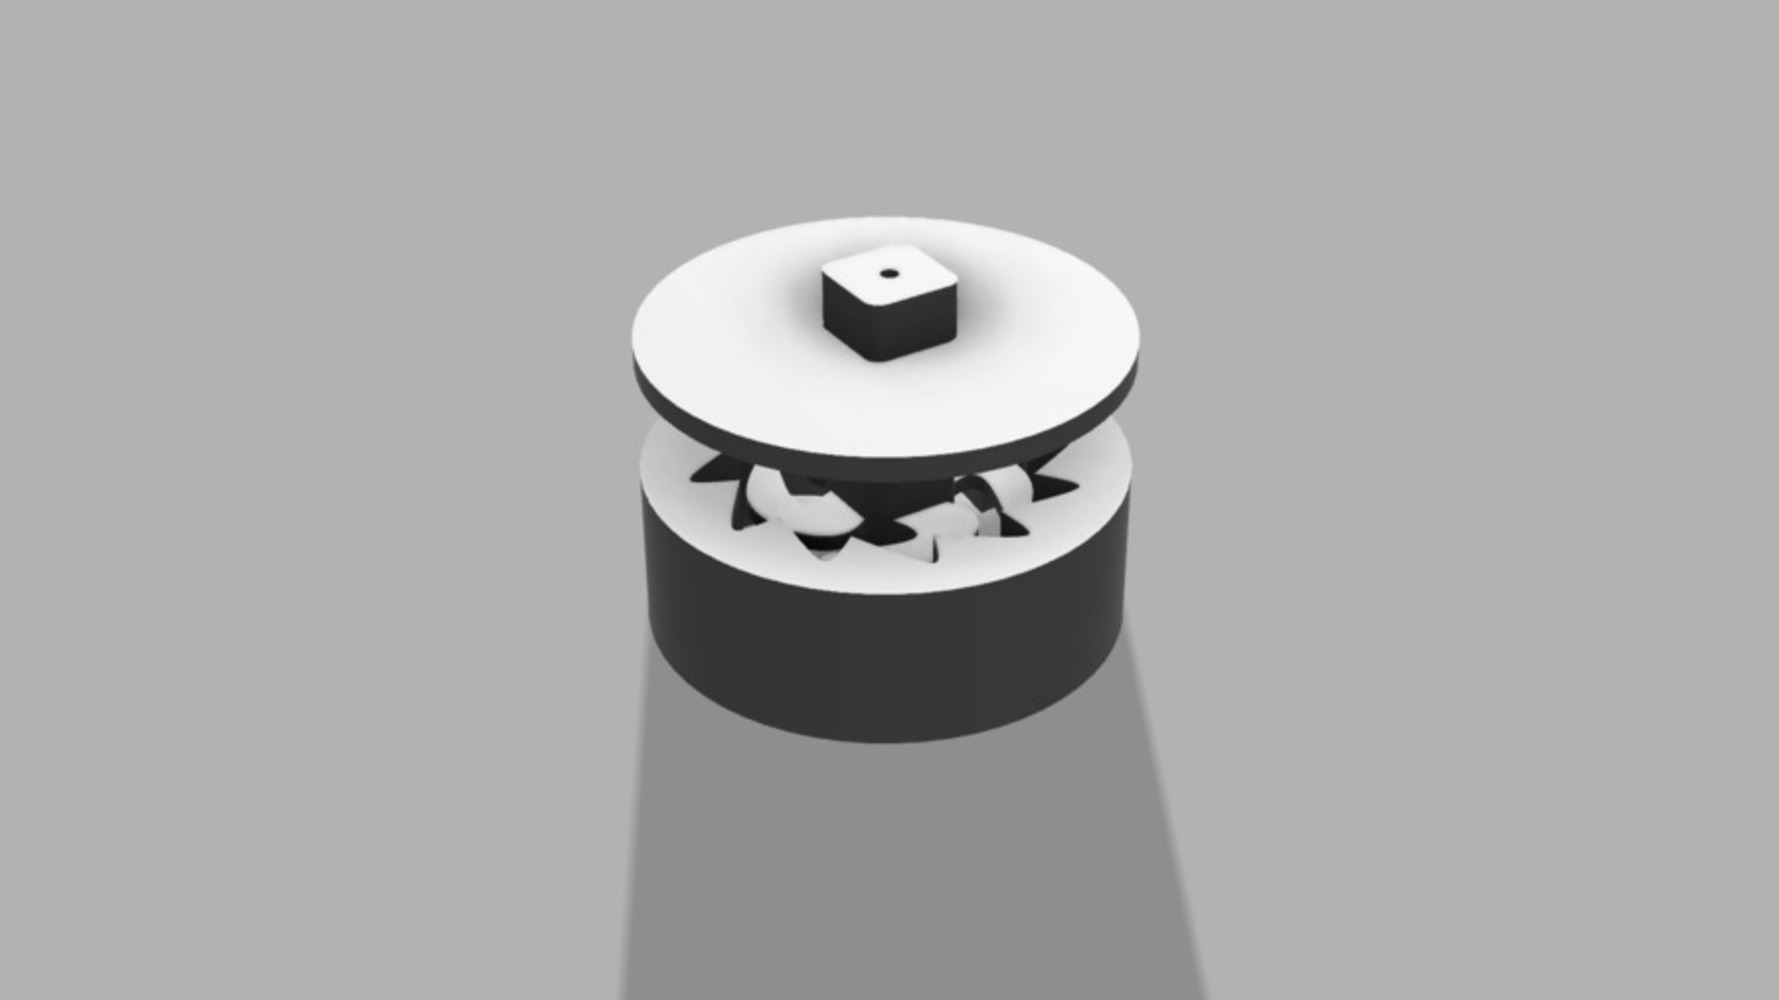
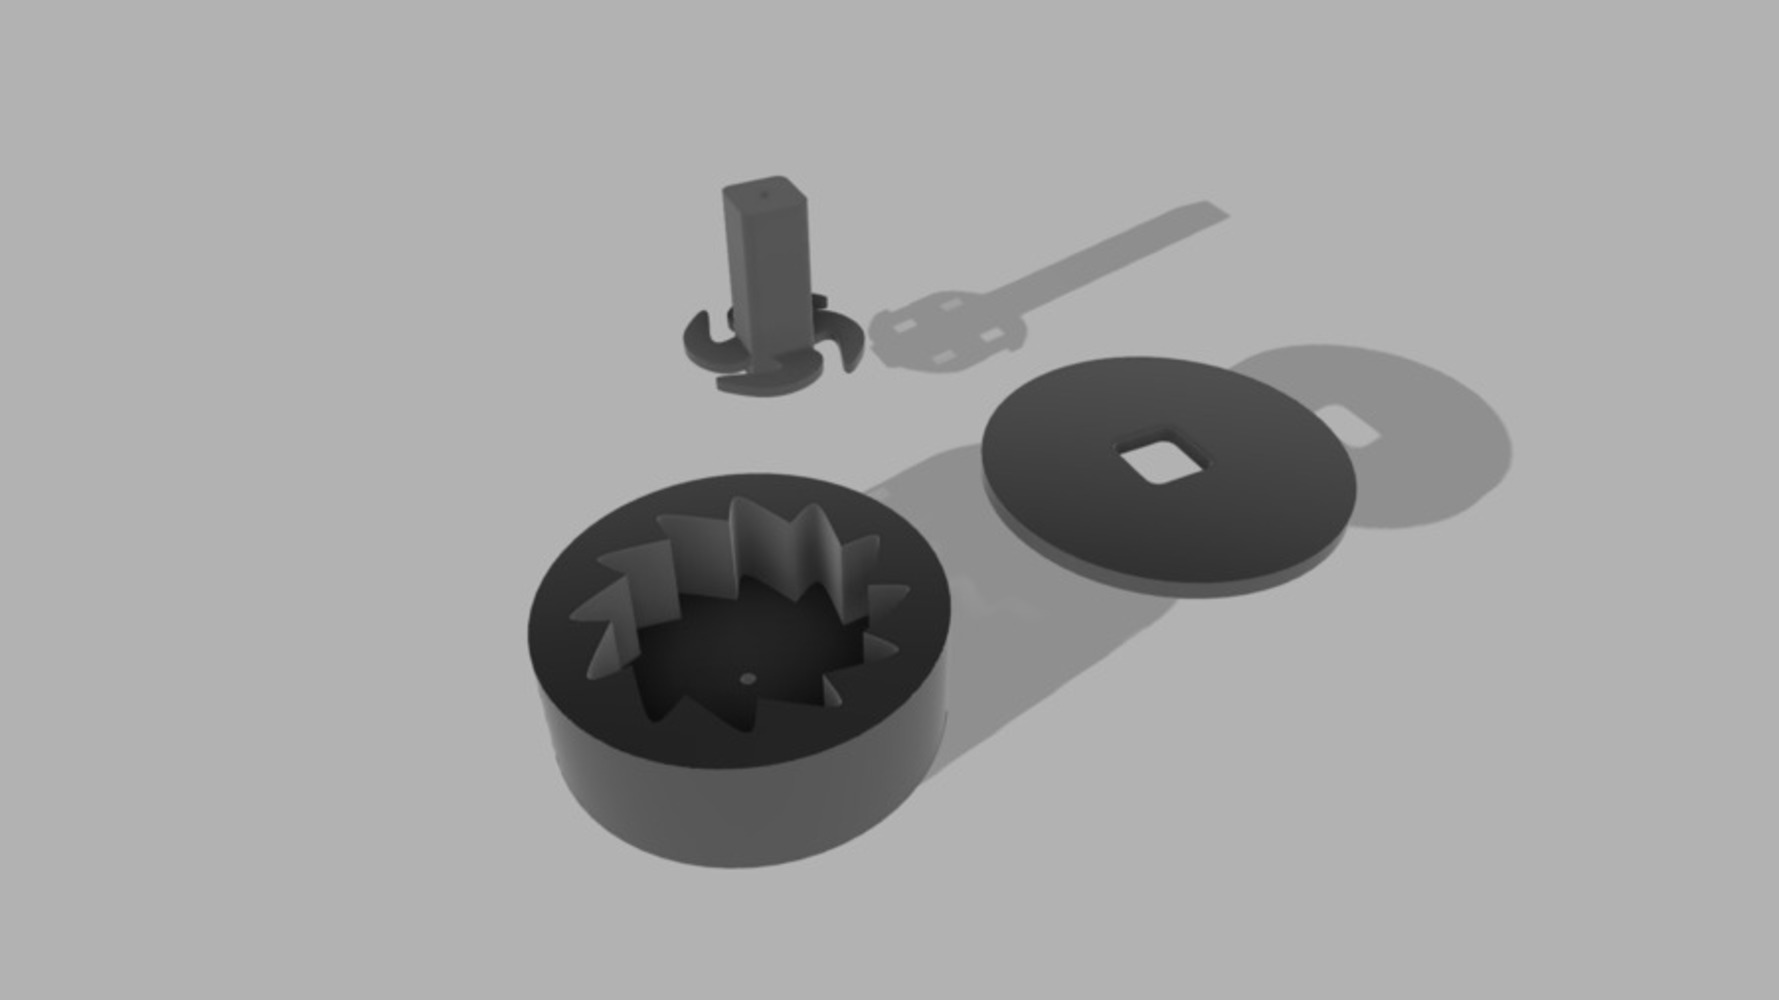
Drawer Closer (Ratchet)
Made by Xavier Apostol
Made by Xavier Apostol
Created: March 8th, 2018
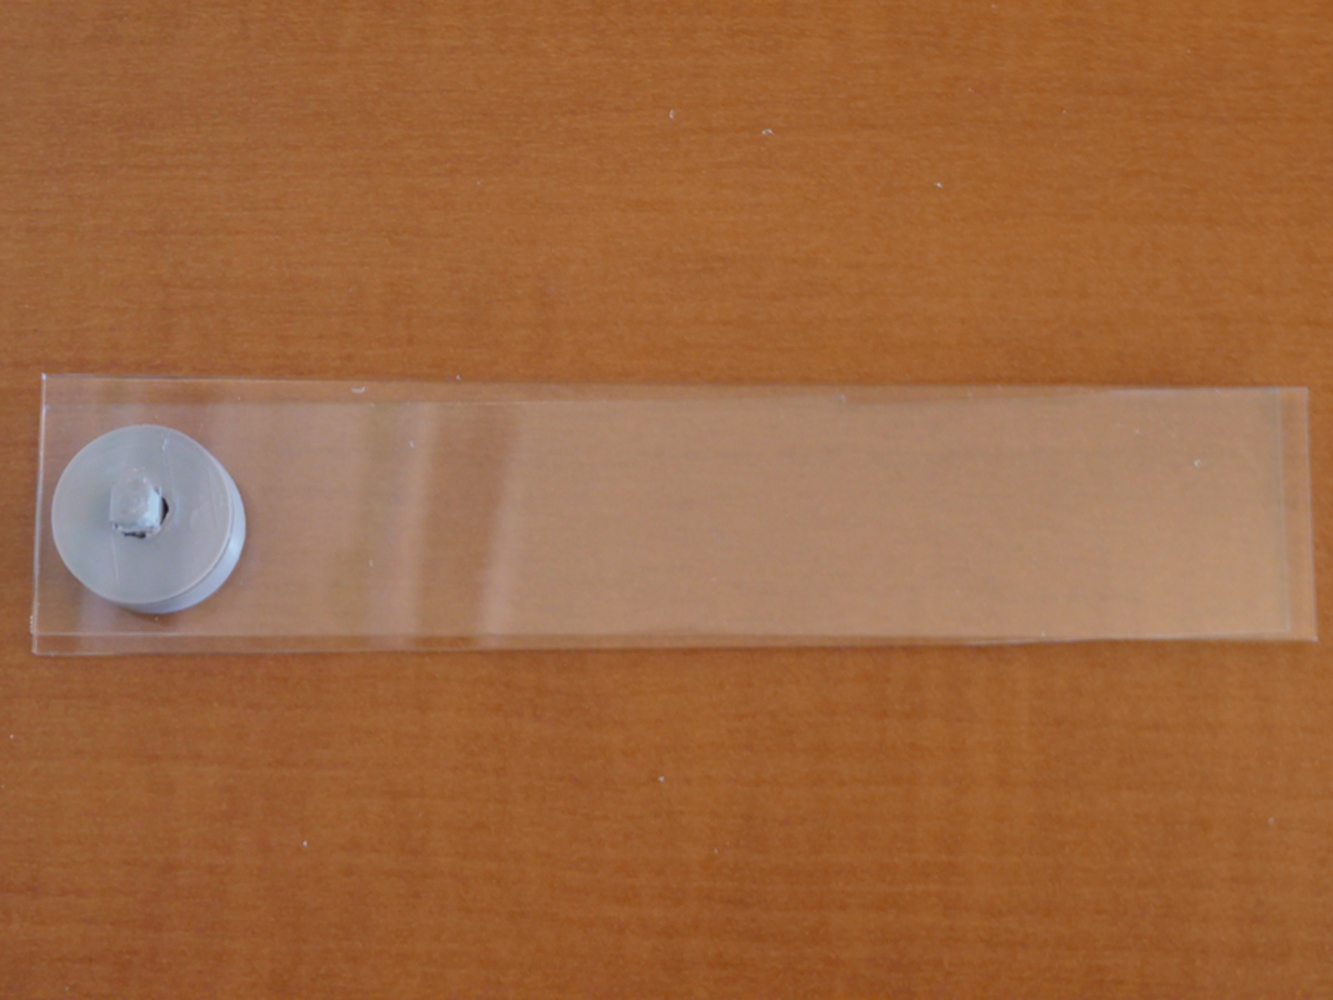
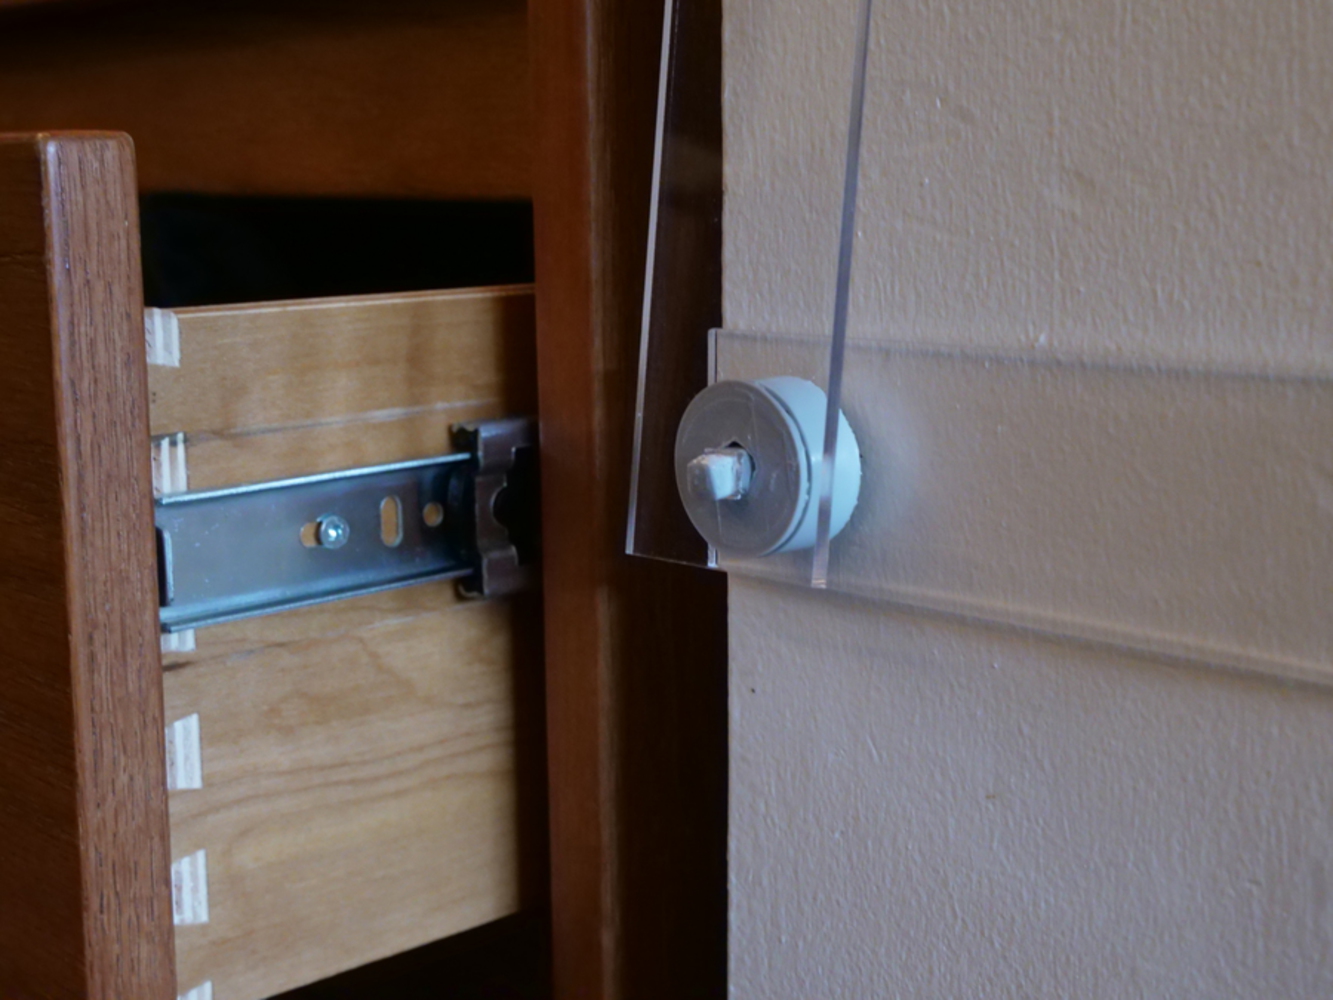
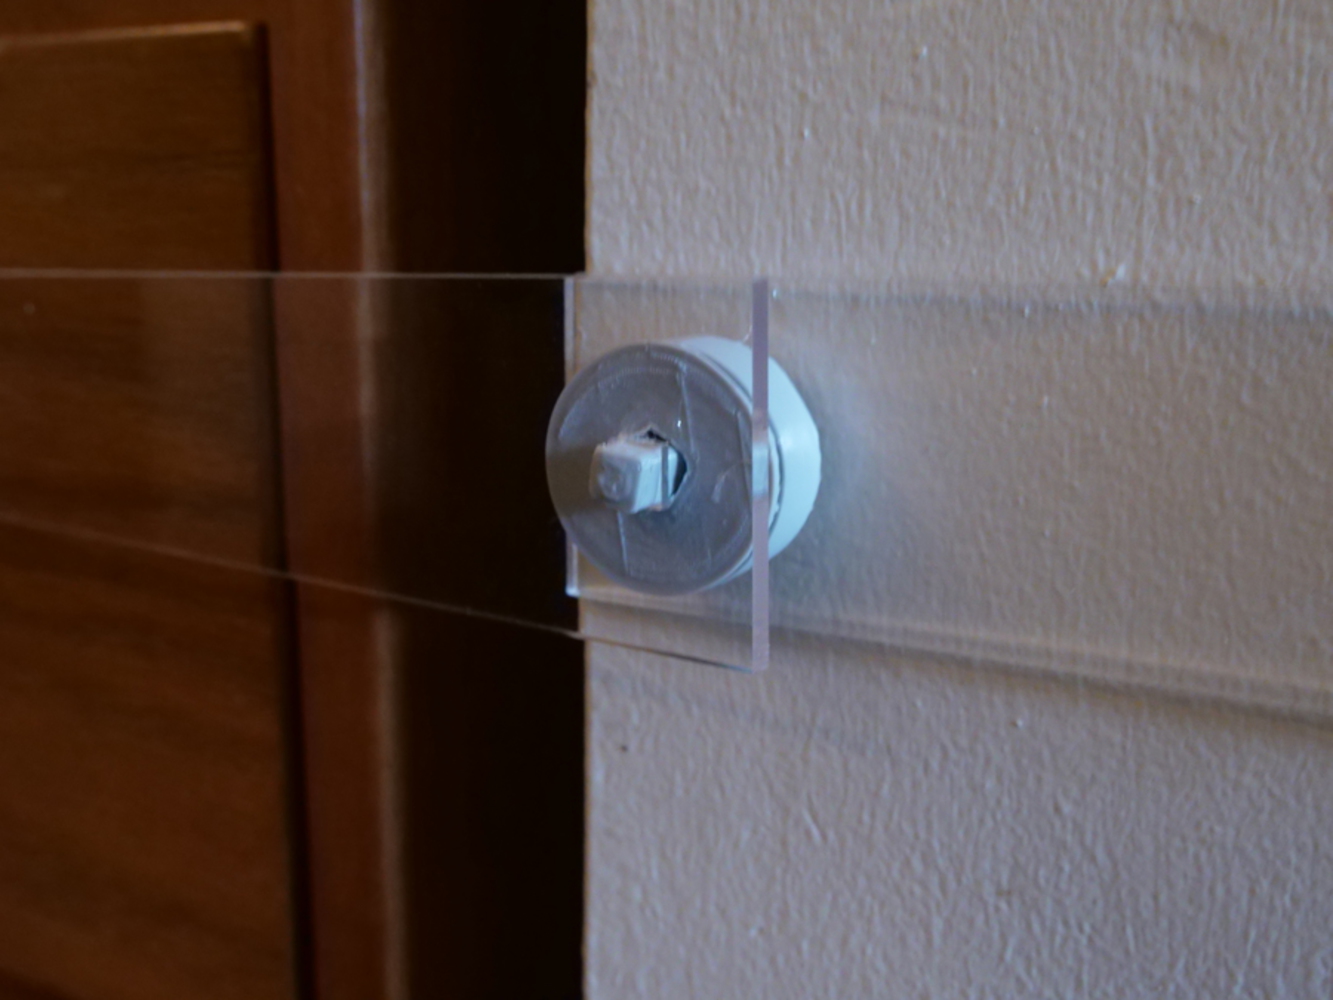
As someone living in a house provided by the university, I often find myself pushing in shelves that don't seem to stay closed and opening doors that don't seem to stay opened. I figured I'd use a combination of 3D printing and laser cutting to solve both of these problems, if at the very least one of them, in a single mechanism. I propose the creation of a Door/Shelf Ratchet. The object will be composed of at least three items: two rods and one rotation point/ratcheting joint. The item will be able to fit in between the door stabilizing hinge and or the side of a shelf. In regards to solving the door problem, the item would be placed in-between the two rods of the door stabilizing hinge. Dependent on how wide the user wants the door to be open, they can set the door ratchet to match the angle of the door stabilizing hinge and place it in-between the two rods. The ratchet should be strong enough to hold the pressure of the two metal rods force and can be readjusted if the user sees fit. In regards to solving the shelf problem, the ratchet functions in the same way, but has a strip of adhesive which allows it to be placed near the corner of a drawer. Here, the user can just readjust the ratchet to the specific angle they want the drawer to remain (i.e. - 90 deg for closed). At the very least, I hope to solve at least one of these problems.
My research mainly consisted of looking up different types of joints / points of rotation. I knew that in order to achieve my goals, I would need some axis that was relatively strong in nature and would be able to counteract the force being pushed on it. After looking at 3D prints and their respective joints, I came across a model of a ratchet wrench and began to examine its properties. It seemed to me that the ratchet joint was able to withstand heavy pressures and worked well for maintaining specific rotational positions.
Additionally, I figured that implementing some laser-cut materials (clear acrylic) for the arms would benefit in giving the device flexible, yet durable movement.
Designing the ratchet joint was a lot harder than I expected, even with tons of references to previously made ratchets. There's a certain degree of error that the joint can have before it ends up useless. This was a big concern for me, but I went with it anyways.
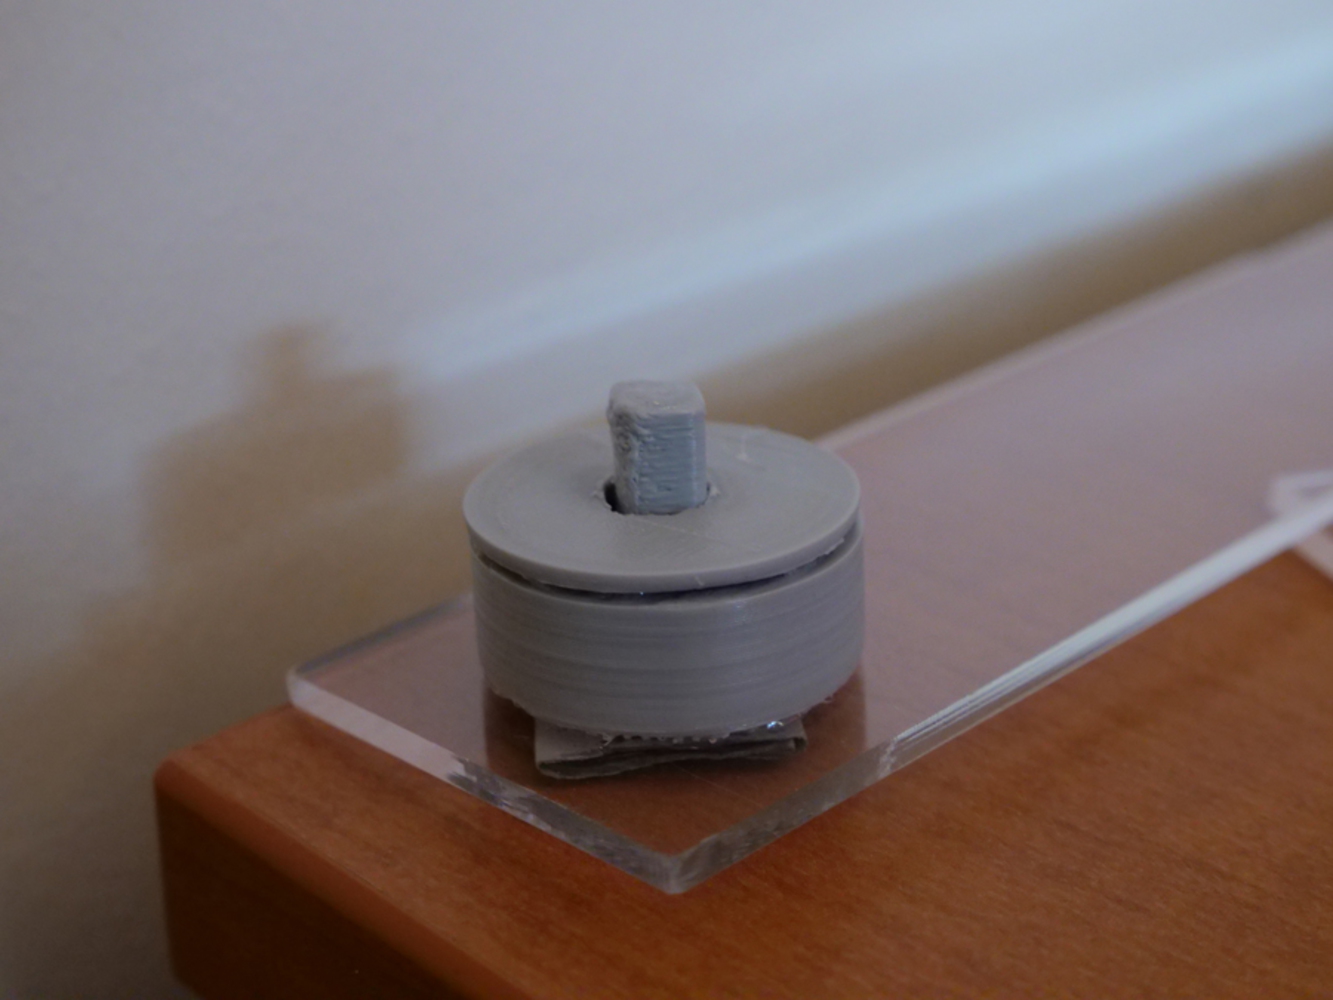
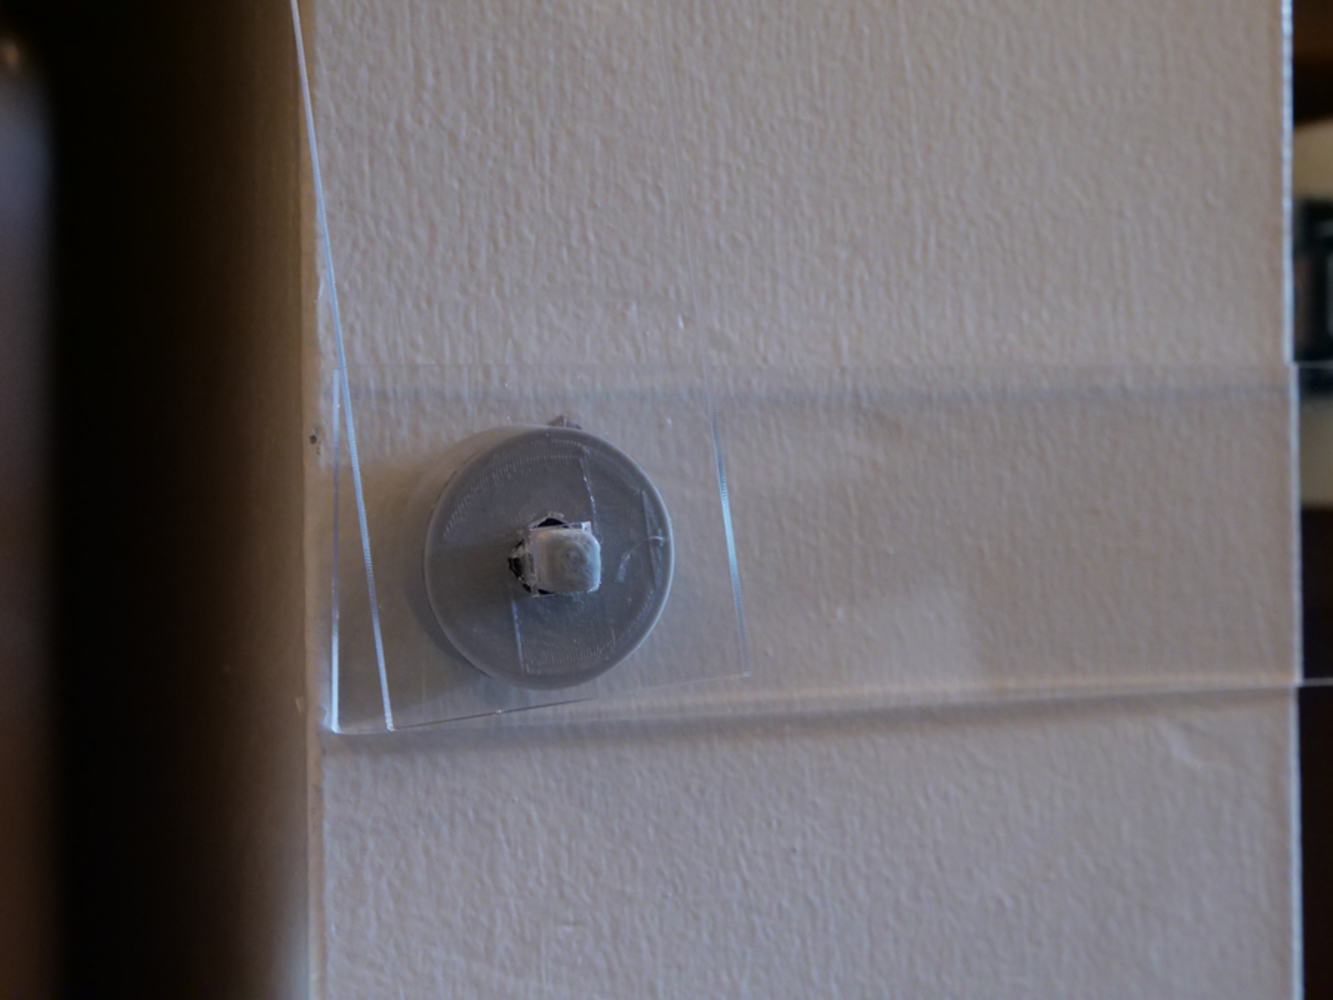
3D printing the joints went really smooth - I didn't have any trouble and all prints came out within 3 hours. A slight problem that I discovered, however, was that the increased infill percentage (25%) caused the center piece of the ratchet pin to be slightly thicker than expected. This was fixed by filing down both the pin and the opening of the lid. I also found that the prints may have benefited from adding additional ratchet arms (referencing the 4 small arms that hinge on to the cuts in the larger ratchet frame) that were slightly larger.
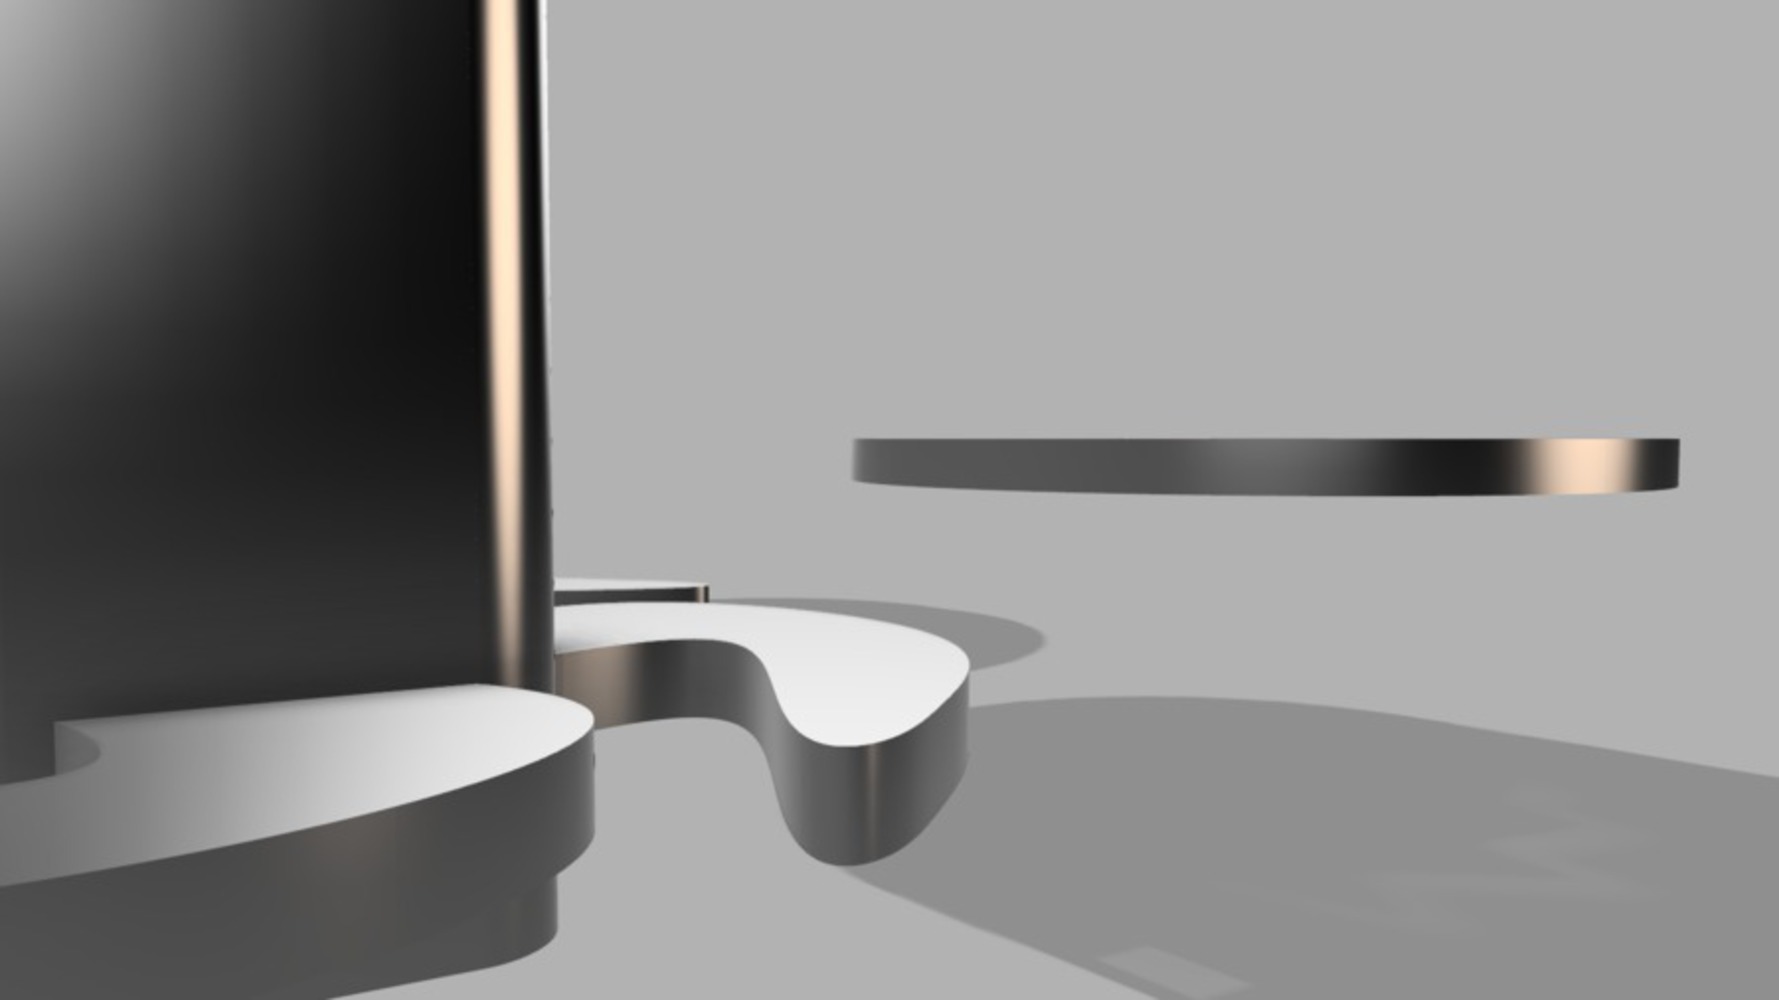
To create the drawer inhibiting arms, I laser cut 2 basic rectangular pieces and added a small, square opening to allow the pin to fit through / move the arm around.
Overall, I thought this initial iteration was alright. I ended up with a very basic ratchet component and have room to grow to make more angle settings (positions of placement based on ratchet interiors) / better ratchet designs. The product serves its function, but could definitely benefit from a few tweaks in regards to arm sizing (some of the ratchet arms didn't end up as big as I wanted them to).
The aesthetic for this piece, although minimalist and involves a lot of see through material for the larger pieces, fits the image I had in mind. I wanted the piece to go almost unnoticed - if it can serve its job without being too eye-attracting then I think it serves its purpose well.
Looking back at the bigger picture of its functionality, it's interesting how my process worked in developing a larger piece to solve a much smaller problem. I think this concept reflects a lot of the processes we go through in order to find / create more effective tools (think about the development of the computer mouse). Moving forward, I think it may be an interesting series to create large forms whose functionalities deal with smaller problems (i.e. - complex machines that work to do one specific task, like press the "w" key on a keyboard or only turn the handle of a door knob in the left direction).
Digital Tooling (DigiTool) provides a platform for any CMU student to learn Digital Fabrication processes; all of which are very hands-on. Like these processes, this class is also very hands-on. I...more
~