Duckbrella
Made by Katherine Hua
Made by Katherine Hua
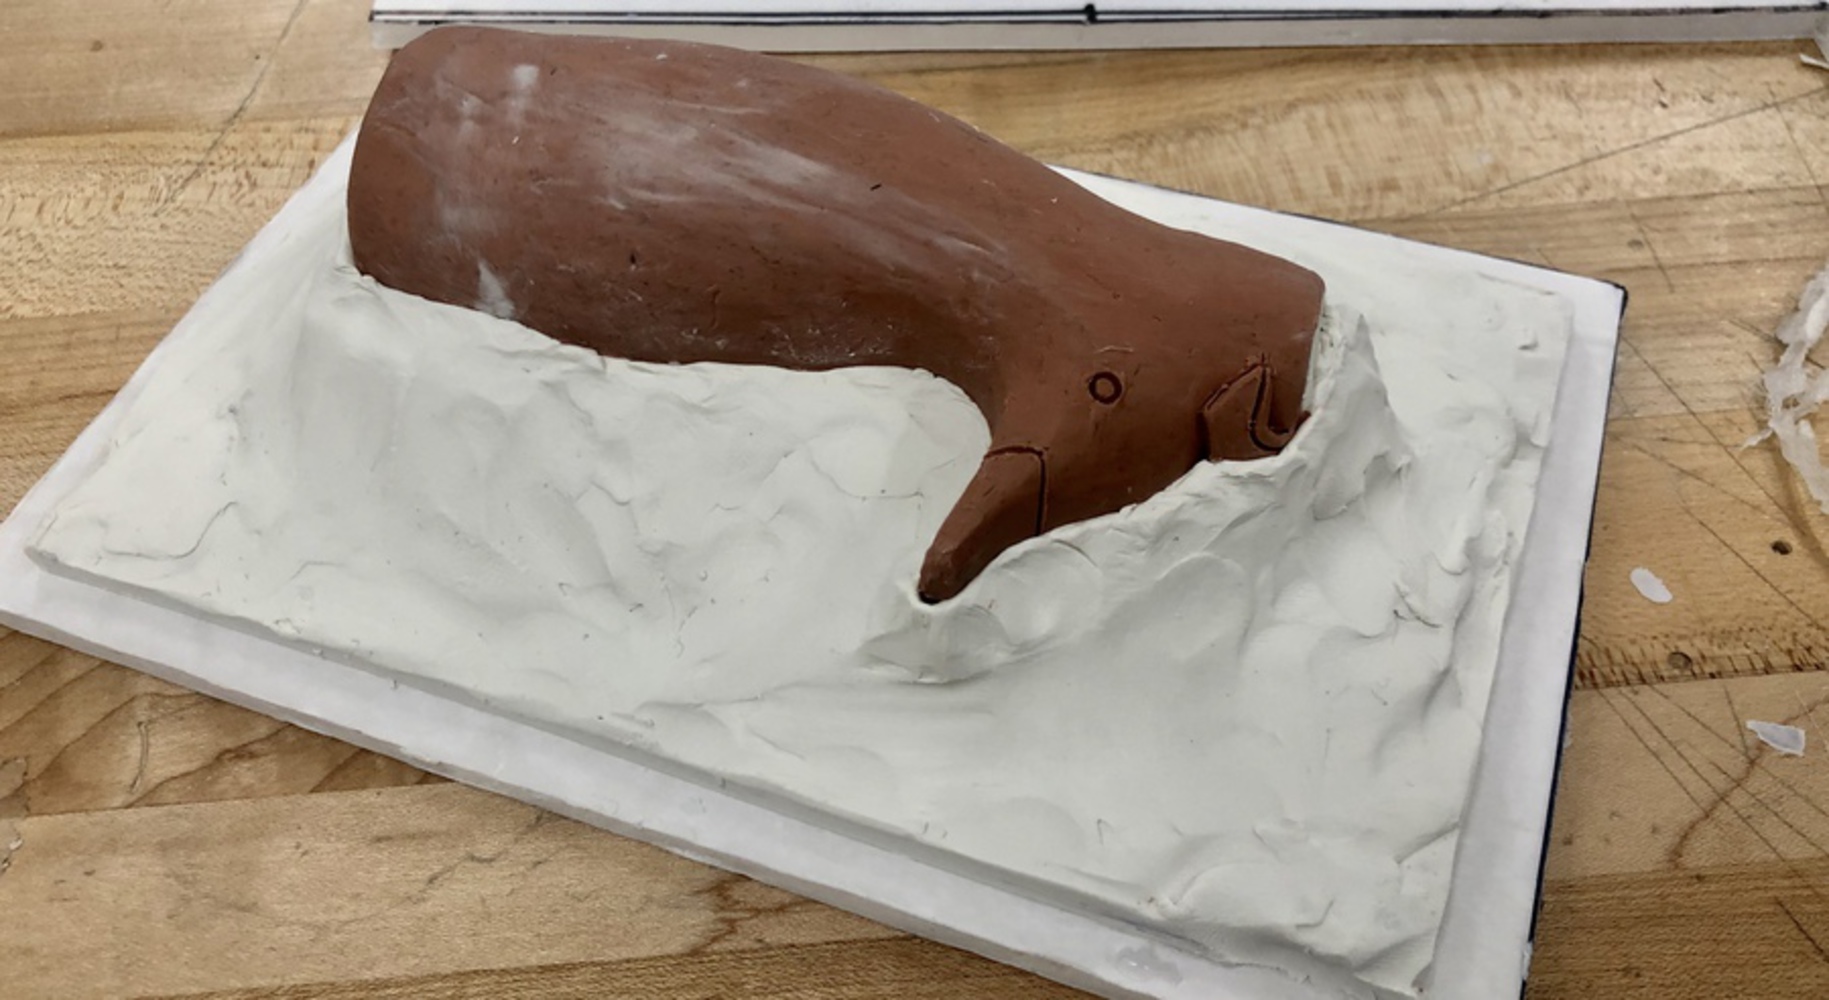
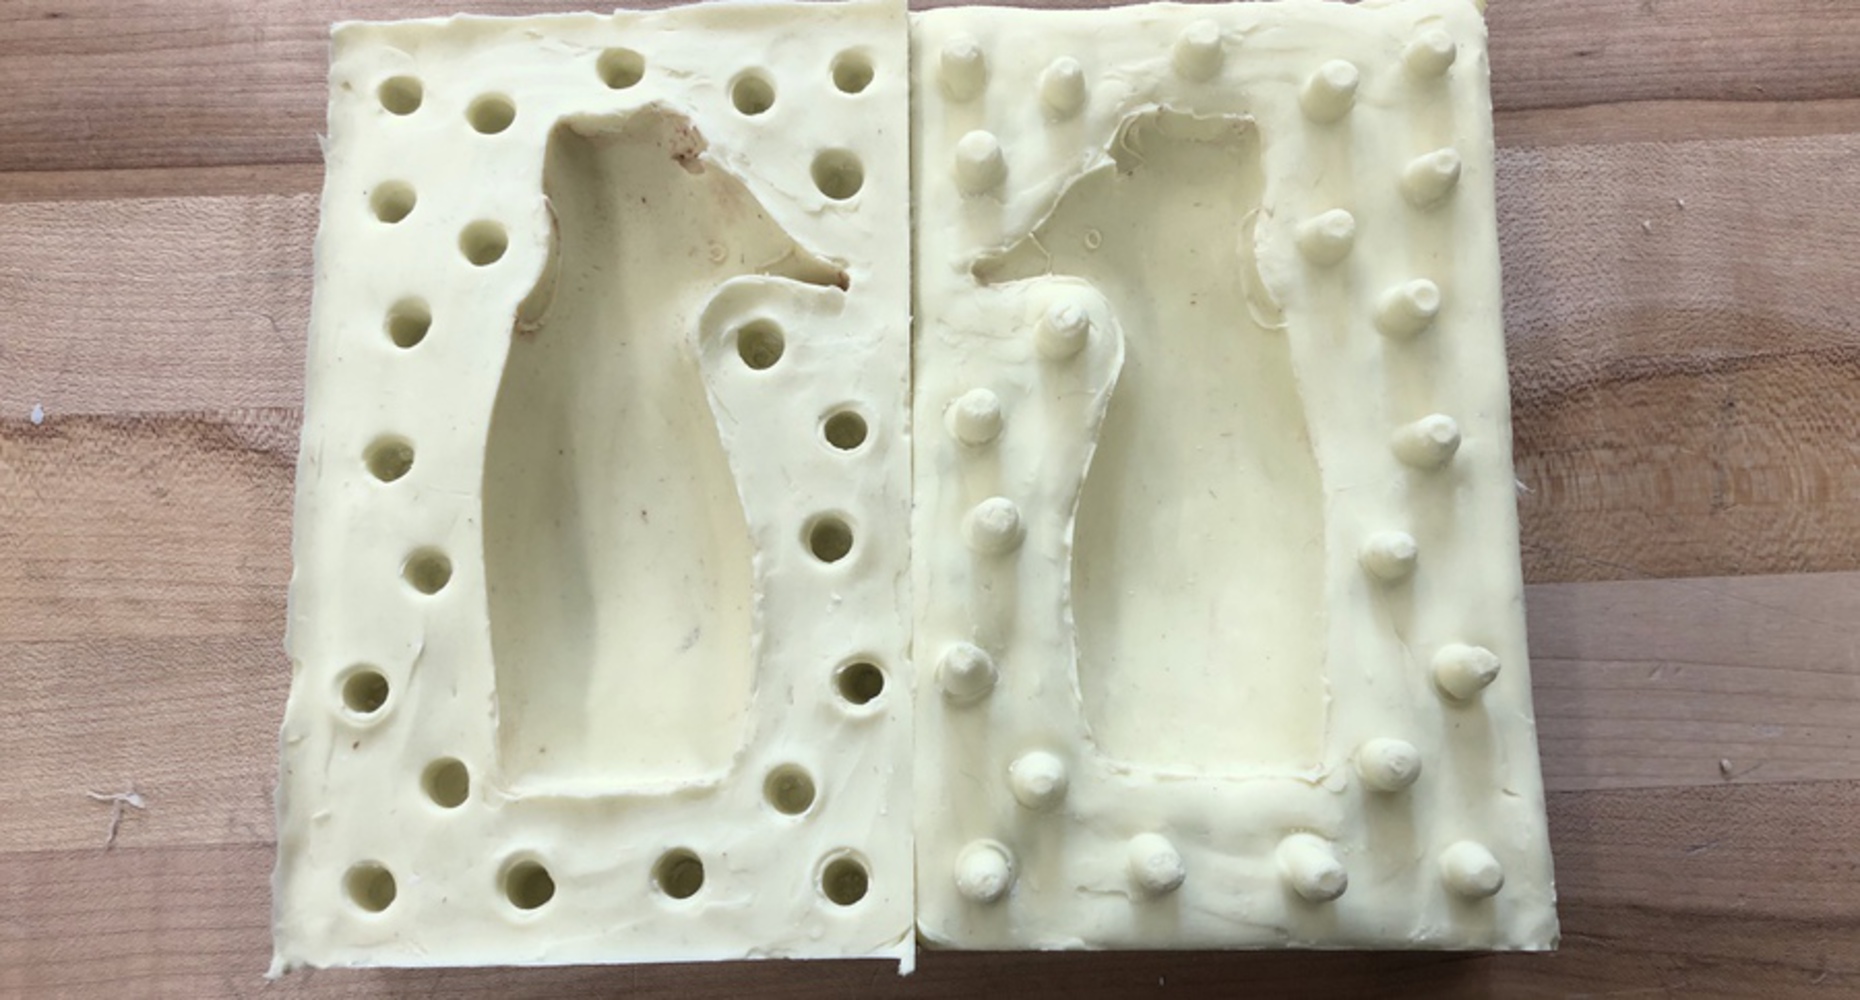
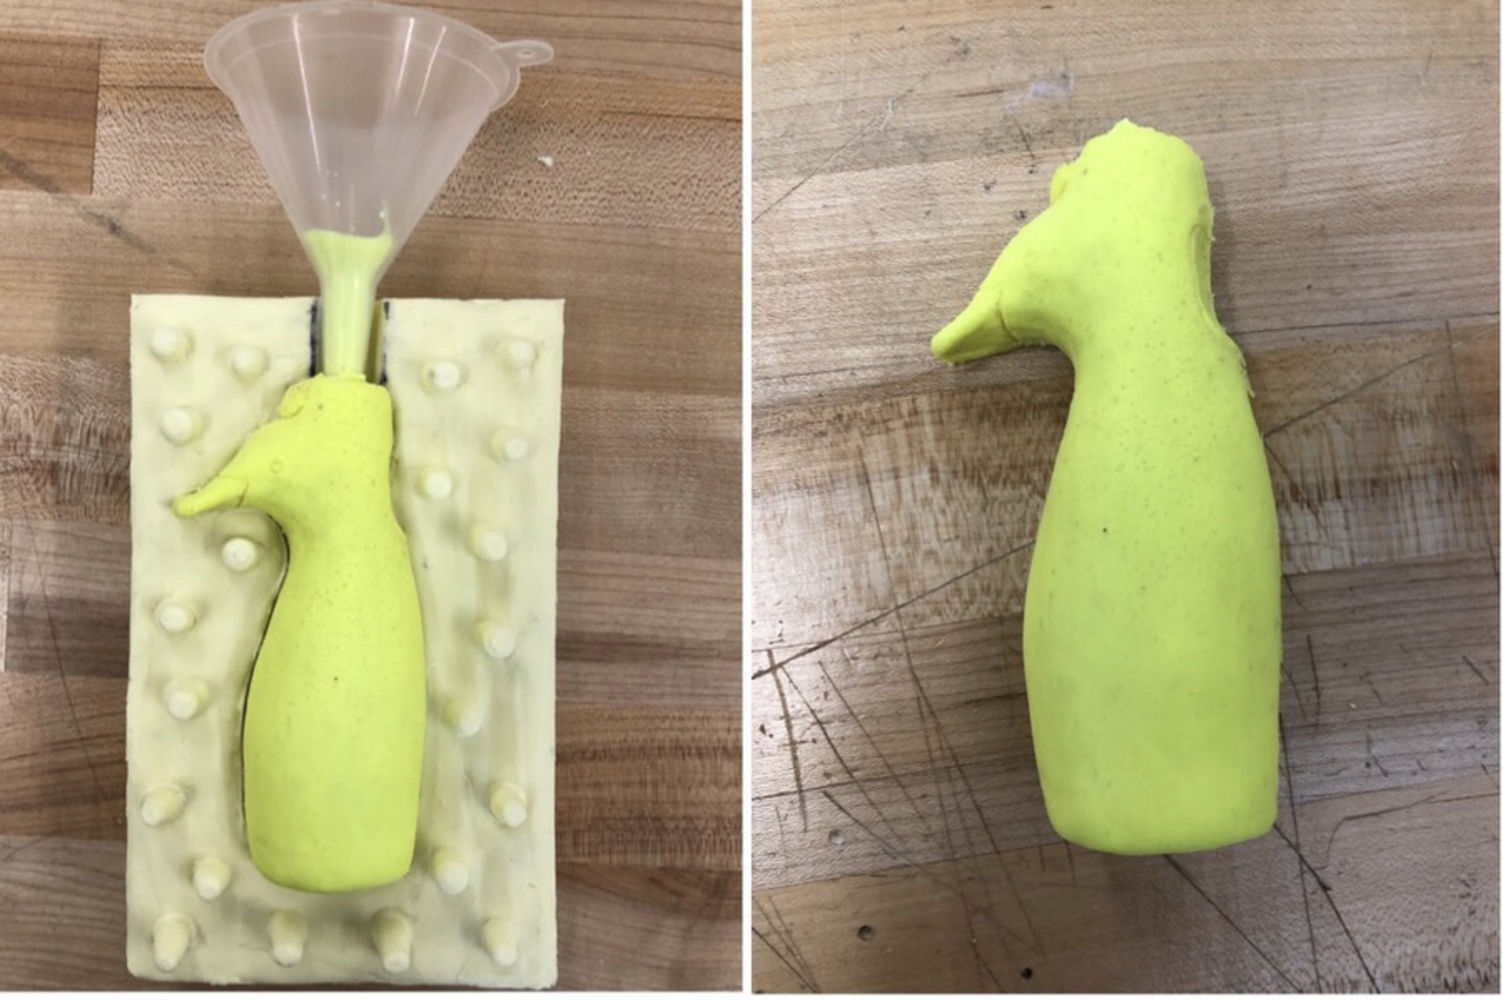
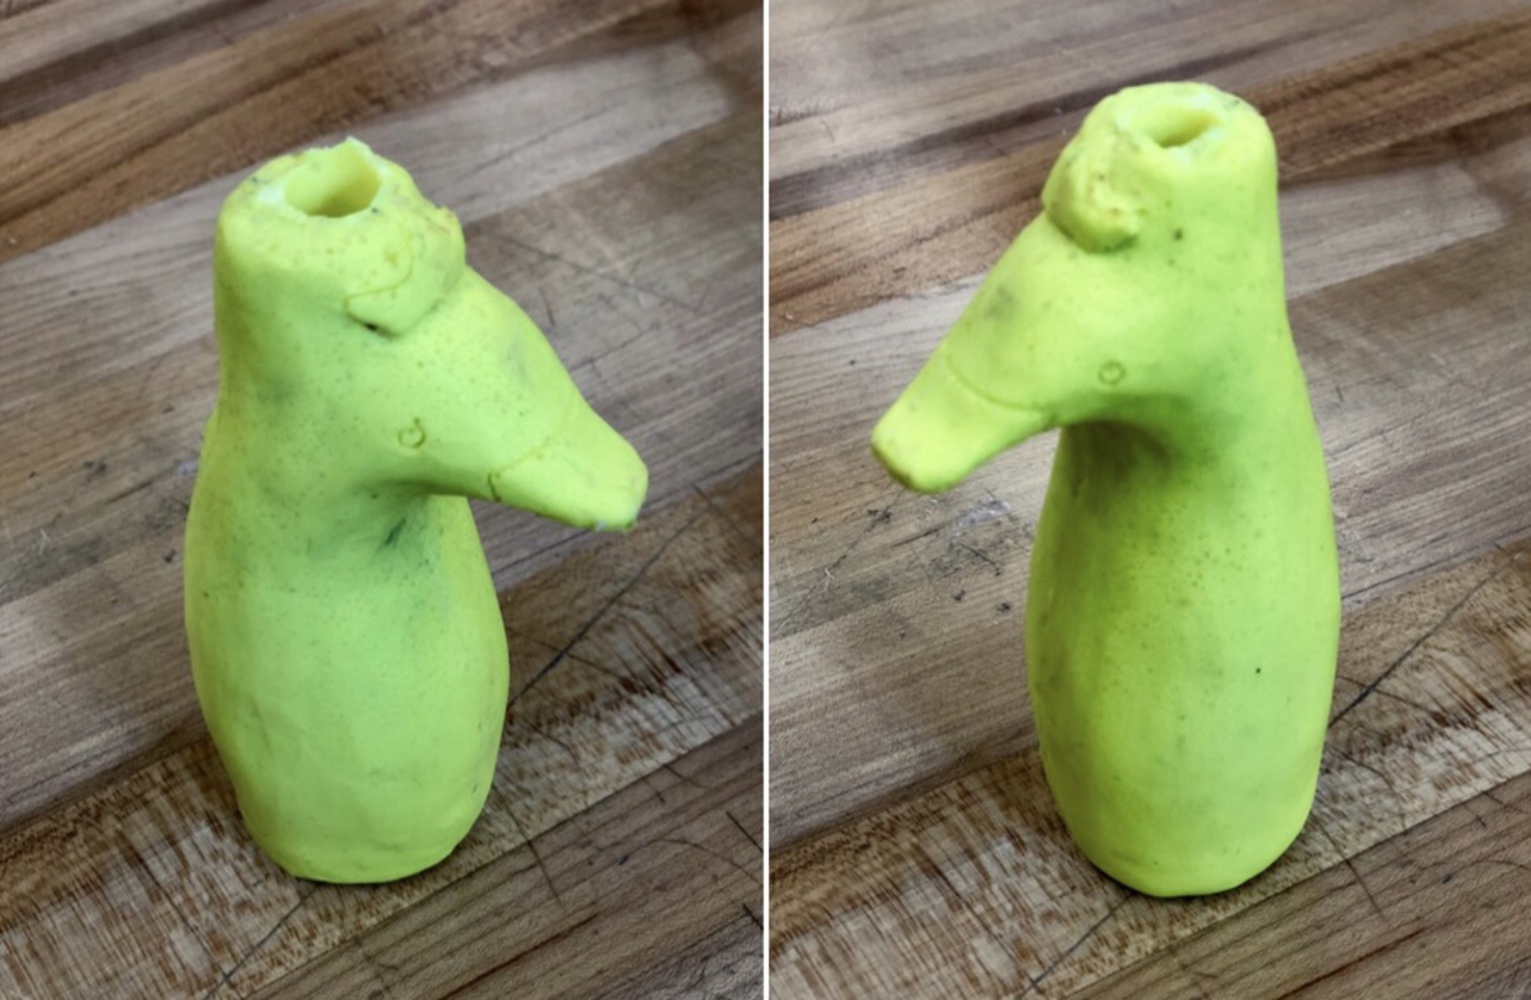
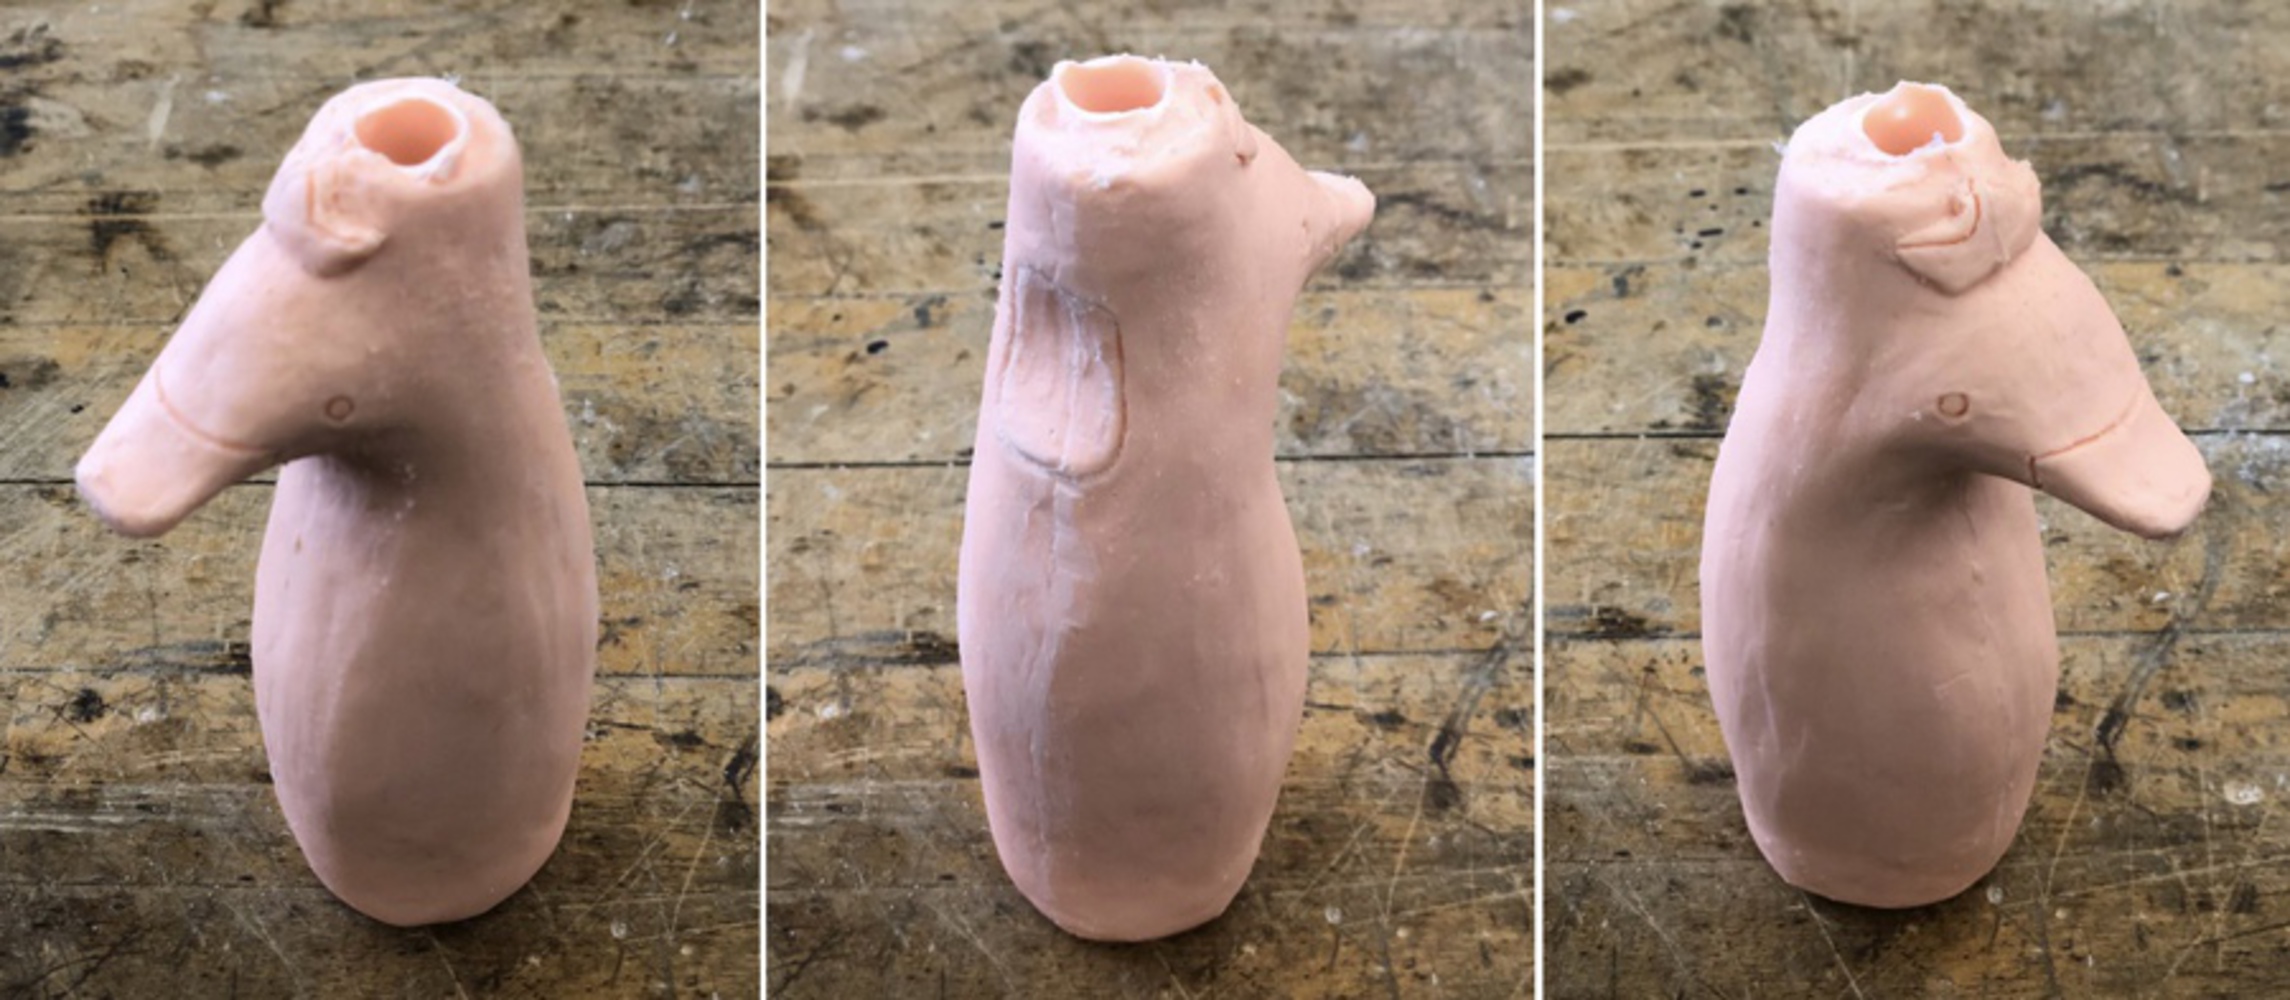
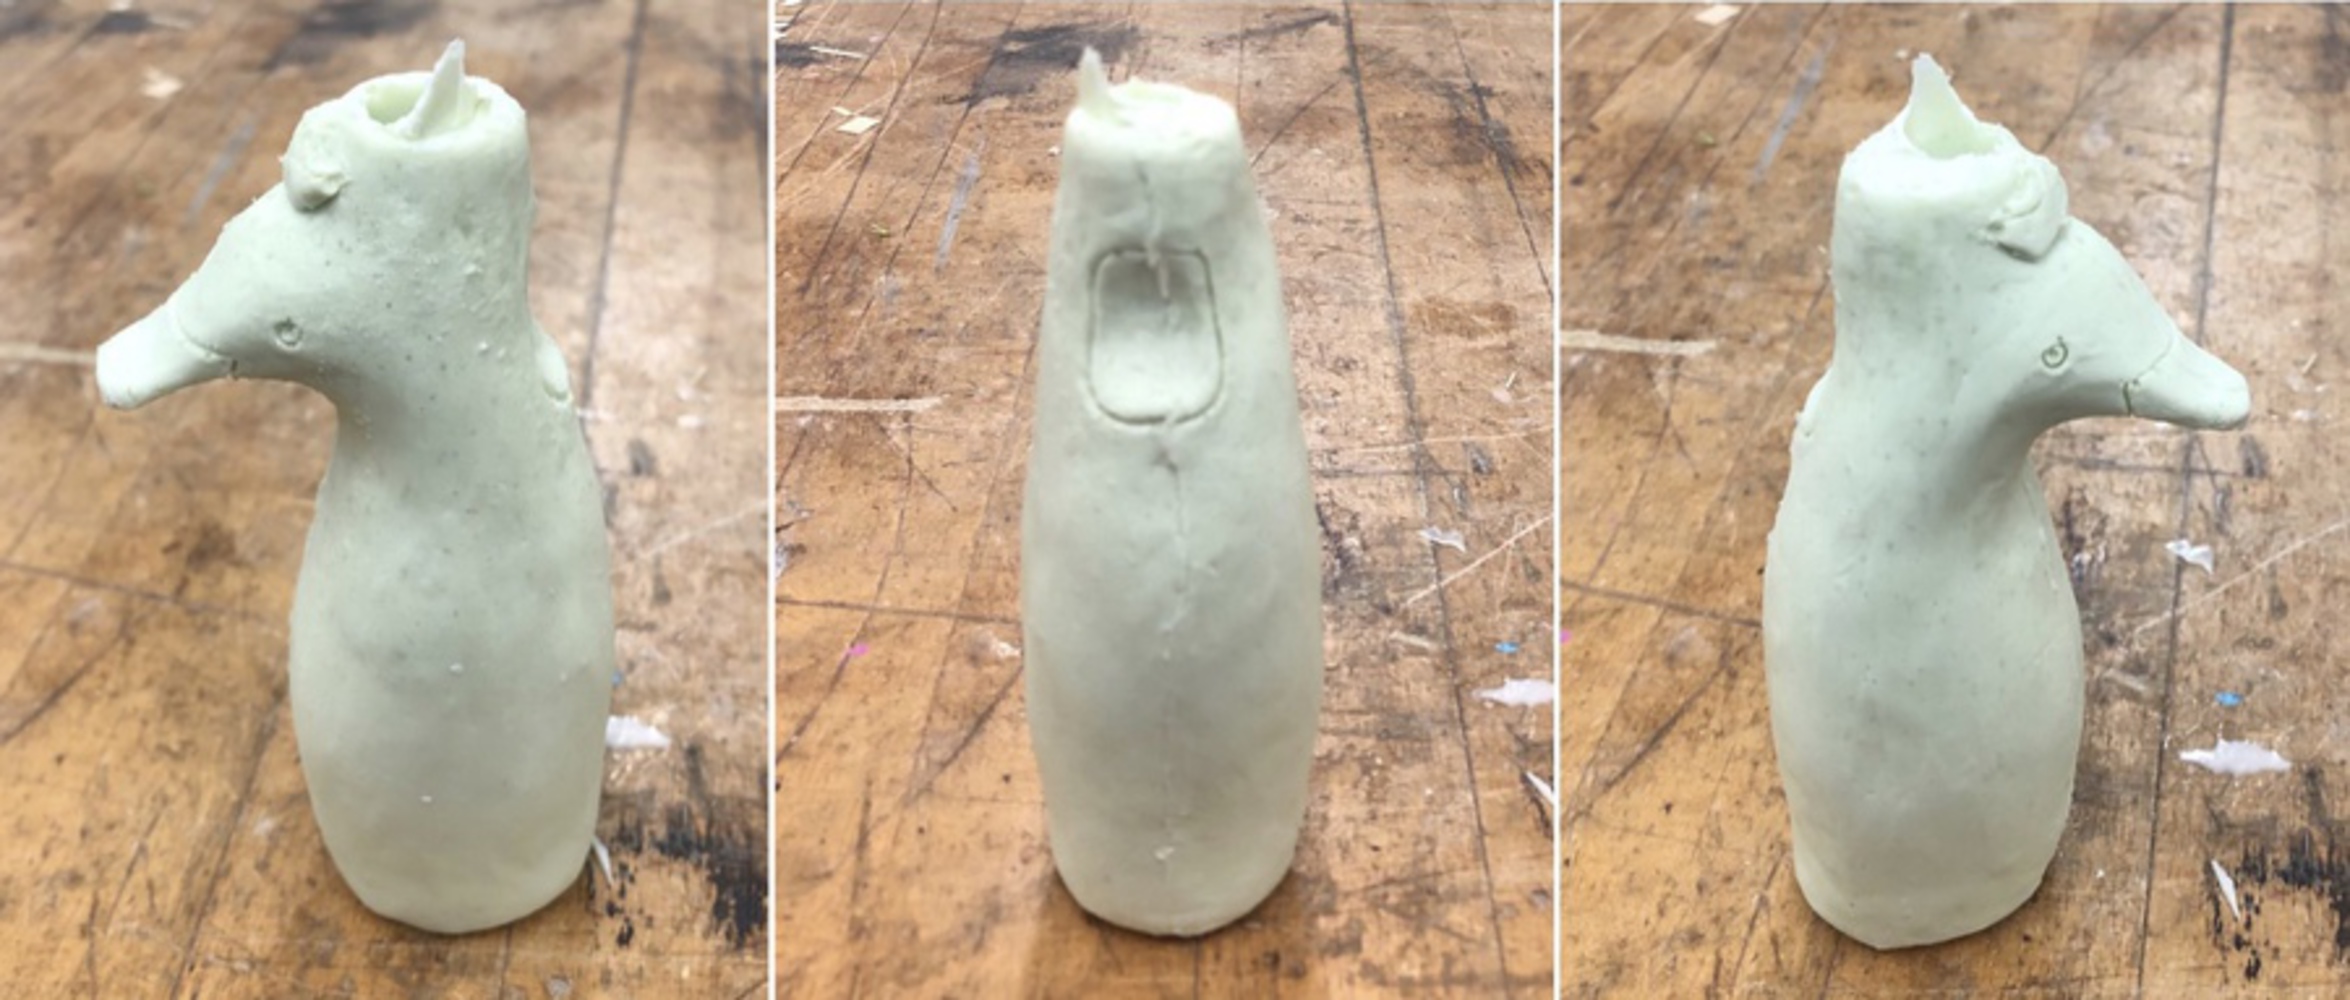
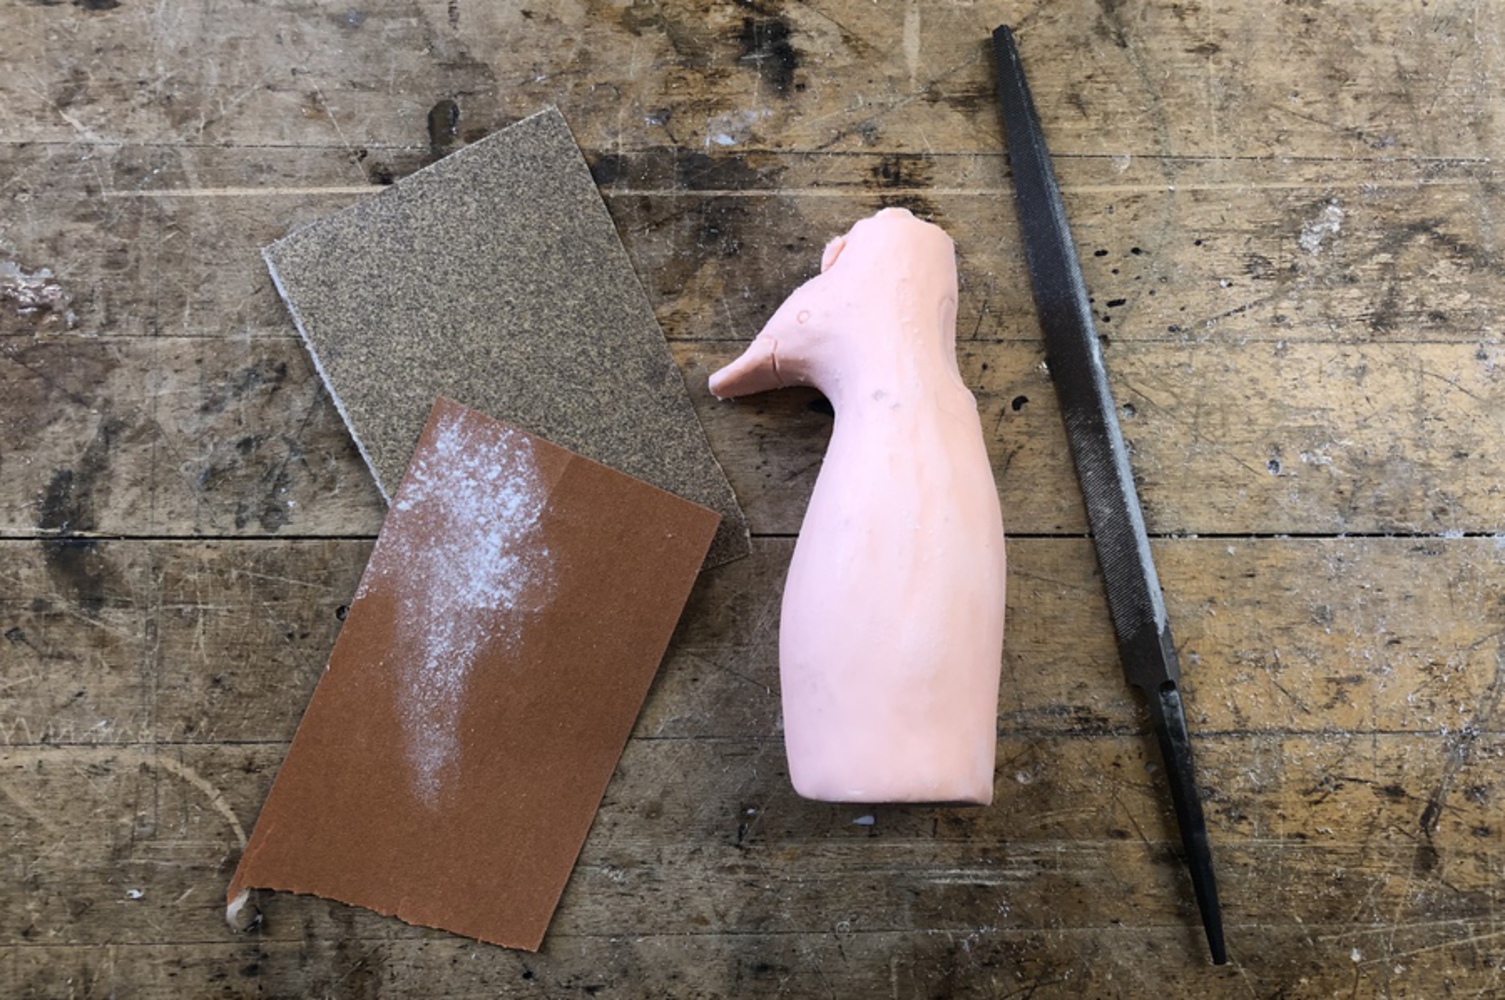
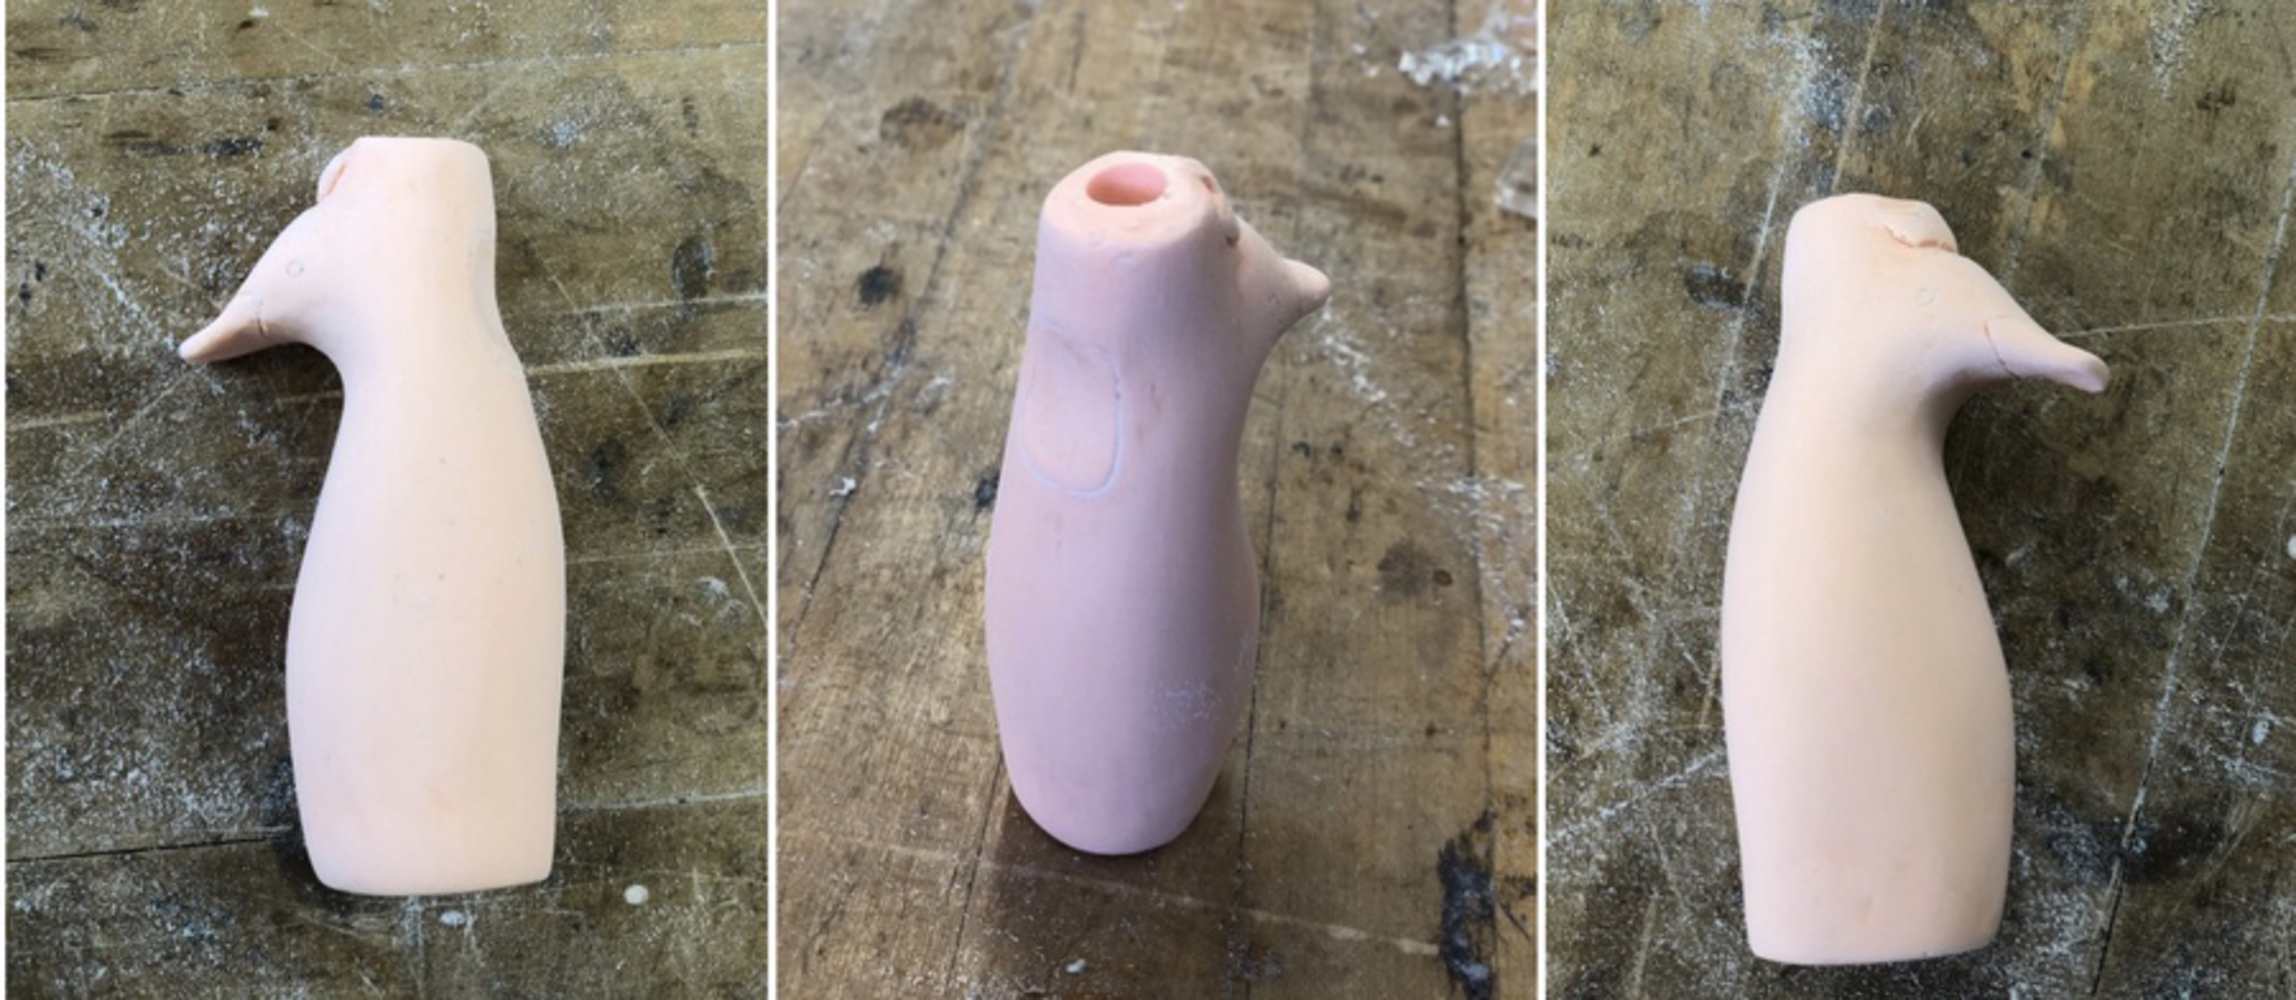
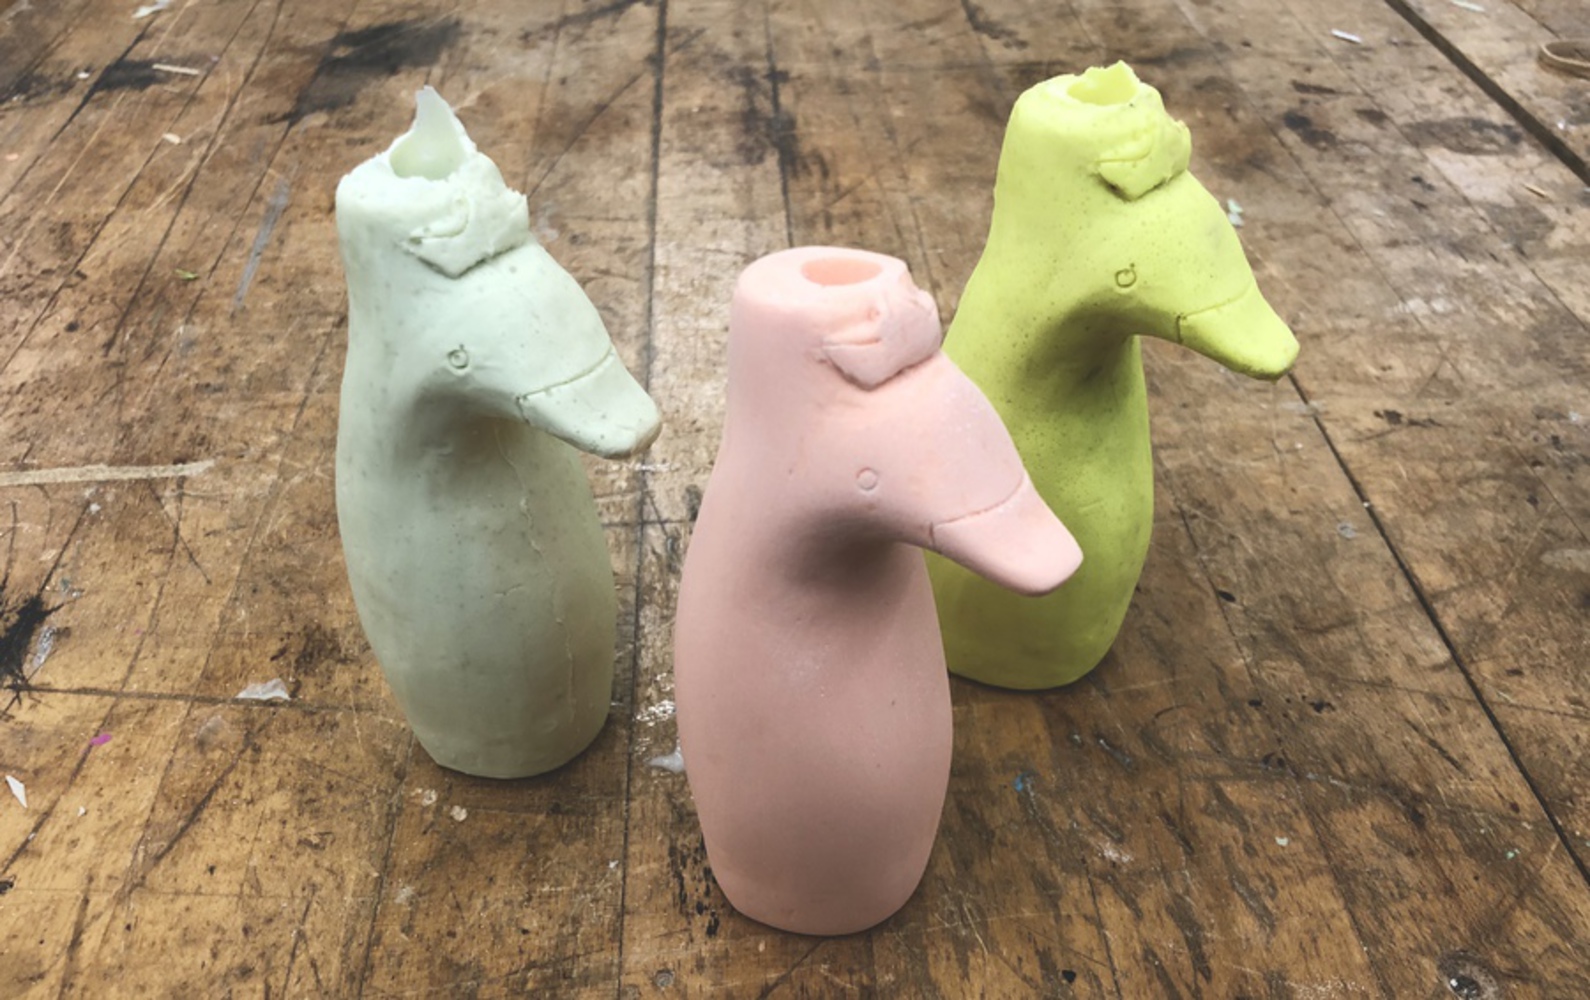
Using the clay prototype of the umbrella handle design from my last project, I was able to reproduce my designed handle form into resin through molding and casting. My umbrella handle is intended to provide more support and ease while gripping. It is not only ergonomic, but also aesthetic as it is designed to be a duck.
Created: April 17th, 2019
Offers students hands-on experience in DIY product design and fabrication processes. Students work individually or in small groups to design customized and personalized products of their own and bu...more
Using the clay prototype of the umbrella handle design from my last project, I was able to reproduce my designed handle form into resin through molding and casting. My umbrella handle is intended to provide more support and ease while gripping. It is not only ergonomic, but also aesthetic as it is designed to be a duck.