GameCube Controller Stand
Made by Aaron Lee
Made by Aaron Lee
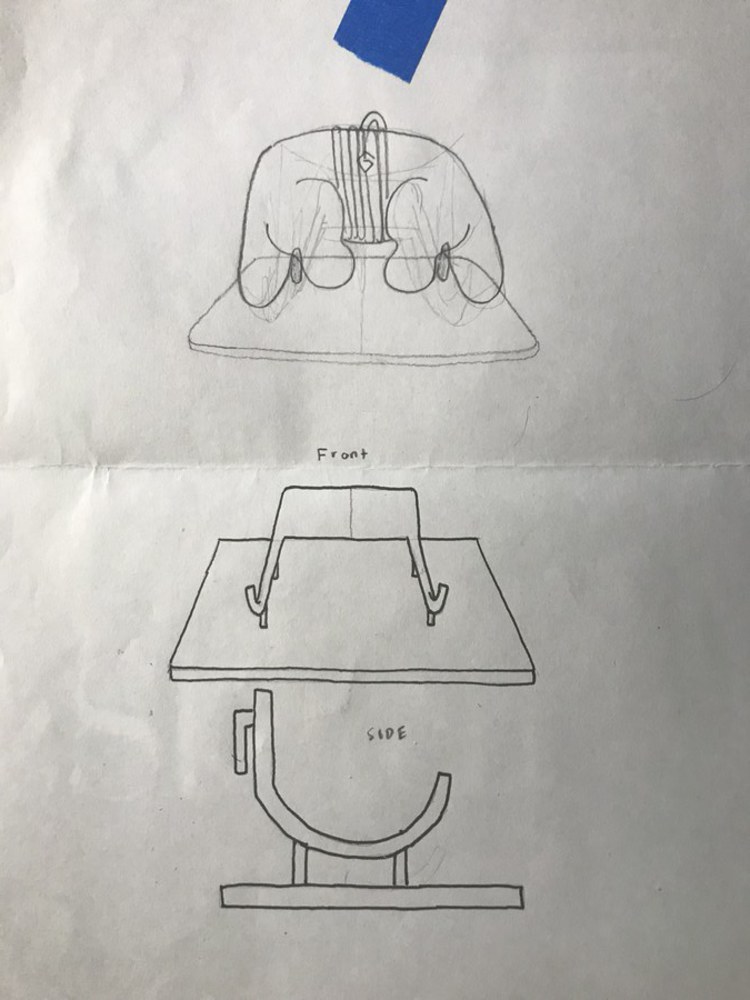
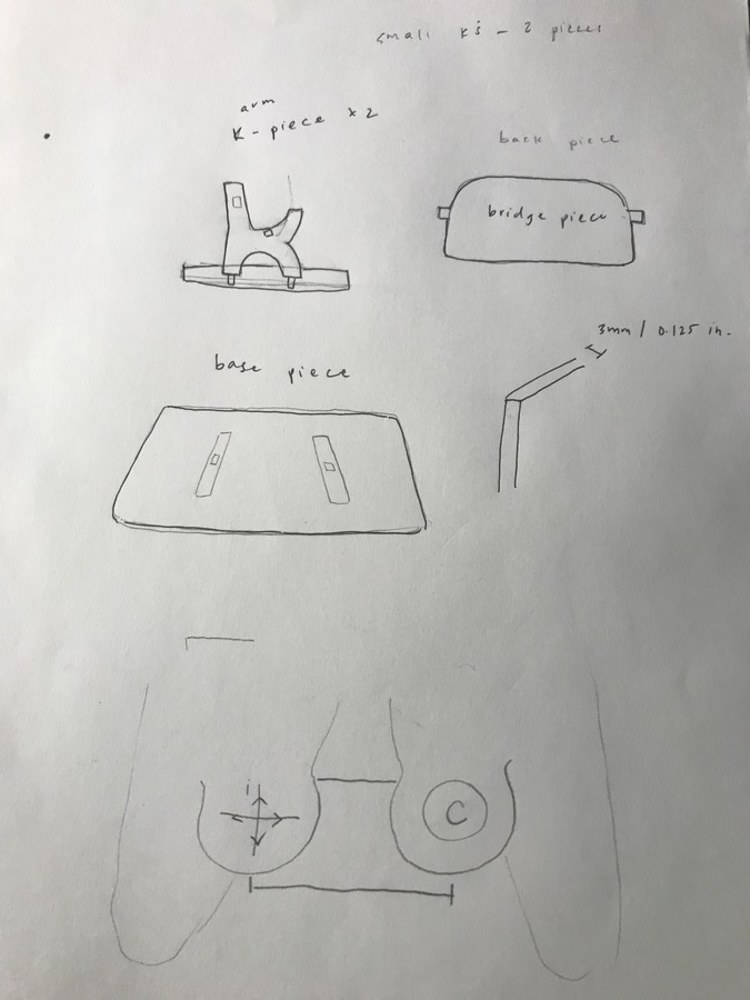
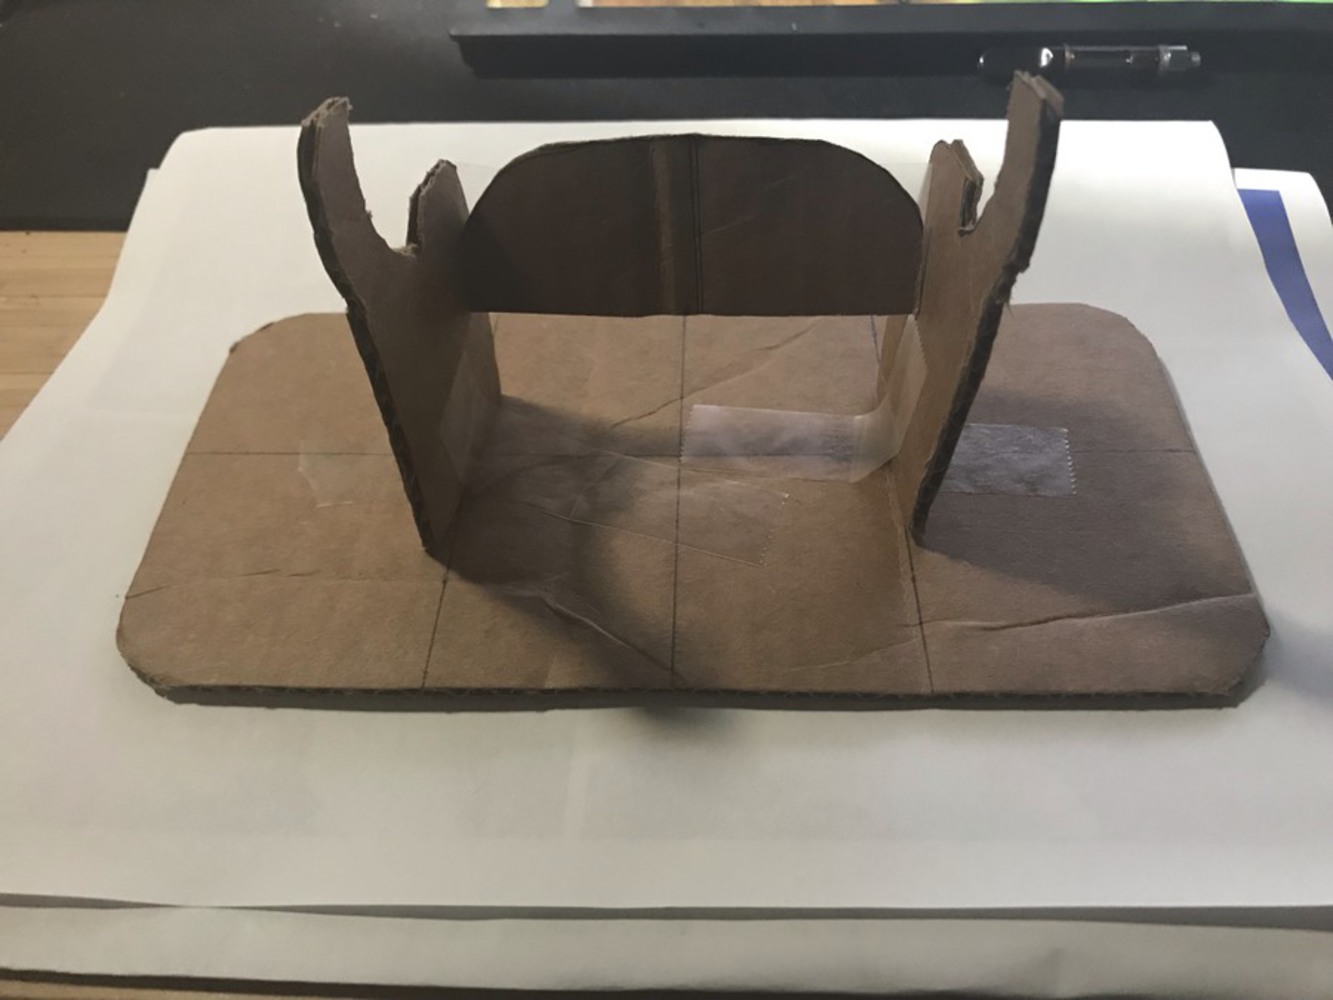
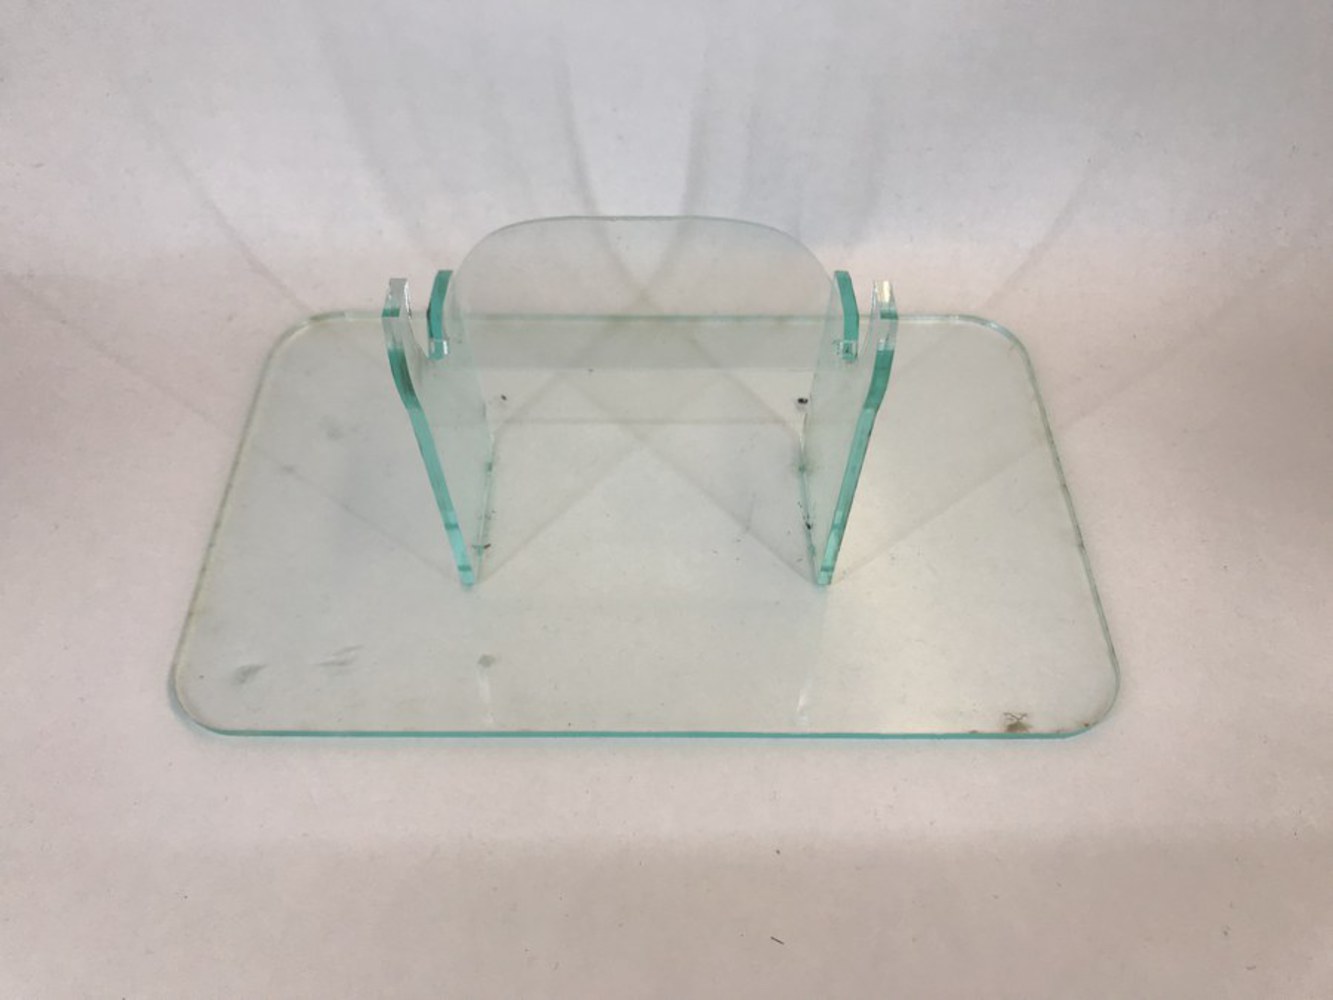
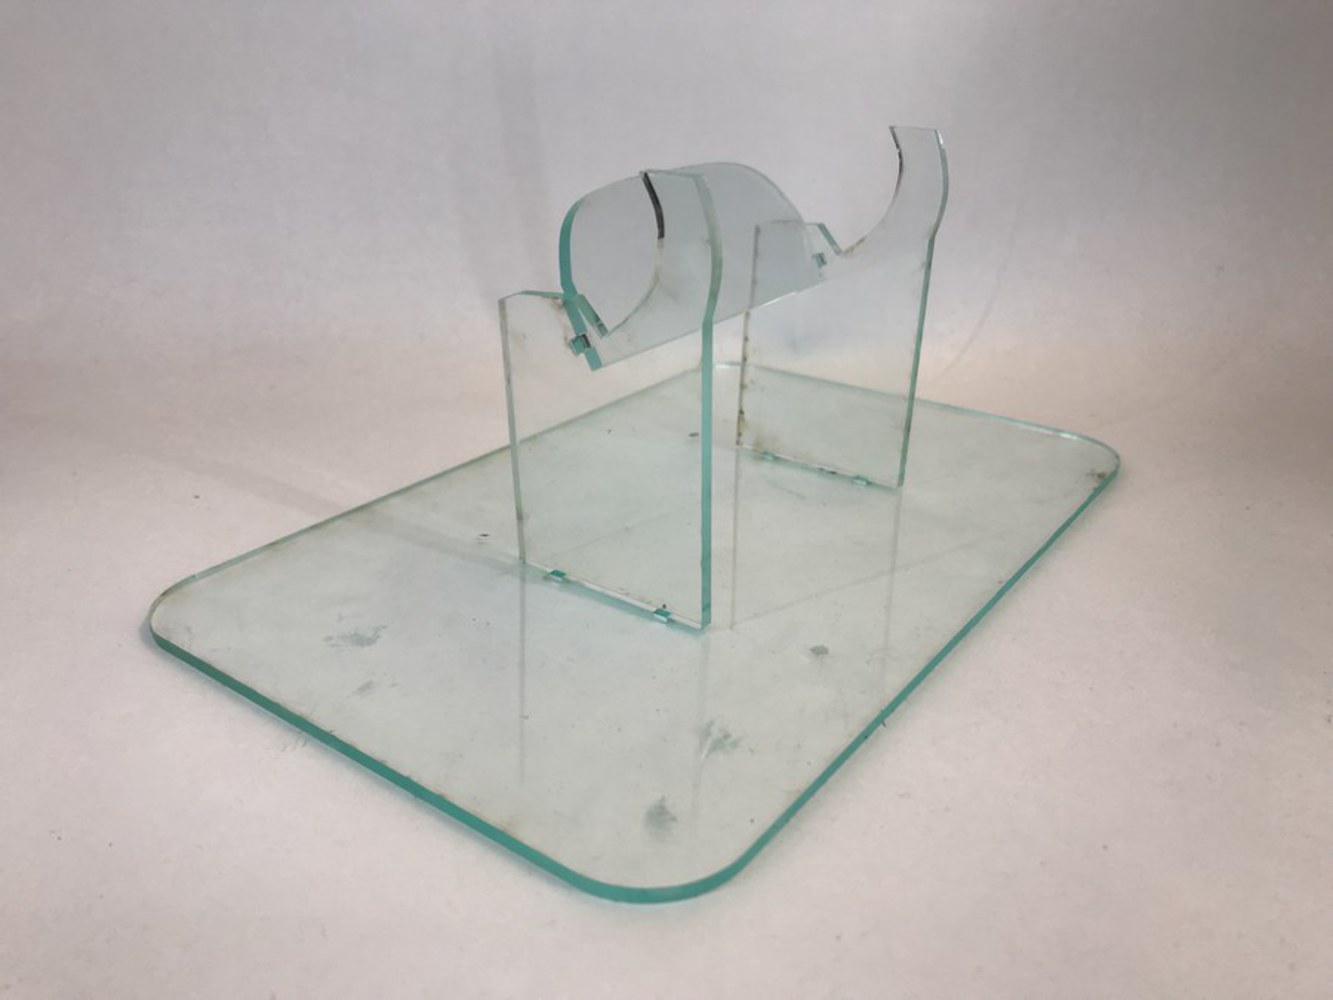
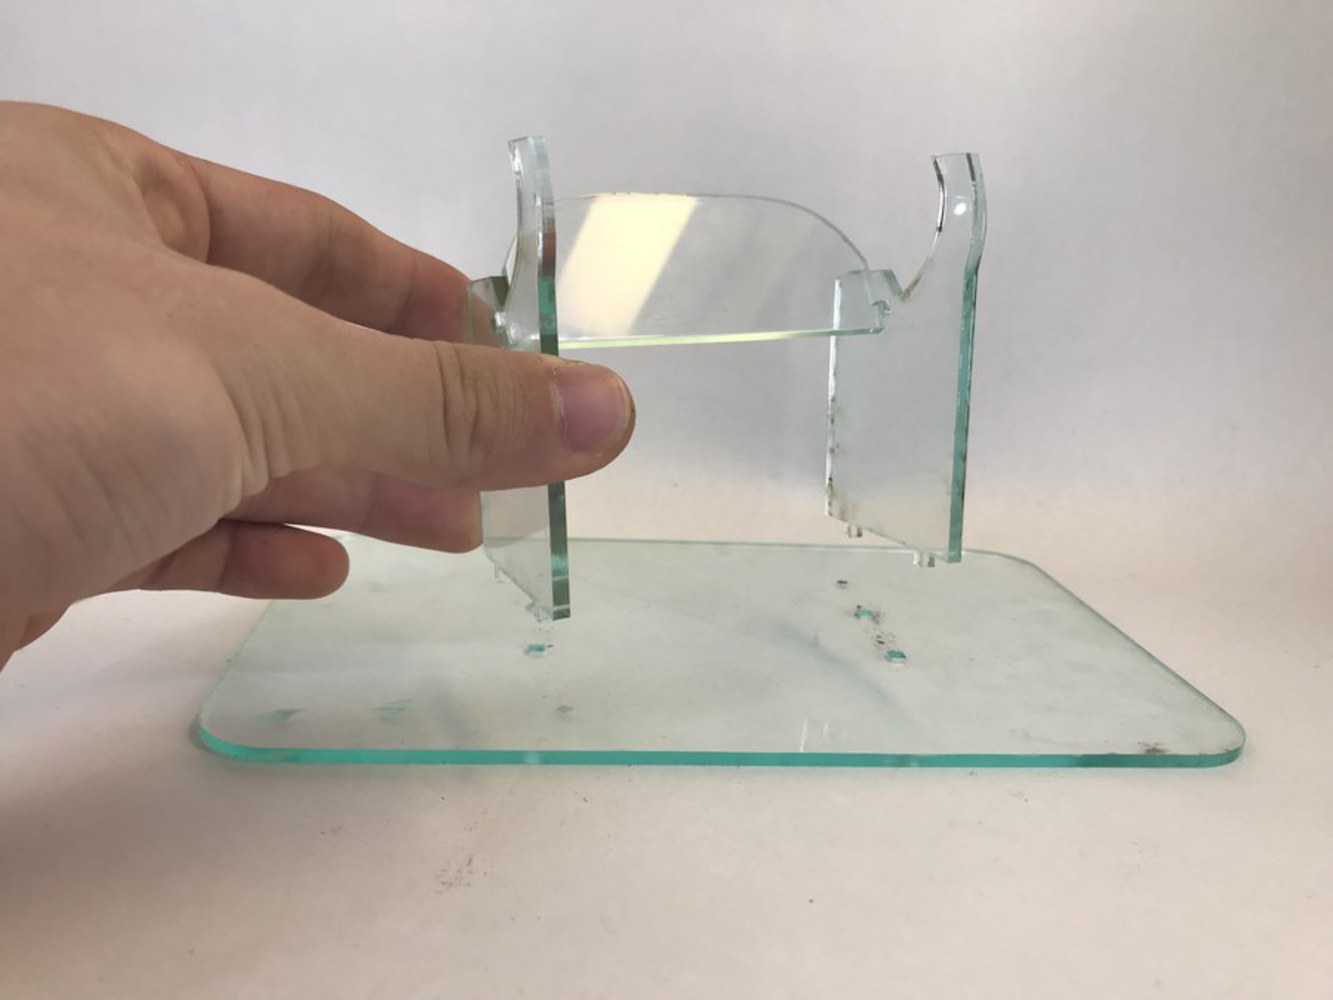
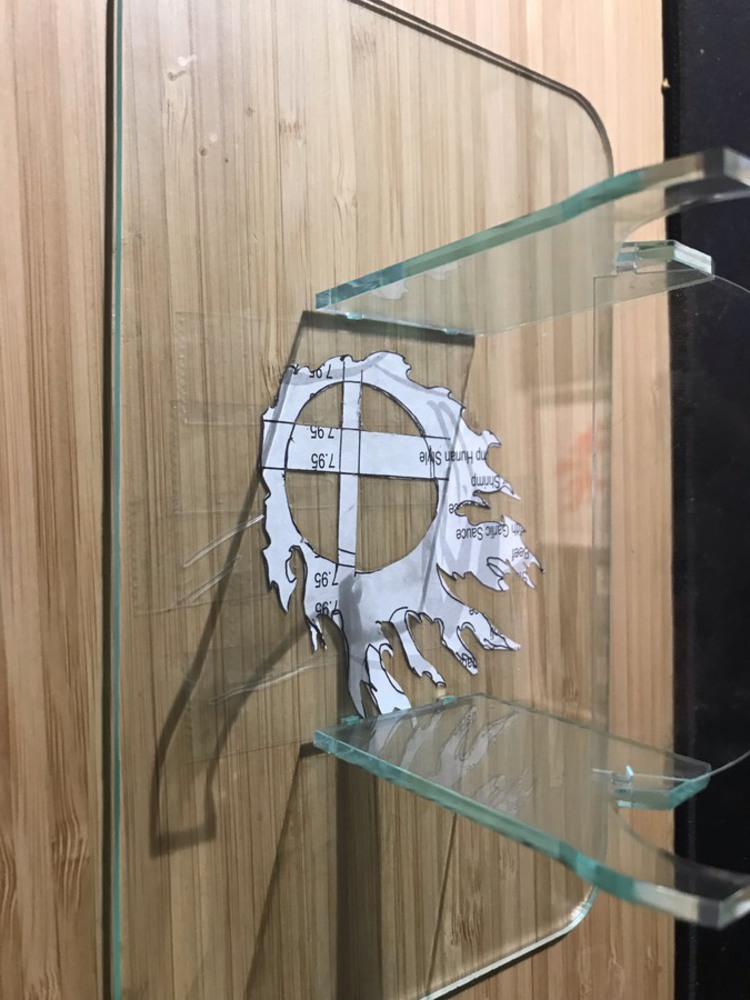
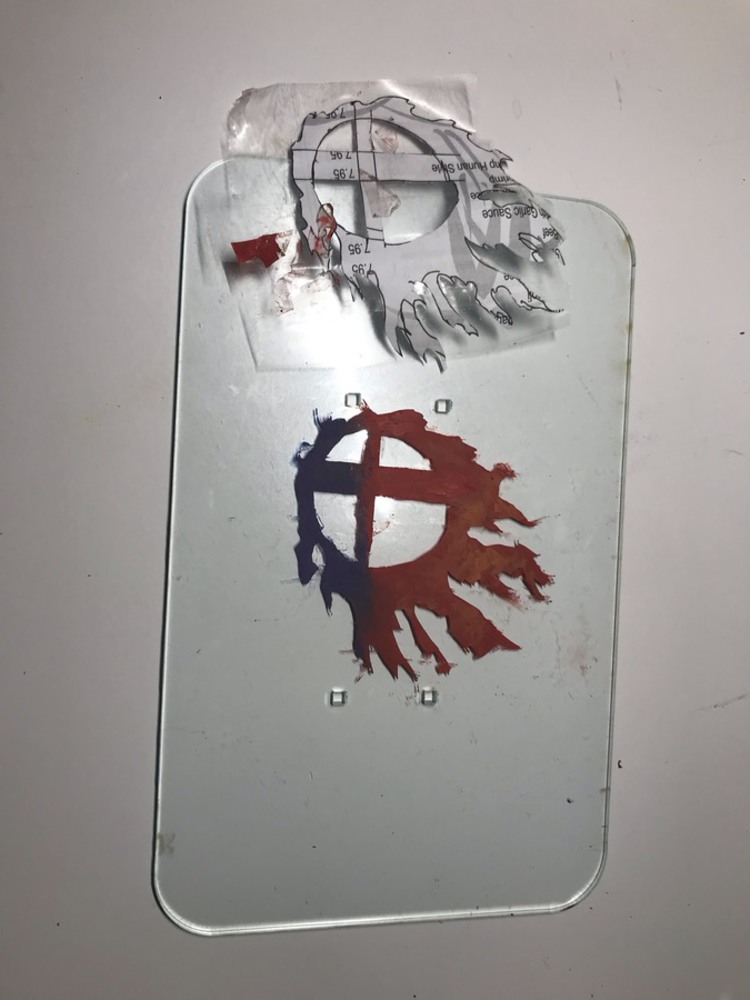
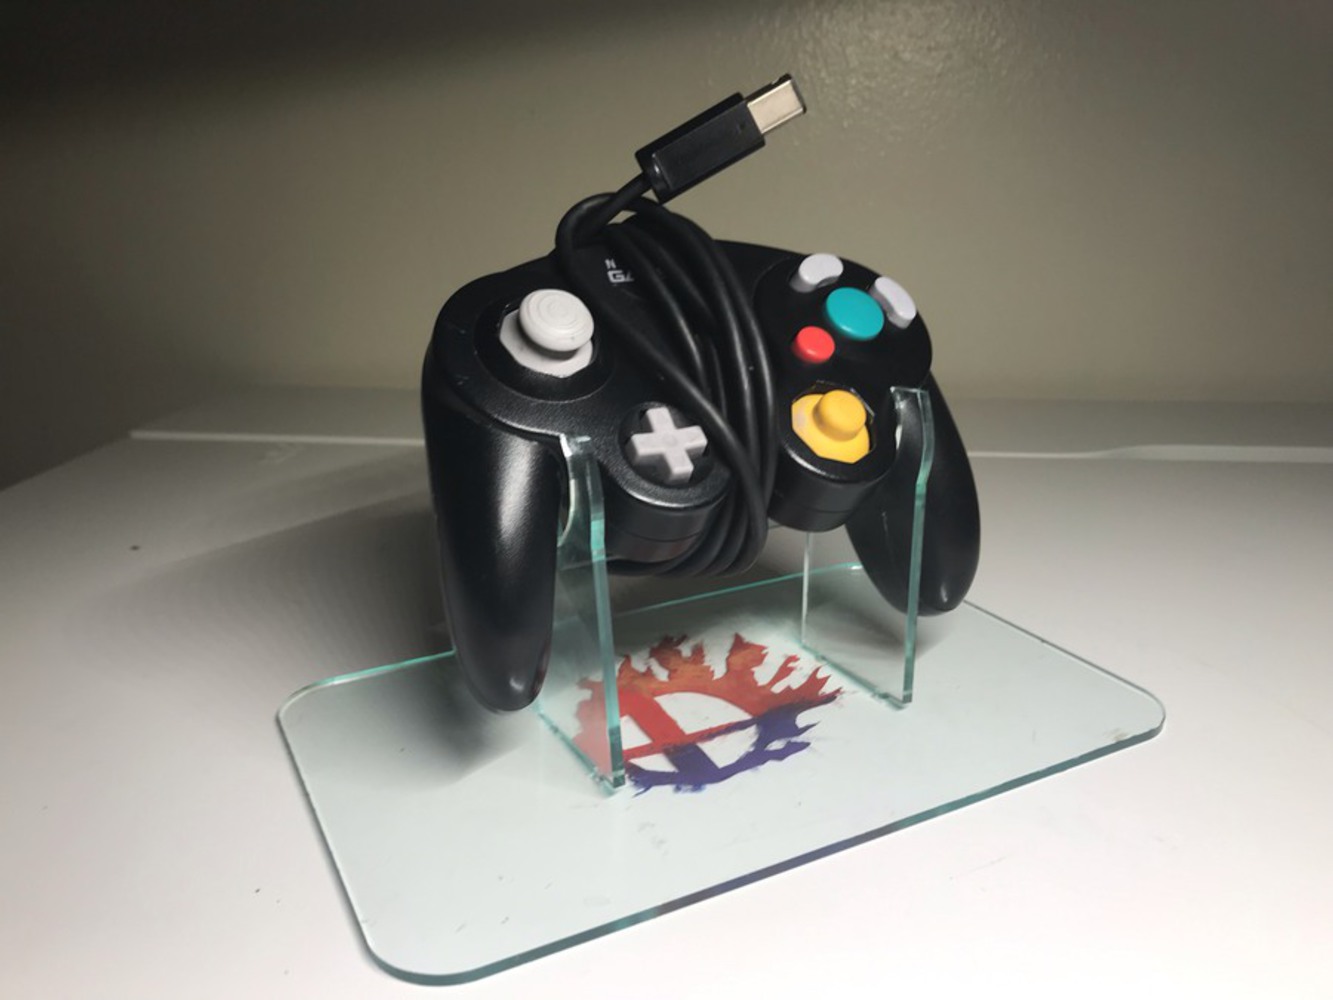
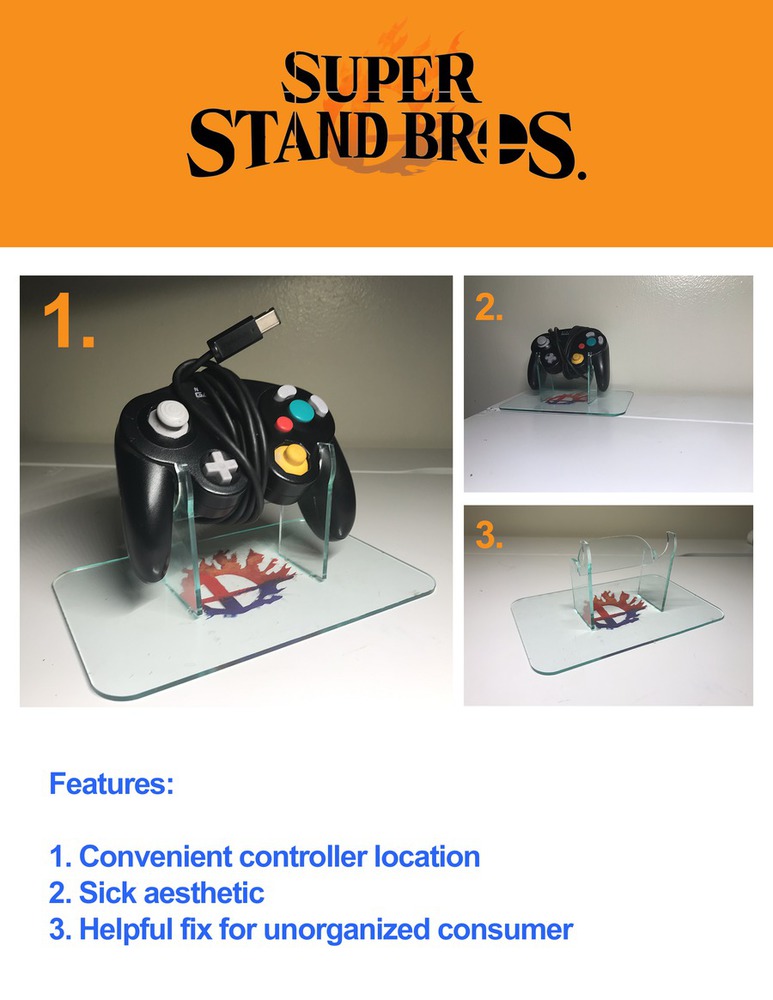
This project was designed and targeted towards people who use Nintendo GameCube controllers regularly. The product is designed to hold a controller safely on a clear acryllic stand with an aesthetic design targeted towards people who play Super Smash Bros. For gamers who play online, this is the perfect little accessory to keep on a desk at home.
Created: May 4th, 2019

Offers students hands-on experience in DIY product design and fabrication processes. Students work individually or in small groups to design customized and personalized products of their own and bu...more
This project was designed and targeted towards people who use Nintendo GameCube controllers regularly. The product is designed to hold a controller safely on a clear acryllic stand with an aesthetic design targeted towards people who play Super Smash Bros. For gamers who play online, this is the perfect little accessory to keep on a desk at home.