Tri-grip Cast
Made by Aaron Lee
Made by Aaron Lee
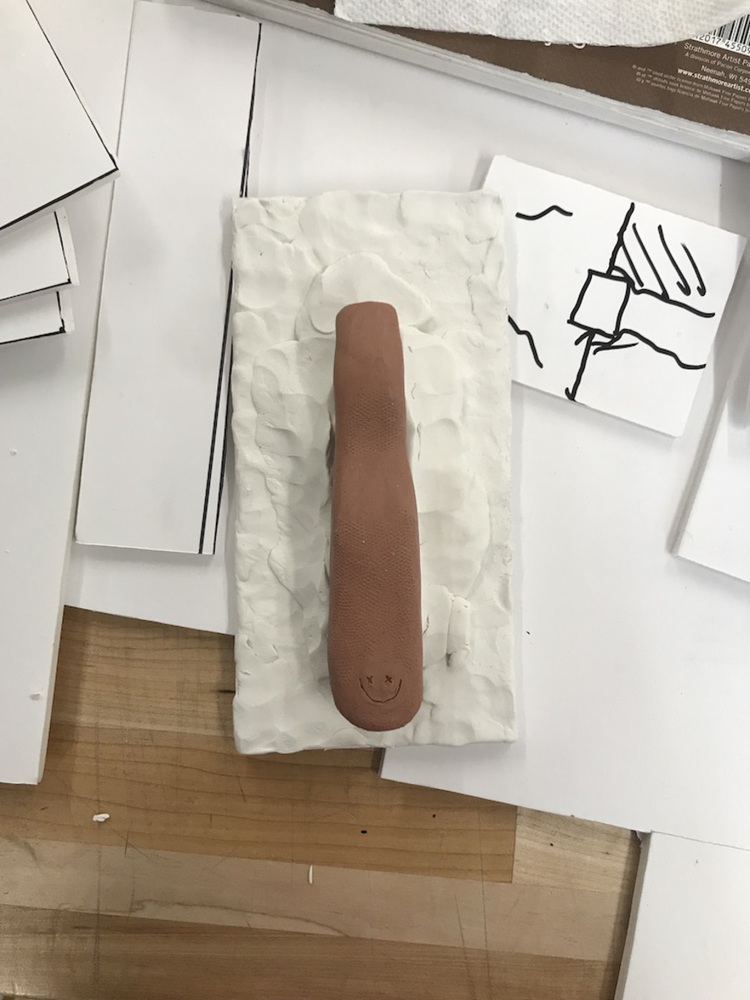
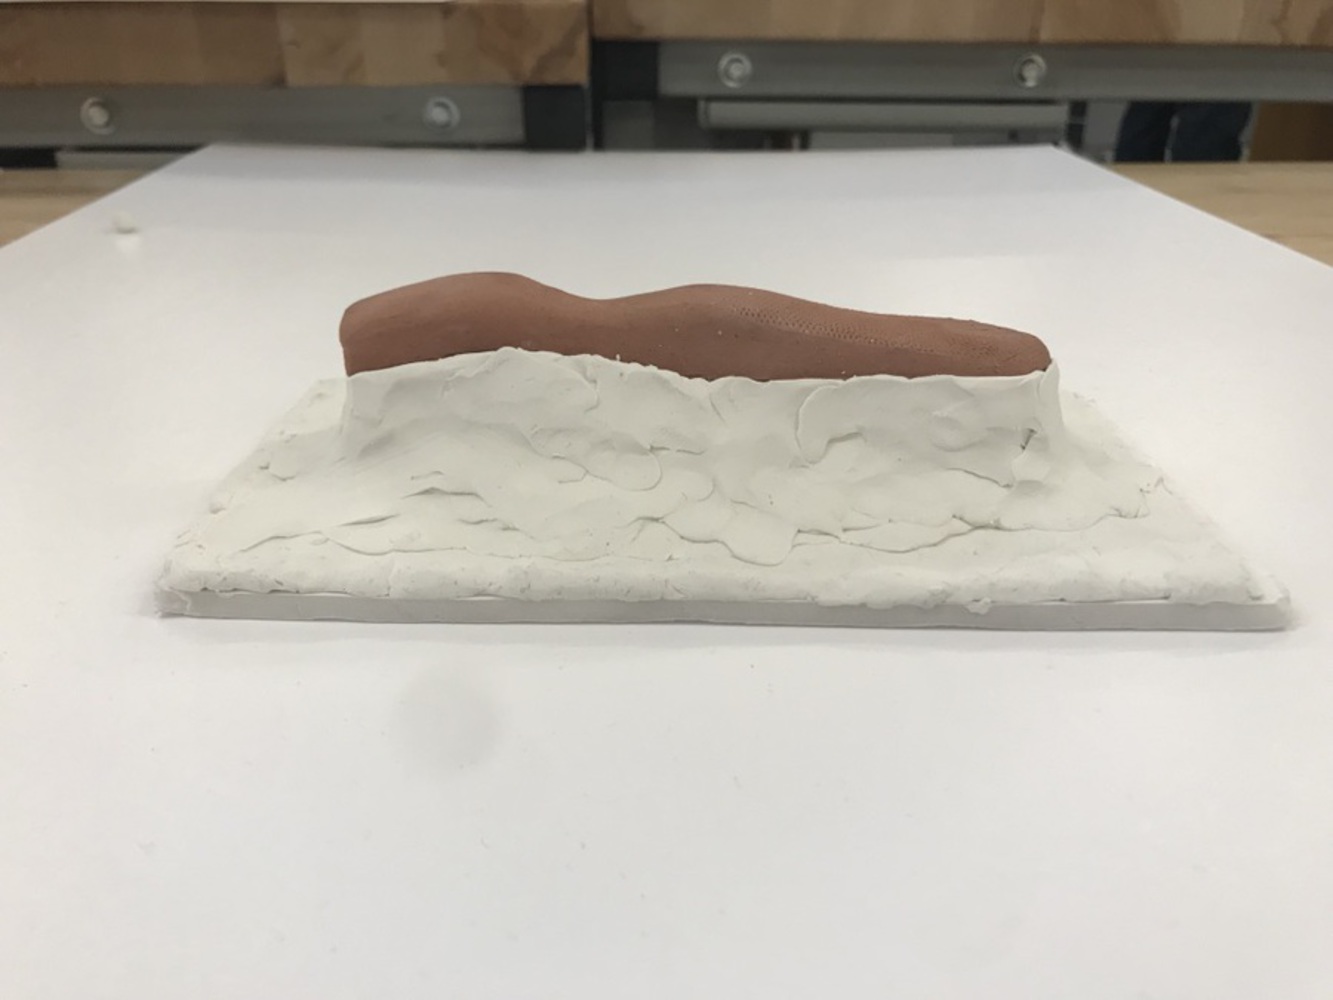
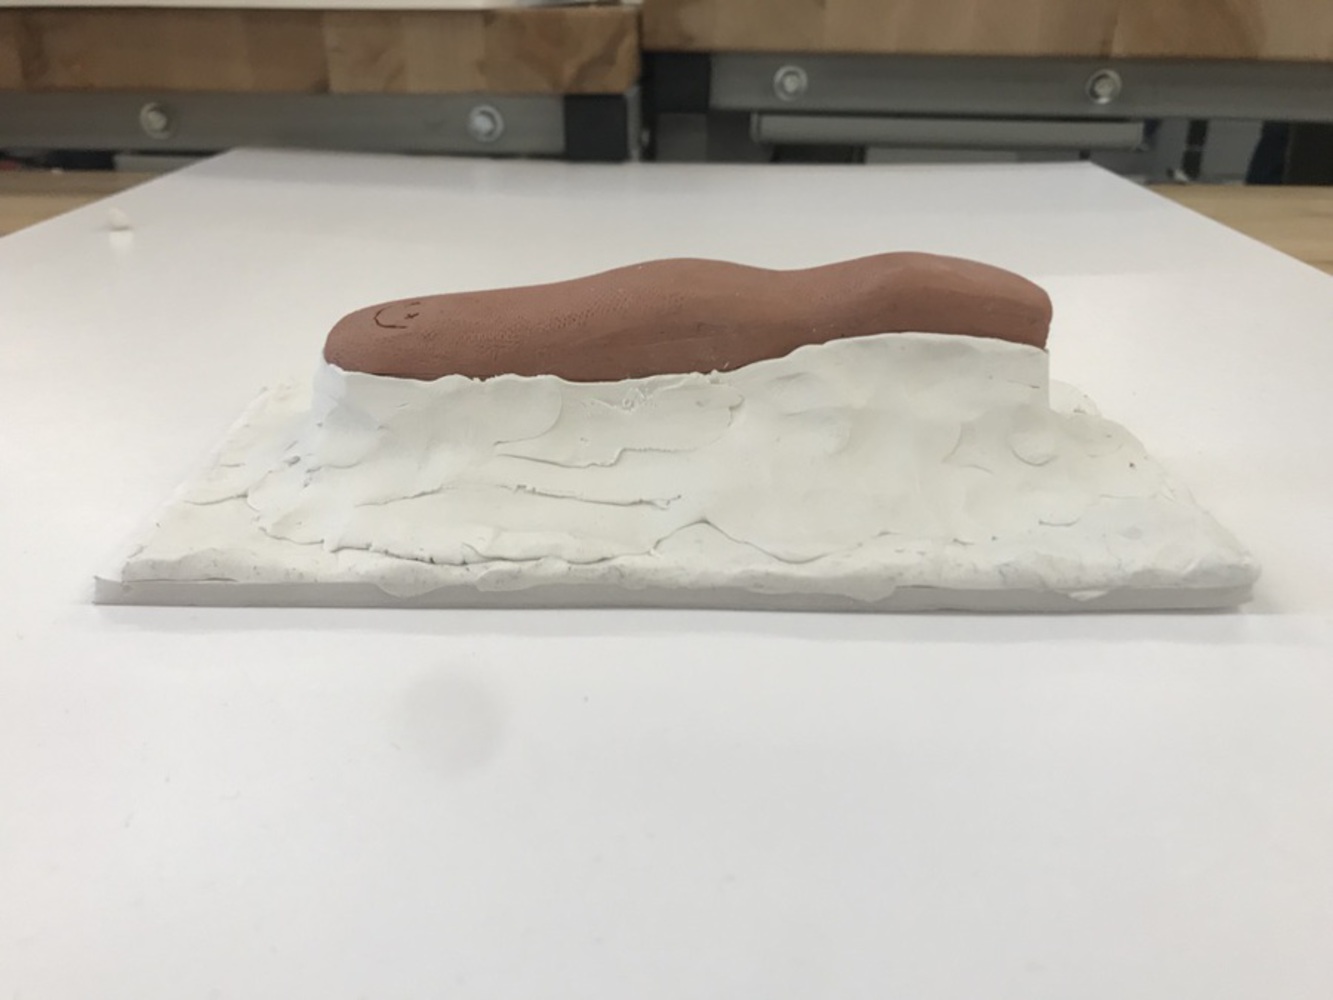
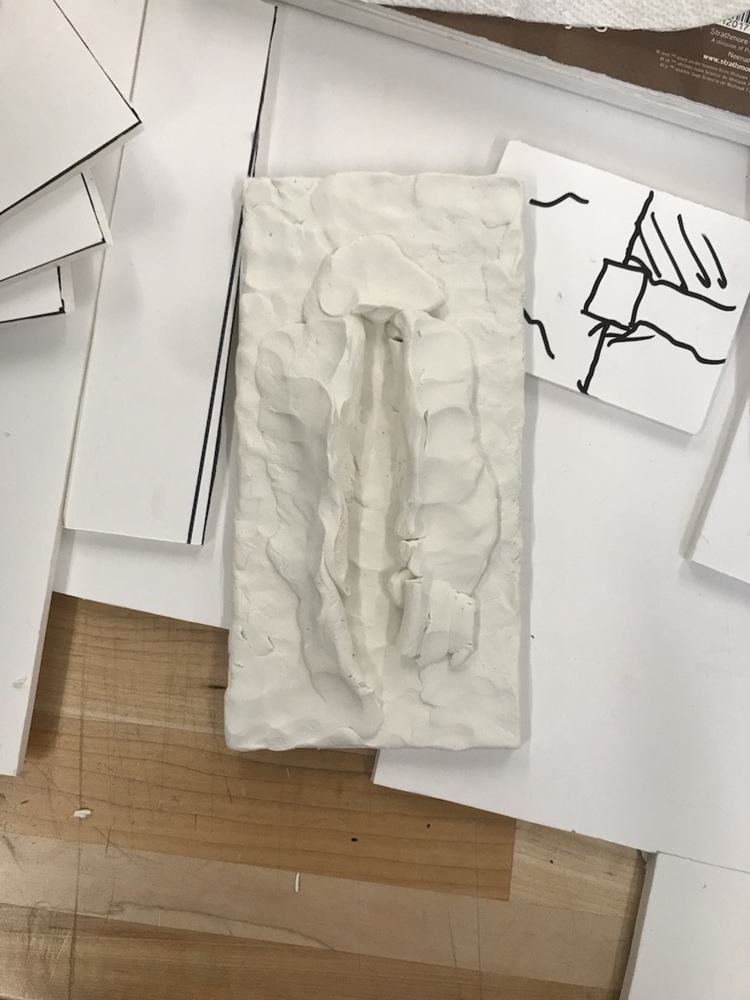
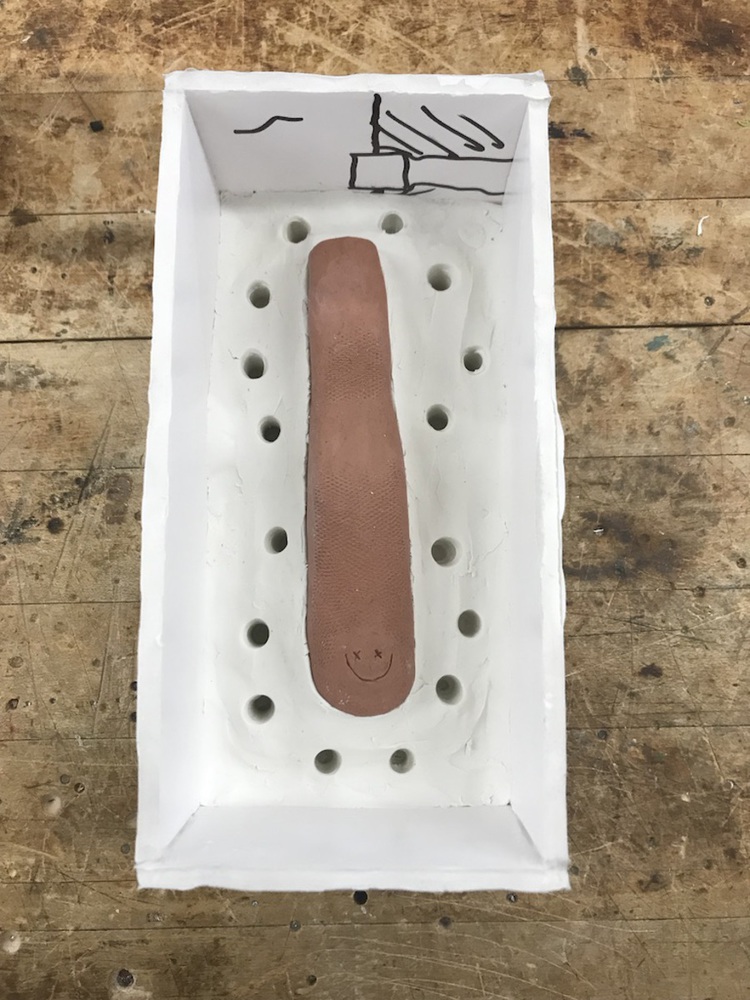
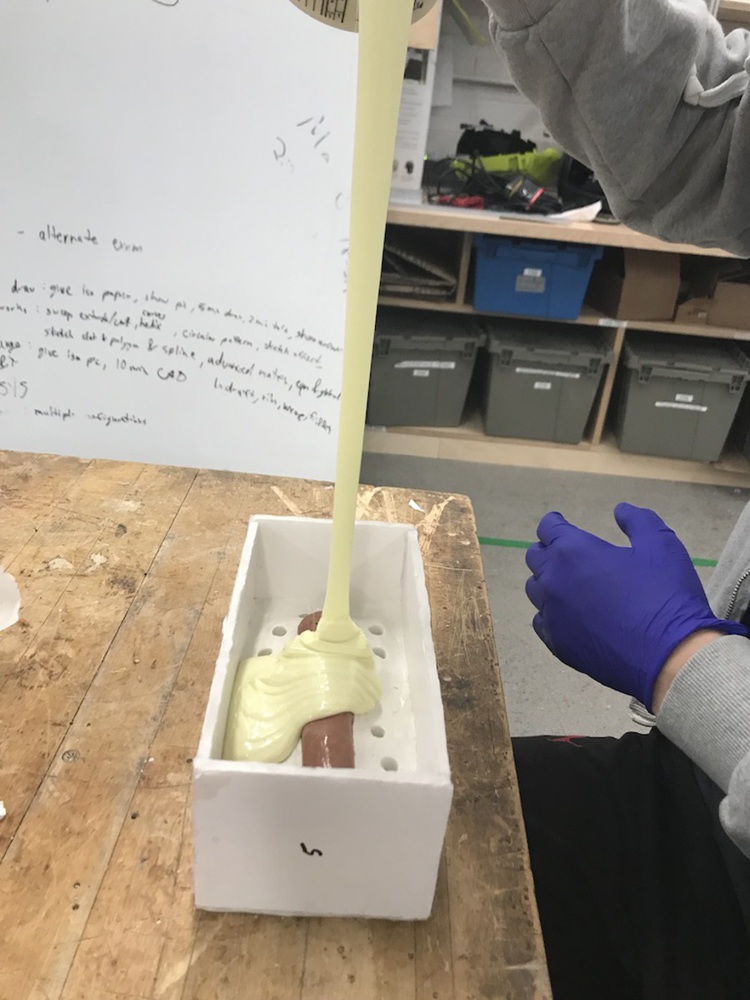
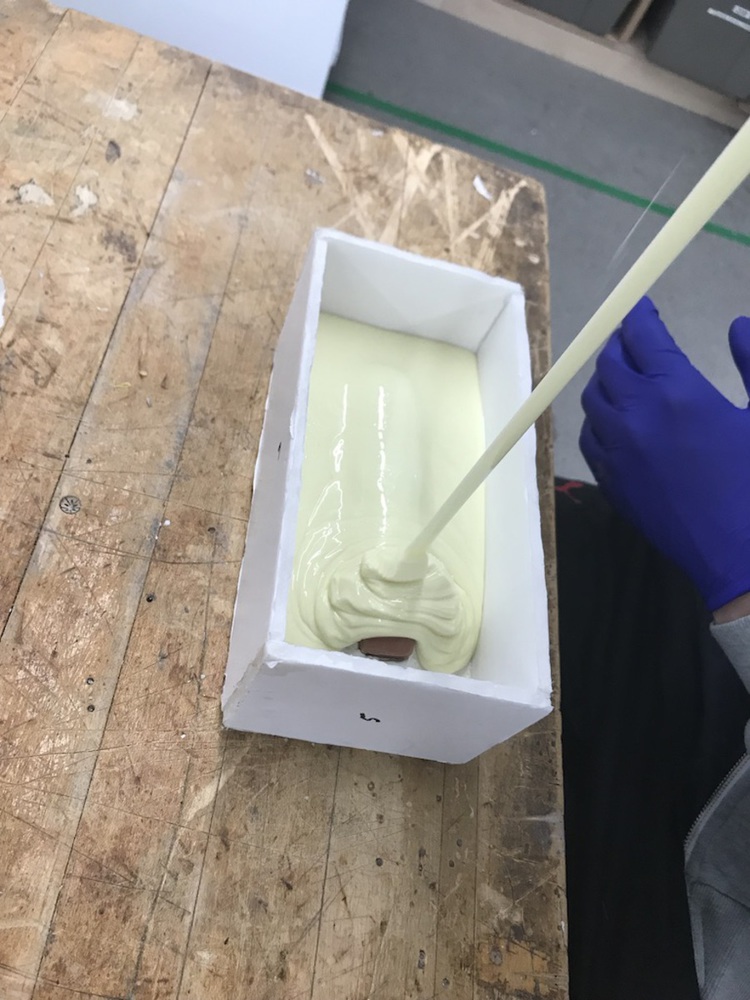
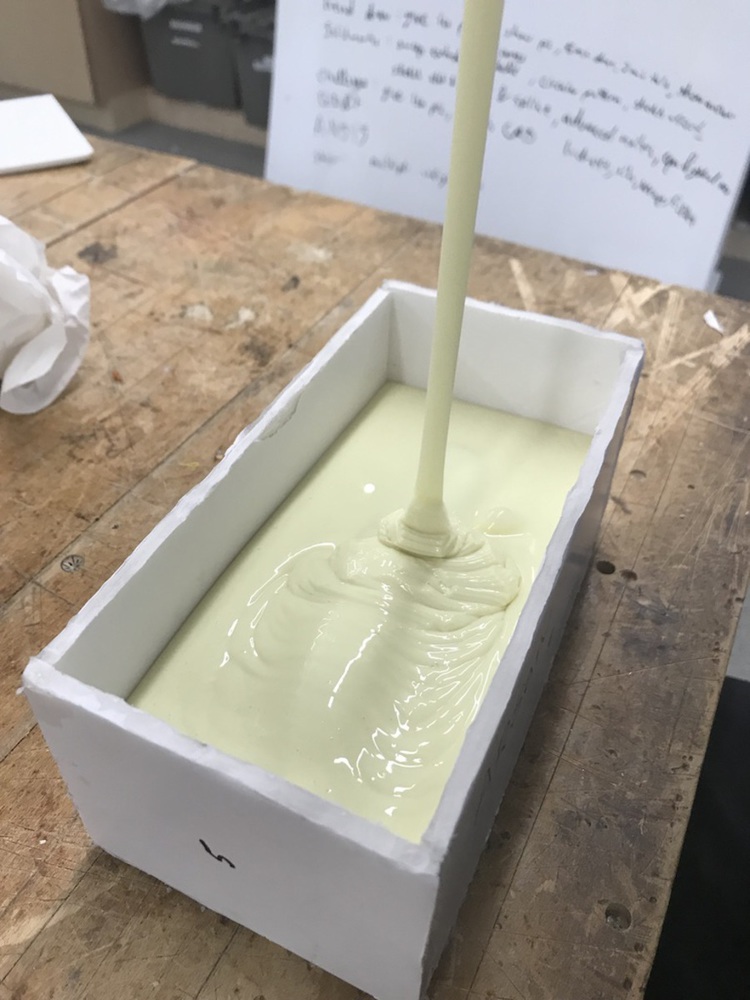
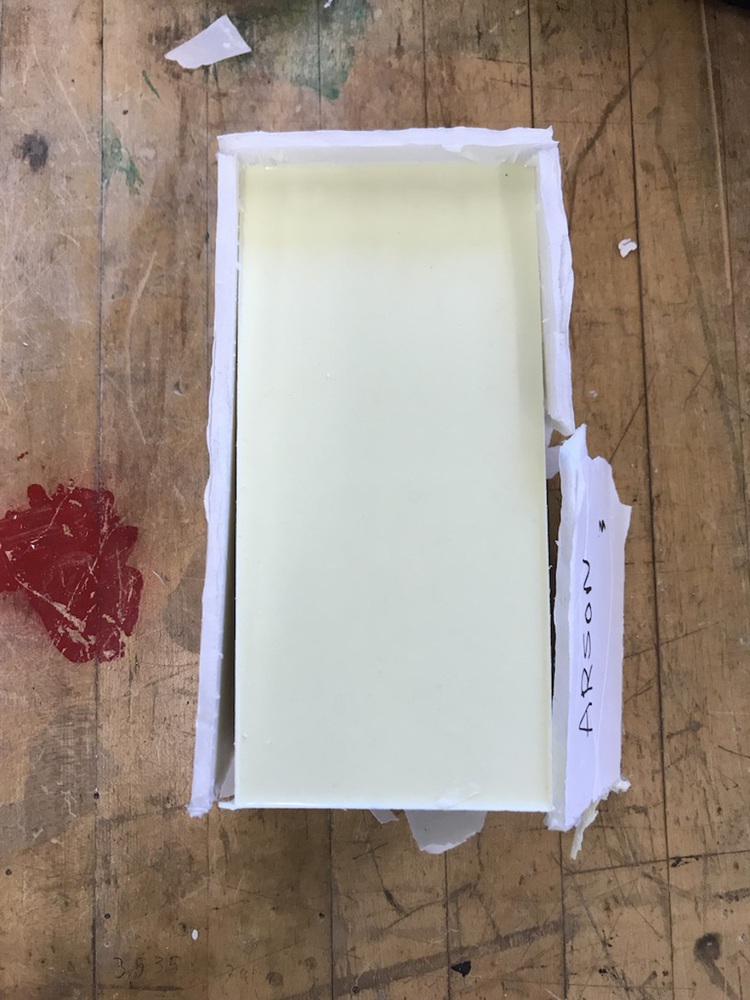
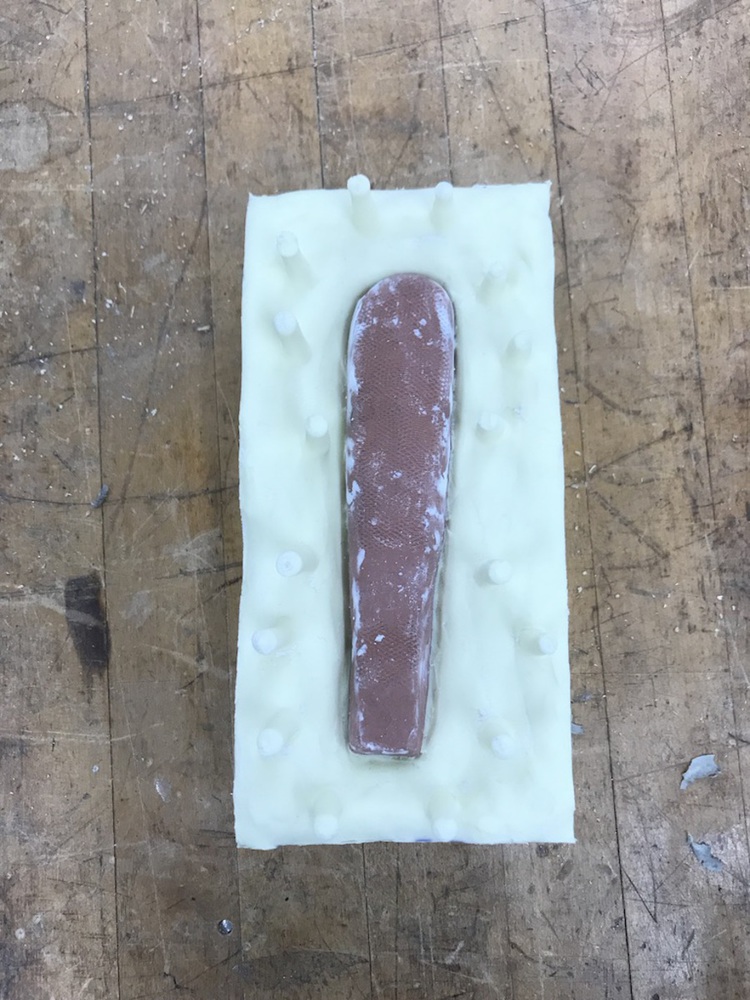
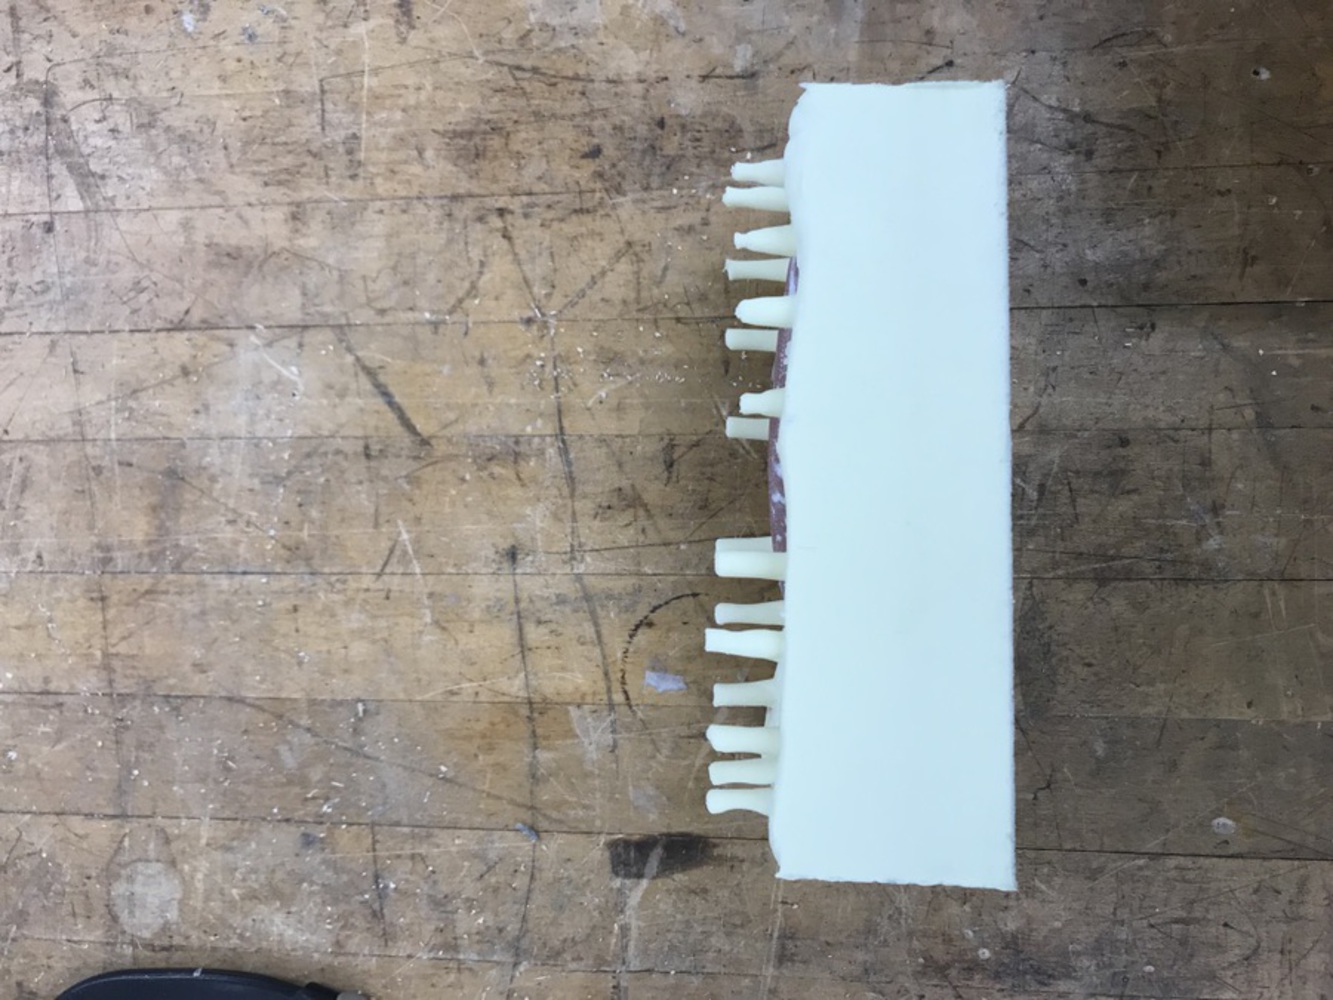
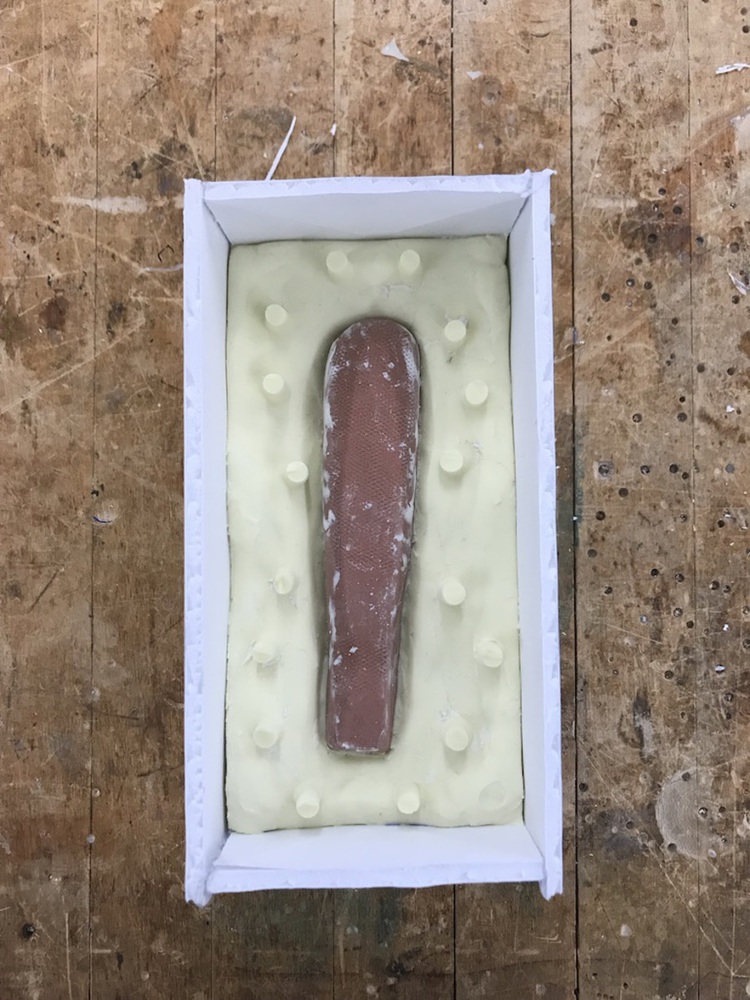
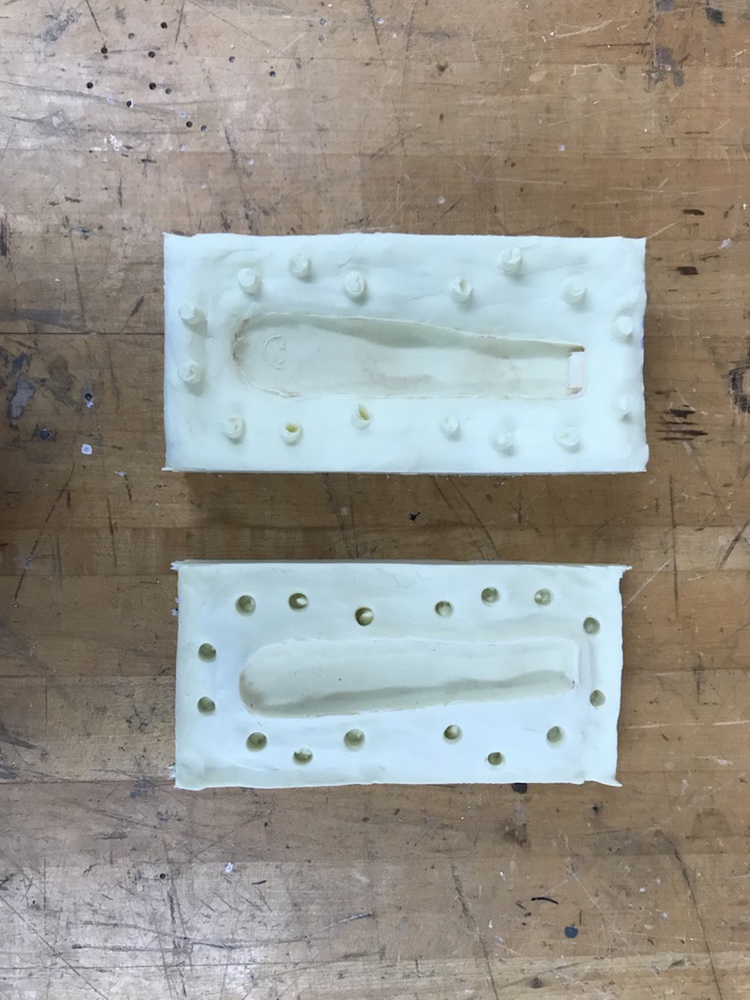
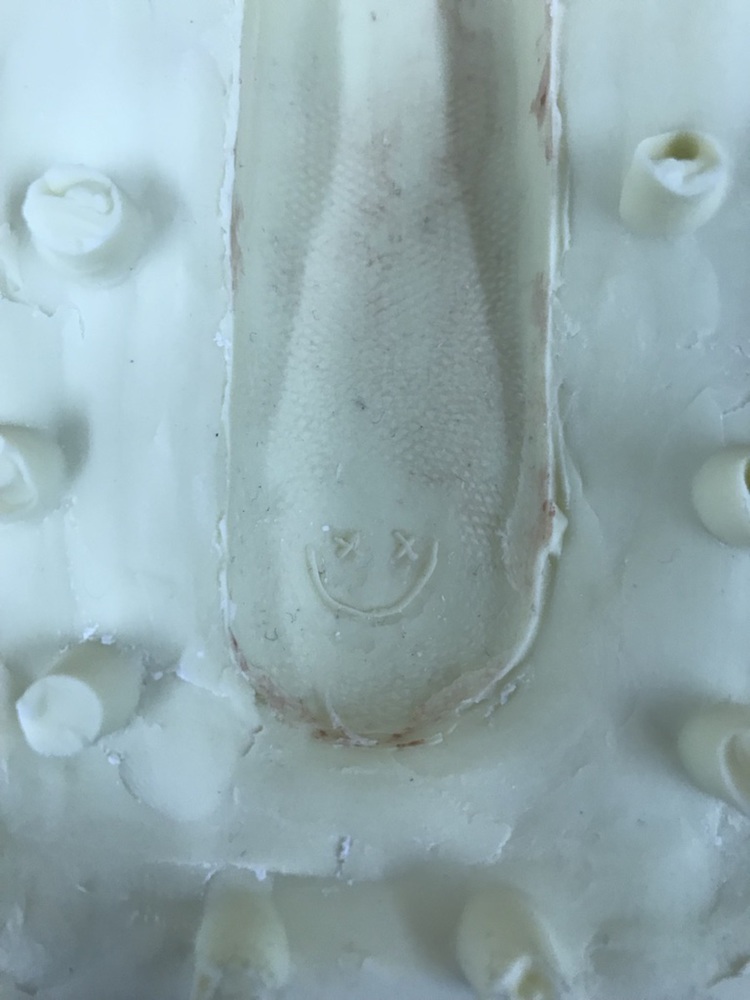
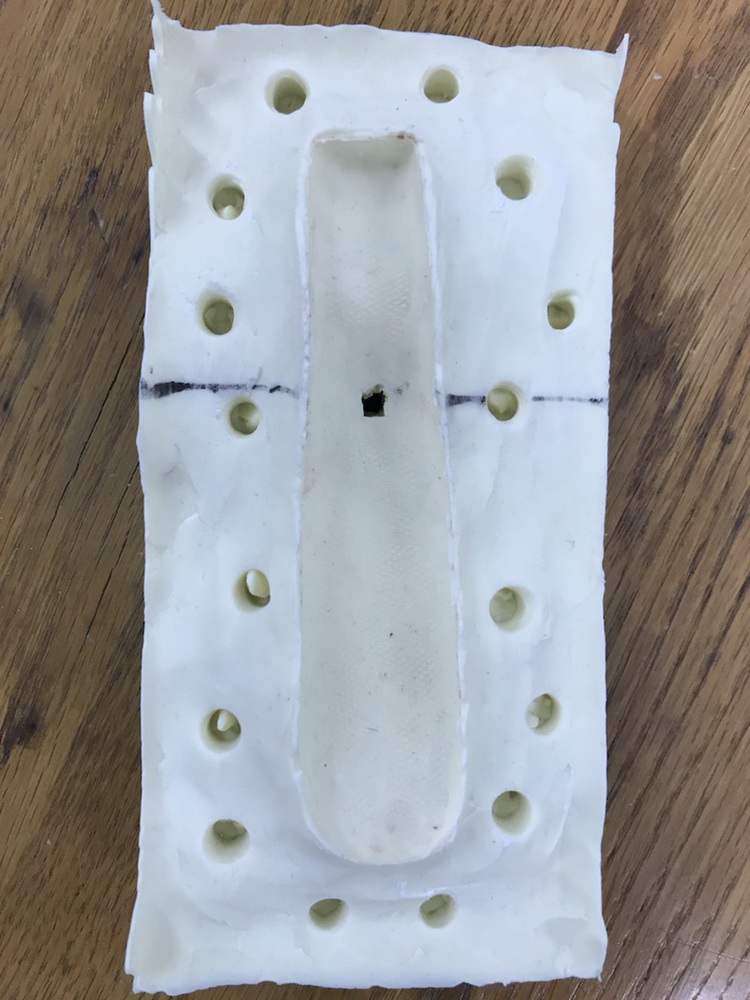
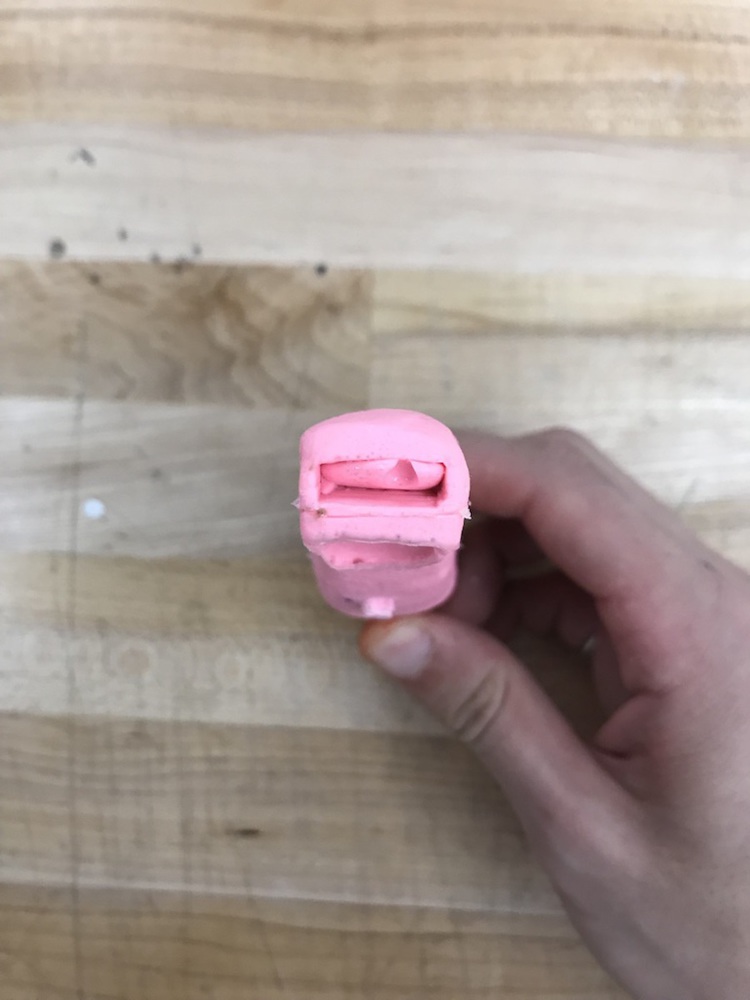
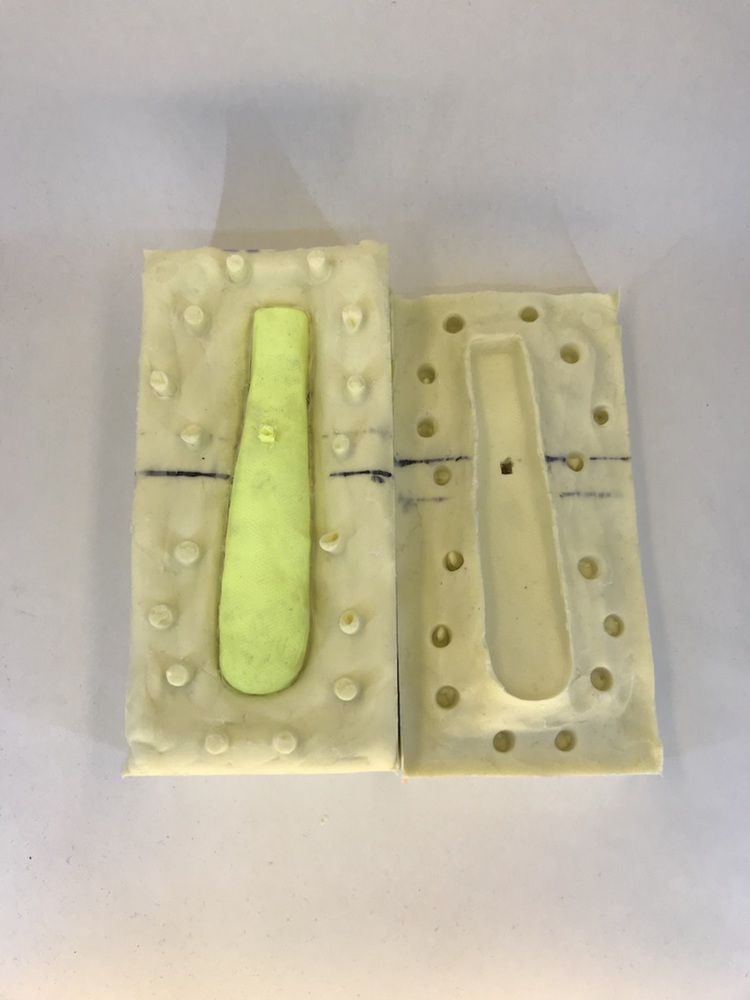
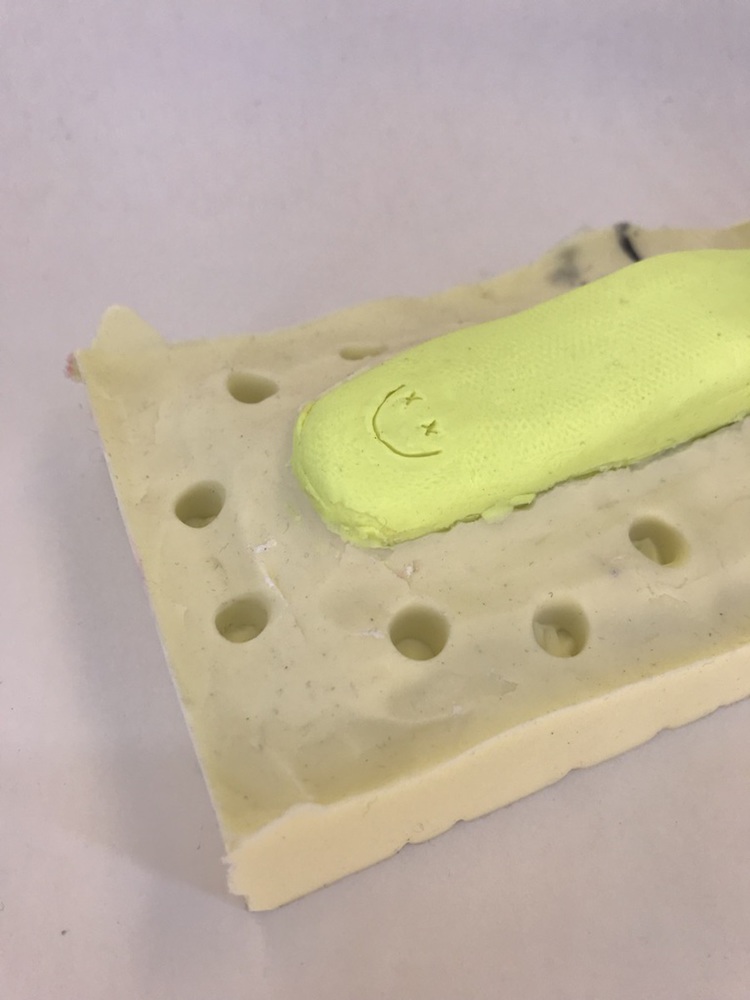
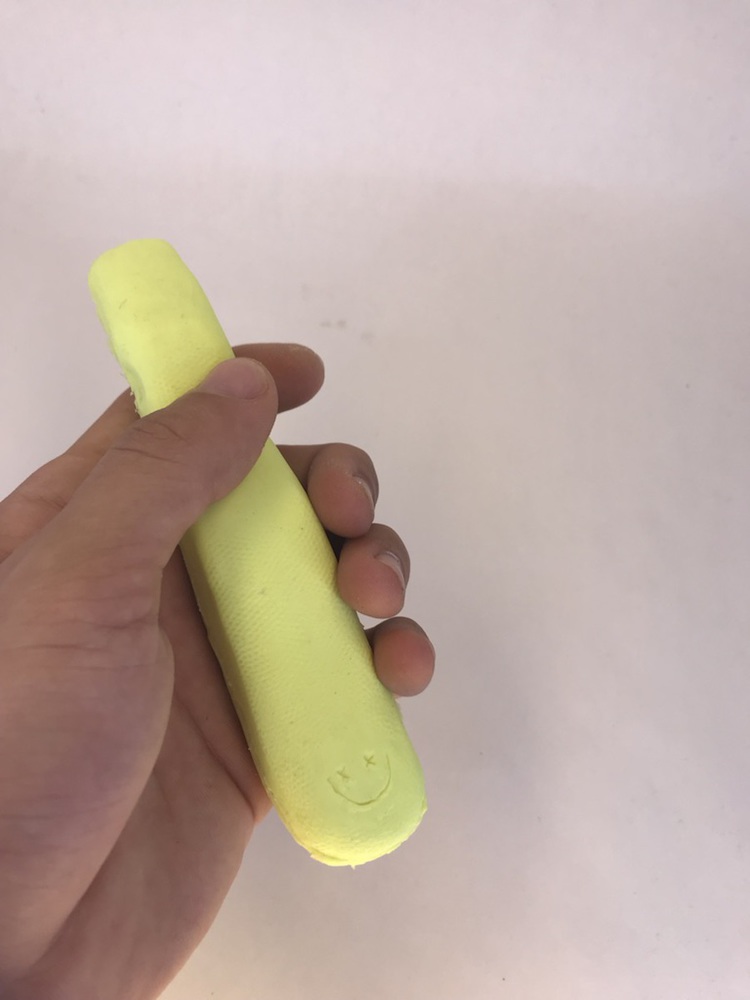
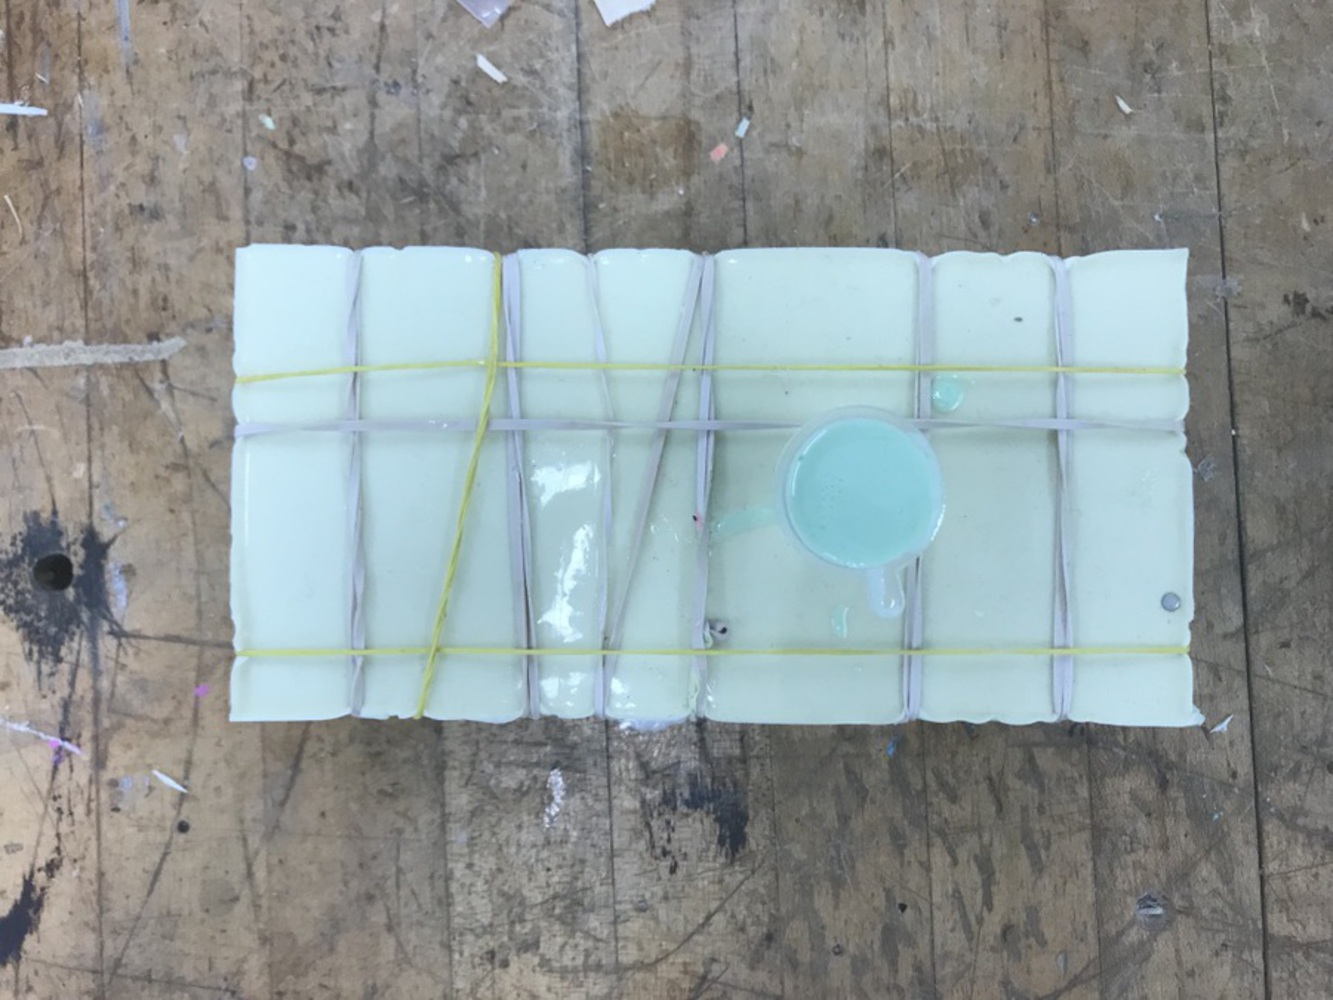
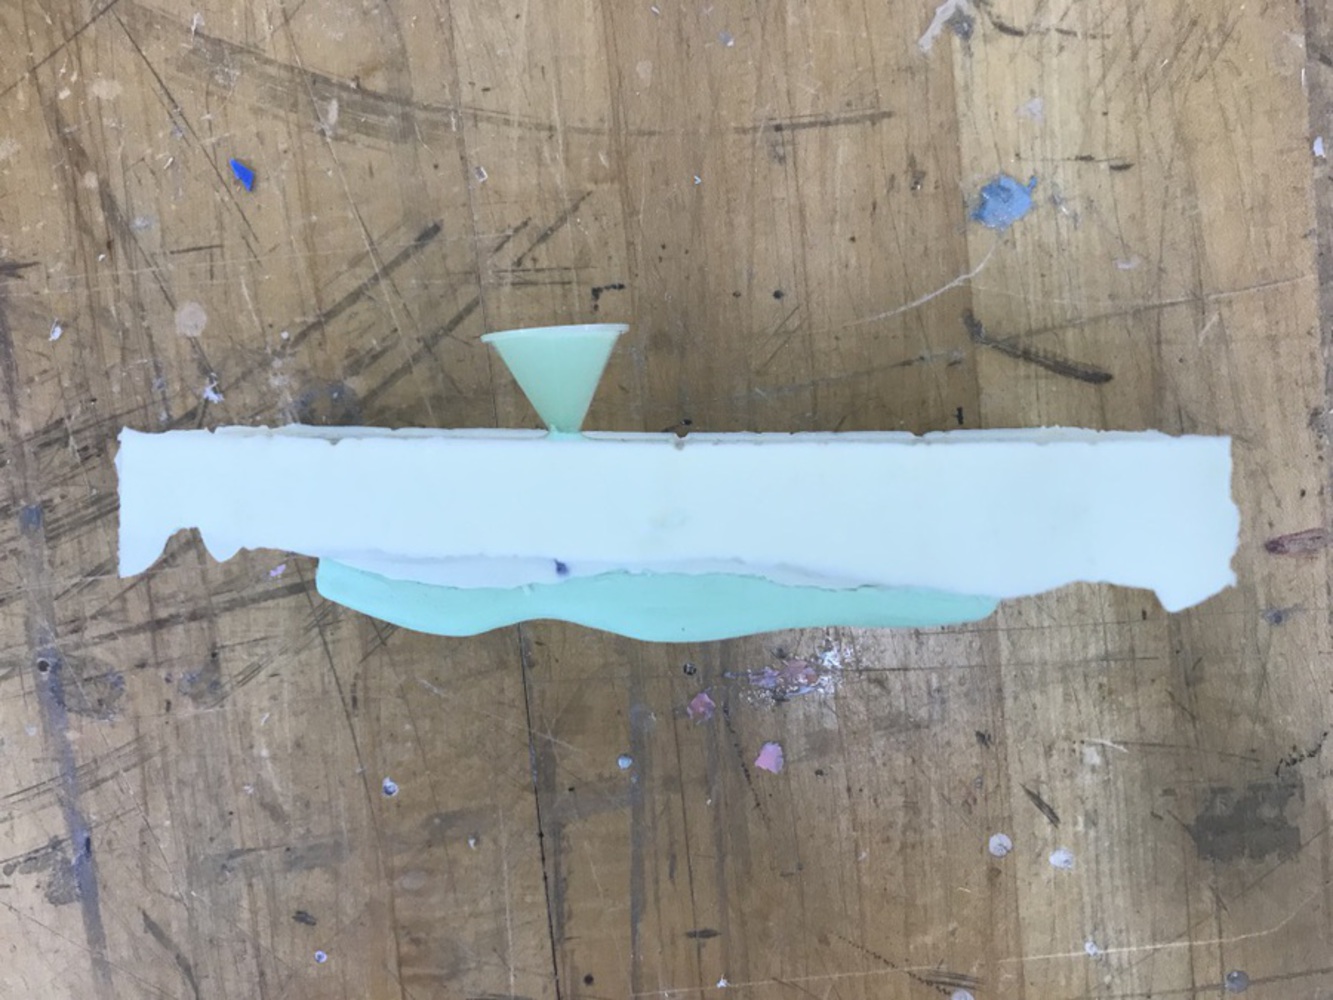
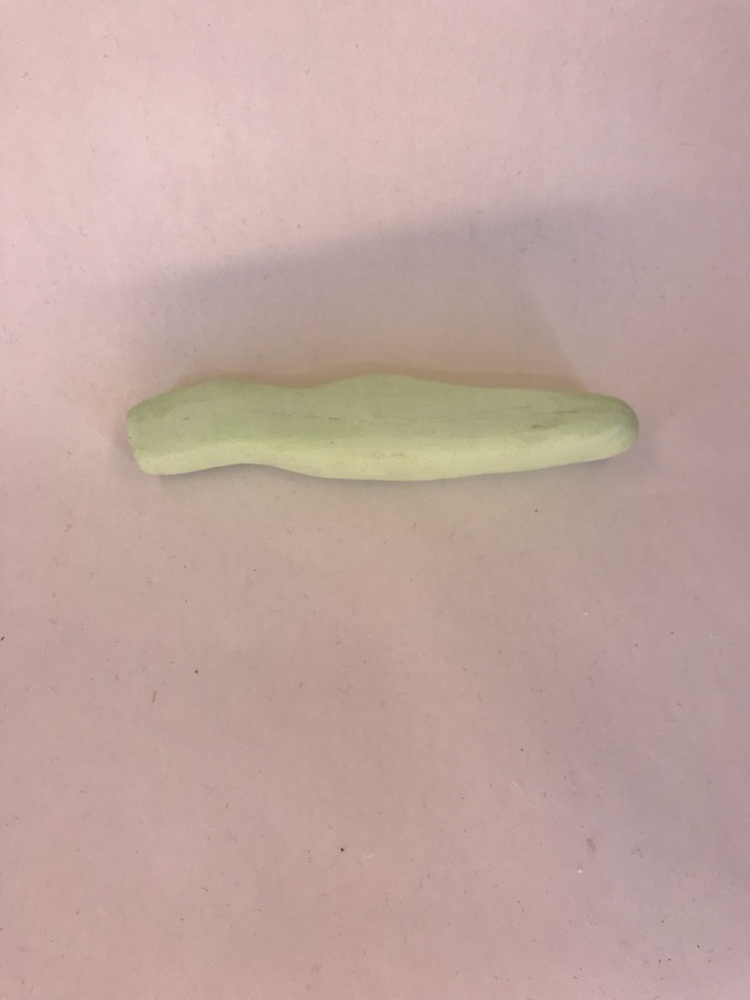
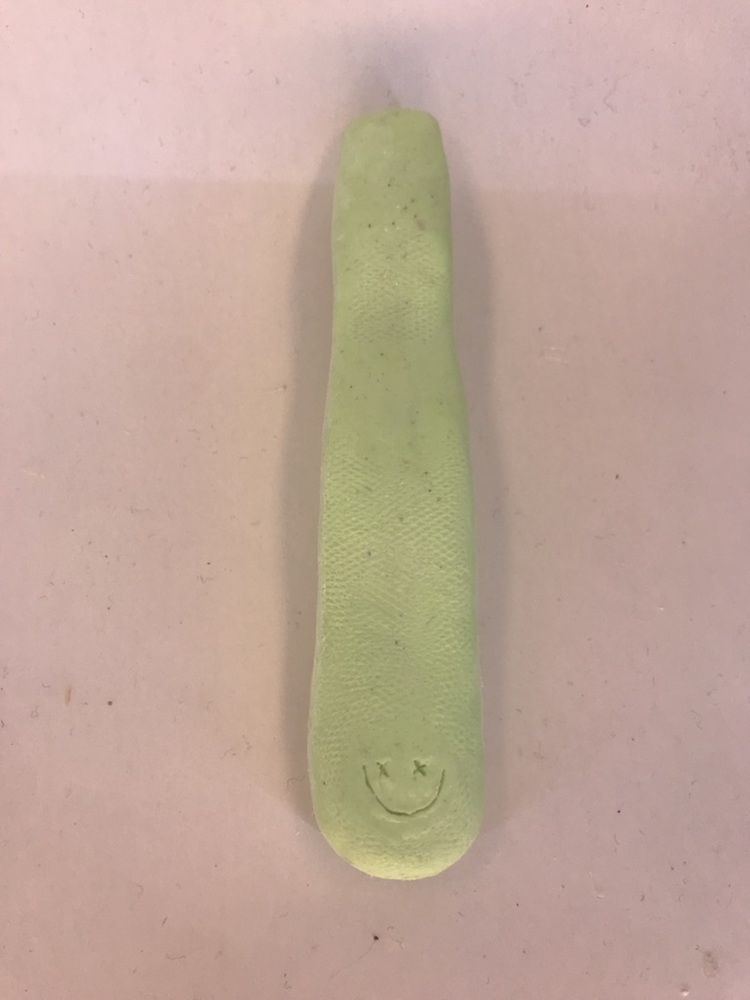
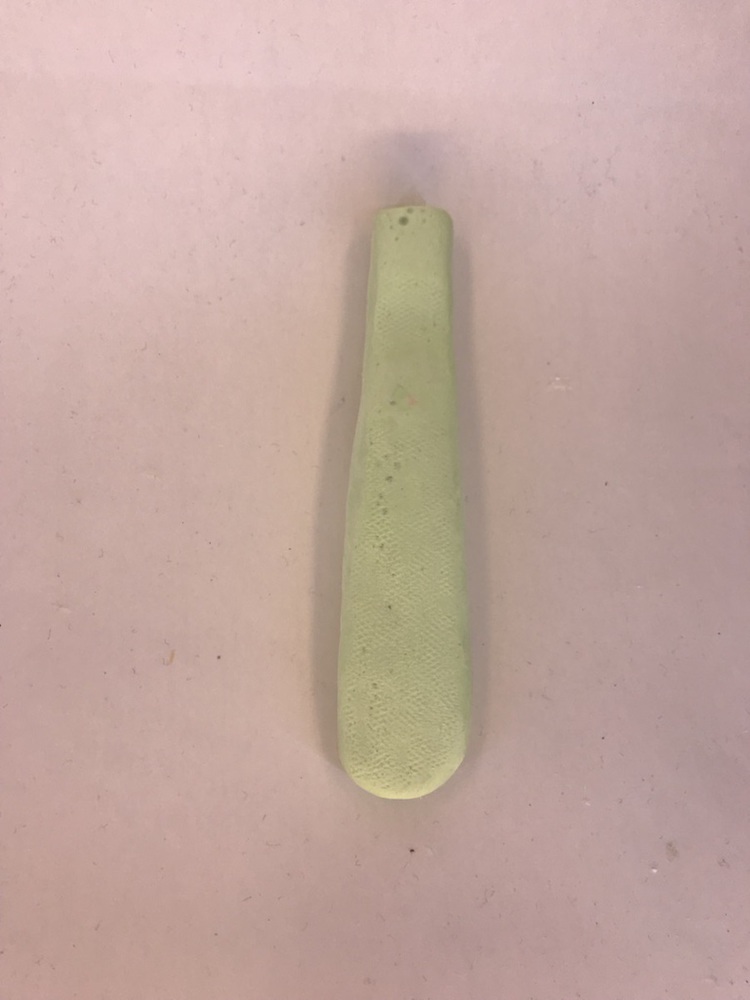
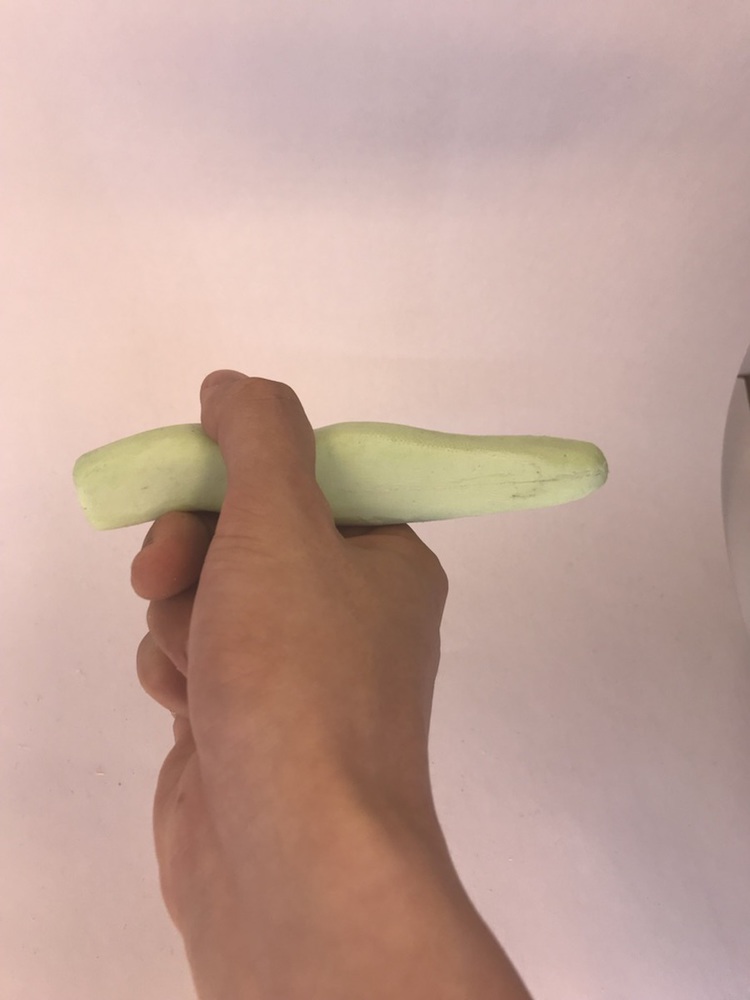
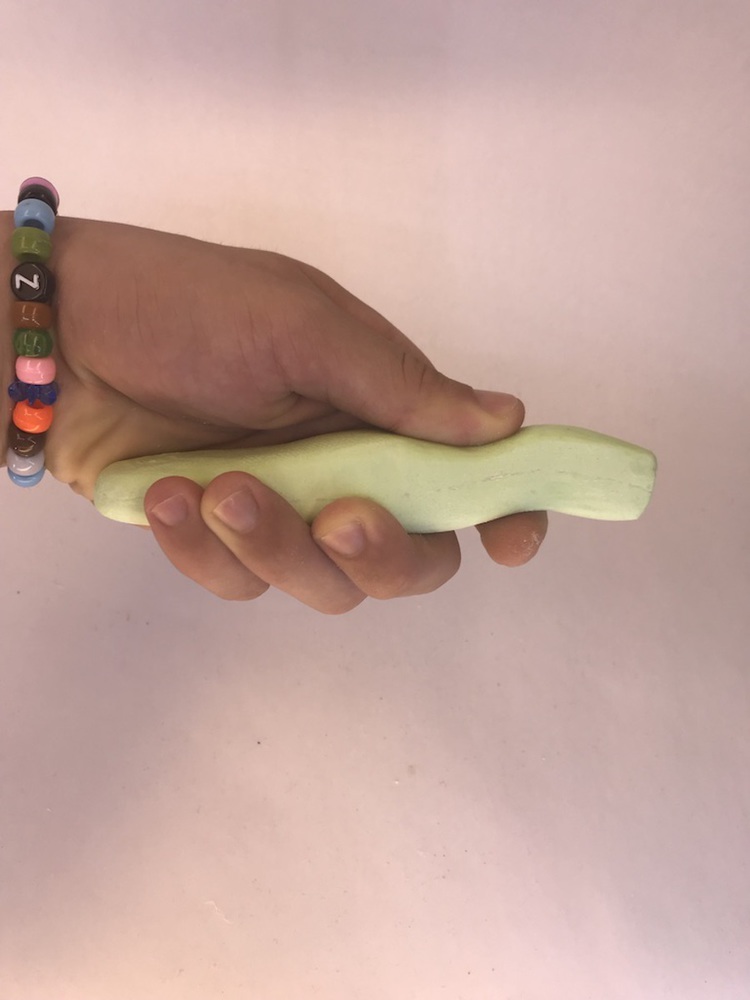
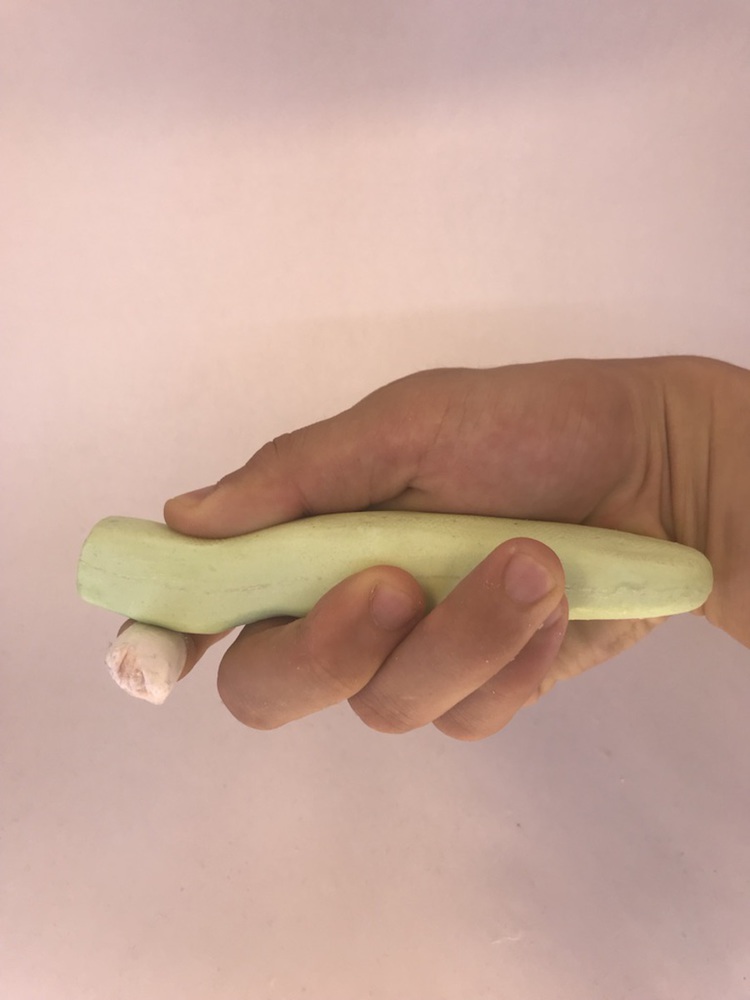
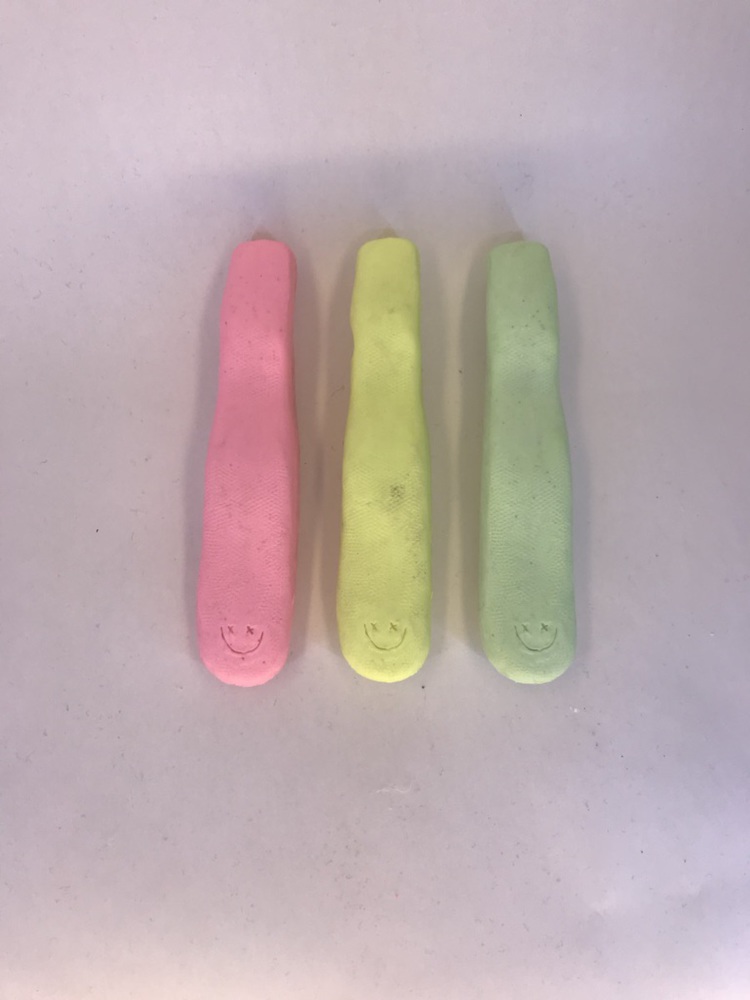
Working off of my clay model for my spatula tri-grip design, I created a casting mold that could replicate my design using resin as the final product's material. My spatula grip was designed for more ergonomic handling and comfortability.
Created: April 17th, 2019


Offers students hands-on experience in DIY product design and fabrication processes. Students work individually or in small groups to design customized and personalized products of their own and bu...more
Working off of my clay model for my spatula tri-grip design, I created a casting mold that could replicate my design using resin as the final product's material. My spatula grip was designed for more ergonomic handling and comfortability.