Jewelry Box
Made by irjaved · UNLISTED (SHOWN IN POOLS)
Made by irjaved · UNLISTED (SHOWN IN POOLS)
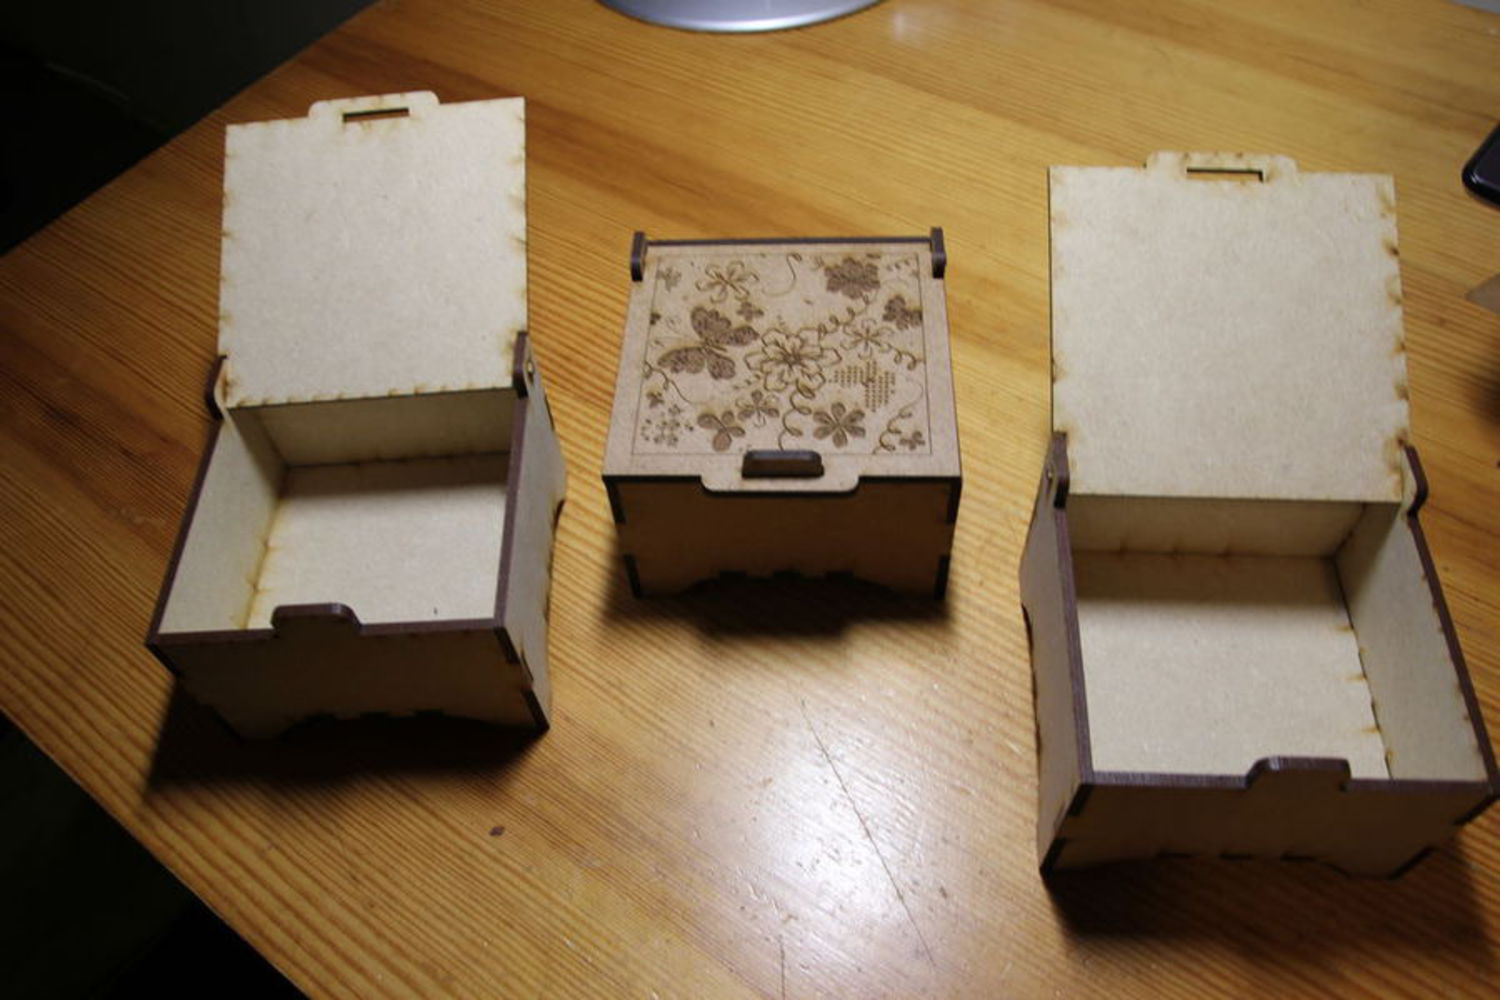
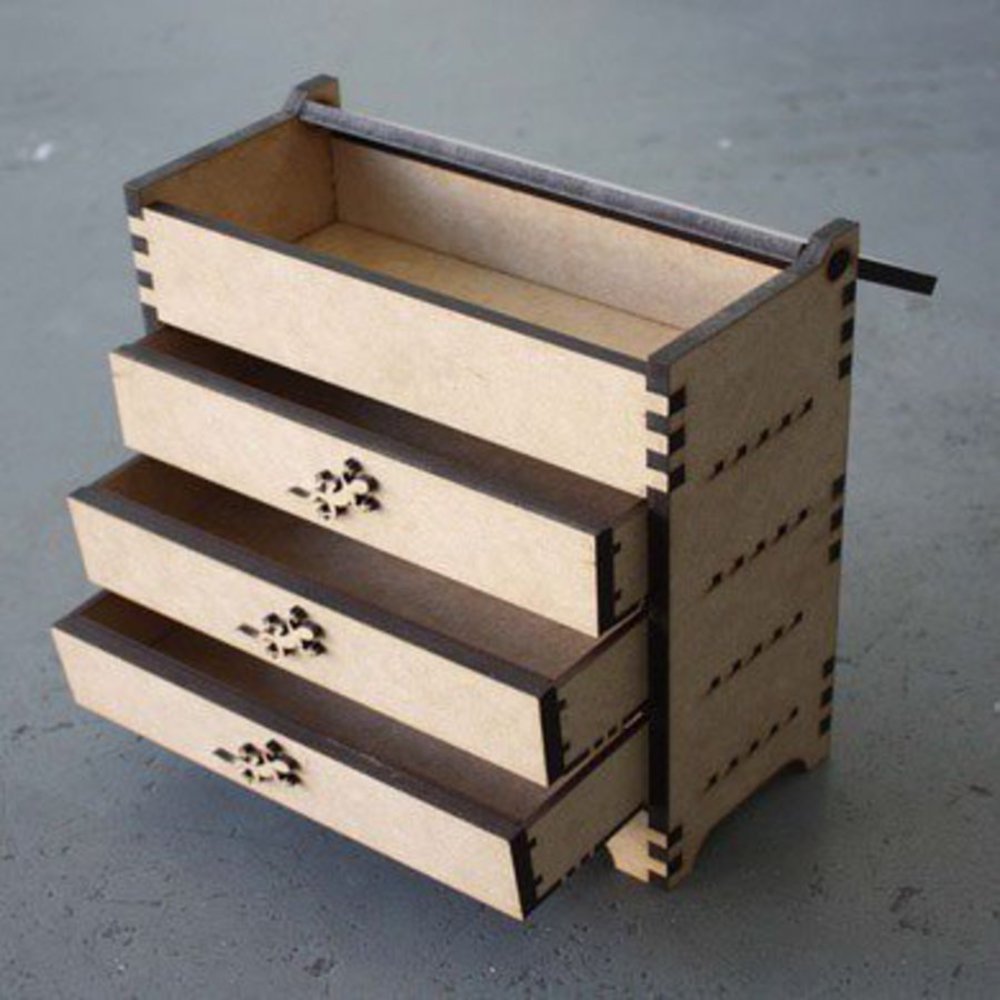
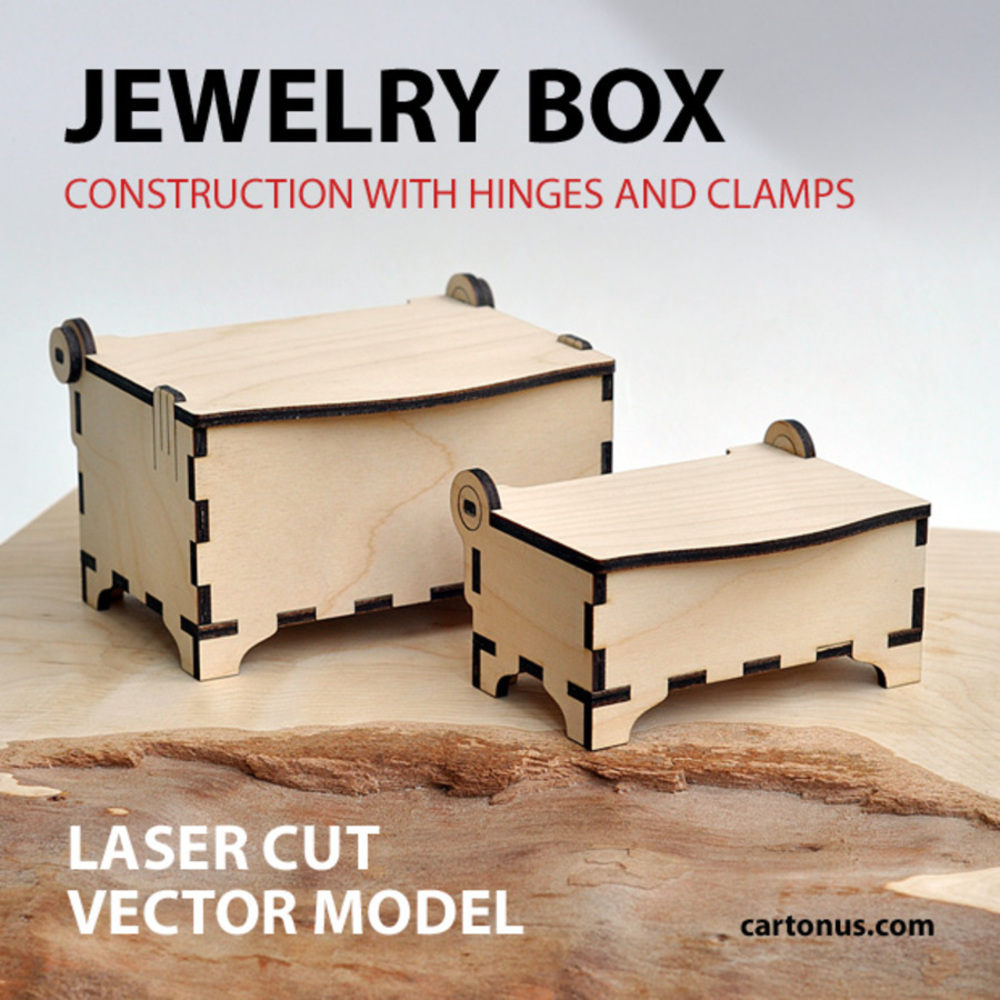
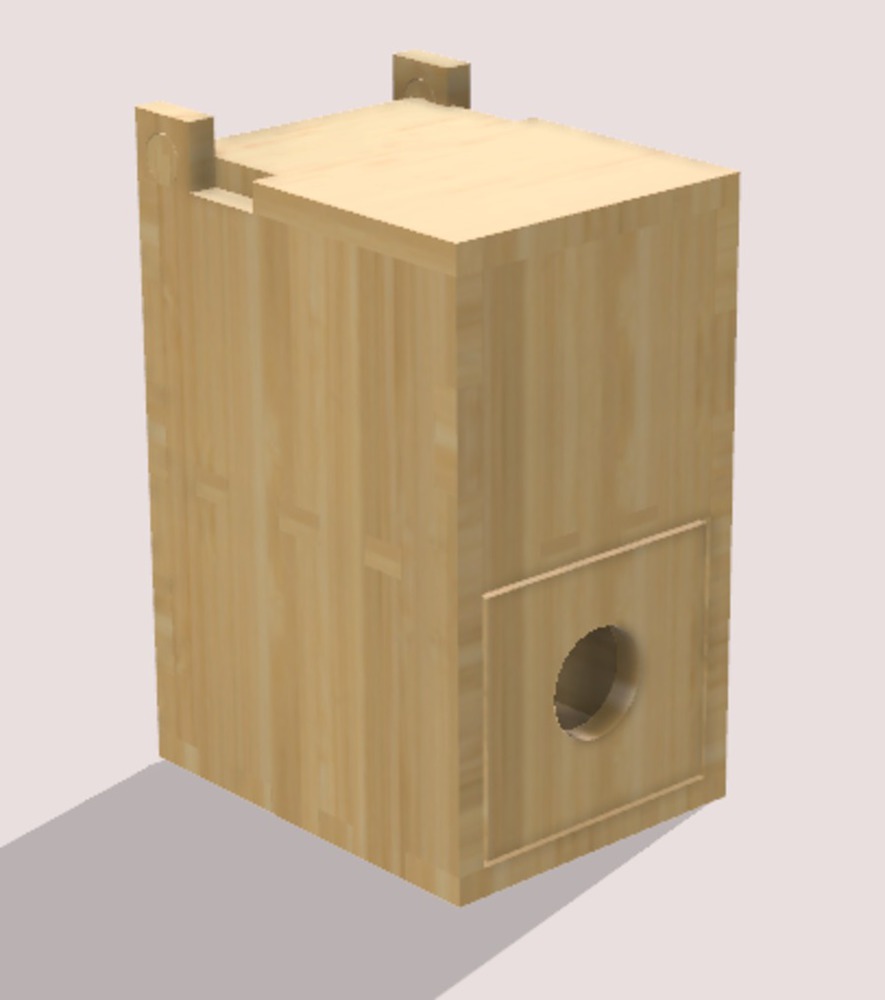
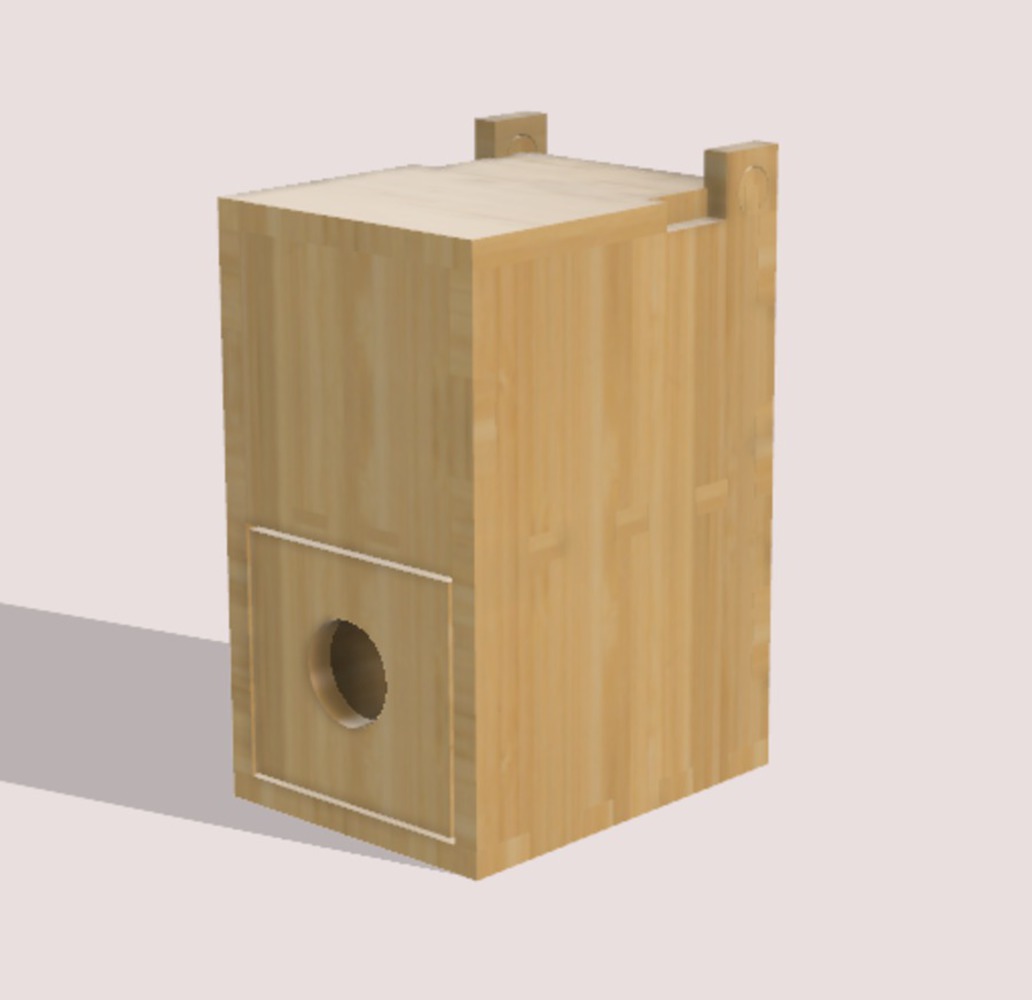
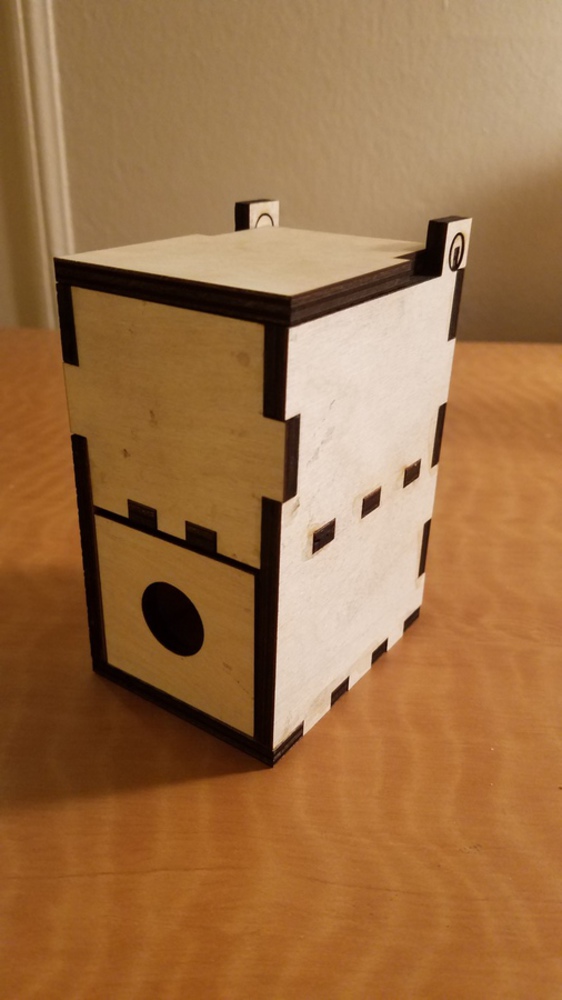
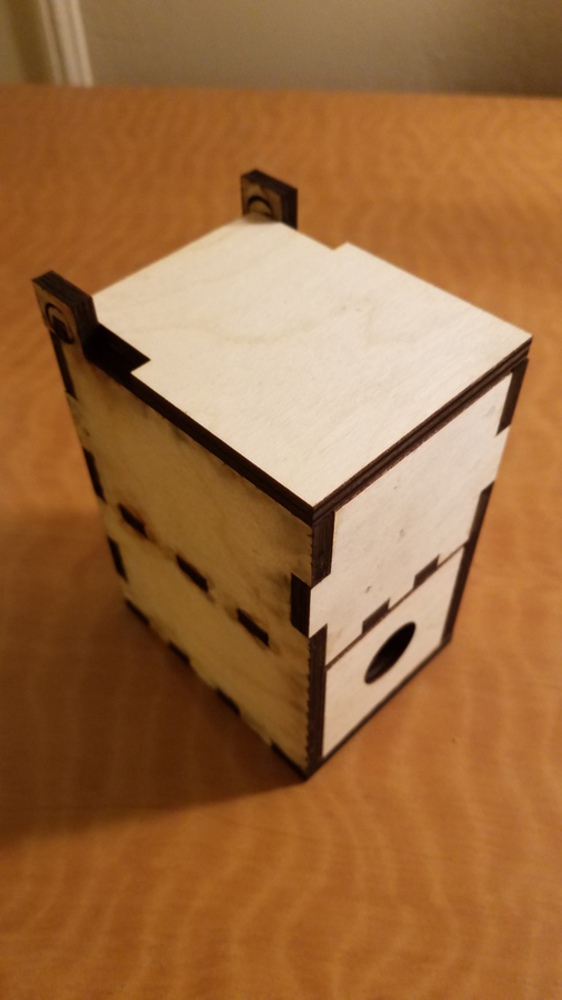
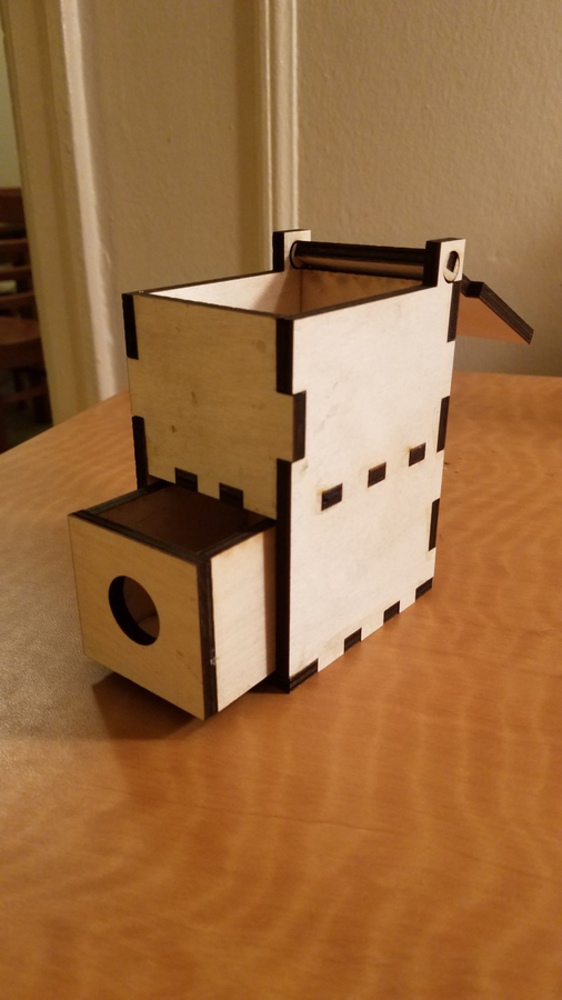
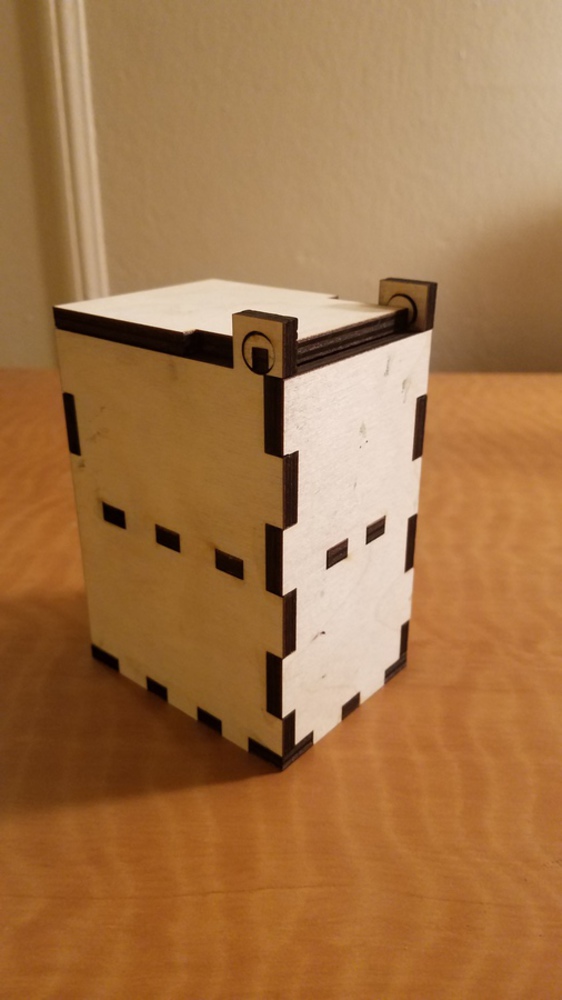
My goal is to create a jewelry box with a movable aspect to it, using laser cutting
Created: March 9th, 2018
This project is only listed in this pool. Be considerate and think twice before sharing.
Digital Tooling (DigiTool) provides a platform for any CMU student to learn Digital Fabrication processes; all of which are very hands-on. Like these processes, this class is also very hands-on. I...more
My goal is to create a jewelry box with a movable aspect to it, using laser cutting